Full Size Headboard
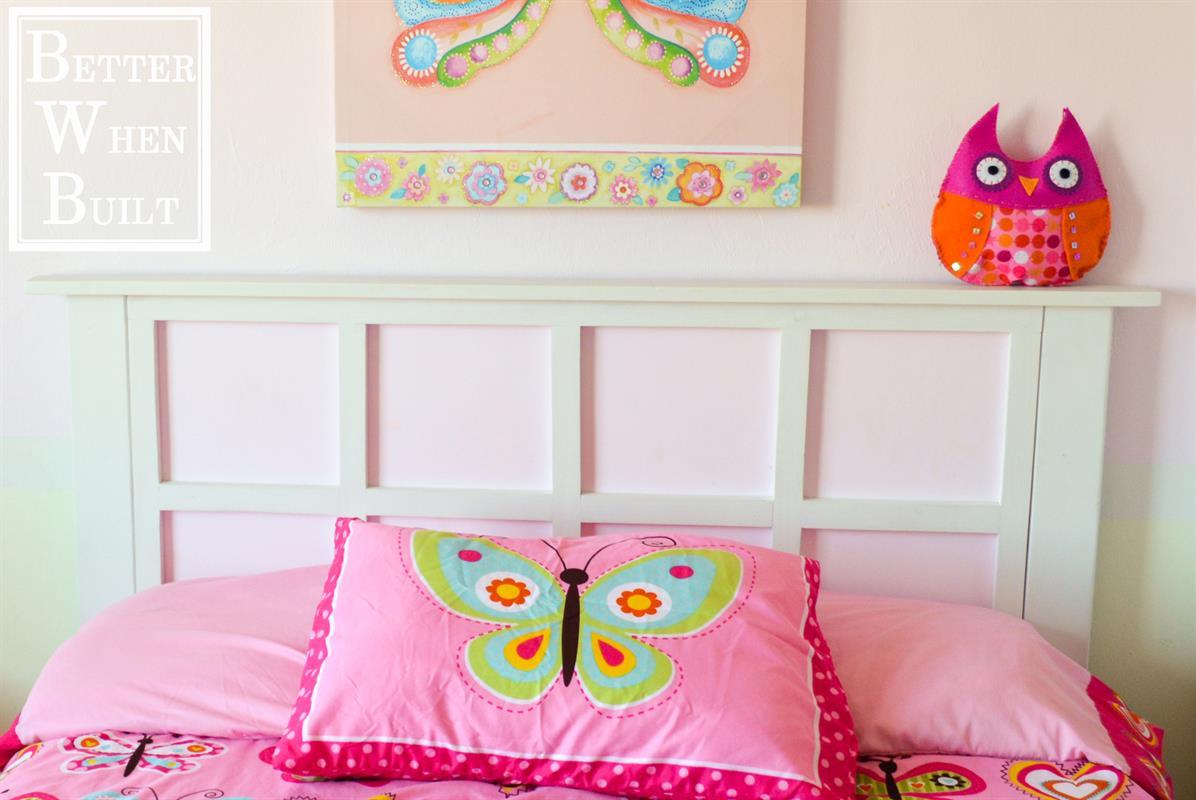
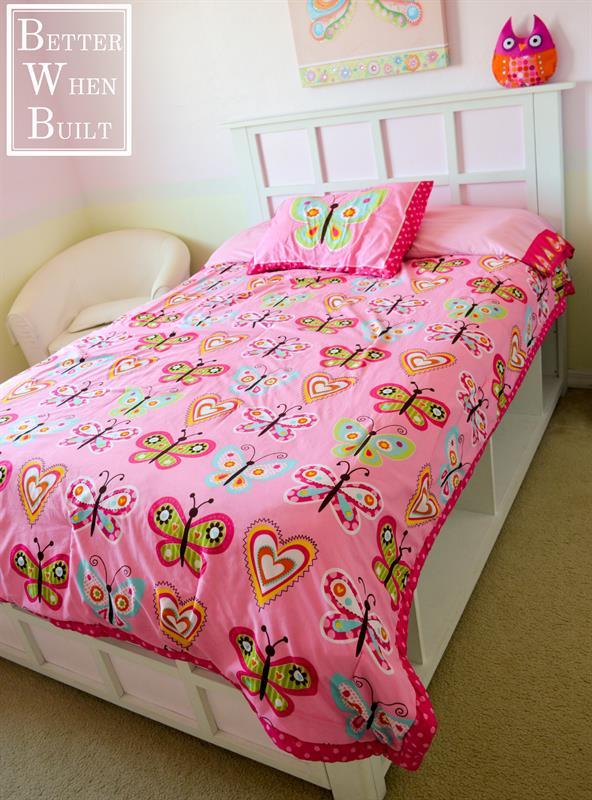
By Better When BuiltEvery little girl wants a pretty bedroom, and my little girl is no different. A few years ago, I made a bed for my daughter that she absolutely loves. Here are the plans for the full size headboard I made for her room.
Directions
-
Attack Back to Legs
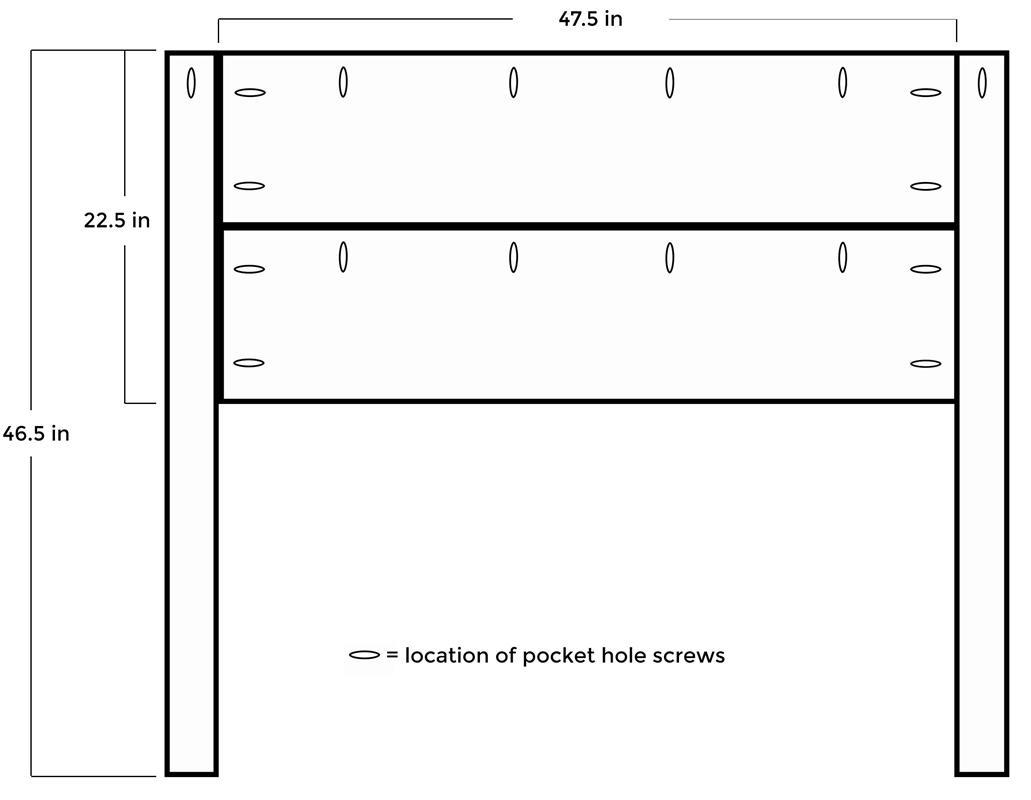
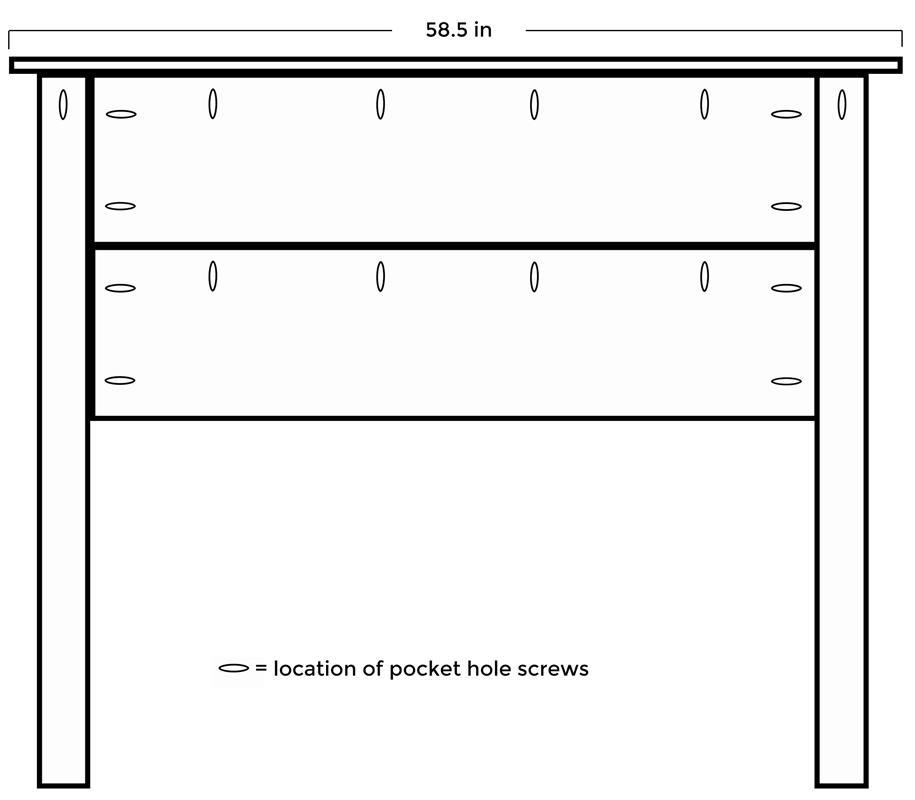
Attach the back of the headboard (either 2- 1×12 @ 47.5 or 1 piece of 3/4 in plywood @ 22.5 in x 47.5 in) to the two 2×4 headboard legs using pocket hole screws (2-1/2 in). If you are using 1×12, attach the two pieces together with pocket hole screws (1-1/4 in).
-
Attach Top
Attach the top piece of the headboard (1×3 @ 58.in) using pocket hole screws (1-1/4 in). Line up edge with edge of the back of the headboard. The front will stick out a little.
-
Begin Insert
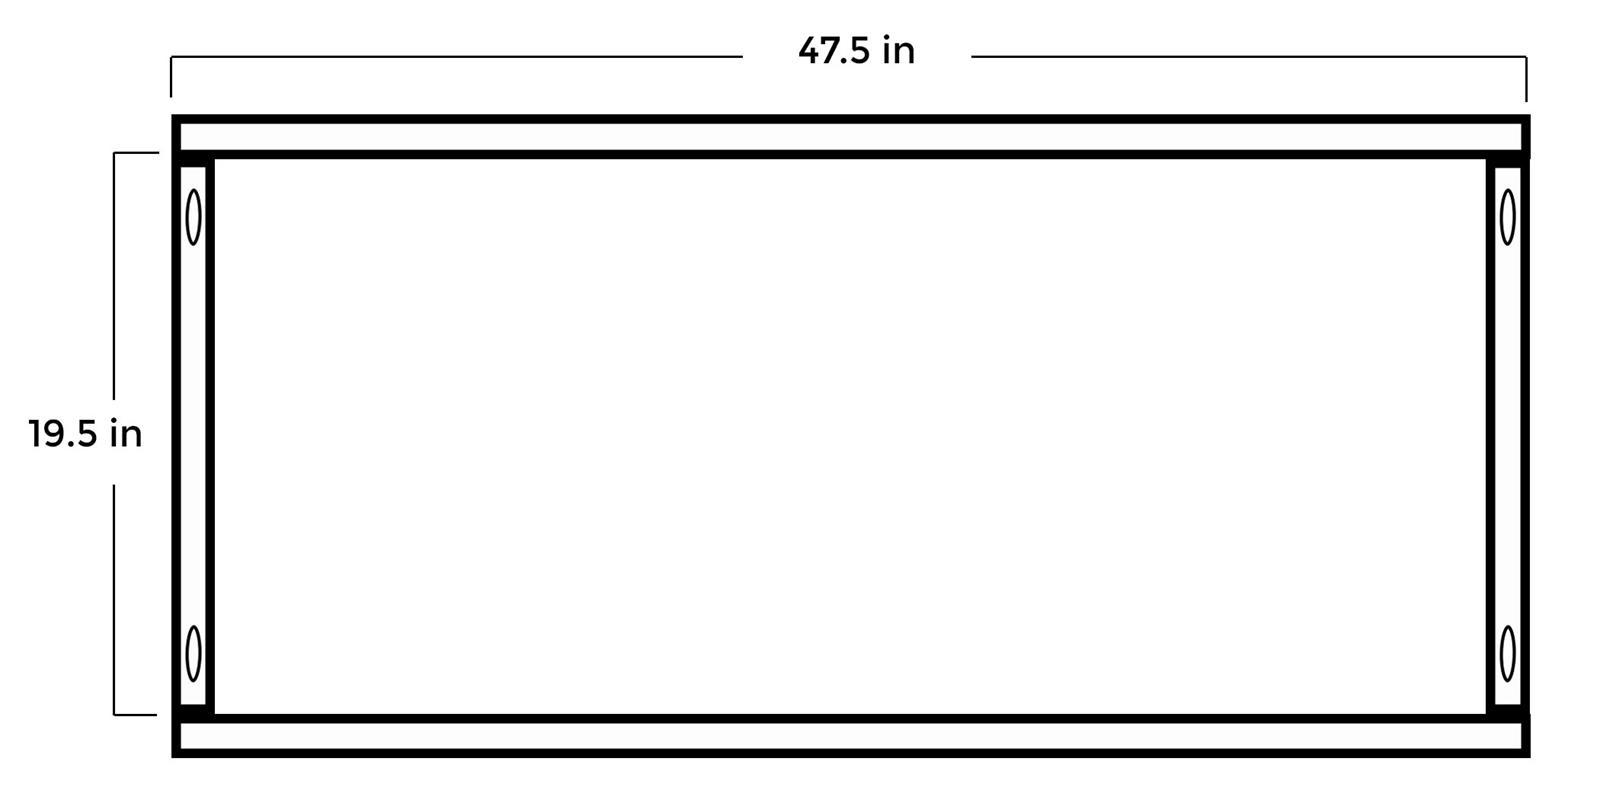
Begin the insert piece by attaching the 1×2 frame using pocket hole screws (1-1/4 in).
-
Add Pillars to Insert
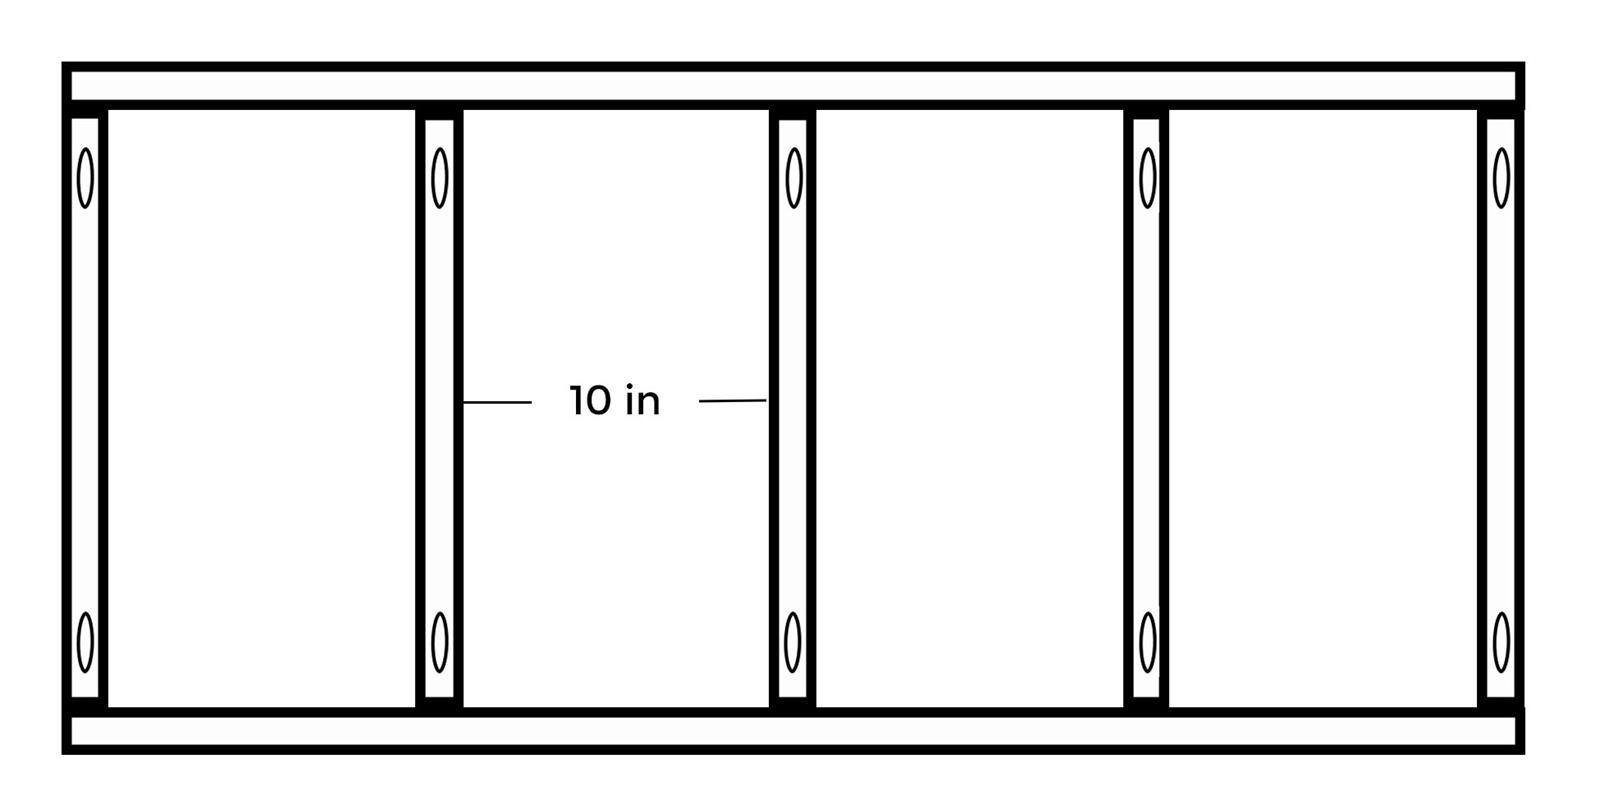
Add the other vertical pillars to the frame of the insert using pocket hole screws (1-1/4 in).
-
Complete Frame
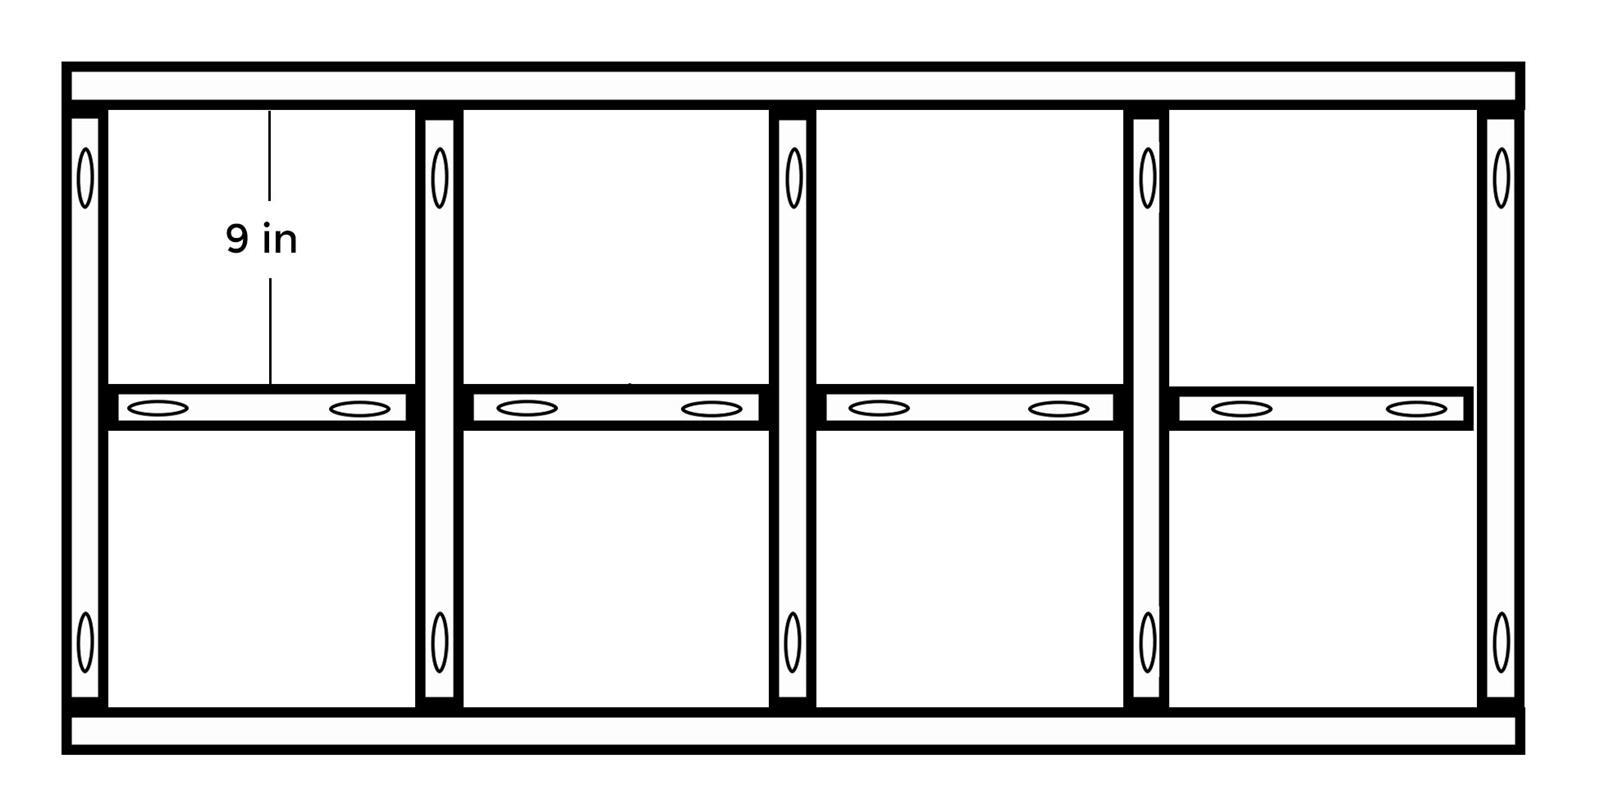
Complete the frame of the insert by attaching the 10 inch horizontal pieces.
-
Sand and Paint or Stain
Before you attach the insert to the headboard, sand and paint or stain both the headboard and the insert. This makes paint or staining the headboard and insert different colors much easier.
-
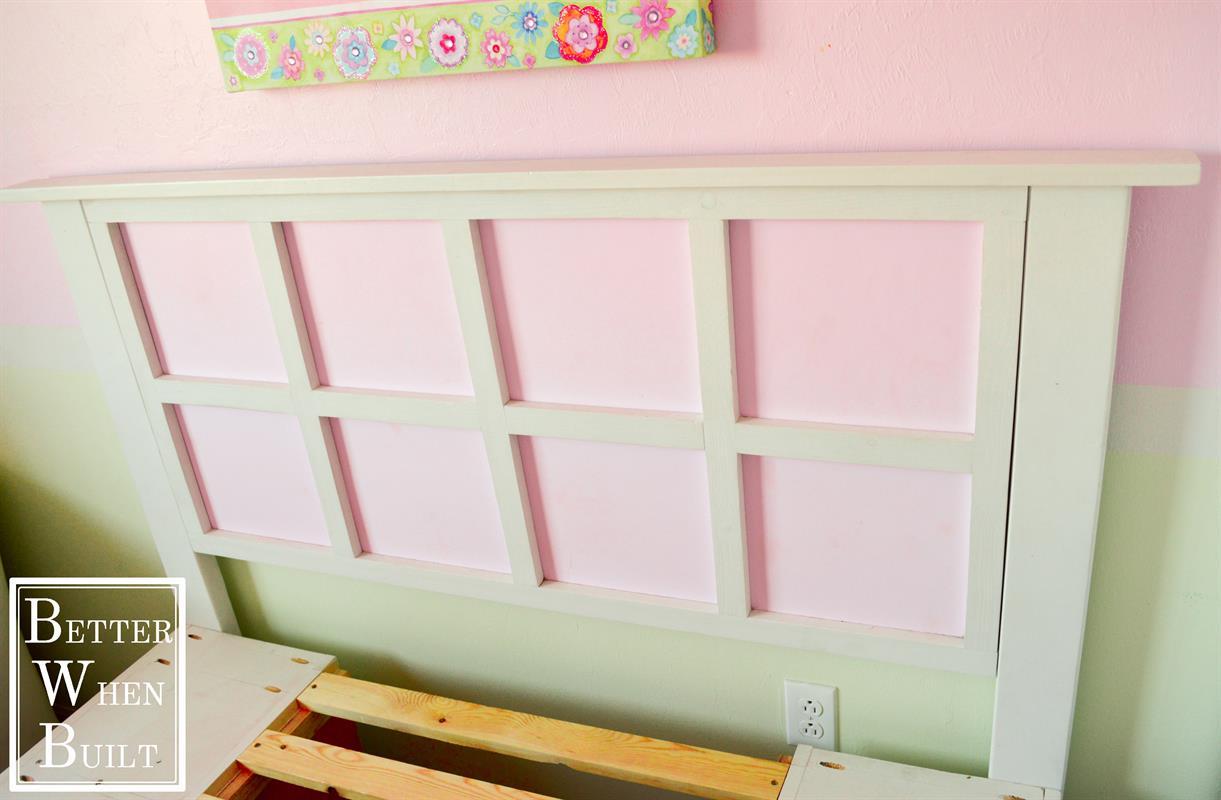
Attach Insert to Headboard
Attach the insert to the headboard by screwing it together from the back of the headboard. If you don’t want the screws to stick out, just countersink the screws. To insure that all the screws lined up to the insert, I used the insert to trace a template on the back before I screwed it in place.


