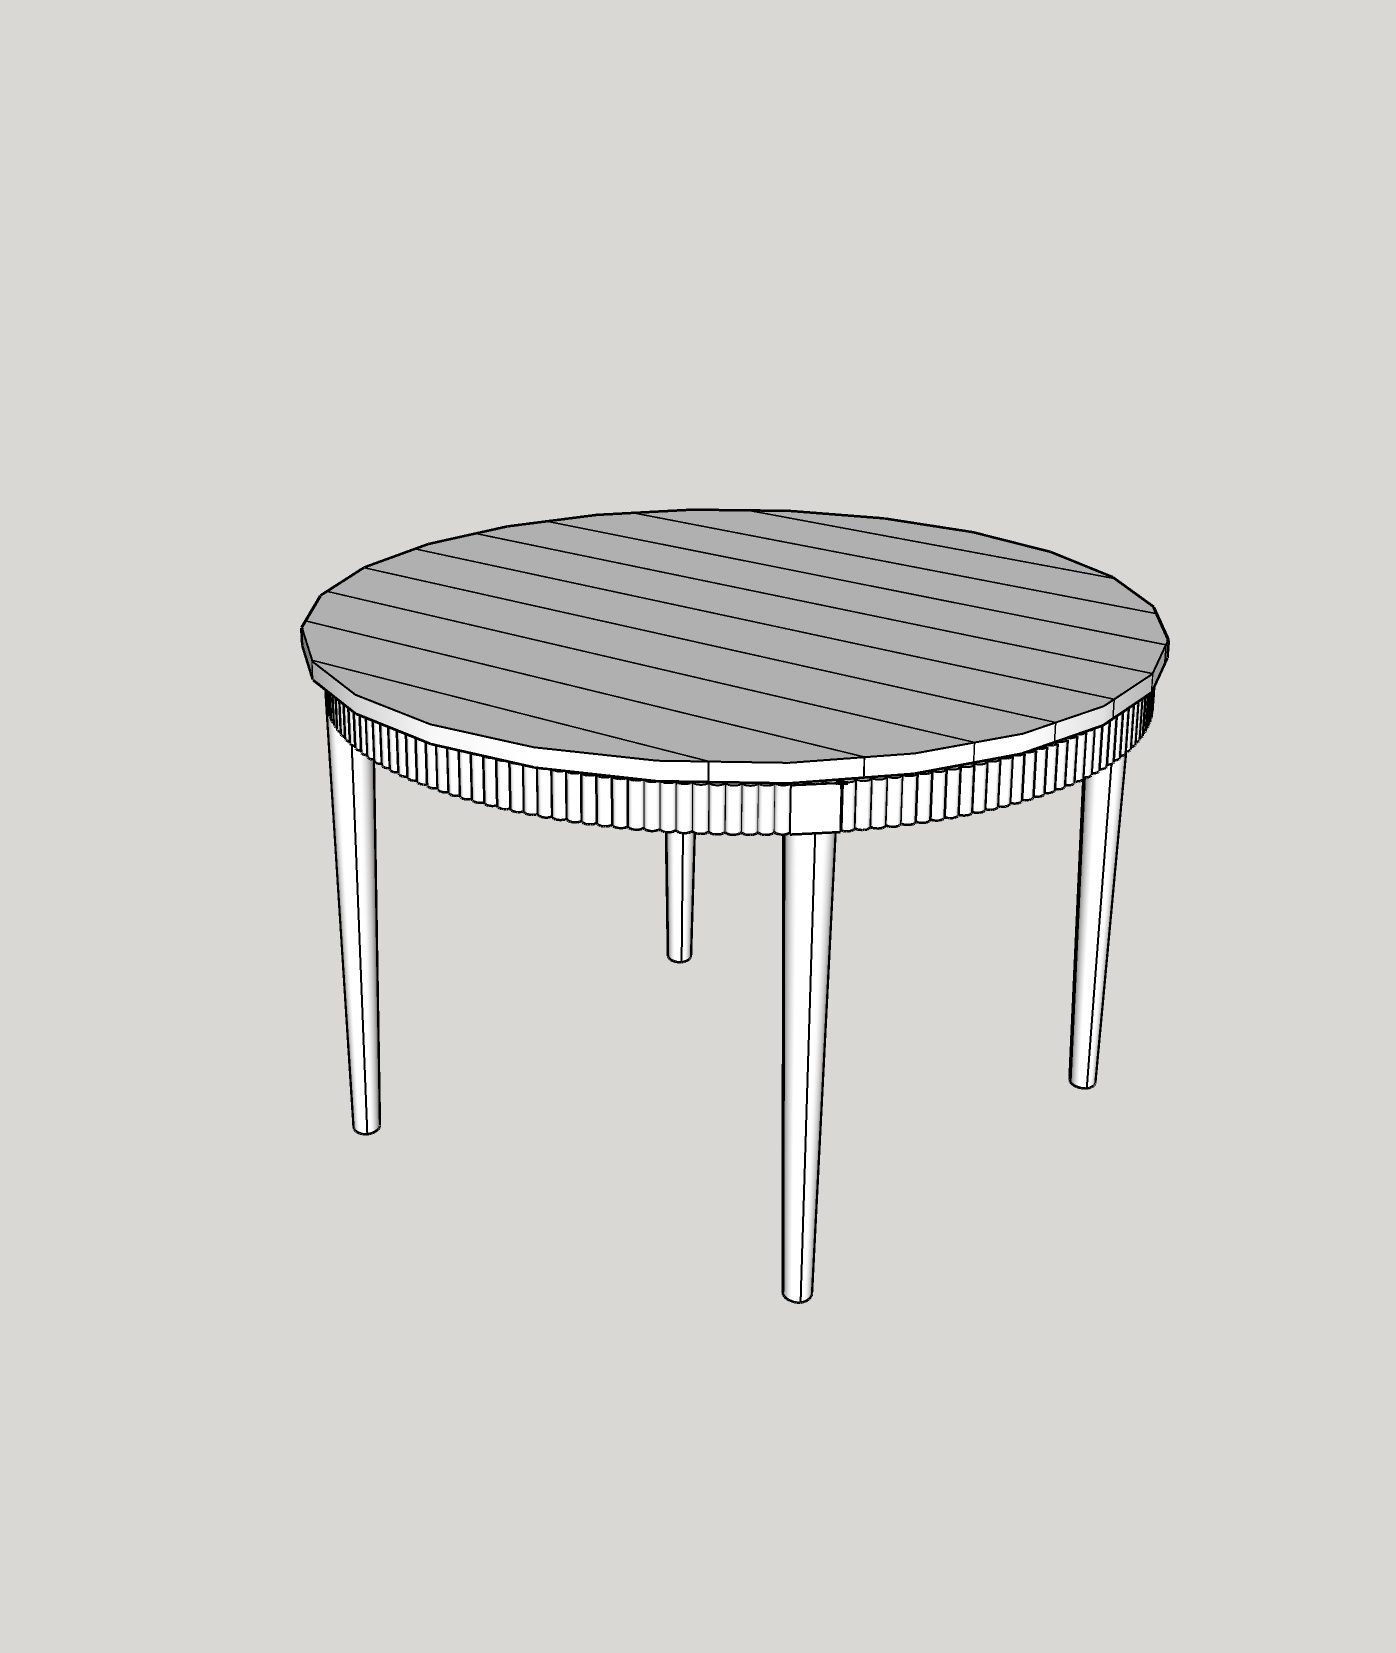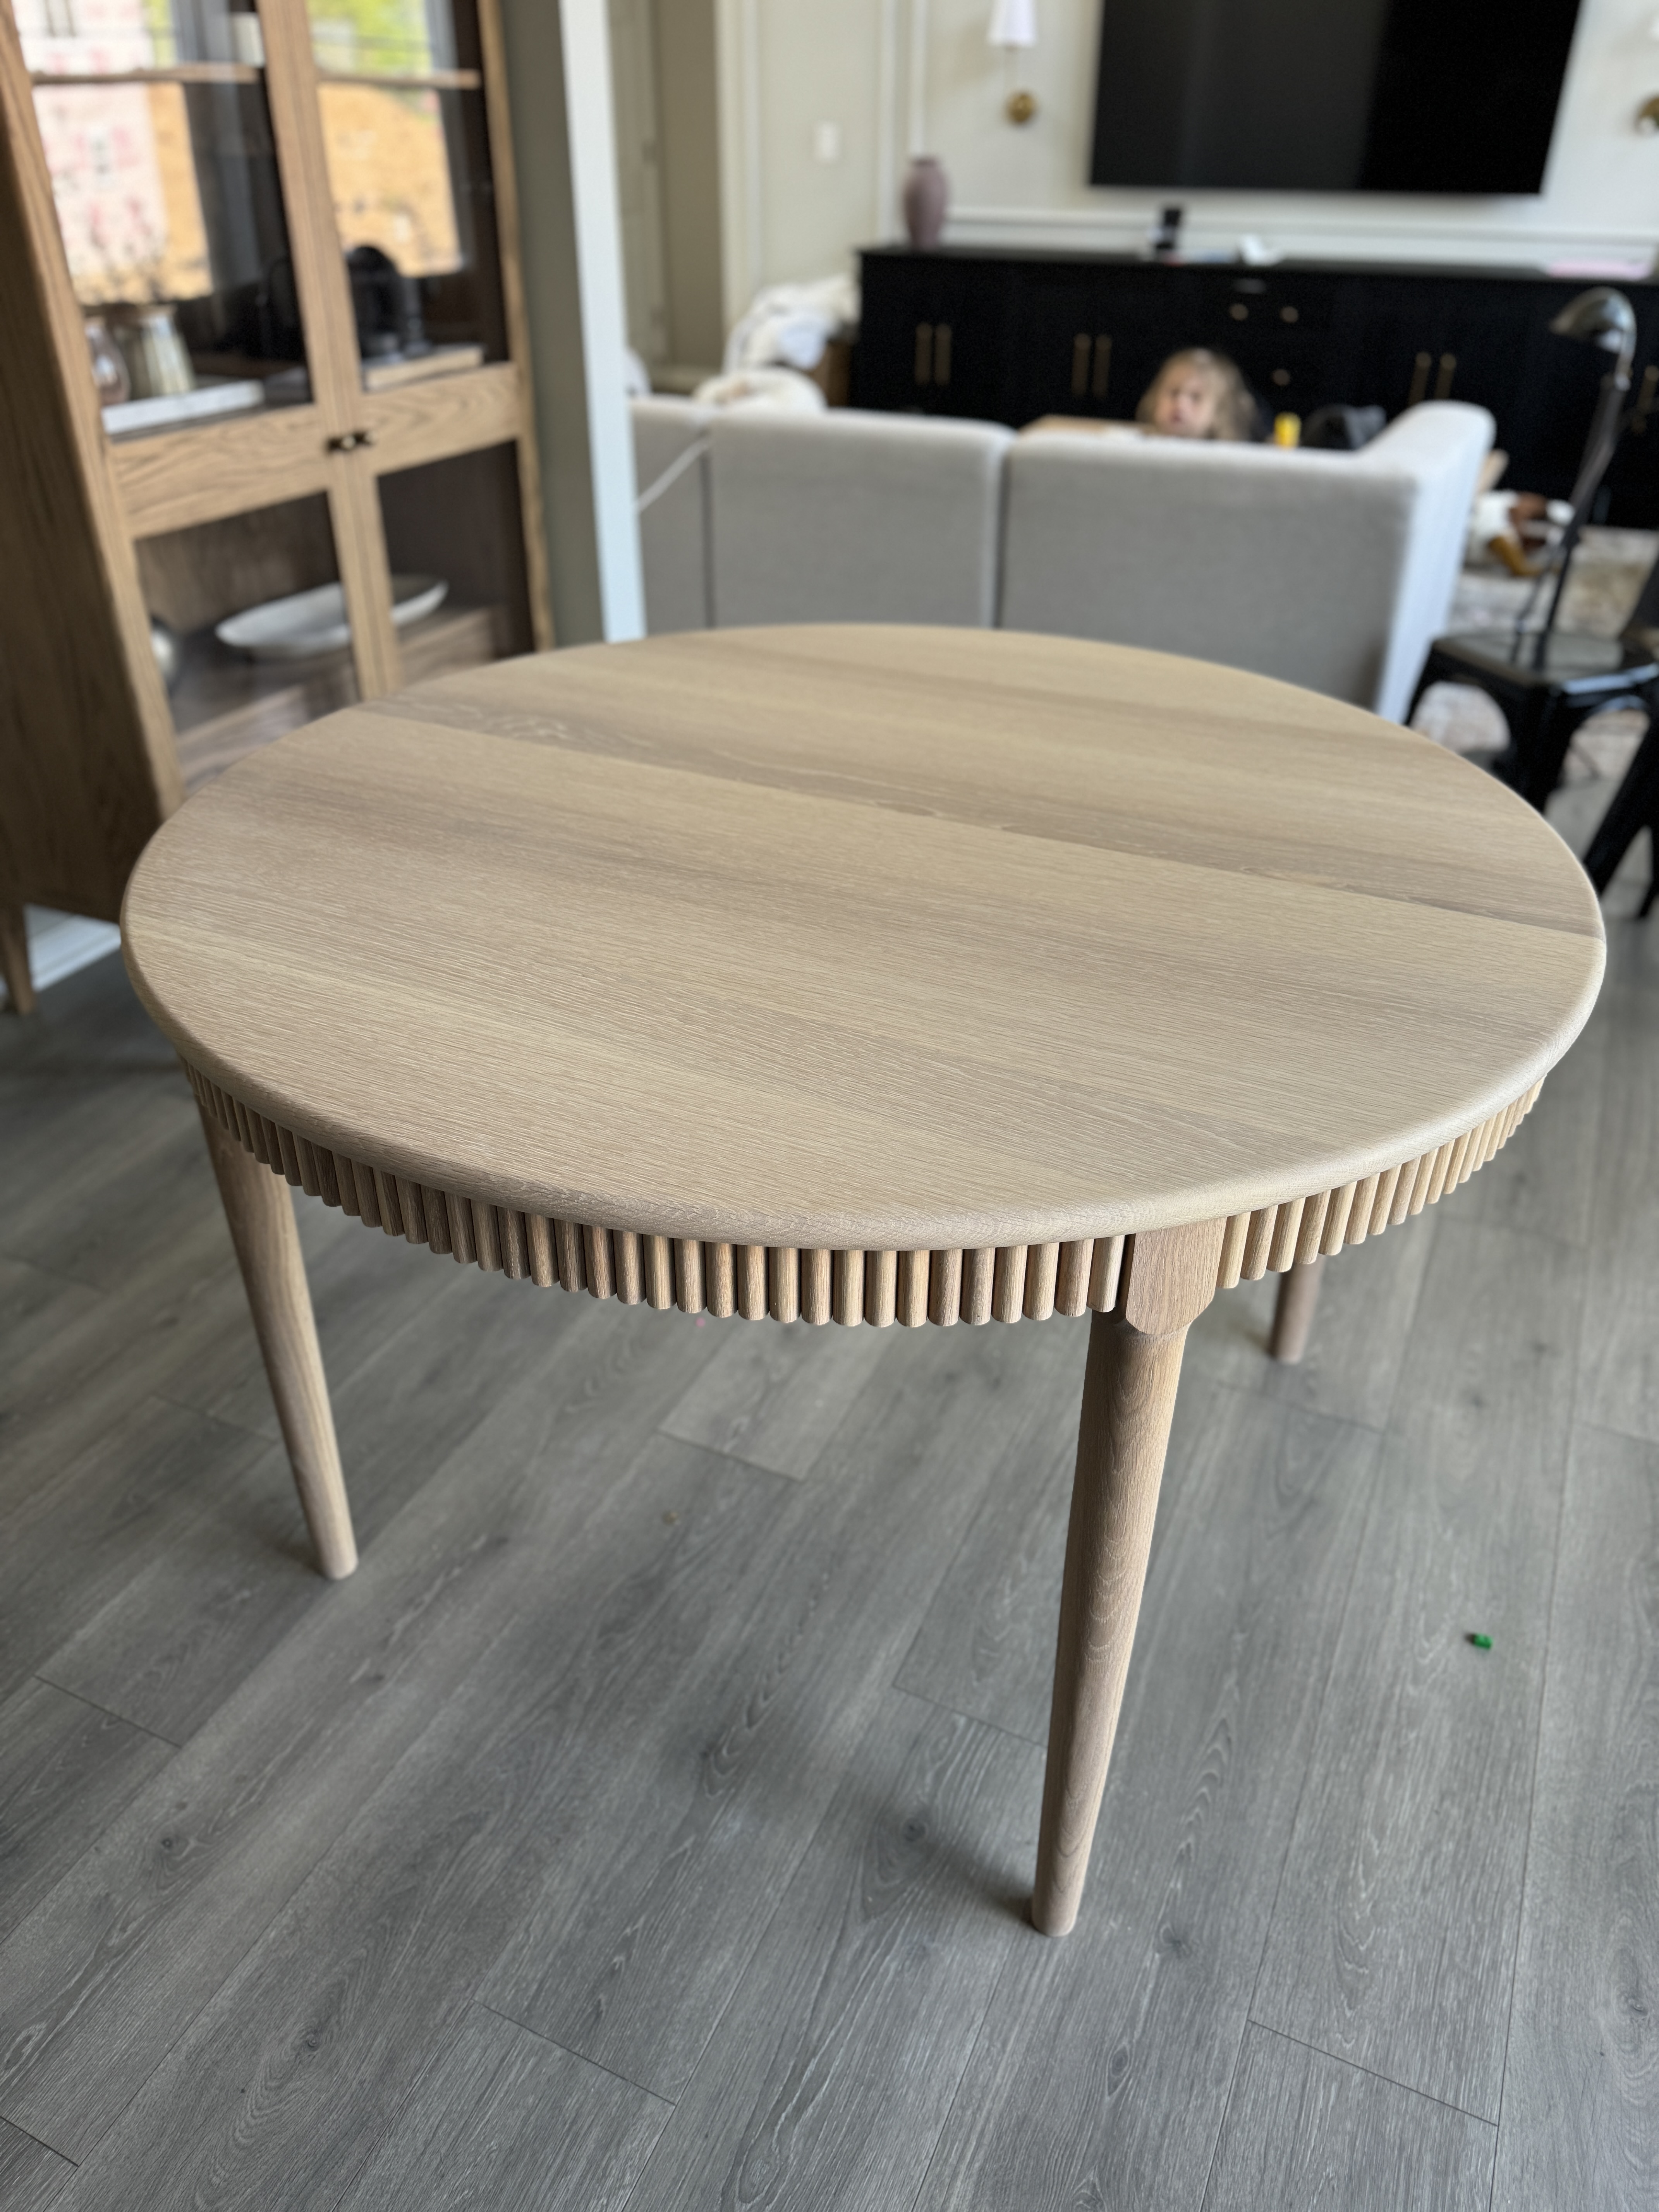
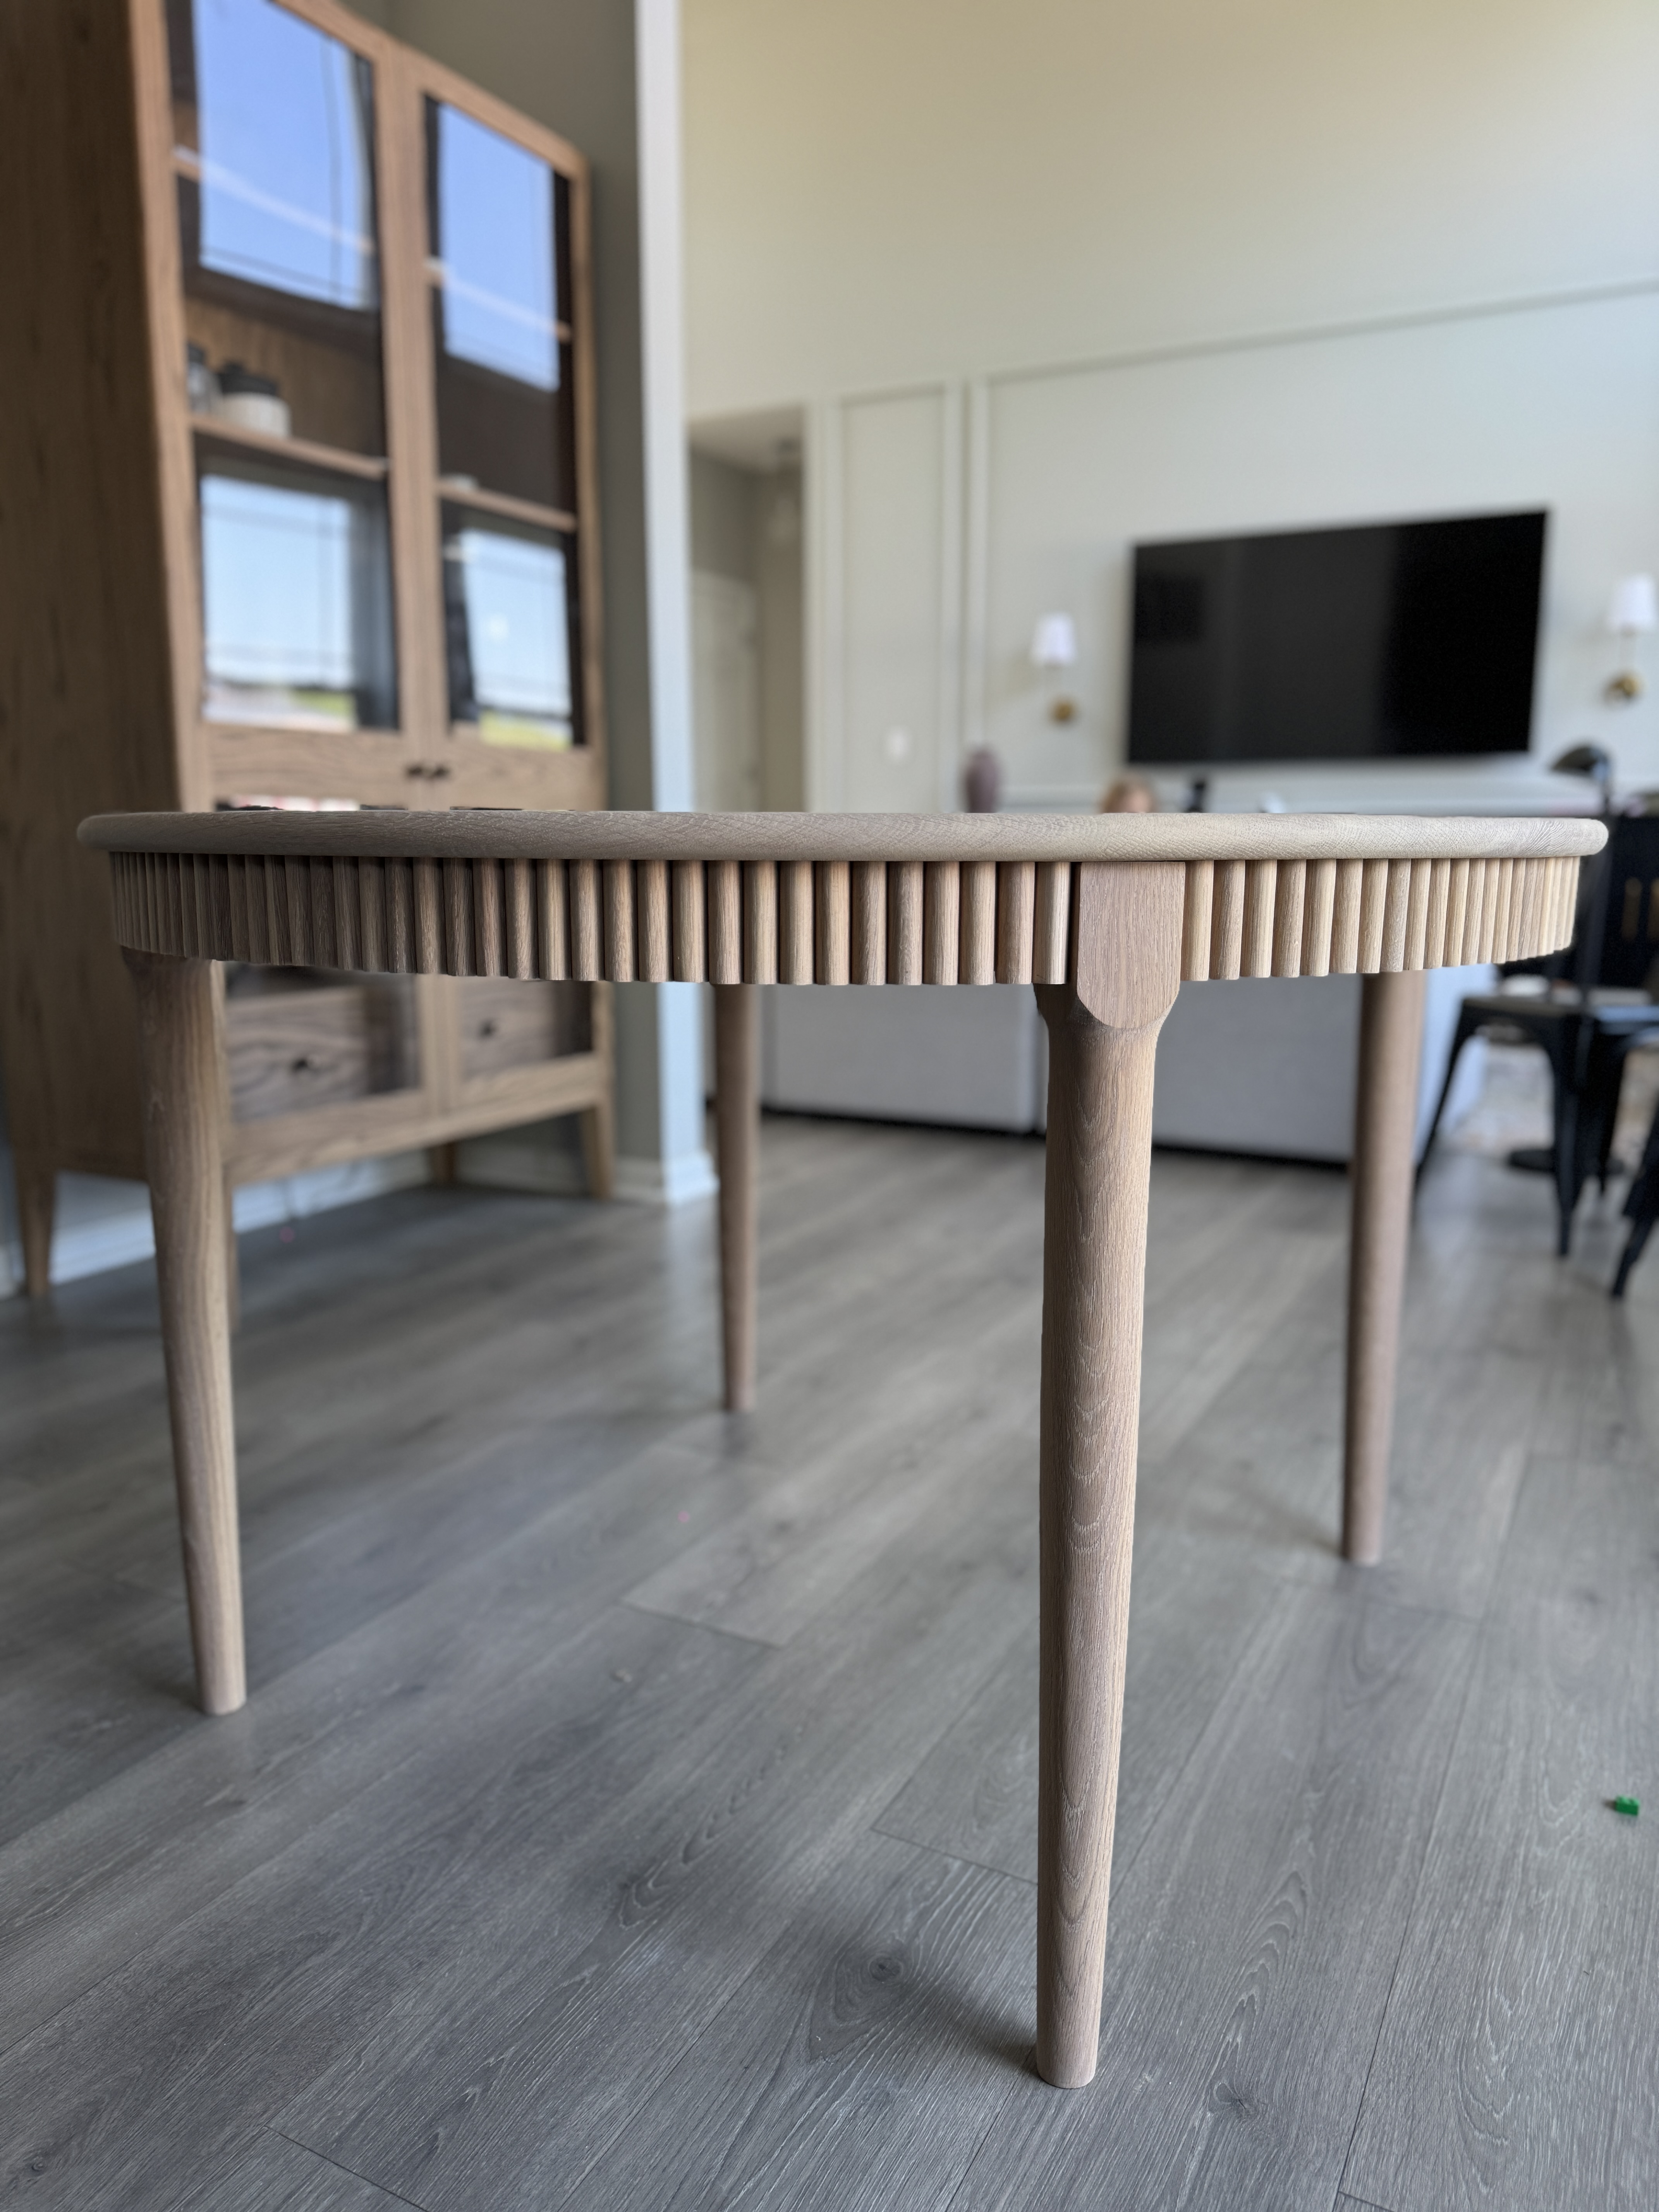


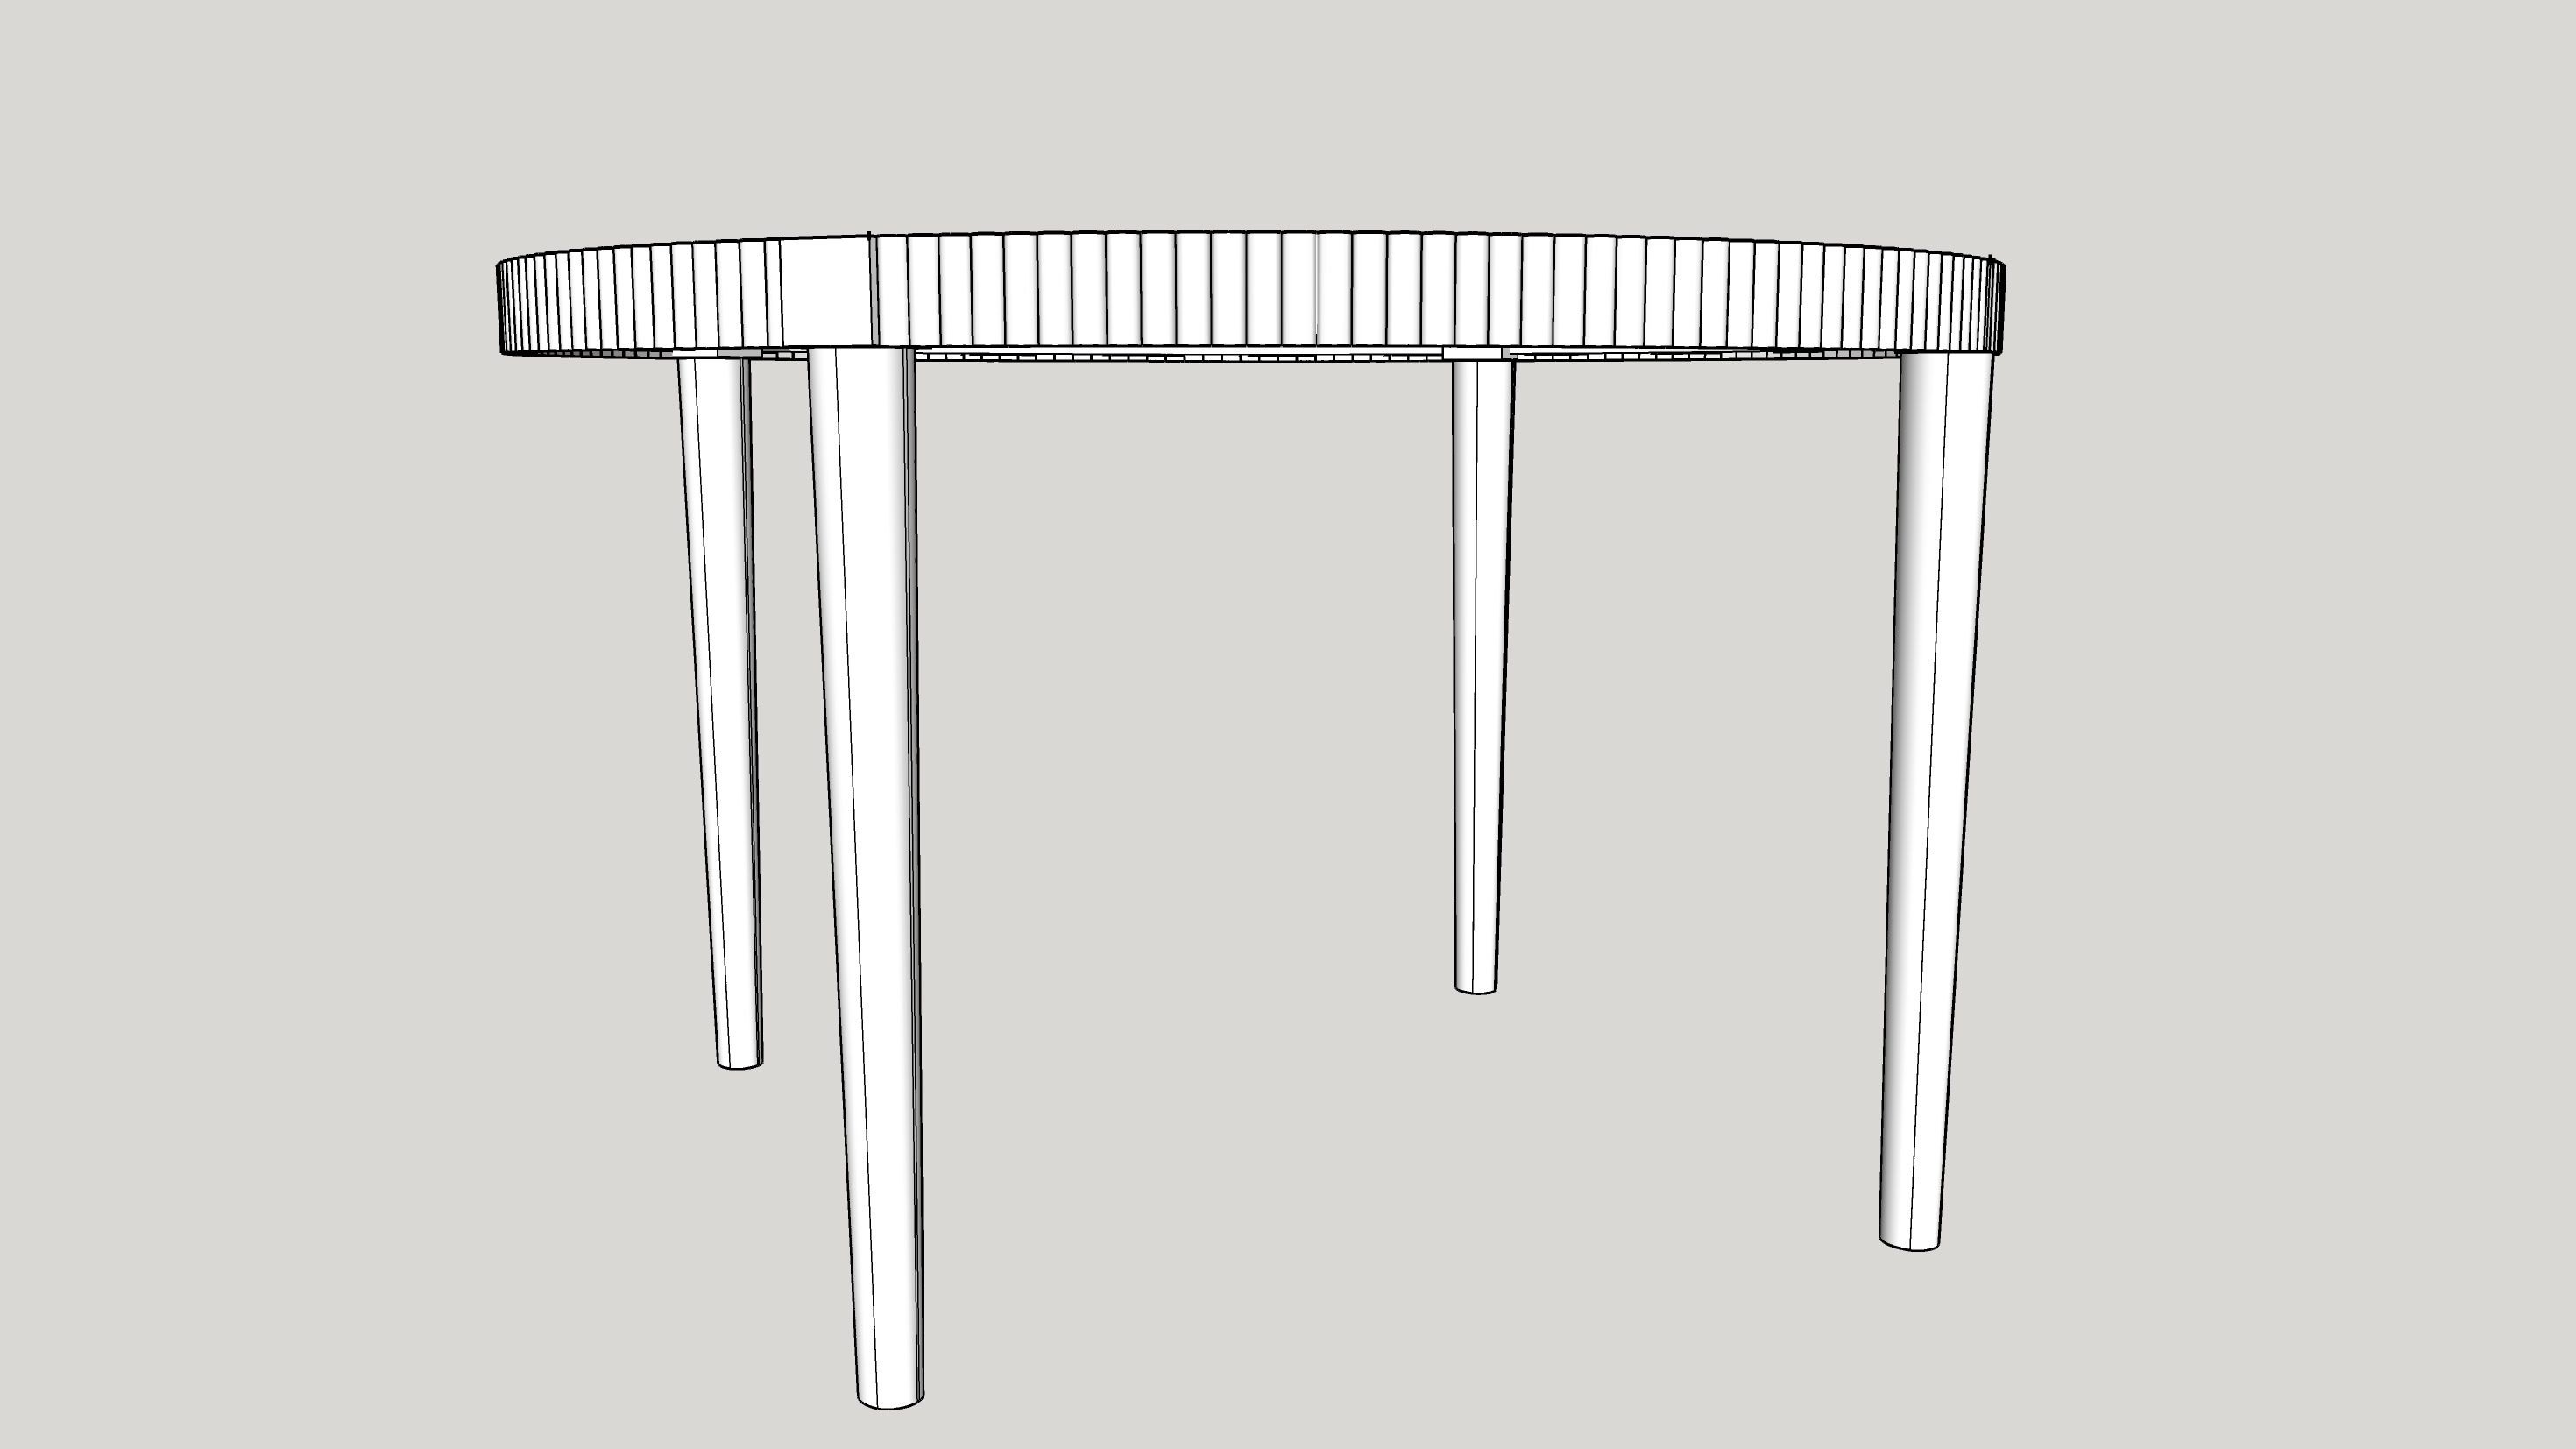
Round dining tables are timeless and this fluted round dining table is the perfect build if you're ready to up your woodworking game!
Tools
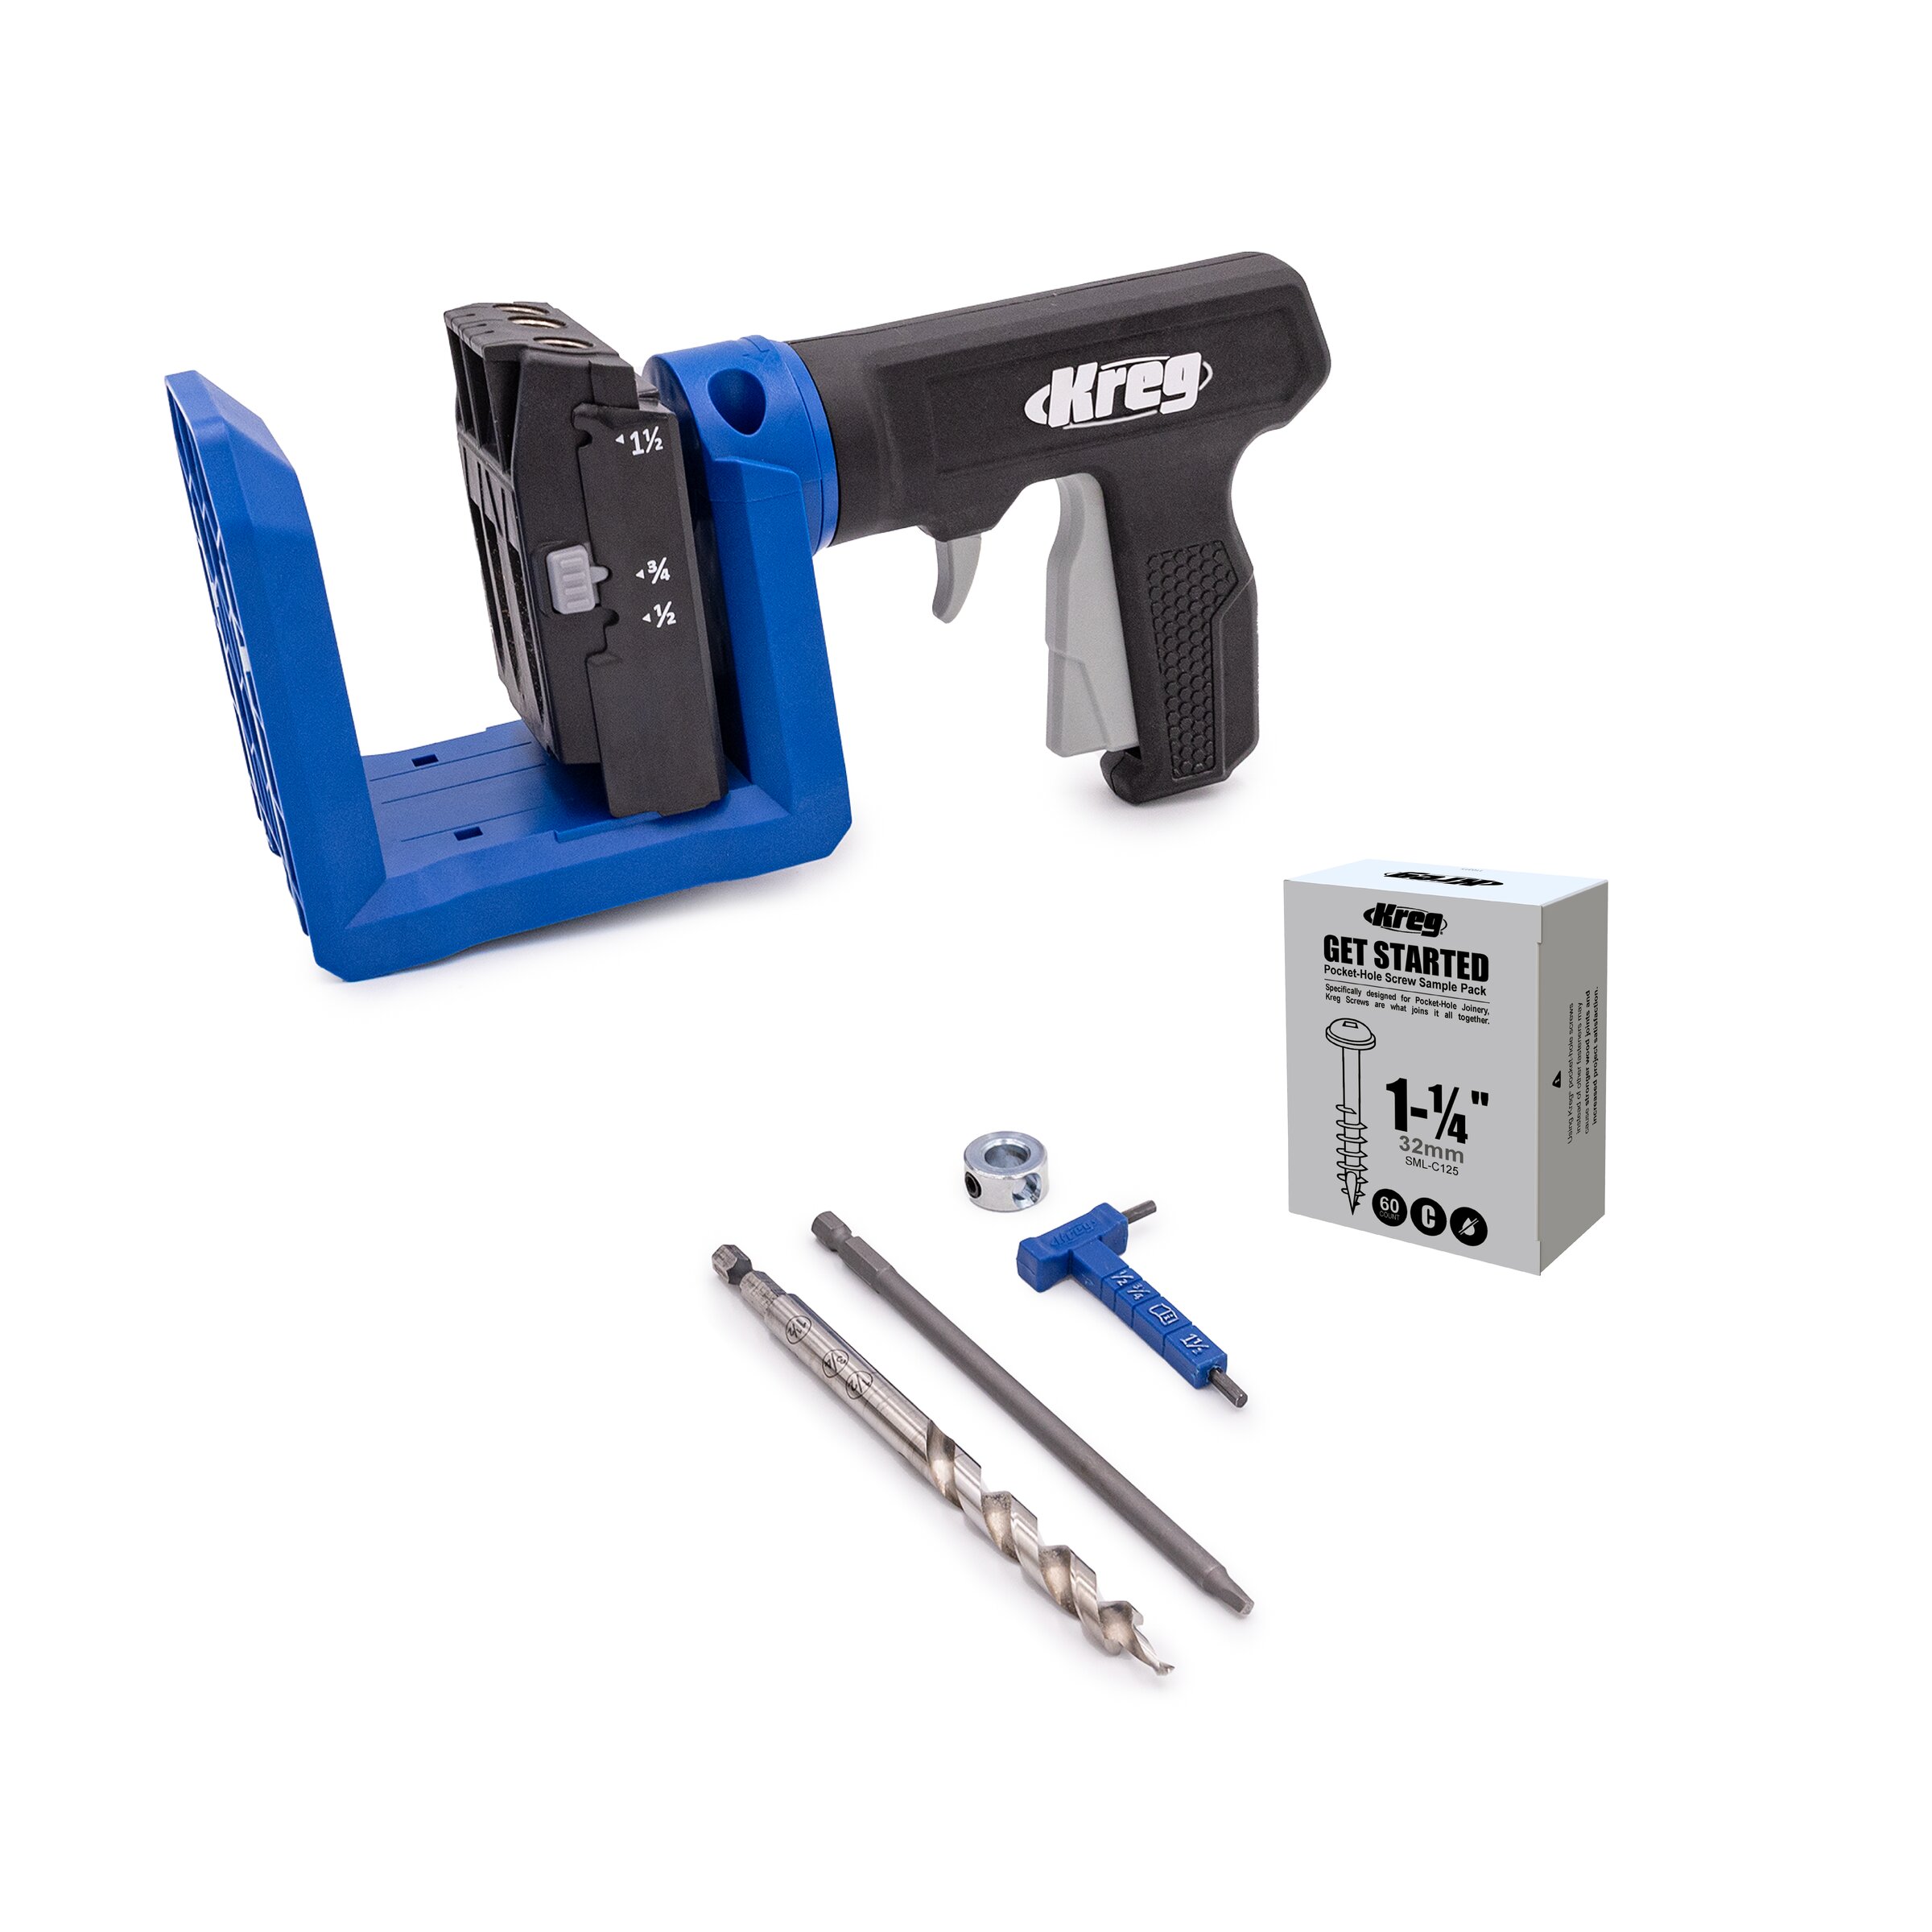
Kreg Tools


Other Tools
-
Table saw

-
Miter saw
Materials
Wood Products
- 10 Oak/White Oak , 96" L x 5" W x 1" Thick
- 4 Oak/White Oak , 29" L x 2.5" W x 2.5" Thick
- 1 Oak/White Oak , 96" L x 5" W x .75" Thick
- 3 Plywood , 48" L x 48" W x .75" Thick
- 1 Oak/White Oak , 42" L x 2.5" W x .75" Thick
- 1 Oak/White Oak , 20" L x 2.5" W x .75" Thick
Hardware & Supplies
- 1 Wood glue
- 1 1" Straight router bit
- 1 Circle Jig
- 1 Taper Jig
- 1 3/8" Roundover bit
- 1 Optional: 1.25" roundover bit to roundover legs
- 1 Sandpaper
- 1 Flush trim bit with bearing
- 1 CA glue and activator
Directions
-
1
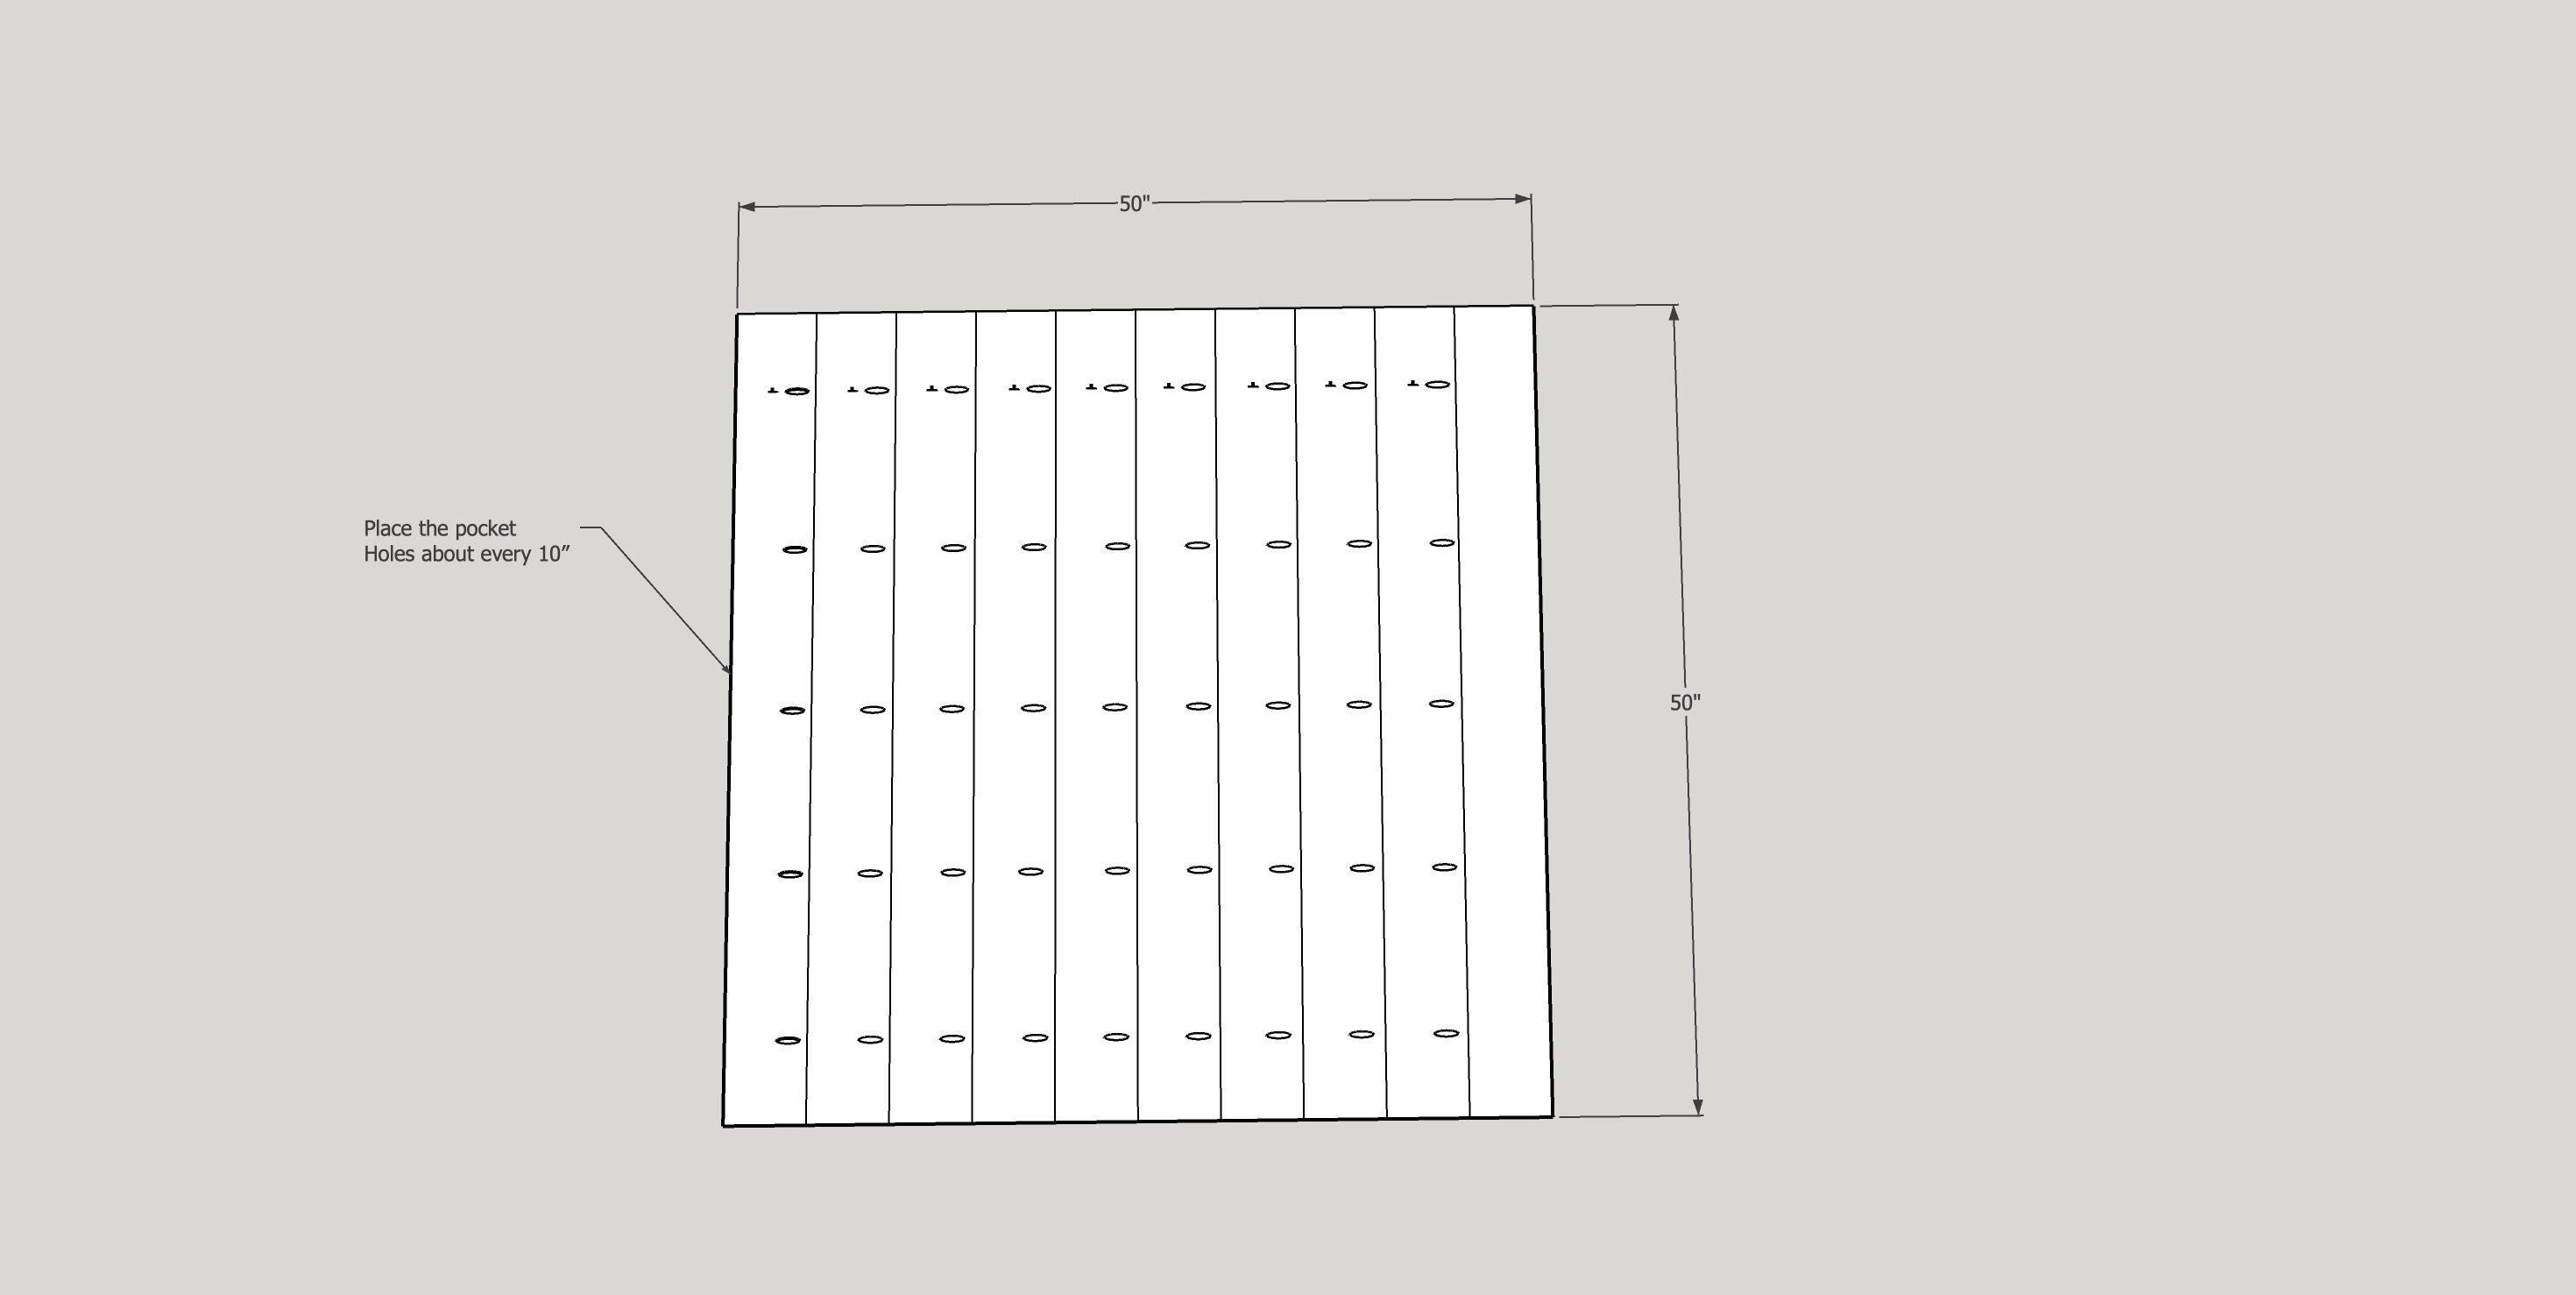
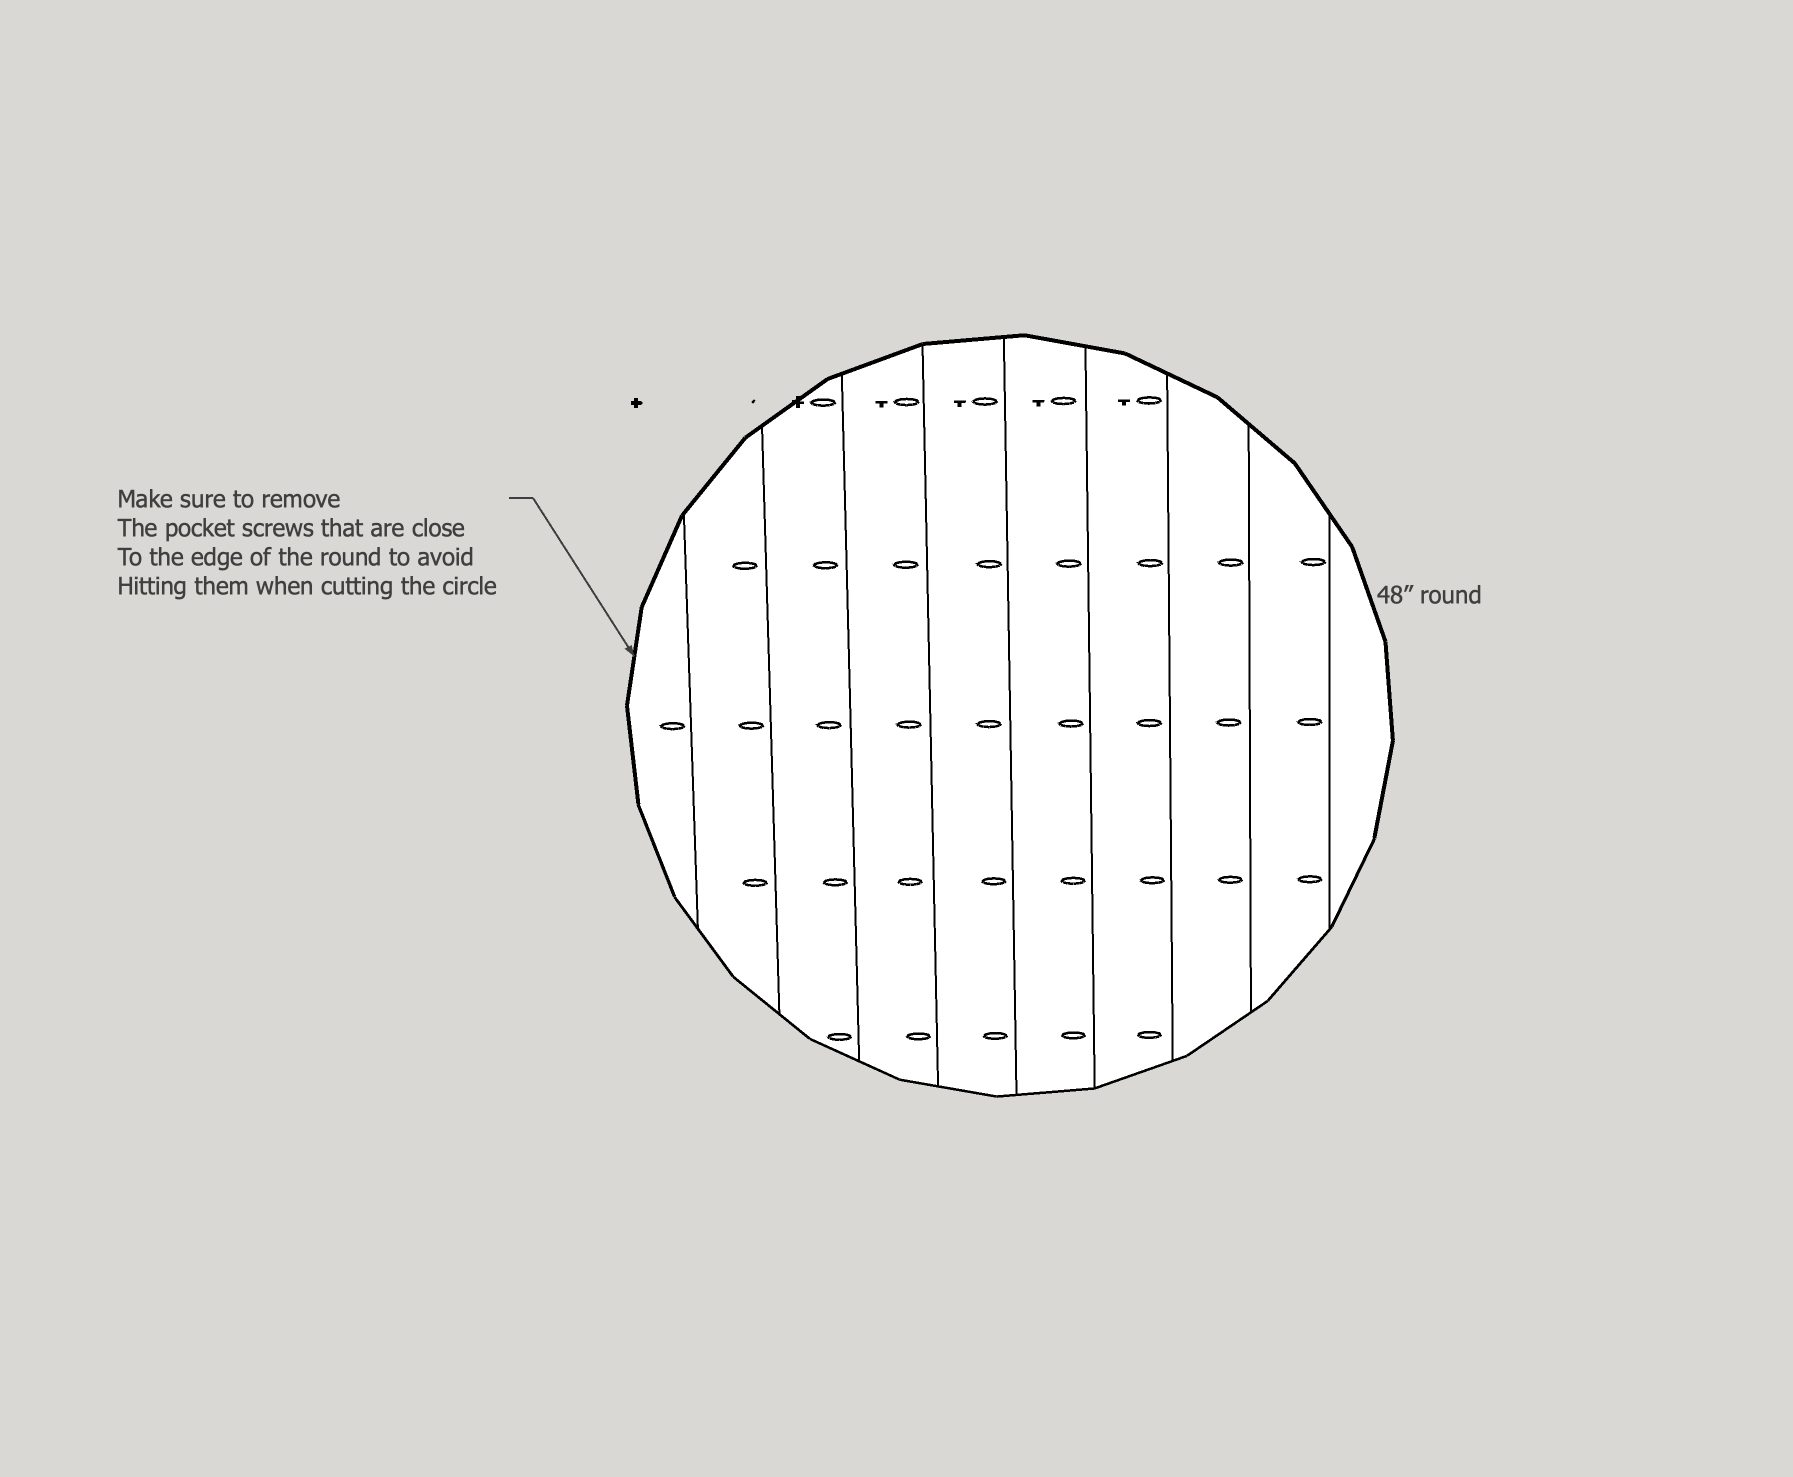
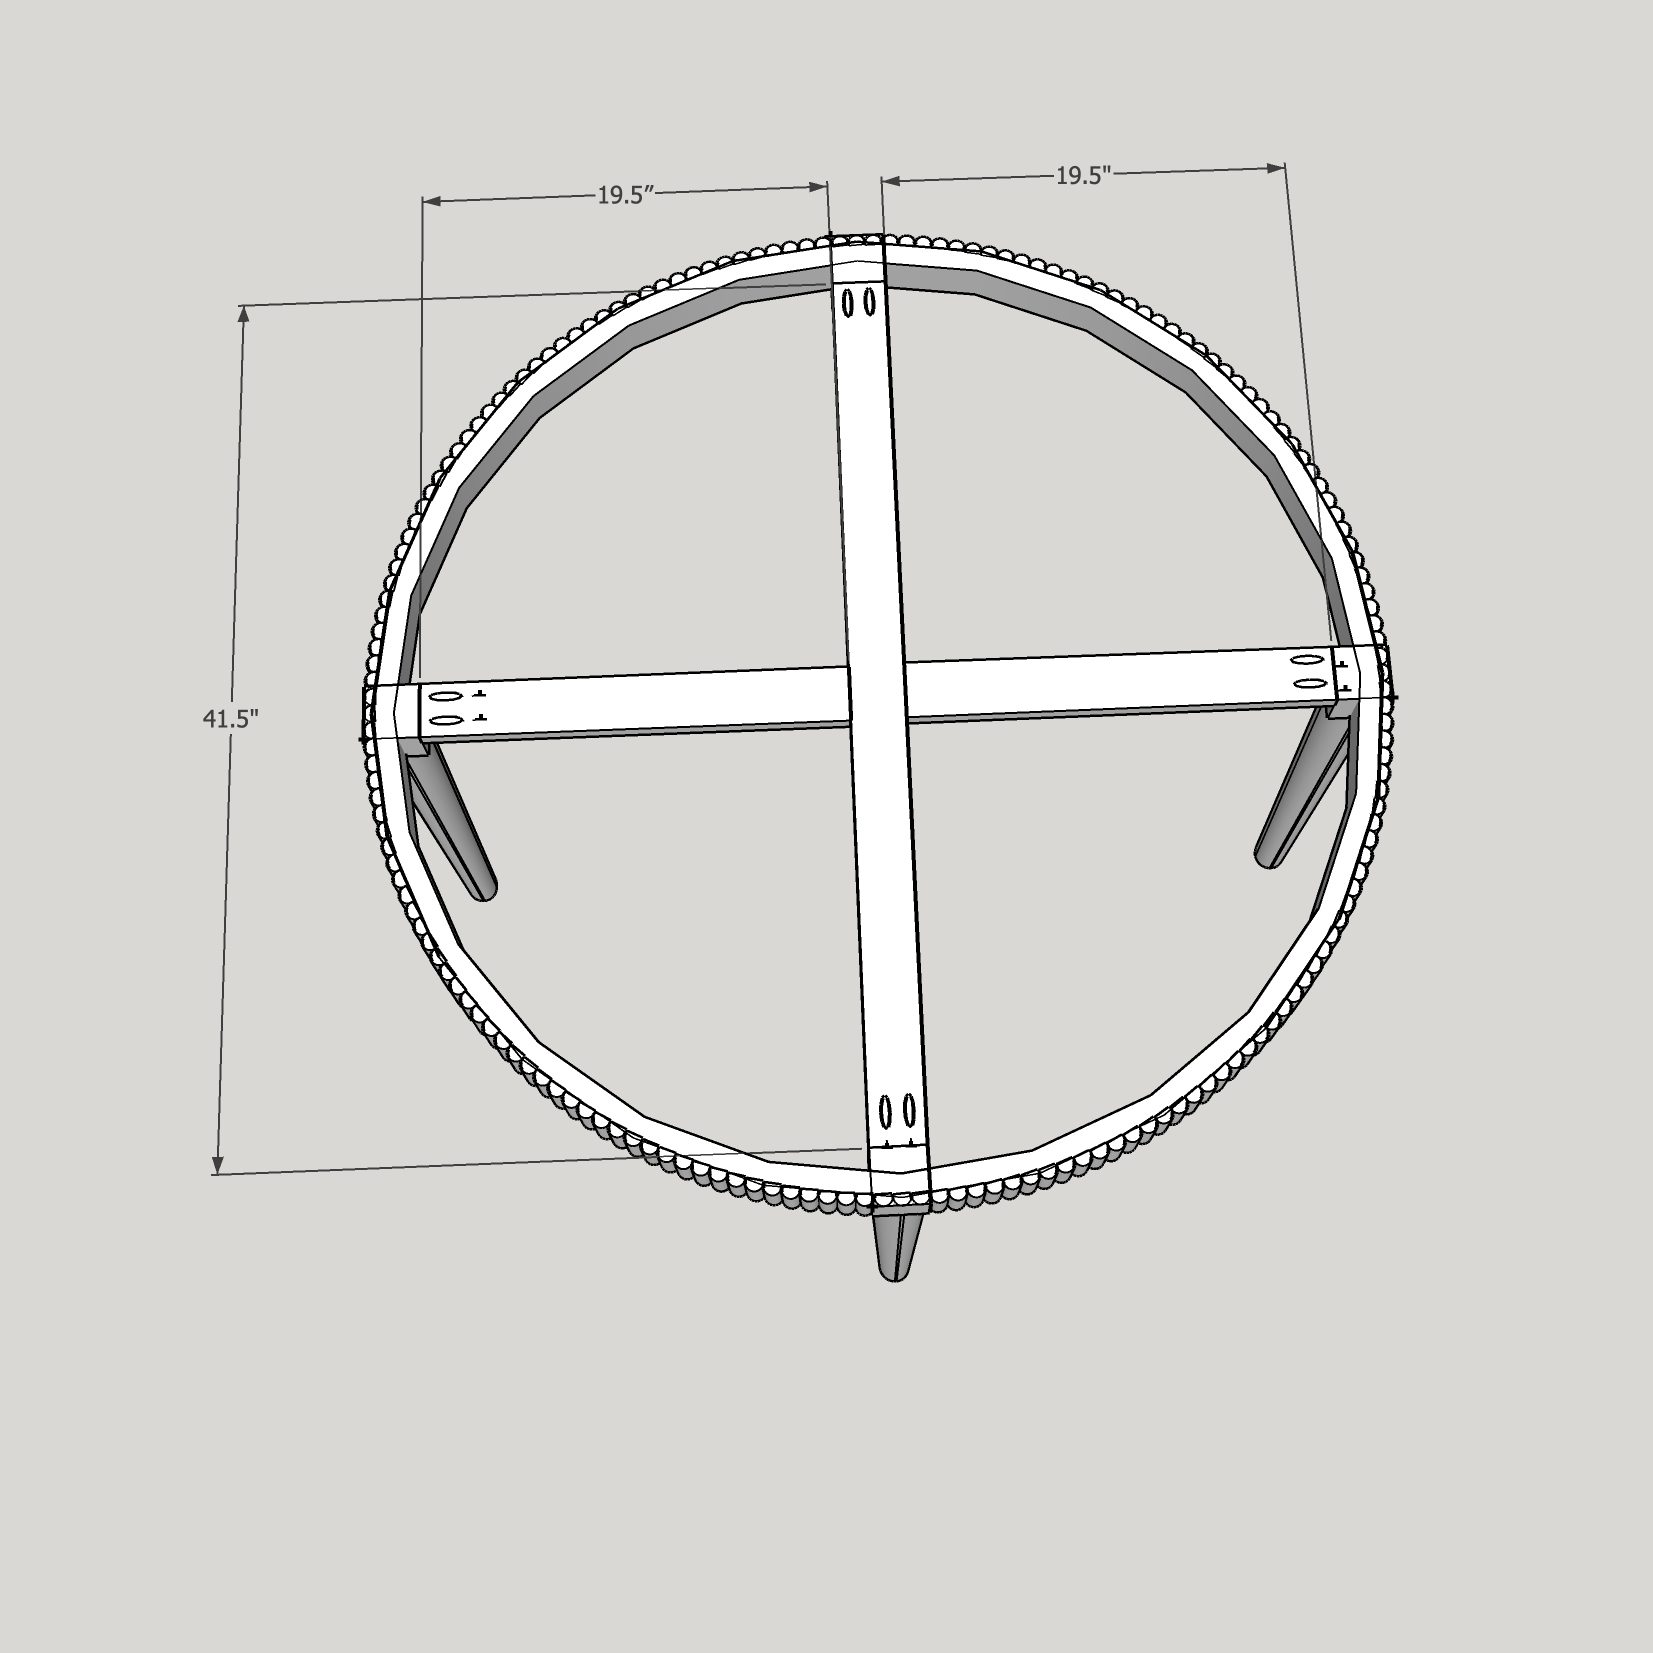
Glue up the table top using pocket screws according to the dimensions above. Use 1 1/2" pocket screws and wood glue.
-
2
Using a circle jig with a plunge router and a 1" straight router bit, cut the circle out for the table top.
Before you cut, make sure there are no pocket screws in the way of where you are going to cut. If there are, just remove the screws that will be in the way.
Tip: Make shallow passes. Don't try to cut the circle all at once. It should take a couple of passes before you fully cut through the table top.
-
3
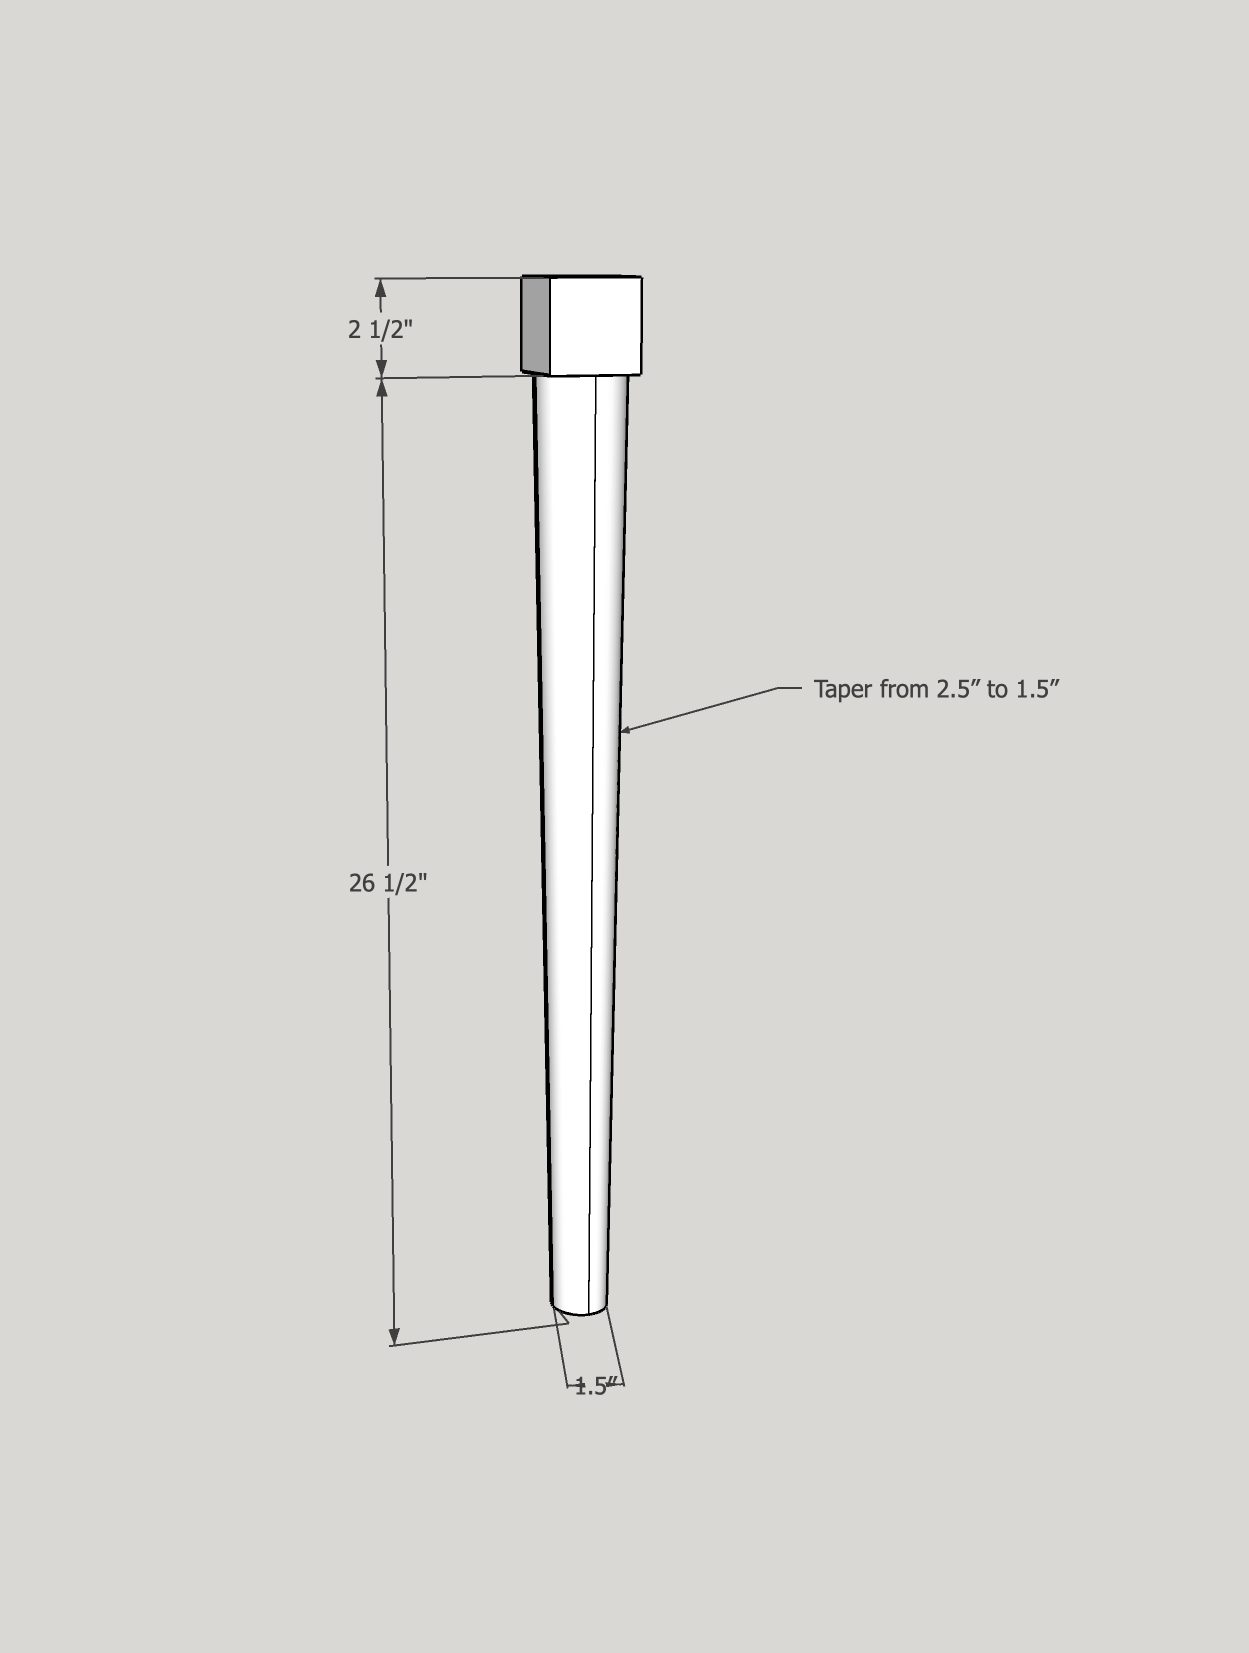
Cut, taper and roundover the legs.
Start the taper 2.5" down from the top of the leg. The taper should end at 1.5" on all 4 sides.
It is completely optional to taper the legs and round them over.
-
4
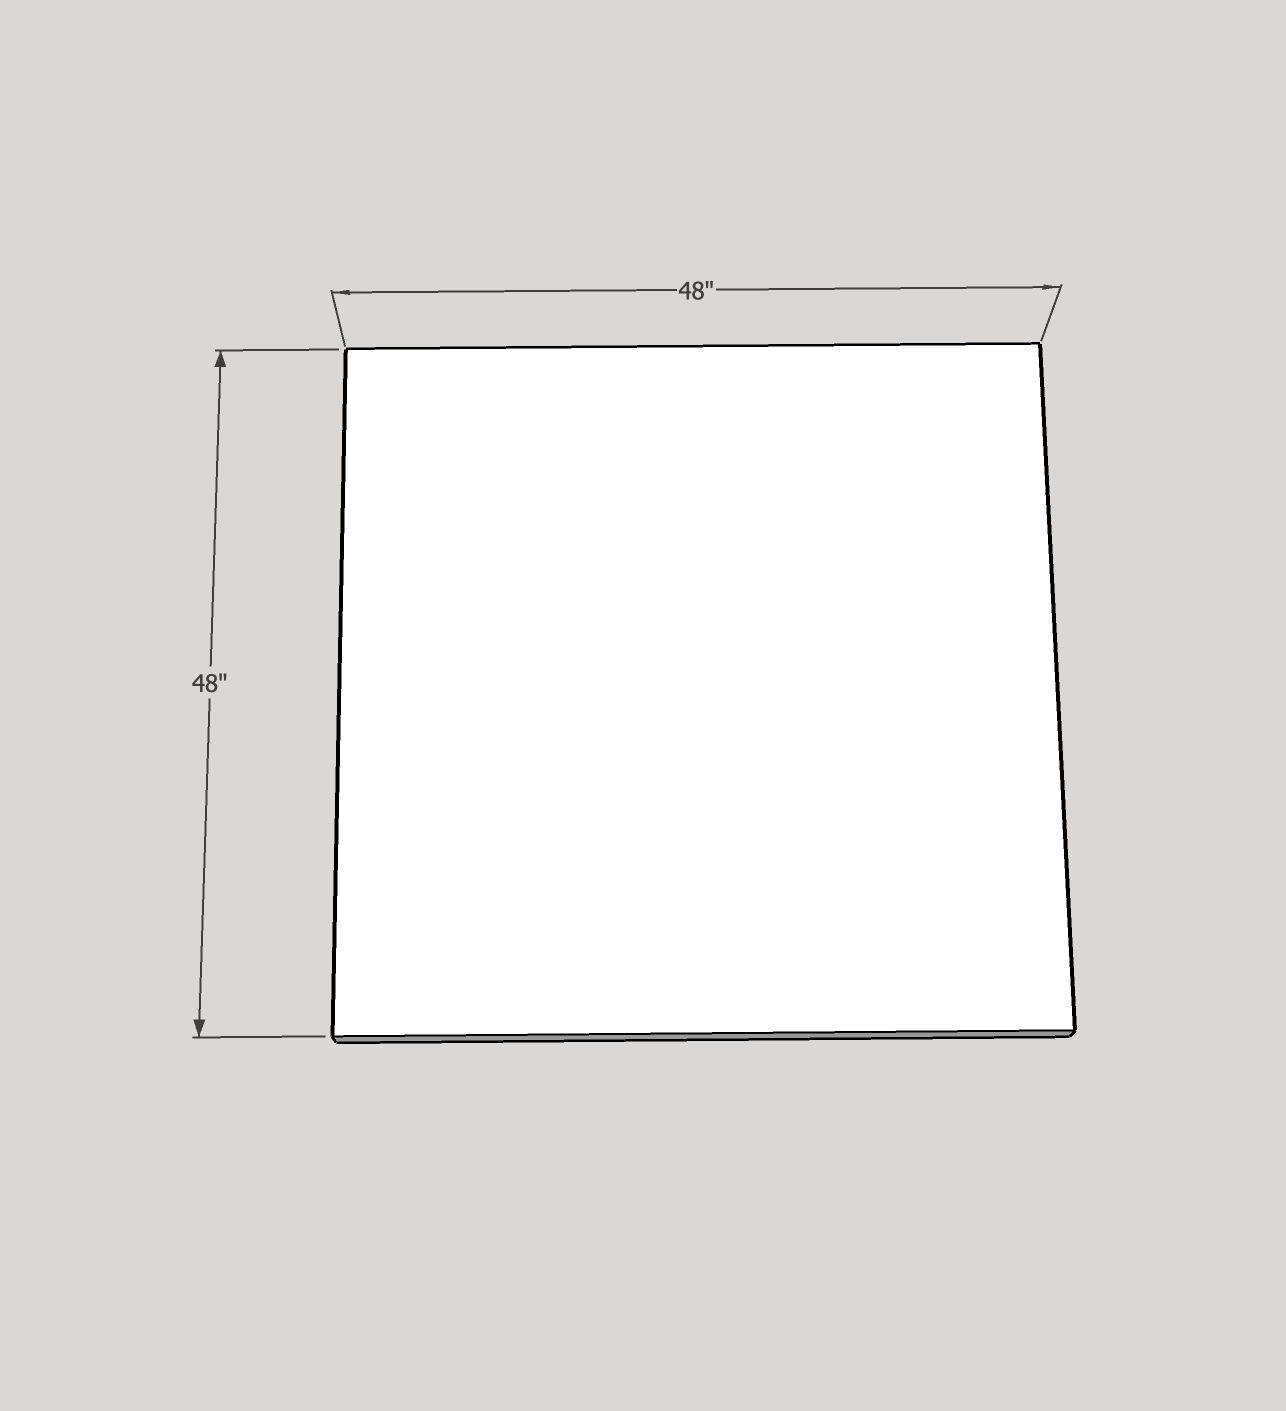
Glue the 3 pieces of 48" x 48" plywood together.
I recommend leaving it to dry for 24 hours.
-
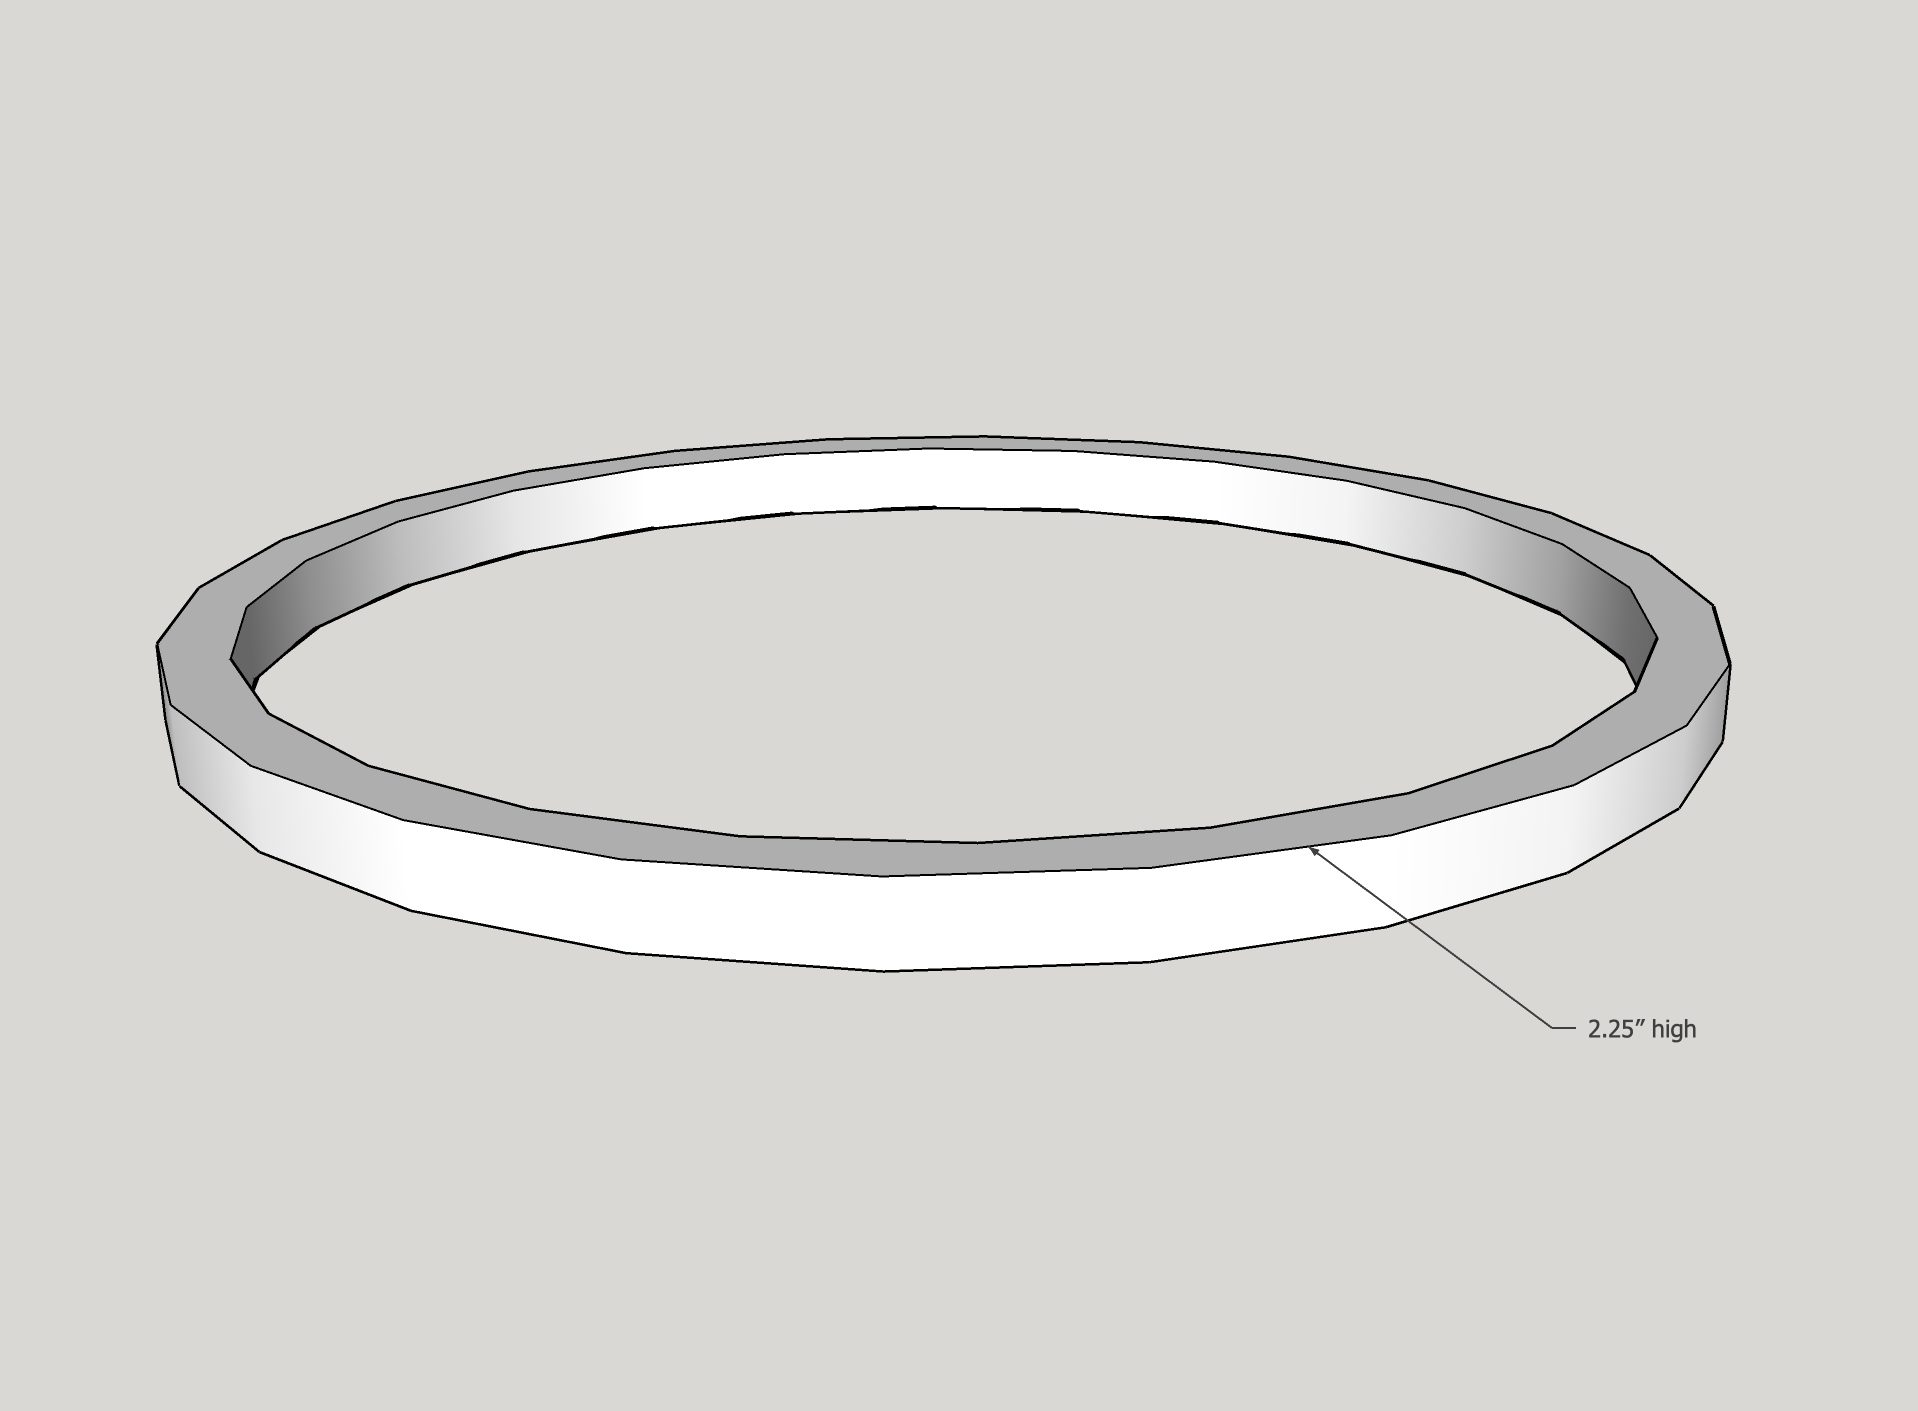
5
Find the exact center of the stack of plywood.
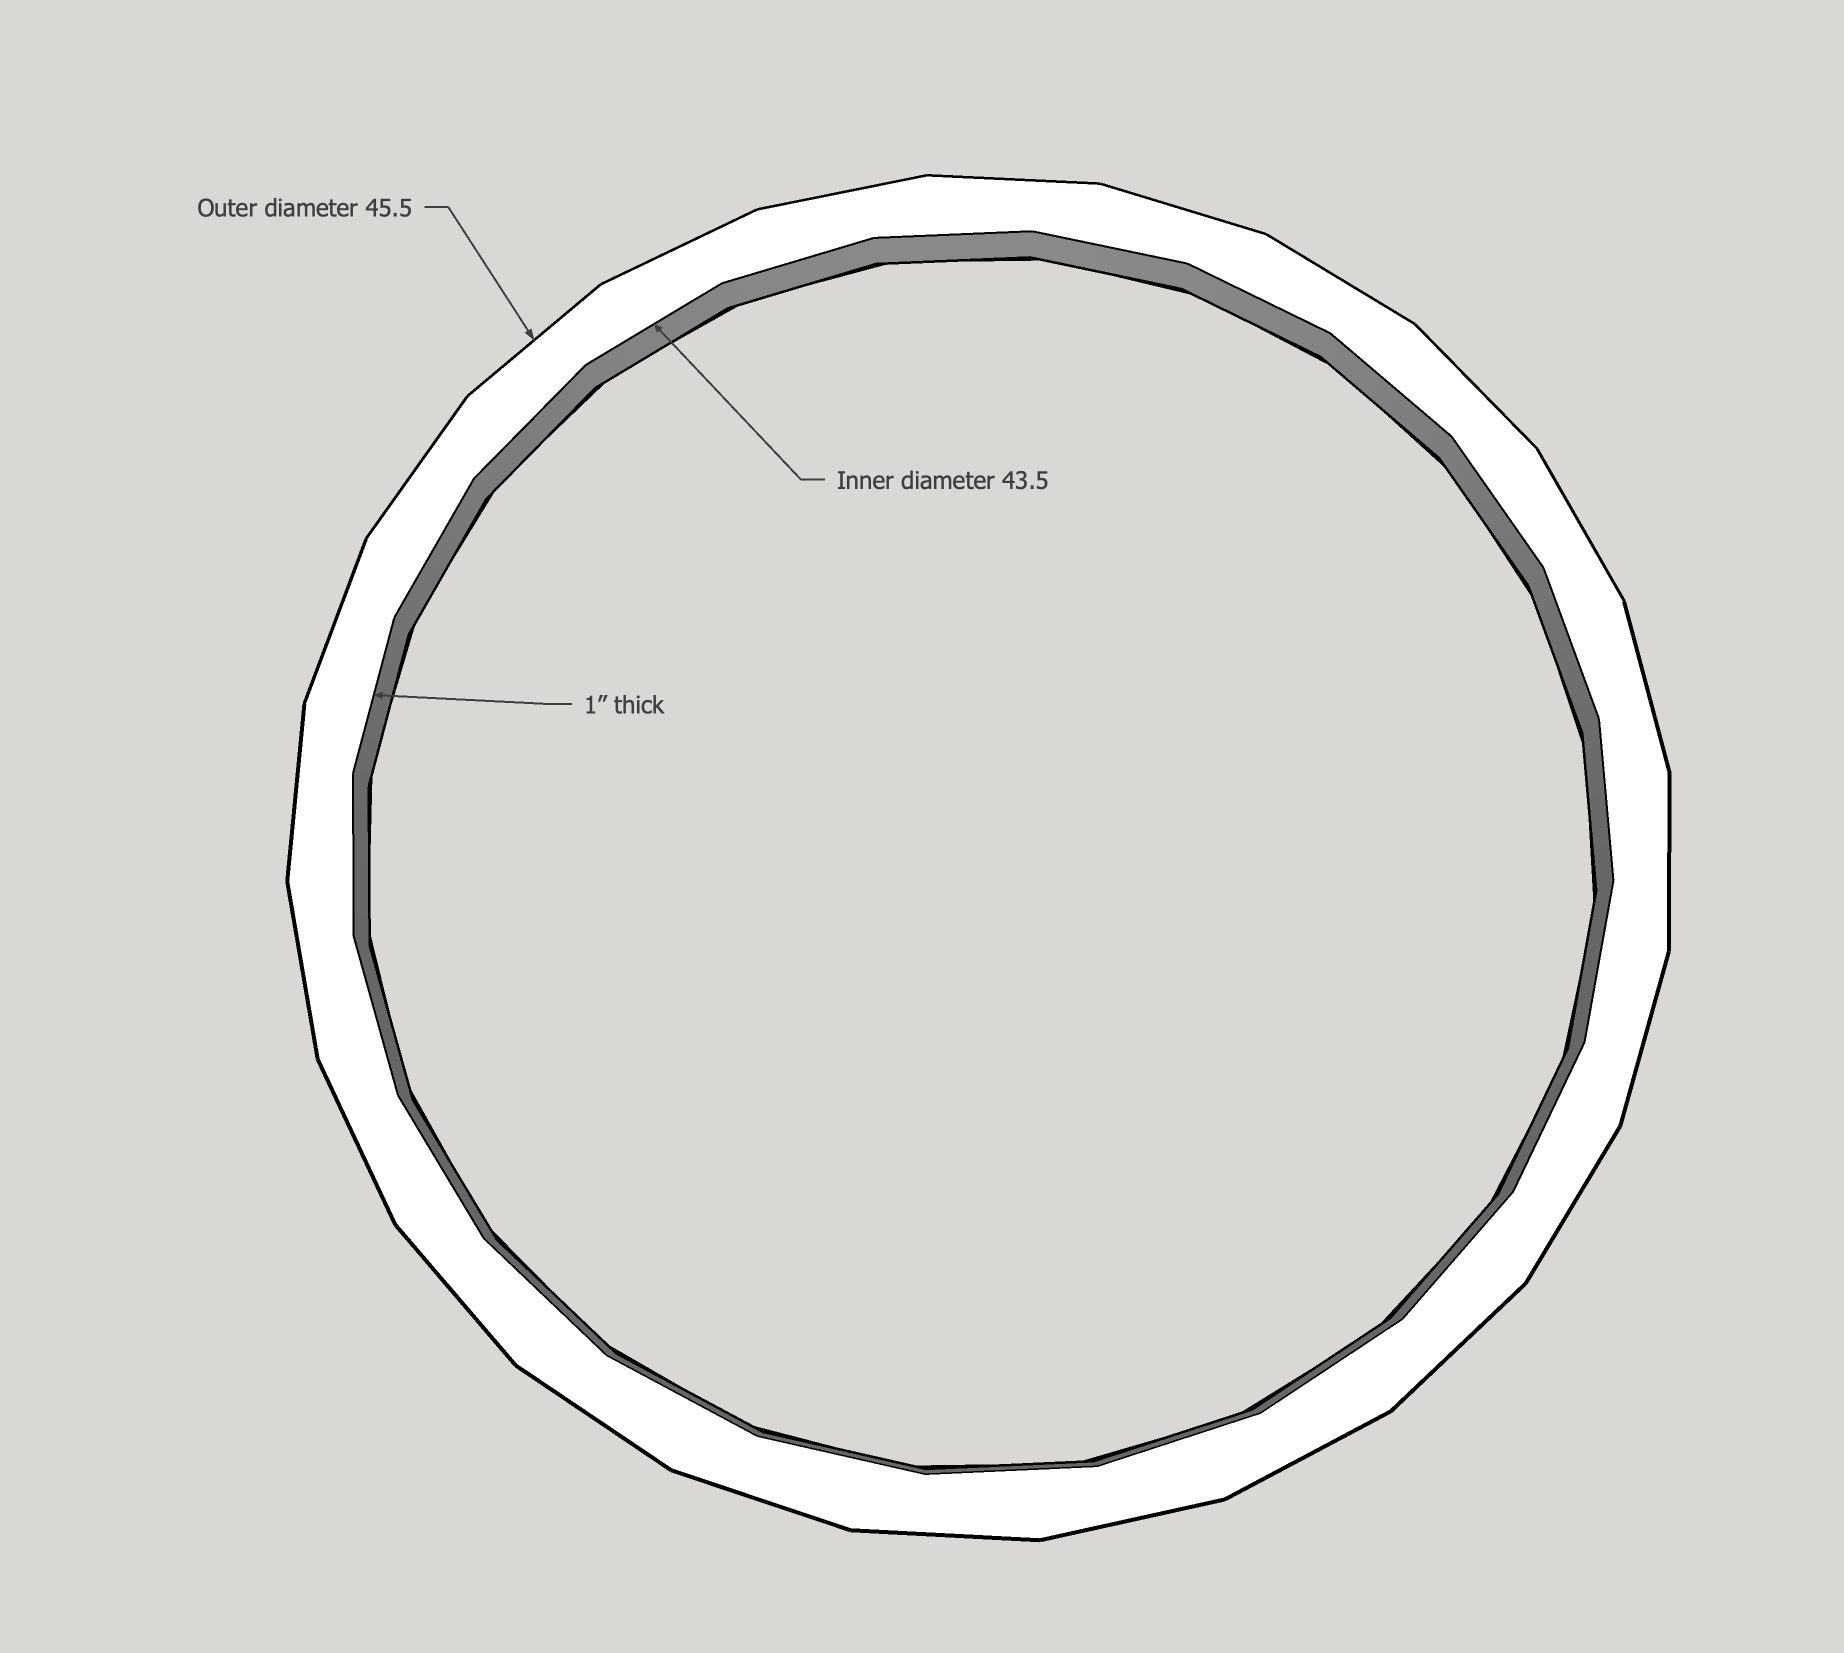
Using your circle jig, router and 1" straight bit, cut the outer ring for the apron first. The diameter should be 45.5".
Your router won't cut all the way through just yet, but don't worry! Just route as deep as you can, taking shallow passes each time.
-
6
Adjust your circle jig so it is 1" less than the outer circle you just cut.
The diameter of the inside circle should be 43.5".
Cut the circle using shallow passes. Remember it wont go all the way through just yet.
-
7
Use a jigsaw to cut out the remainder of the material keeping both circles intact.
Tip: flip your jigsaw upside down, so you can clearly see where the blade is cutting.
Then use a router with a flush trim bit to flush the part where you cut with the jigsaw up to the part that you cut with the router so its super smooth.
-
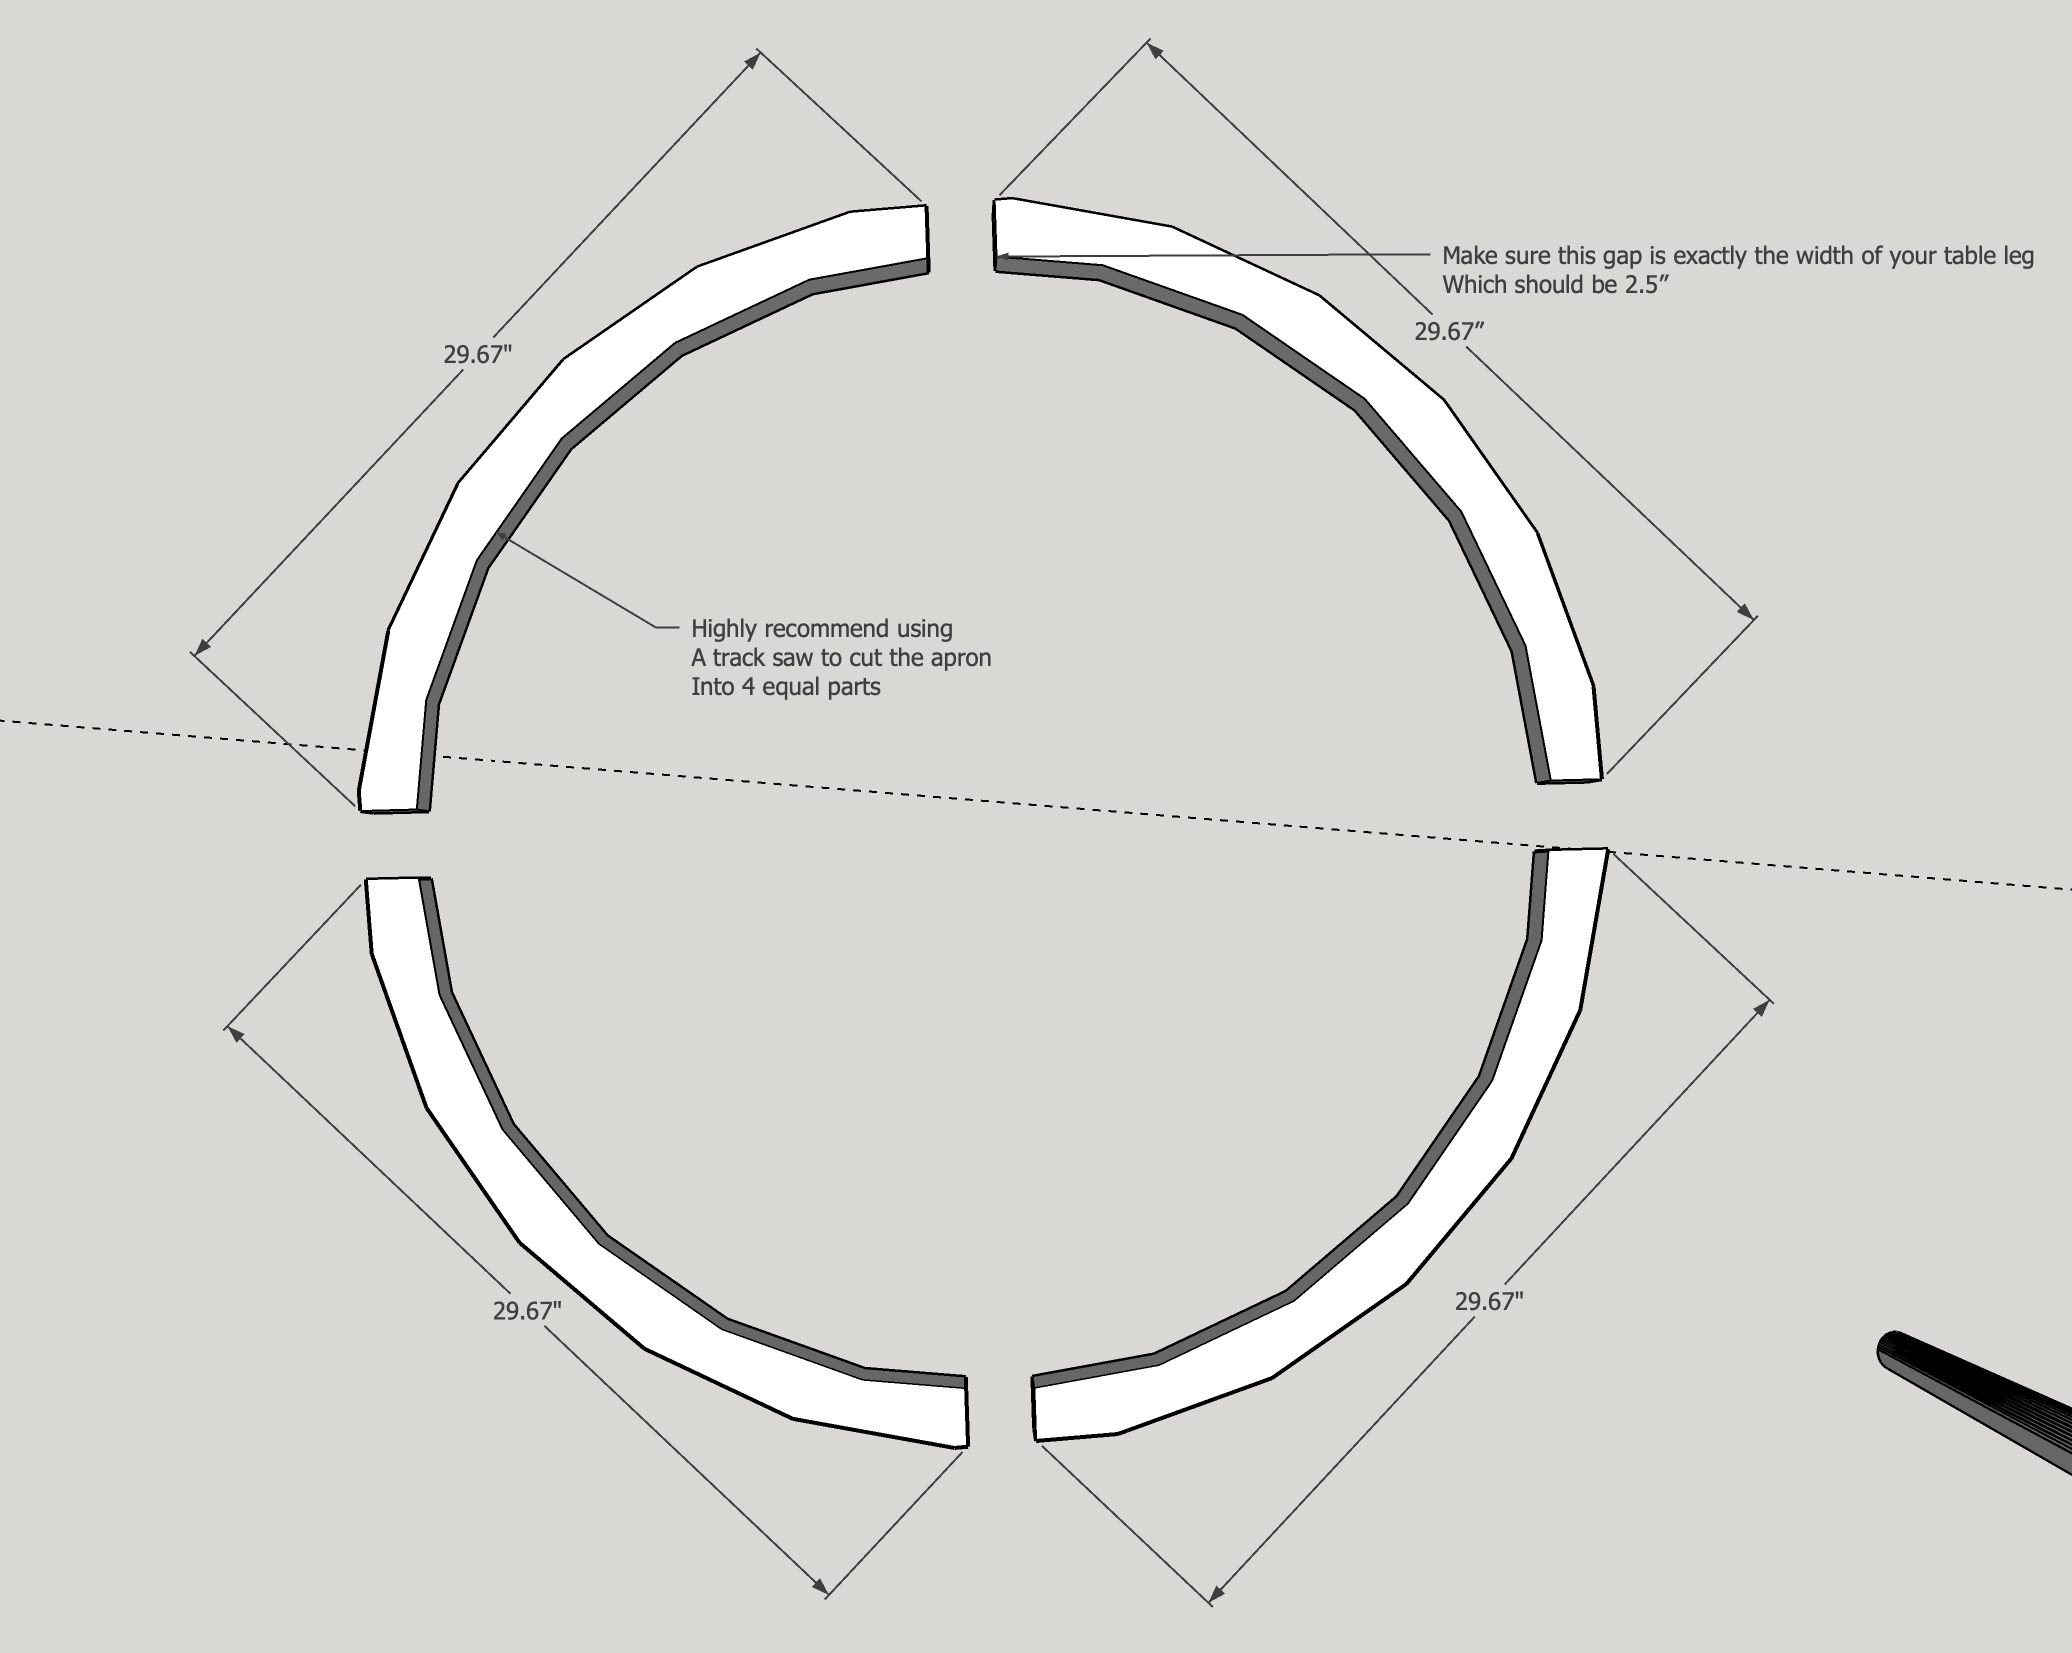
8
Cut the apron into 4 equal parts as shown in the picture.
I recommend using either a circular saw with the Kreg Accu-cut or a track saw.
Make sure you are removing 2.5" of material from each side to accomodate the legs, since they are 2.5" wide.
-
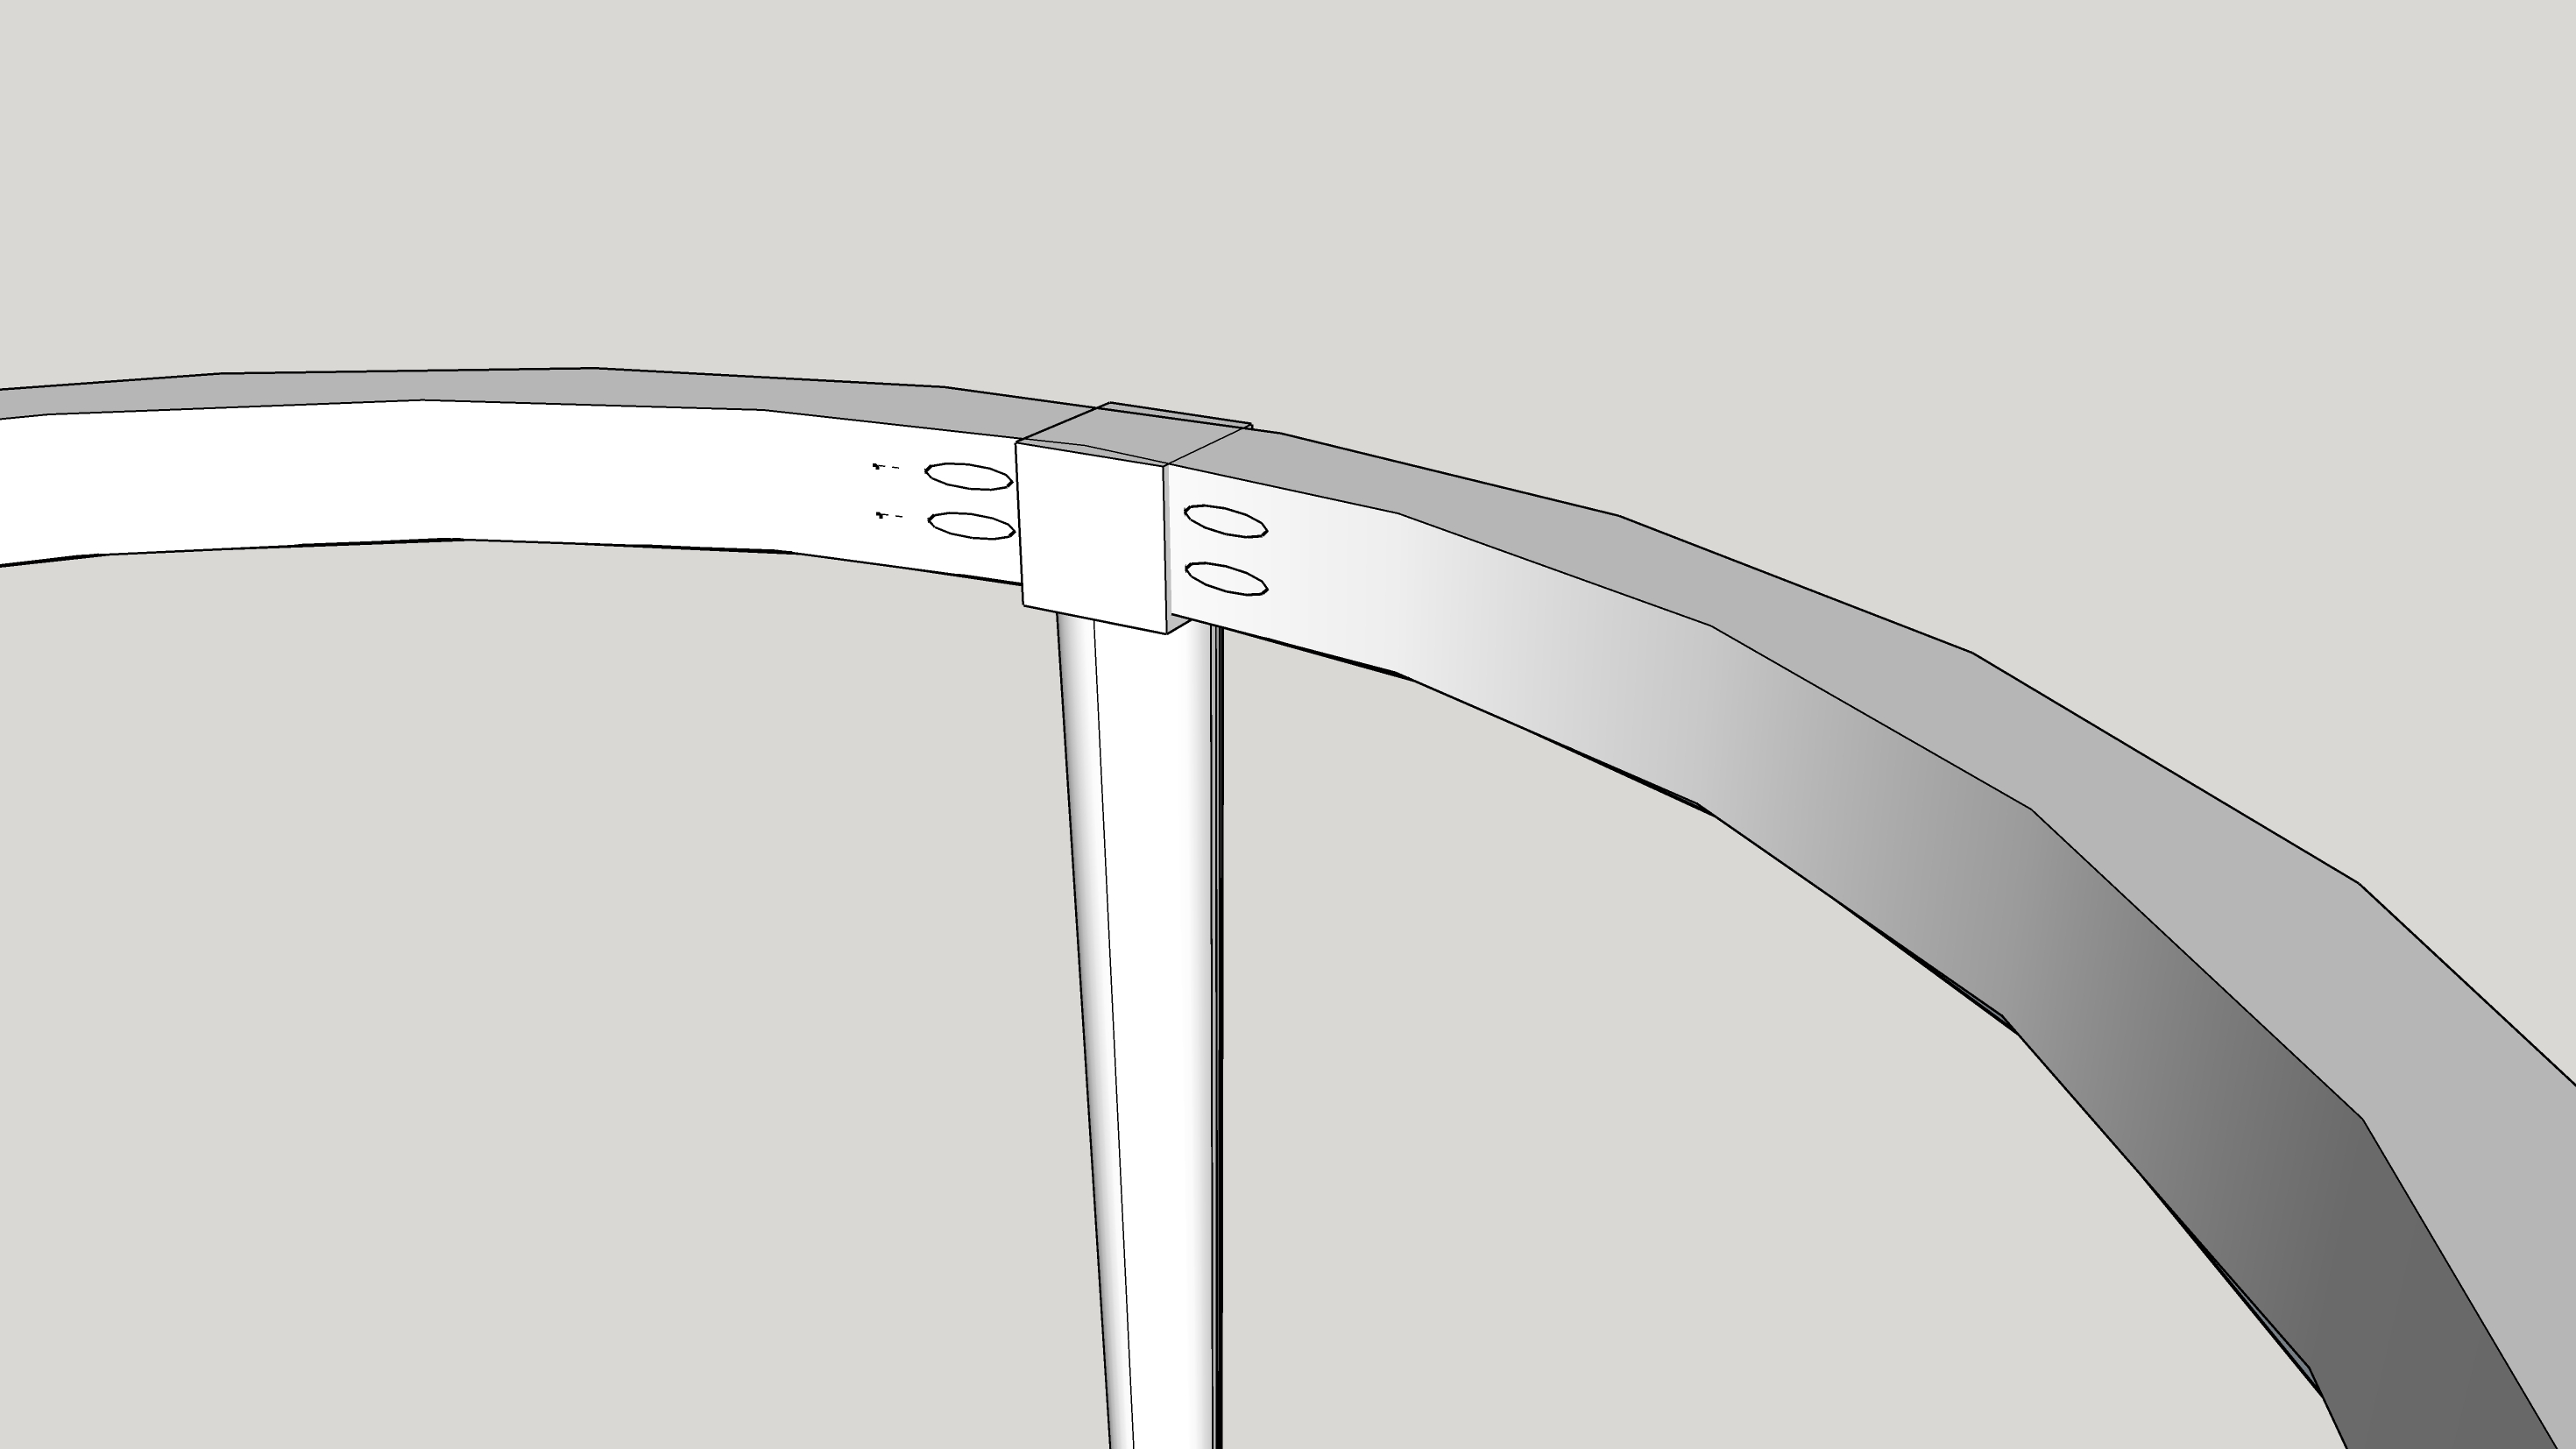
9
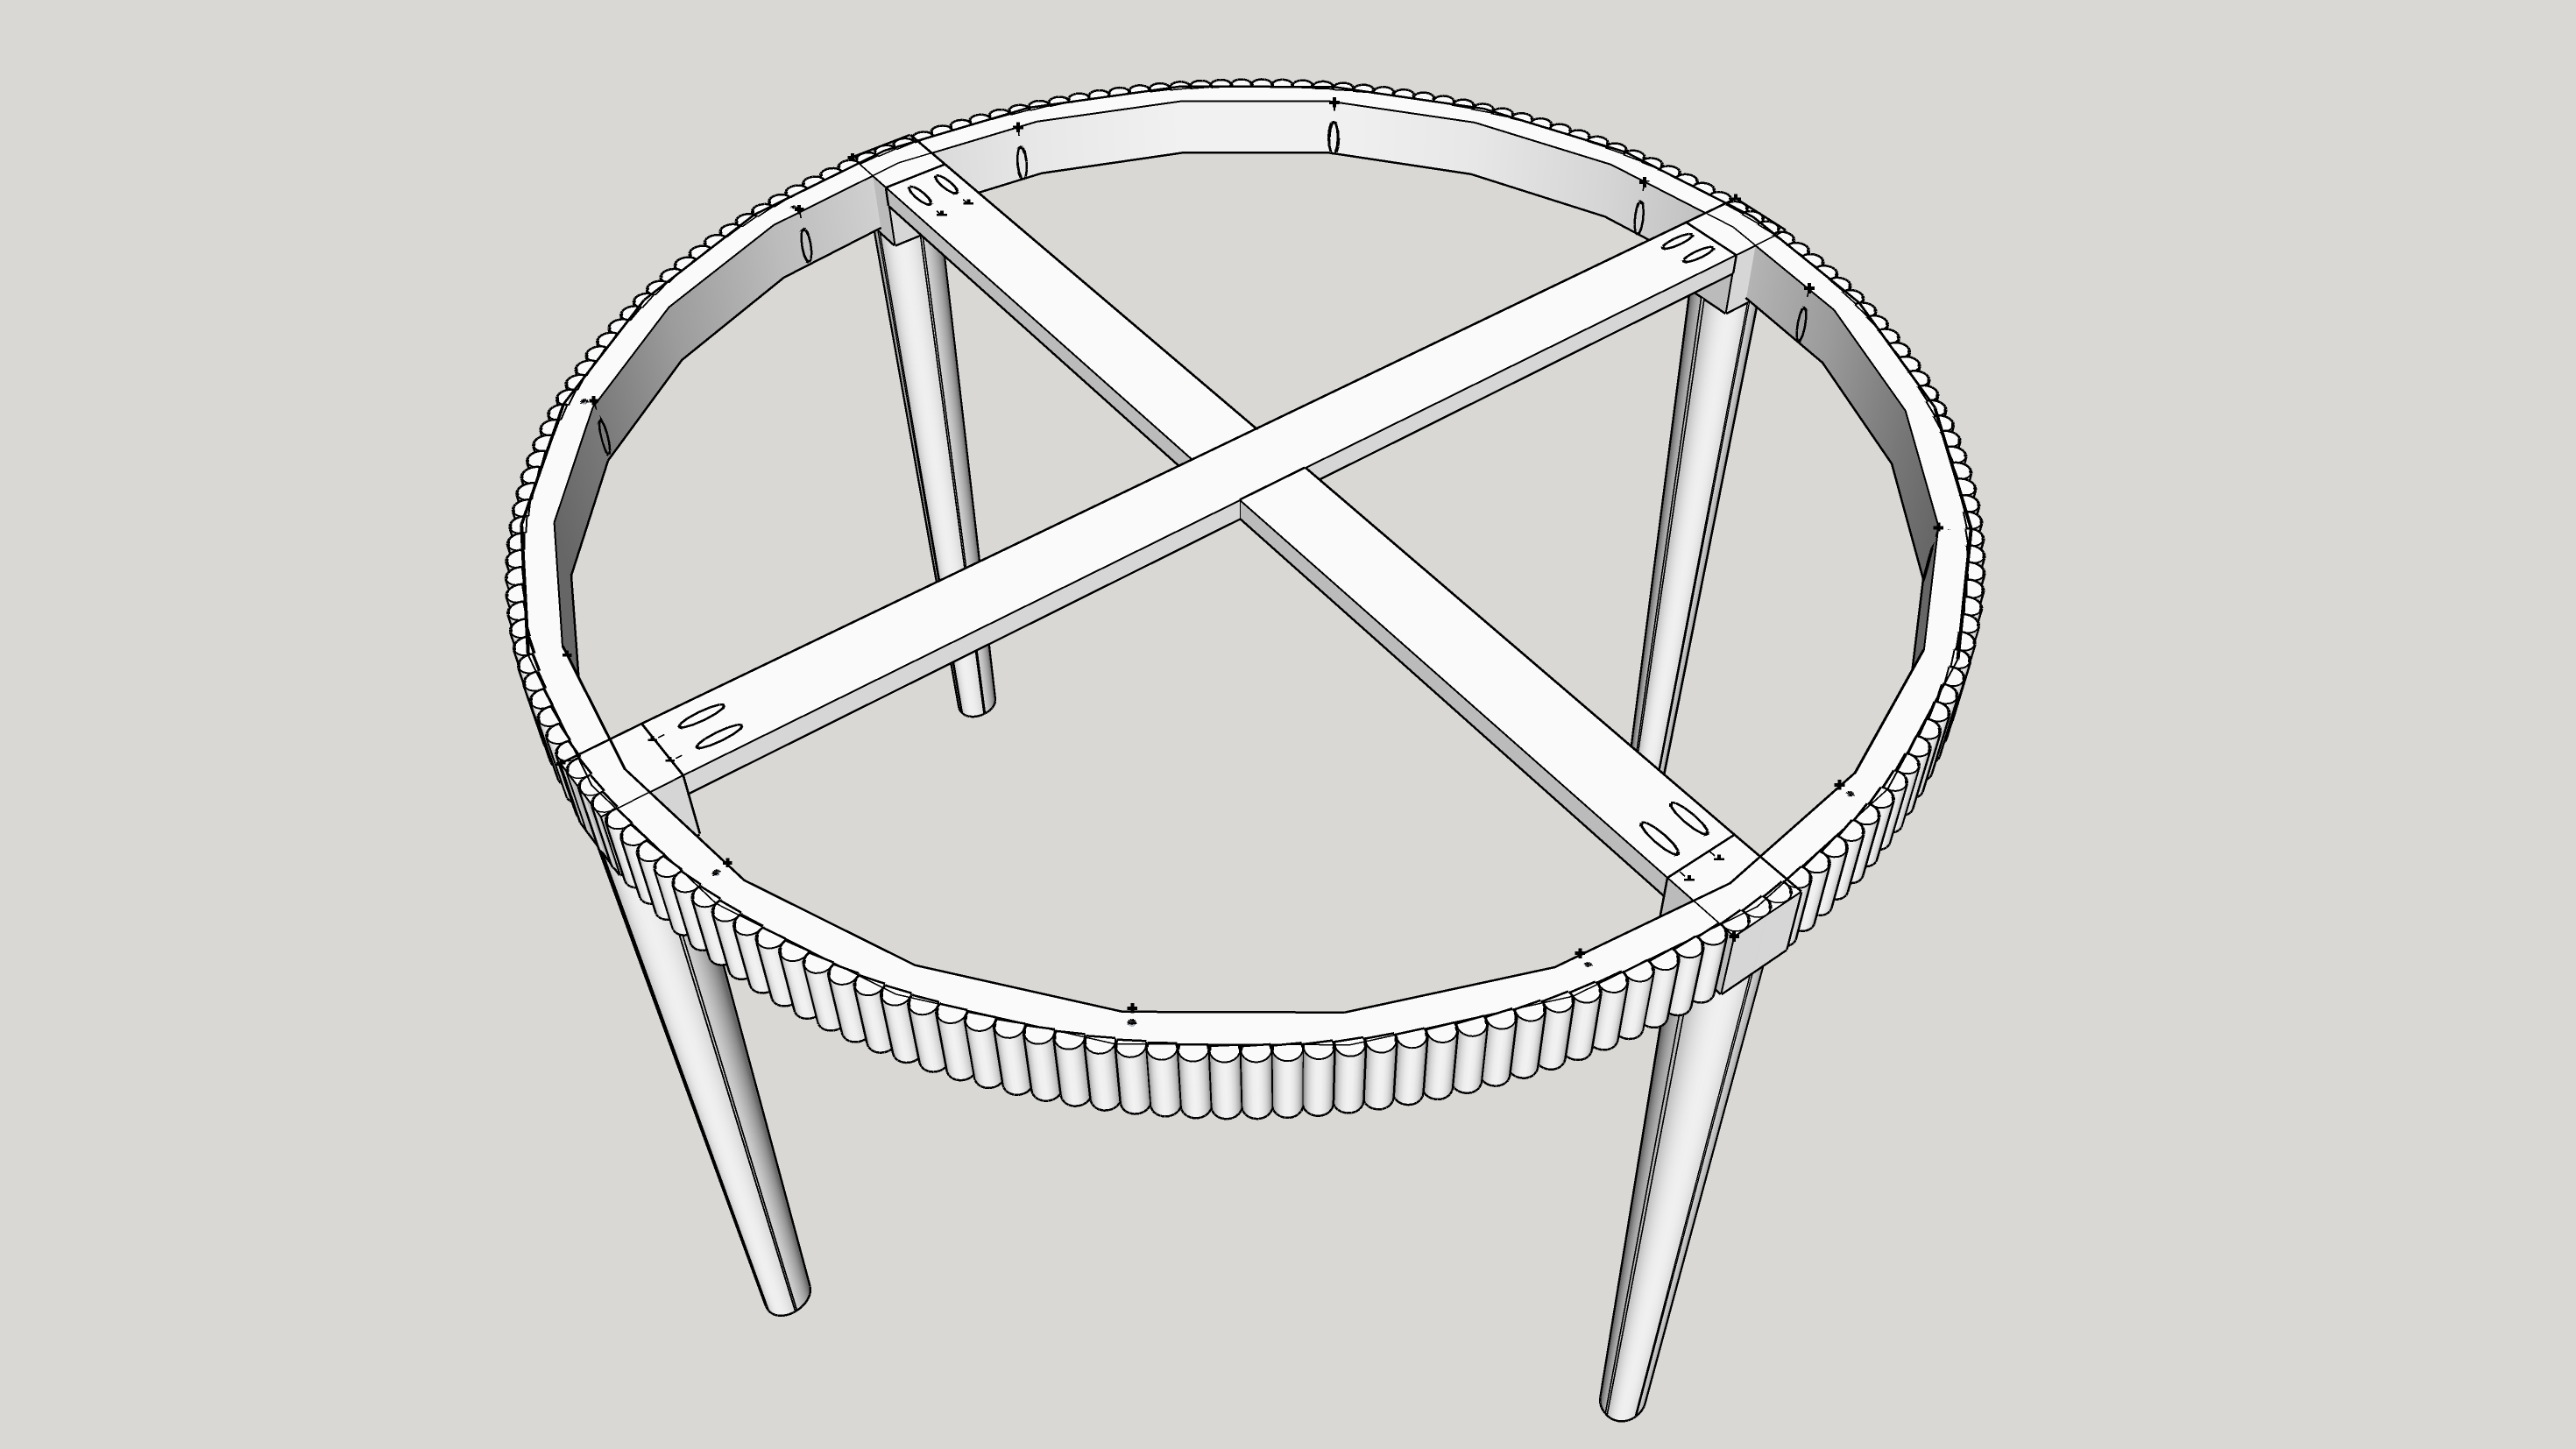
Using 1 1/2" pocket screws and wood glue, attach the apron on both side to the legs as shown in the picture.
Make sure the leg protrudes 1/2" on the outside of the apron to leave room for the fluting.
-
10
Using a router or router table and a 3/8" roundover bit, route the top and bottom of the edges of the 3/4" thick piece of wood.
After you route the edge cut the edge off with a table saw set to 1/2".
Repeat until you have enough for the fluting.Cut that piece to 1/2" on the table saw.
-
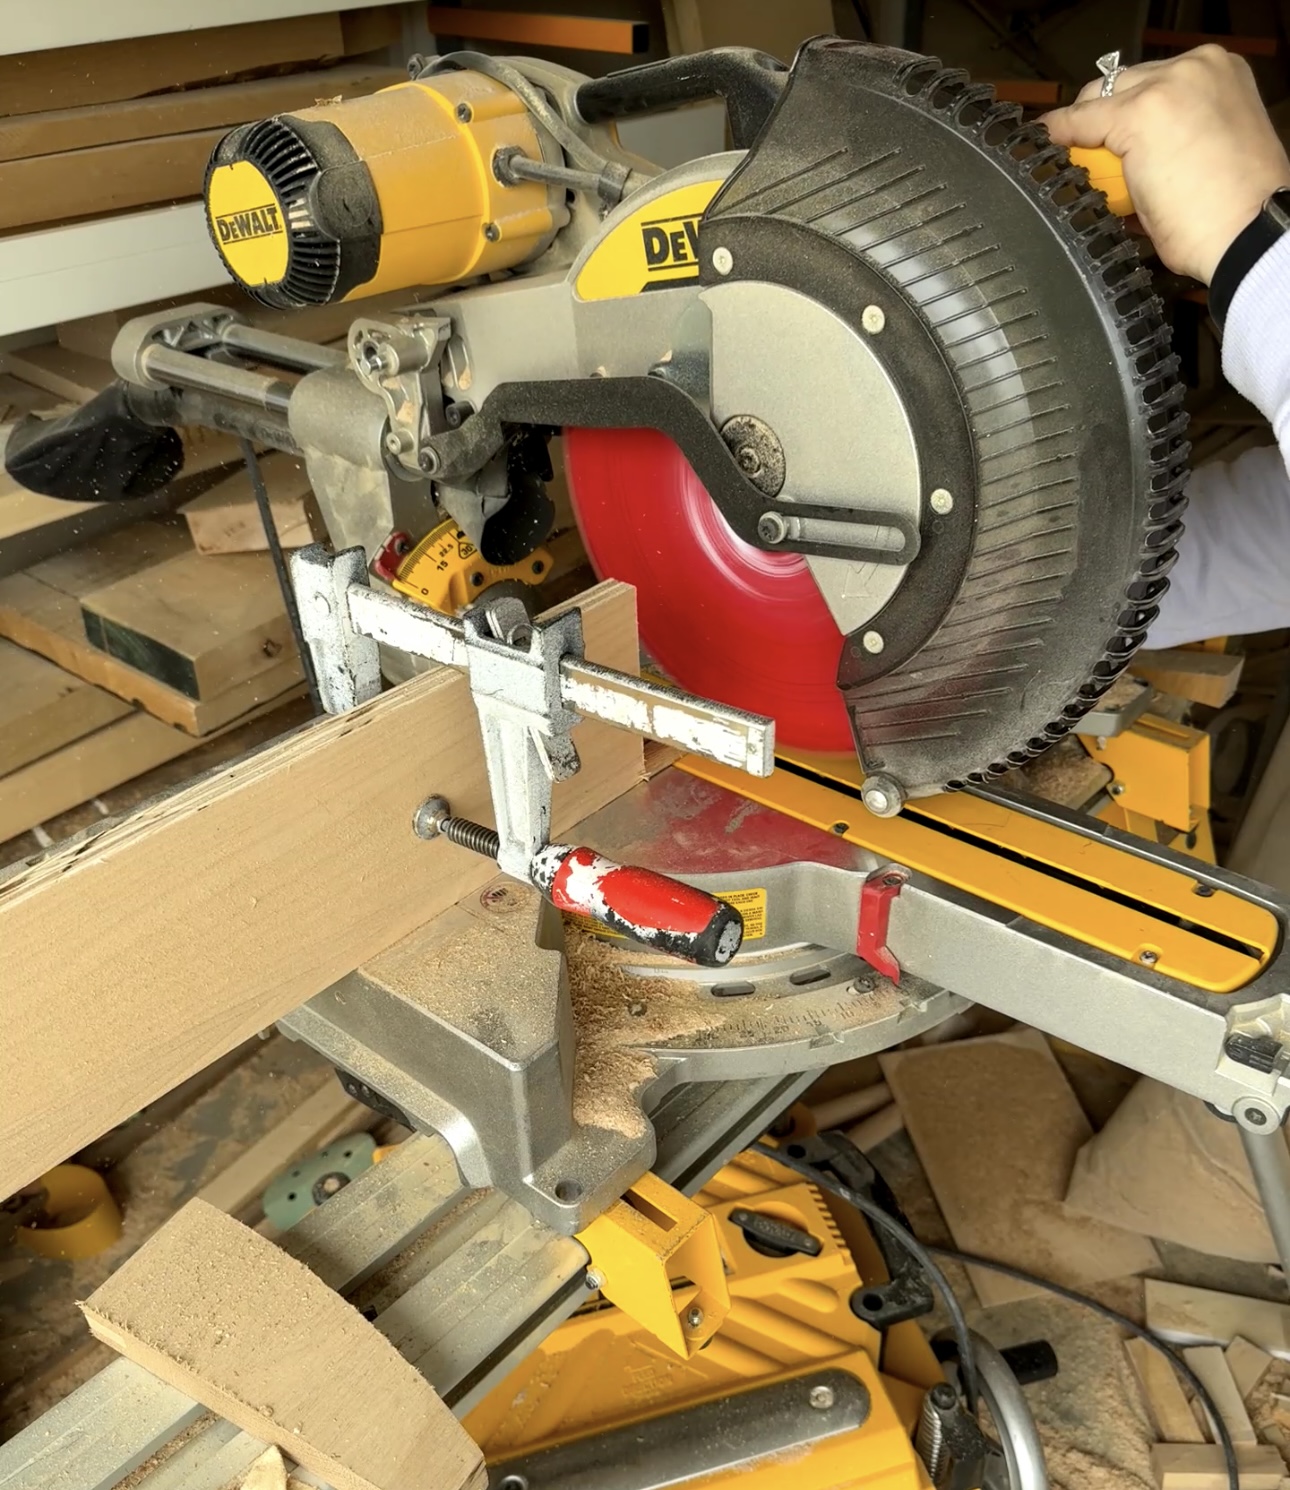
11
Cut the fluting to 2 1/2" on a miter saw.
Tip: Set up a stop block on your miter saw so you can make accurate repeatable cuts every single time.
-
12
Attach the fluting around the apron, between the legs using a combination of CA glue and wood glue.
The CA glue will allow it to bond quickly and the wood glue will create a more permanent bond when it dries.
Tip: It is easier to sand and stain the fluting before gluing it onto the apron.
-
13
Attach the support pieces using 1 1/2" pocket screws and wood glue.
-
14
Drill pocket holes on the inside of the apron.
-
15
Attach the table top to the base using 1 1/2" pocket screws.
Leave about 3/4" over hang on both side of the table top.Sand, stain and you've made a dining table!