

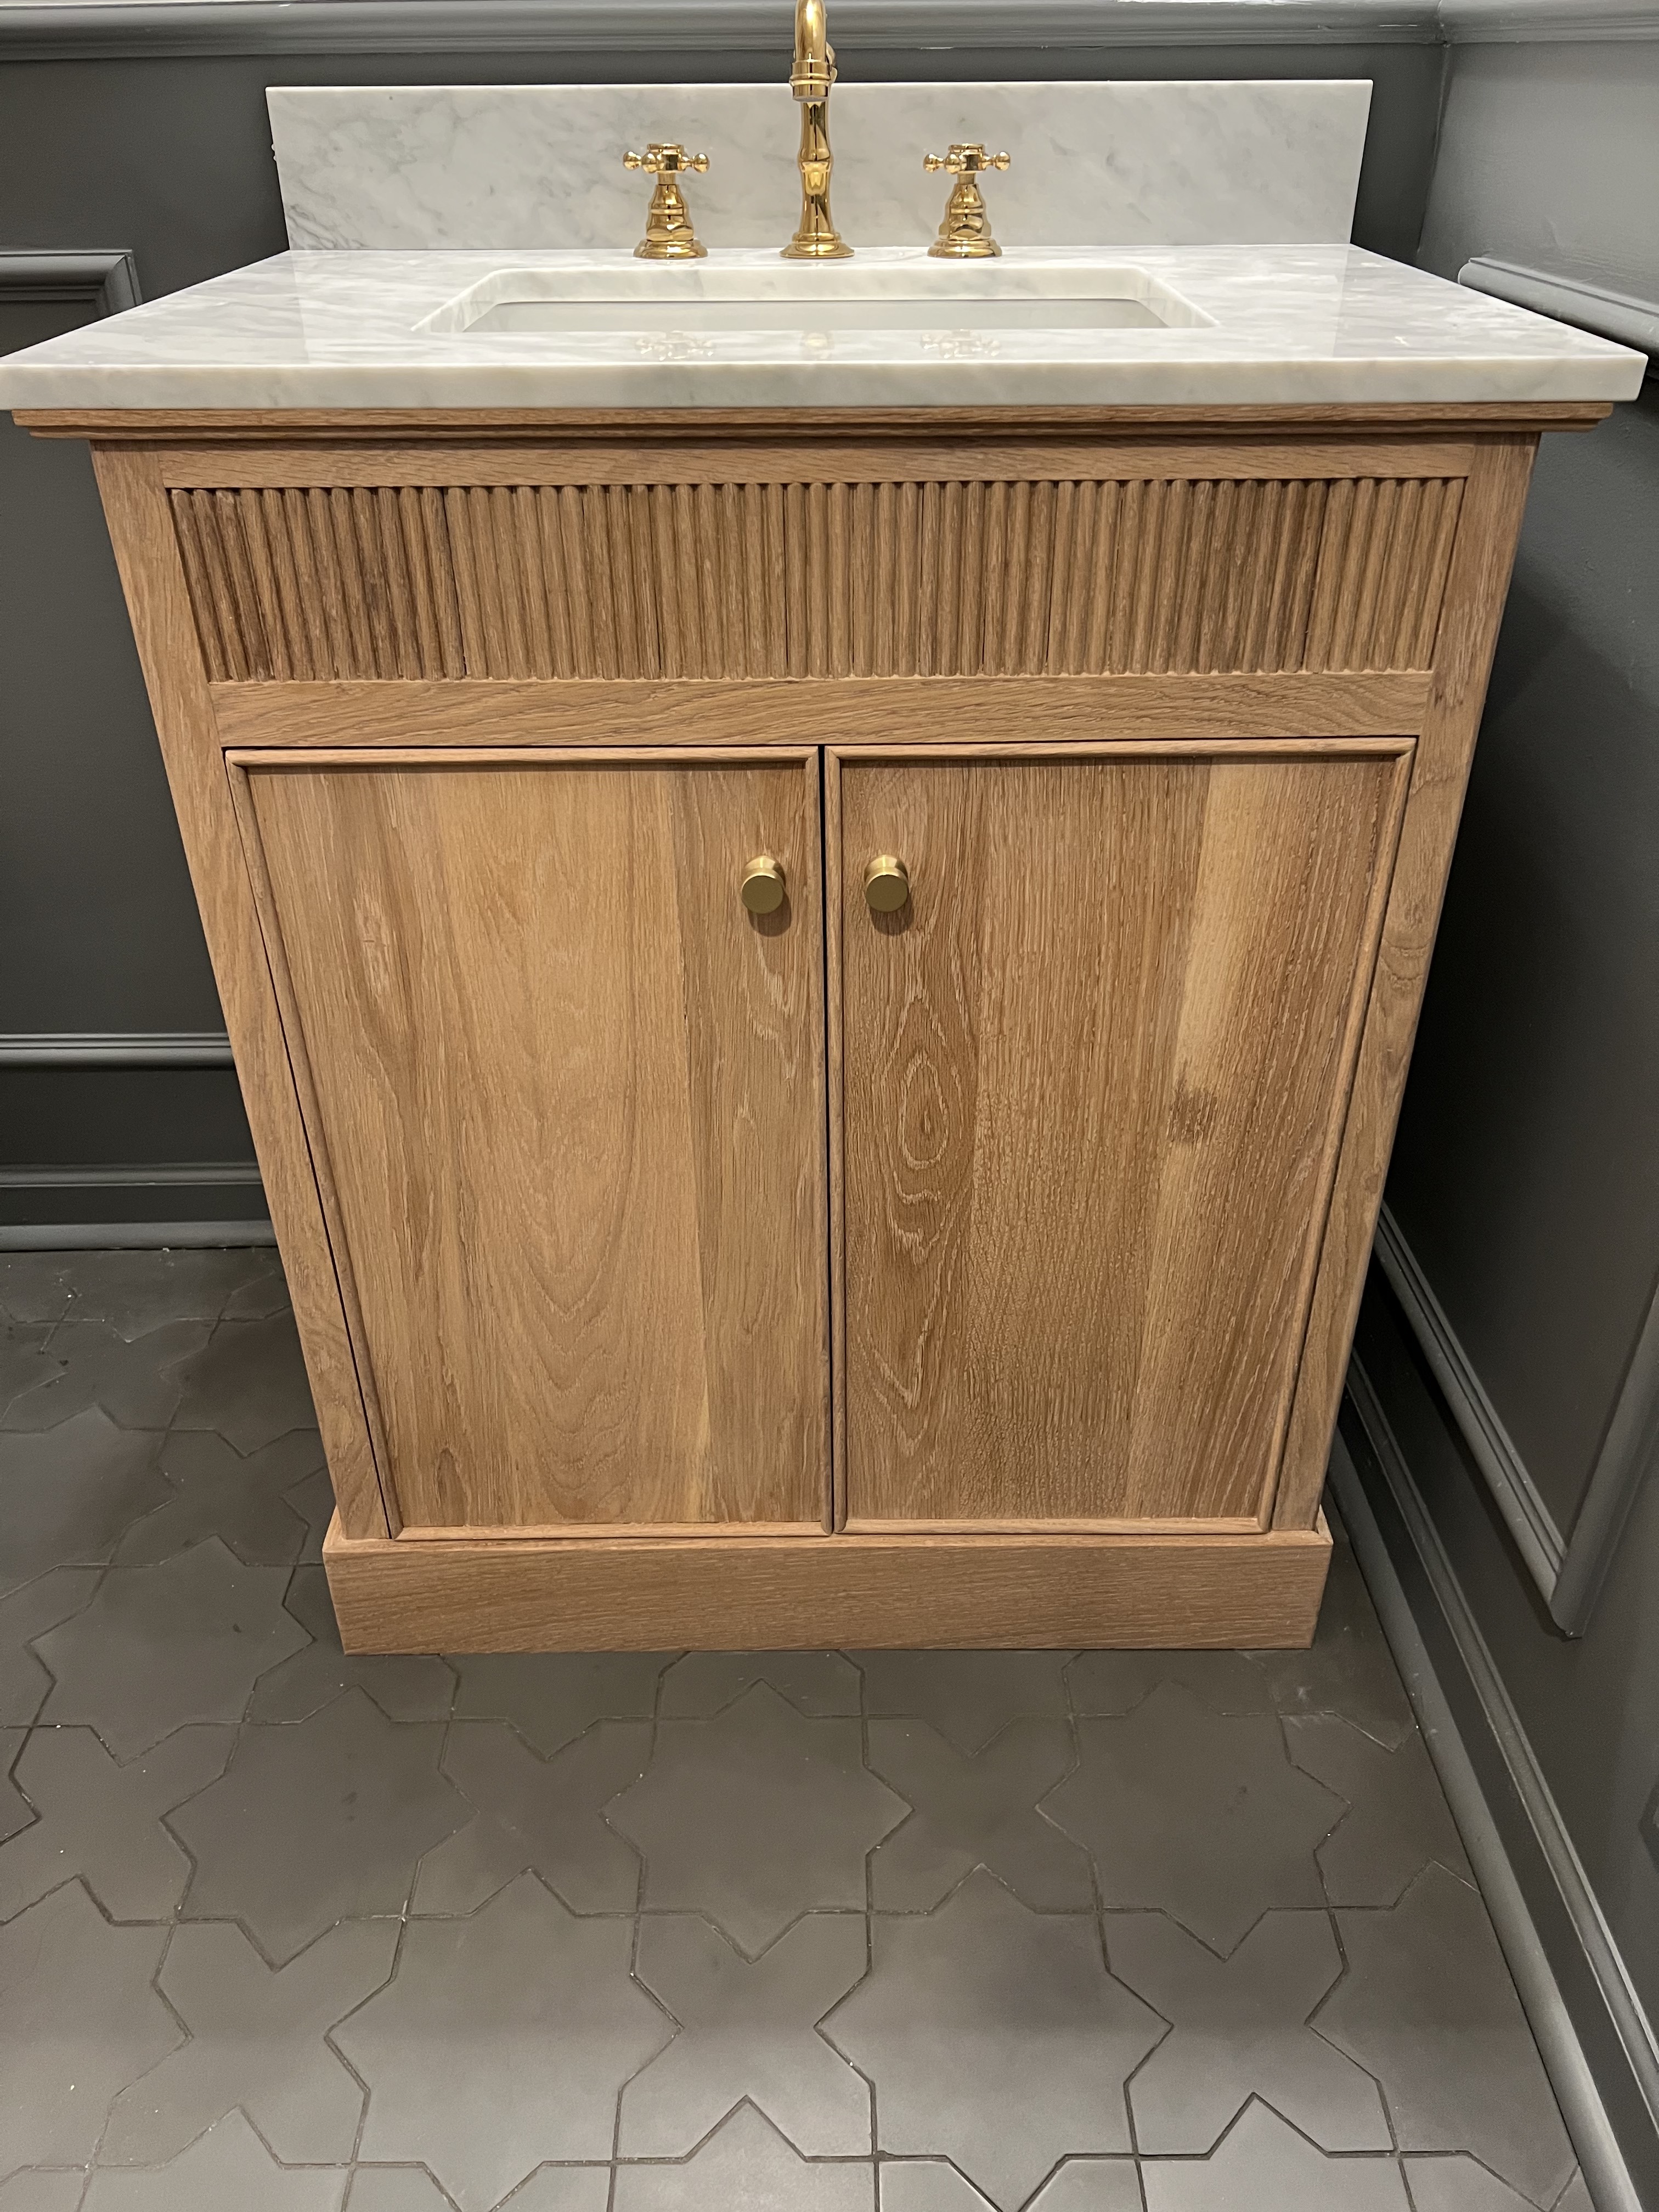
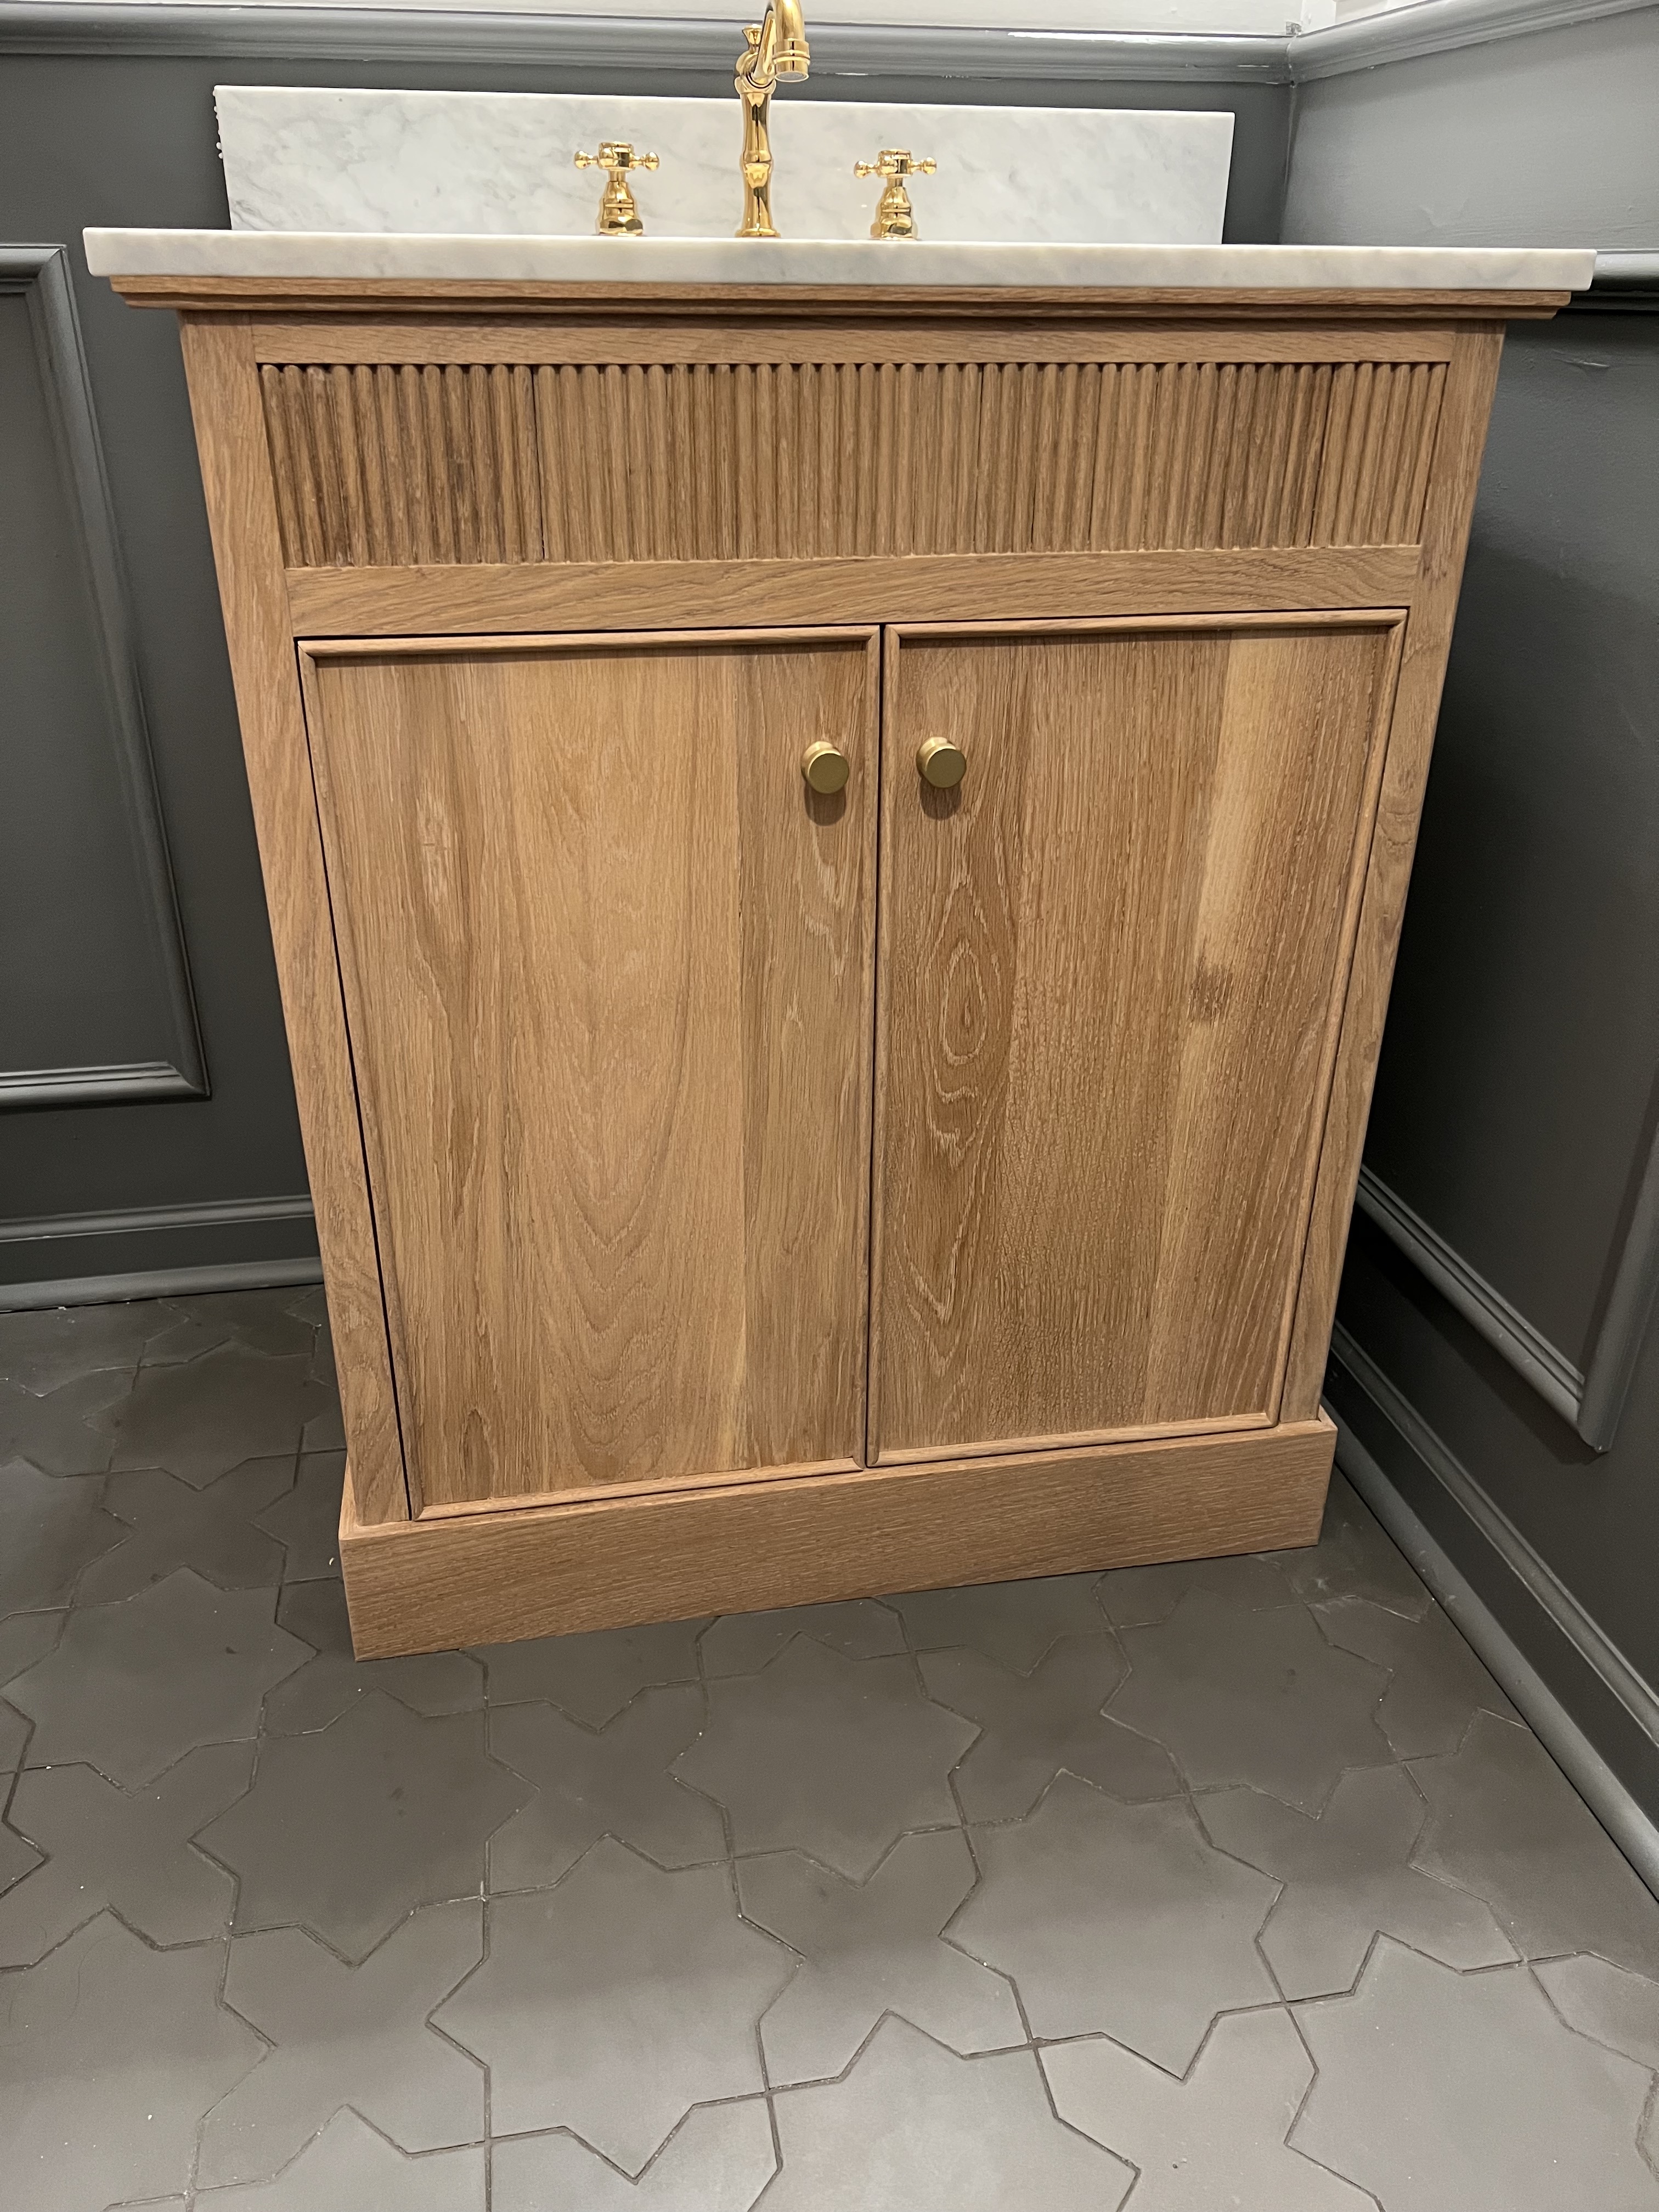
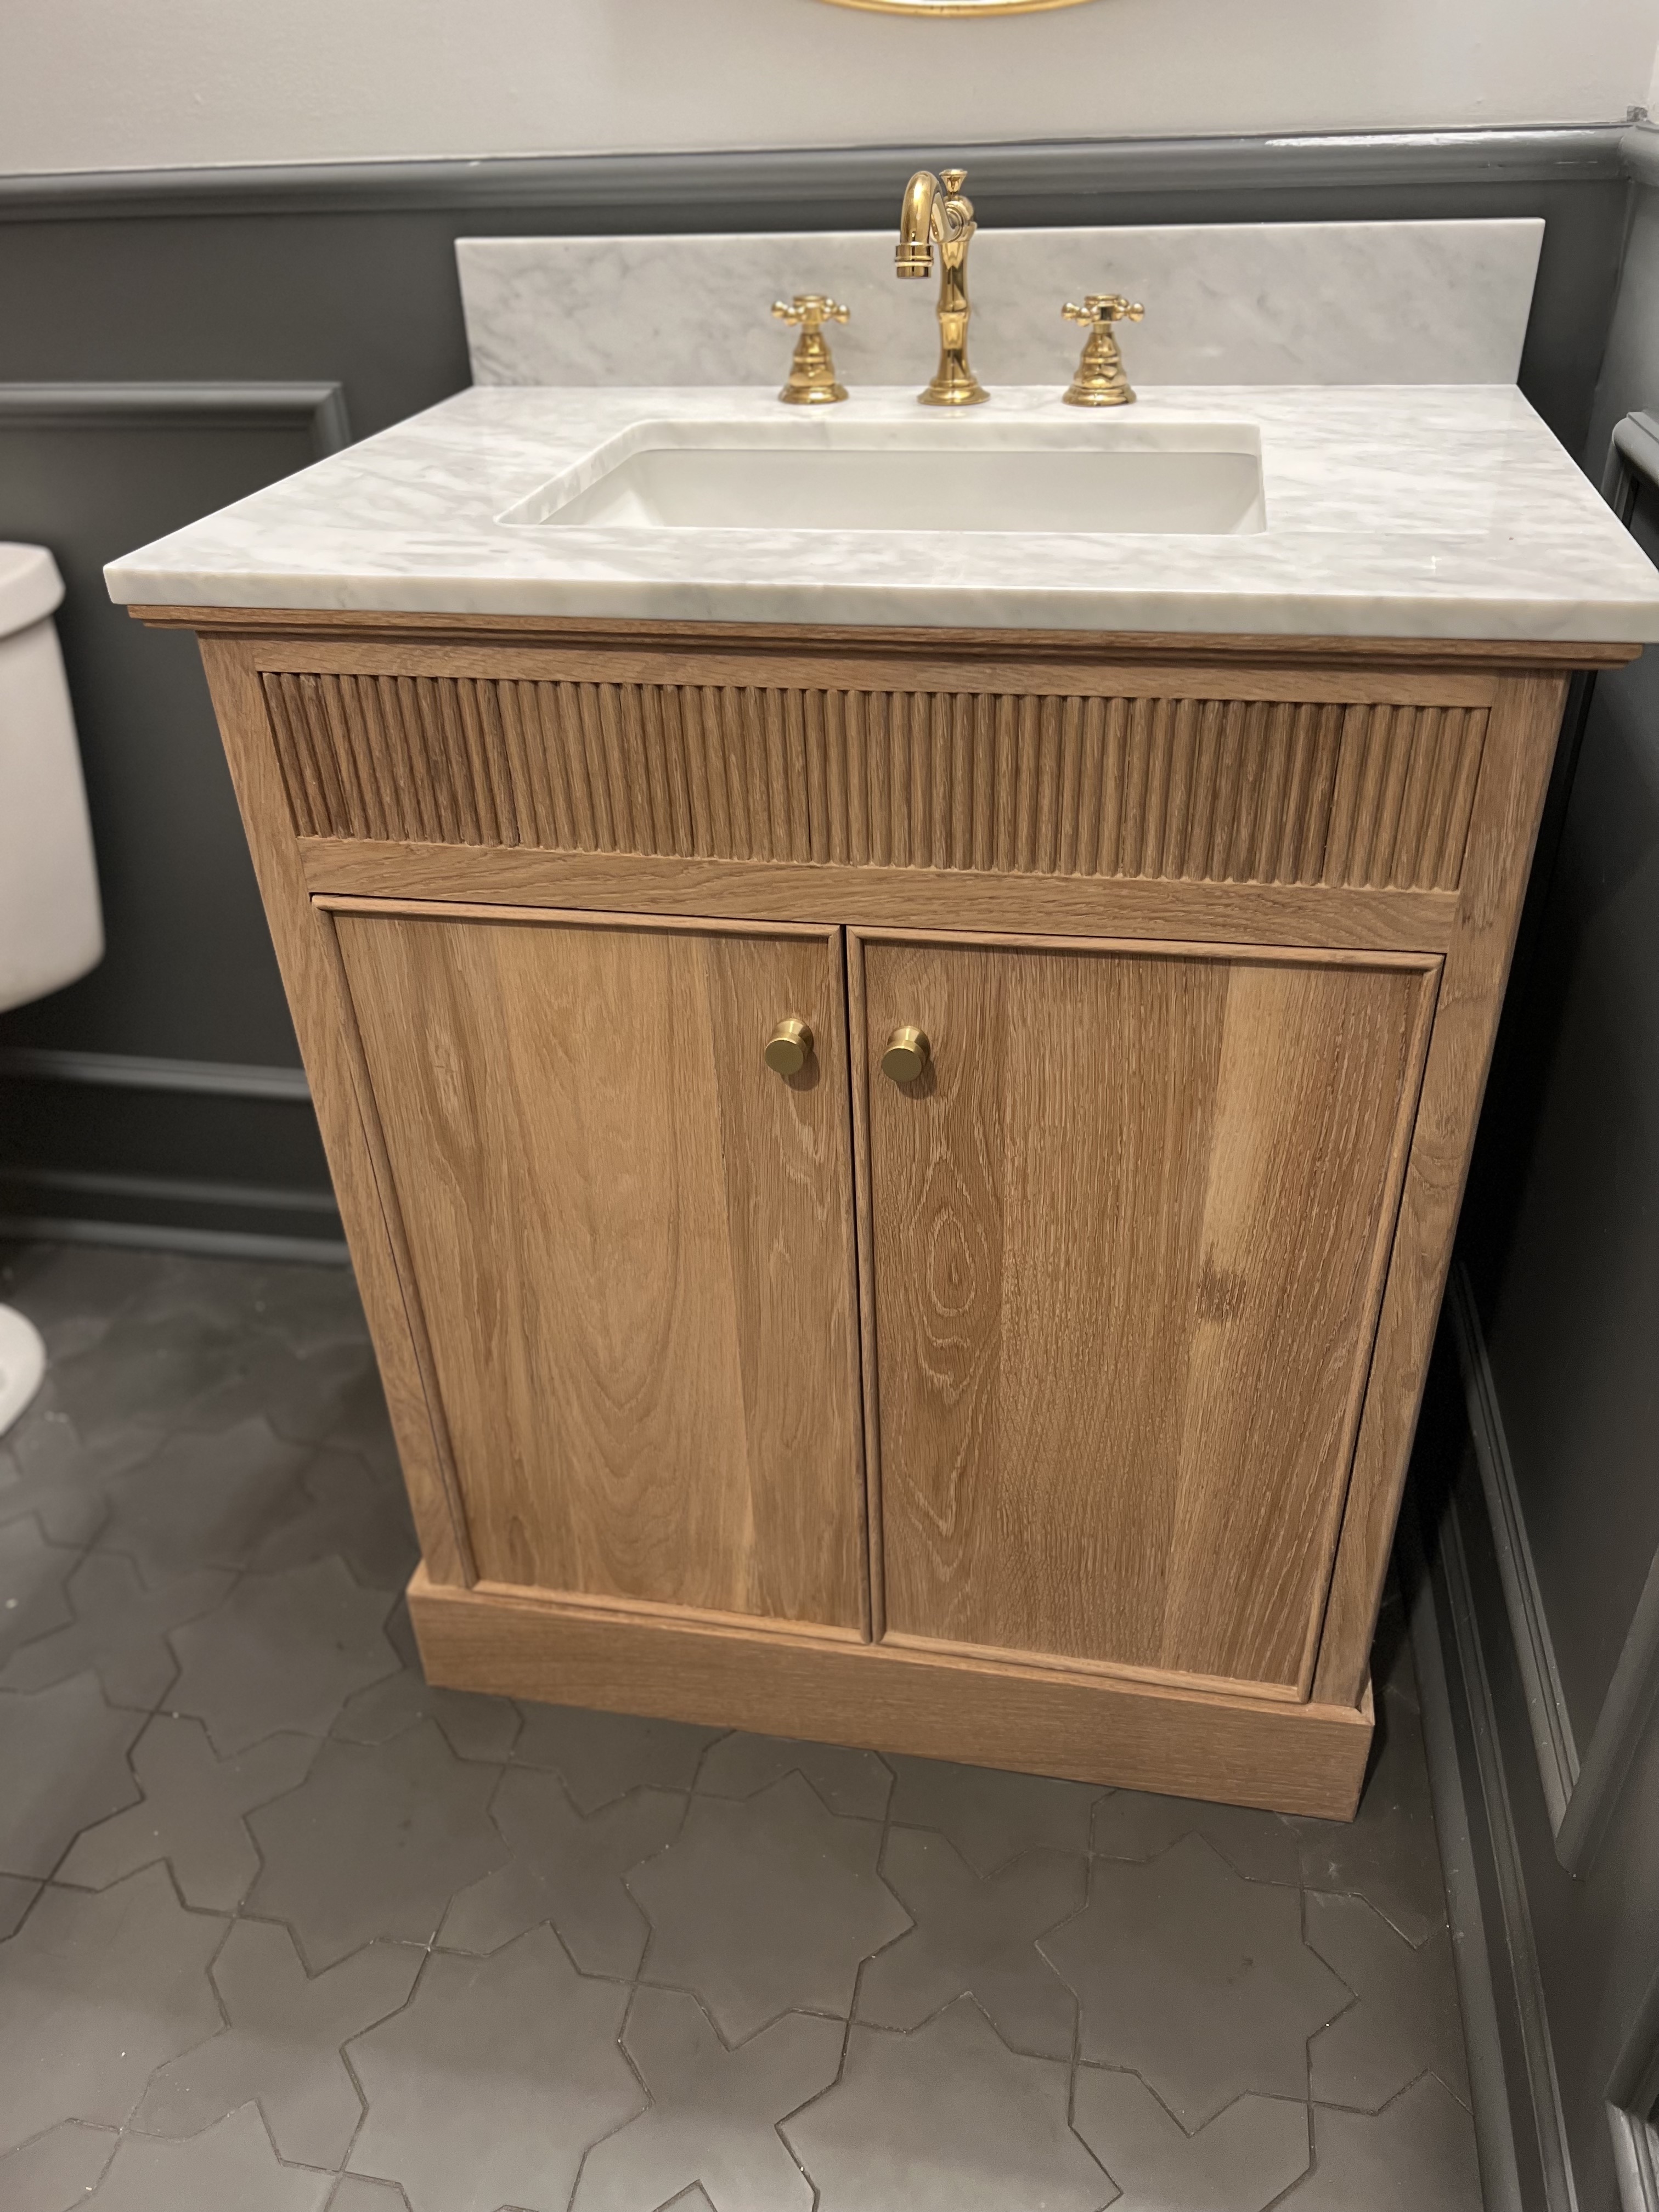
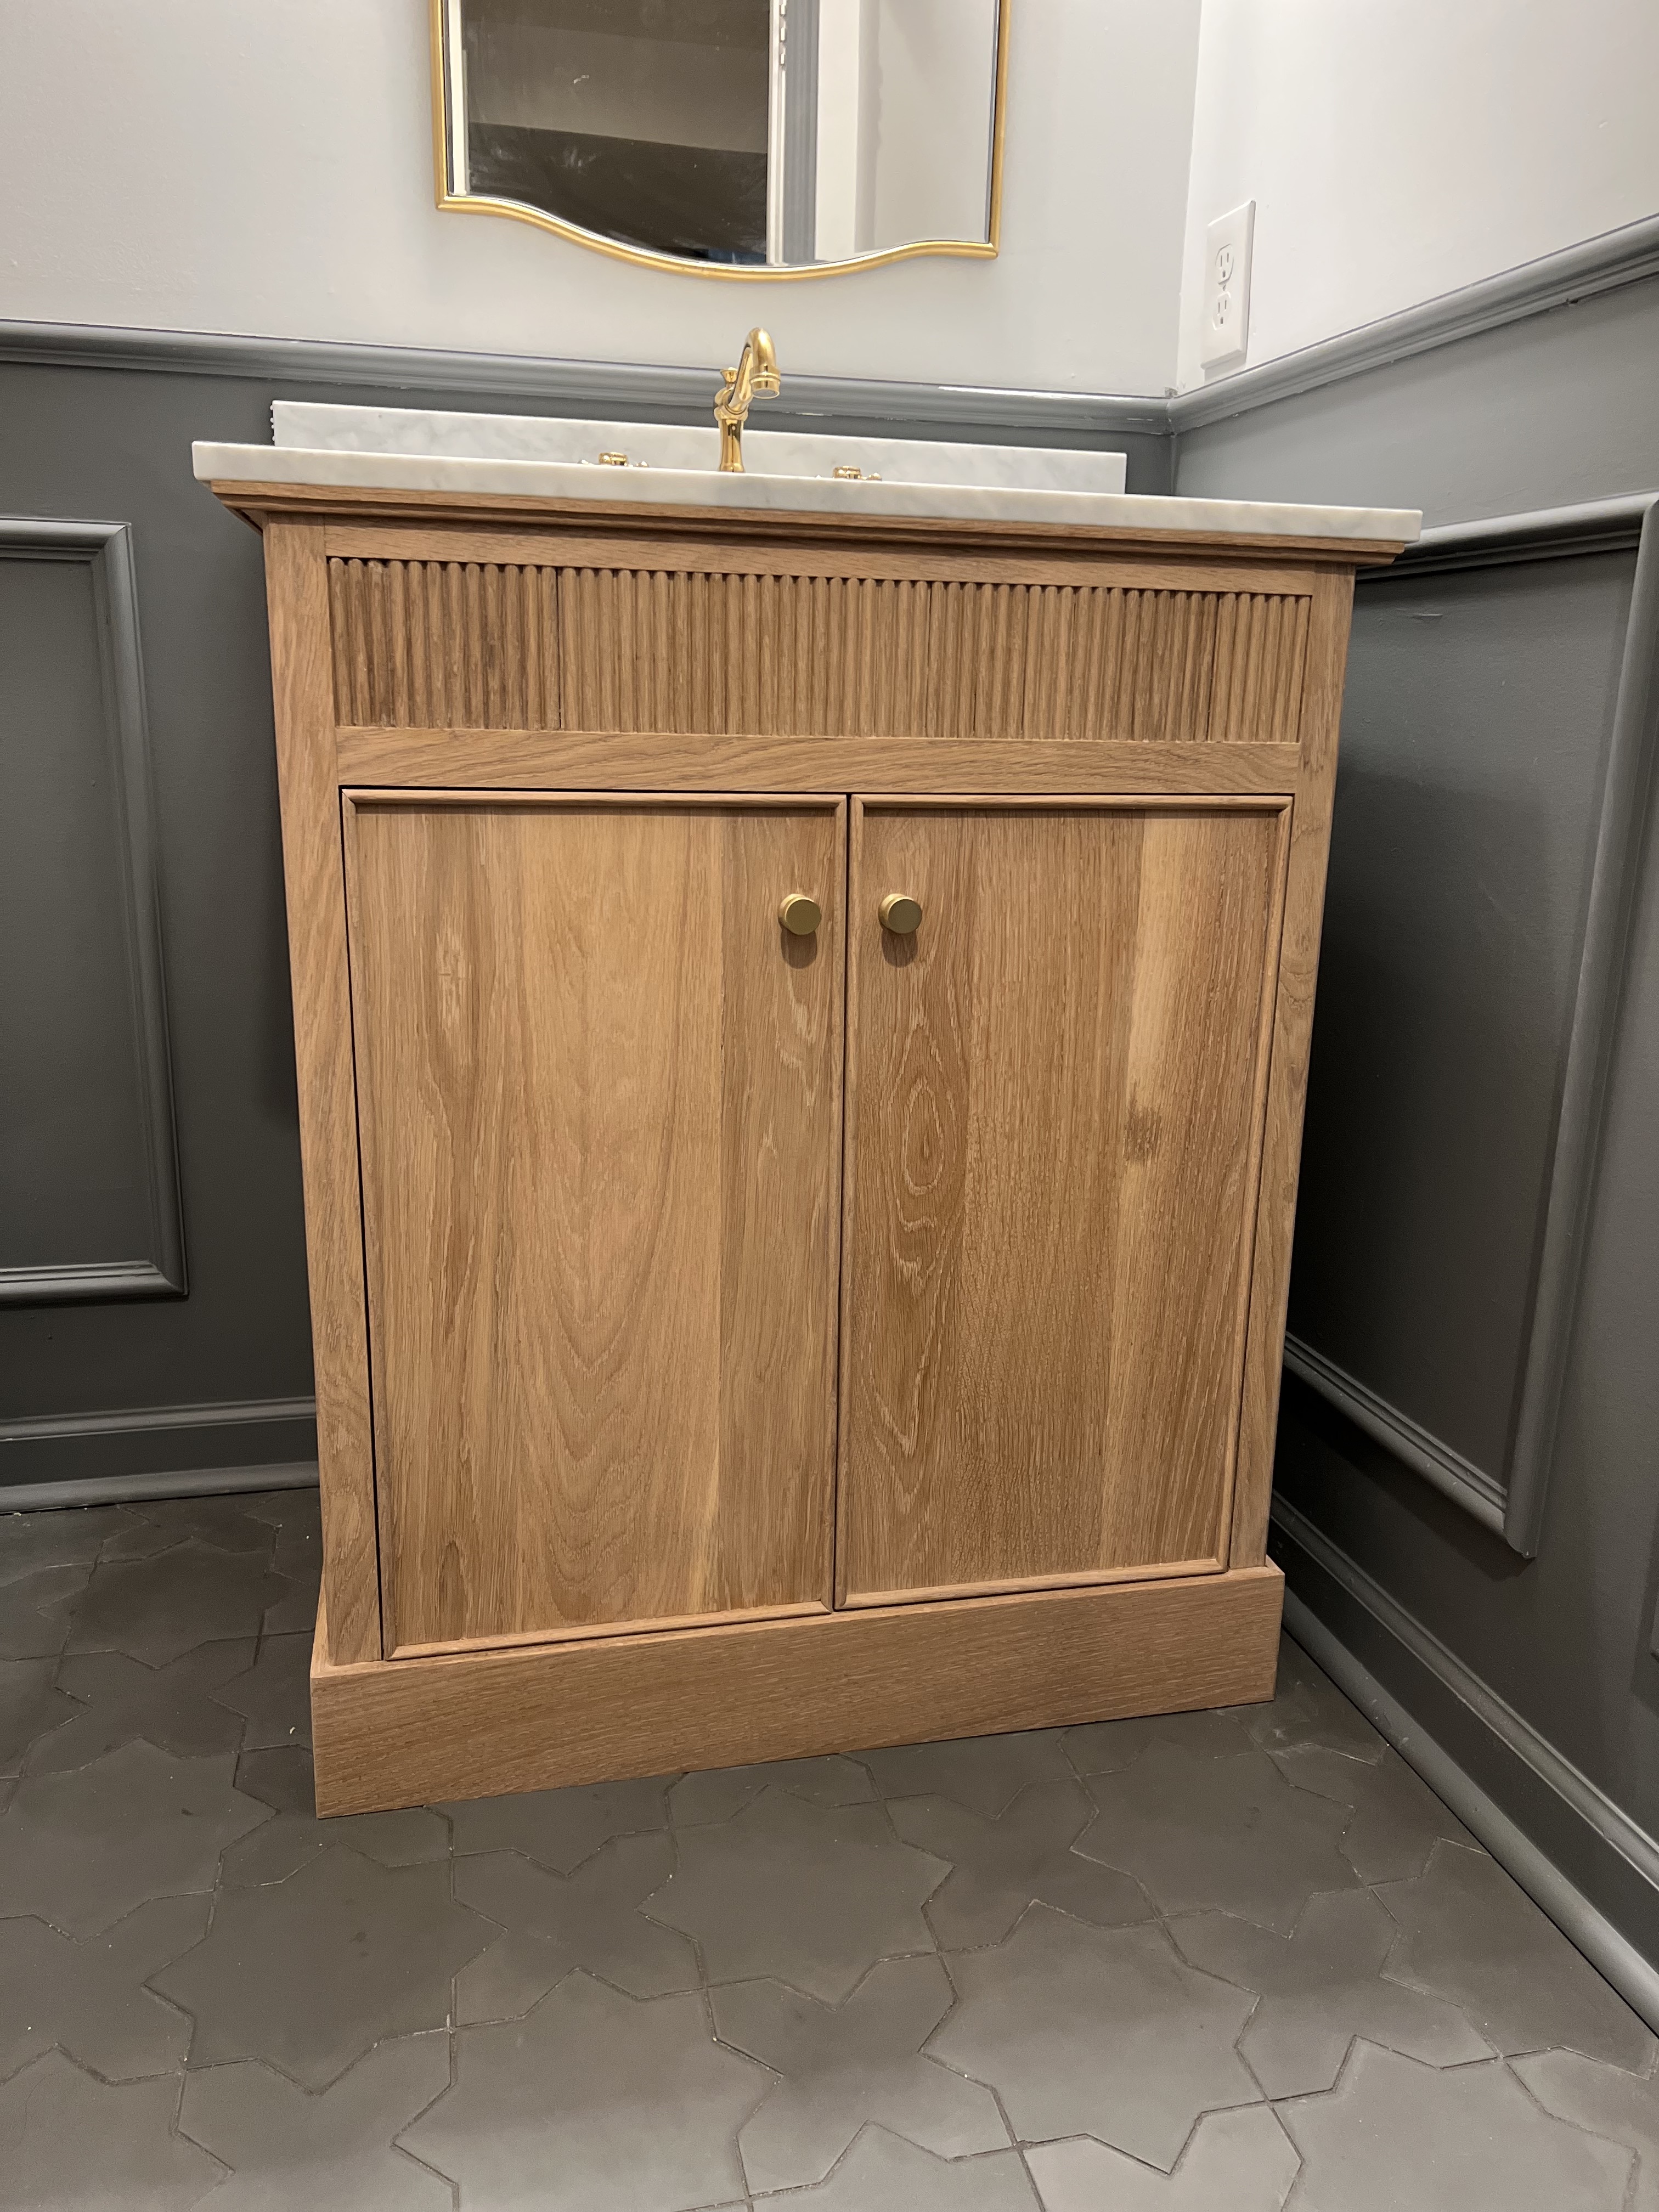


Want to bring your building skills up a level? Try this vanity build!
Tools
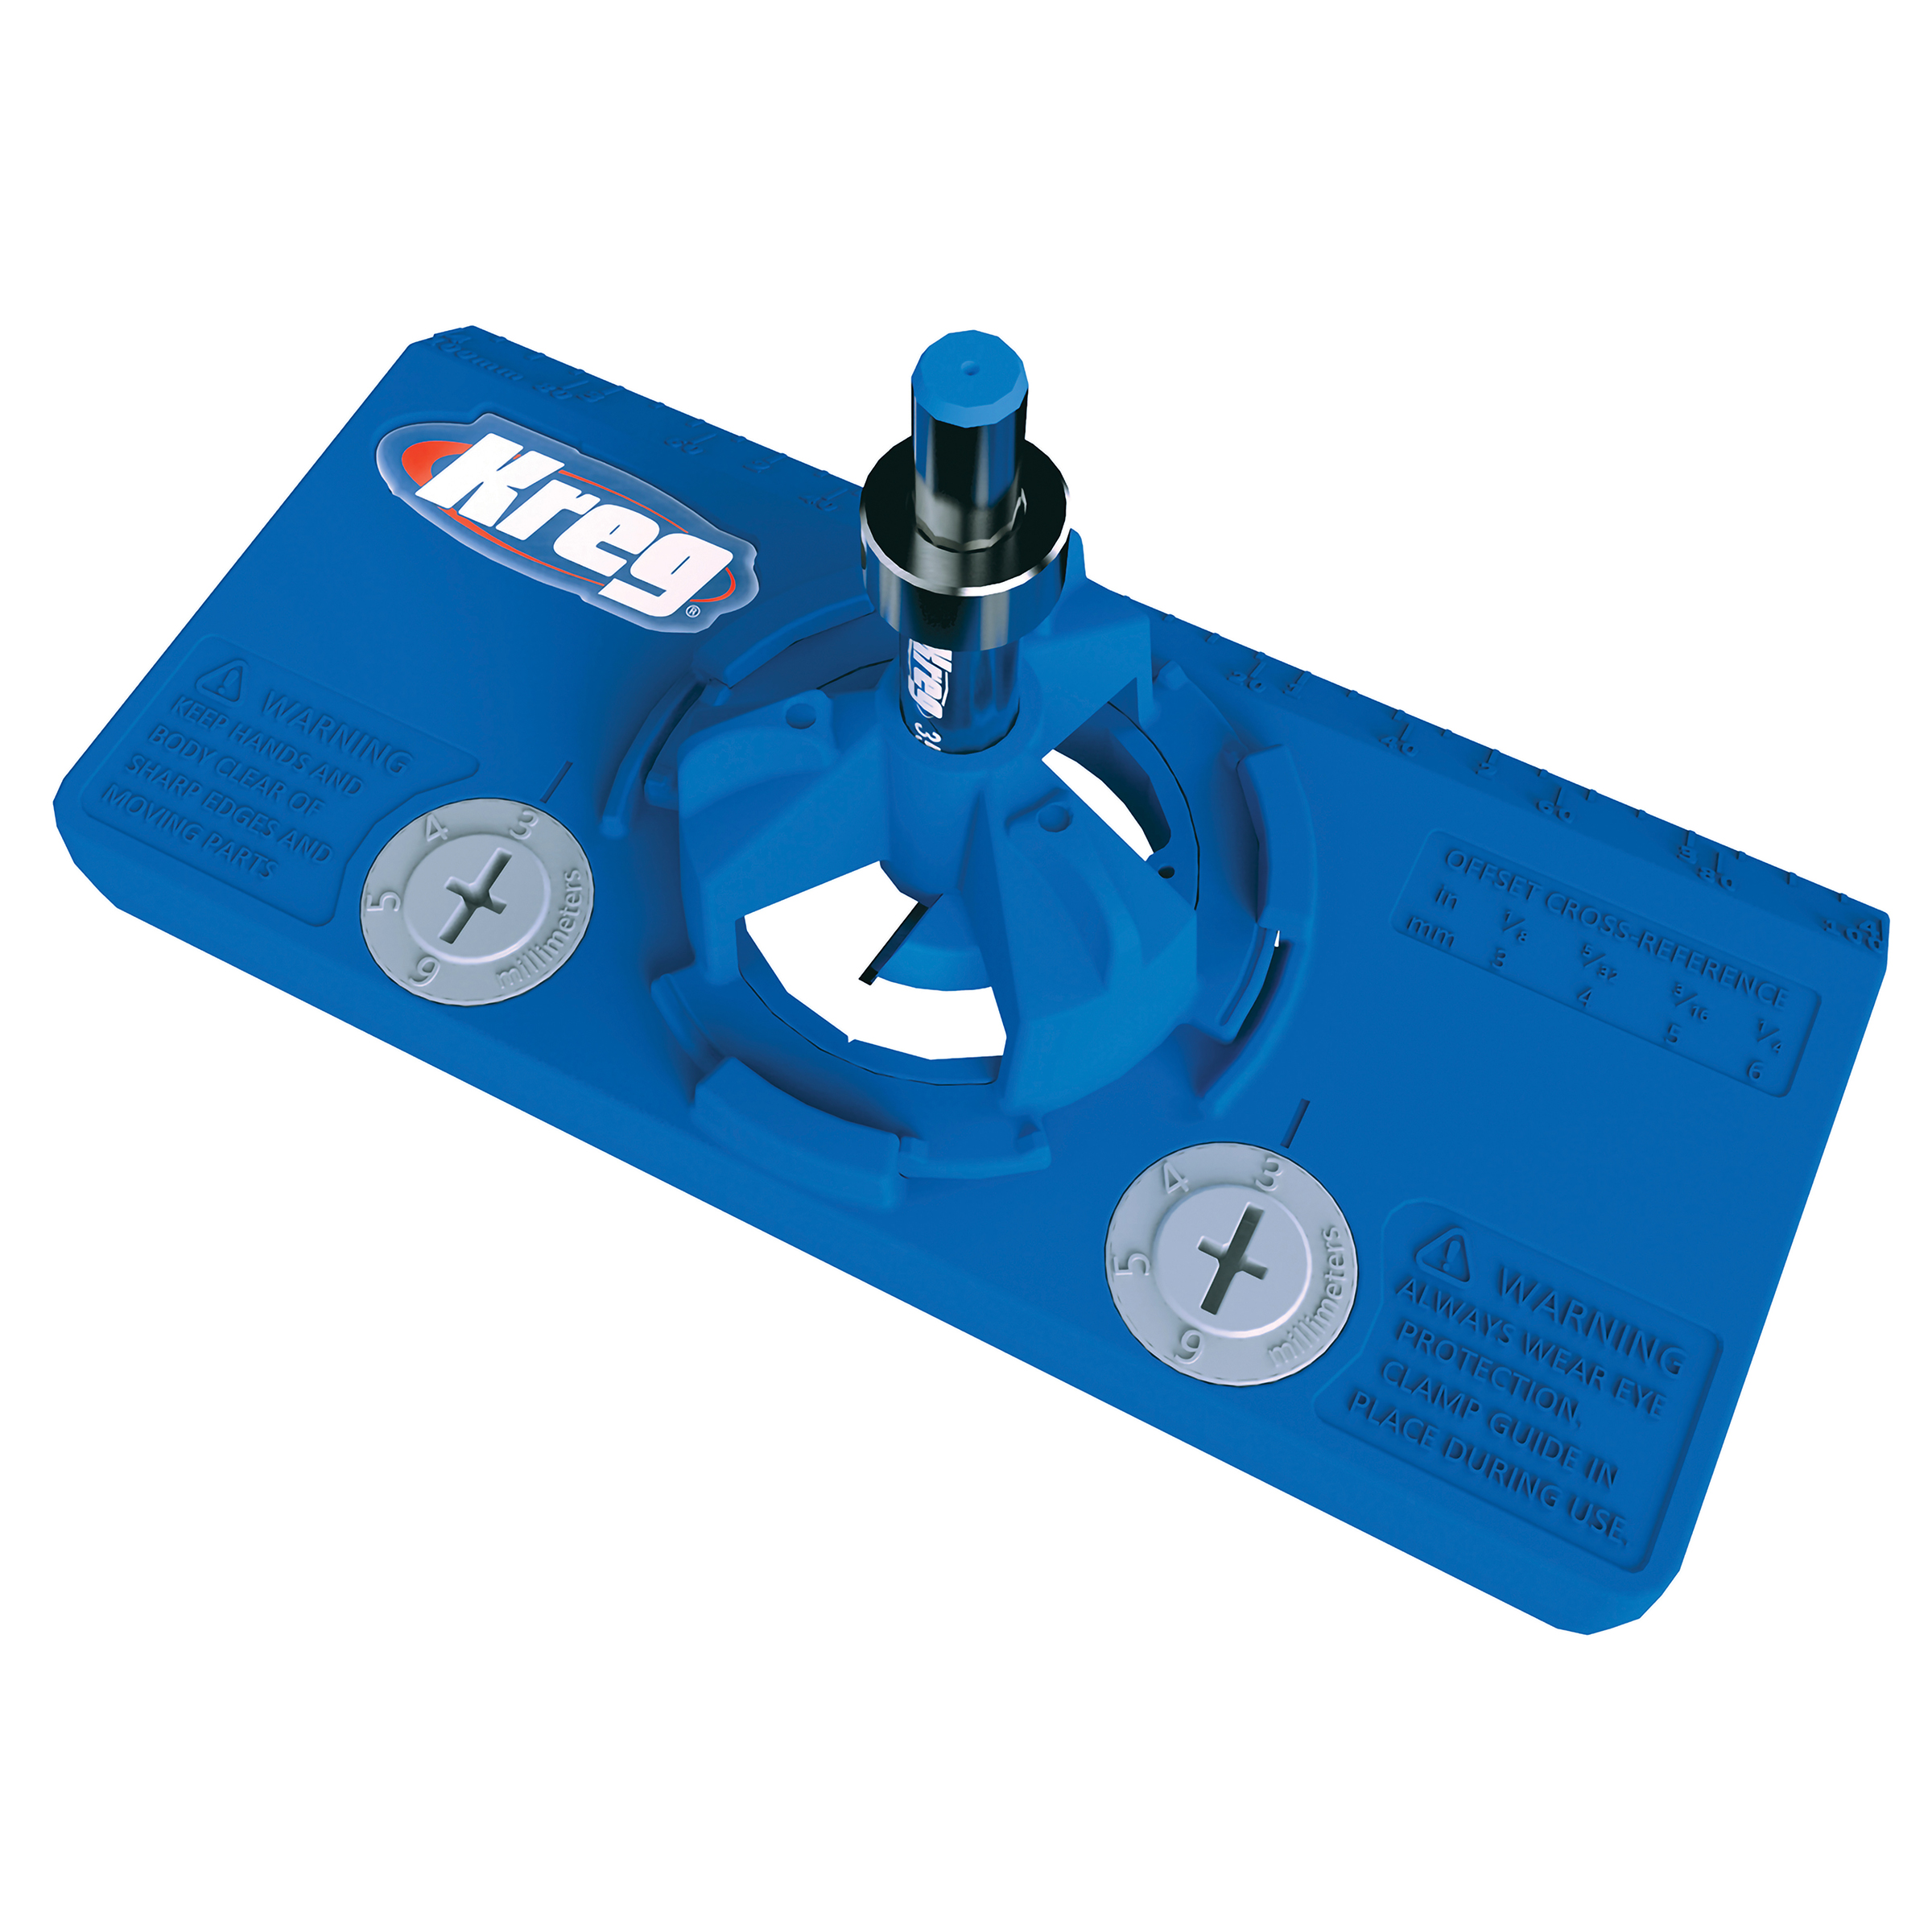
Kreg Tools


Other Tools
-
Table saw

-
Nail Gun
Materials
Wood Products
- 60 3/4" thick wood , Board feet
Hardware & Supplies
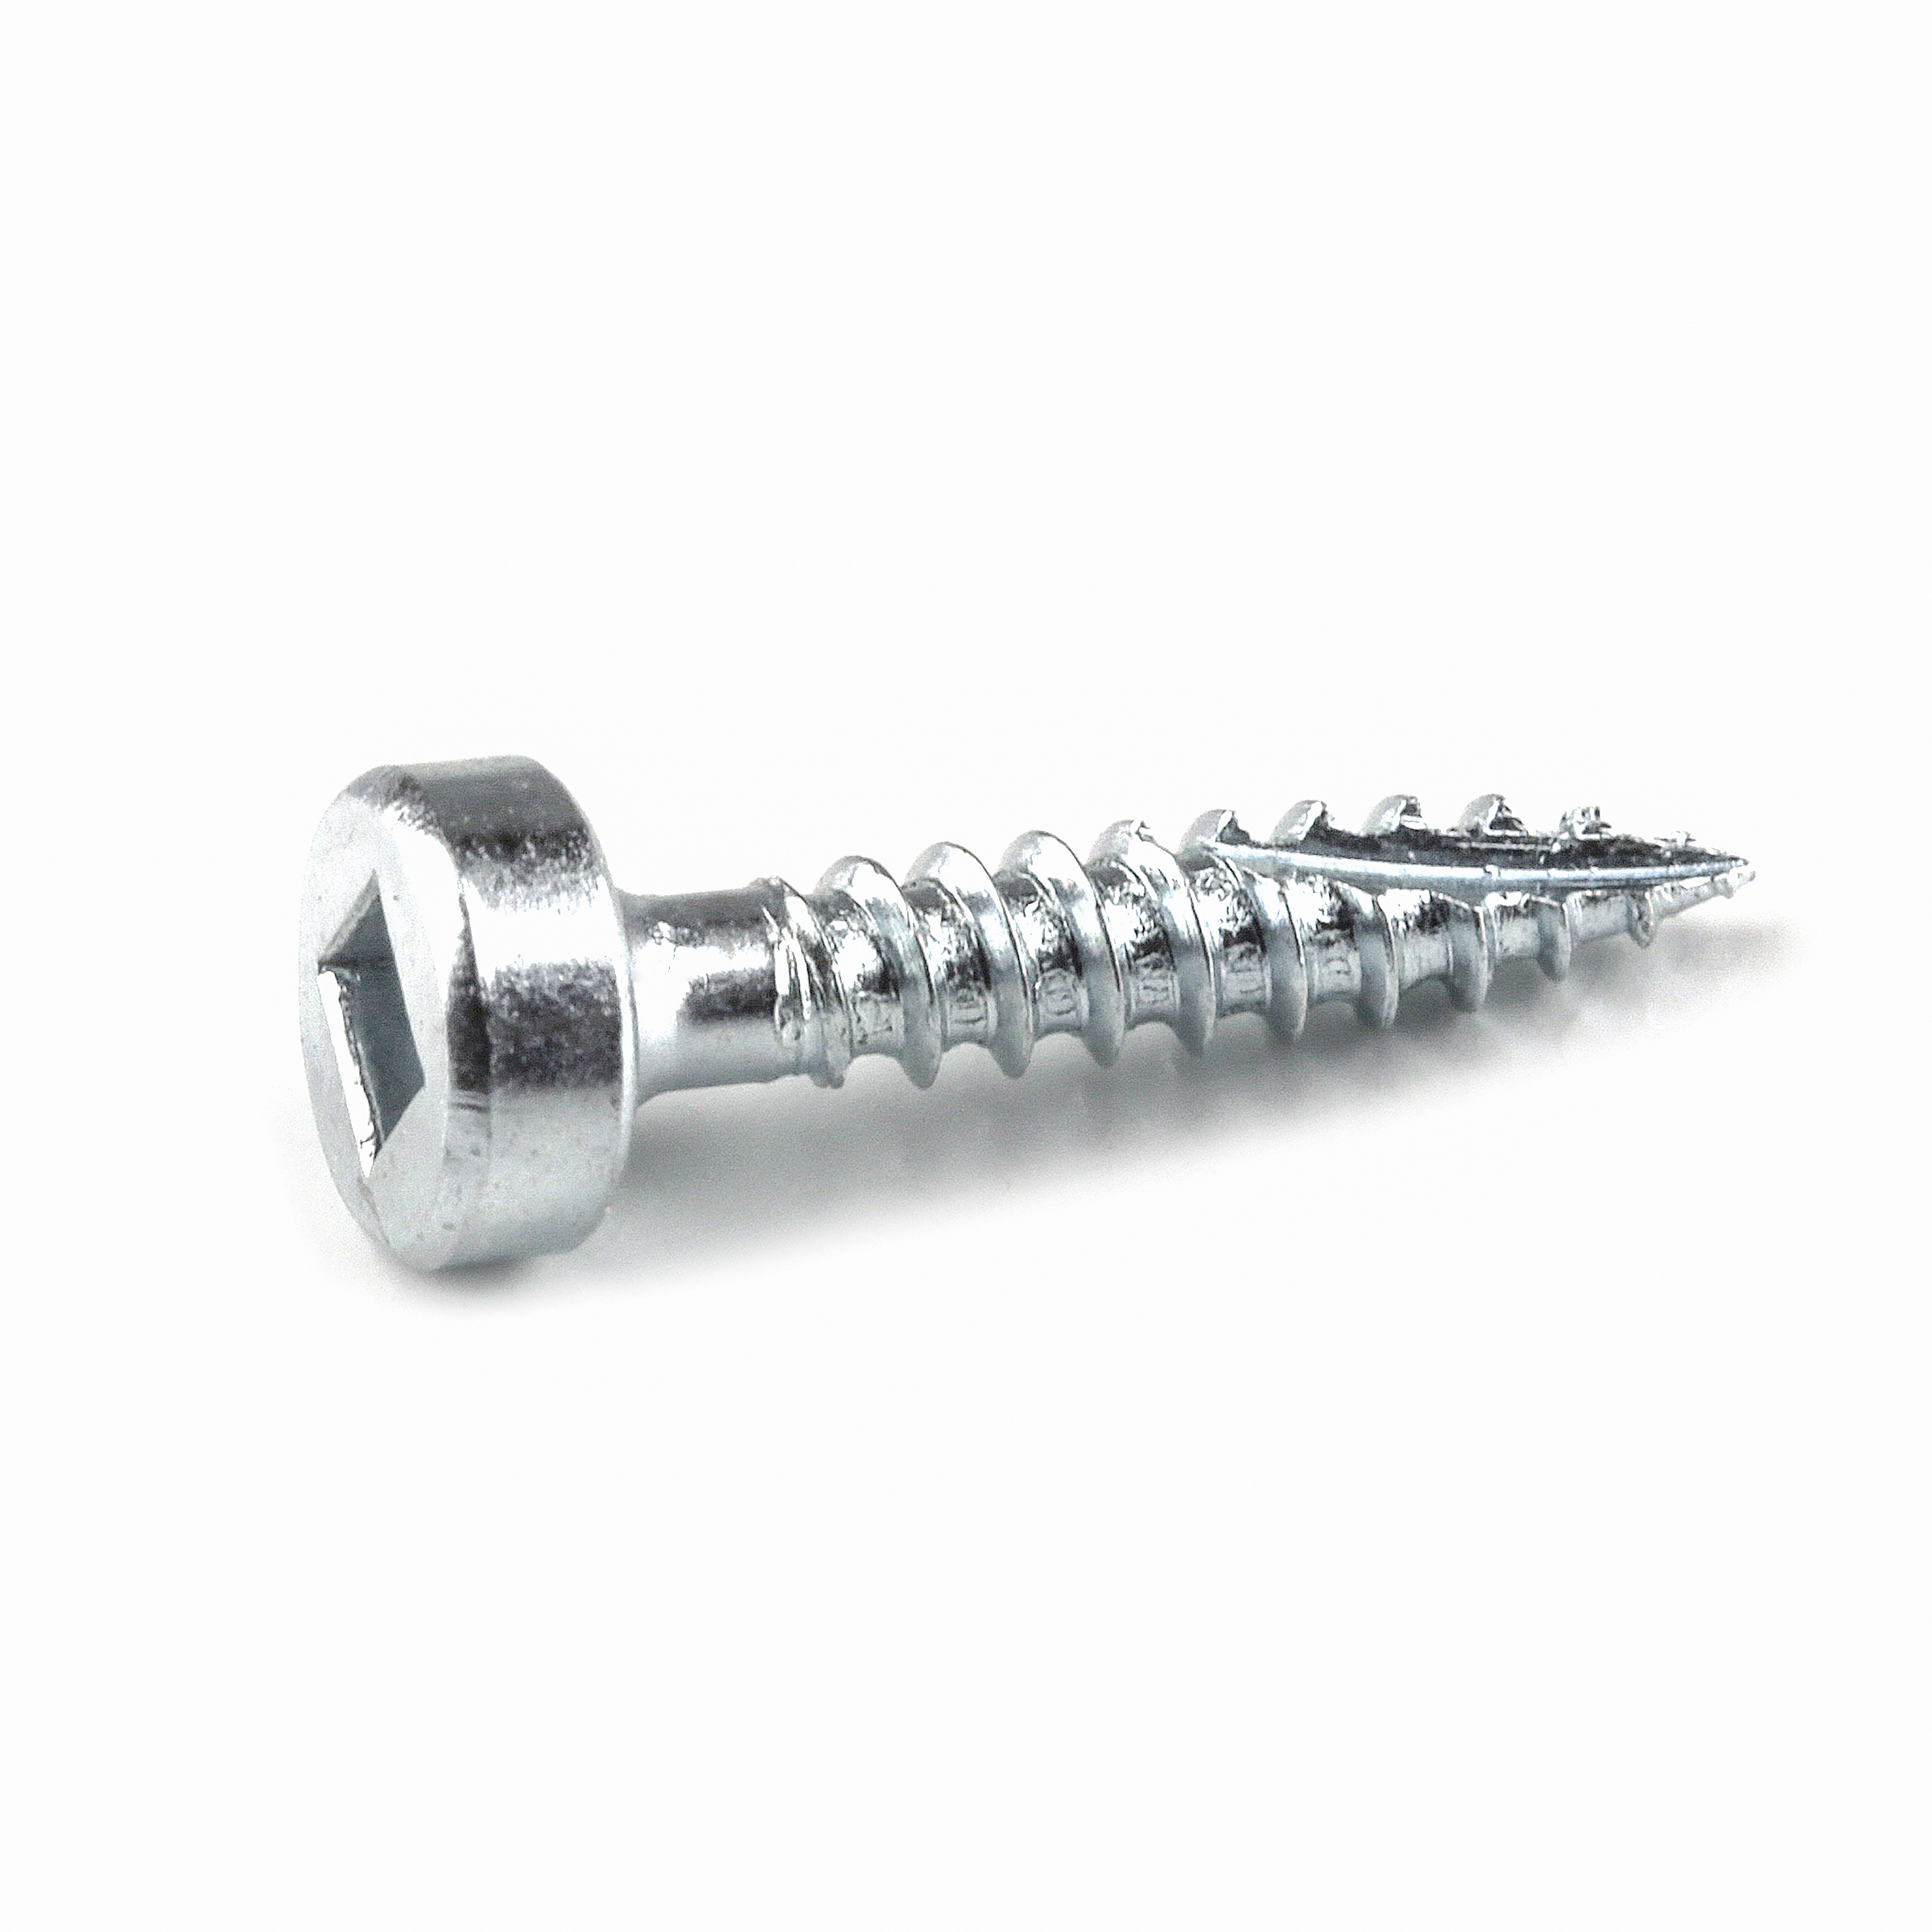
- 50 1 1/4" pocket hole screws
- 50 1 1/2" brad nails
- -- Wood Glue
- -- Variation of 80, 120, 150 and 220 sandpaper
- -- Stain of Choice
- -- CA glue
- -- Roundover bit
- -- Triple beaded bit
- 4 Inset door hinges
Directions
-
1
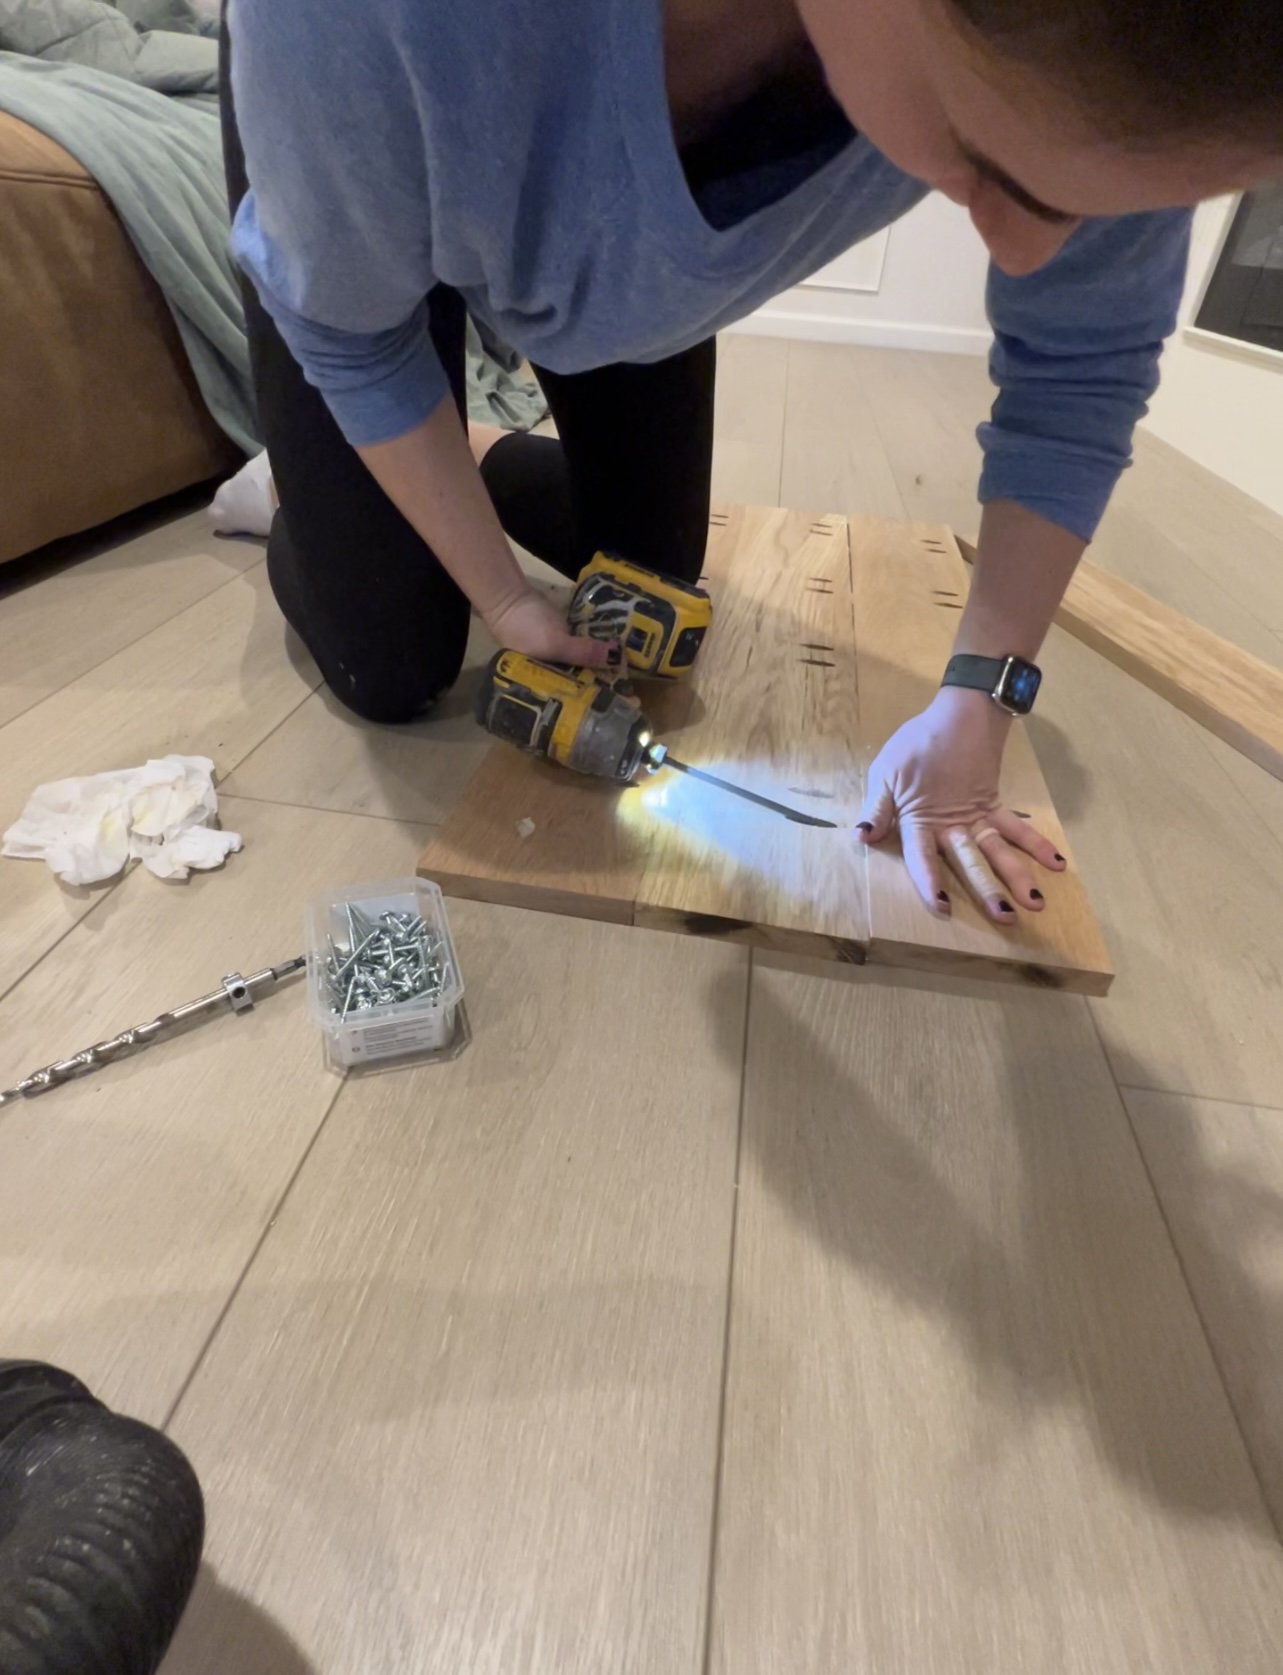
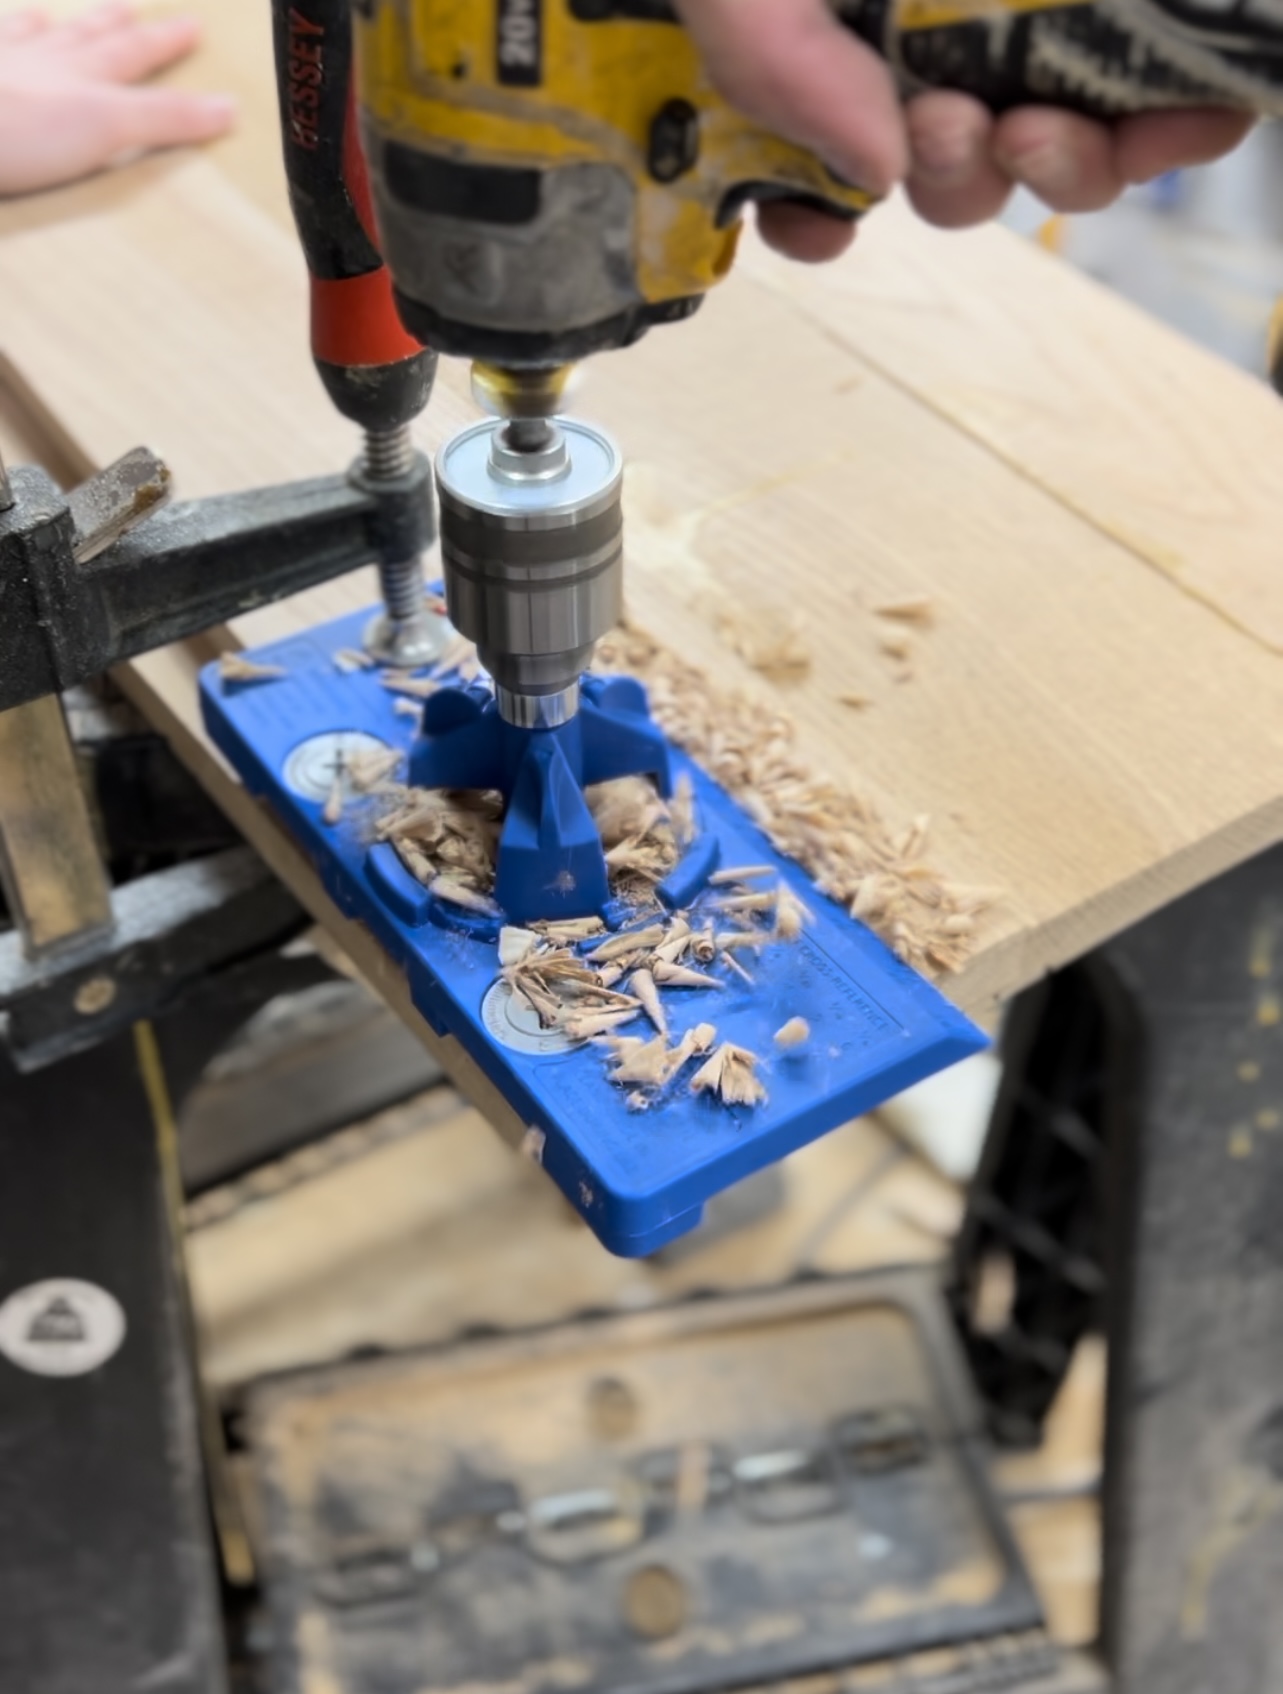
Cut and attach the side panels together using wood glue and 1 1/4" pocket hole screws.
-
2
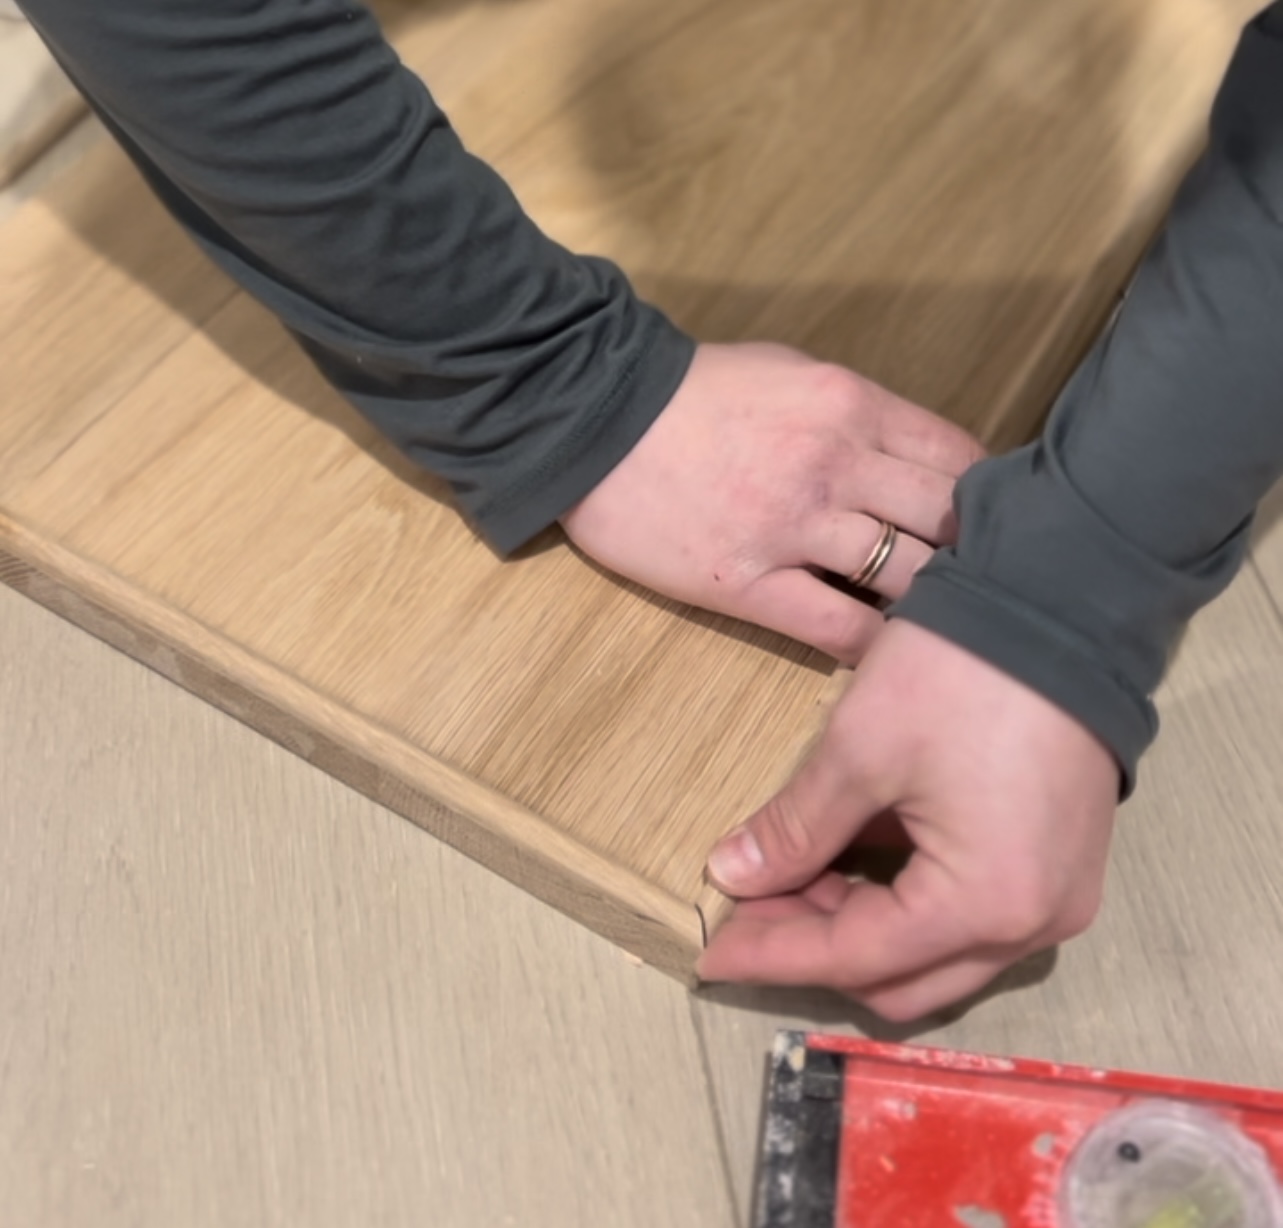
Cut the panel to size using a table saw, track saw or circular saw.
-
3
Attach the bottom panel of the cabinet to the sides of the cabinet using wood glue and 1 1/4" pocket hole screws. Make sure the bottom of the cabinet is 3.5" inches off the floor.
-
4
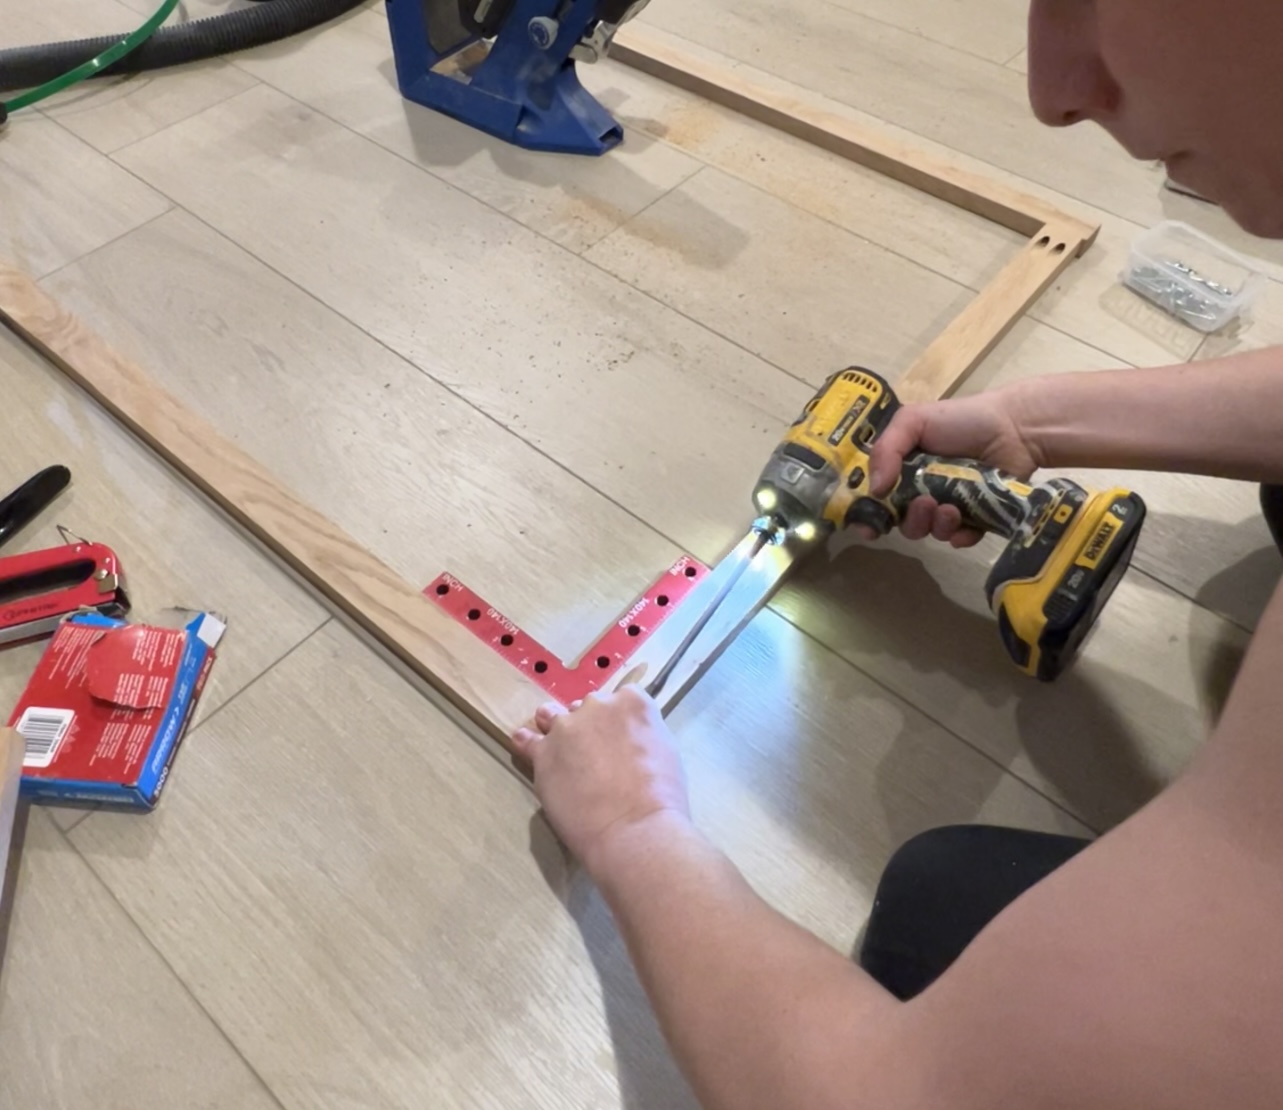
Cut the face frame to size and attach together using 1 1/4" pocket hole screws and wood glue.
-
5
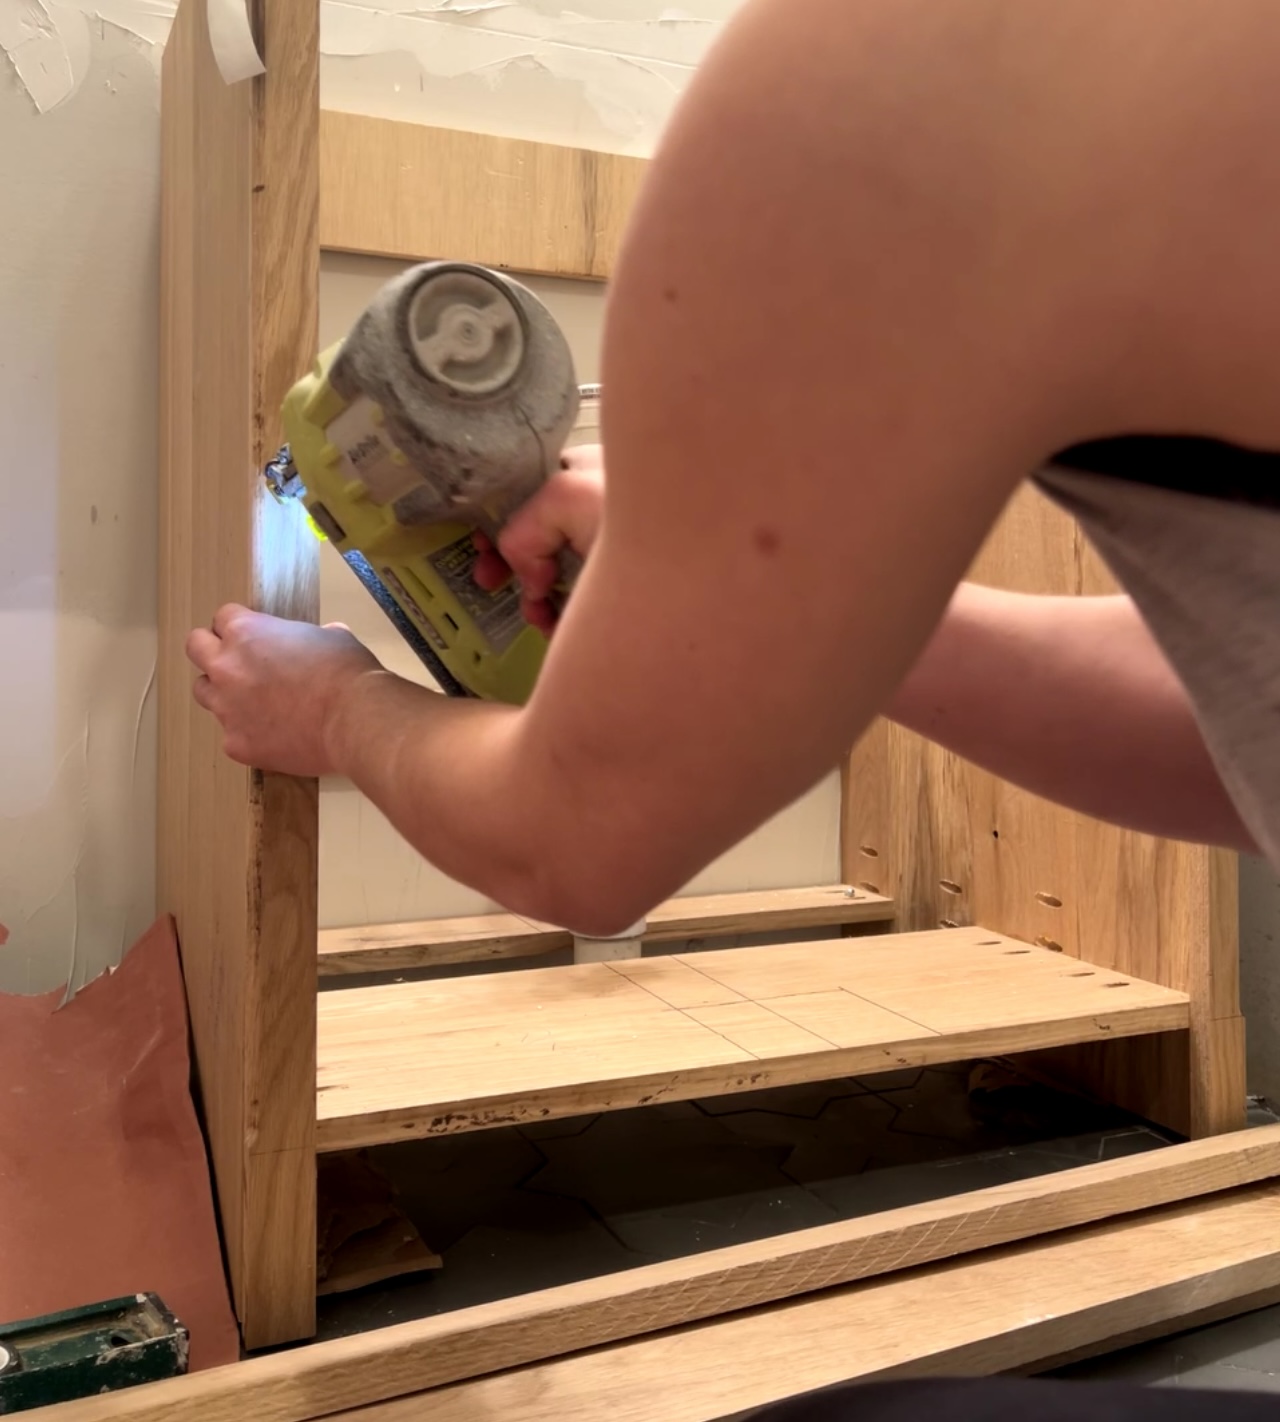
Nail the face frame onto the cabinet box using 1 1/2" brad nails.
-
6
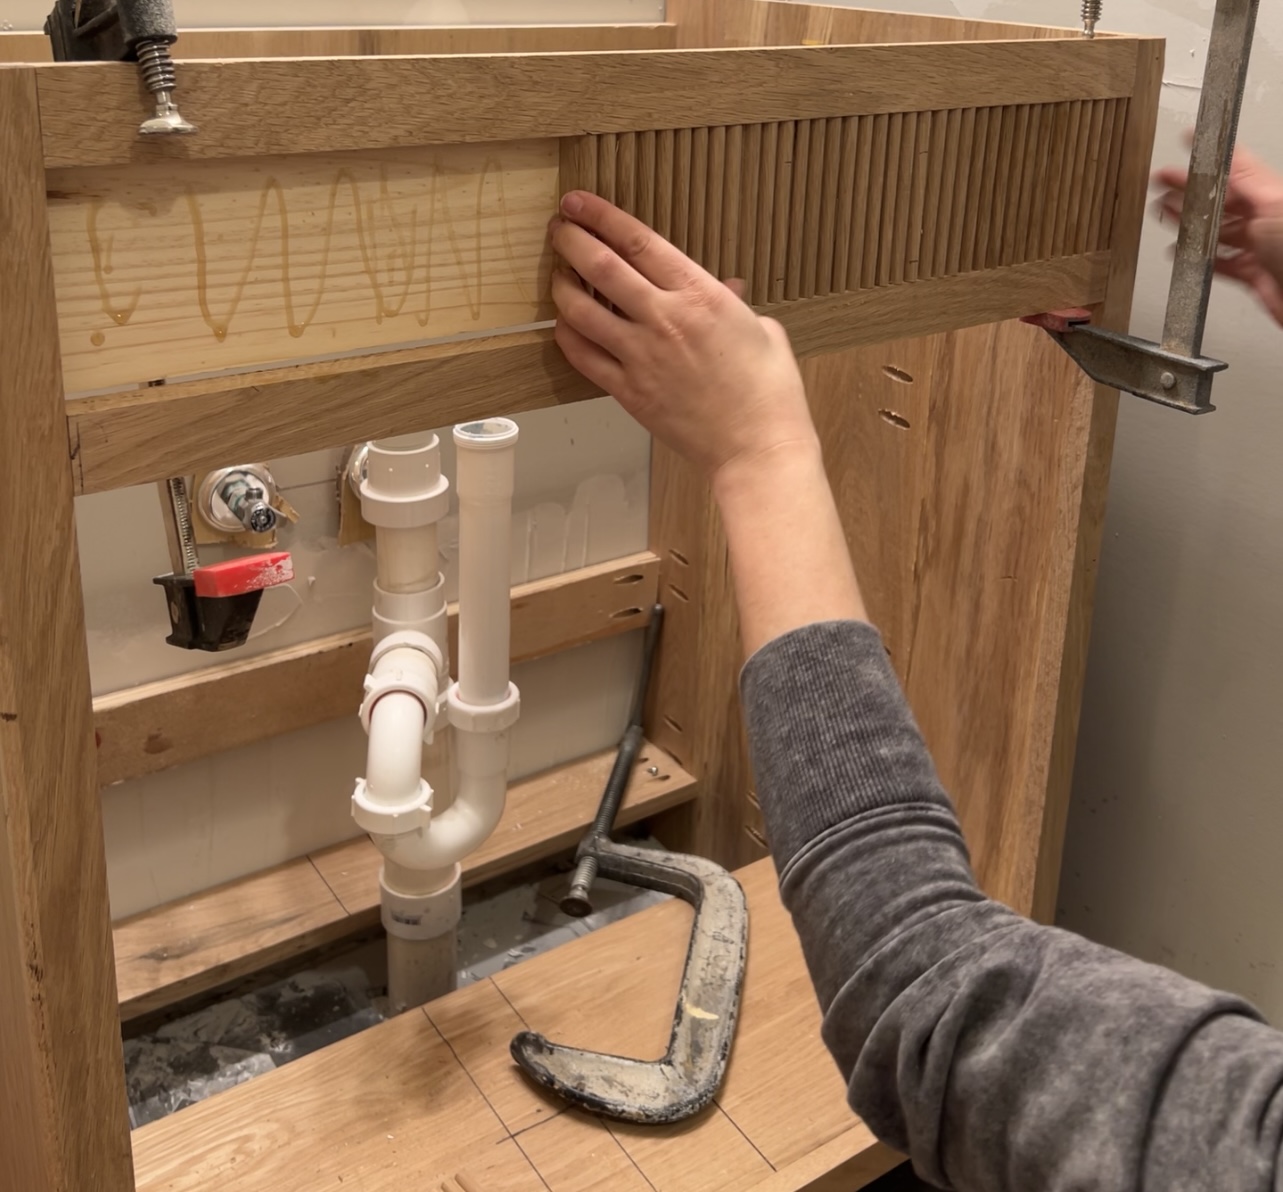
After routing the fluted trim and cutting it to size, use CA glue and glue the trim onto the backboard.
-
7
Cut the doors to size and using the Kreg Hinge Jig drill the cup holes for the hinges.
-
8
Add trim to the door fronts, using CA Glue. (optional)
-
9
Attach the doors to the cabinet. Make sure to have an even reveal on all sides.
-
10
Use a roundover bit to route the trim for underneath the countertop. Cut to size and attach with CA glue. (optional)
-
11
Sand and stain the color of your choice!