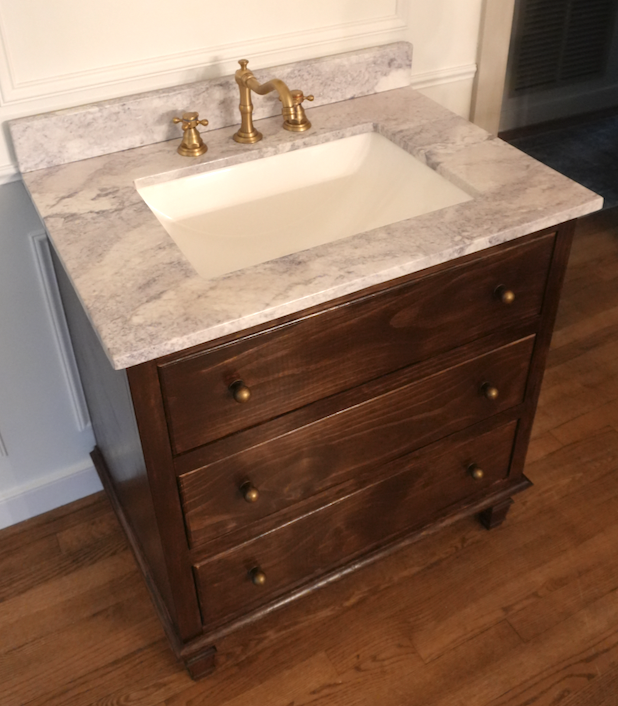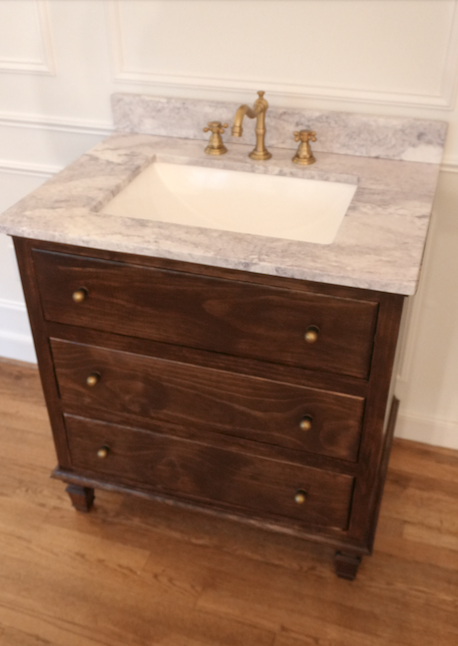
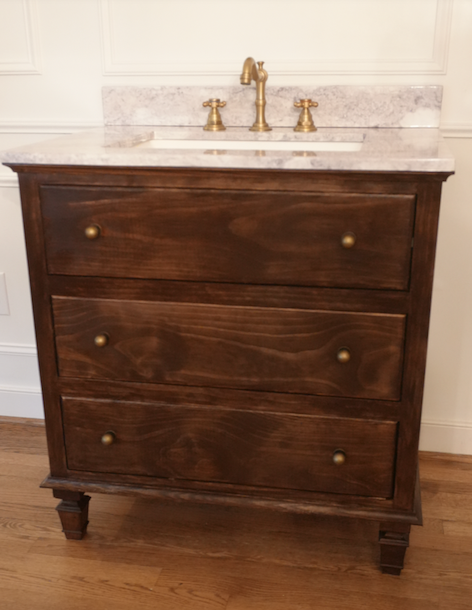


Do you love the charm of antique dressers converted into bathroom vanities, but struggle to find one that fits your space? This project gives you the look and character of a vintage dresser vanity — but built from scratch with modern dimensions and functionality. It’s designed specifically to fit a standard 31” x 22” vanity top, so you get the aesthetic of a repurposed dresser with the reliability, sizing accuracy, and durability of a brand-new build.
Tools
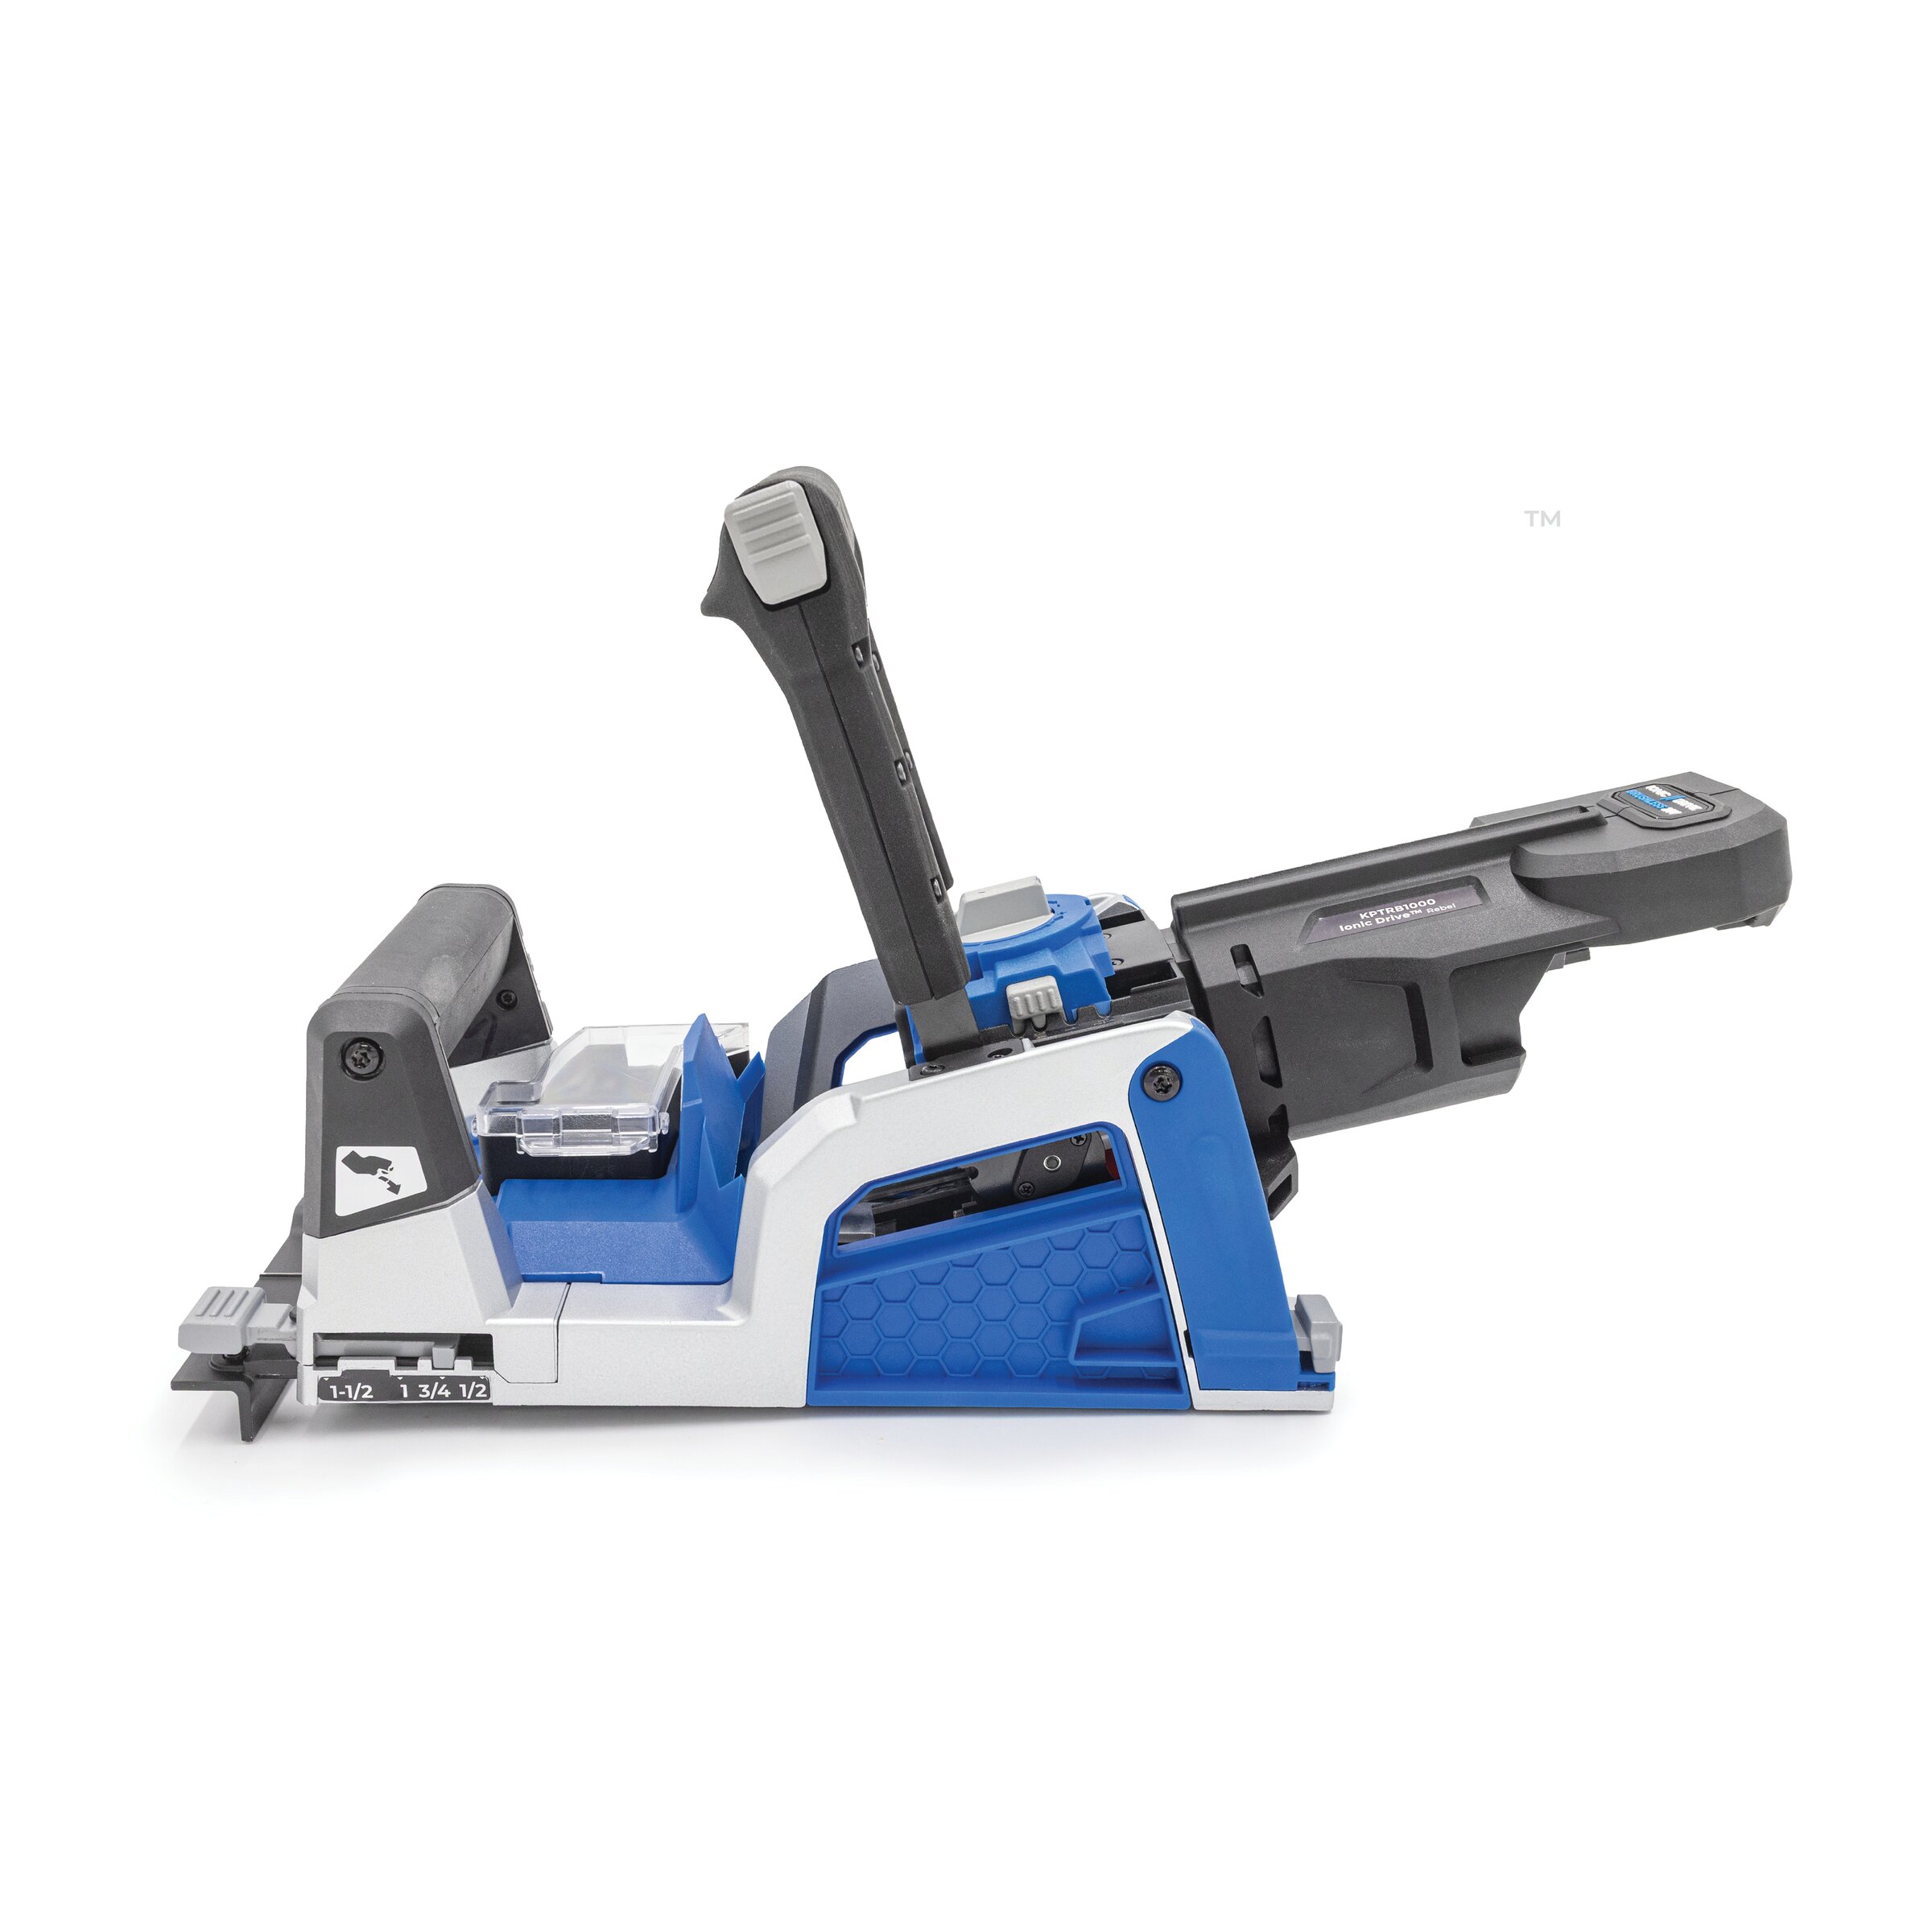
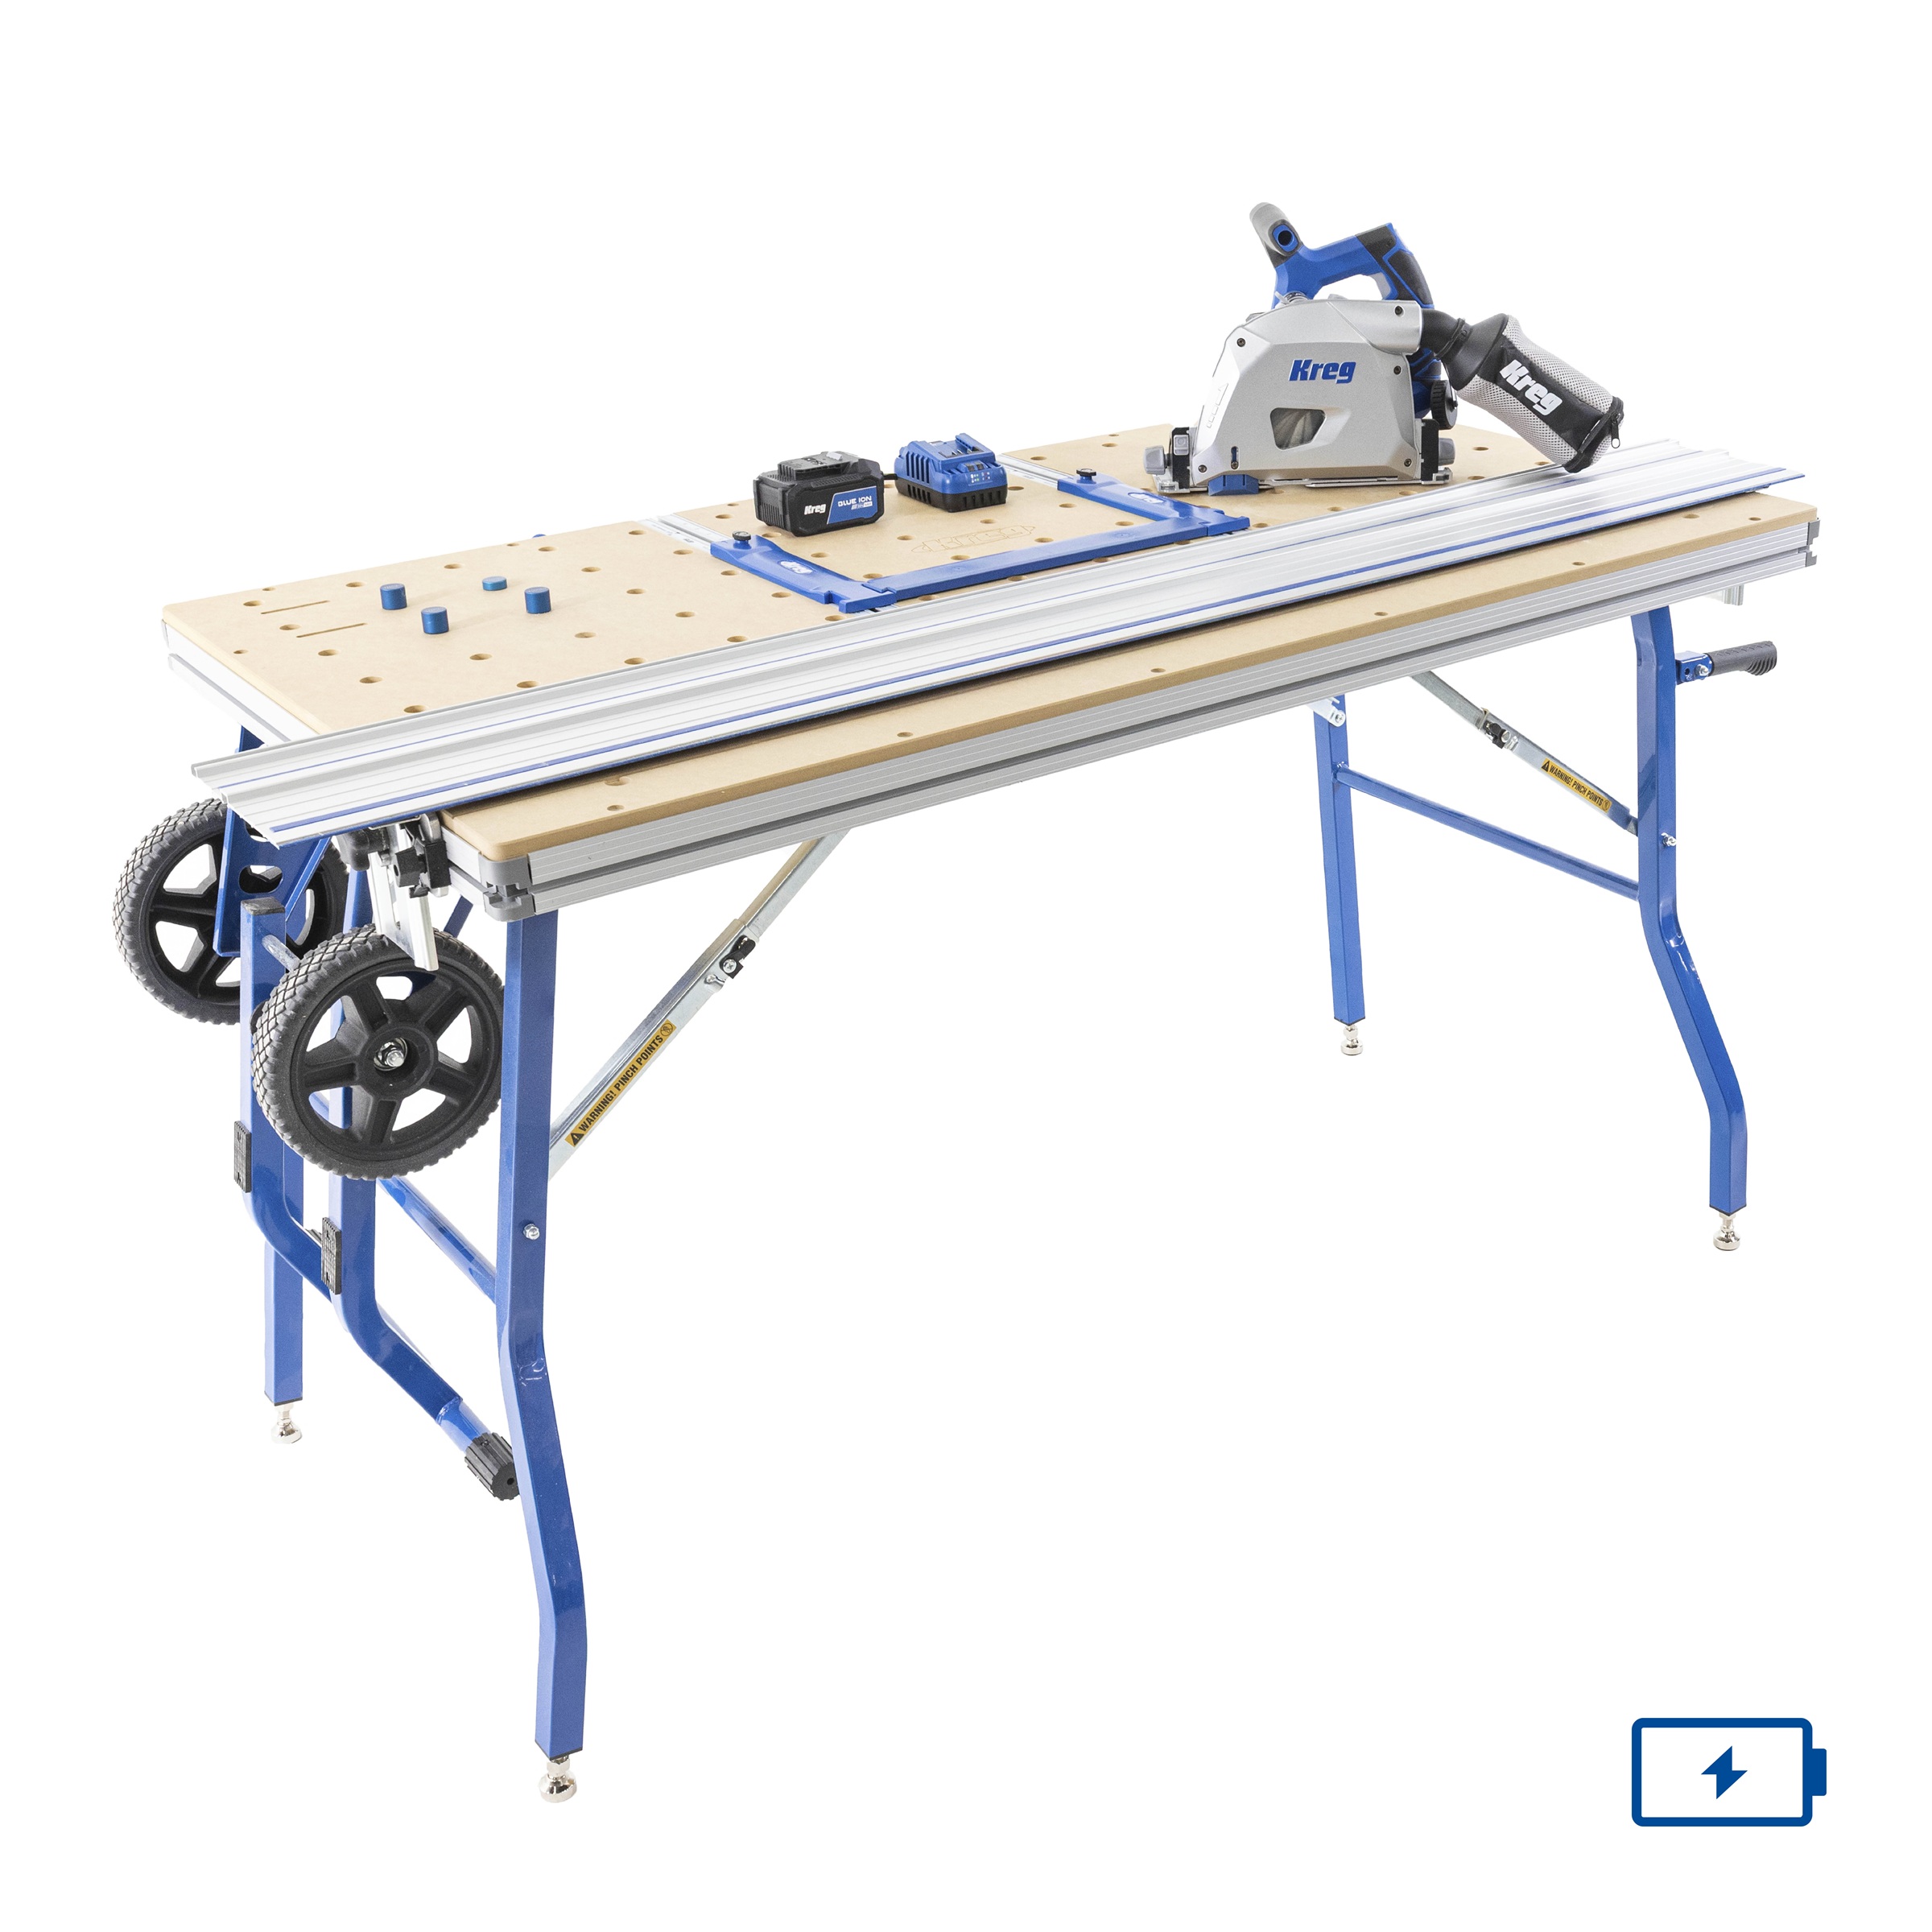
Kreg Tools


Other Tools
-
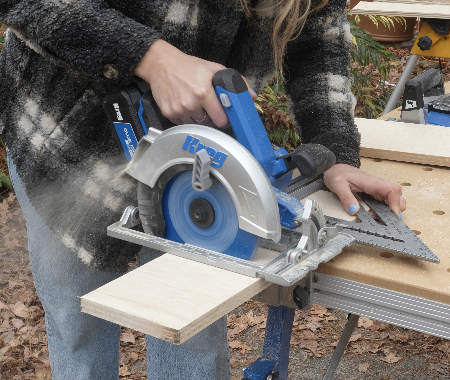
Miter Saw

-
Electric or Pneumatic Nail Gun
-
Measuring Tape
Materials
Wood Products
- 2 Plywood , 3/4" Thick , 4' x 8'
- 1 Lumber , 1" x 8" , 8'
- 3 Lumber , 1" x 2" , 8'
- 1 Lumber , 1" x 4" , 8'
Hardware & Supplies
- 1 Pocket Hole Screws
- 1 1 1/2" Wood Screws
- -- Stain
- -- Top Coat
- -- Hardware
- -- 6" Wood Legs
- 2 Drawer Slides (Pack)
- -- 31" x 22" Counter Top & Sink
- 4 L Shape Brackets
Directions
-
Cut Cabinet Carcass Pieces
From 3/4” cabinet-grade plywood, cut:
-(2) Side panels: 19 3/4” x 25 1/2”
-(1) Bottom panel: 19 3/4” x 28”
-(2) Back supports: 28” x 3 1/2”
-(1) Front support: 28” x 1 1/2”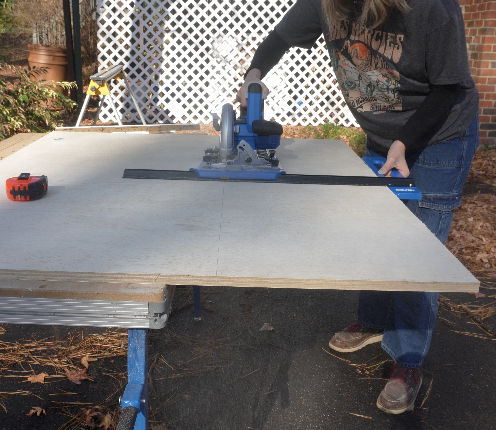
-
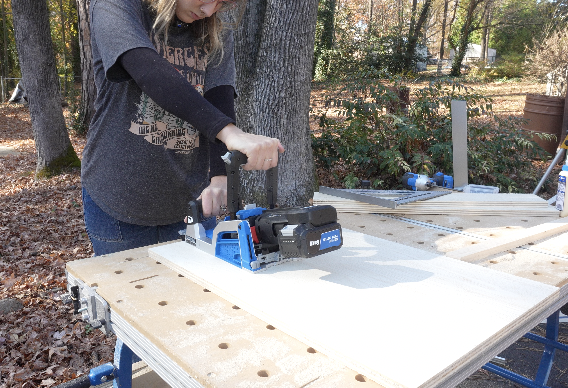
Drill Pocket Holes
Drill pocket holes using a pocket hole jig or rebel pocket hole joiner:
On each end of:
-19 3/4” x 28” bottom panel
-(2) 28” x 3 1/2” back supports
-1 1/2” x 28” front supportAlso drill pocket holes along the front edge of the carcass — these will later be used to attach the face frame.
-
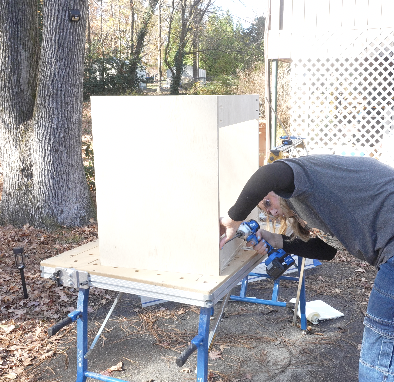
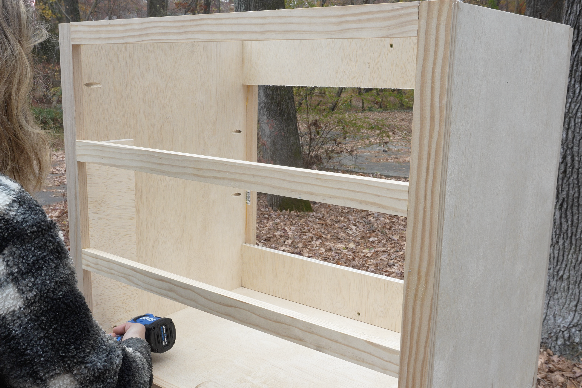
Assemble the Cabinet Carcass
Use wood glue + pocket hole screws.
-Attach the bottom panel (19 3/4” x 28”) between the two side panels.
-Attach the two 28” x 3 1/2” pieces as back braces — one near the bottom, one near top.
-Attach the 1 1/2” x 28” piece as the front support.You should now have a sturdy rectangular cabinet box.
-
Build Base Frame & Apply Legs
Cut 1x4 lumber:
(-2) 29 1/2”
-(2) 12 3/4”Assembly:
-Drill 2 pocket holes on each end of the 12 3/4” pieces.
-Connect the four 1x4 pieces into a rectangle using wood glue + pocket hole screws.
-Attach legs to each corner using glue and screws.
-Attach frame with legs to the bottom of cabinet carcass. Using wood glue and screwsLeg Placement
Set the front legs 3/4” forward from flush — this ensures they remain visible and aren’t covered when you install the face frame and should be flush with the face frame after installed. Also whatever legs you pick out make sure they are 5” to 6 1/2” to bring vanity to proper height.

-
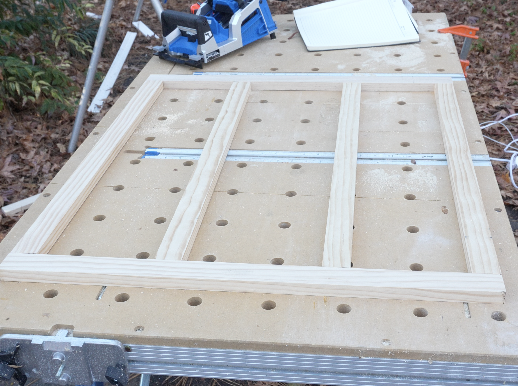
Cut Face Frame Pieces
From 1x2 boards, cut:
-(2) Side frame pieces — 26 1/4”
-(4) Top/bottom & dividers — 26 1/2”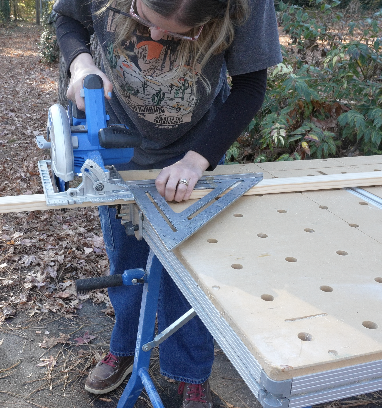
-
Assemble the Face Frame
-Drill pocket holes on each end of the 26. 1/2” face frame pieces (Horizontal pieces.).
-Assemble the outer rectangle of the face frame first — attach the four outer pieces using wood glue and pocket hole screws.
-Once the outside frame is solid, add the two interior vertical dividers.
-Ensure your drawer opening height (clear interior spacing) measures 6 3/4".Checking Frame
Check for square as you go — if the frame starts crooked here, the drawers will bind later.
-
Attach the Face Frame to the Cabinet
Use wood glue along the front edge of the cabinet carcass.
-Align and clamp the face frame into position.
-Using the pocket holes you drilled in STEP 2, drive screws from inside the cabinet into the face frame.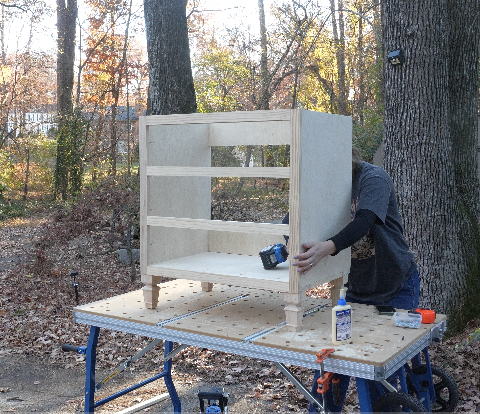
-
Install Drawer Slide Spacer Blocks
Cut:
-(4) scrap plywood pieces — 3 1/2” x 17”Attach using glue + screws:
-One spacer behind each side of the face frame (left and right, front area)
-One spacer at the back of each side (left and right, rear area)Purpose of Pieces
These spacer blocks push the drawer slides outward so they line up flush with the face frame — ensuring the slides don’t hit or get blocked by the front framing.
-
Cut the Drawer Box Pieces
Cut a bunch 5 1/2” inch plywood strips. From your 5 1/2” tall plywood strips, cut:
Drawer Sides:
-(4) — 18”Drawer Front Rails (outside of drawer box, unseen):
-(2) — 24”Back pieces for each drawer (accounting for plumbing clearance):
-Top drawer: (2) — 5 1/4”
-Bottom drawer: (2) — 7 1/4”Interior U-Shaped Supports:
-(4) — 11 1/4”
-(1) — 13 1/2” (front of U for top drawer)
-(1) — 9 1/2” (front of U for bottom drawer)Drawer Bottoms:
(2) — 24” x 16 1/2”Shape of Drawers
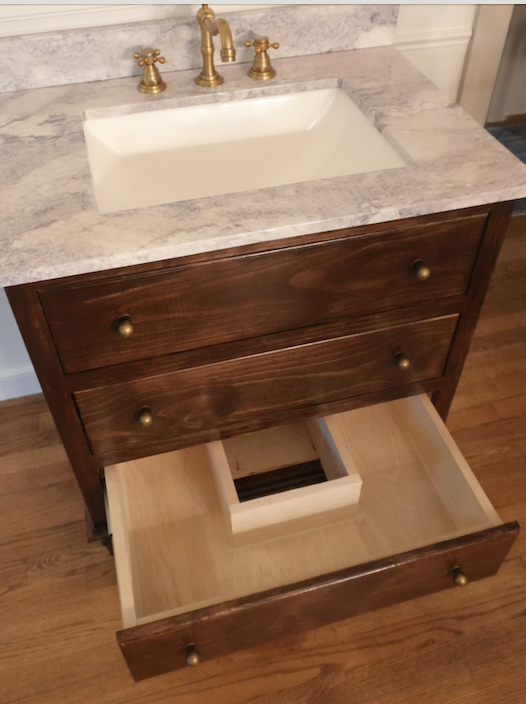
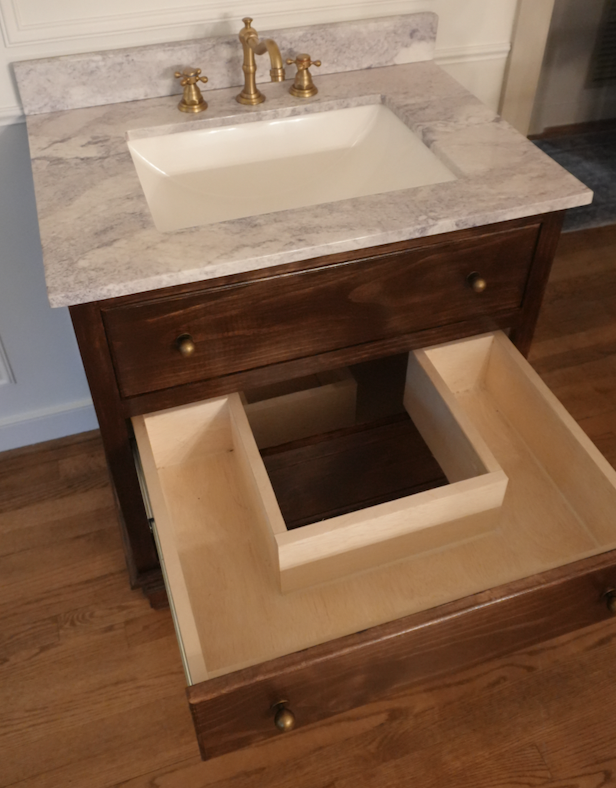
These drawers are specifically designed to work around plumbing pipes — that’s why the back boards are stepped and the U-shape exists. If you go with a vessel sink you can build a 3rd drawer for the top drawer.
-
Assemble the Drawer Box Frames
Build the rectangular outer drawer frames:
-Drill pocket holes on both ends of each 24” piece.
-Attach these between the two 18” side pieces using glue and screws.
Now you should have two rectangular drawer frames.Build the interior U-shaped supports:
-Drill two pocket holes at one end of each 11 1/4” piece.Attach:
-(2) pieces to the 13 1/2” cross-piece (for the top drawer)
-(2) pieces to the 9 1/2” cross-piece (for the bottom drawer)
Make sure the pocket holes face inside so they are hidden.Install these inside the drawer box:
-Drill pocket holes into each end of the:
-5. 1/4” pieces (top drawer backs)
-7 1/4” pieces (bottom drawer backs)Attach:
-5 1/4” boards to the top drawer interior U and then into the drawer box frame
-7. 1/4” boards to the bottom drawer interior U and then into the drawer box frameUse glue + pocket hole screws.
You should now have two drawer boxes with a U-shaped cutout inside to allow plumbing clearance.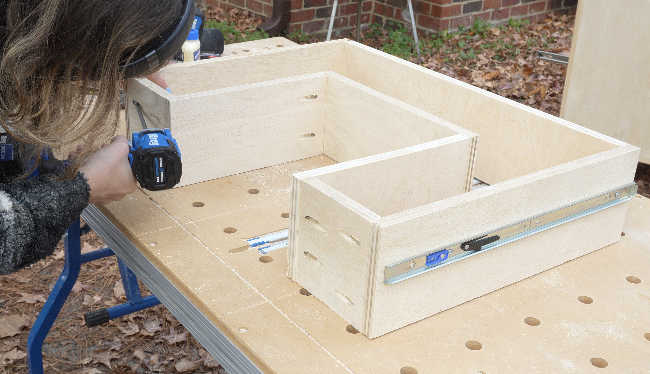
-
Install Drawer Bottoms
You previously cut:
-(2) bottoms at 24” x 16.5”Now trim each bottom to match the internal plumbing cutout:
Top Drawer Bottom:
-Measure 5 1/4” inward from both sides
-Then measure 11 1/4” from the back edge
Use these marks to cut out the rear clearance notchBottom Drawer Bottom:
-Measure 7 1/4” inward from both sides
-Then 11 1/4” from the back
Cut out this notchOnce the bottoms drop in nicely with no gaps:
-Drill pocket holes along the underside perimeter.
-Screw the bottom into the drawer sides using pocket hole screws.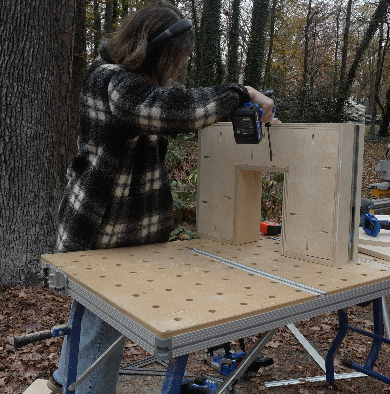
-
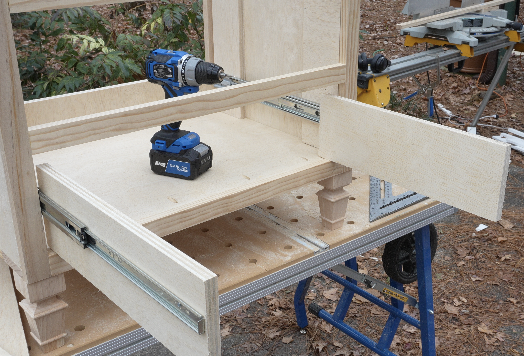
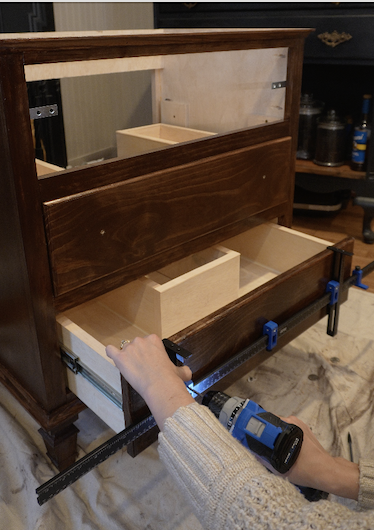
Drawer Slides
-On each drawer box side, measure 2 3/4” up from the bottom and draw a straight horizontal reference line.
-Position the drawer-mounted half of the slide just below that line, keeping it perfectly parallel.
-Secure the slide to both sides of the drawer box — screw in the front screw first, check alignment, then add remaining screws.
-Now place a 1/8” spacer between the drawer and the face framing or bottom of cabinet. This insure the drawers will open and close without catching on anything.
-Use this spacing to mark where the cabinet-mounted half of the slide should sit.Install the cabinet slides on both sides, ensuring:
-they sit flush with the face frame
-they remain perfectly straight front-to-backDrawer Slide Installation
I recommend installing the slides before final drawer box assembly, when the sides are flat and easy to work with. This lets you confirm measurements and make micro-adjustments much more easily.
-
Drawer Fronts
Take a 1x8 board (actual width ~7. 1/4”).
Cut:
-(3) pieces at 26 3/4” x 6 5/8” — these are your drawer fronts.Lightly sand all edges and corners.
Finished Edge
Use a trim router with a 1/4” round-over bit to soften the front-facing edges for a more finished, furniture-grade look.

-
Optional Decorative Trim
Choose a decorative trim or molding that measures approximately 3/4” tall.
Cut:
-(2) trim pieces at 29” with 45° miter cuts on both ends (top & bottom front)
-(4) trim pieces at 20” Each gets one 45° miter cut on one end and a straight cut on the other end-Ensure two pieces mirror each other for the left side, and two mirror for the right side.
Position trim:
-The 29” mitered pieces attach along the top and bottom of the vanity front.
-The 20” pieces run vertically on the left and right sides, fitting into the miter corners.
Attach with wood glue and a brad nailer.Don't Have Nail Gun
If you don’t have a nail gun, wood glue + clamps works great — just allow full drying time before removing clamps.

-
Stain, Top Coat, and Finishing
-Apply your choice of stain or paint finish to all visible wood surfaces.
-After stain/paint has fully dried, apply 8 coats of clear topcoat (poly, lacquer, or waterproof finish) to protect the vanity from moisture exposure.
-Lightly sand between coats (320–400 grit) for a smooth finish.
-(Optional) Apply edge banding to the tops of the drawer boxes for a clean, seamless appearance.
-(Optional) Add L-shaped metal brackets to the upper cabinet frame for additional reinforcement beneath the countertop.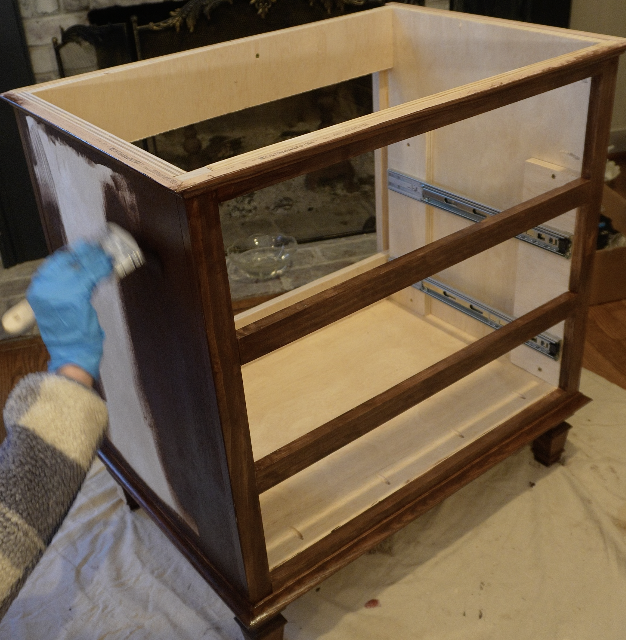
-
Attach Drawer Fronts & Install Hardware
-Use spacers or playing cards to evenly position the drawer fronts, ensuring consistent gaps.
-From inside the drawer box, drive screws through the drawer box into the drawer front to secure.
-Use a T shaped bracket to attach faux top drawer
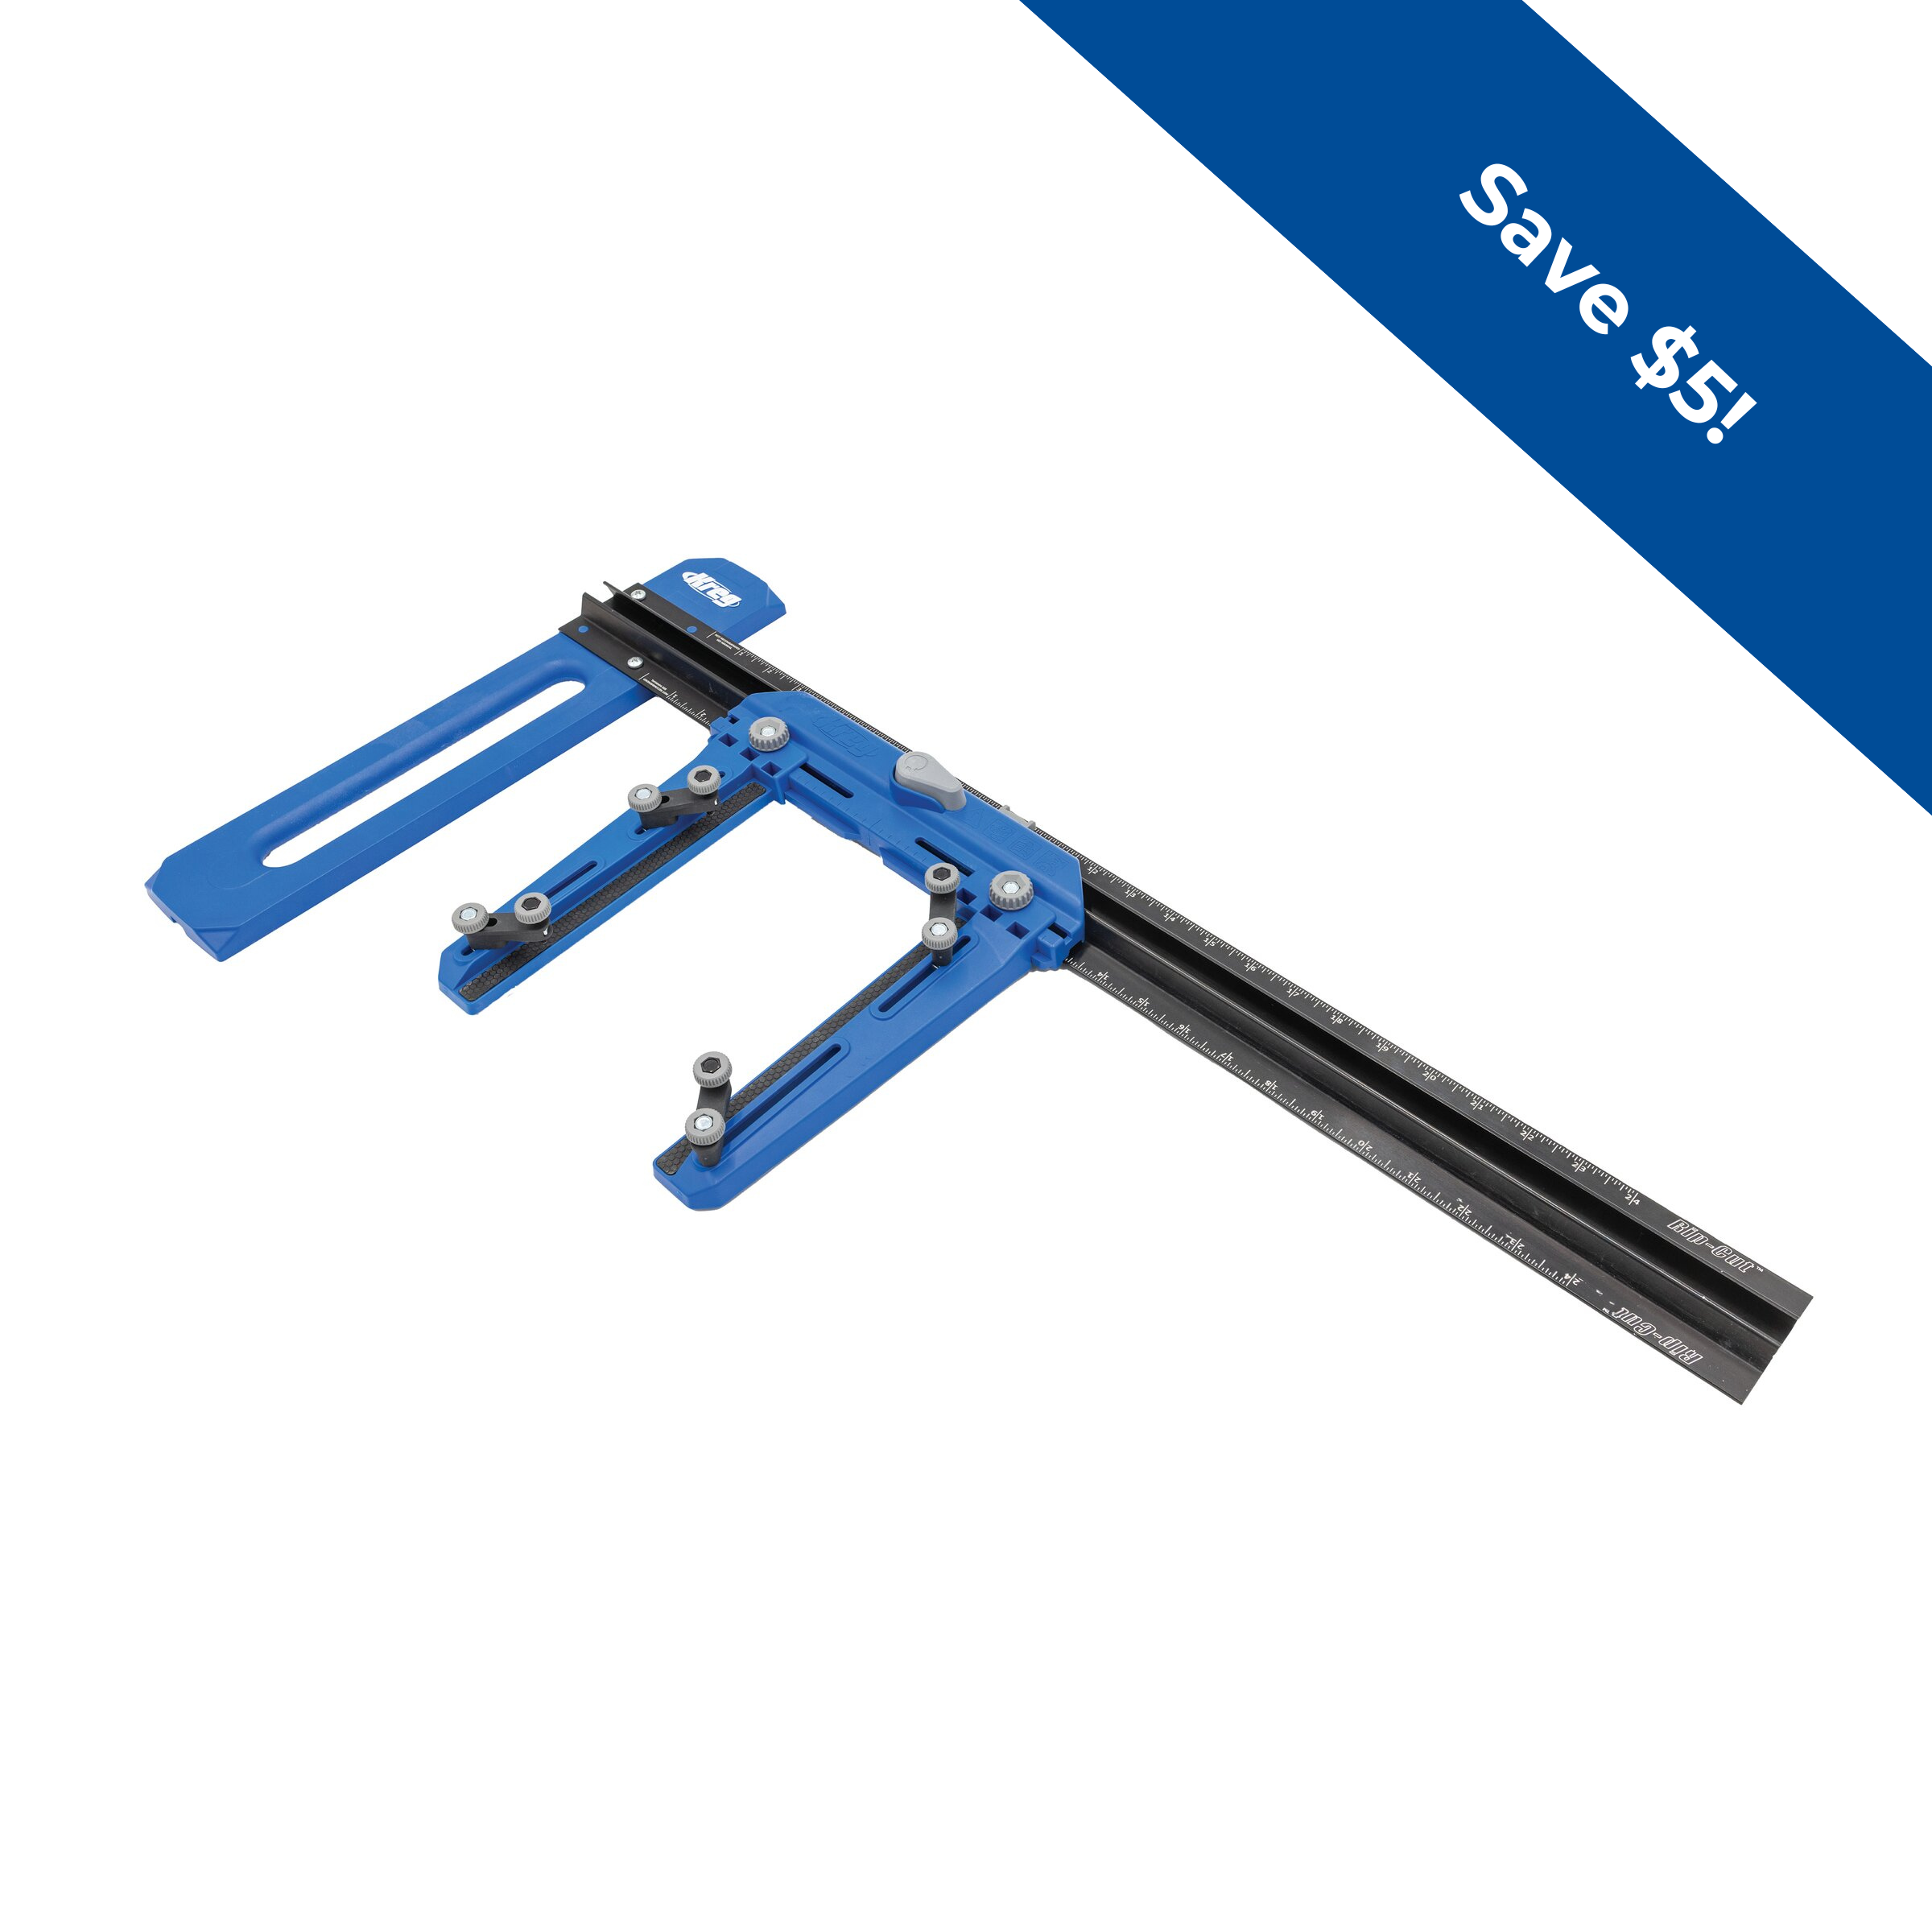
-Choose and install drawer hardware (pulls, knobs, etc.).Hardware Installation
For precise and perfectly aligned hardware placement, I highly recommend using the Kreg Cabinet Hardware Jig — it ensures every pull/knob is identical in spacing and height.
-
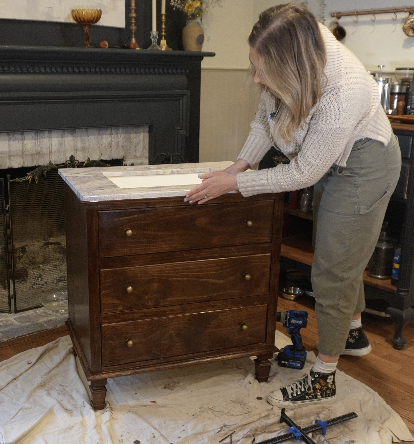
Counter Top Installation
Apply Silicone to top of cabinet and stick counter top in place.
-
You’re Done!
Admire the stunning, custom-built dresser-style vanity you created from scratch — you built a professional piece of furniture with your own hands!