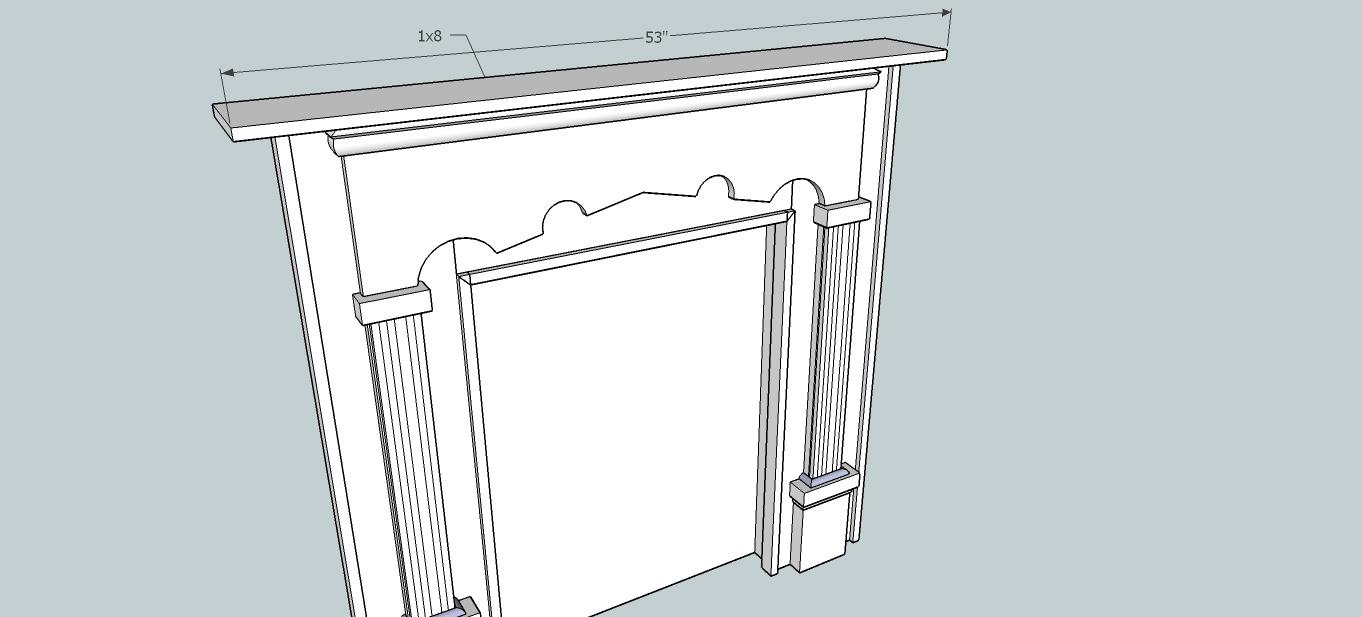
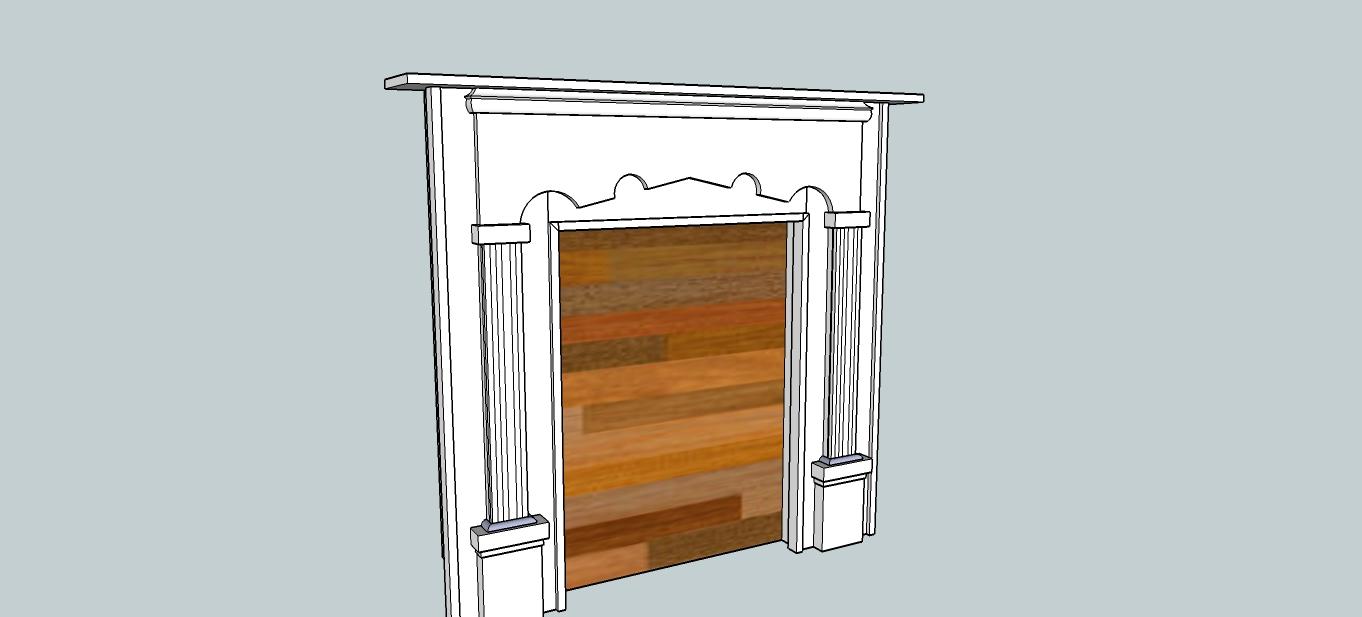
Faux Fireplace
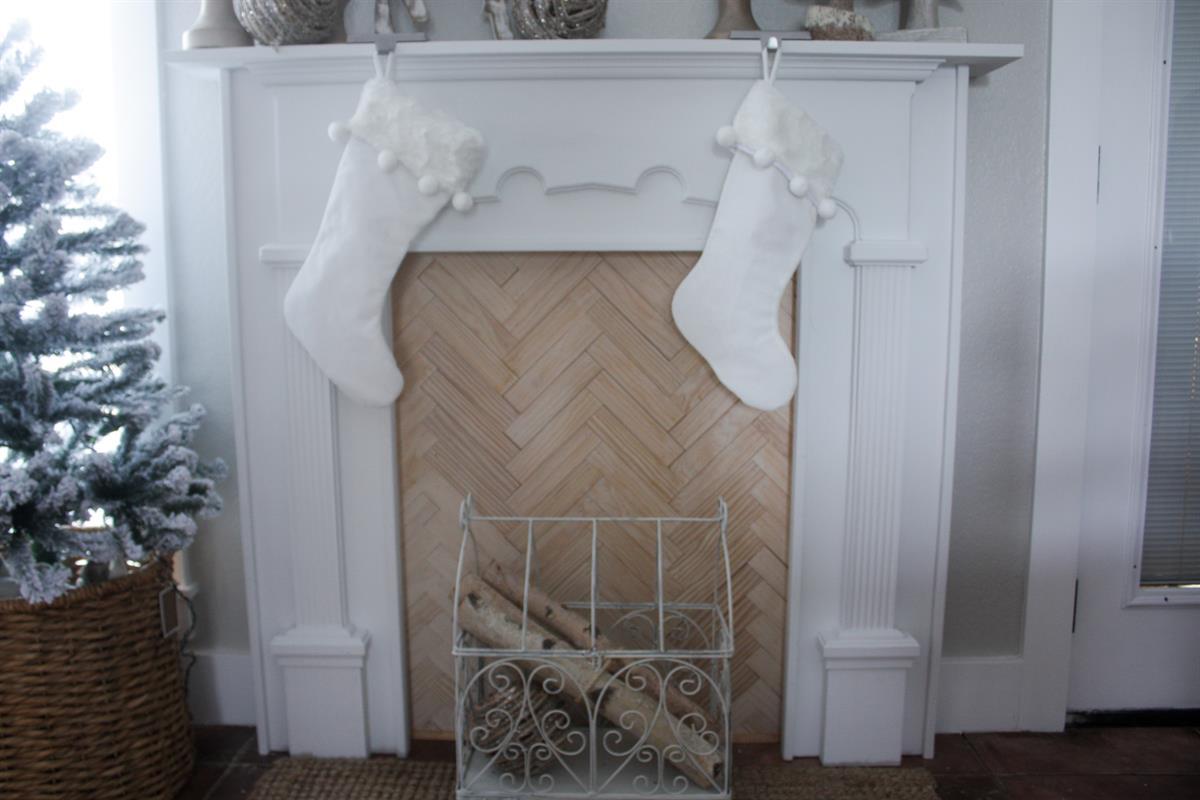
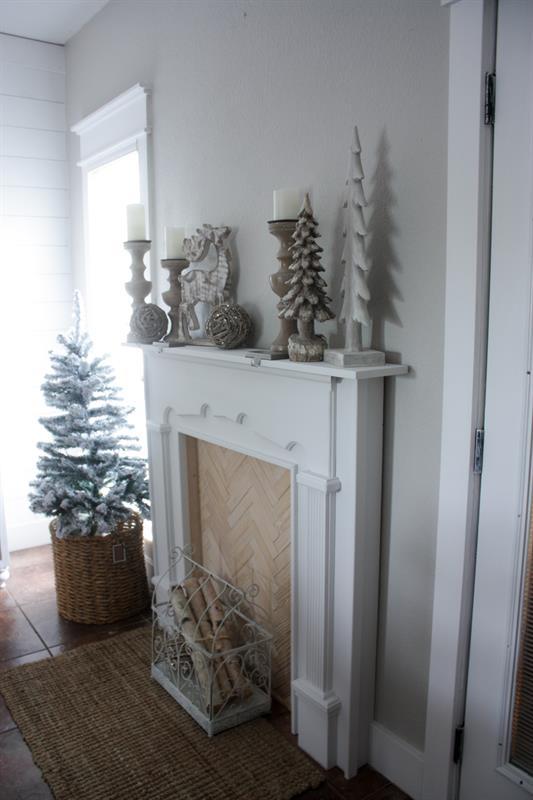
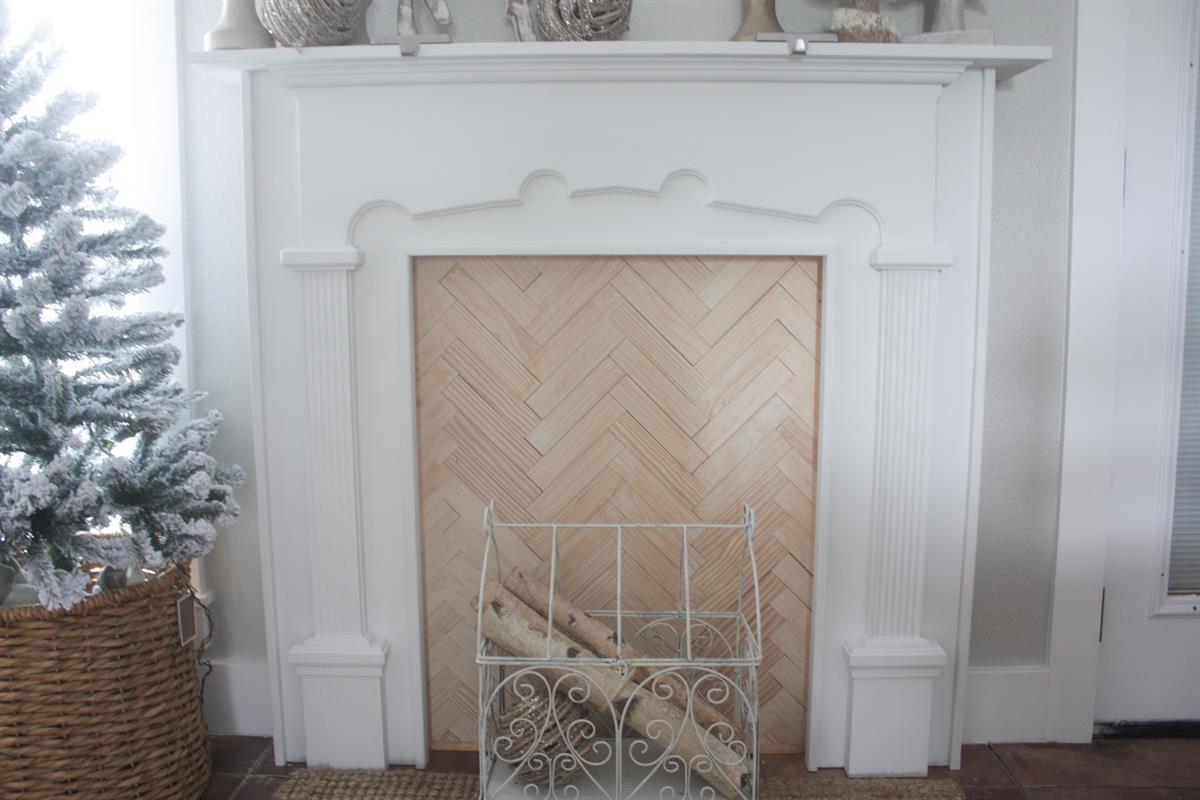
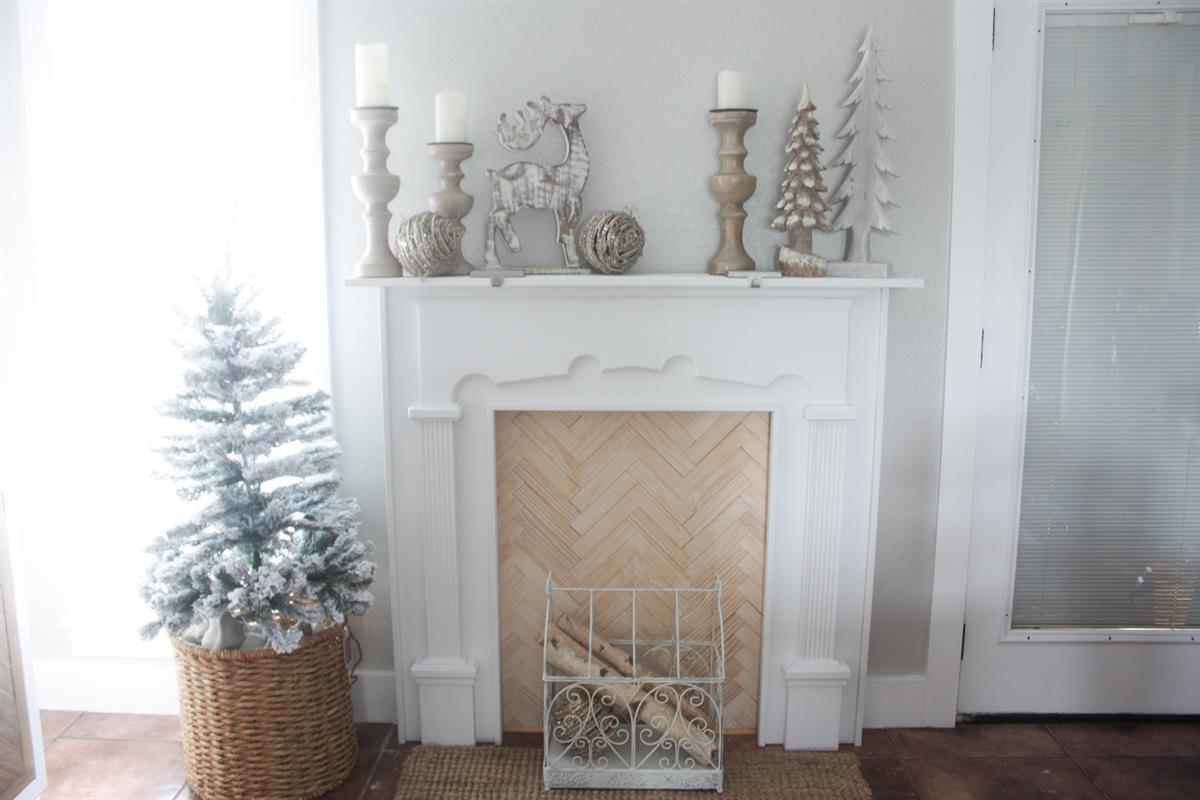
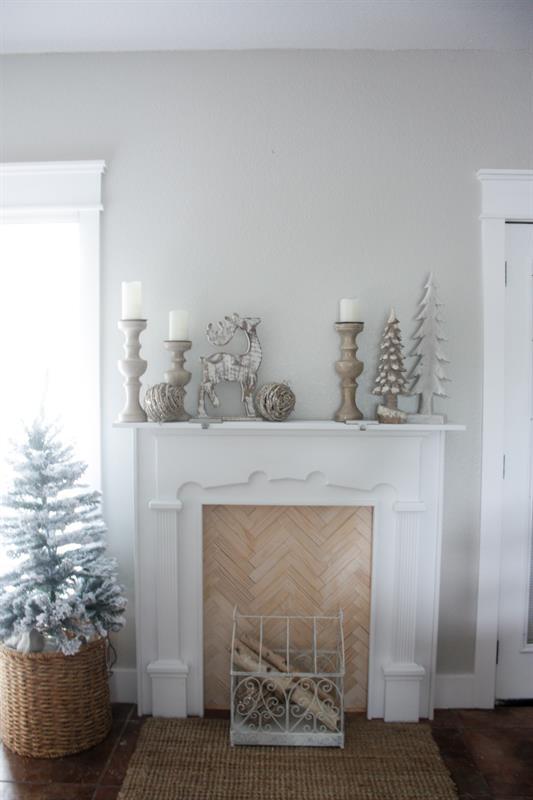
By The Inspired WorkshopJust in time for the holidays, a place to hang your stockings!!! Whether your home is lacking a fireplace, or you just want to add some beauty to another room in your home, this fireplace is just the right piece to accomplish it!!
Directions
-
Step 1
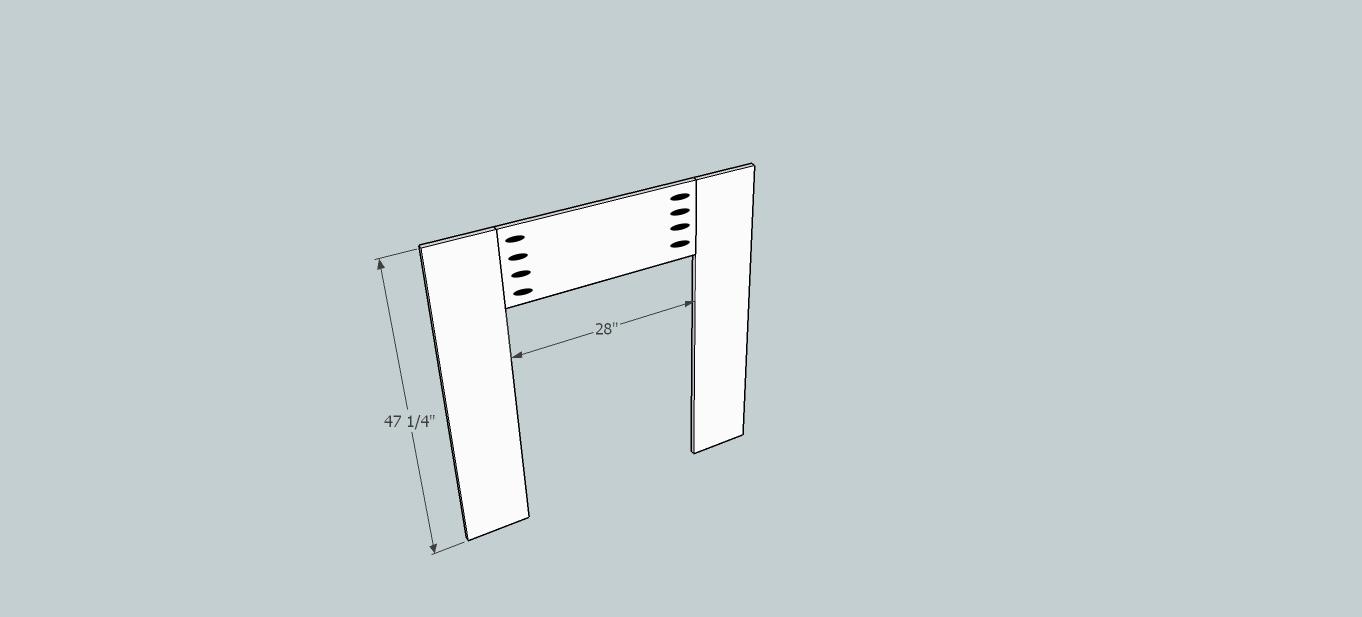
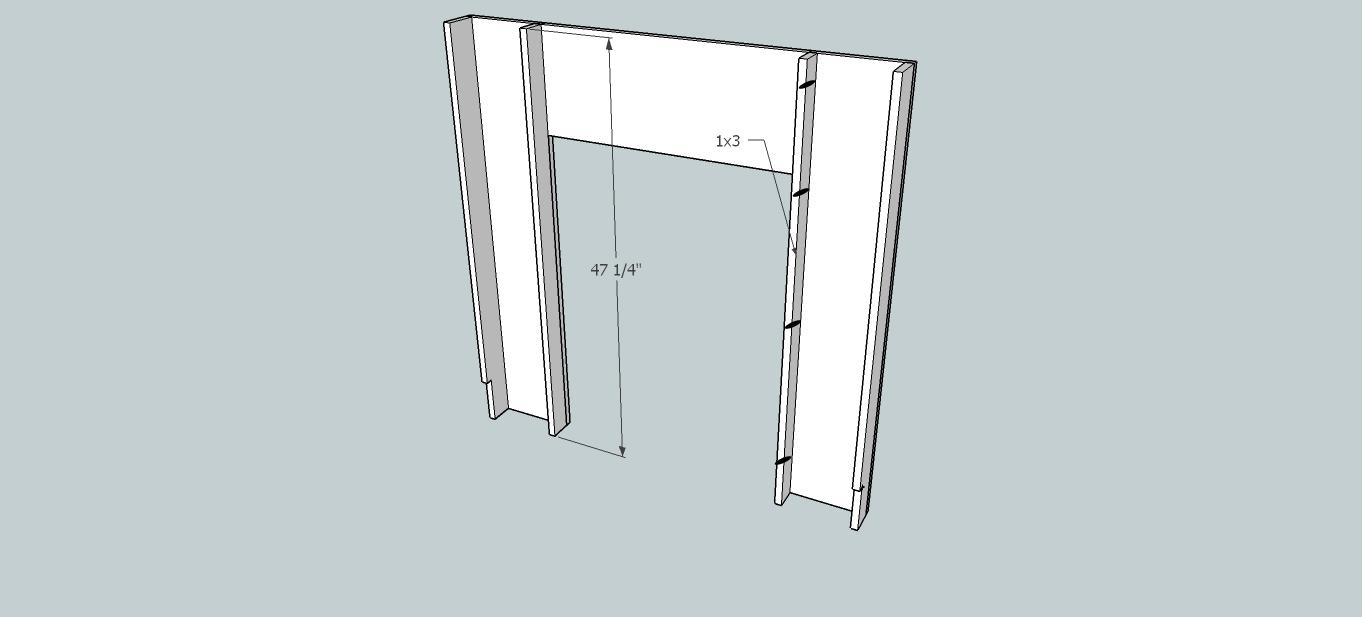
Attach the legs (pillars) to the header! Use pocket holes drilled at 3/4" and pocket hole screws that are 1 1/4"! Make sure and glue all pieces as well throughout the plan! Note: Black ovals throughout the plan indicate where to drill pocket holes!
-
Step 2
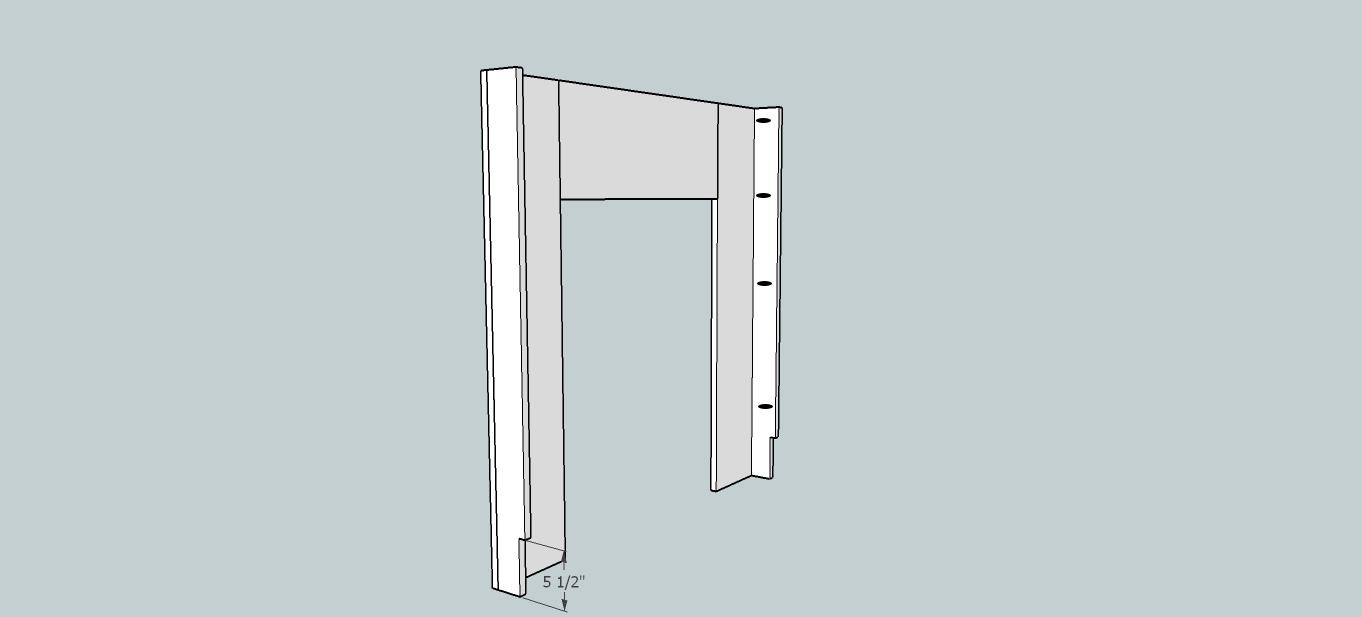
Attach Sides to the legs! The pocket hole drill depth will not change in this plan, they will all be drilled at 3/4" depth and 1 1/4" screws will attach! I notched out the bottoms of my boards to account for the baseboards so it would sit flush against the wall, this is not absolutely necessary just helps it sit flush!!
-
Step 3
Attach the trim panels! Again, using 3/4" pocket holes and 1 1/4" screws and glue to attach!!
-
Step 4
Attach top trim panel! Same pocket holes and screws!!
-
Step 5
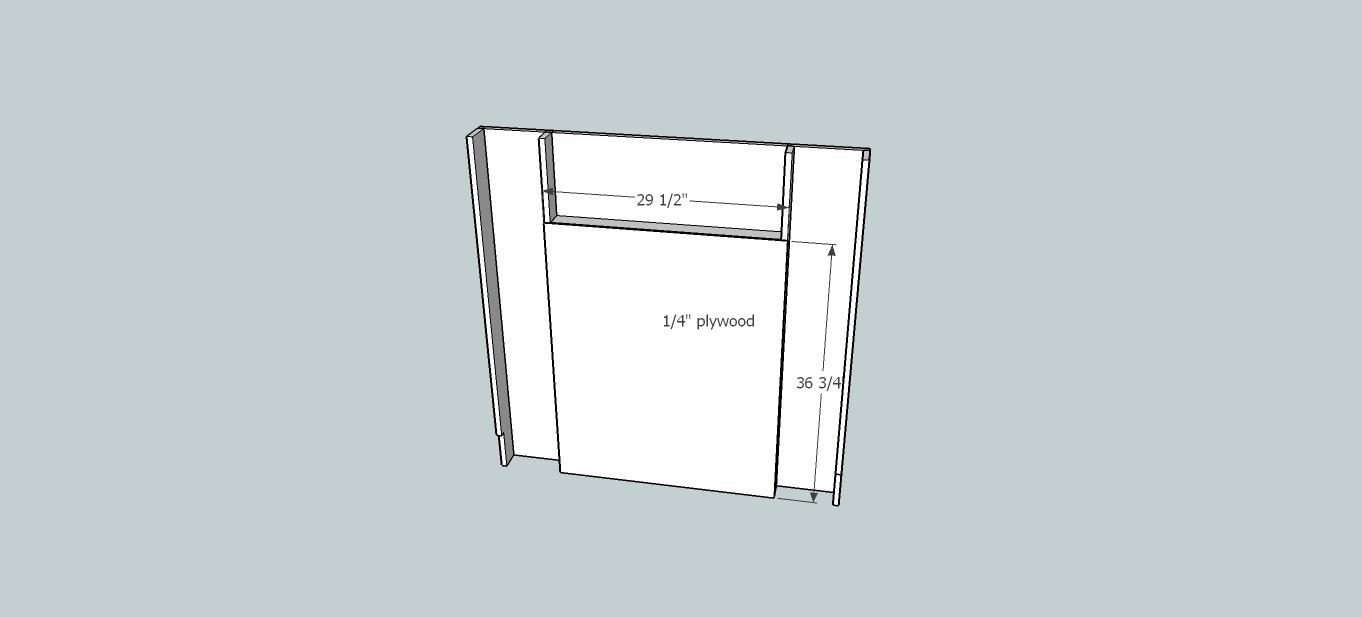
Attach 1/4" plywood to the back of the fireplace! Use glue and 1 1/4" brad nails to attach!
-
Step 6
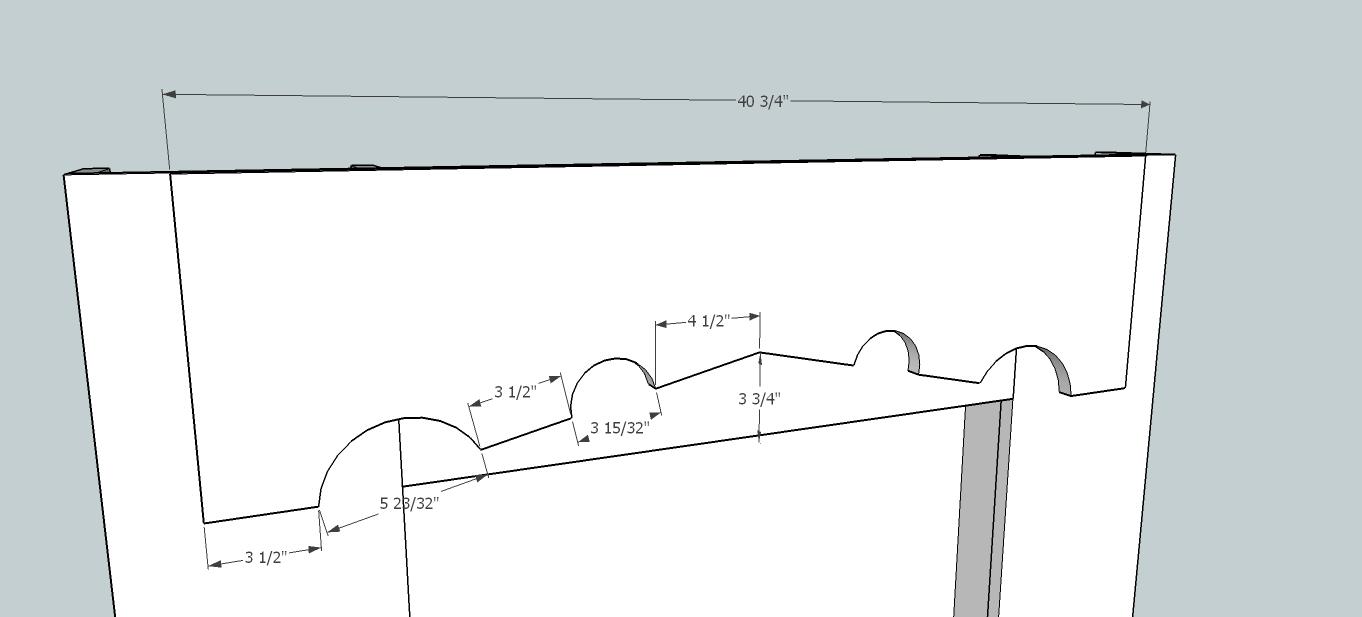
Create and attach the Header Overlay! I used paint cans to trace for my circular cutouts and then used a jig saw to cut them all out, I gave measurements as best I could here but I really was just winging it when I cut mine! After cutting the design I went back and gave it a little dimension with the router! I used the 5/32 roman ogee out of my ryobi router bit set! Note: the sketchup photo below does not show any routing!
-
Step 7
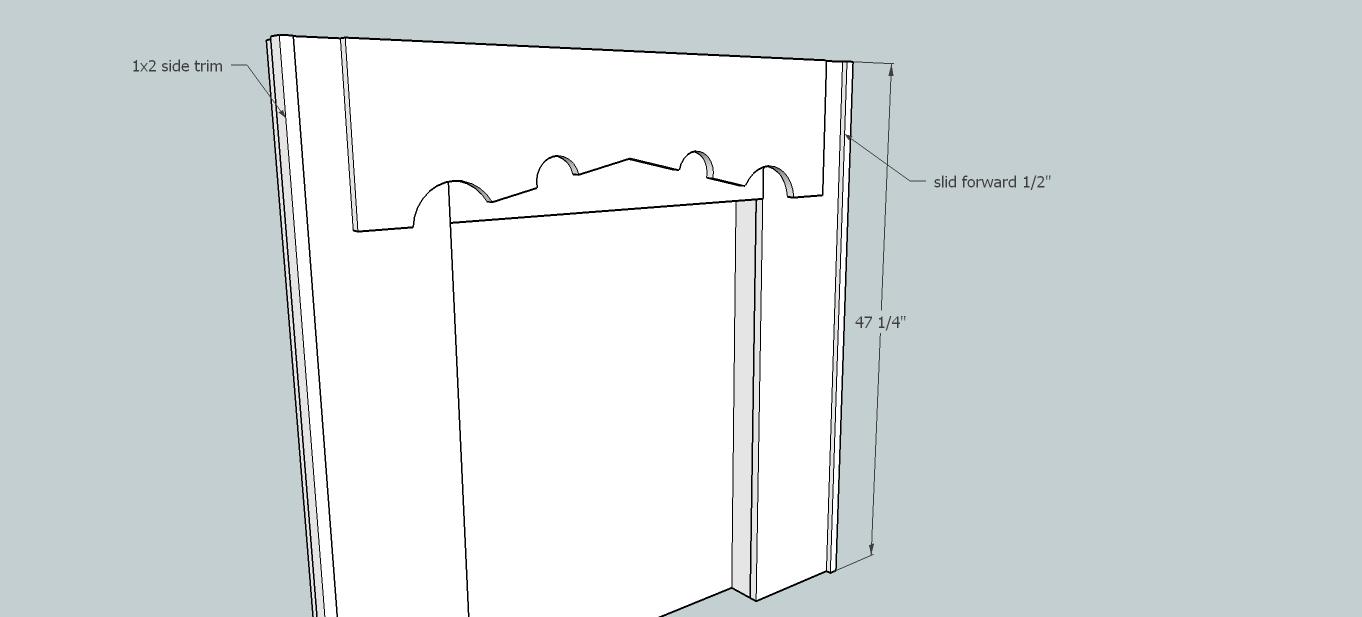
Add Side trim to the sides of the fireplace! Use 1 1/4" brad nails and glue to attach!
-
Step 8
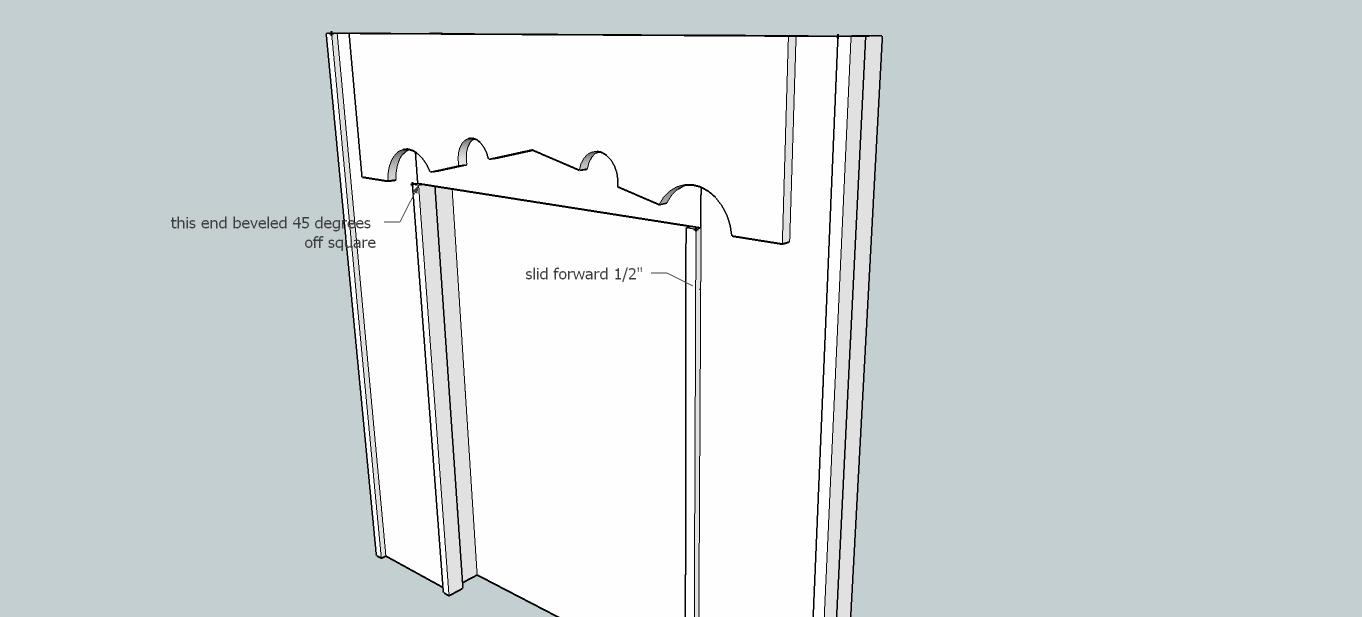
Add inside firebox trim, again just glue and brad nail this on! Make sure top end is beveled at 45 degrees off square! Note my sketchup picture is not beveled as yours should be!
-
Step 9
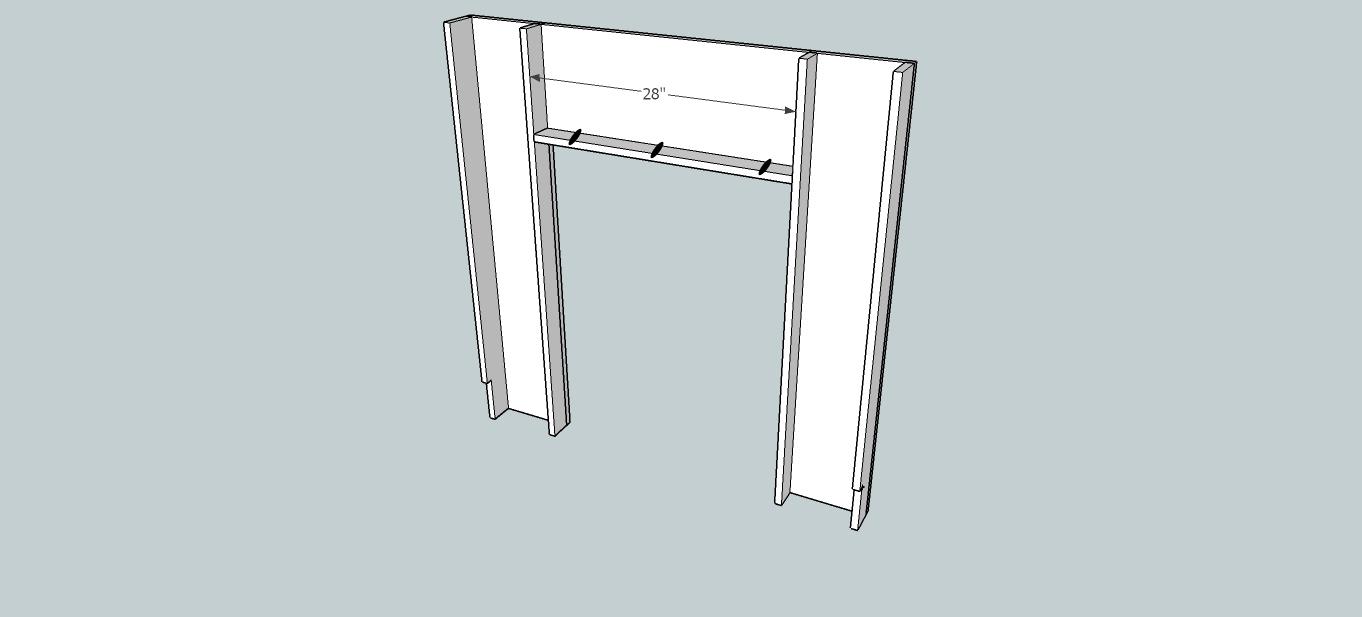
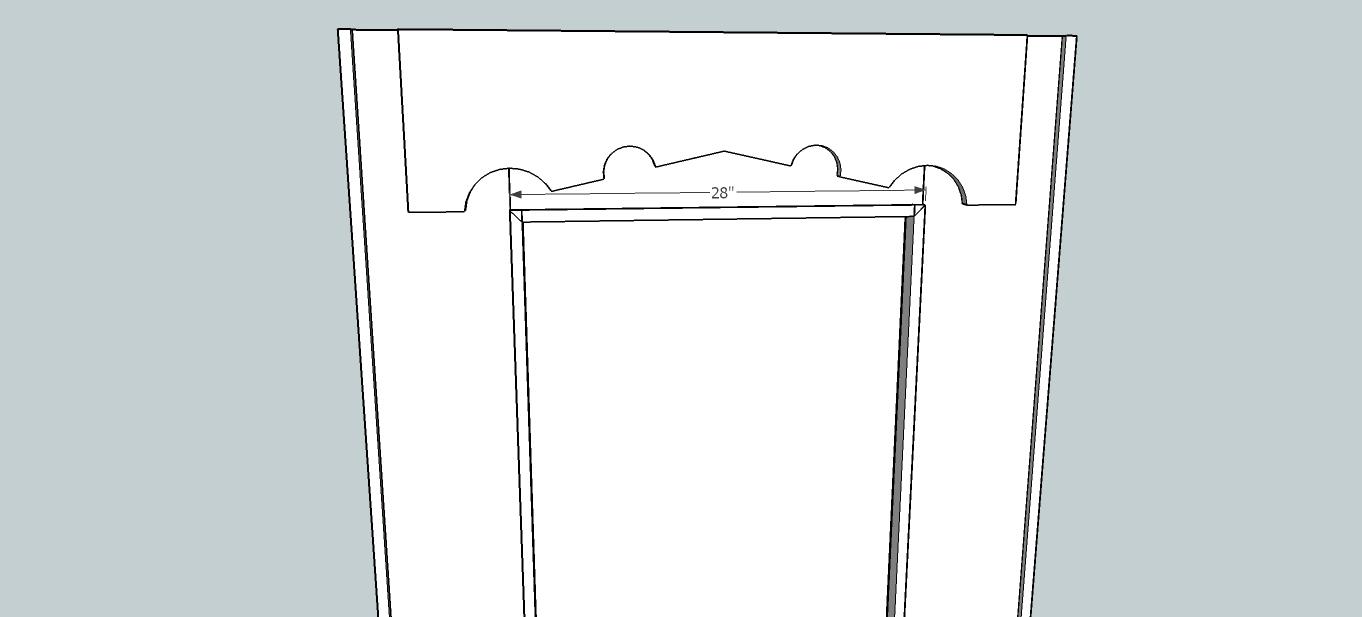
Add top firebox trim which is beveled on both ends at 45 degrees off square, not parallel and should measure 28" from longest end to longest end! Pretend those are beautiful beveled ends in the photo! Attach with 1 1/4" brad nails and glue!
-
Step 10
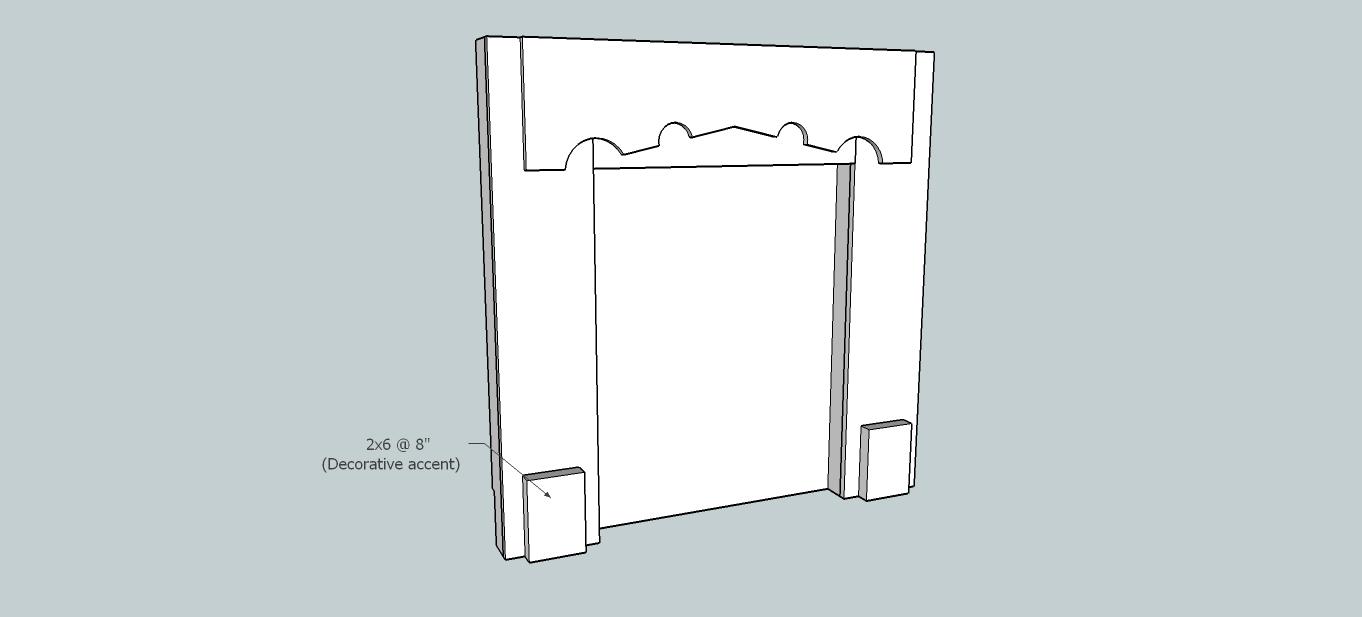
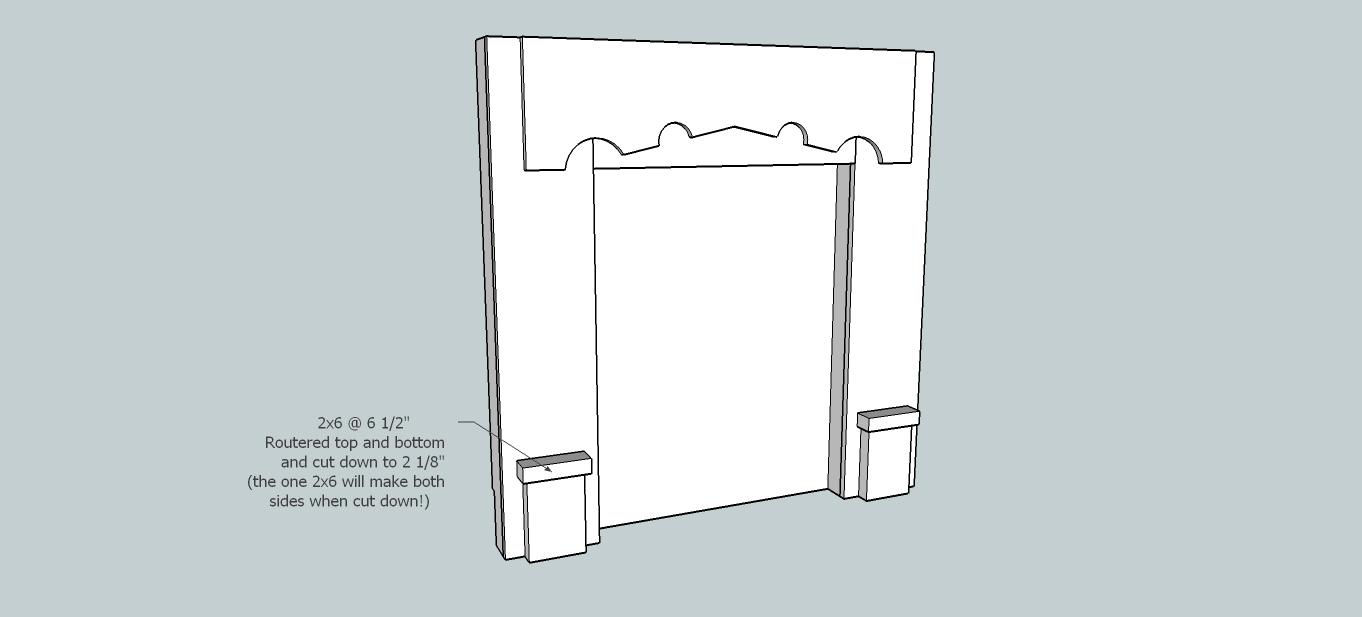
Now we can get busy on the final touches to make it beautiful!! I started at the bottom and added the 2x6 decorative accent pieces!
-
Step 11
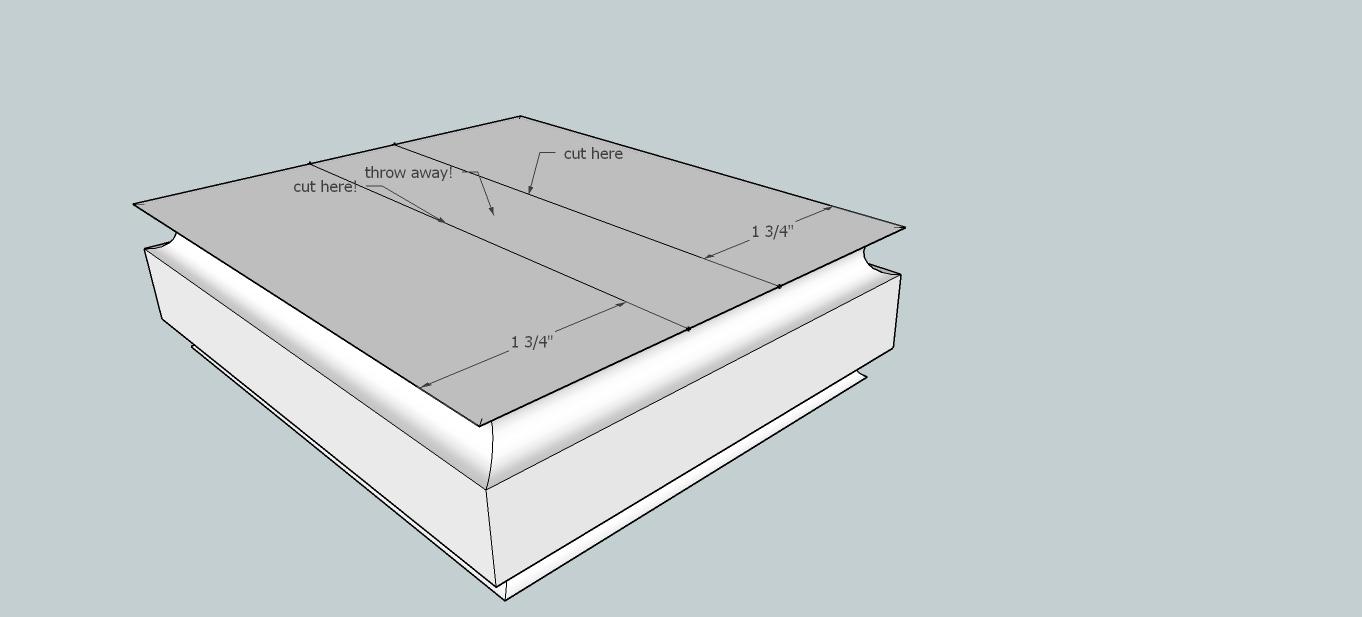
Next we will add the 2x6 @ 6 1/2" routered on both sides! What I did here was take a 2x6 cut at 6 1/2" and routered all the way around the top side, flipped it over and cut it all the way around the bottom side! Then I cut it into 2 pieces longways at 2 1/8" each! Does that make sense? Here again, my sketchup photo is just the 2x6, it isn't routed in the photo!
-
Step 12
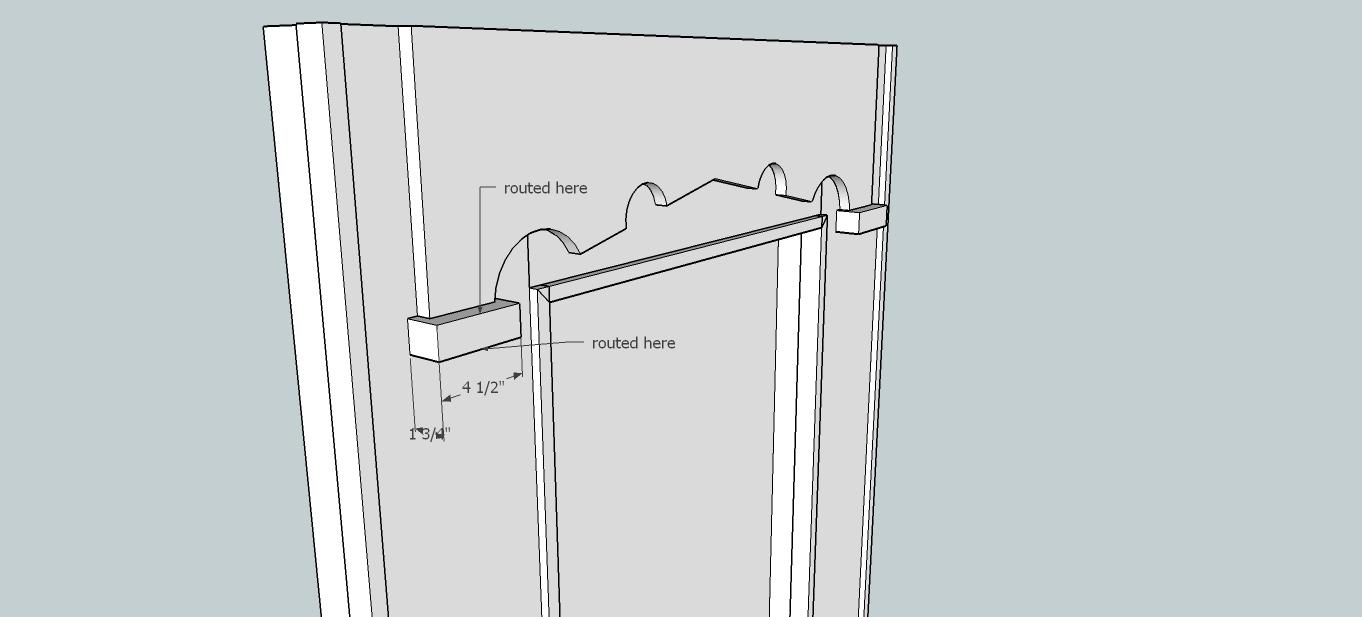
Completing the same process we used last step we are cutting a 2x6 @ 4 1/2" and routing the top and bottom again, then cutting it down to 1 3/4" to make us both pieces we need!
-
Step 13
Here's a little visual to help out if the above two steps didn't make sense!
-
Step 14
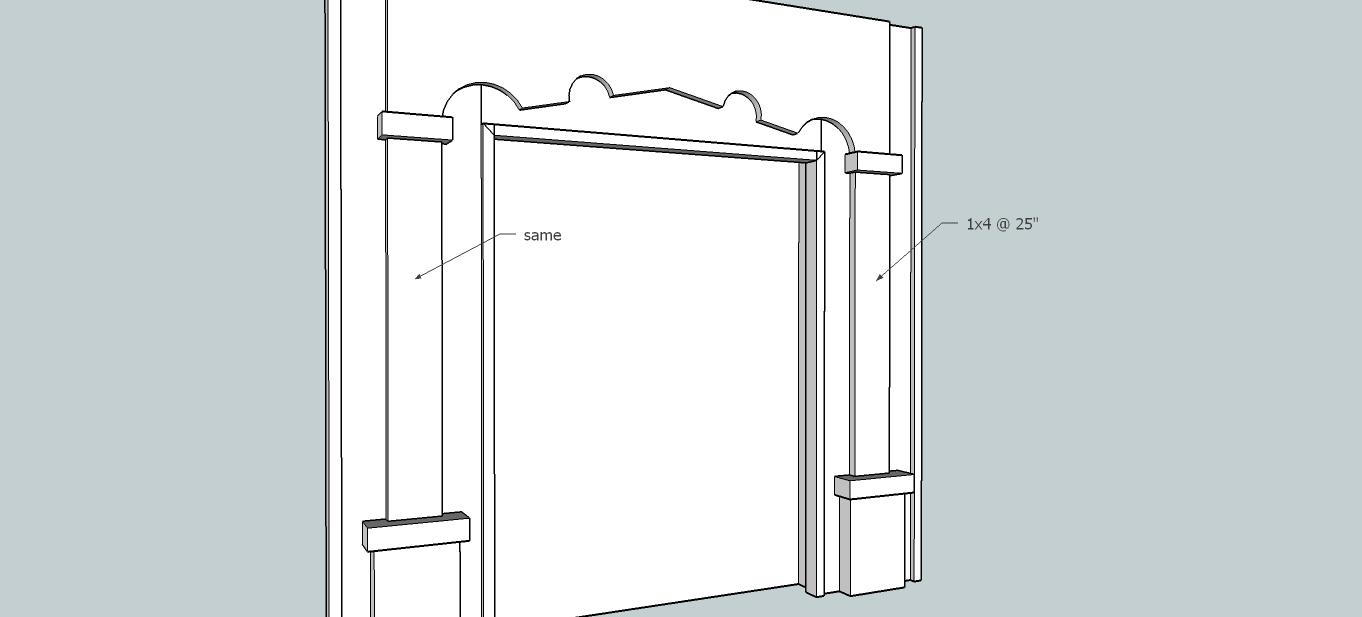
Next attach your leg accent pieces! They are just glued and brad nailed with 1 1/4" brad nails!
-
Step 15
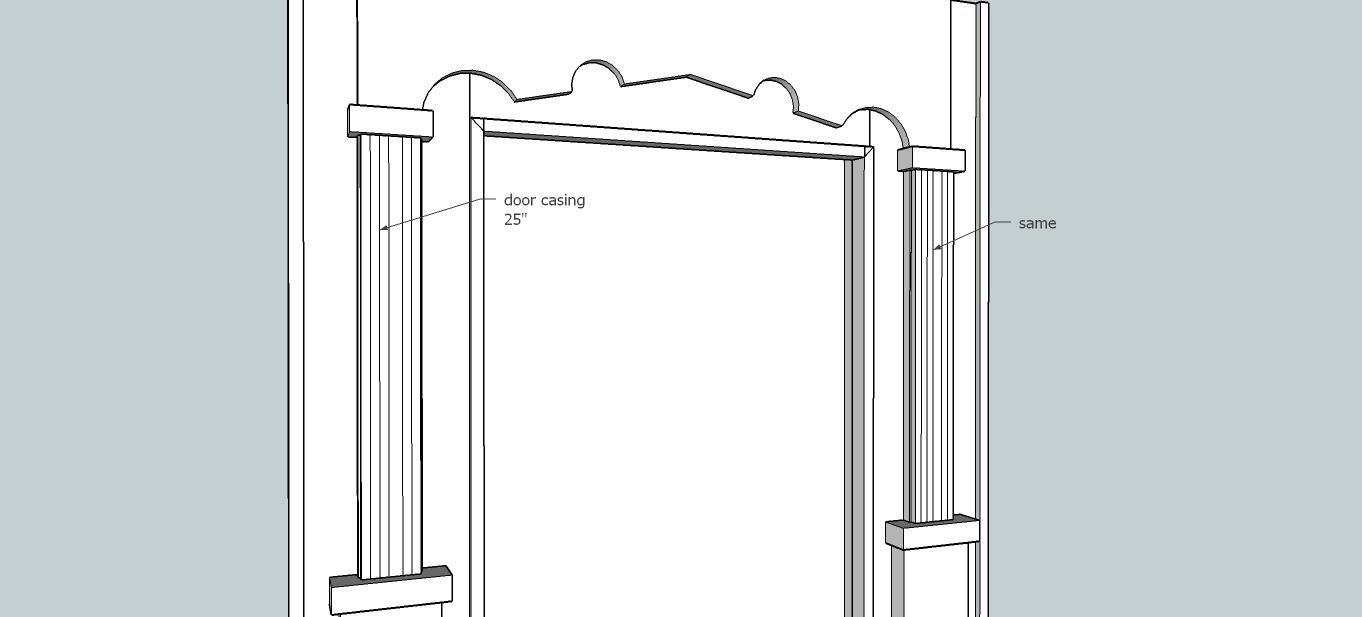
Attach your leg accent molding pieces (door casing)! Attach same as above!
-
Step 16
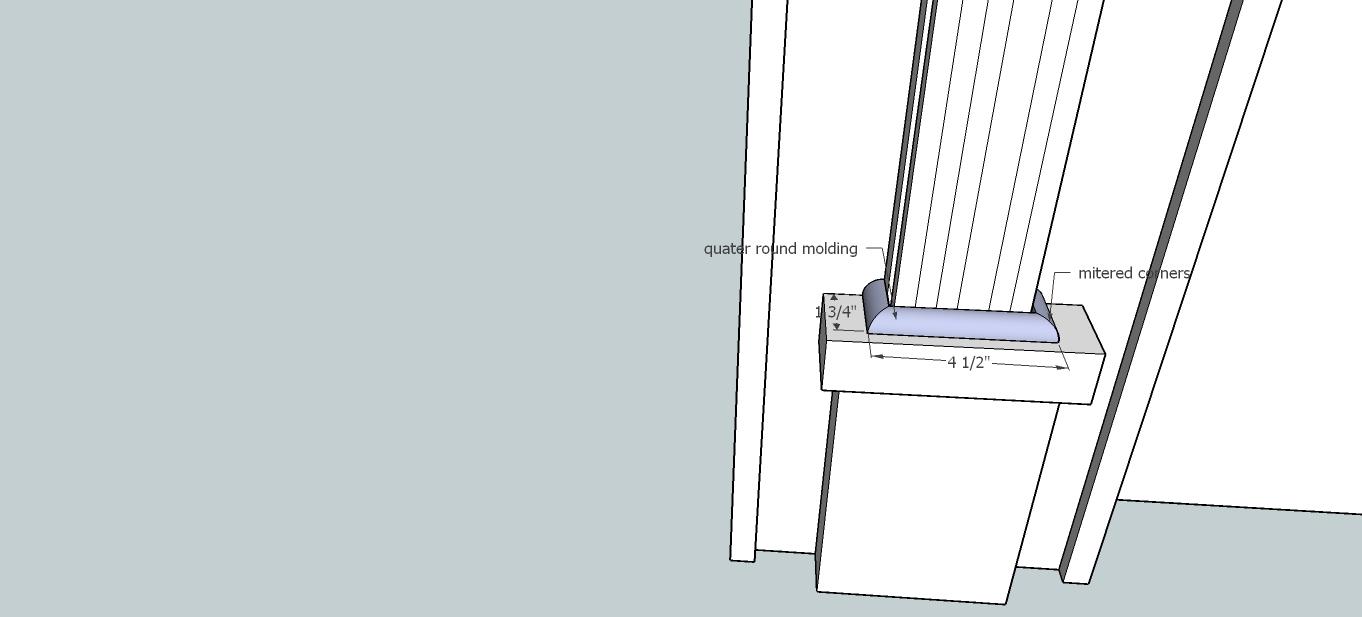
For some finishing touches I added some quarter round molding to the space where the leg accent molding meets the routed bottom piece! I attached this with 5/8" brad nails and glue!
-
Step 17
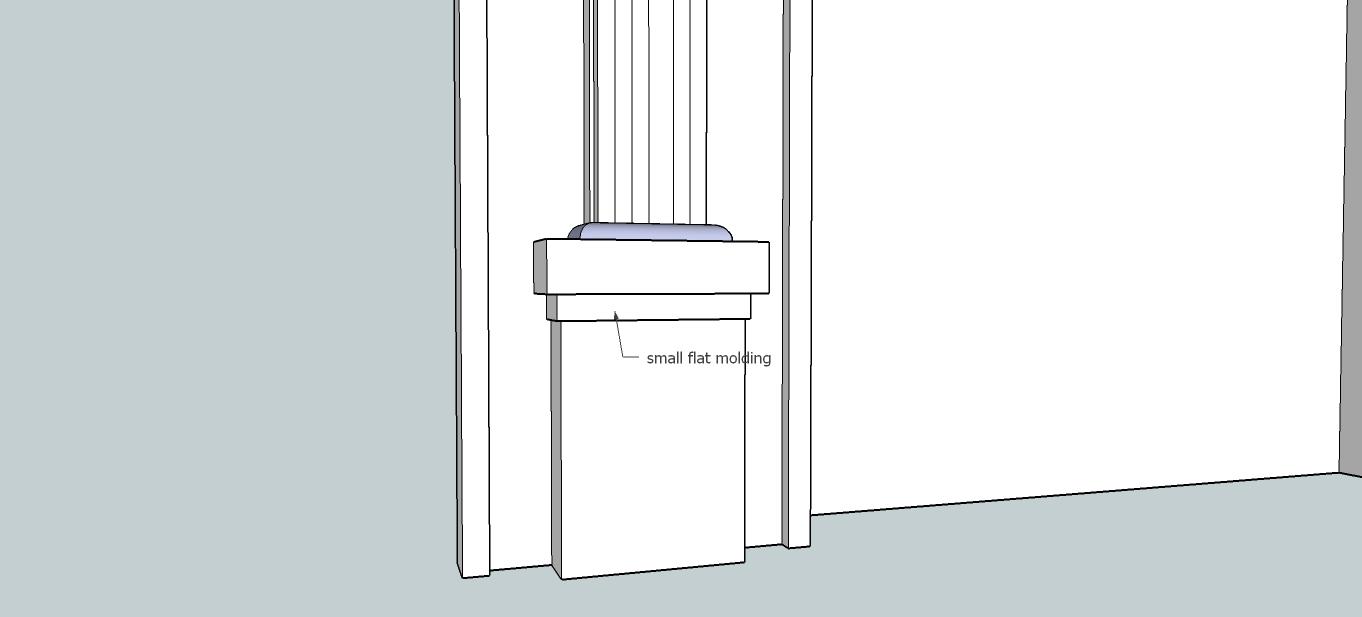
Next I added some small, flat molding to the top of the 2x6 bottom decorative accent! Make sure to bevel the edges for a perfectly polished look! The top piece will be beveled at 45 degrees on both ends and the side pieces will be beveled on one end!
-
Step 18
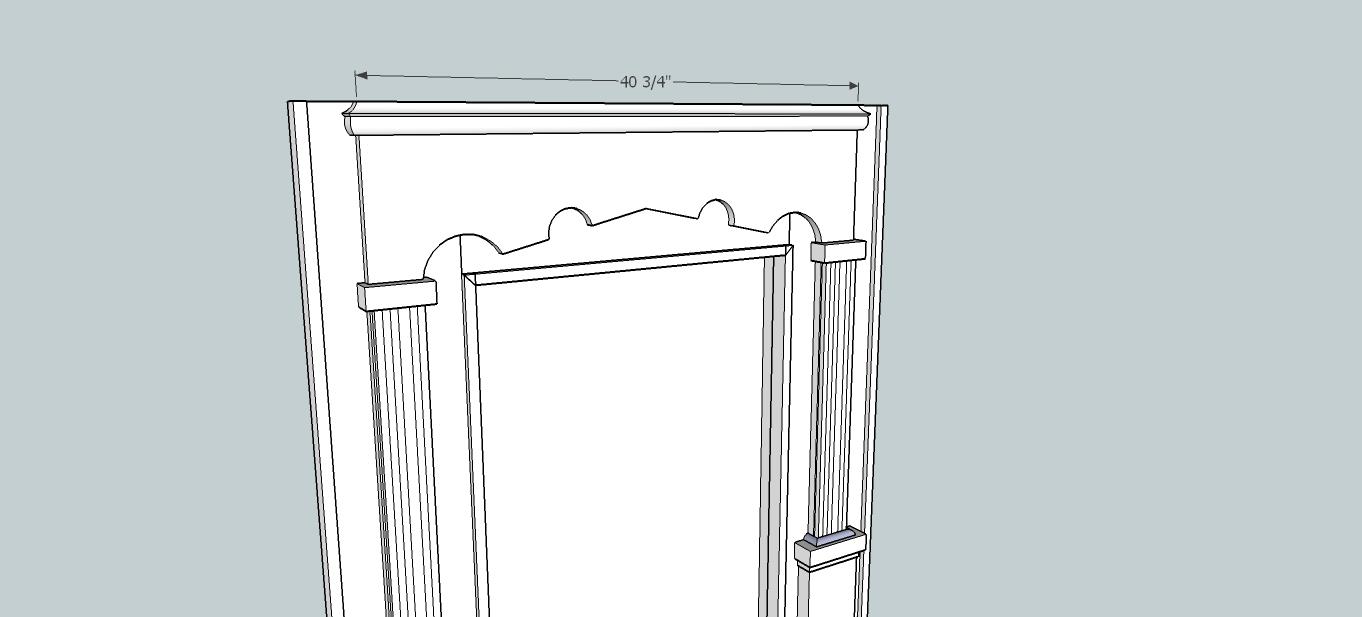
Don't laugh at my fancy crown molding on here!! LOL! Next step is attaching the crown molding...this can be done before or after your mantle shelf is attached! Make sure the narrowest part of the mitered ends are cut to 40 3/4"! Using glue and brad nailer, nail it on there!!
-
Step 19
Attach your mantle shelf...you could be smart and drill pocket holes for this in advance but it you are like me, you forget and just glue and brad nail it down, and then remind yourself never to carry it by the shelf!! Lol!
-
Step 20
Last but not least figure out what color you want to paint or stain your fireplace! I used Rustoleum Linen White Chalk Paint! And then there is the excitement of figuring out what you want to do in the faux fire box, you could paint it a solid color, use a brick stencil and stencil it, tile it with some real tile...or spend a ton of time figuring out a darn herringbone pattern only to realize after ALL that work, it is still a wee bit crooked!! Ugh!! LoL!! Now sit back and enjoy the beauty of this fake fire place!!!


