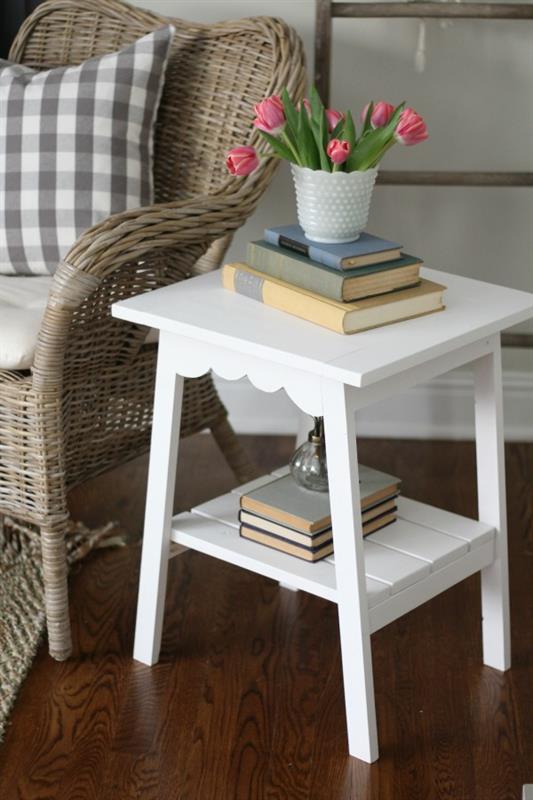
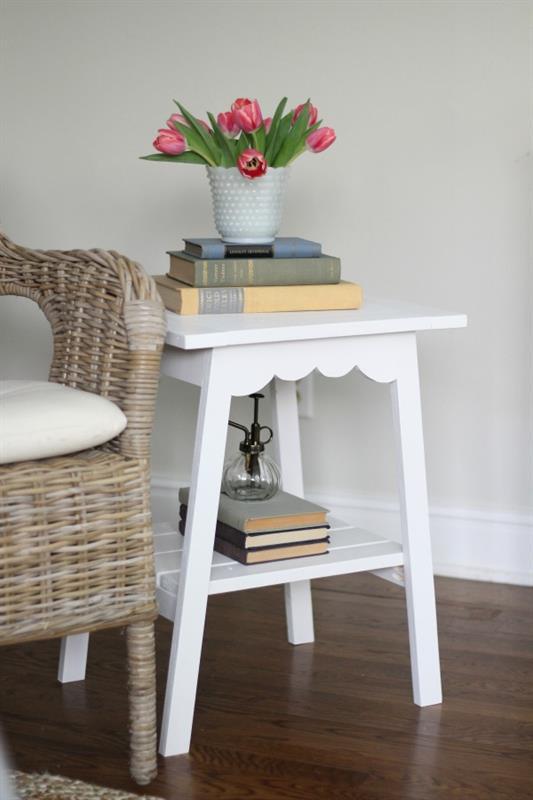
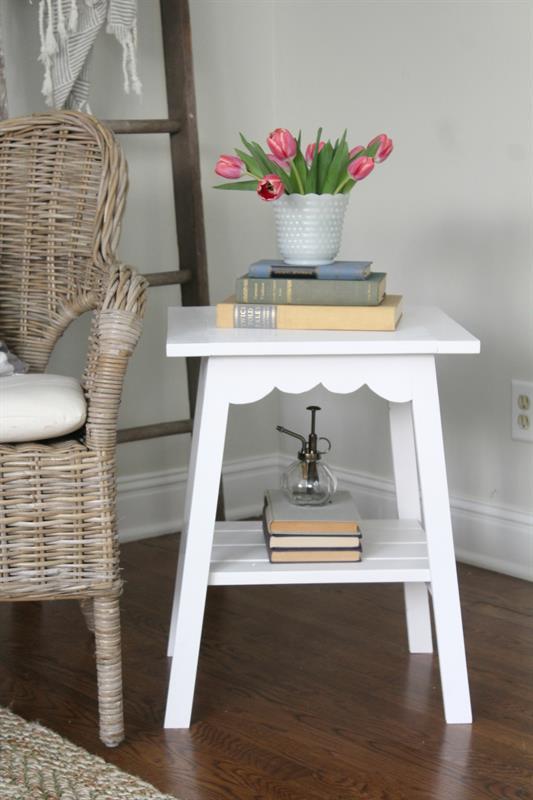


Farmhouse style end table with scallop edging. This is an easy build and a quick weekend project. Perfect for a space space. Can be used as a bedside table or plant stand as well!
Tools
Kreg Tools


Other Tools
-
Miter Saw

-
Tape Measure
-
Clamps
-
Nail Gun
-
Air Compressor
Materials
Wood Products
- 1 Board , 1x2 , 96"
- 1 Board , 1x2 , 48"
- 1 Board , 1x4 , 96"
- 1 Board , 1x4 , 48"
- 1 Board , 1x3 , 96"
Hardware & Supplies
- 1 Box 1" Kreg Screws
- 1 Box Box 1 1/4" Kreg Screws
Directions
-
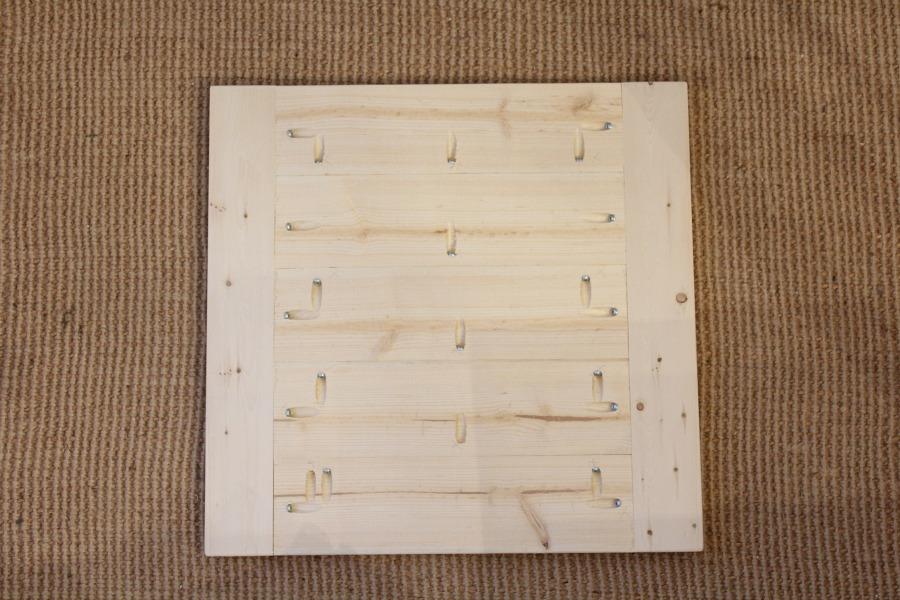
Assemble the Top
Using 1 1/4 Kreg screws and glue, screw together the top as shown. The five 1x4's should be stacking in the middle with the two 1x3's on the left and right.
-
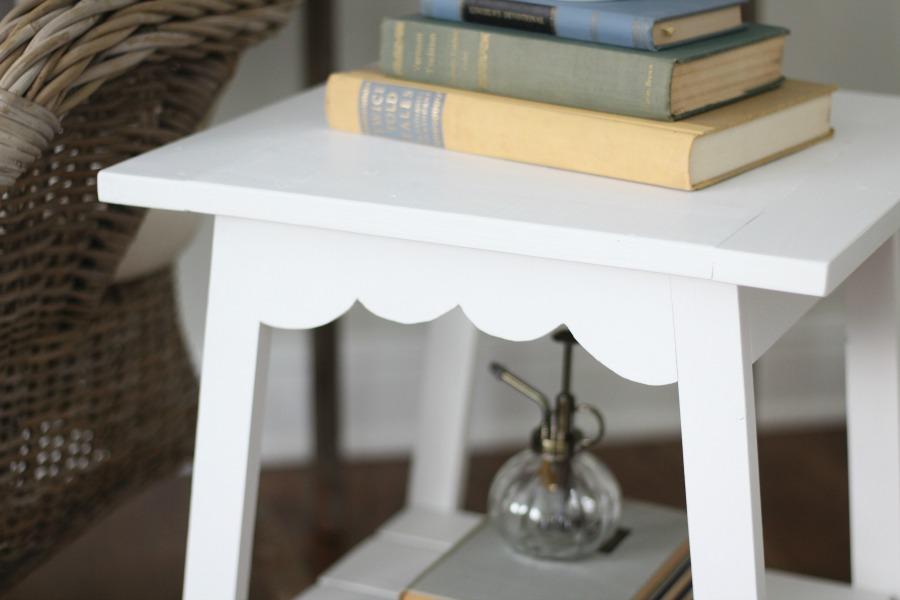
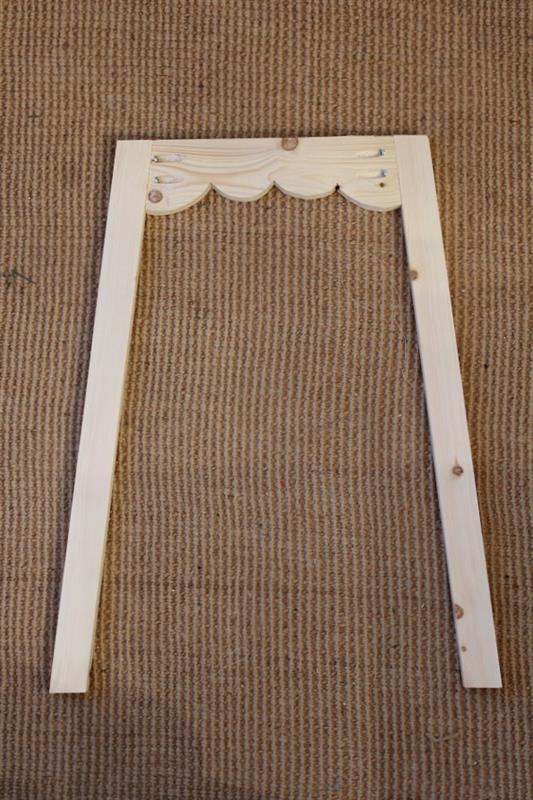
Attaching the Scalloped Apron
Attach both scalloped aprons to the legs. Legs should be angled outward.
-
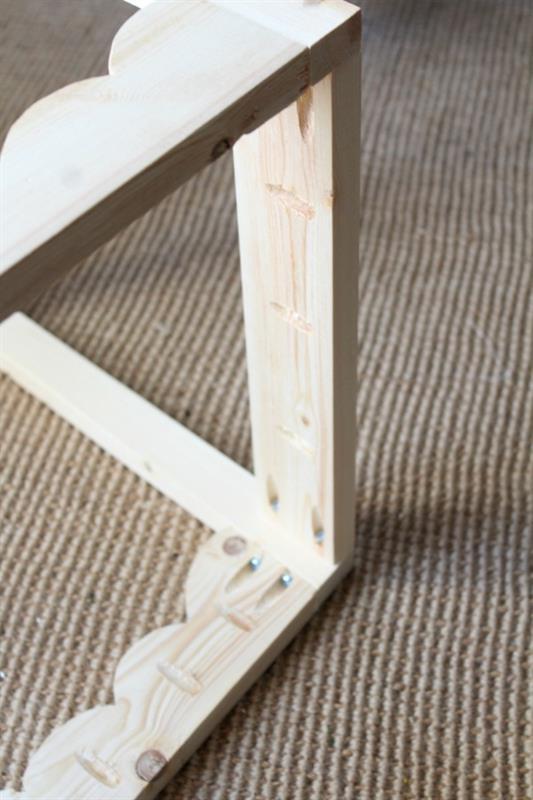
Add Bottom Shelf Supports
Attach the bottom shelf supports using 1" Kreg screws 7" from the bottom of the leg and centered in the middle. Make sure to keep the support straight up and down and not angled like the leg.
-
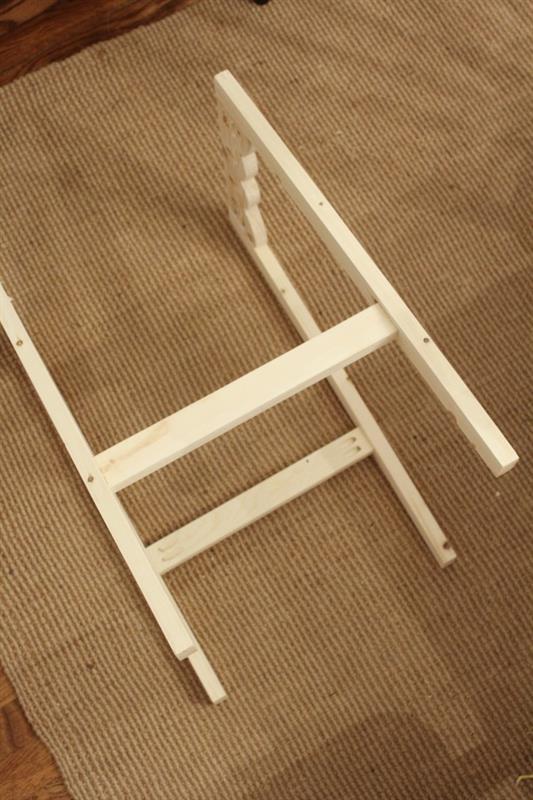
Attach the Two Sides
Attach the front side and back to one another by the shelf supports using 1" Kreg screws as shown in the photo above.
-
Add Side Aprons
Attach the side aprons using 1" Kreg screws. Keep the apron flush with the angled legs. The apron will be just slightly angled.
-
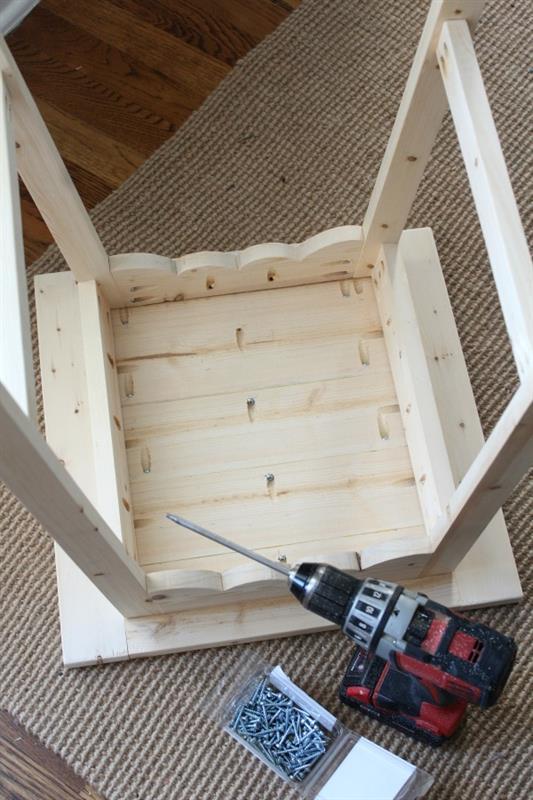
Attaching the Top
Flip the frame upside down and attach the top using 1" Kreg screws. The front and back of the top should hang off about 1 1/2" and 2 1/2" on the left and right.
-
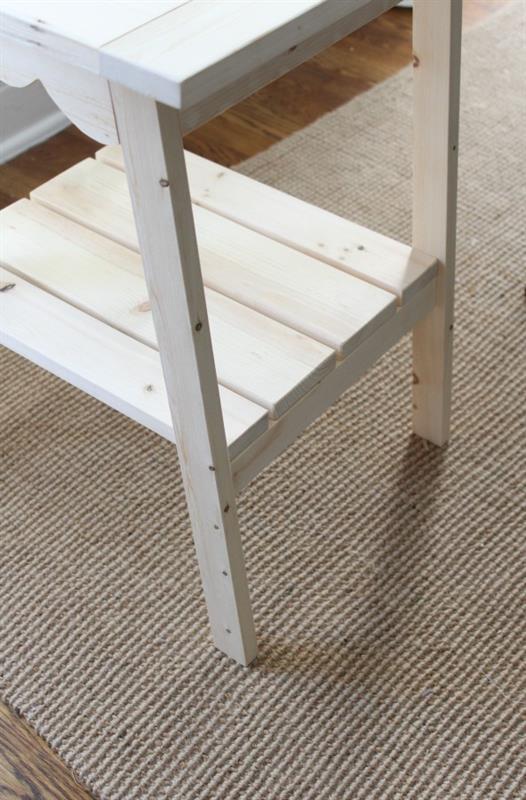
Add Bottom Shelf
Attach the bottom shelf boards with brad nails. The front and back boards should be right up against the legs and there should be 1/4" gap between each board.
-
Apply Your Finish
Fill all the cracks and nail holes with wood filler and sand all over.
Apply your favorite stain or paint.
-
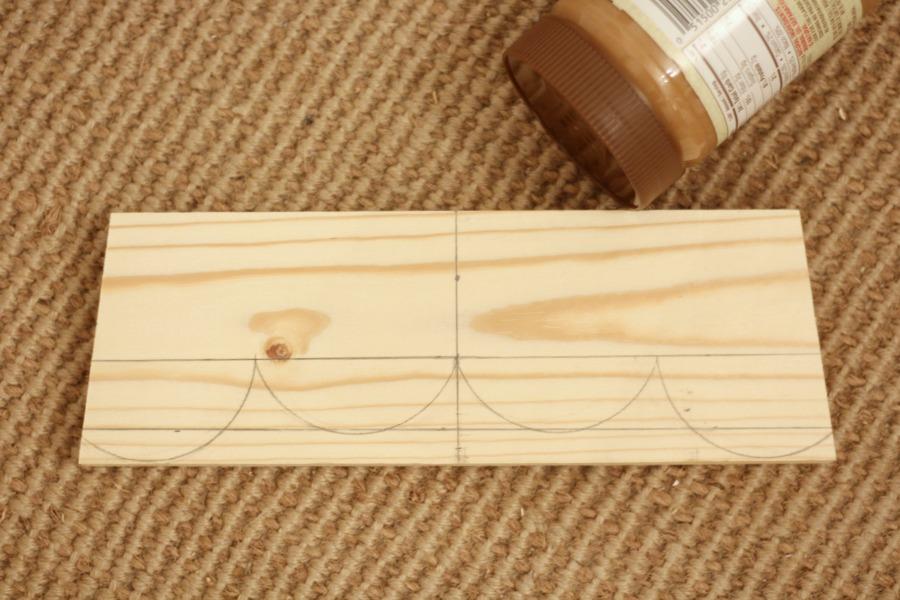
Cutting the Scalloped Apron
Cut a 7 degree angle into each end of the apron board. The angles should be cut to the left and to the right, moving away from each other.
Measure 3" from the bottom and draw a line vertically across the apron. Do the same thing at the 2" mark.
Measure the center point of the apron and make a line.
Using a peanut butter lid or lid that measures 2 3/4" across, place the lid by the center line and just above the 2" line and trace down and around. Move the lid towards the outer edge and move it down just above the bottom of the board and trace. Do these same steps on the other side.
Use a jigsaw and clamps to cut out the scallops.
-
Visit The Tale of an Ugly House
Visit me at TheTaleofanUglyHouse.com