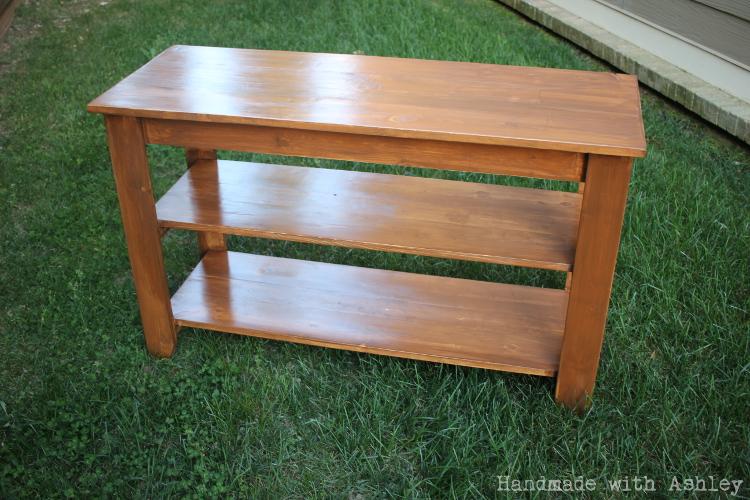
Easy Rustic Console
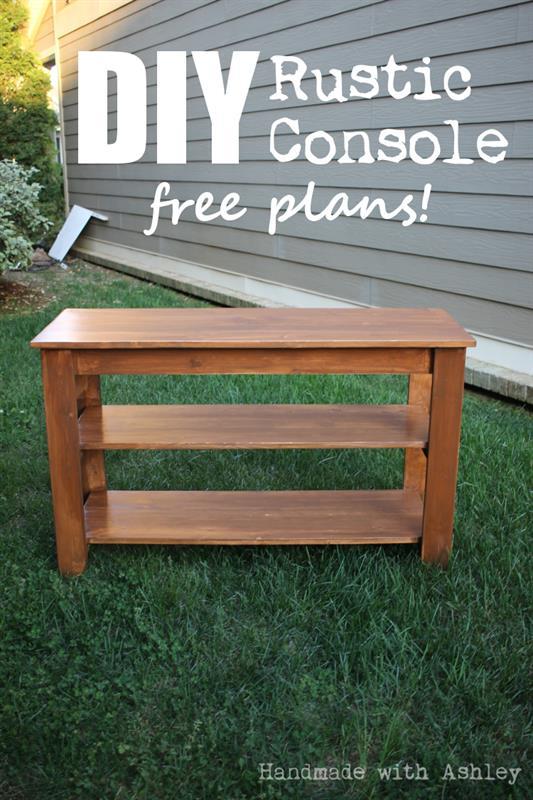
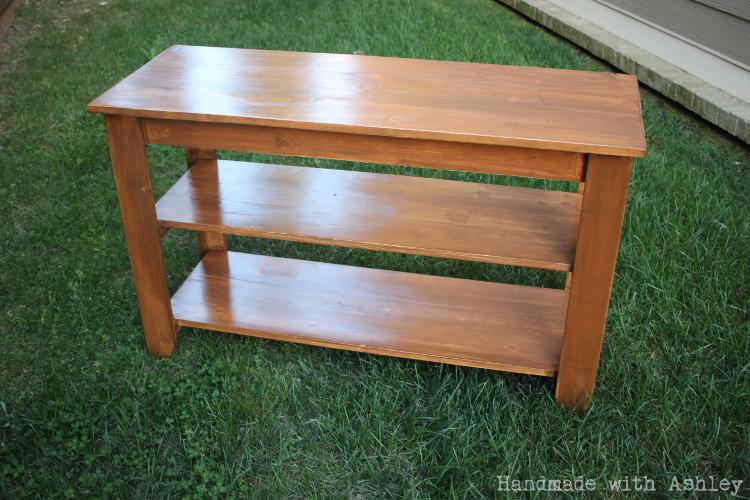
By Handmade with AshleyFollow along for instuctions on how to build an easy, rustic console!
Directions
-
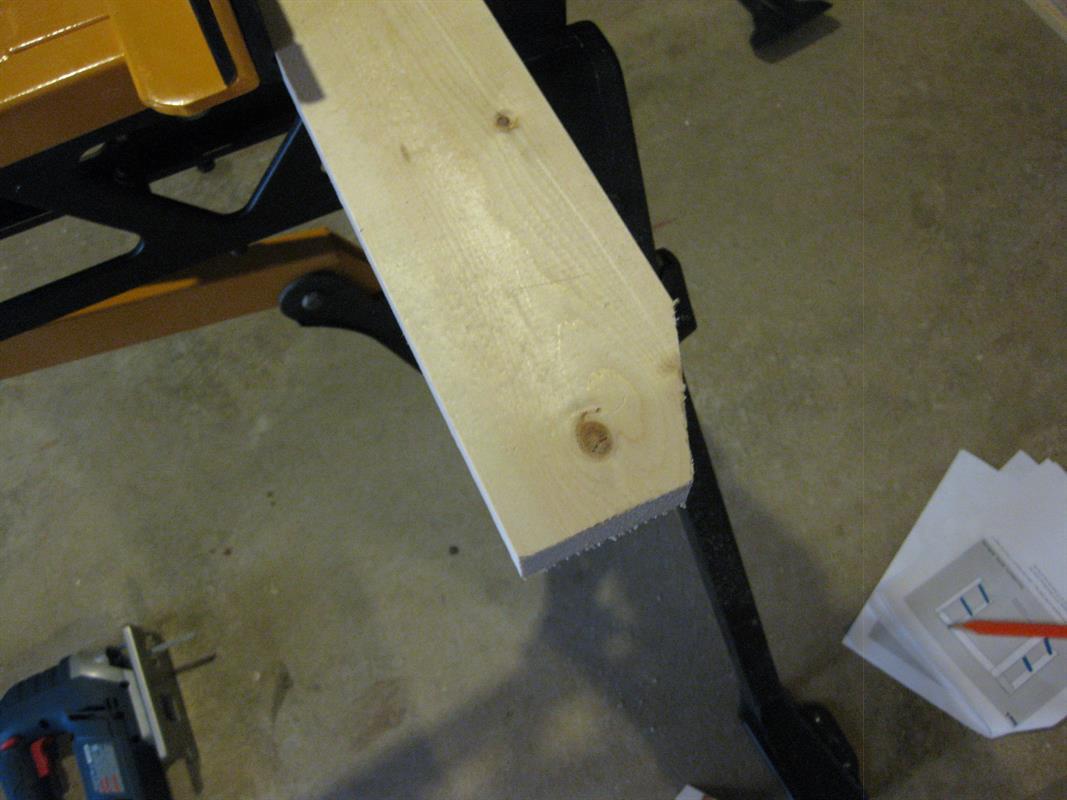
Taper the table legs (optional)
If you would like to add a little flair to your console, taper the ends of each table leg (board D) with a jigsaw.
-
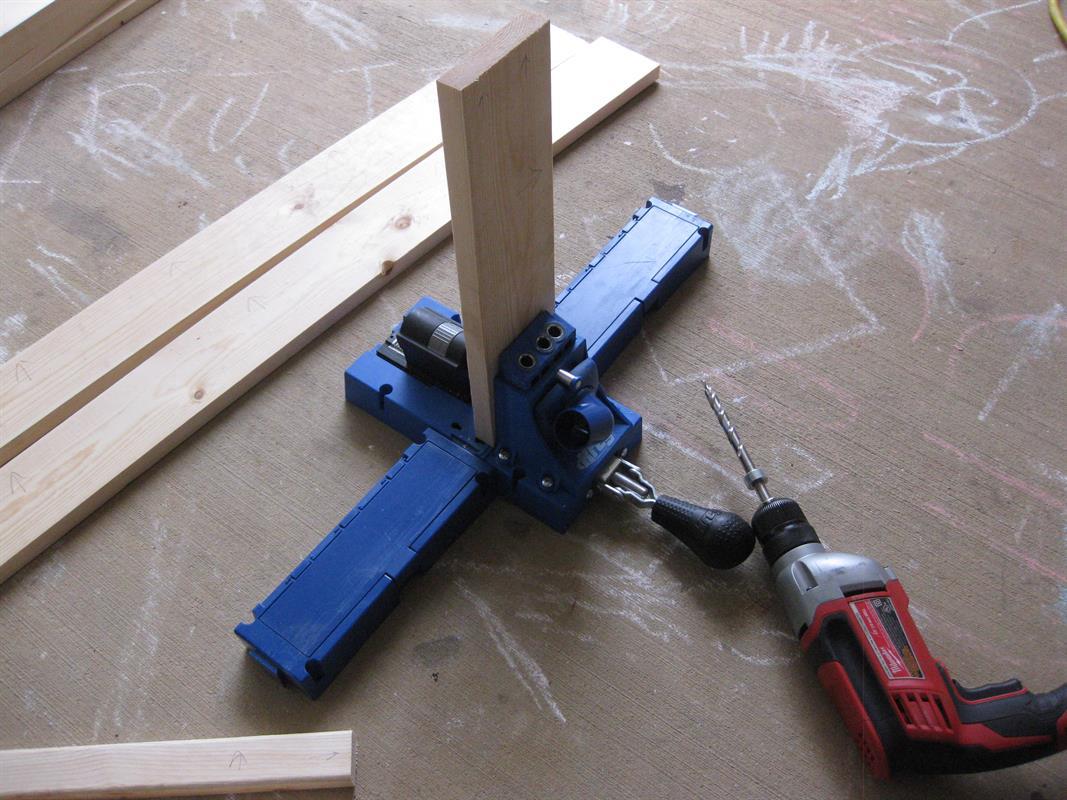
Create pocket holes
If you use pocket hole joints, use a Kreg Jig to drill the pocket holes.
-
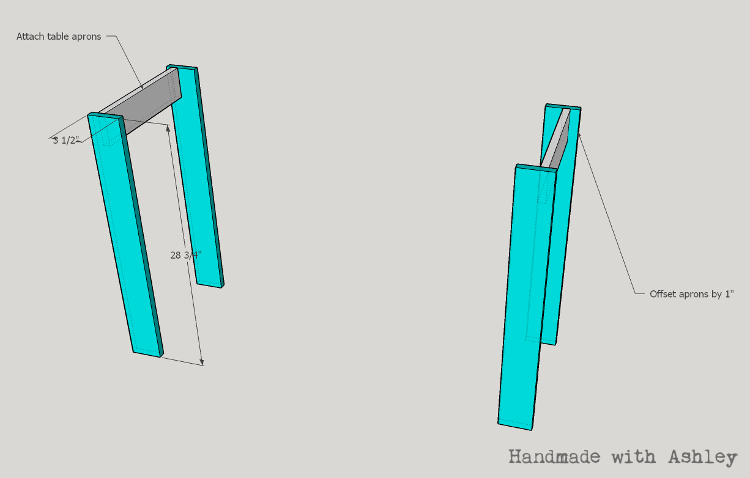
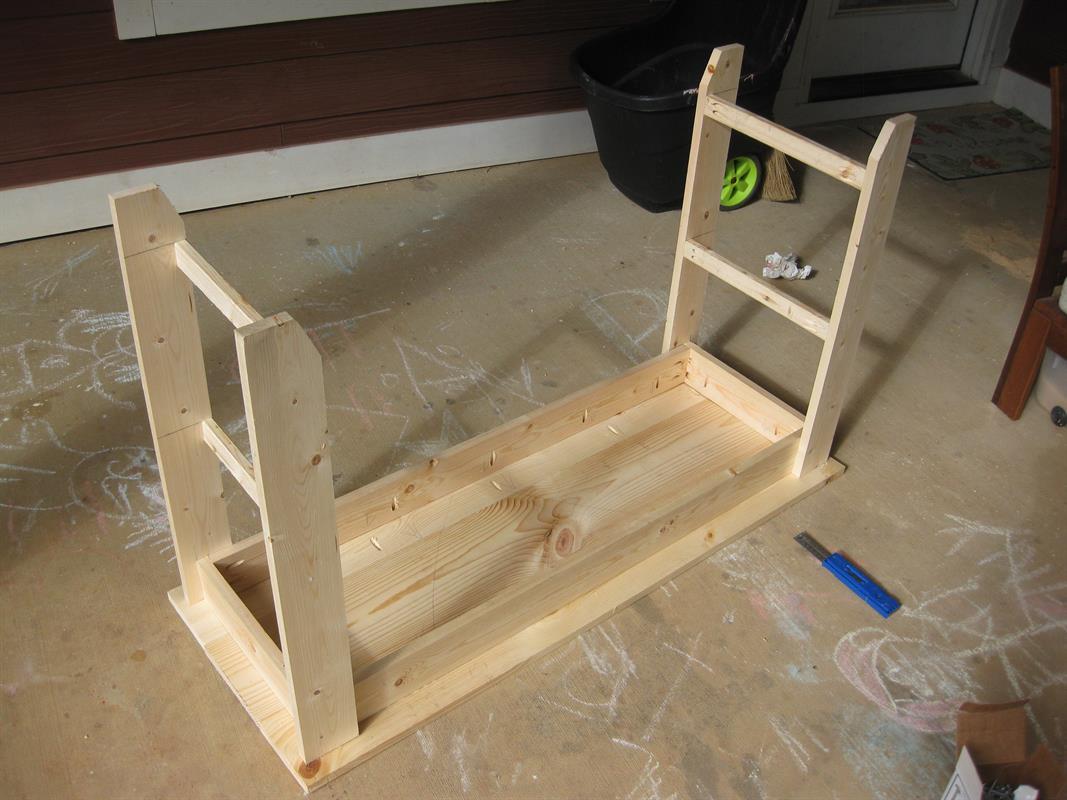
Assemble the console legs
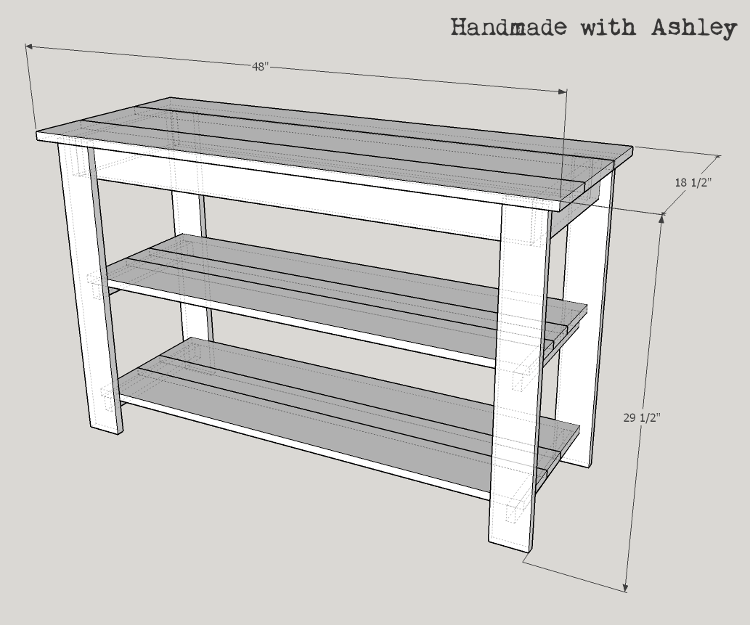
To form a pair of table legs, sandwich board E between boards D. Offset board E 1″ from the edge of board D. Repeat.
-
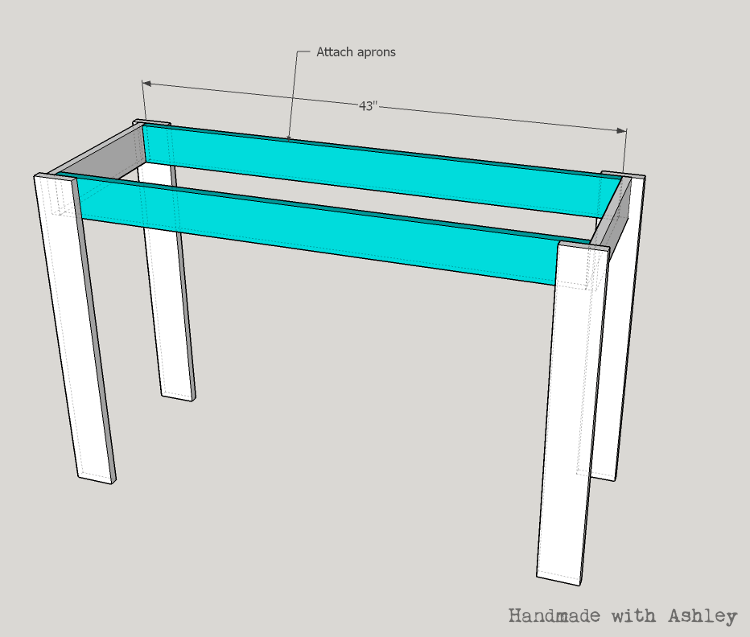
Connect the pair of legs
Connect the pair of legs together with boards C. This will form the frame of the console.
-
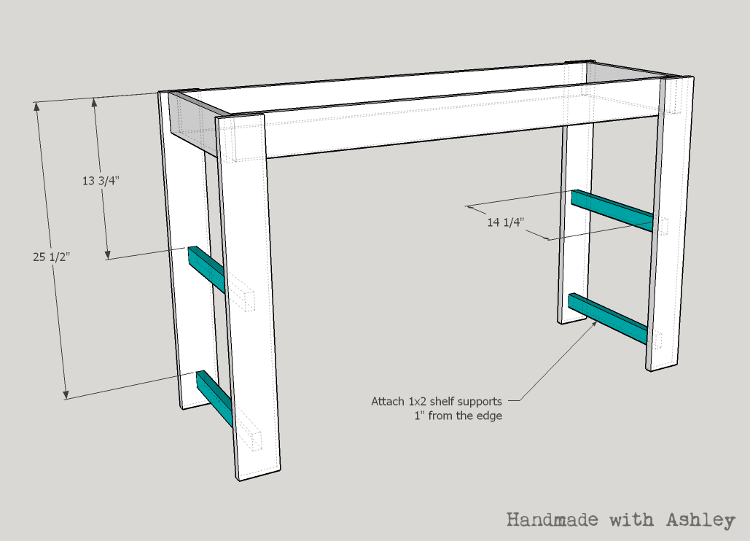
Attach the shelf supports
Attach the shelf supports (boards A) to each pair of legs. Attach the shelf supports adjacent to the inside edge of the table leg pairs. The first set of shelf supports are placed 13 3/4″ from the top of the leg. The second set of shelf supports are placed 25 1/2″ from the top of the leg.
-
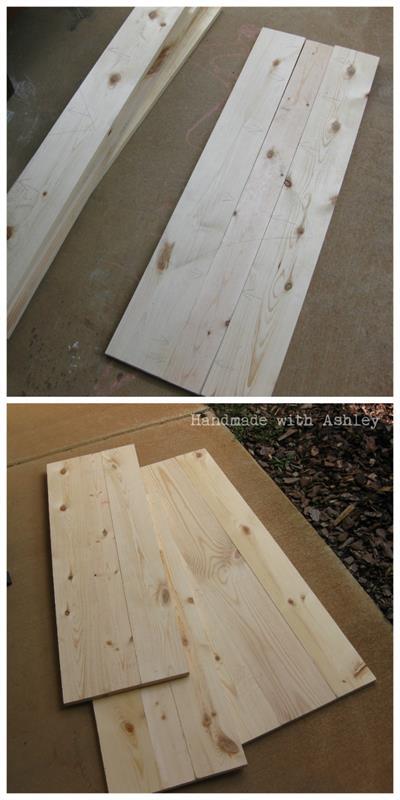
Edge join the console shelves
Create the top shelf by edge joining boards F and H together. Board H should be in the middle.
Create the two lower shelves by joining boards G and B together. Board B should be in the middle.
-
Attach the top shelf
Attach the top shelf to the console frame.
-
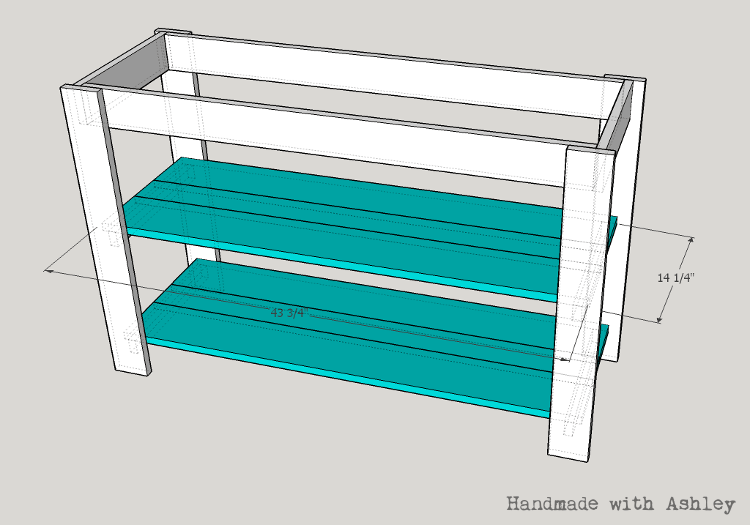
Attach the bottom shelves
Attach the lower shelves to the console shelf supports
-
Apply the finish
Thoroughly sand the console. Use your favorite stain and sealer to finish the console.


