

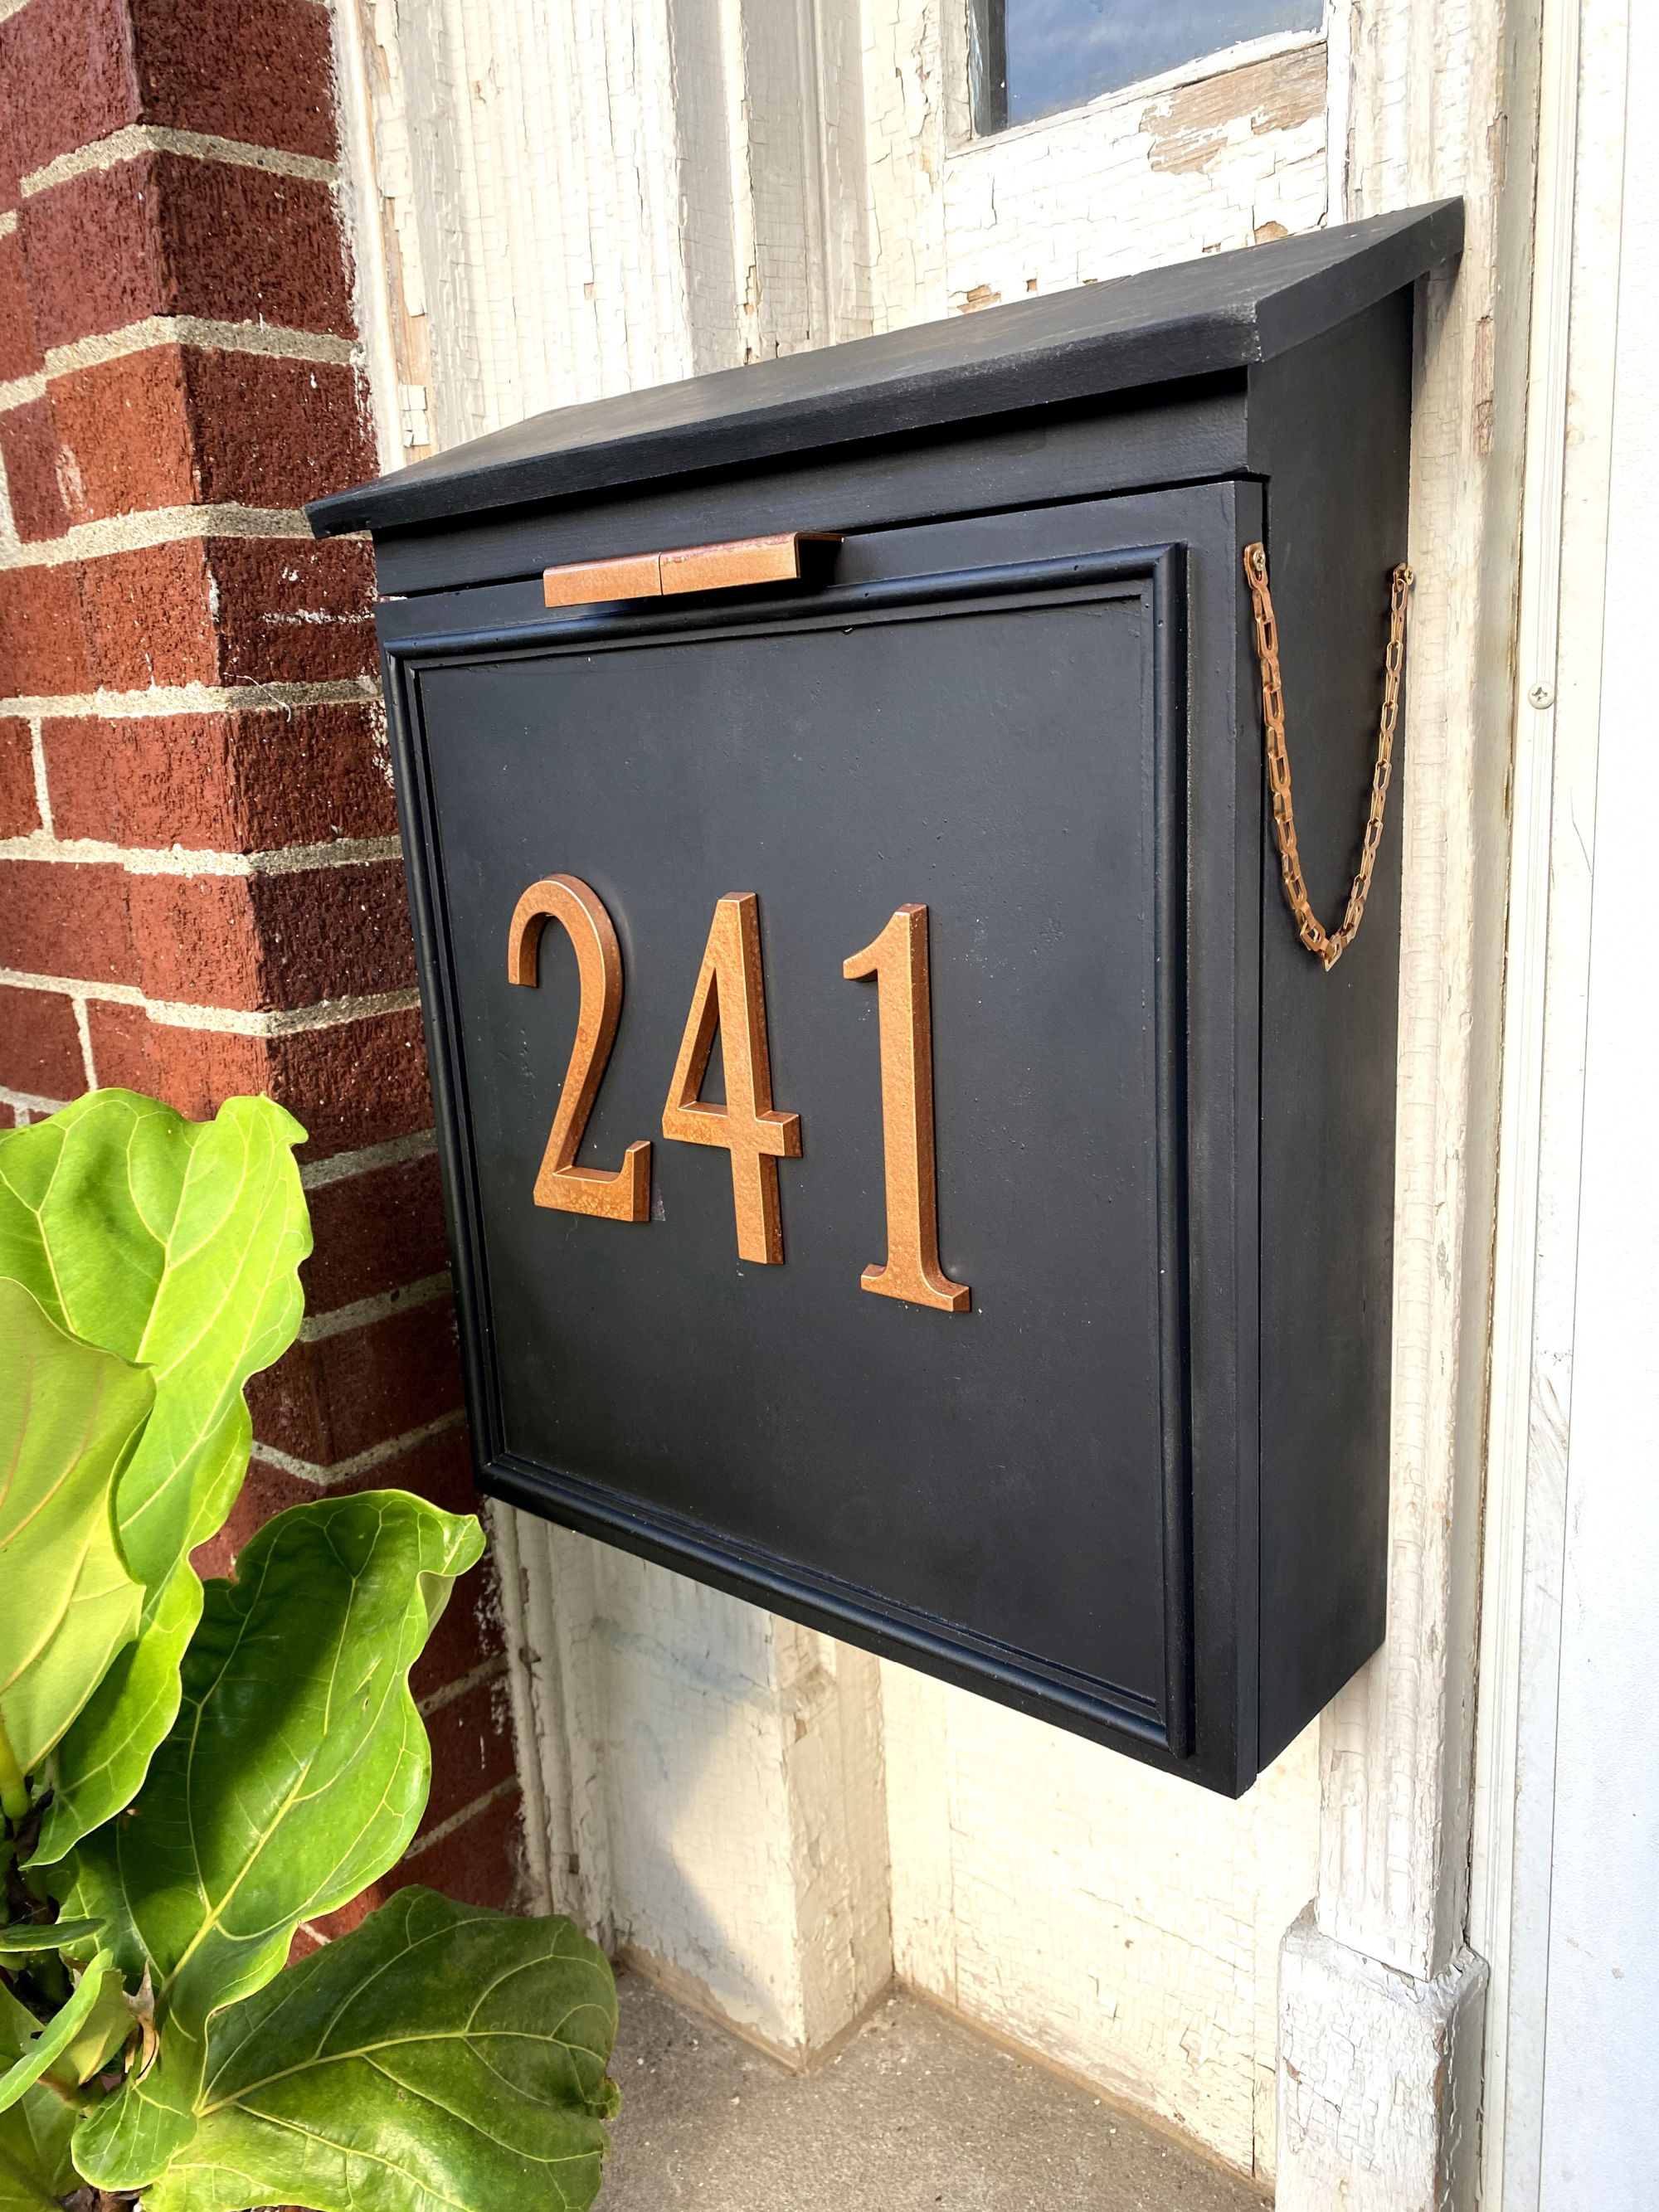


Build this simple, yet chic, mailbox using our building plans!
Tools
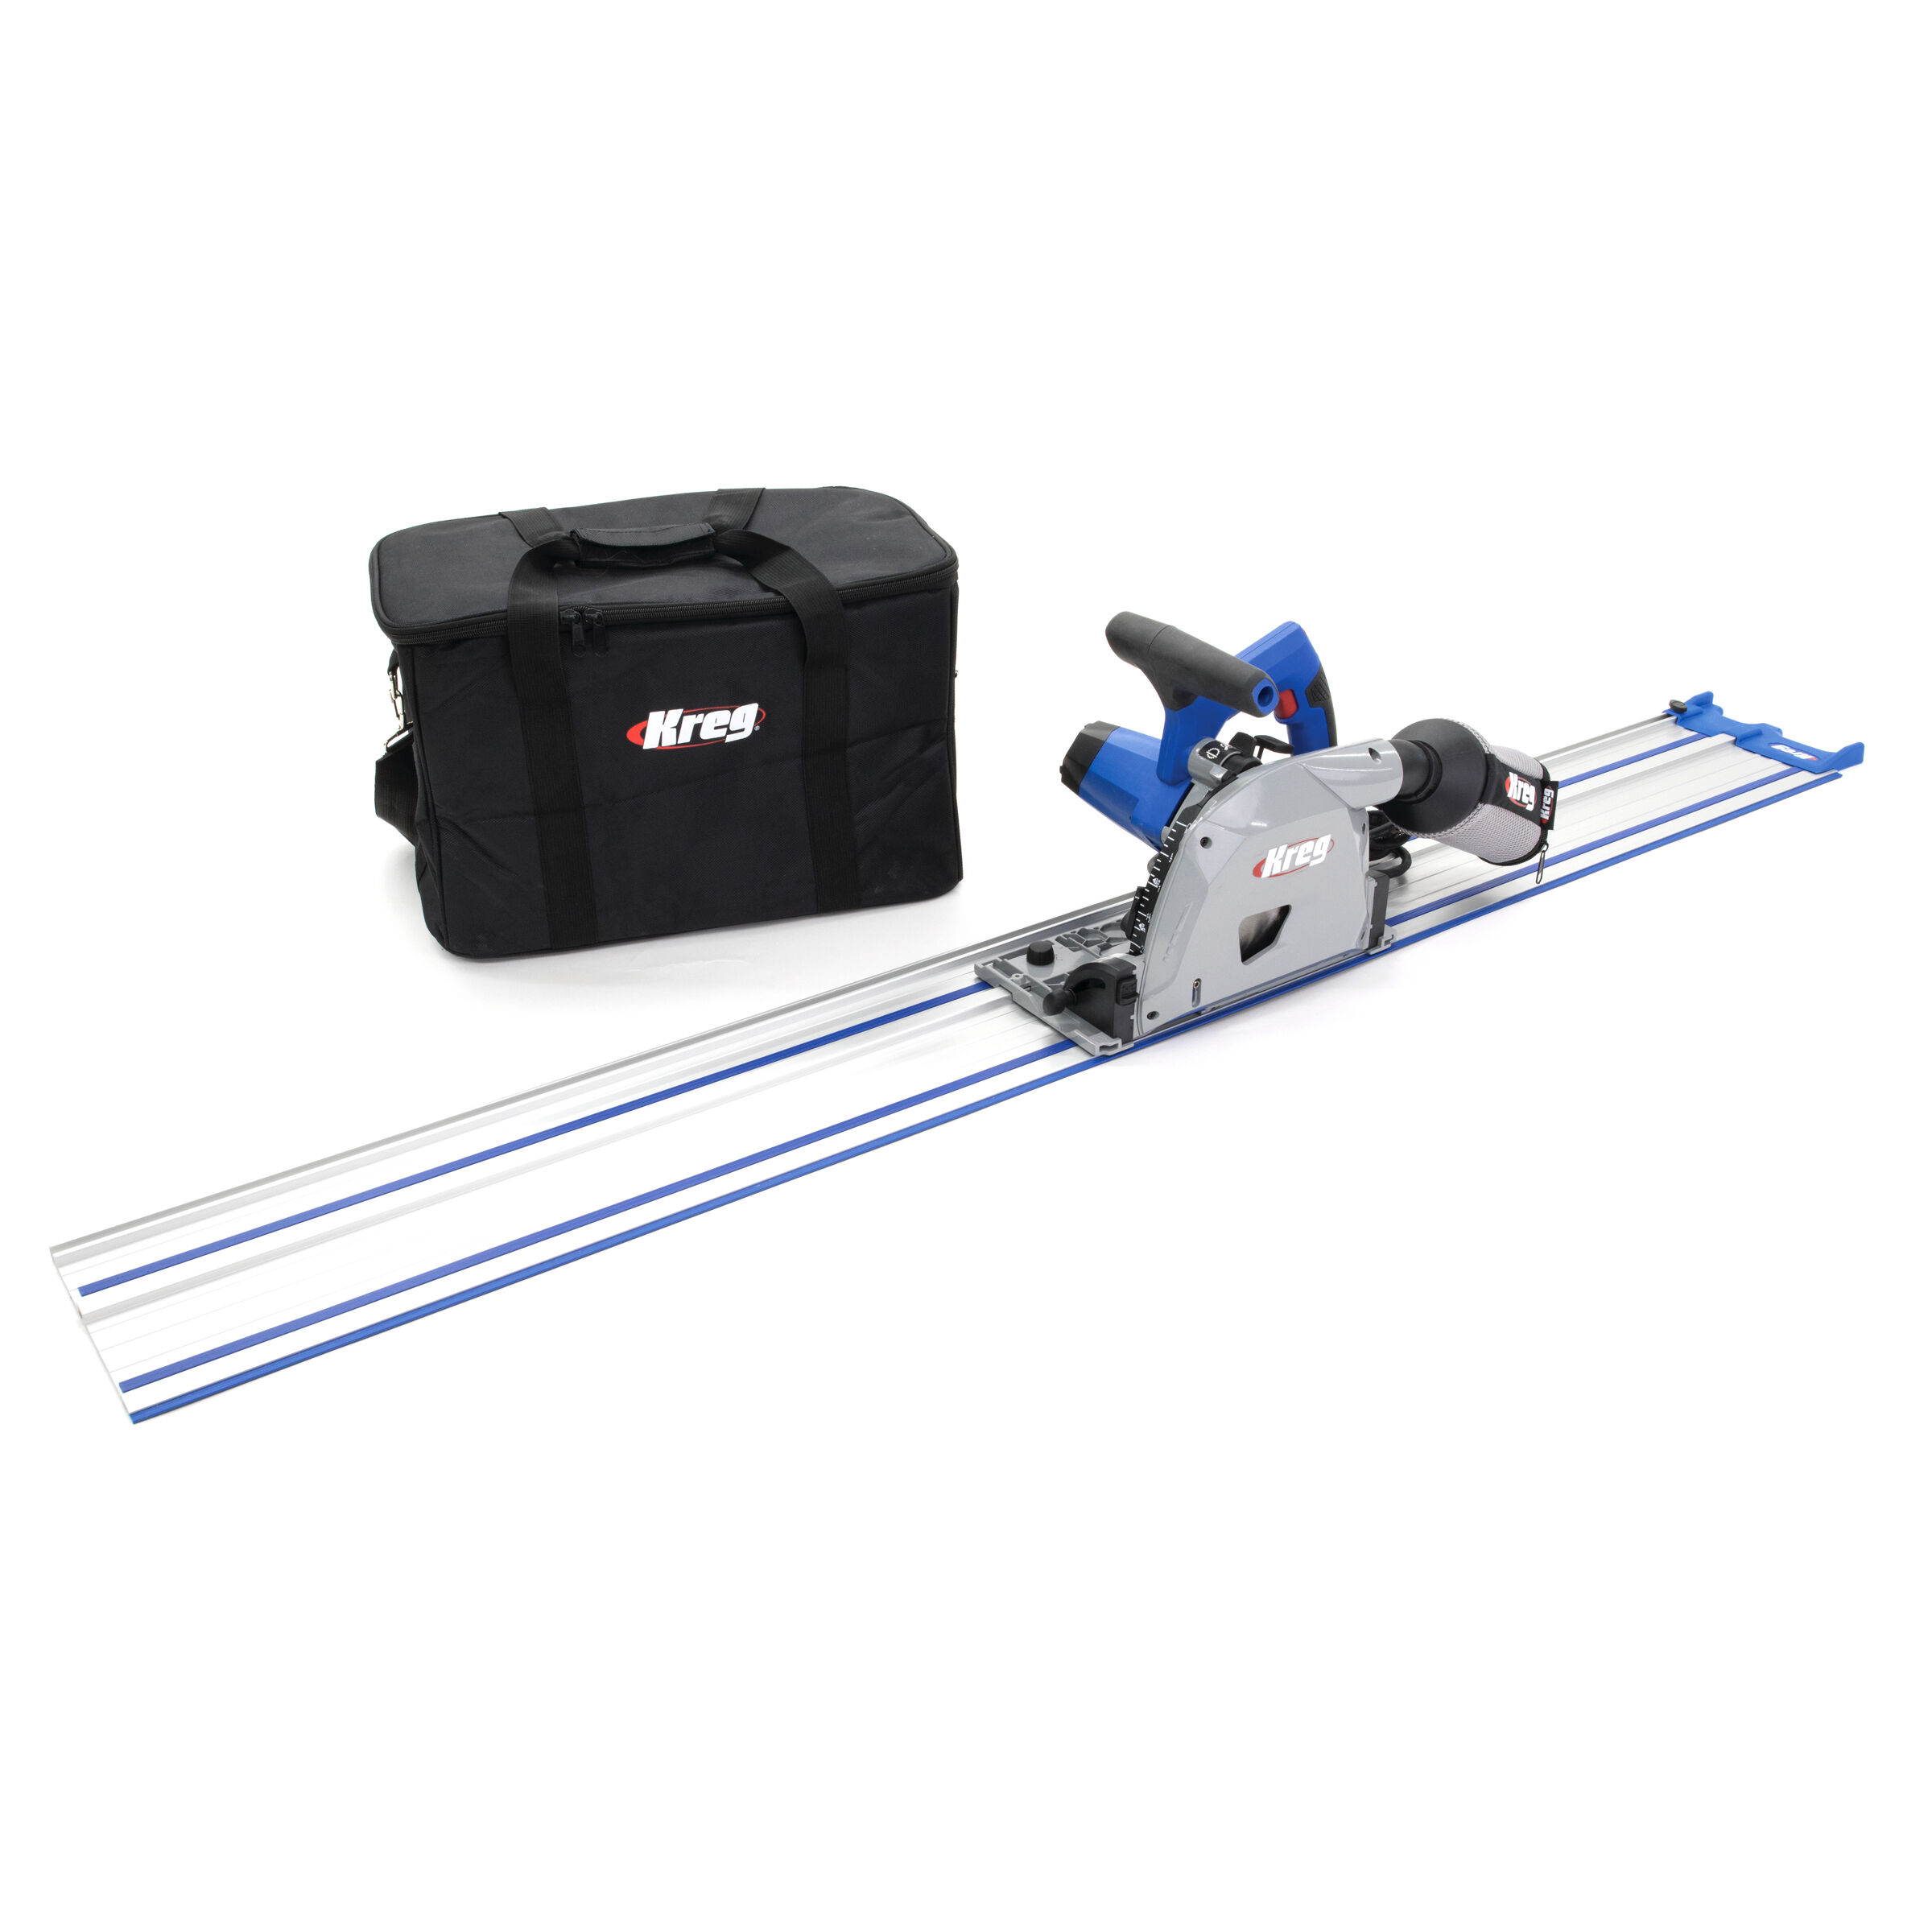
Kreg Tools


Other Tools

Materials
Wood Products
- 1 1X8X8 , 3/4" X 7 1/4" X 96"
- 1 1X6X8 , 3/4" X 5 1/2" X 96"
- 1 1X4X8 , 3/4" X 3 1/2" X 96"
Hardware & Supplies
- 4 Rare earth magnets
- 1 Plumbers Chain
- 2 Eye Hooks
- 1 Mailbox Numbers
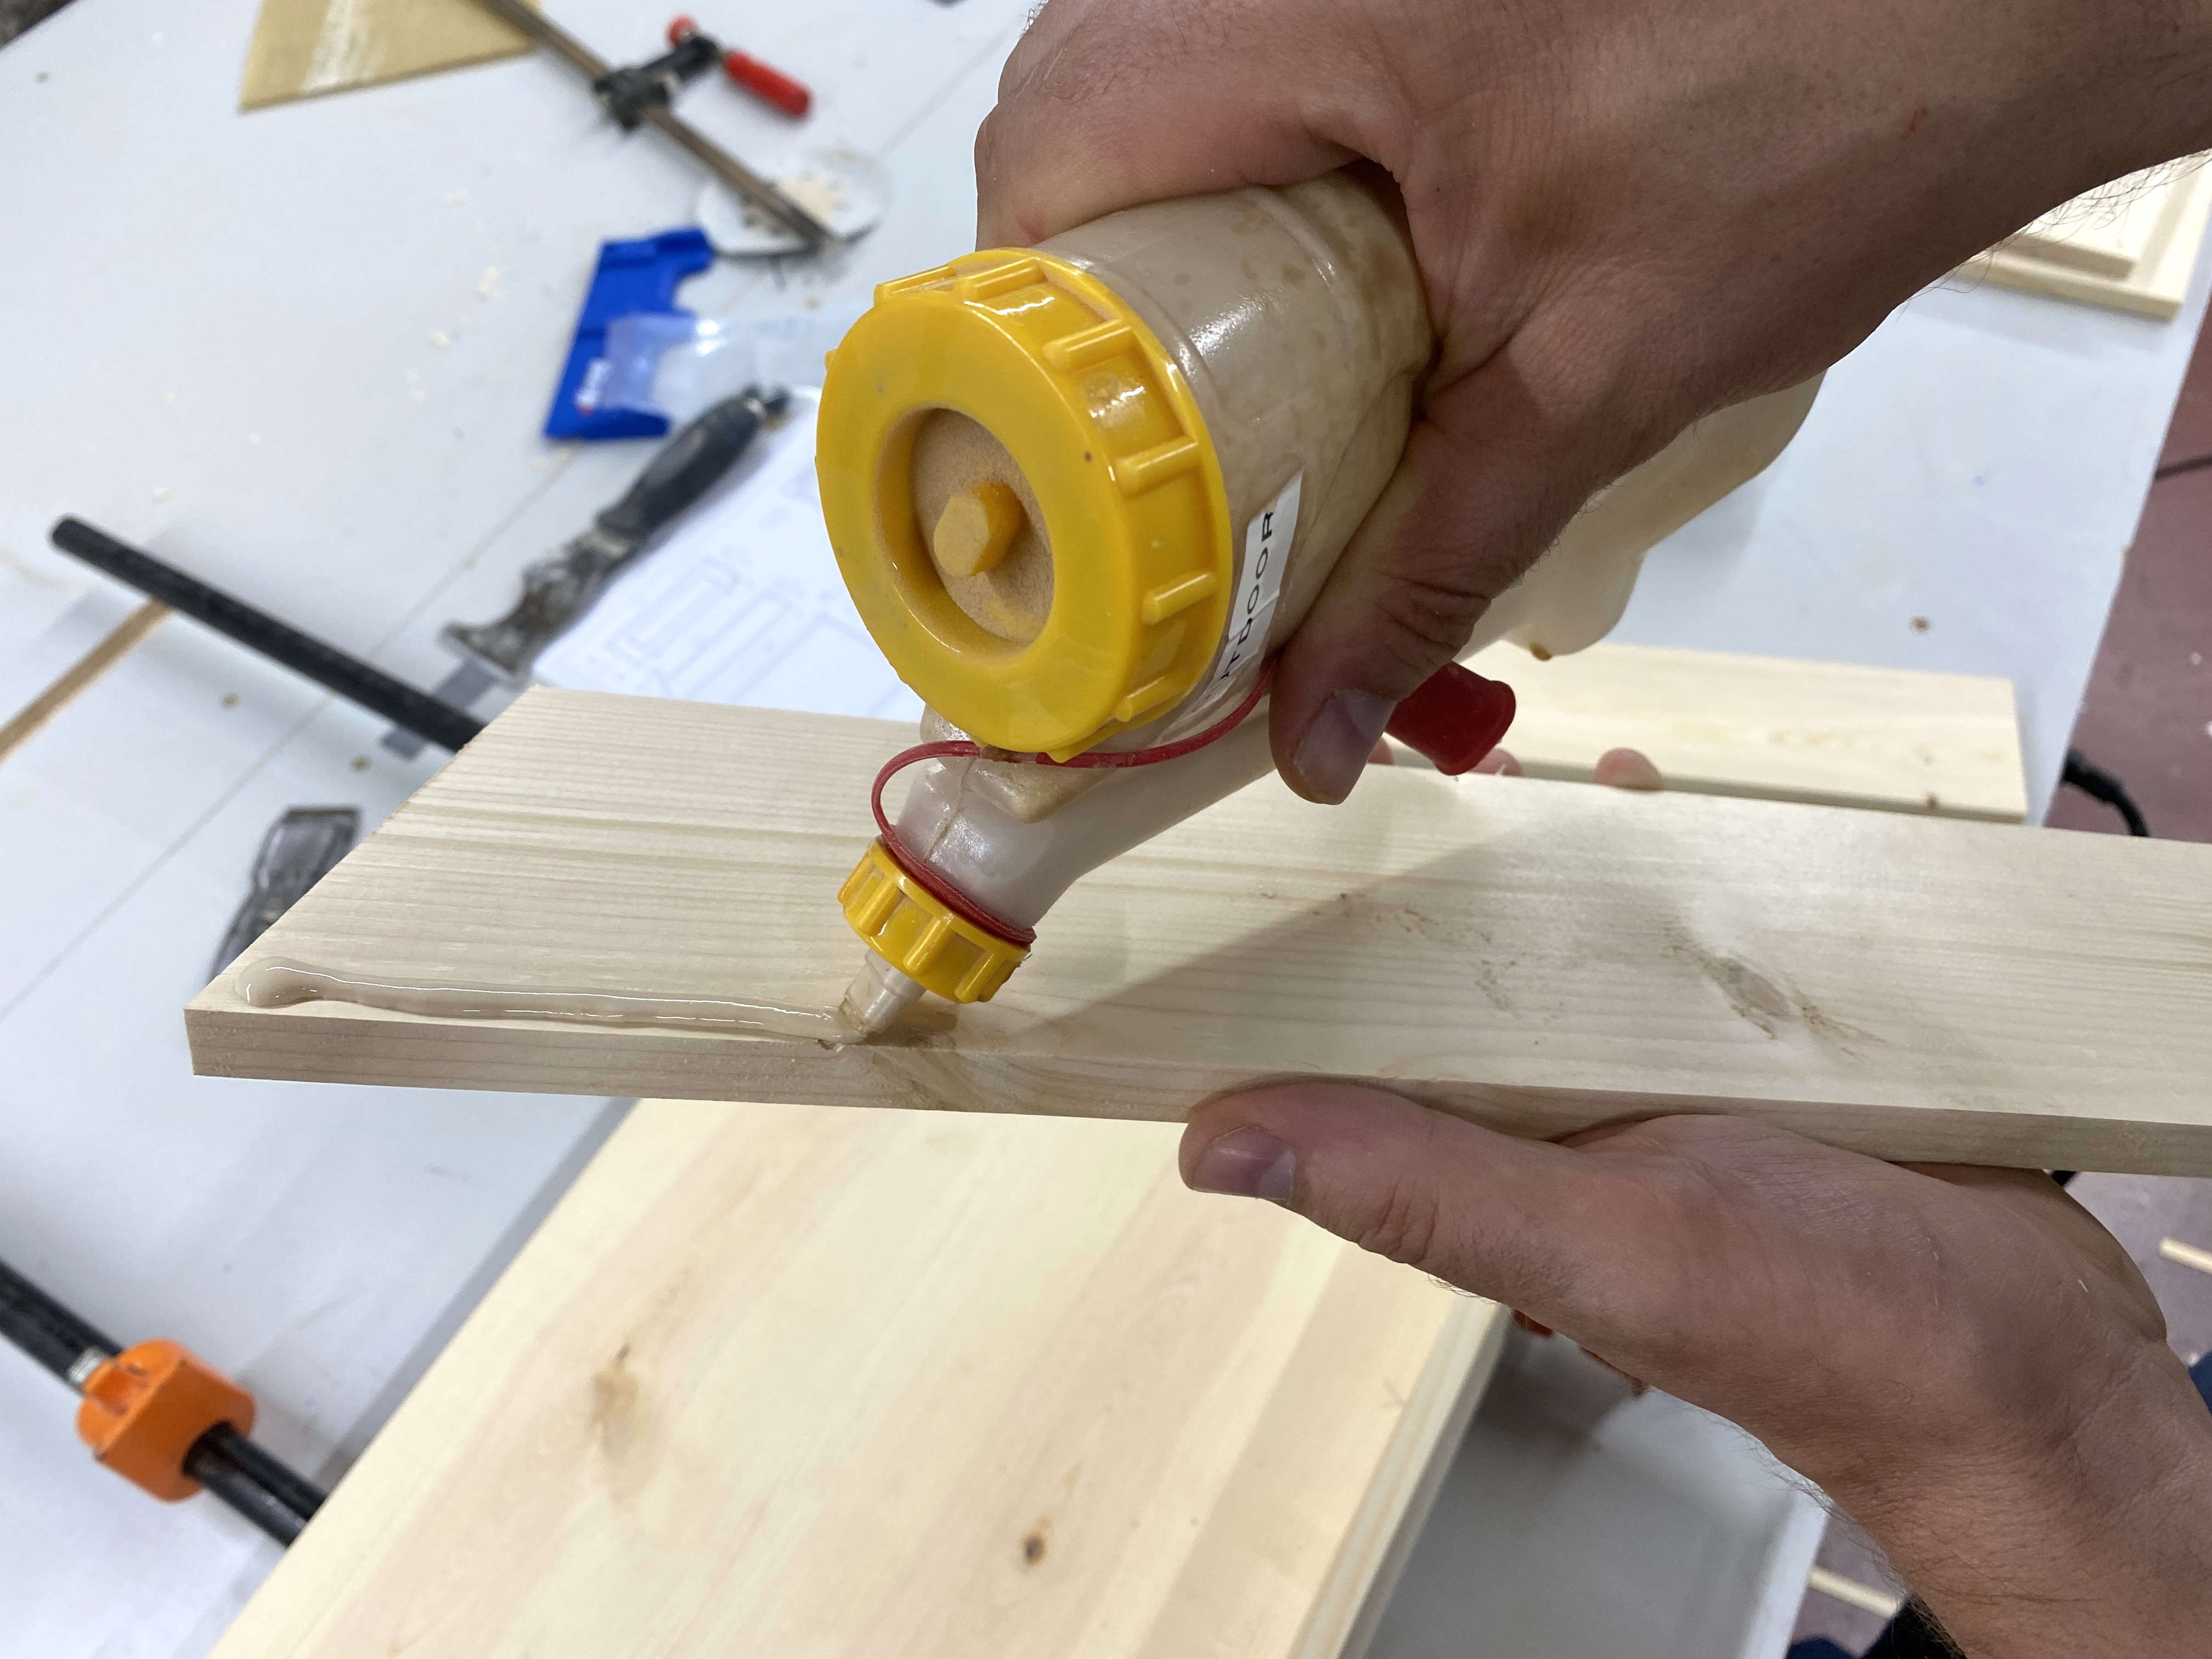
- 1 Titebond Outdoor Glue
Directions
-
Plane Boards
Plane Boards to 1/2"
-
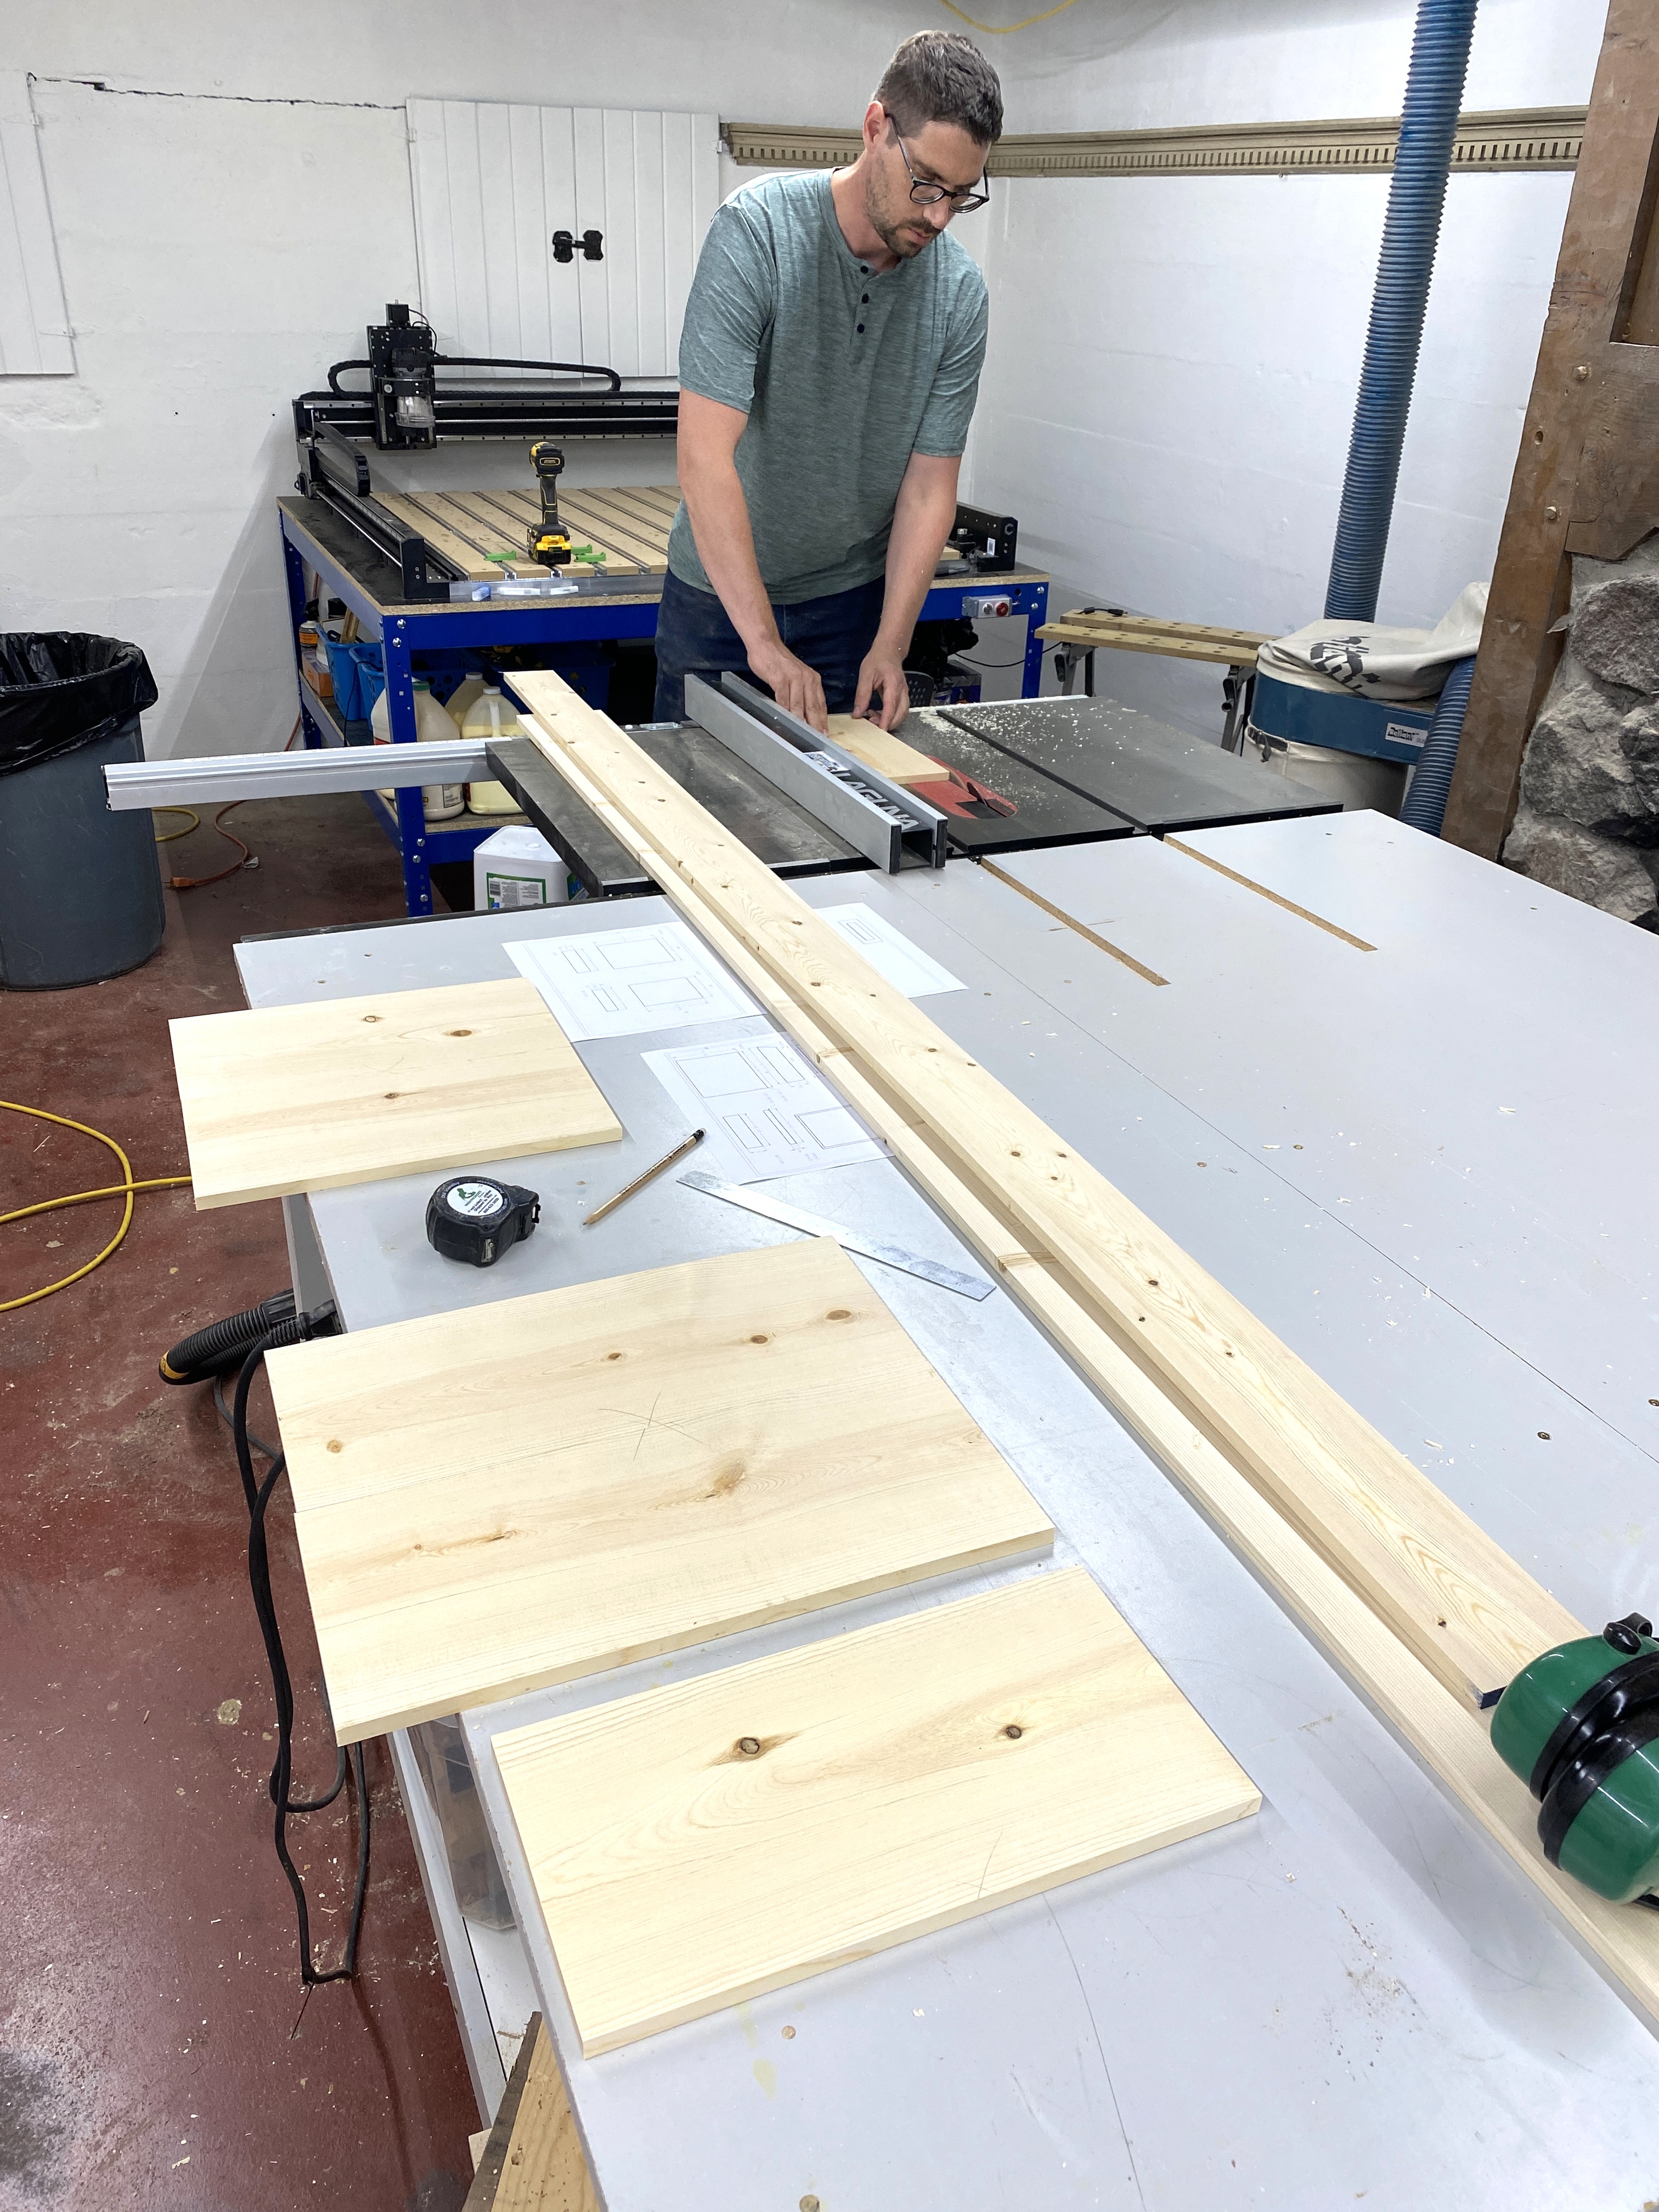
Rough Cut the Back, Front, and Mail Holder Back
Cut the 1X8 down to their rough dimensions (2 @ 17 1/4, 14 11/16, 13 9/16. Then glue and clamp them together
Easily remove glue
After 20 minutes the glue should be strong enough to hold. Take the pieces out of the clamps and scrape off the glue.
-
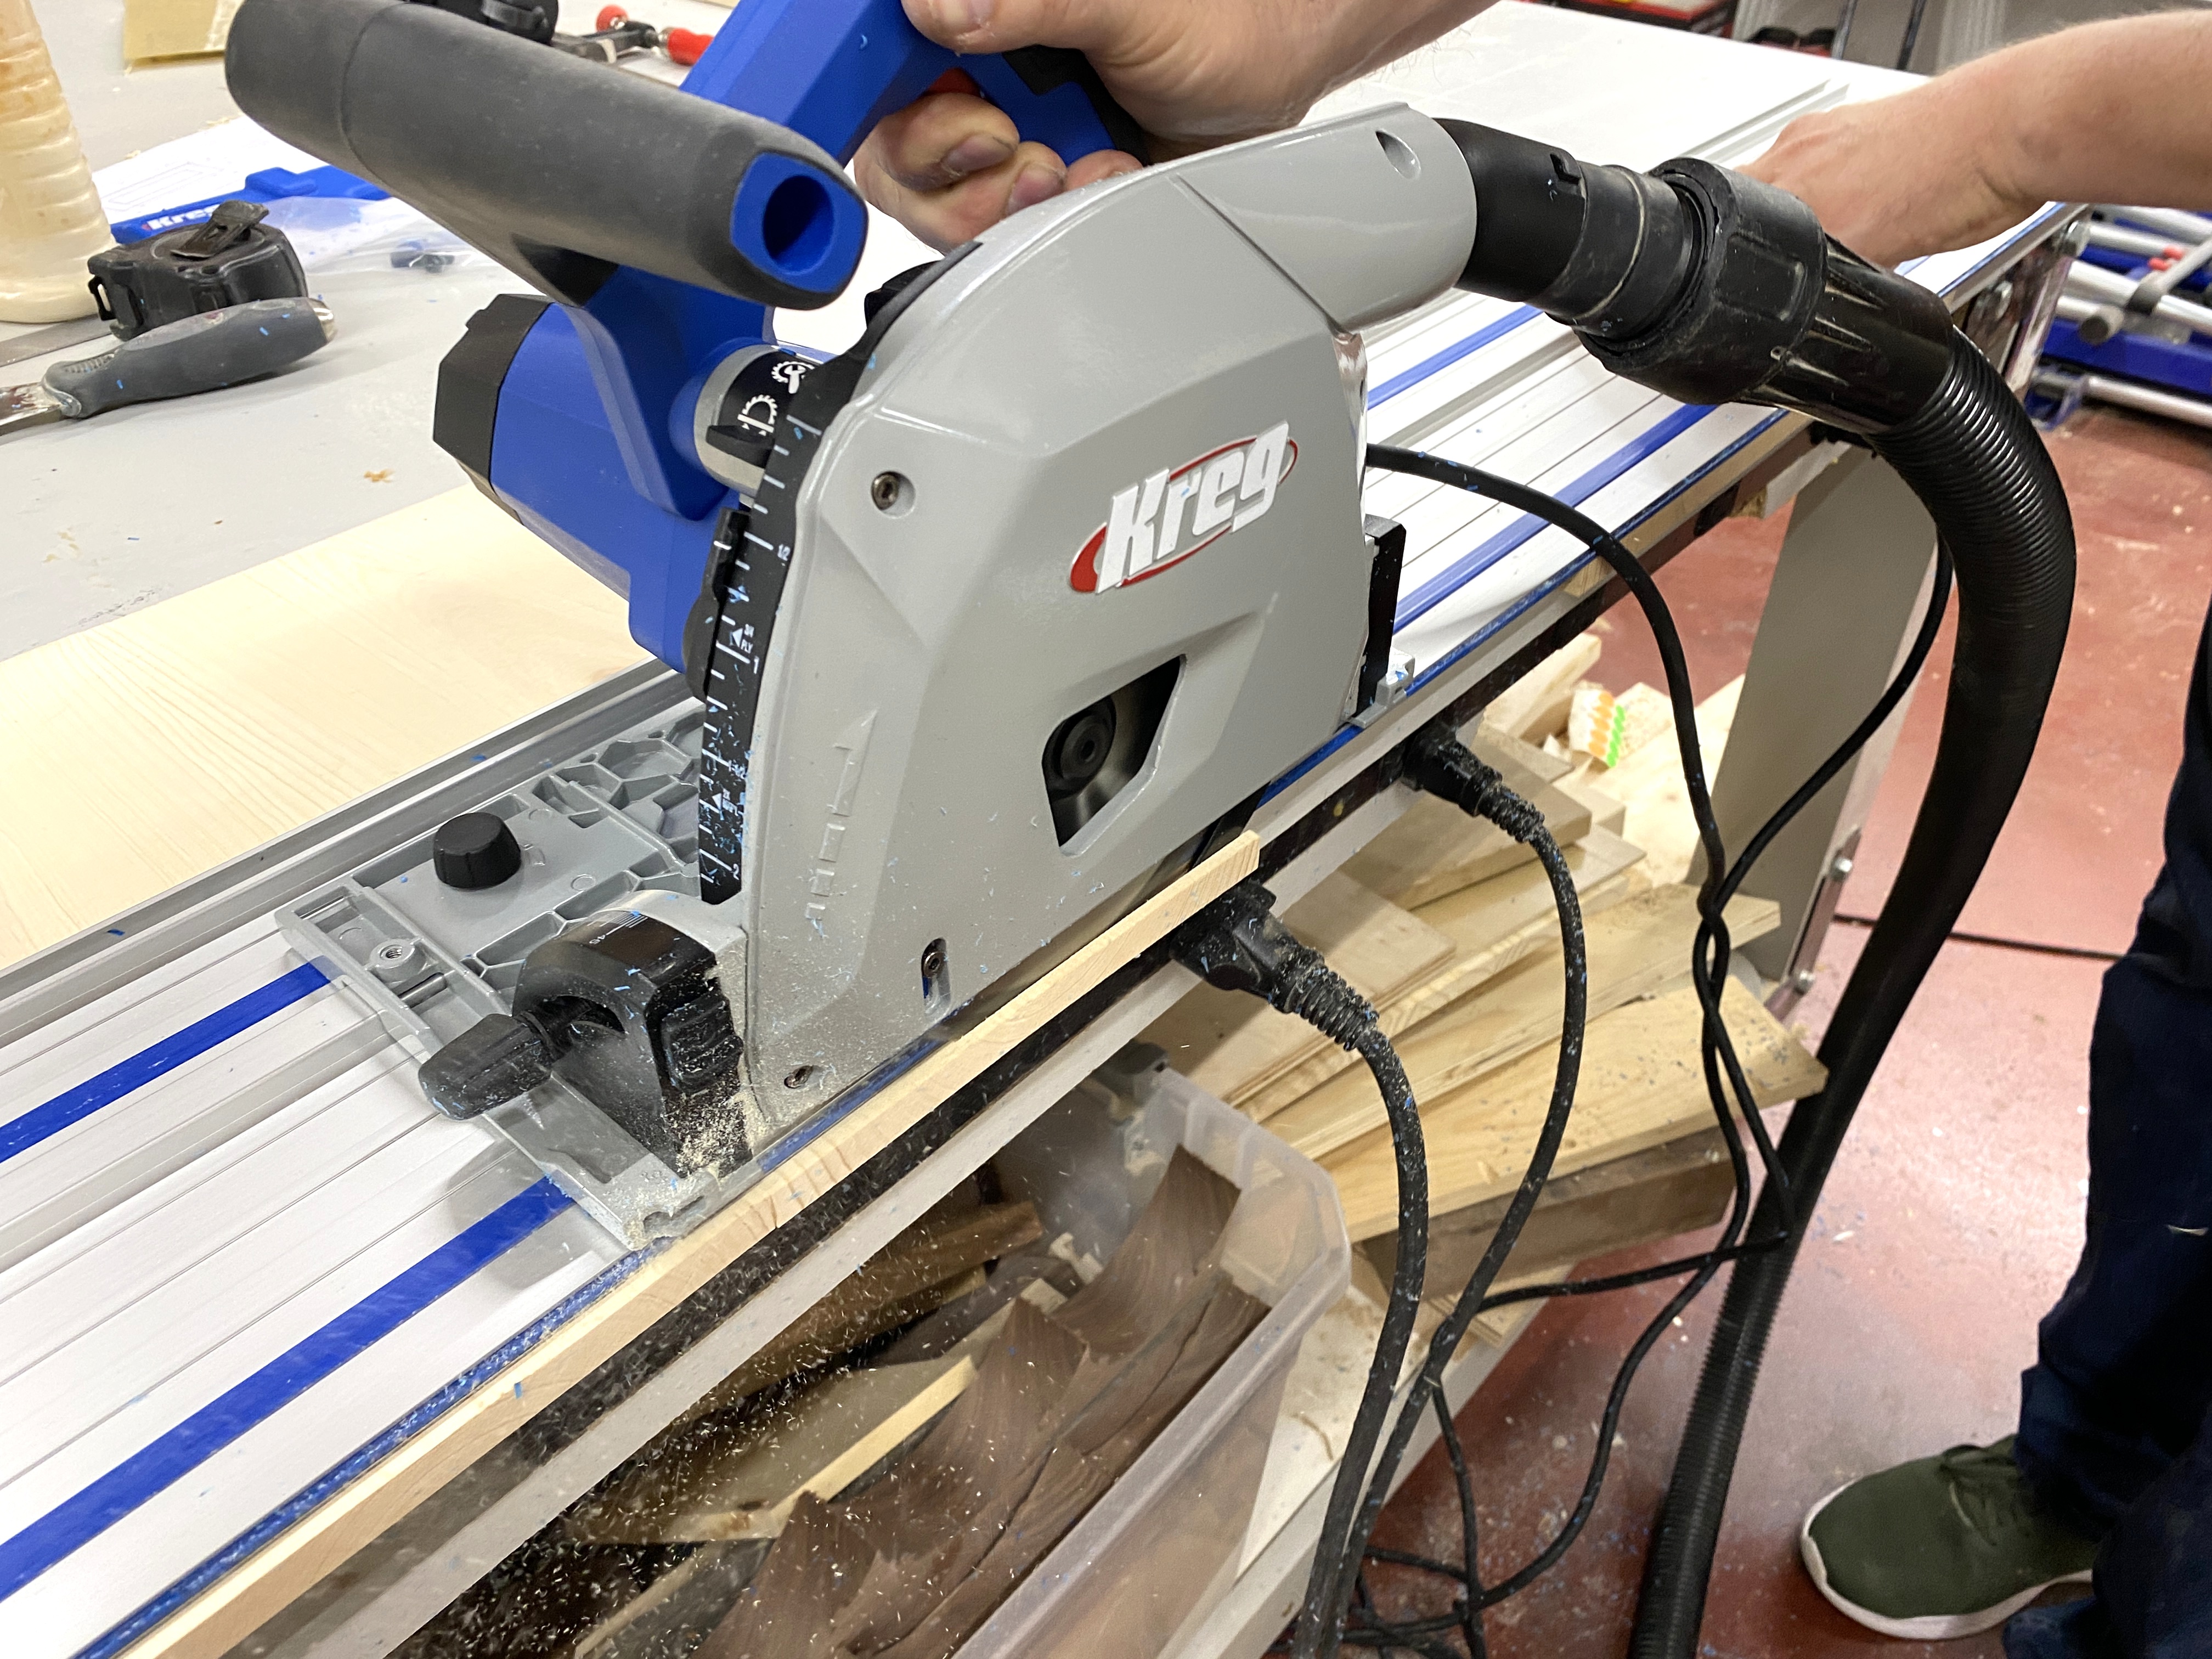
Finish Cut the Back, Front, and Mail Holder Back
Using an track saw we cut the boards to there final dimensions.
-
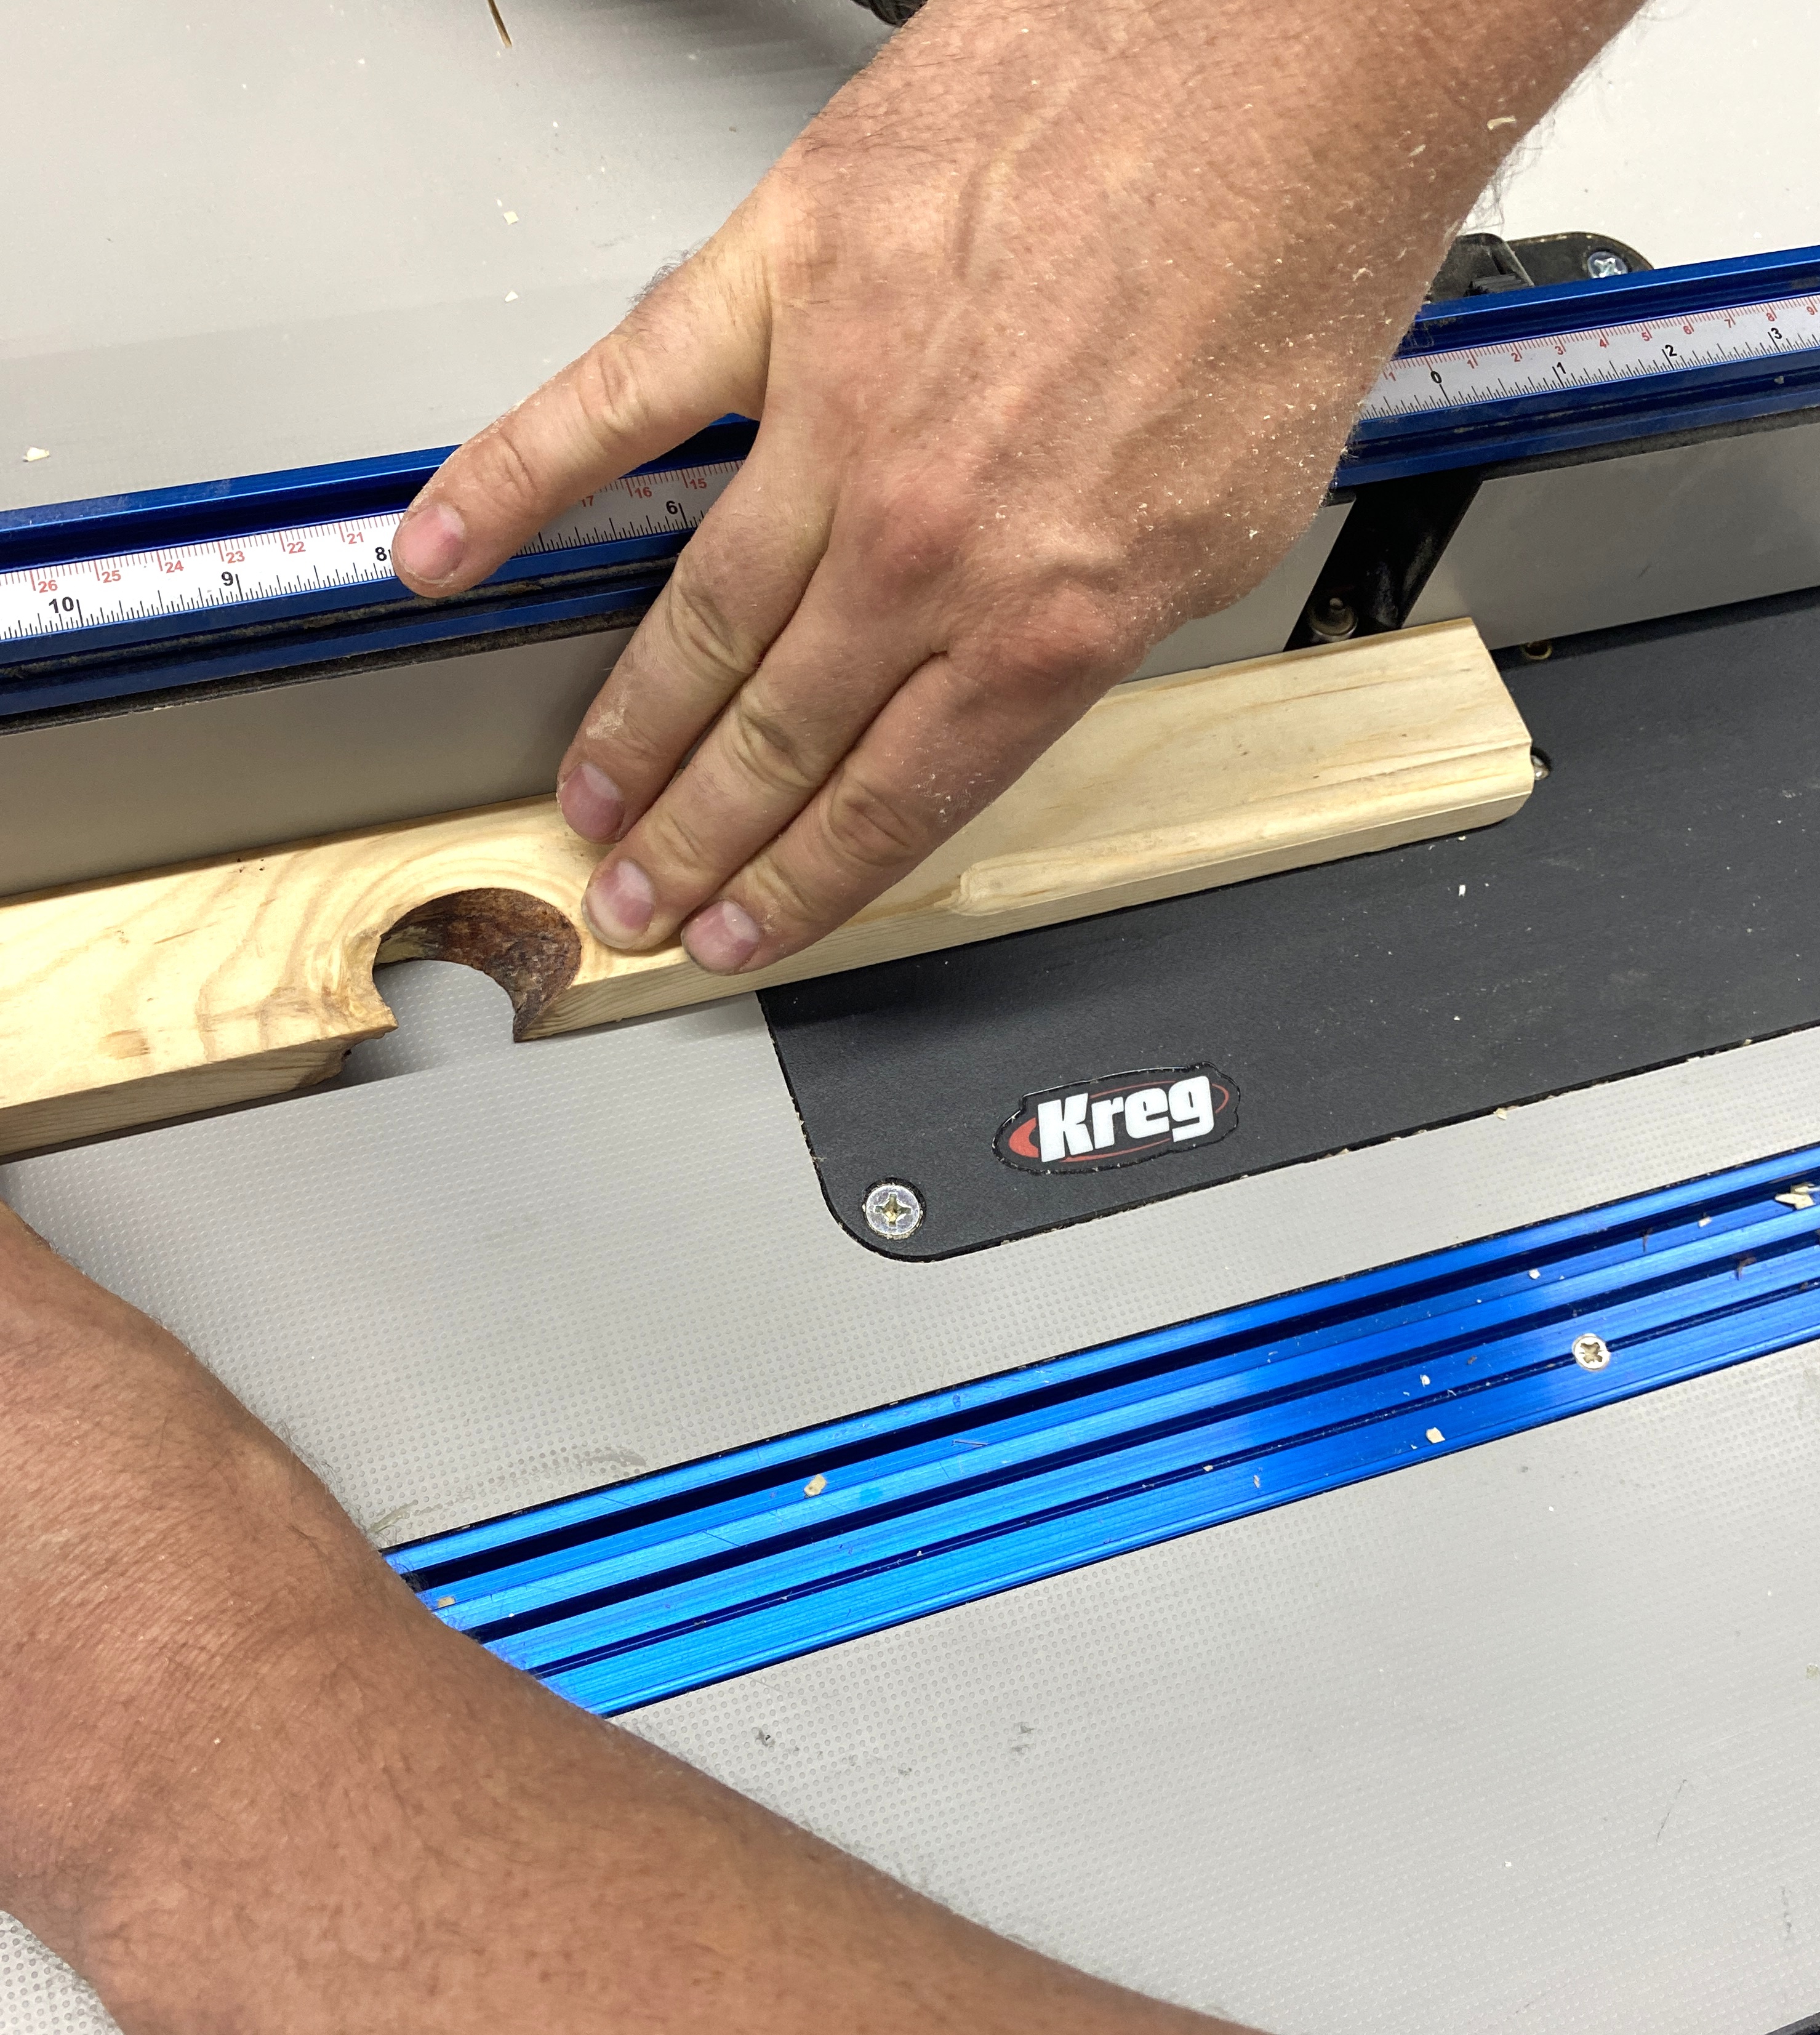
Cut Remaining Parts
Cut the remaining parts out of the 1x4 and 1x6.
-
cut the 20 degree bevels on the Back, Top, and Front Brace
we used a table saw to cut the bevels.
-
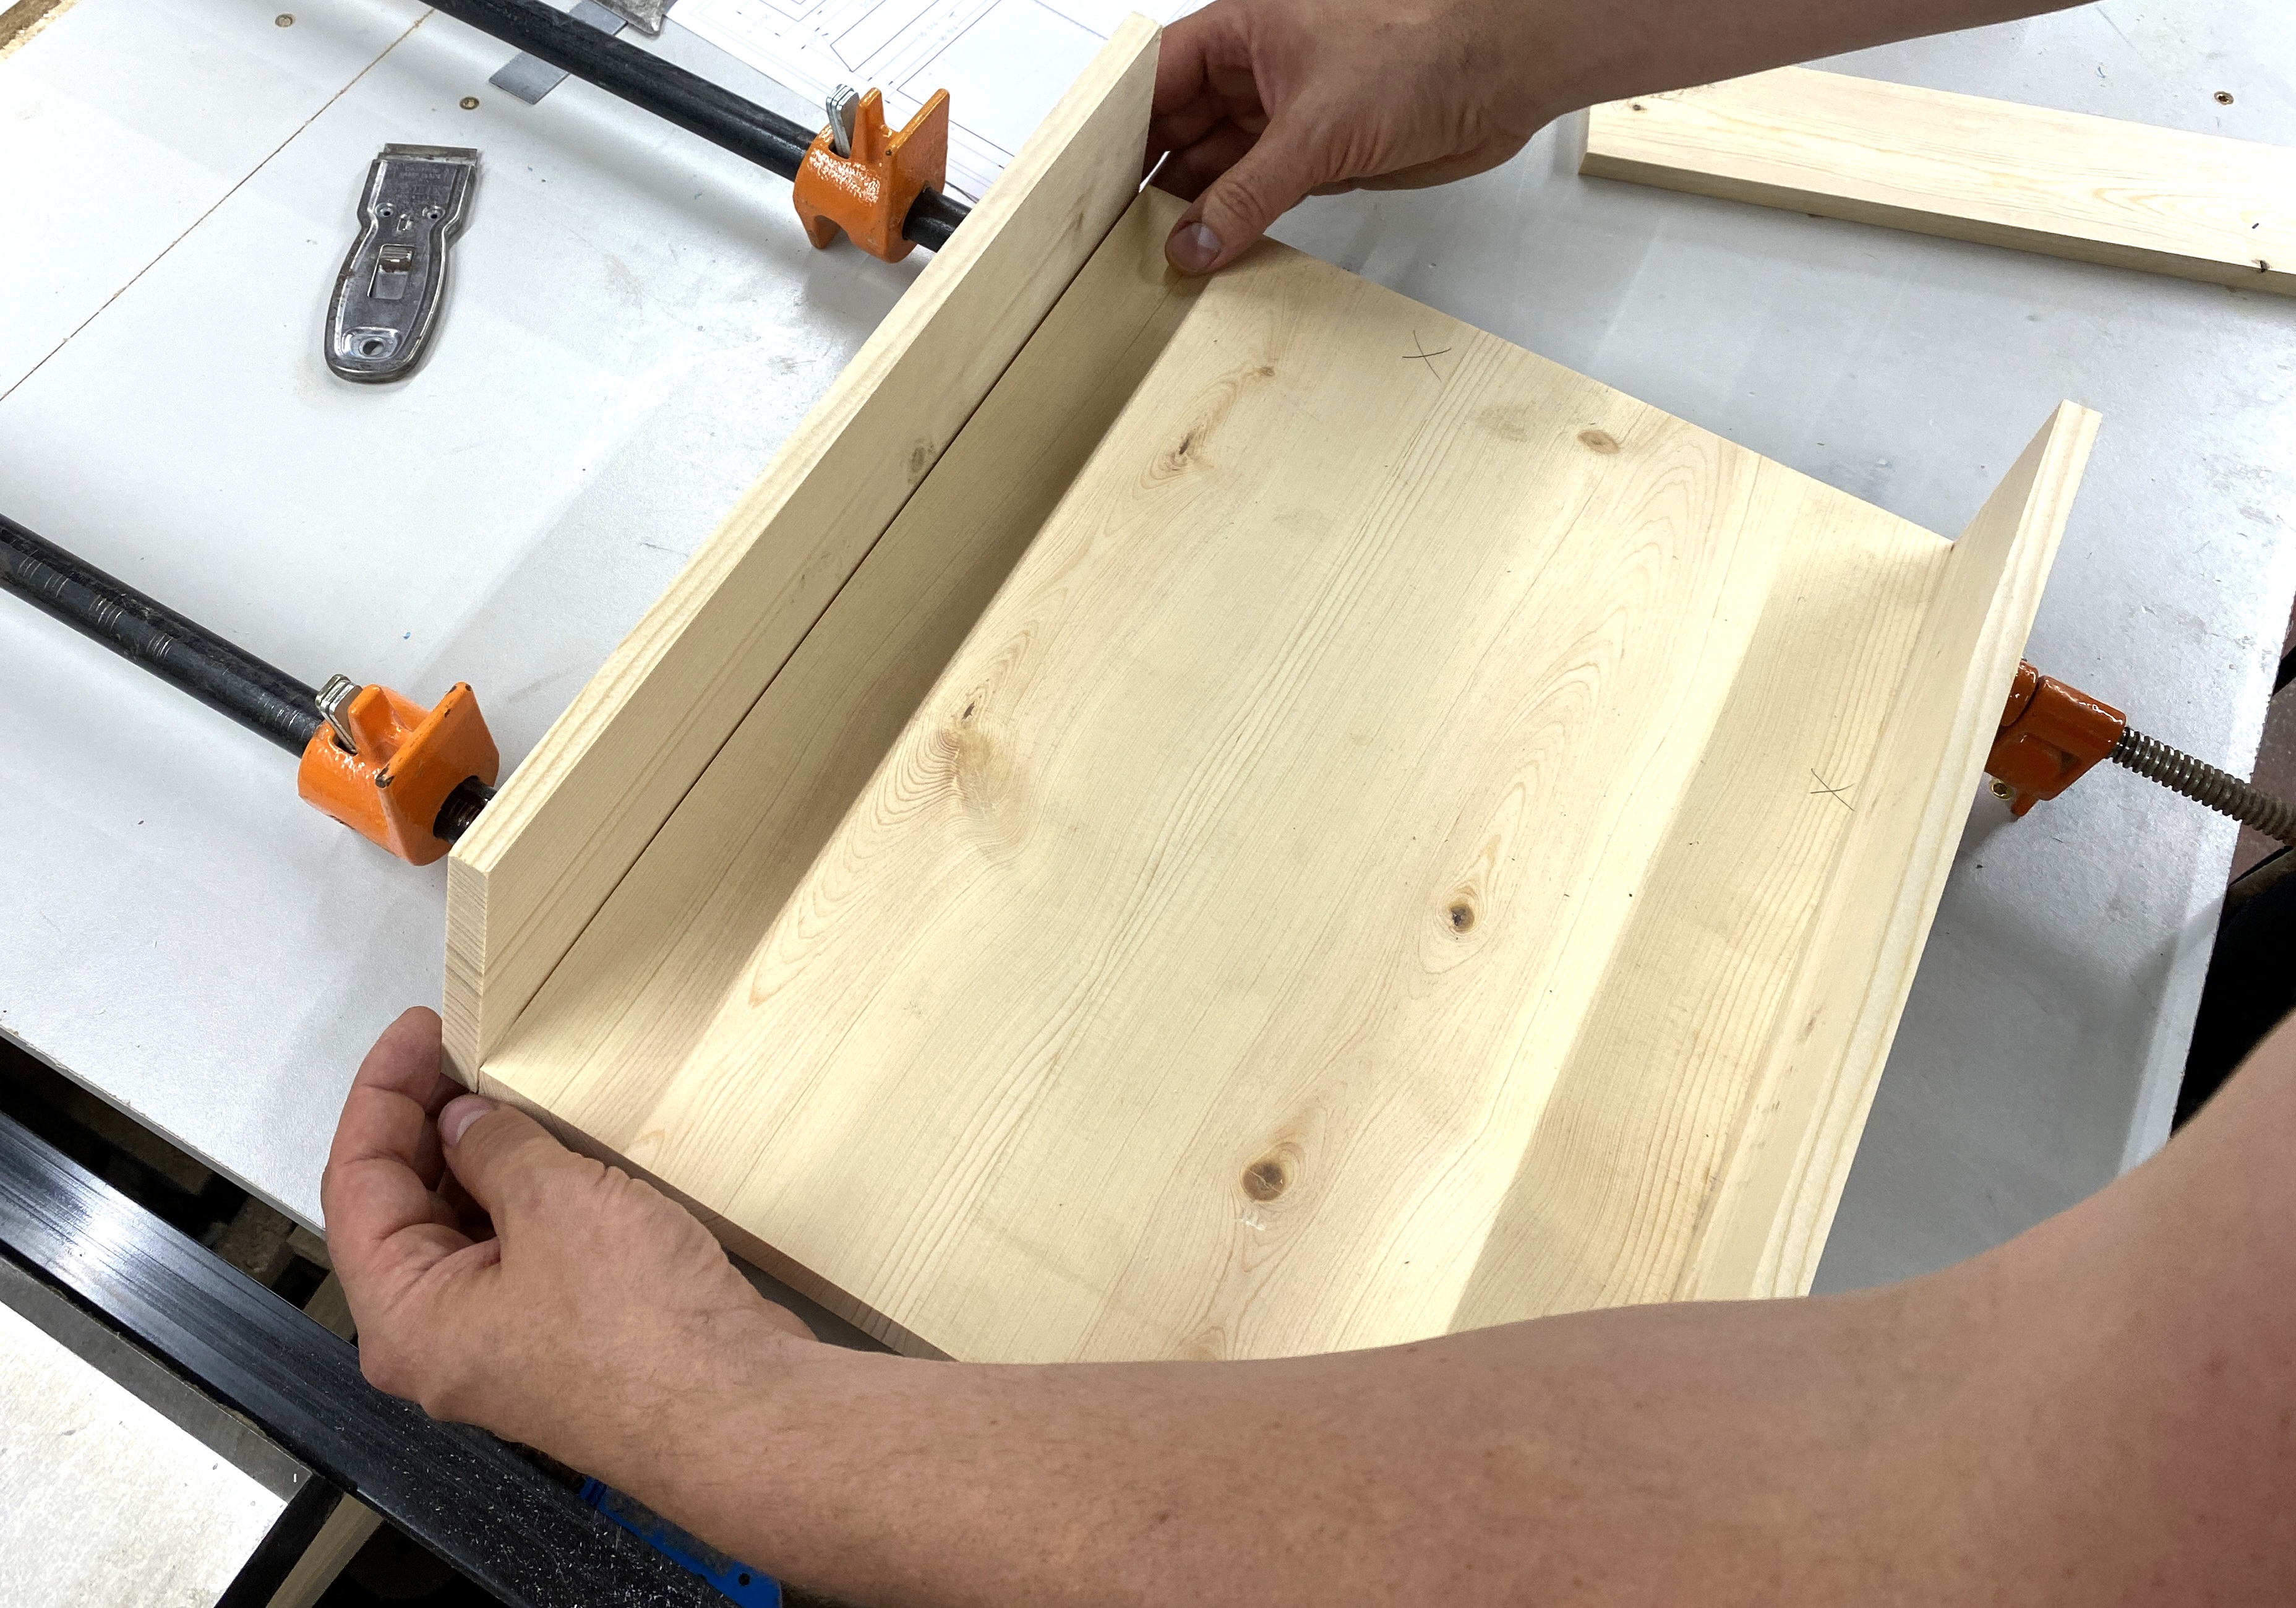
Glue the Sides, Bottom, and the Back
Using an outdoor glue, glue the sides bottom and Back together.
-
Glue on the Front Brace
Glue the Front Brace on, flush with the top edge of the sides.
-
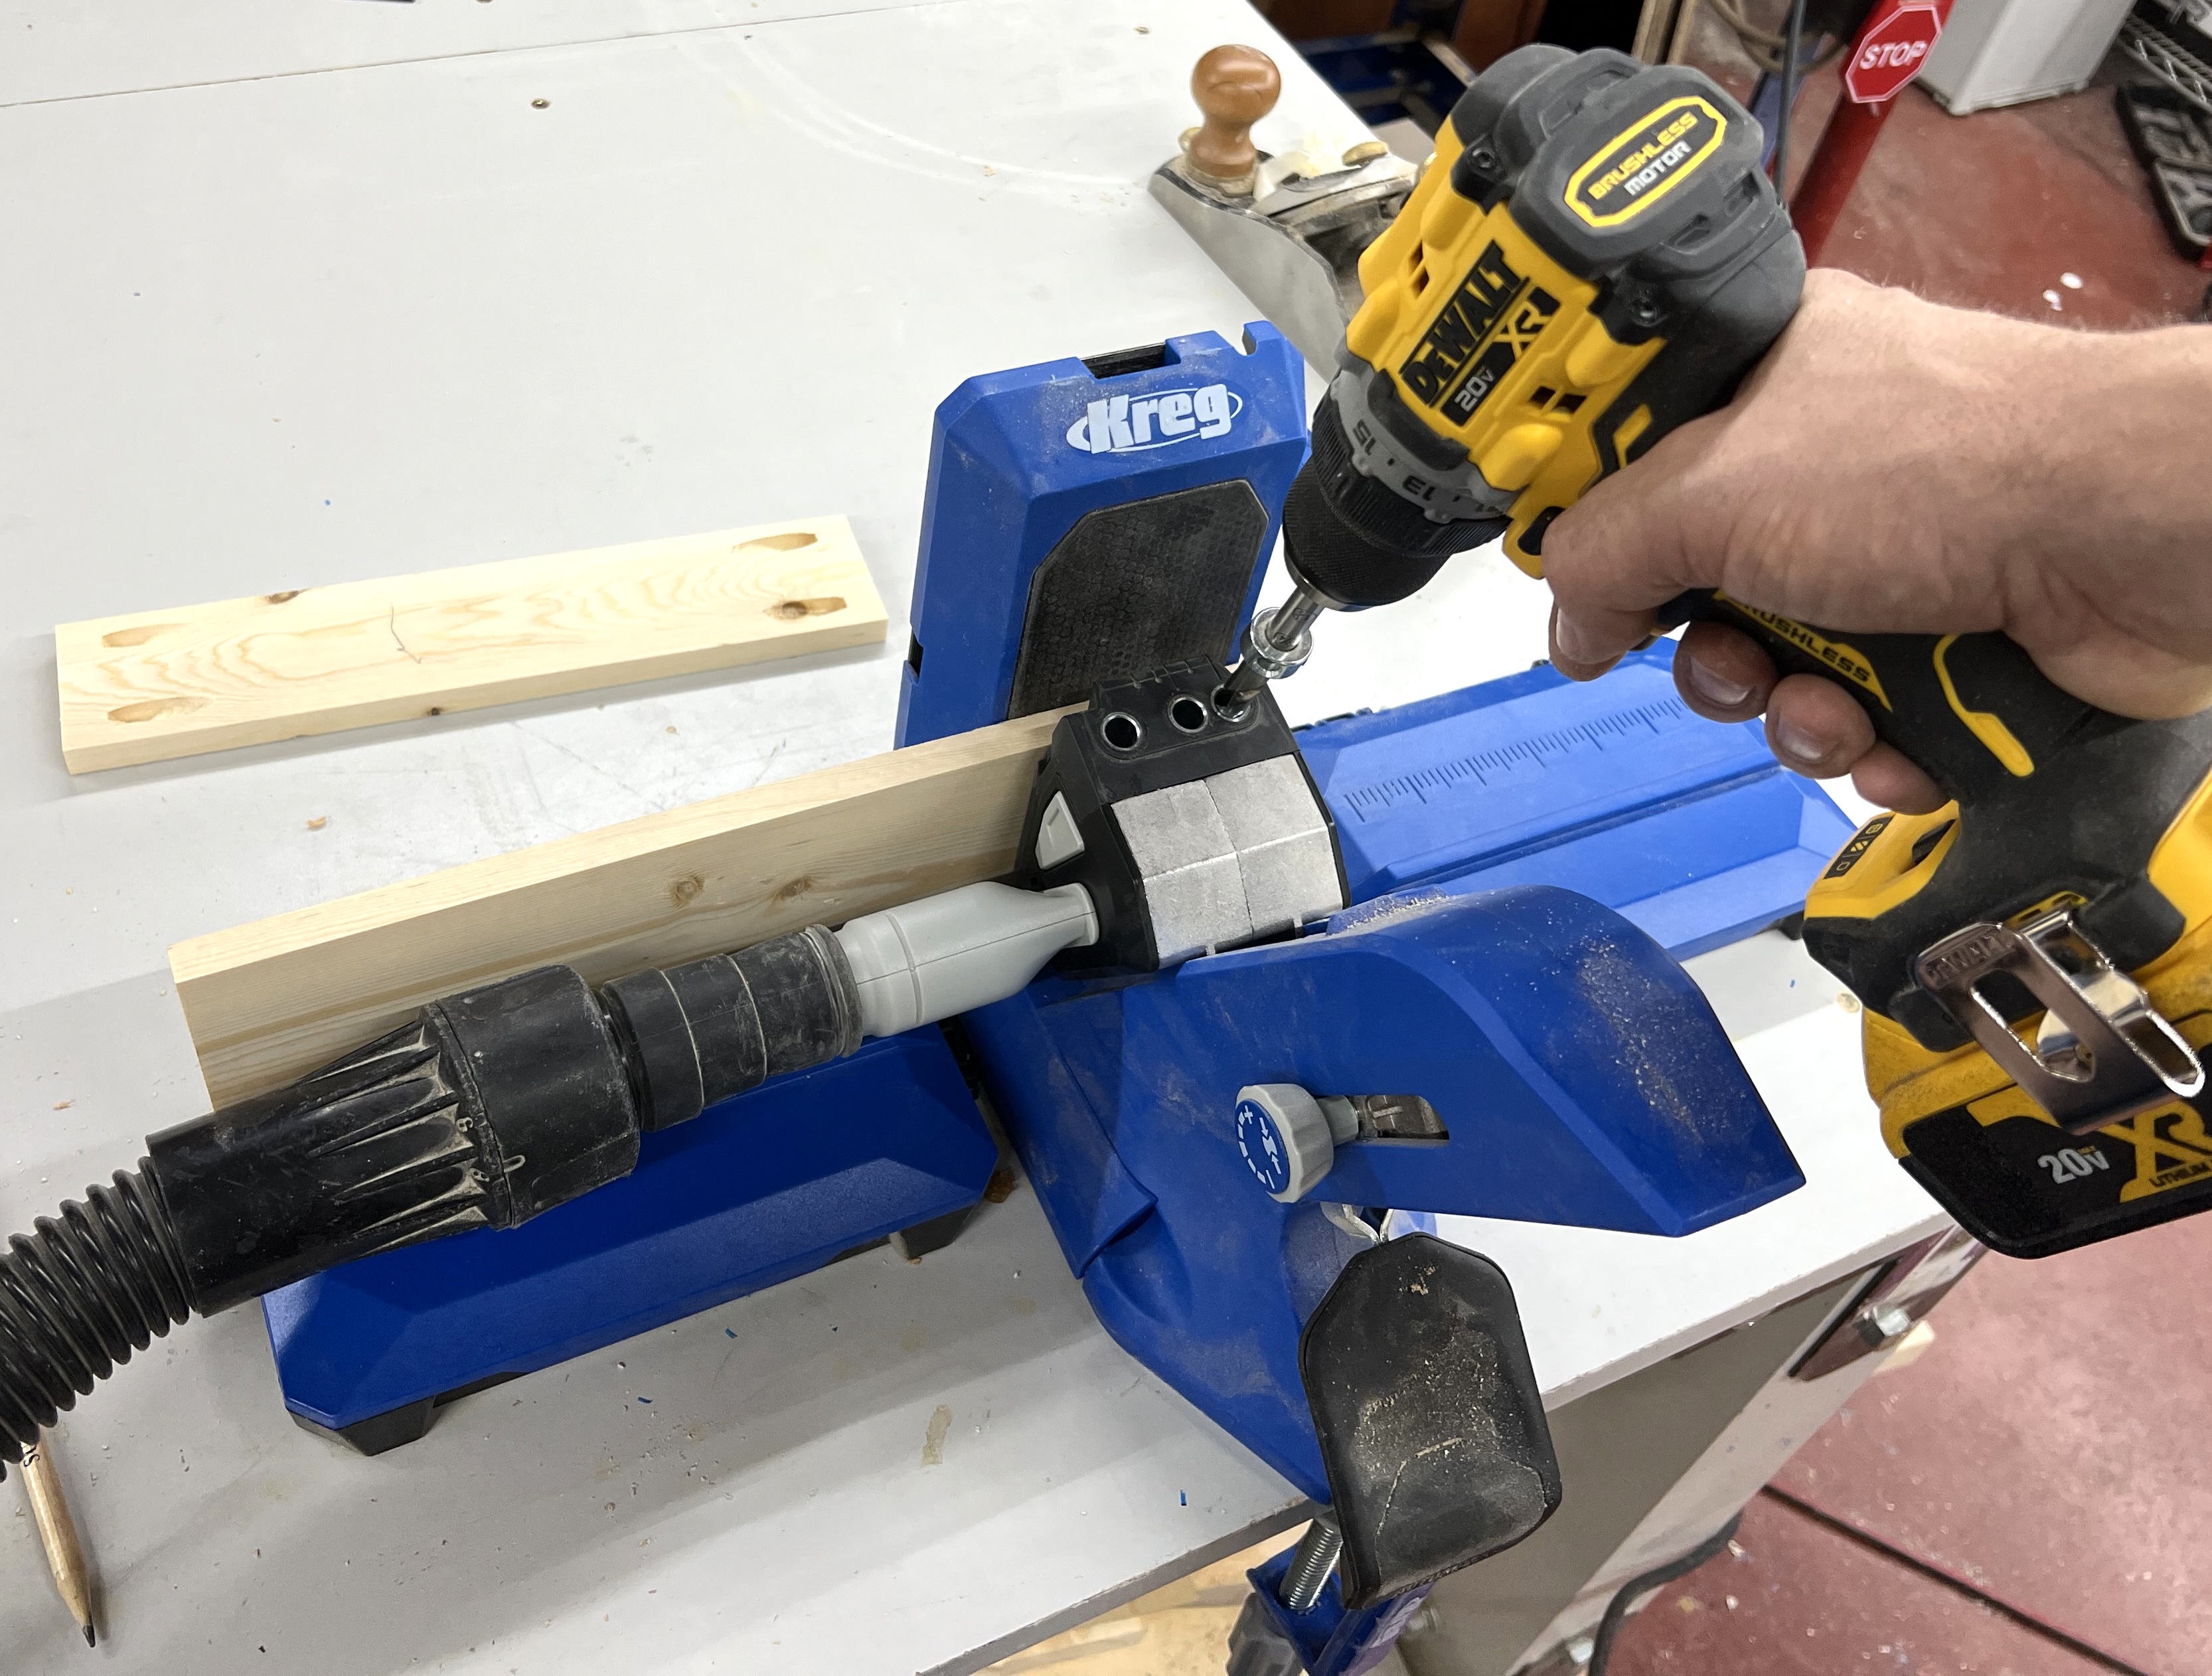
Drill pocket holes
Drill pocket holes in the mailbox insert sides and bottom
pocket holes
Pocket holes on the Bottom will be used to attach the Sides and pocket holes on the Sides will be to attach the Mailbox Insert to the Front
-
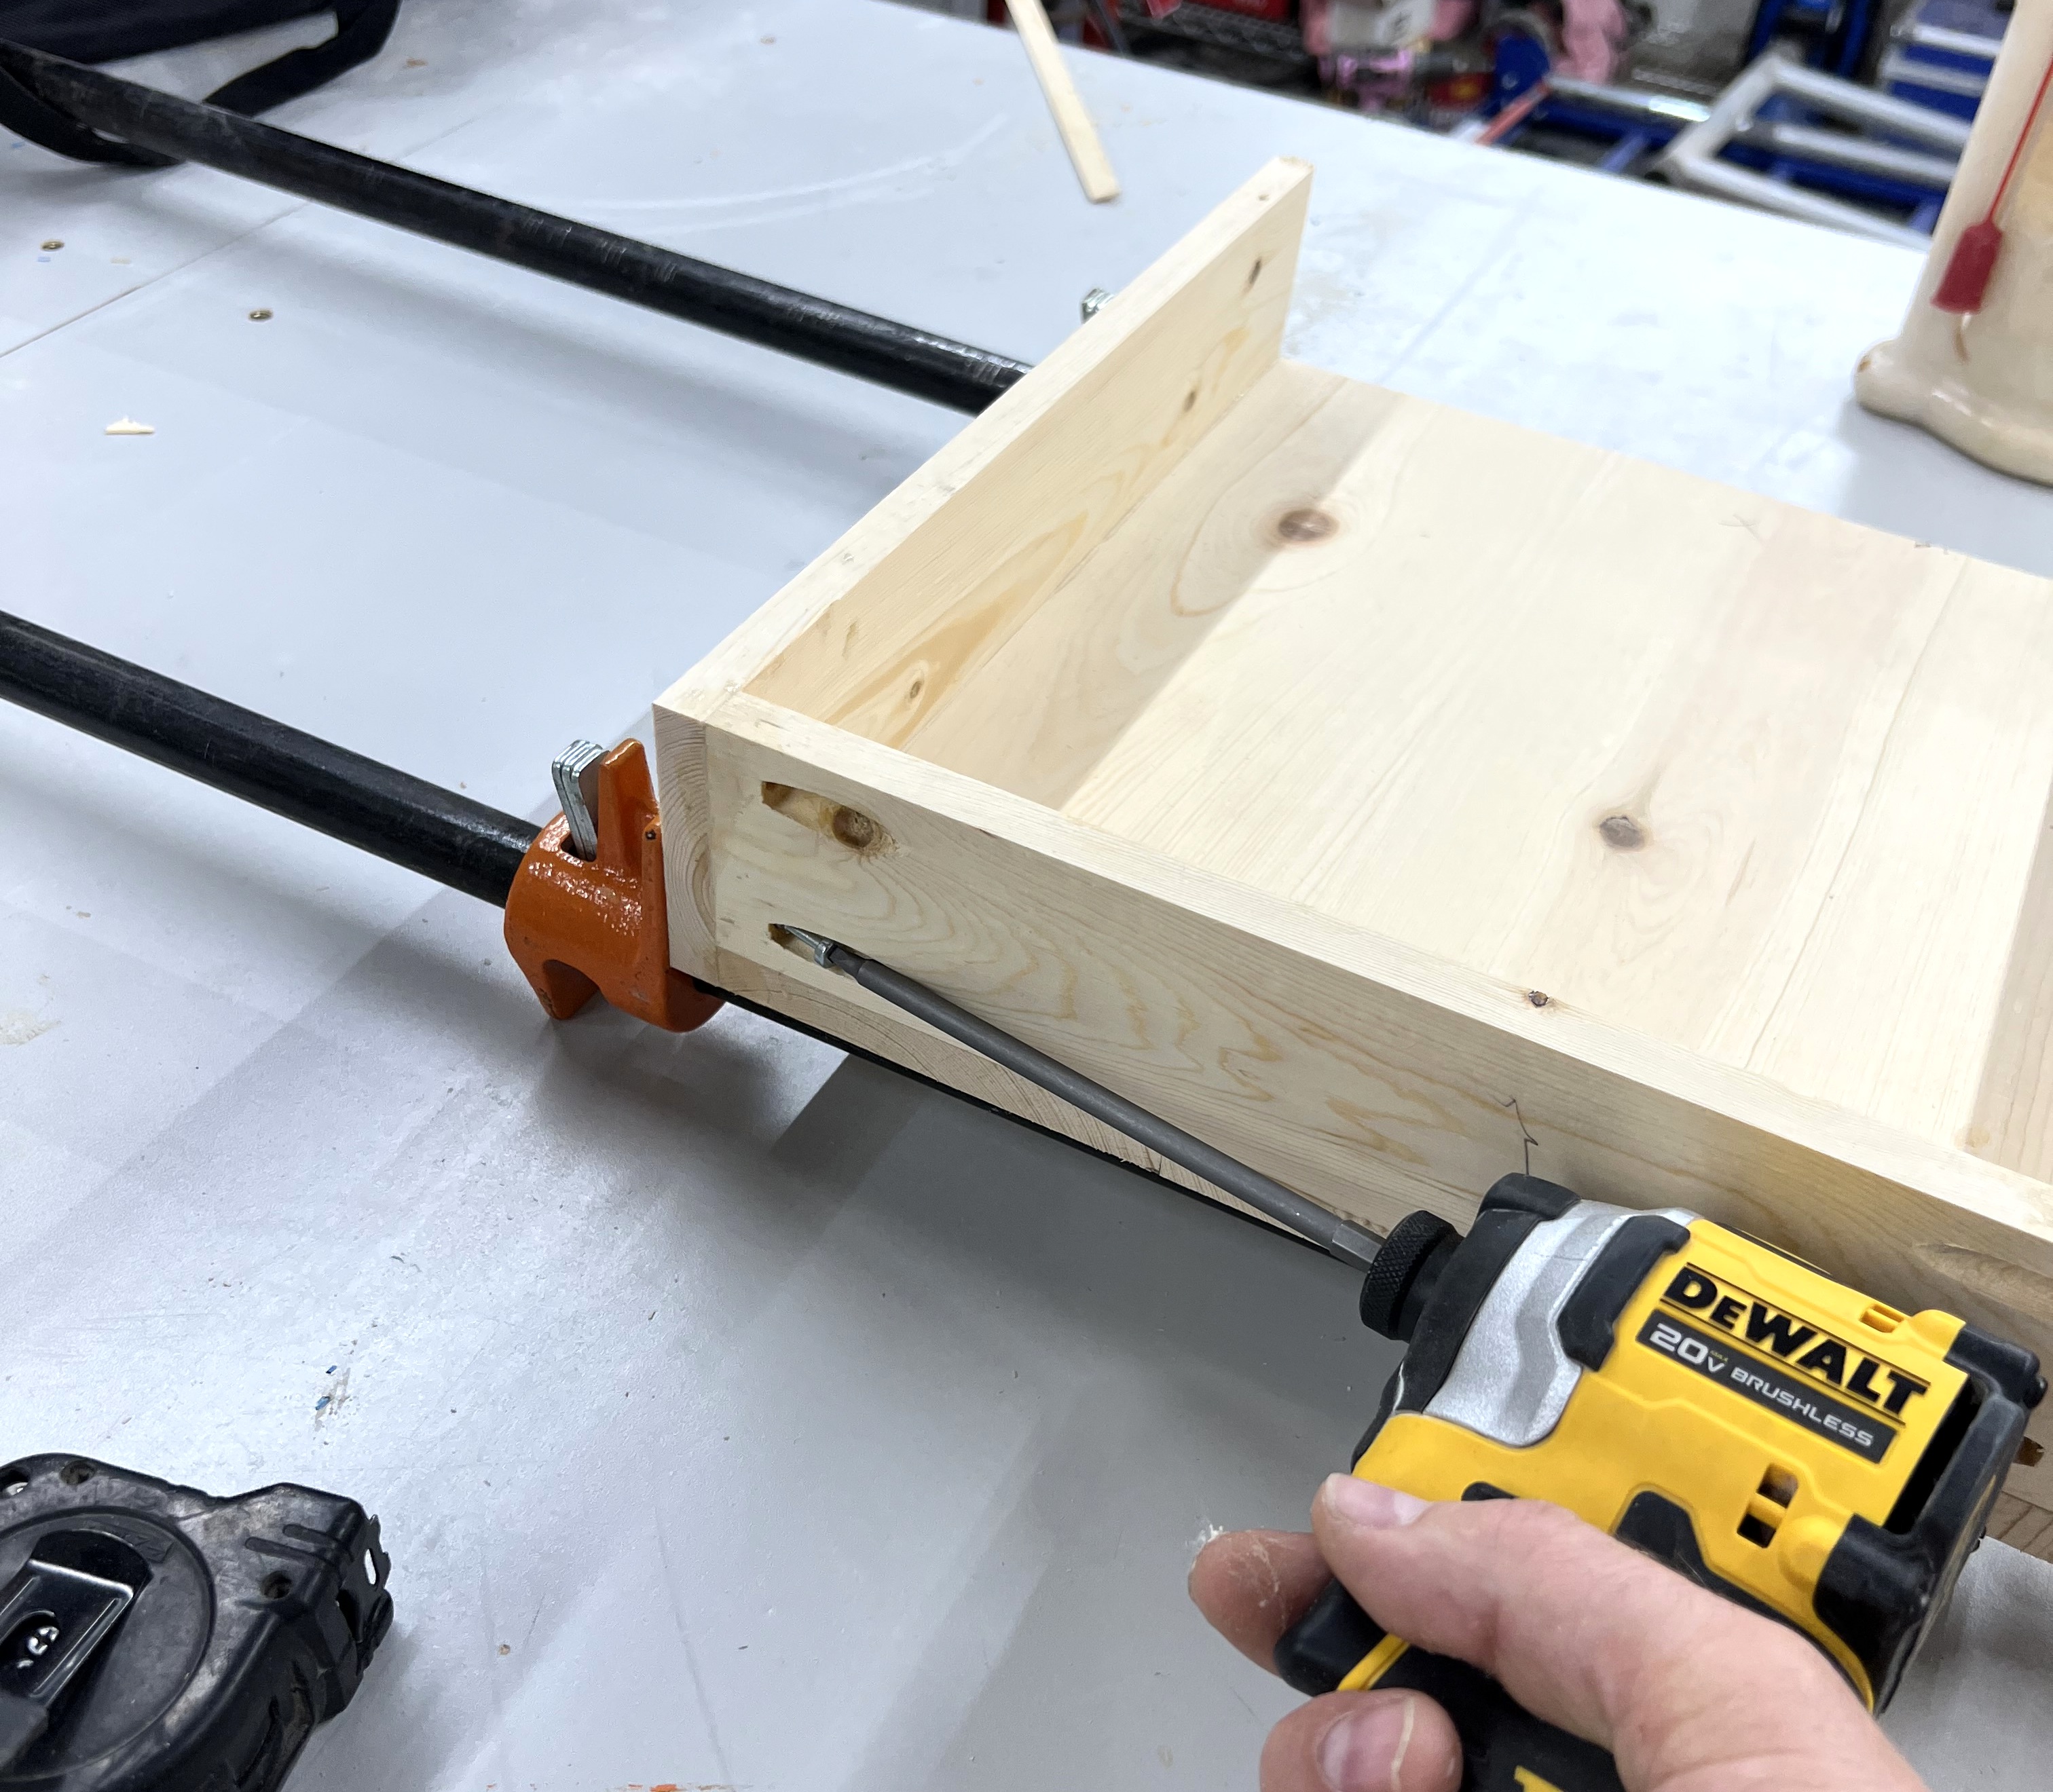
Clamp. Glue, and Screw Mailbox Insert
Glue the Sides to the Back and Bottom on the Mailbox Insert, screw the bottom to the sides
-
Cutting Trim
we wanted to add trim to the front, you could buy this at the hardware store or make your own.
-
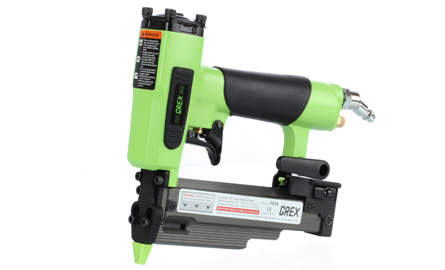
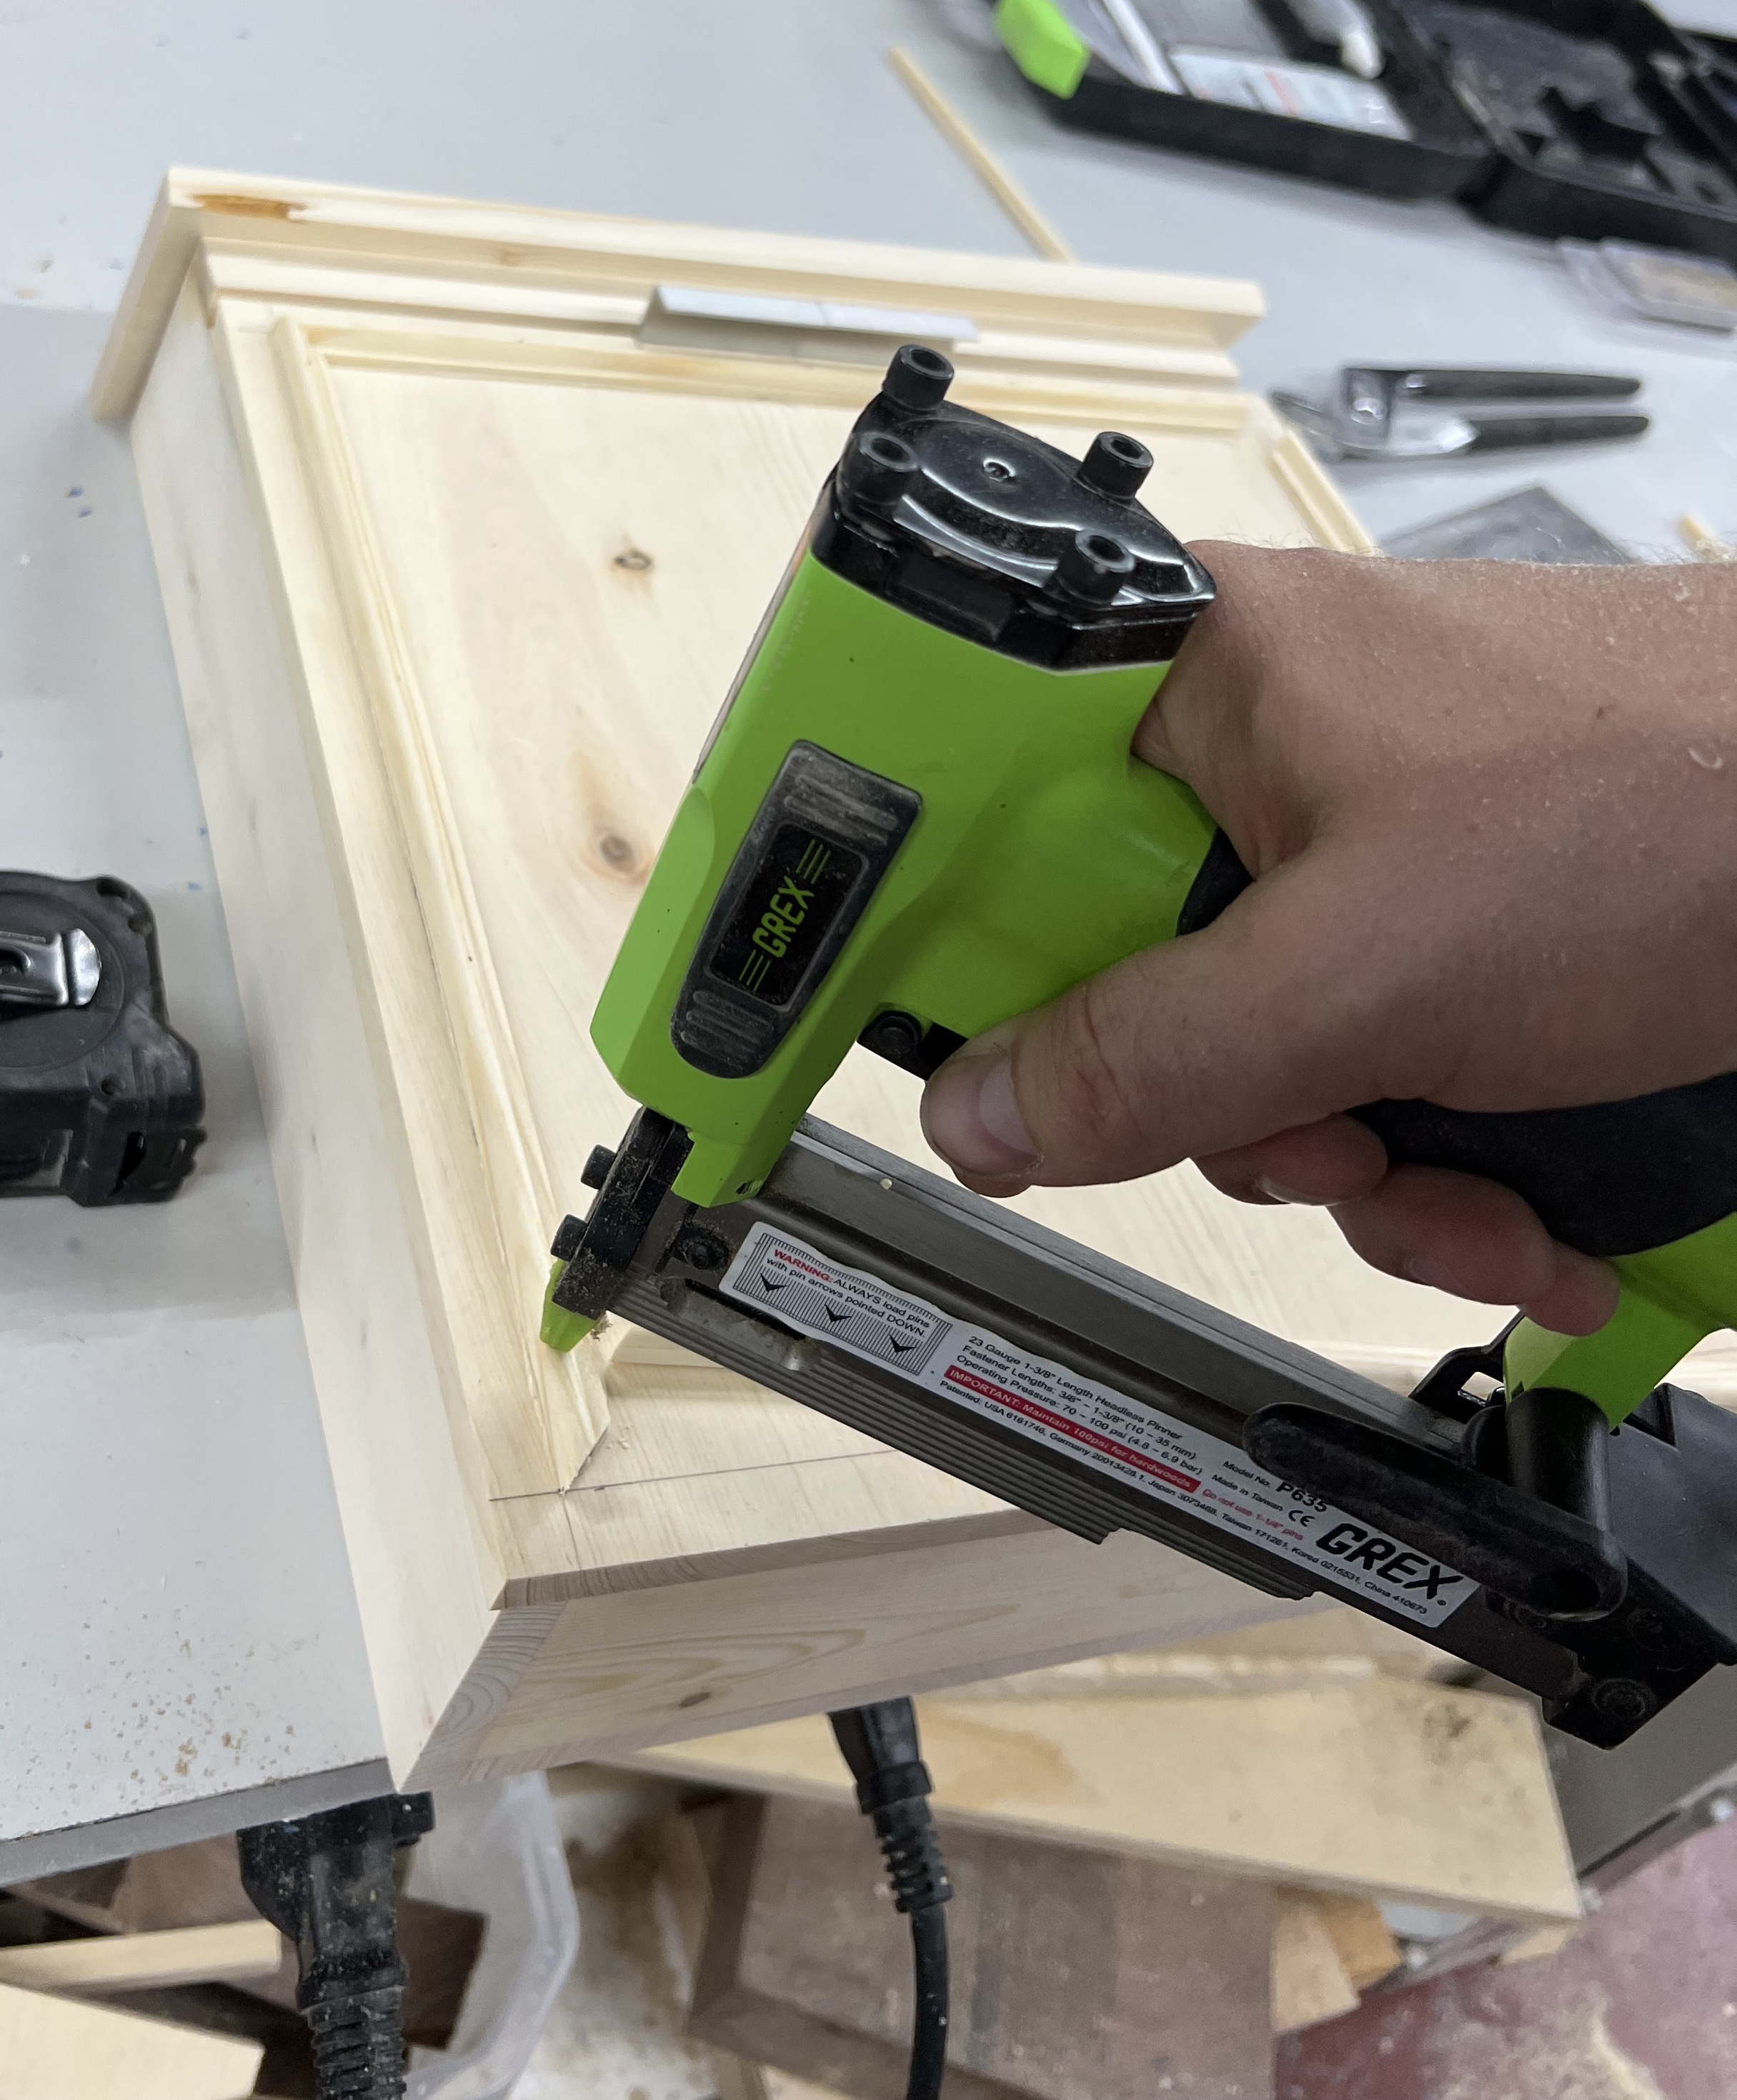
Glue and Nail Trim
Add trim to mailbox.
-
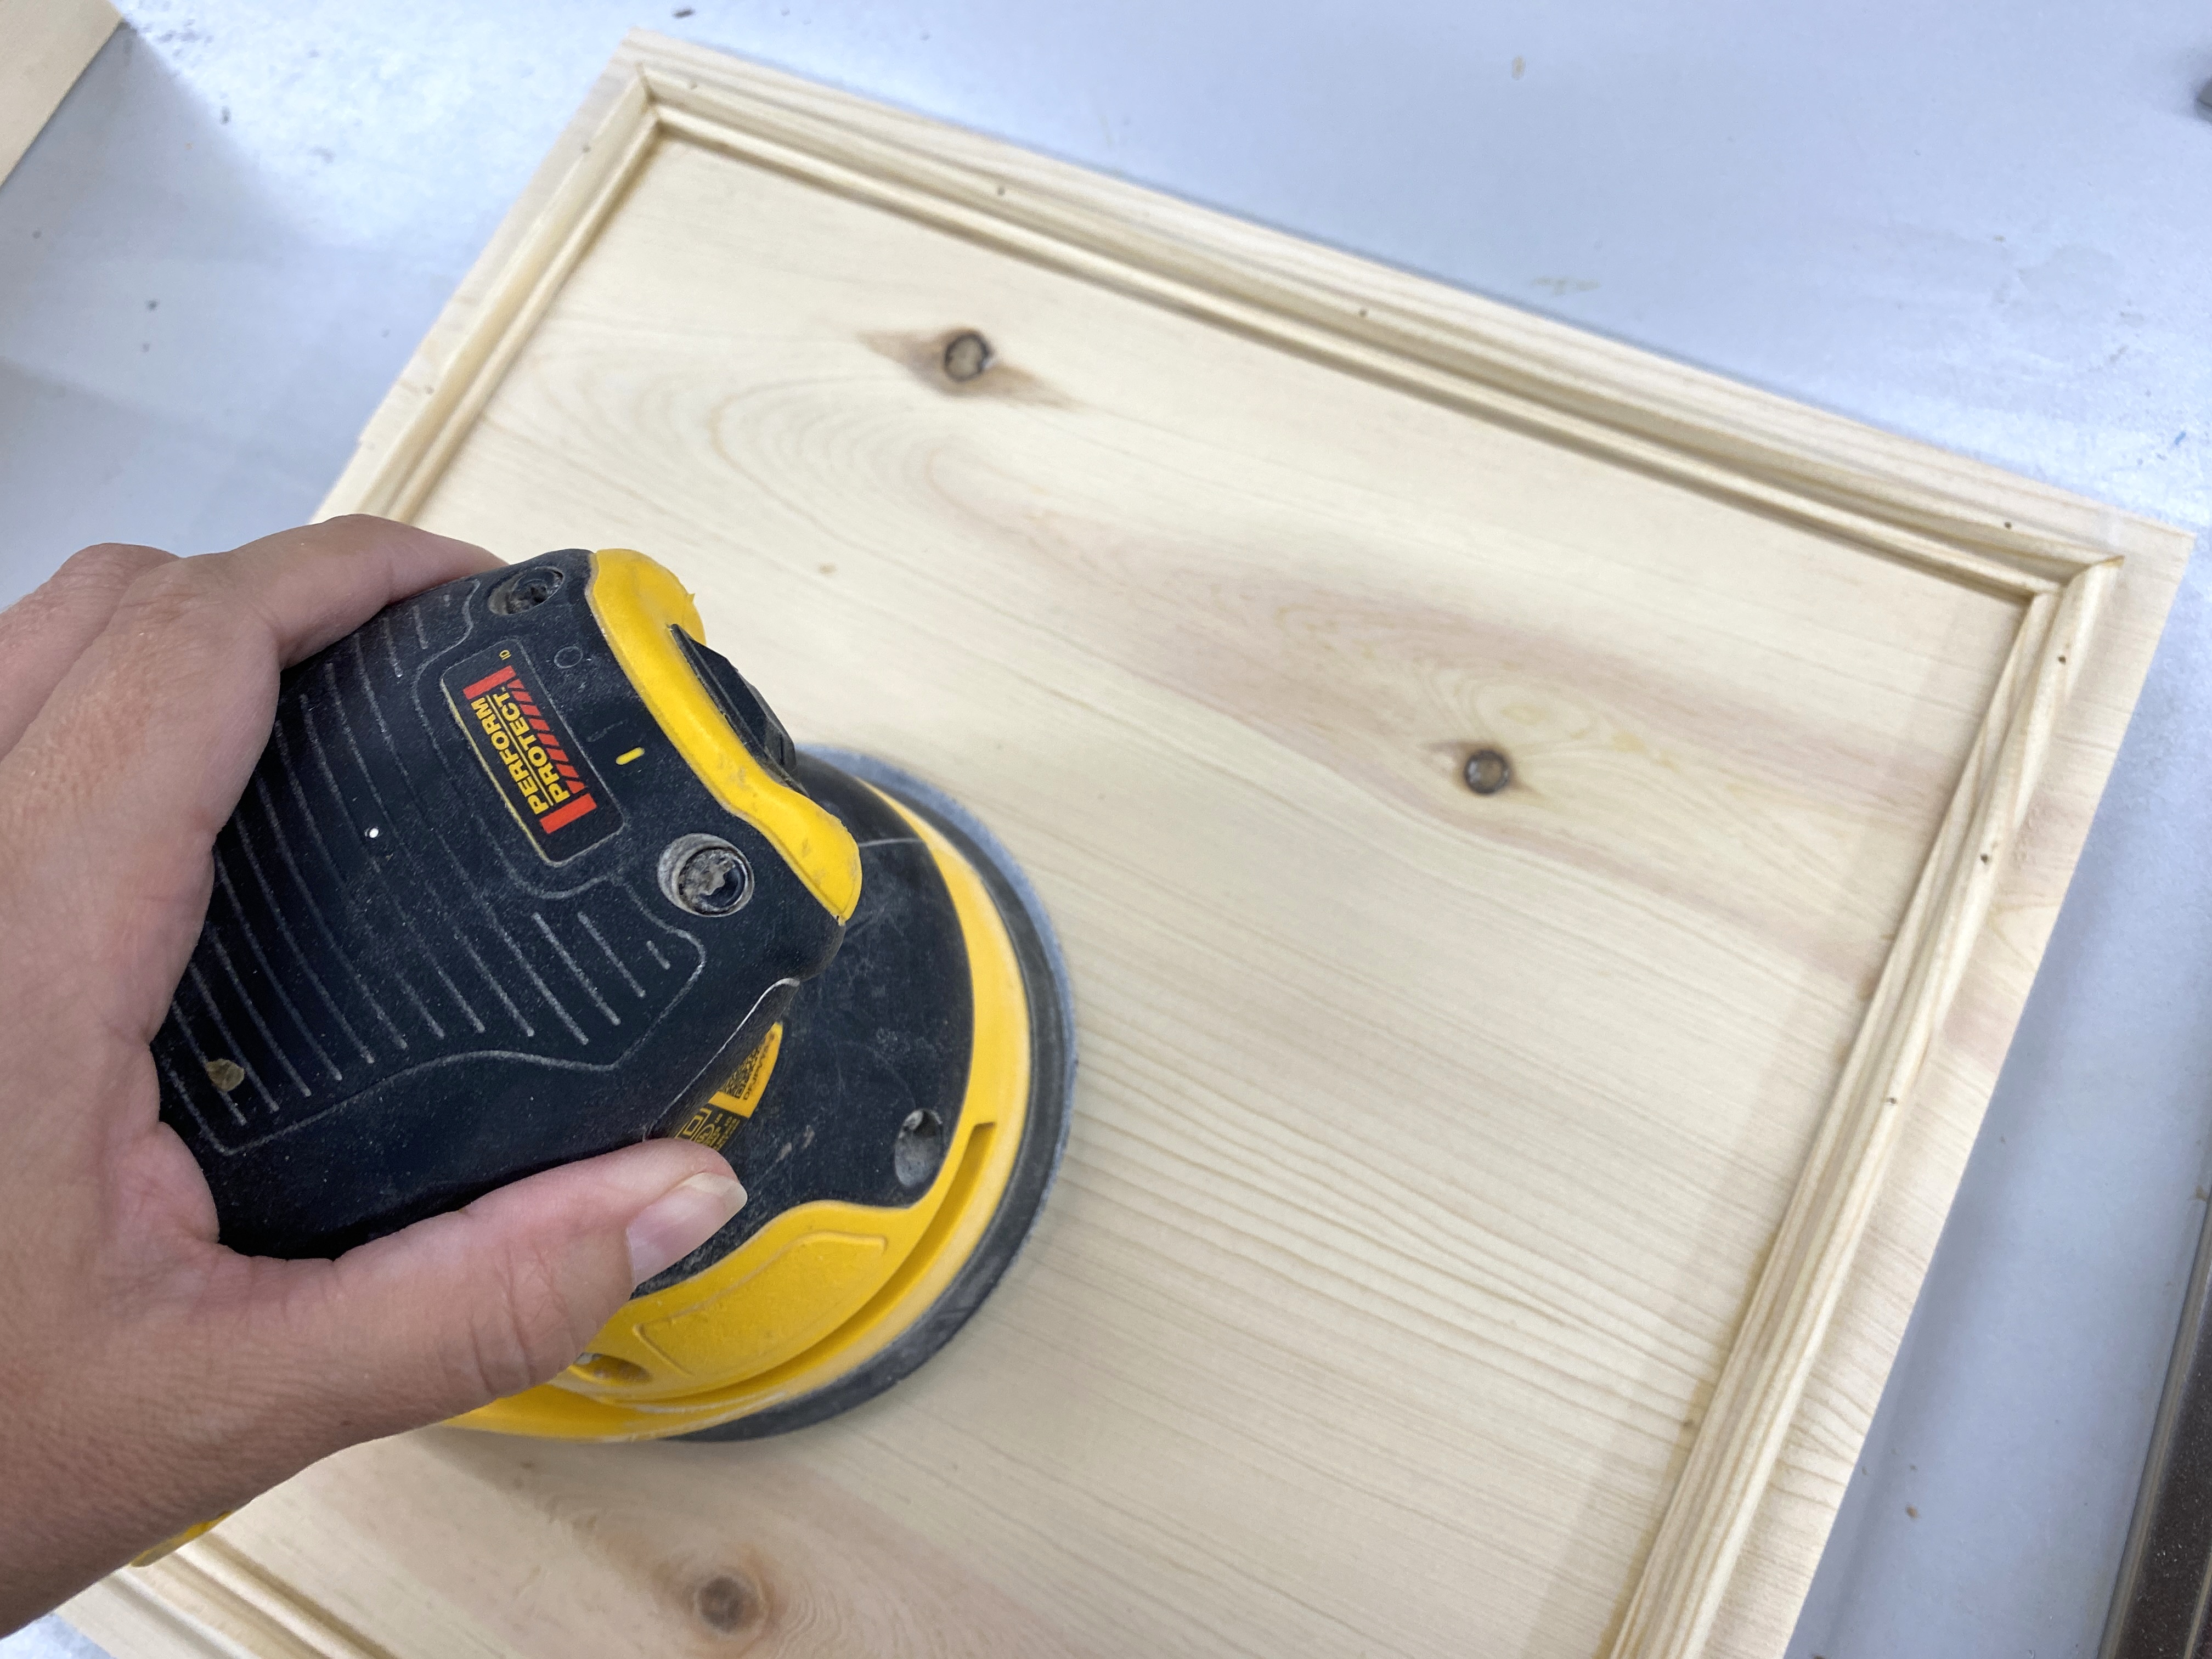
Sand & Paint
We sanded with an orbital sander, primed, and painted with an oil-based paint for maximum durability.
-
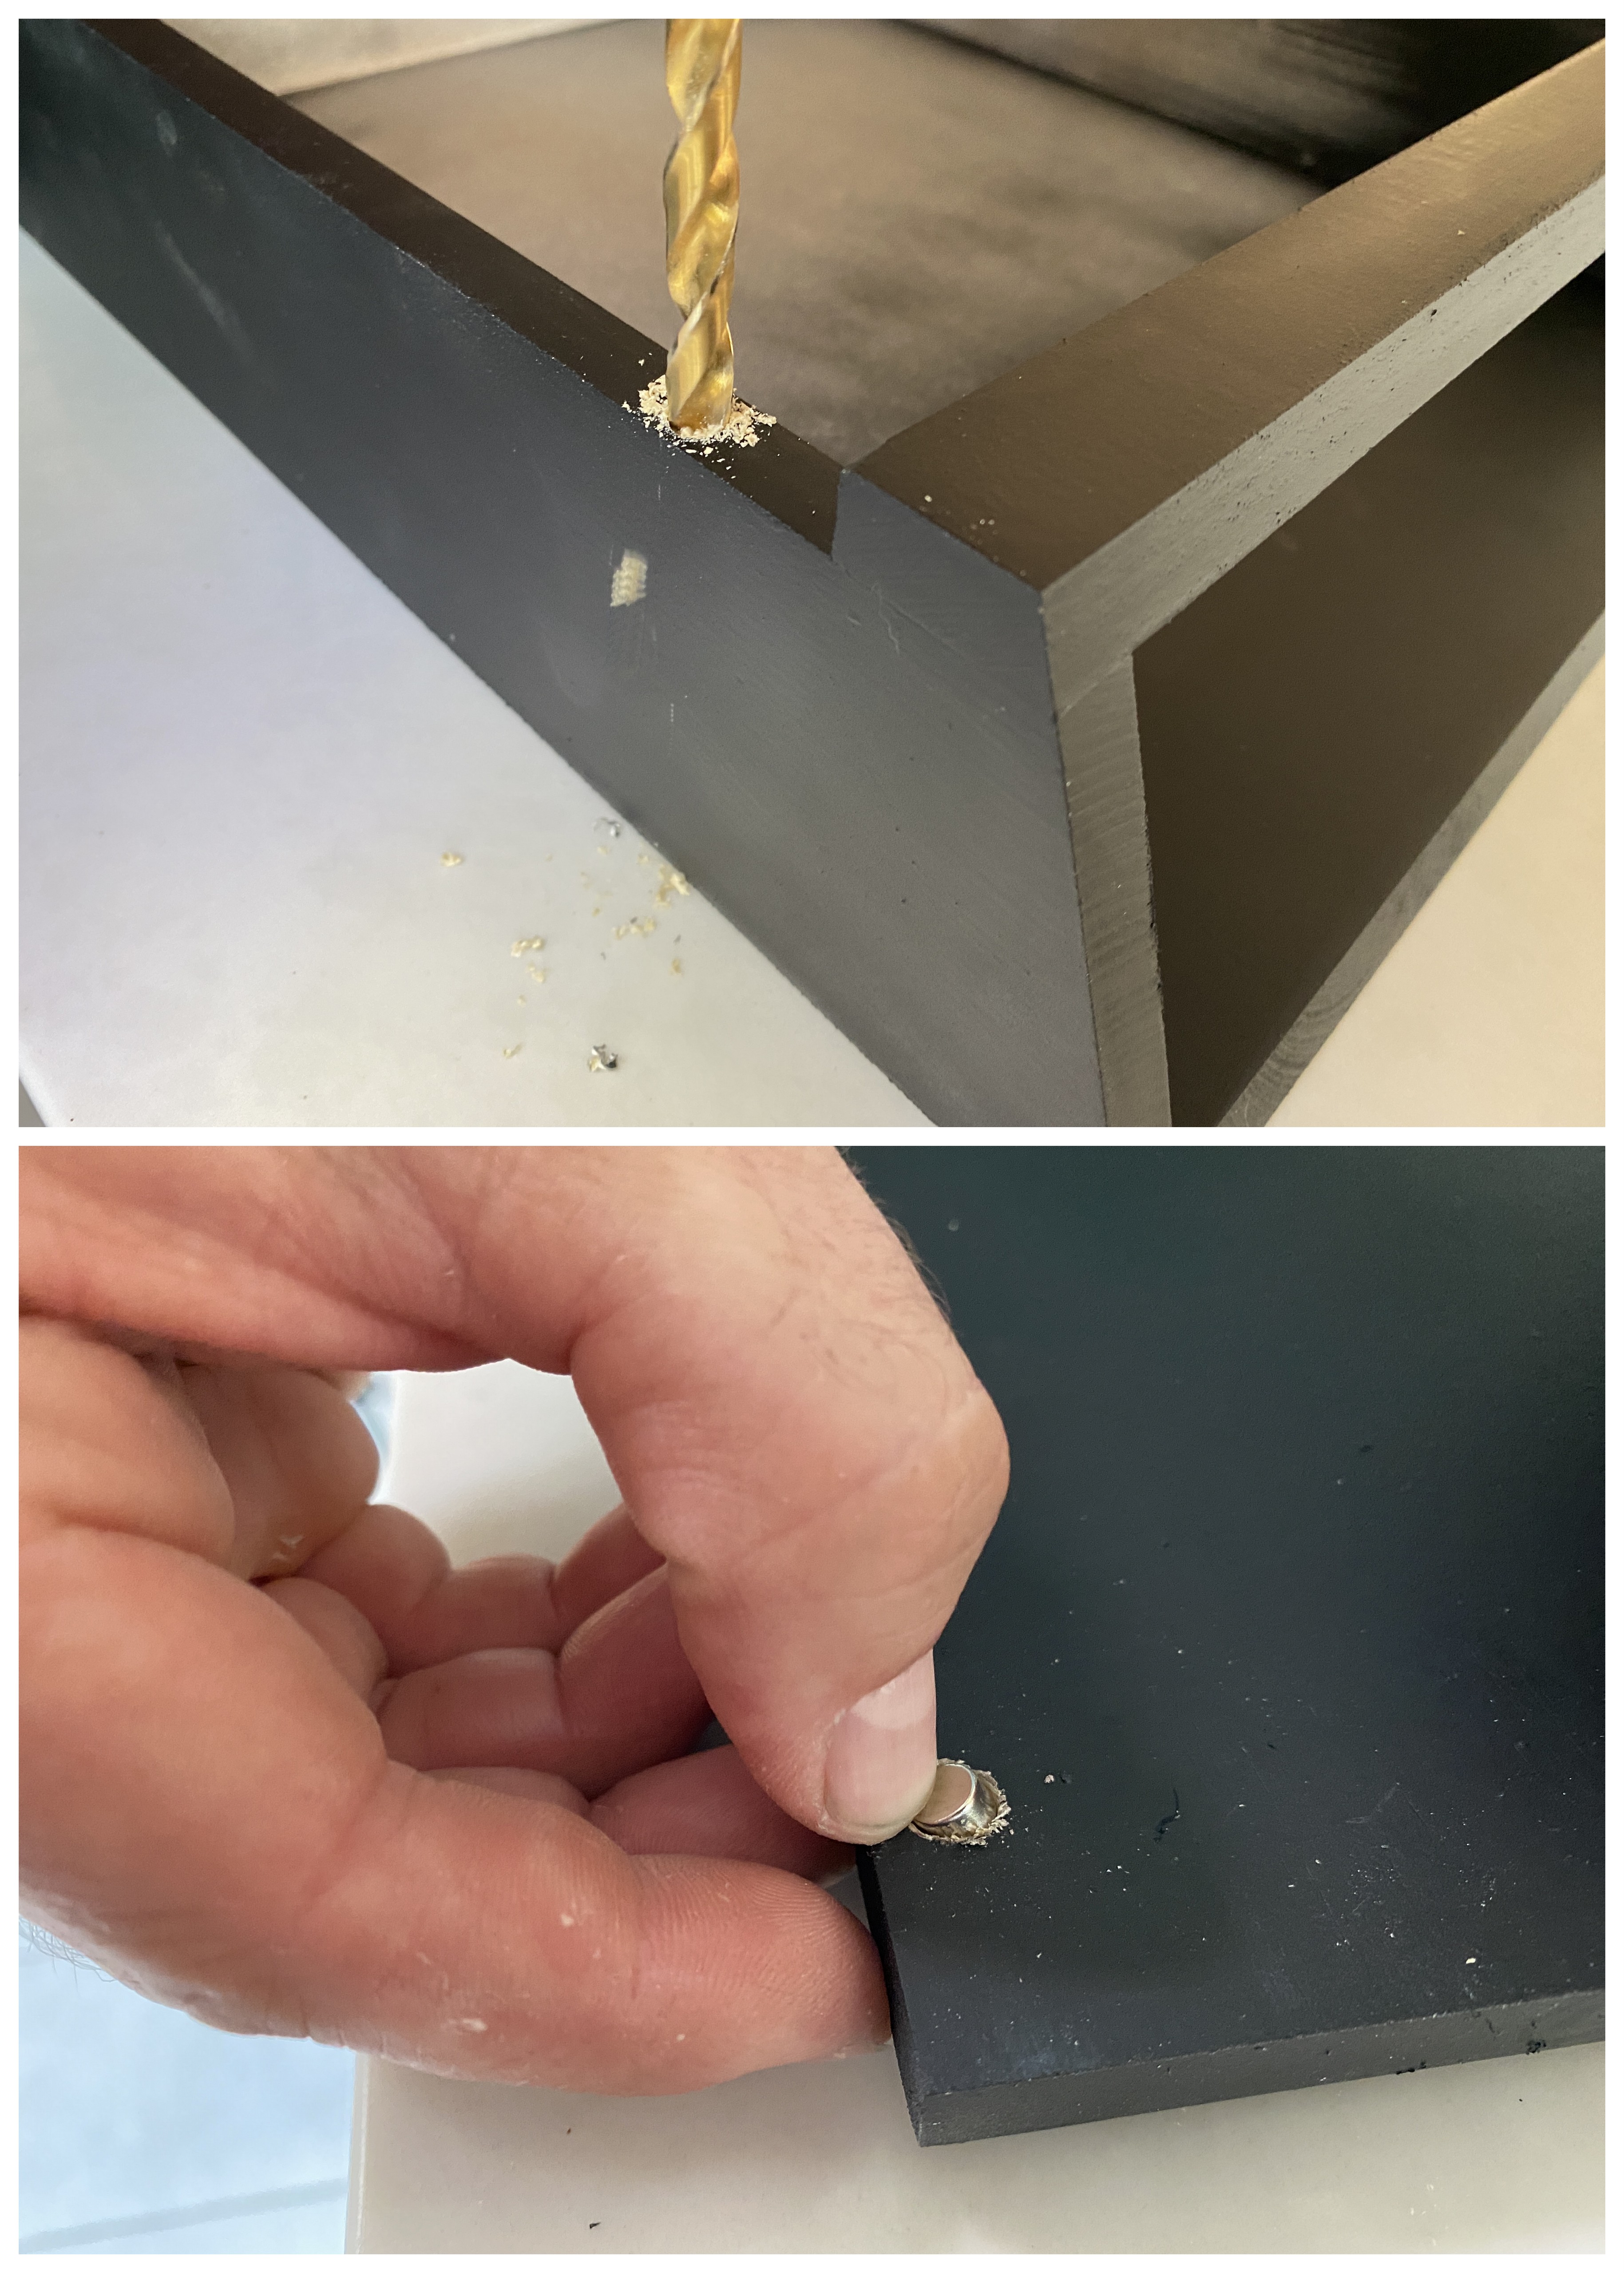
Install Magnets
Drill holes for your rare earth magnets, and glue them in place.
-
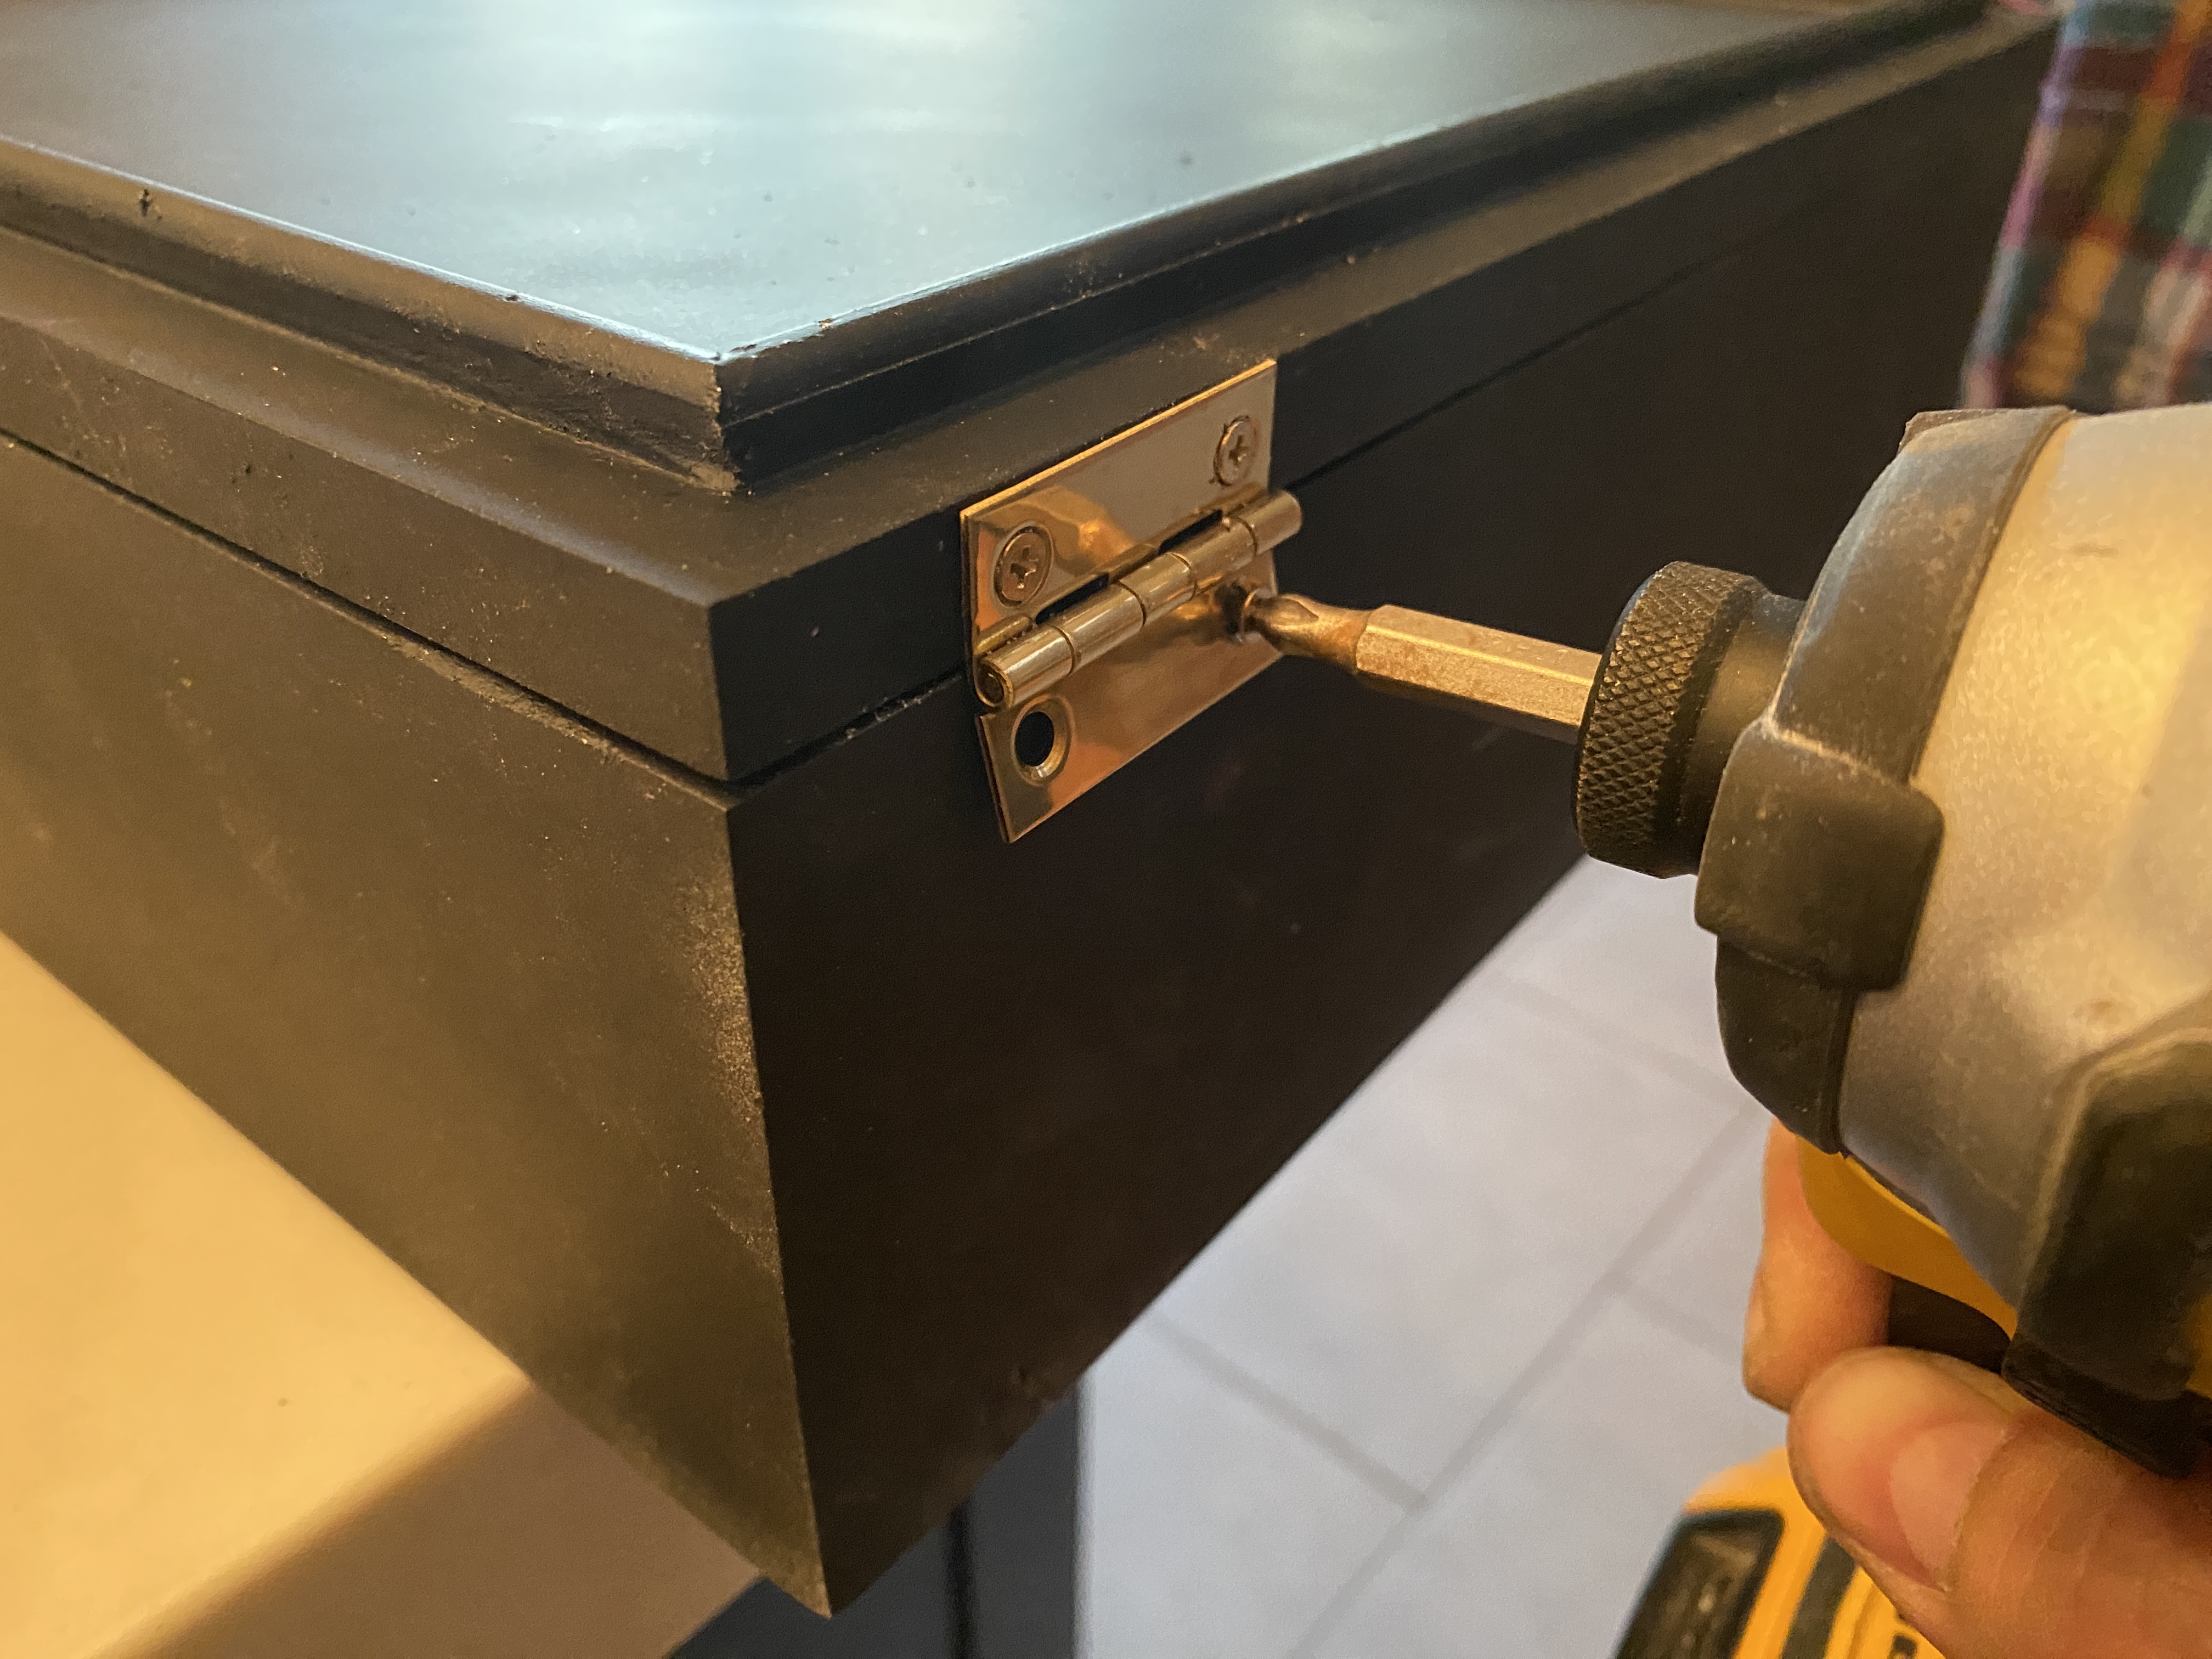
Assemble
Assemble mailbox!
-
Reveal!
Check out the final product!