Drop-Zone Shelf
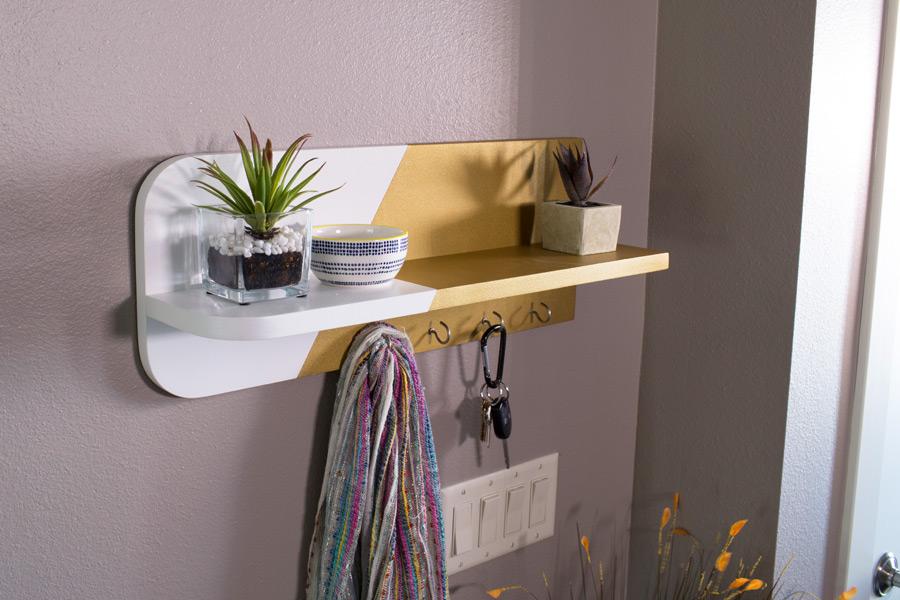
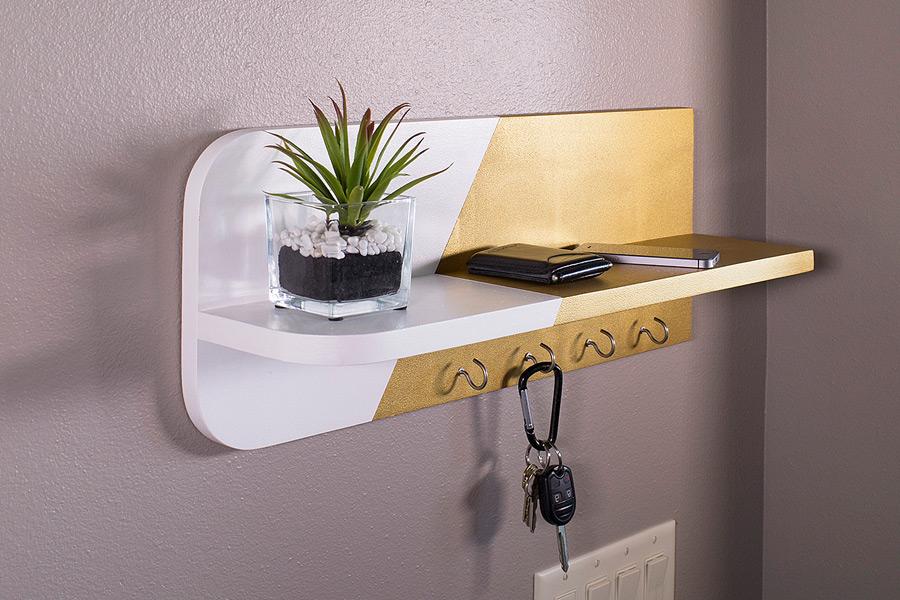
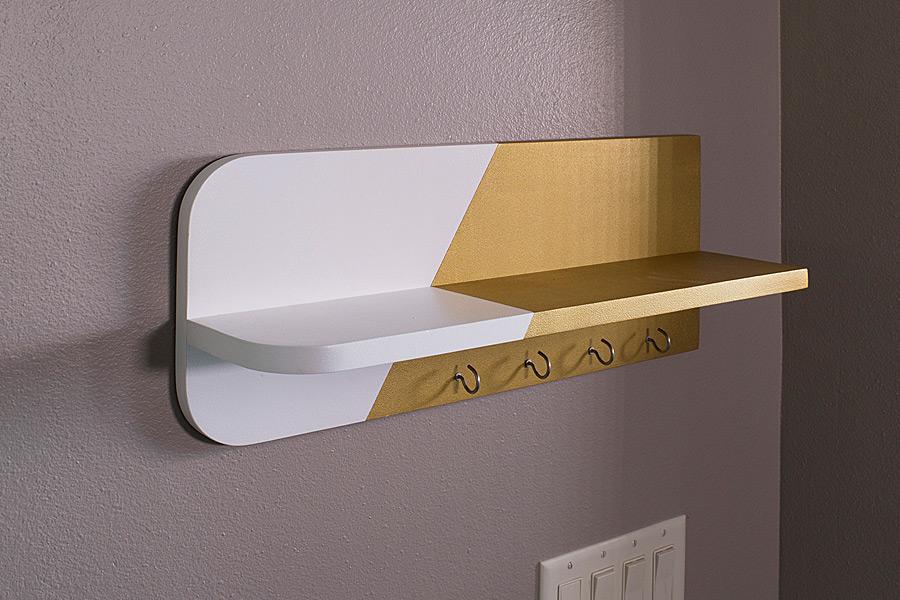
By Kreg ToolCorral the clutter the moment you walk in the door with this drop-zone shelf. It’s the perfect place to hang your keys, set your mail, and maybe even place your pocket change. You can build one in no time using just two boards, some pocket-hole screws, cup hooks, and paint.
Directions
-
Cut the Parts
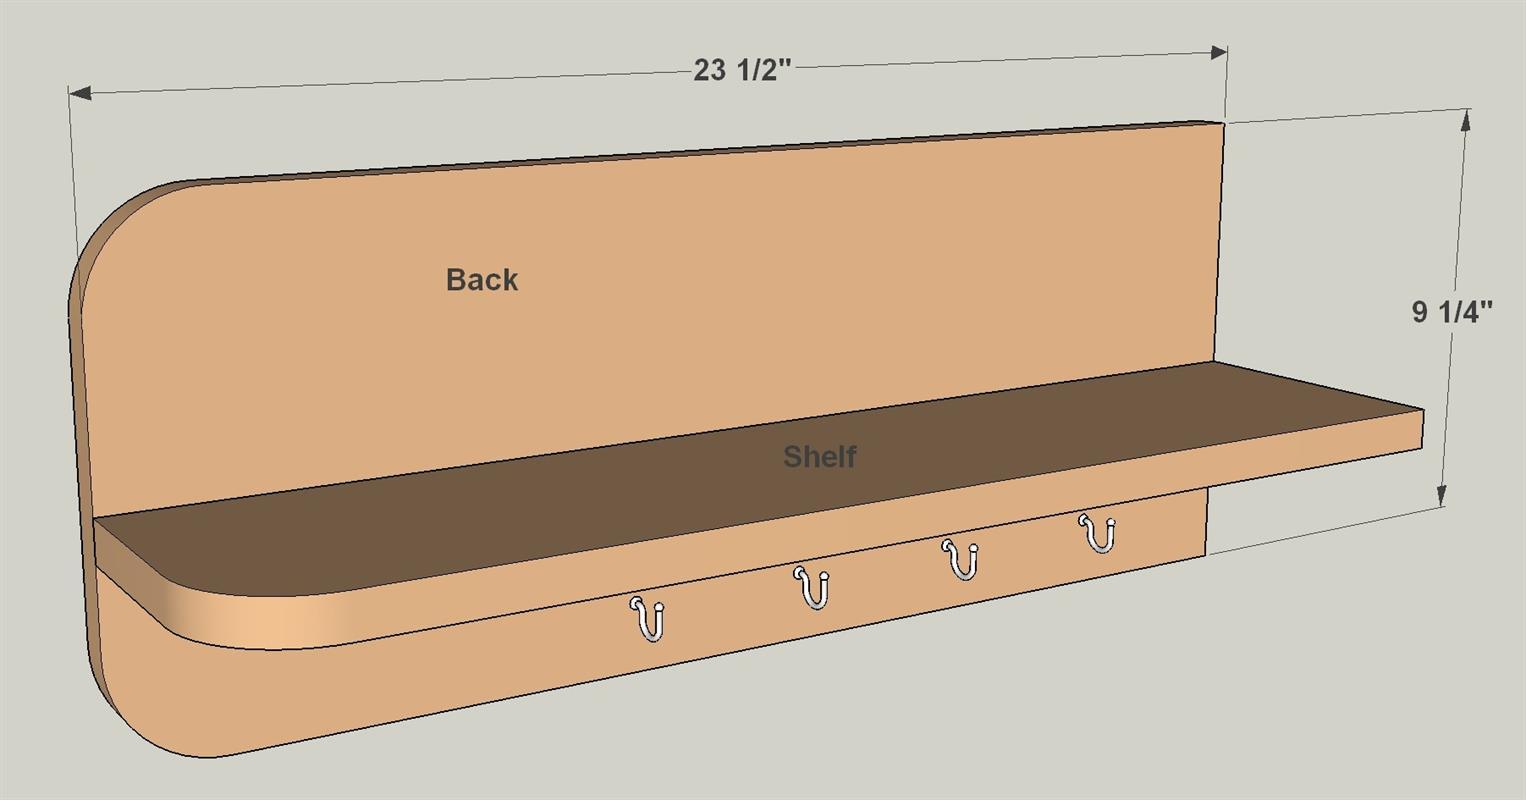
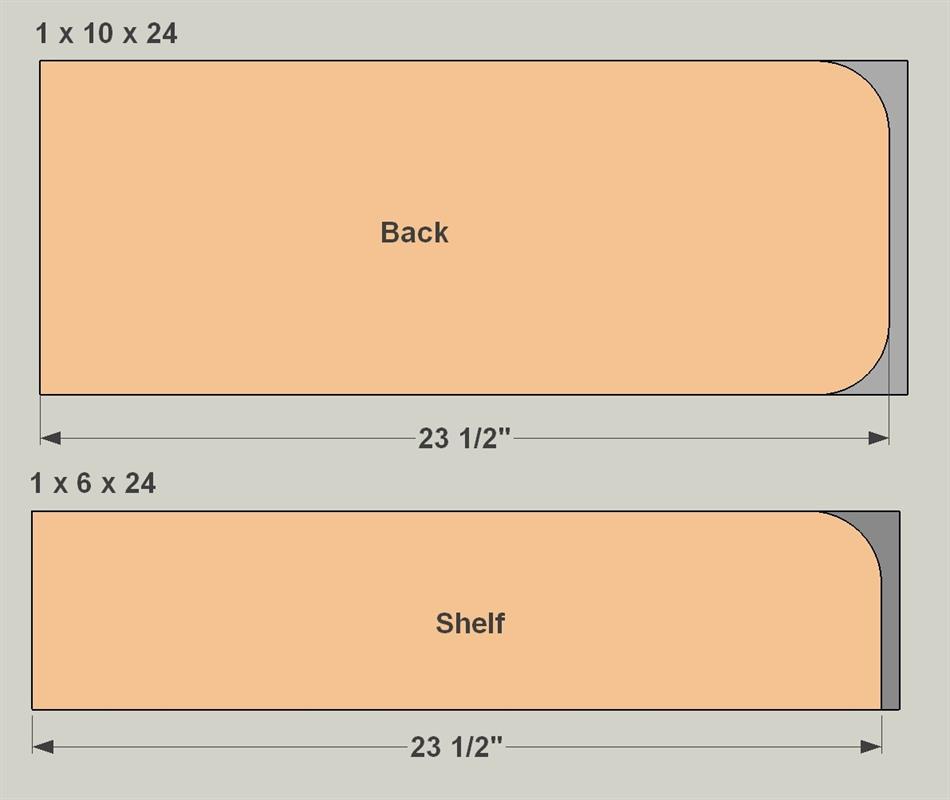
Cut one Back to length from a 1x10 and one shelf to length from 1x6, as shown in the cutting diagram.
-
Shape the Back
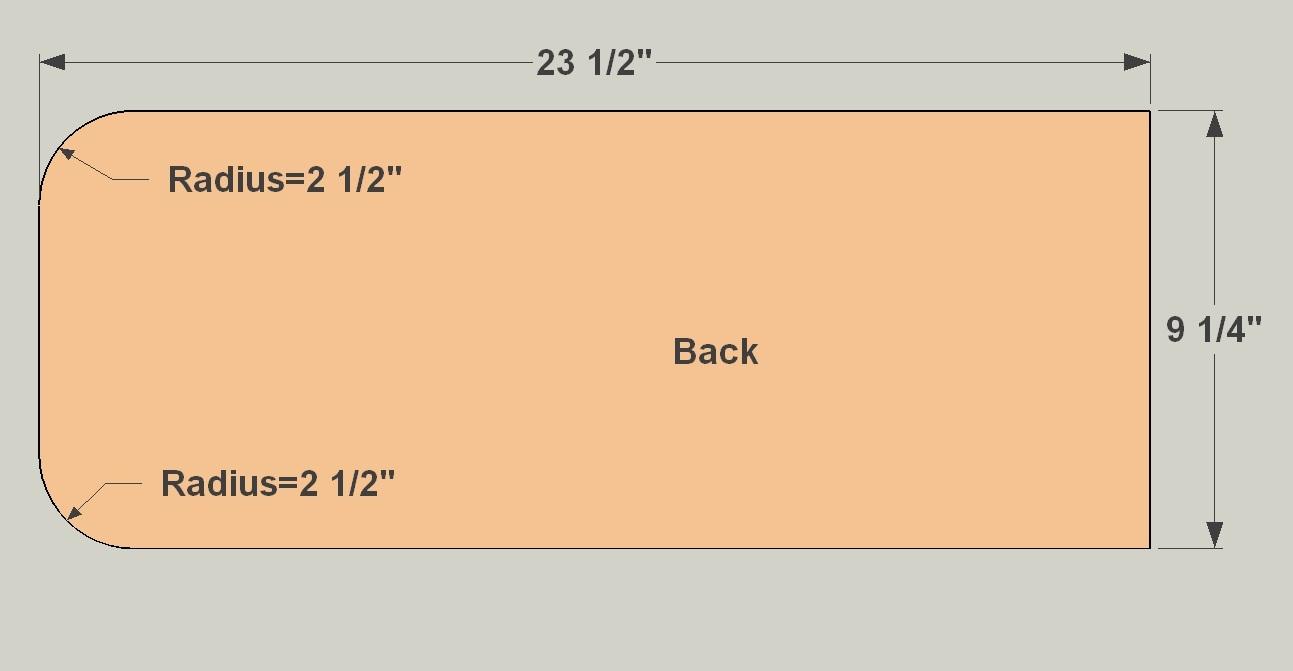
Using a compass, lay out a 2 1/2" radius on two corners of the Back, and cut arcs using a jigsaw.
Sand to Perfect the Shape
When cutting with a jigsaw, don’t try to cut exactly on the line. Cut just outside the line—on the “waste” side—and then sand to get the exact shape. You’ll get better, smoother results.
-
Wrap Up the Shelf
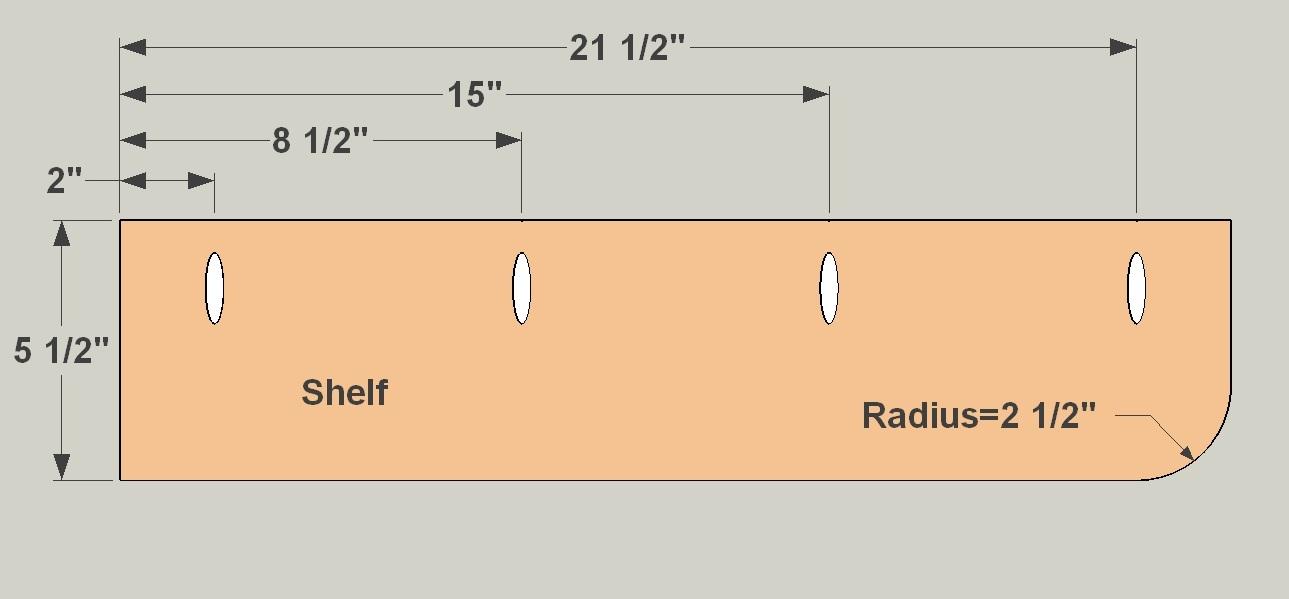
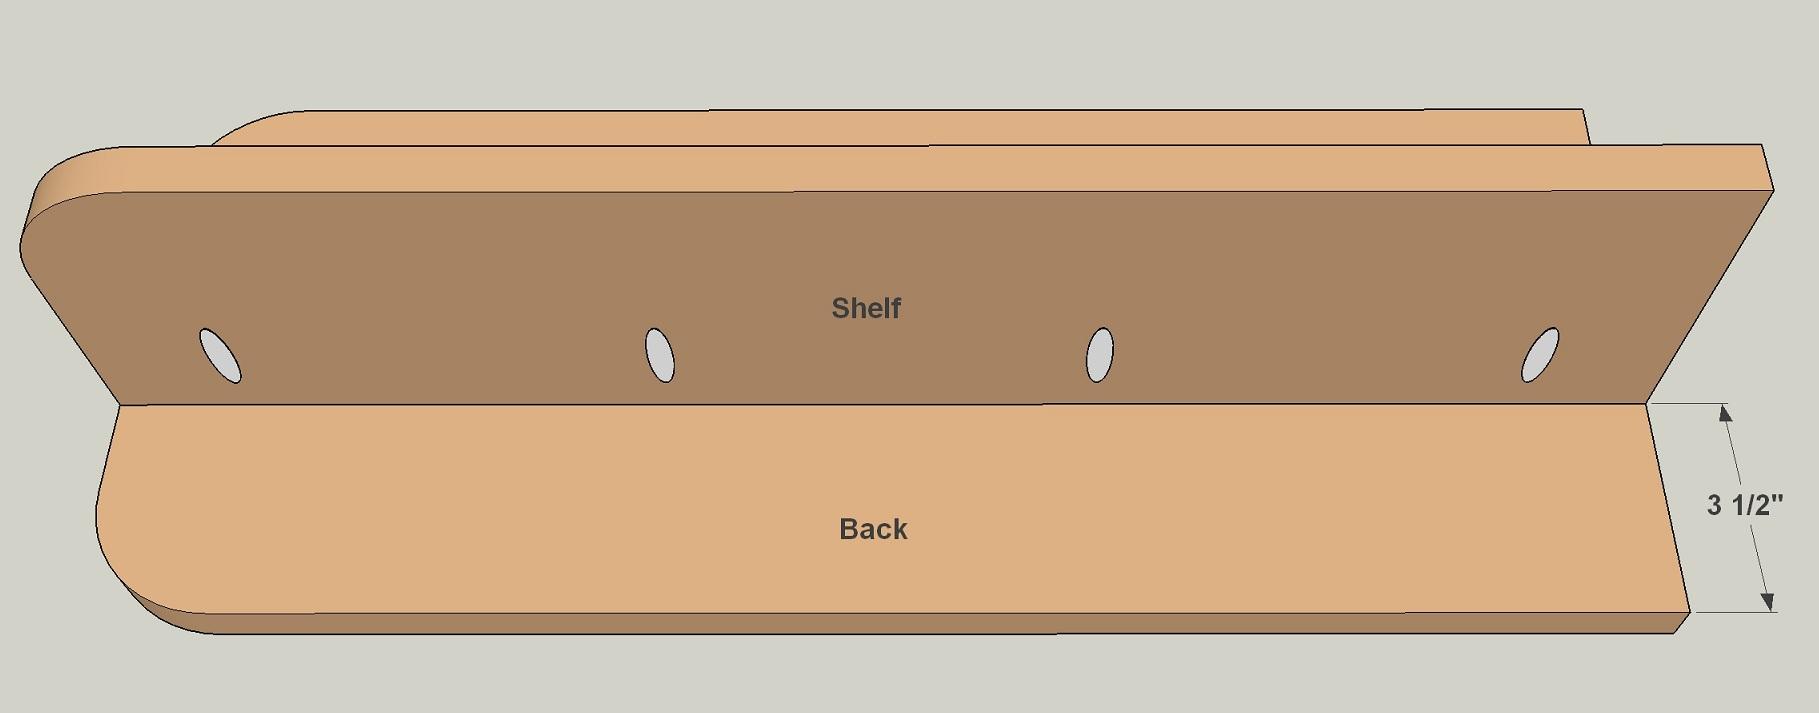
Lay out a 2 1/2" radius on one corner of the Shelf, and cut the arc using a jigsaw. Then, with your pocket-hole jig, set up for 3/4" material and drill four pocket holes along the back edge of the shelf.
-
Attach the Shelf
Mark the location on the Shelf on the Back and secure it with four 1 1/4" coarse-thread pocket-hole screws.
-
Paint on a Pattern
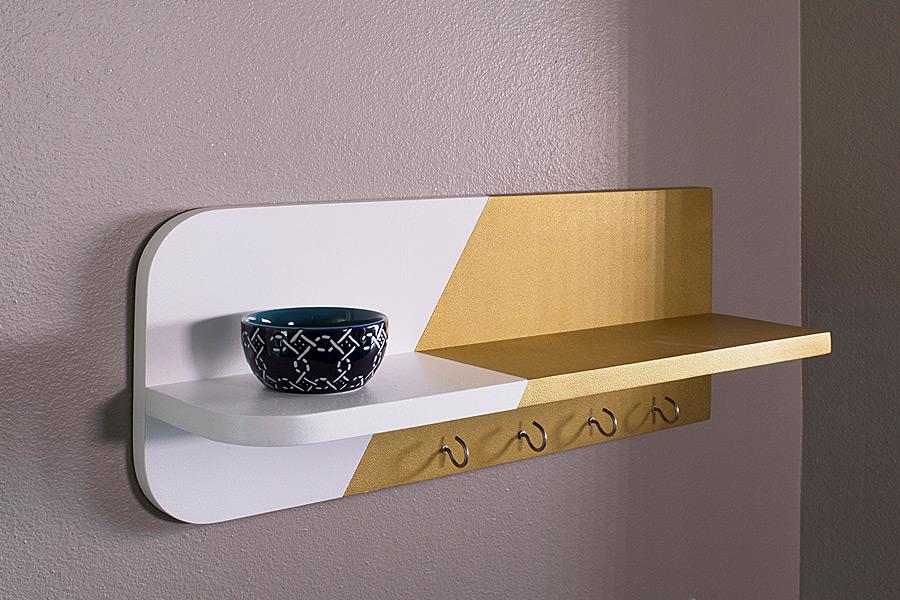
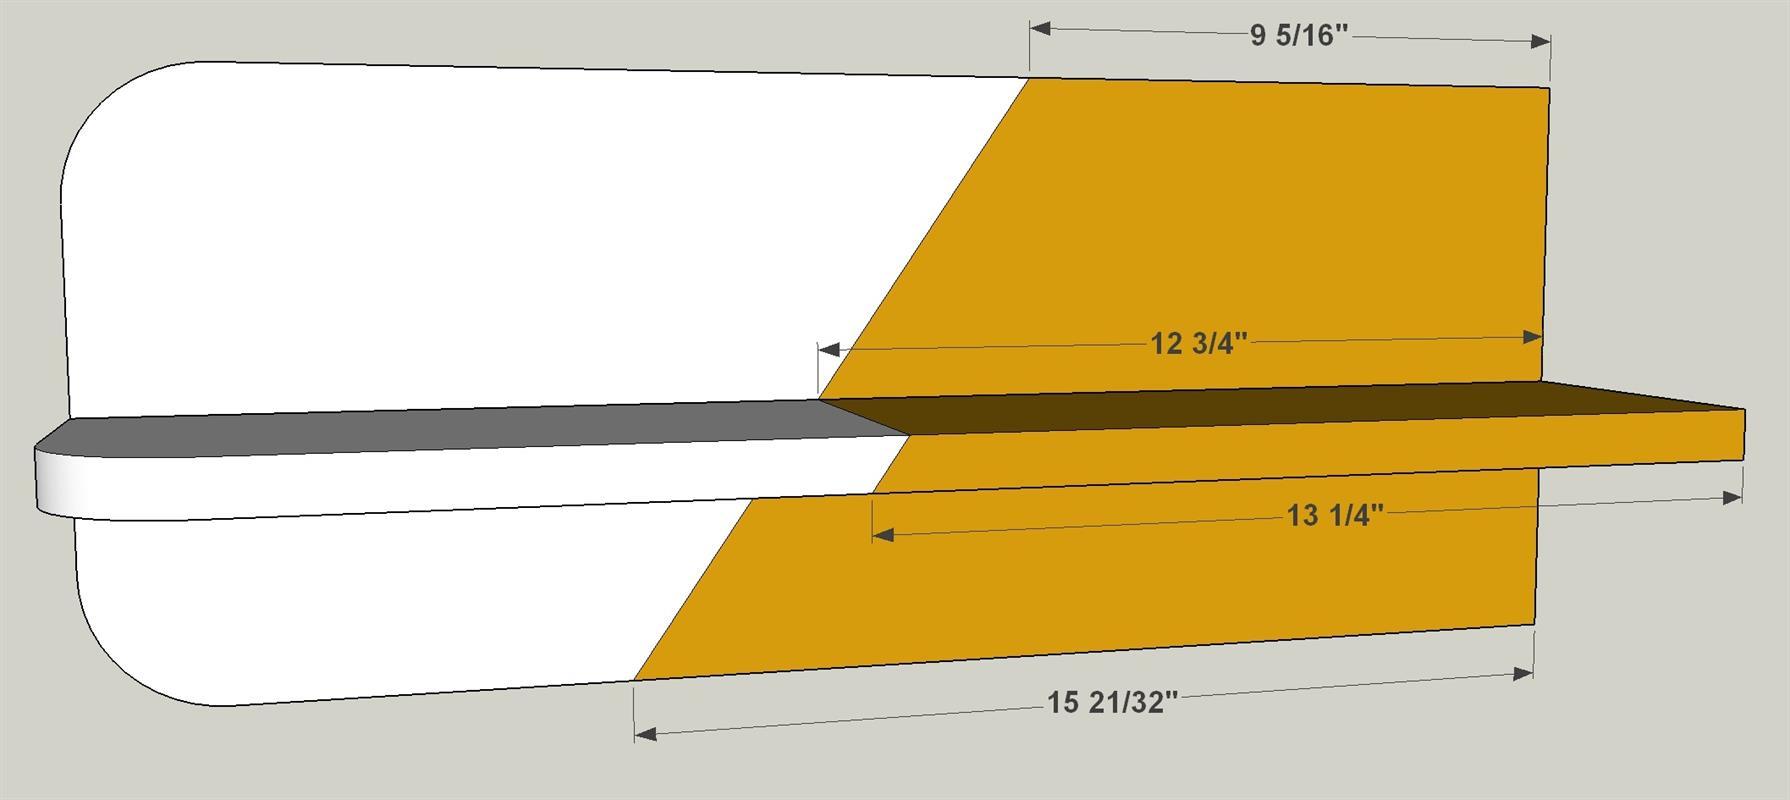
After a final sanding, paint or finish the shelf. To create the pattern shown here, first paint the entire shelf assembly white. Once that coat dries, measure over from the square end of the Back, and then draw a line (at approximately a 55° angle). Mask along the line, and then paint on the gold color.
-
Hang the Hooks
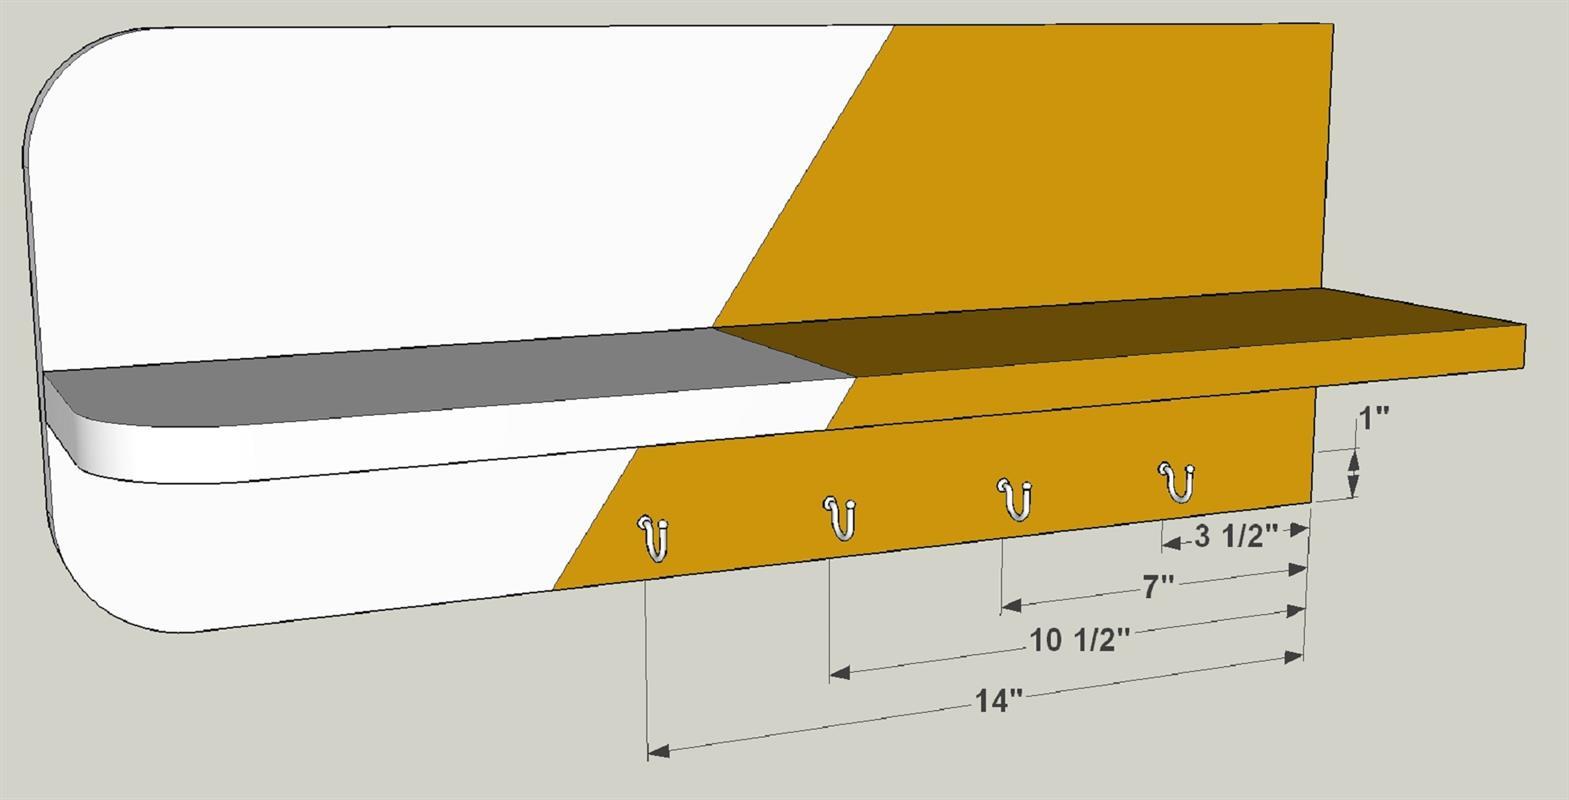
Add 1" cup hooks below the shelf for hanging keys, etc. Measure to get the spacing even. Then drill pilot holes to fit the threaded ends of your hooks, and screw in the hooks.


