


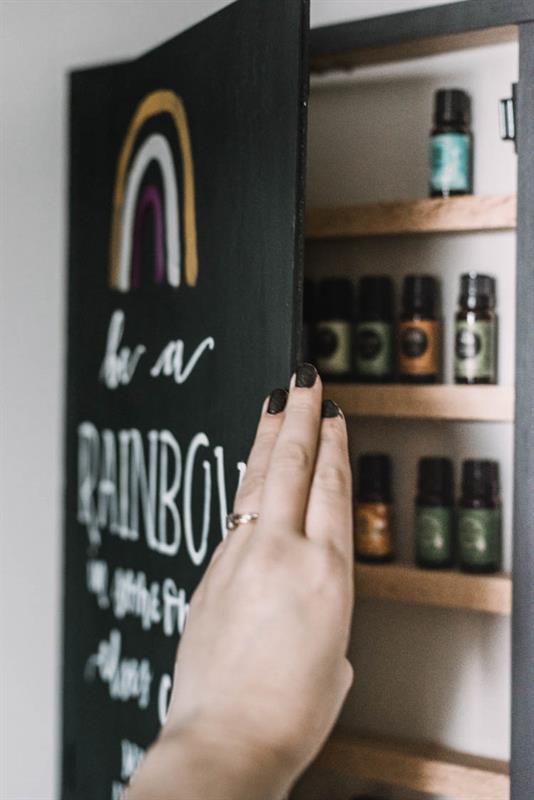


A wooden shelf designed specifically for storing essential oils out of sight (and reach of little ones!) disguised as a wooden sign.
This wooden sign / Hidden essential oils storage shelf is built from a frame of wood 1x2 with a magnetic latch hinged wood plywood face for the sign.
Tools
Kreg Tools


Other Tools
-
Circular Saw (corded)

-
Rotary Tool
-
Table Saw
-
Tape Measure
-
Drill (cordless)
Materials
Wood Products
- 2 Oak , 1x2 , 72"
- 1 Plywood , 1/4" Thick , Quarter Sheet
Hardware & Supplies
- 2 1.5" Hinges
- 1 Magnetic Latch
- 12 1" Kreg Screws for Hard Wood
Directions
-
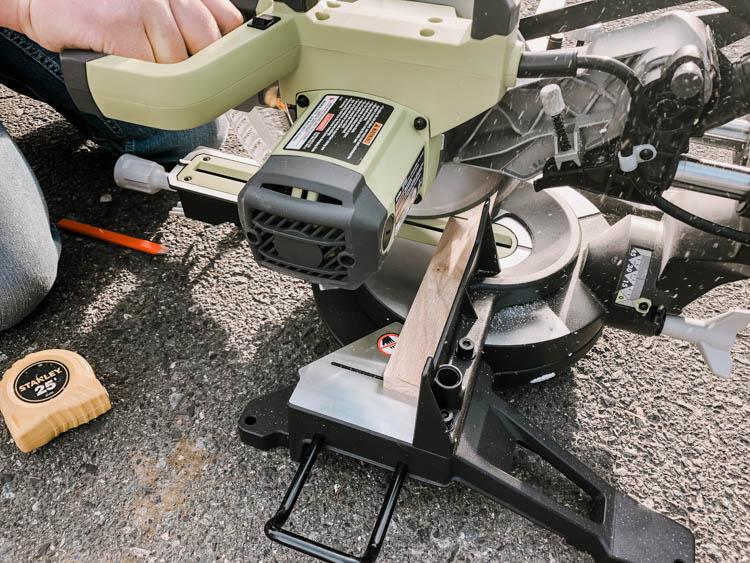
Cut the wood frame
The first thing you'll need to do is to cut the 1x2 frame to size according to the building plans in "Extras" tab.
-
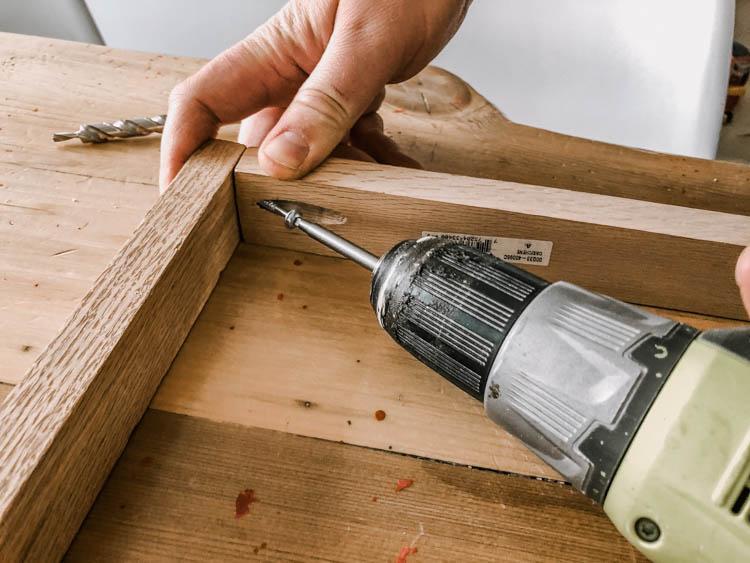
Assemble Wood Frame
Drill pocket holes in the side pieces to assemble the frame. Corner clamps help in assembly if you have them.
-
Cut Shelves
Rip 1x2 down by 1/4" to allow for inset sign face (using tablesaw)
Measure inside of frame and cut shelves according to size. We cut 4 shelves (see in attached building plans under 'Extras')

-
Assemble Shelves
Attach the shelves to the frame using pocket holes. Space according to building plans (in 'Extras')

-
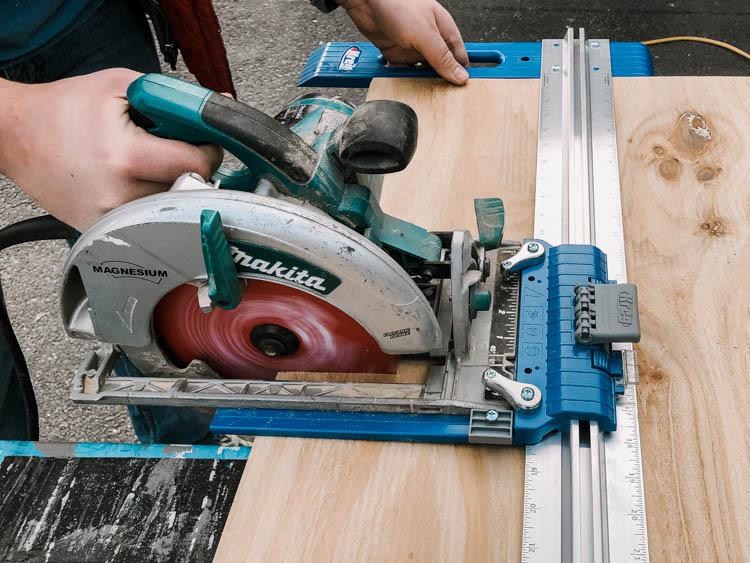
Cut Sign Face
Time to cut the face of the sign! Measure the opening of your frame and cut your 1/4" plywood accordingly using a Rip Cut and Circular Saw.
-
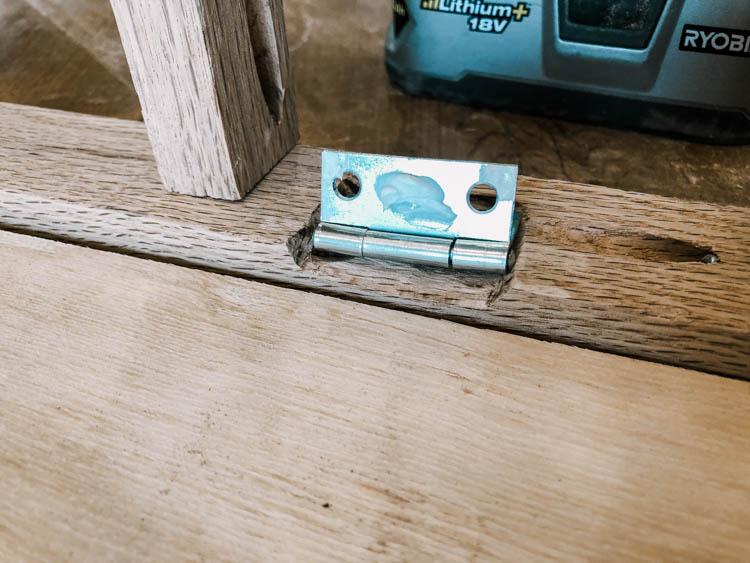
Attach Hinges to Frame
Use a Dremel or routing tool to create a groove to inset the hinges. This will allow a flush mount of the sign face.
Attach hinges to frame using screws, attach hinge to 1/4" plywood using liquid nails and the shortest screws available.
Add magnetic catch to keep sign closed if preferred.
-
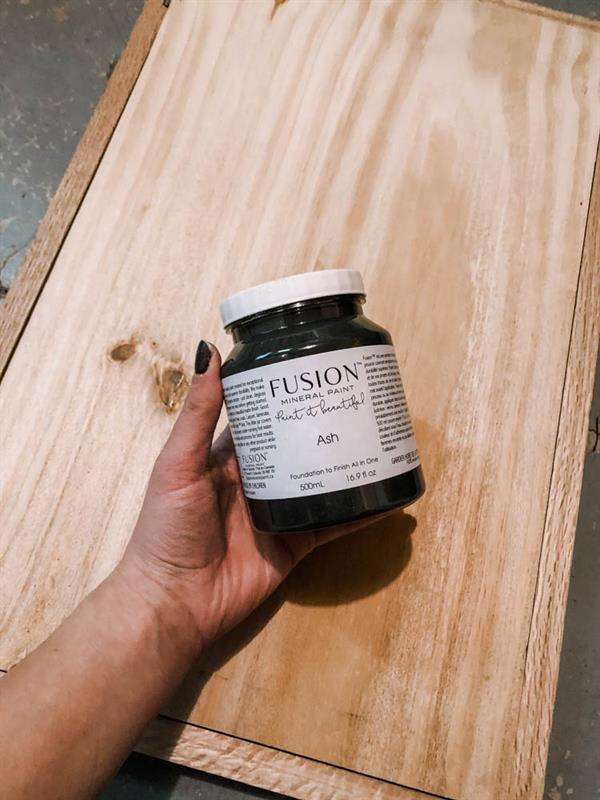
Paint it up!
Time to paint your beautiful sign! I painted the whole thing (including hinges) in a charcoal paint before adding my design. This helped the hinges to practically disappear.
-
Use blocking to hang
Use blocking attached with pocket holes to hang (not included in building plans)
