This indoor DIY wooden planter is a great addition to any room, and can be customized to any color or finish you choose!
Tools
Kreg Tools


Other Tools
-
Saw

Materials
Wood Products
- 1 1x12 board , 1x12x6
- 1 1x2 board , 1x2x6
- 1 2x2 board , 2x2x6
Hardware & Supplies
- 32 1 1/4" pocket hole screws
- 1 Sanding block
- 1 Paint or Stain
Directions
-
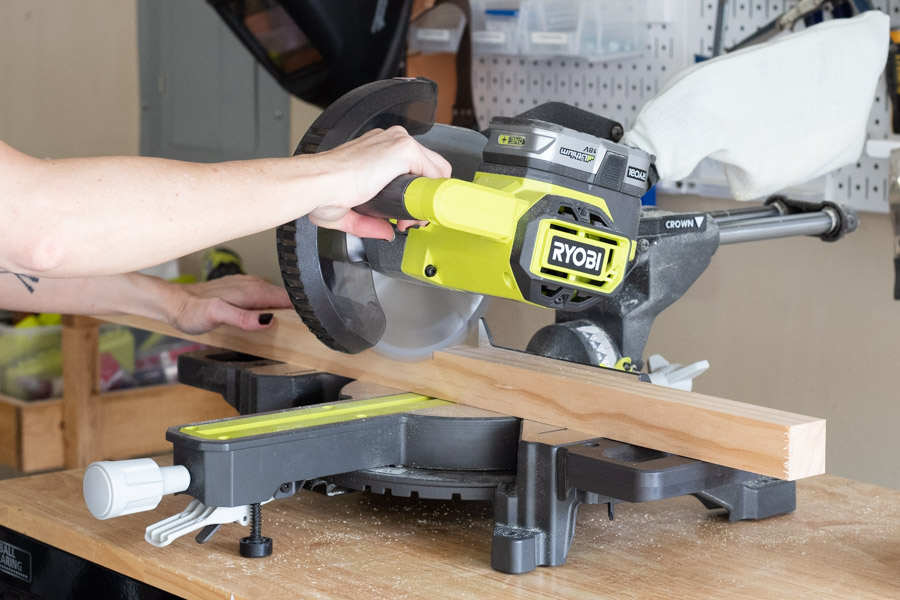
Cut Your Wood
Cut your wood to the specified dimensions.
-
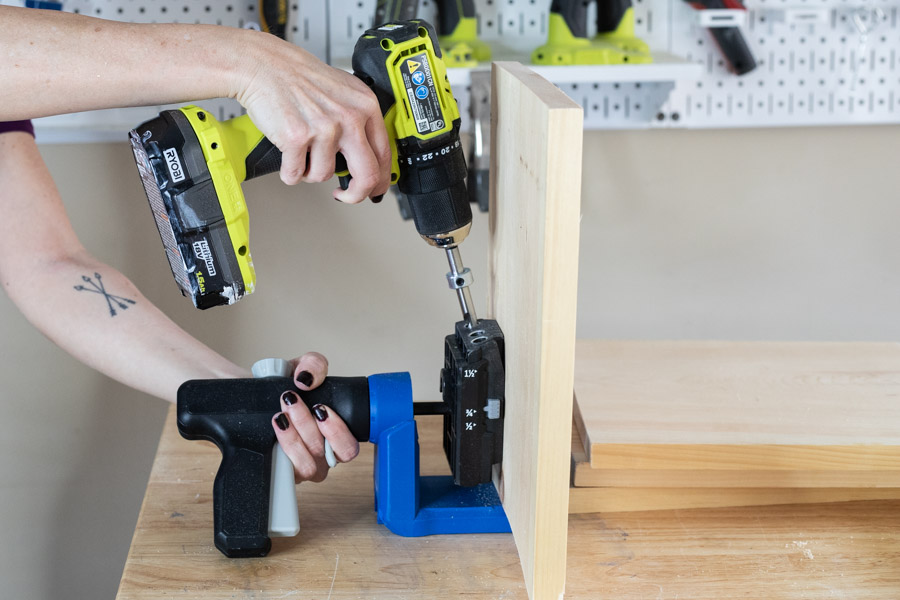
Drill Pocket Holes
Drill 3 pocket holes along 2 parallel sides of each 1x12x12 boards, and 1 pocket hole at each end of the 1x2 pieces.
-
Sand
Use a sanding block to sand edges smooth.
-
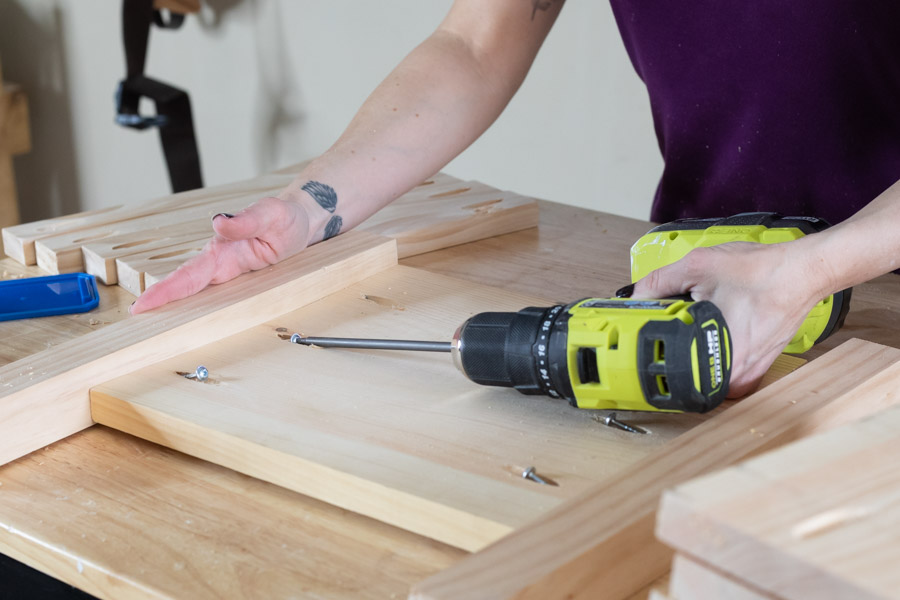
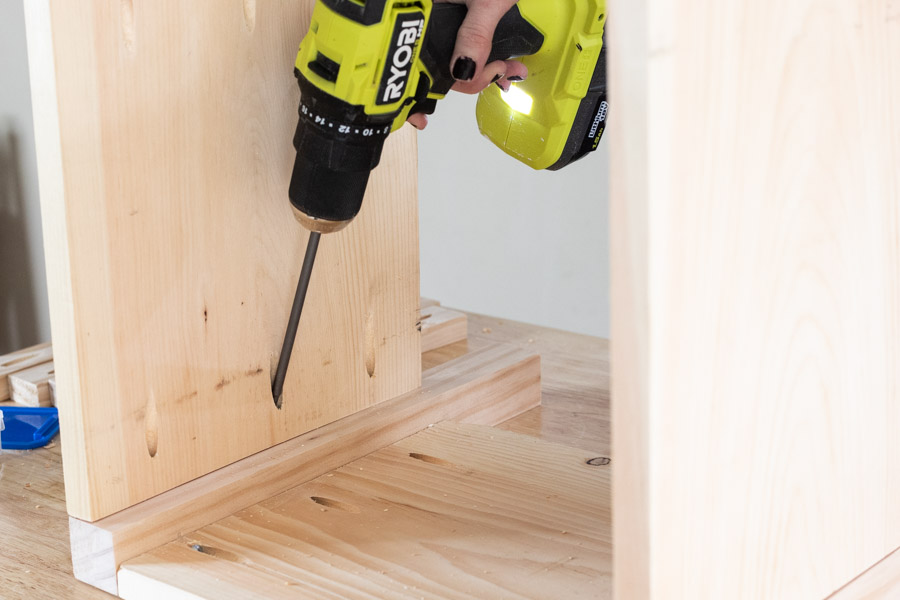
Attach Legs to Front and Back
Using 1 1/4" pocket hole screws, attach 2 legs to one of the 1x12x12 pieces. Repeat. These will be the front and back of the planter.
-
Attach Sides
Attach remaining 1x12x12 pieces (the sides) to the front and back you assembled in the previous step.
-
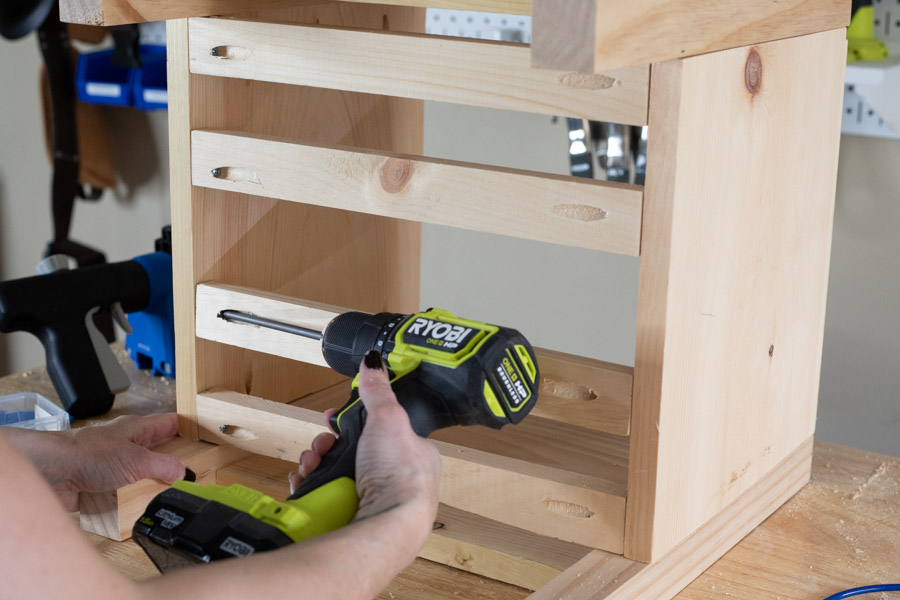
Add Bottom Slats
Use 1 1/4" pocket hole screws to attach bottom slats (1x2 pieces). You can use a scrap piece of wood as a spacer or just eyeball it and try to space them as evenly as possible. It will not be visible so doesn't have to be perfect.
-
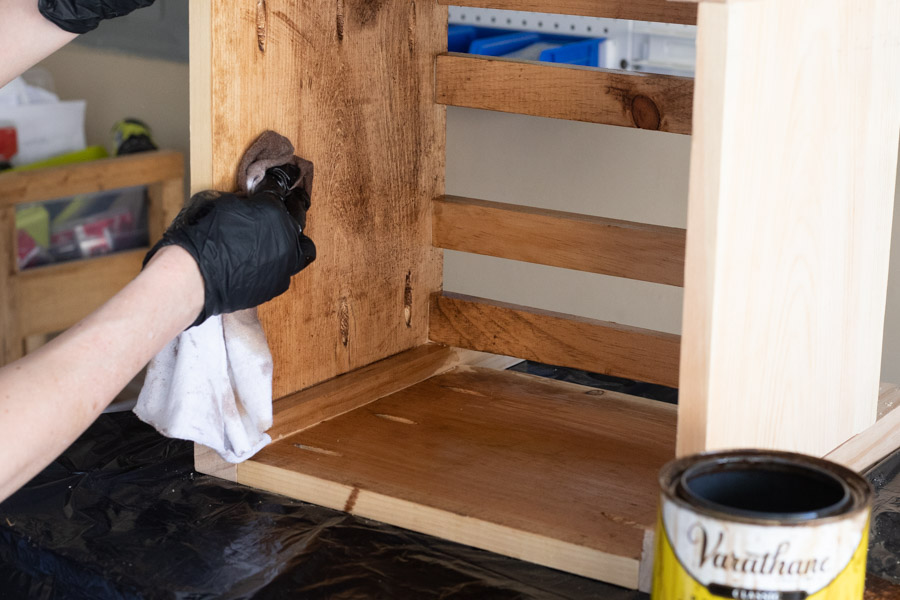
Paint or Stain
Finish your planter with any paint or stain of your choice.