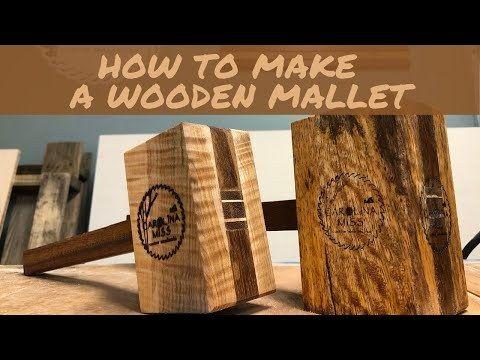


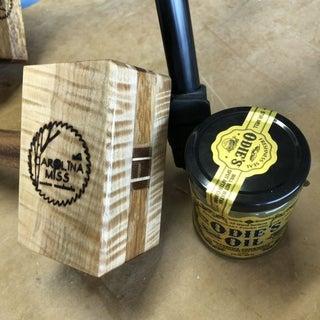
Full Step by Step Video is loaded in the "EXTRAS FOLDER". Welcome to our Mallet Build video guys and gals! We built these 2 from locally sourced Hawaiian Wood. One is Monkeypod and Maple and the other is Monkeypod and Mango.
Tools
Kreg Tools


Other Tools
-
Table Saw

-
Tape Measure
-
Thickness Planer
-
Clamps
Materials
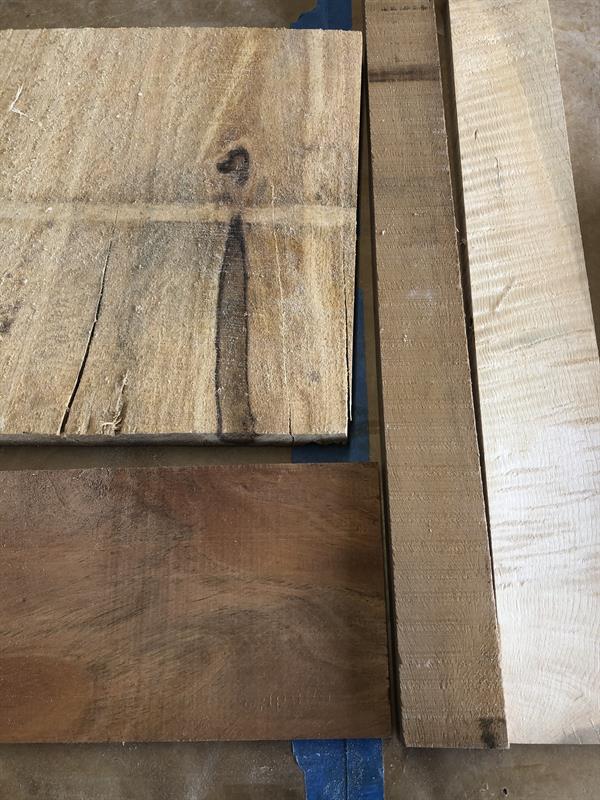
Wood Products
- 1 Monkeypod , 1x6 , 24"
- 1 Maple , 1x6 , 12"
- 1 Mango , 1x6 , 12"
Hardware & Supplies
- 1 Titebond Thick and Quick
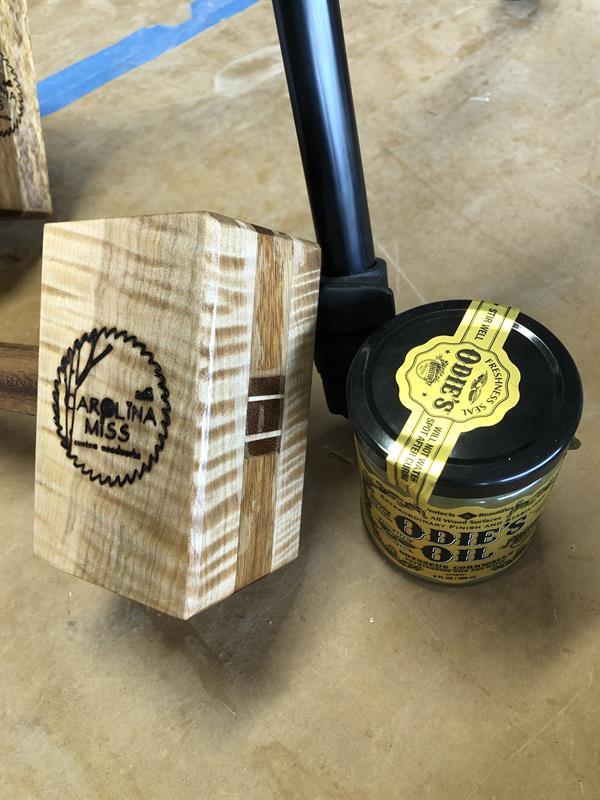
- 1 Odies Oil
Cut List & Parts
- 1 Mallet Head , 5" x 3"
- 1 Handle , 12" x 1" square

Directions
-
Full Youtube Video
1. We lay out every step of the build both in video and subtitles in the video located in the EXTRAS TAB. There are some portions where you will need volume to hear the next step.
2. We also lay the built out Step by Step below.

-
Choose Materials
For each mallet, there will be 5 pieces.
(2) Matching Side pieces
(2) Center pieces that are the same width as the handle
(1) HandleNOTE: Ensure you are using the end grain of hardwood. The end grain is the hardest part of any wood.
-
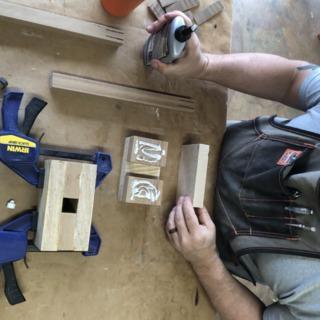
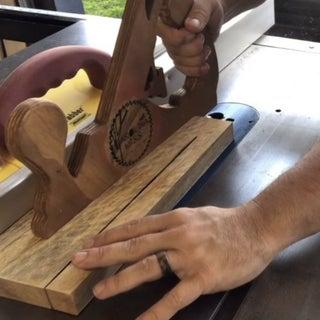
Cut Materials to Size
(2) Matching Side pieces (5" x 3")
(2) Center pieces (2" x 3")
(1) Handle (1" x 1" x 12")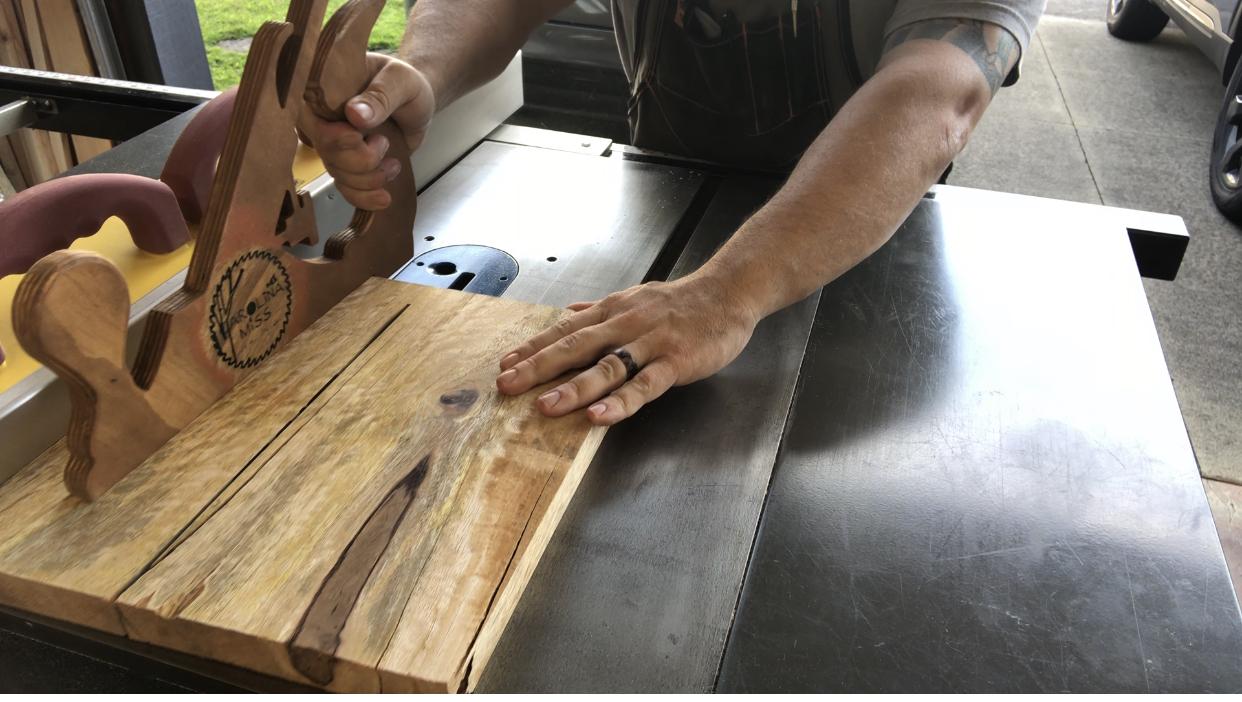
-
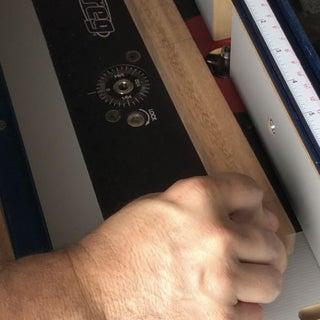
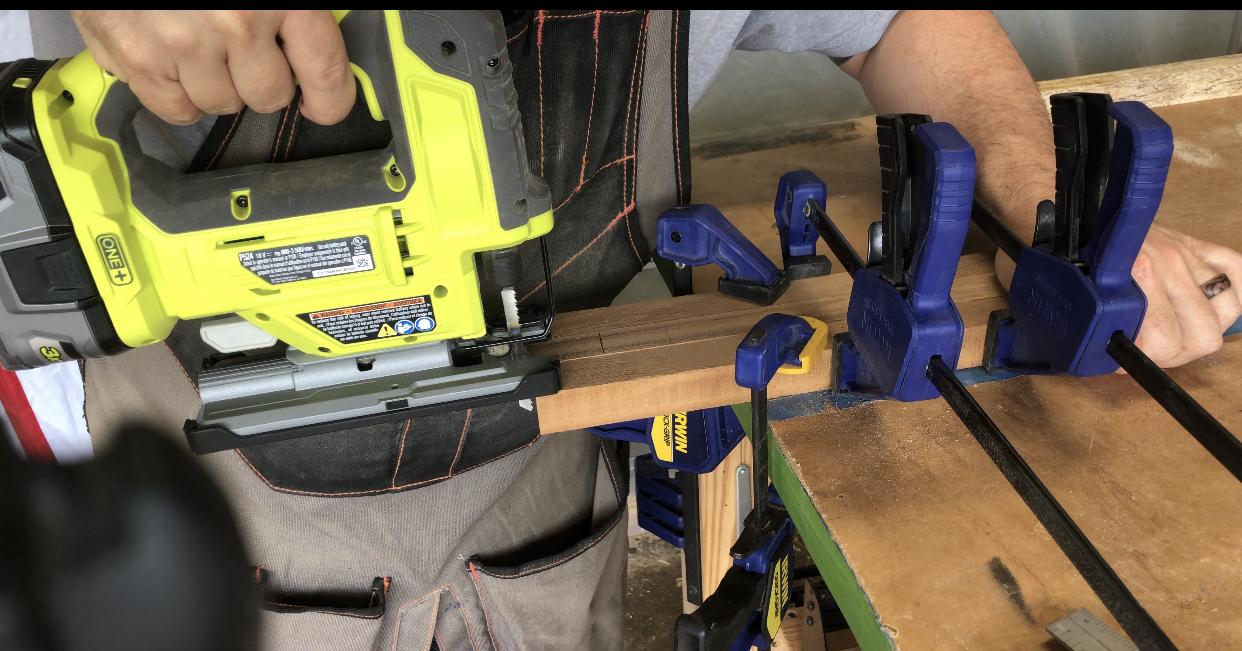
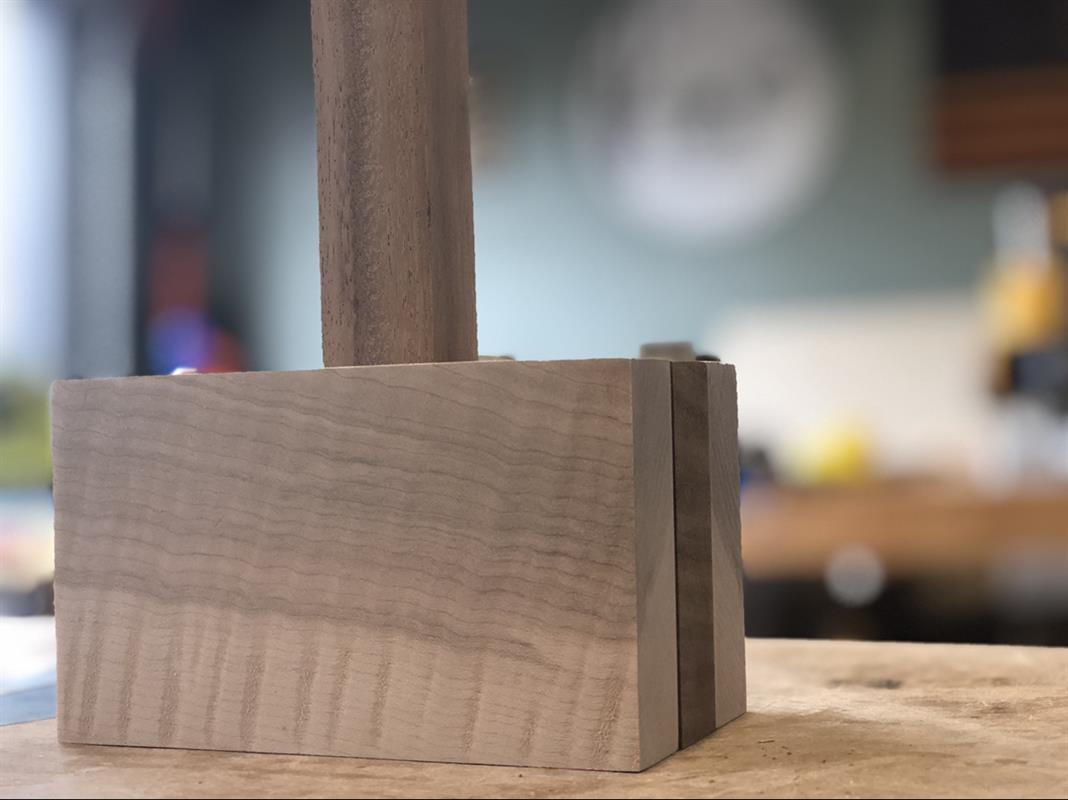
Handle Assembly
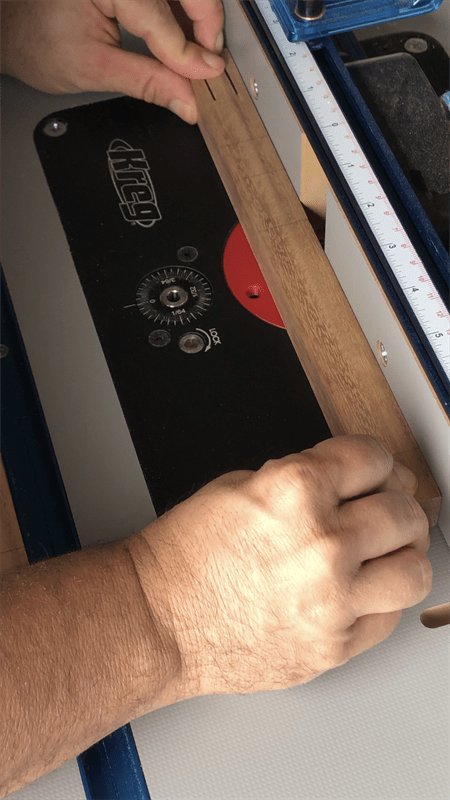
1. Cut 2 slots in the handle 2" down. This is where the wedges will go to hold the mallet head assembly on the handle.
2. Cut your wedges at 3 degrees longer that 3" long. This will leave you with enough material to trim off.
-
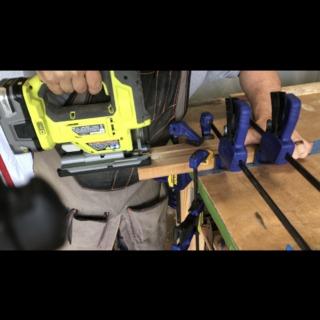
Fit Check and Get Ready for Glue
1. Dry fit everything together. This is where you can see any measurement issues from previous steps. Once you are satisfied with with the dry fit, disassemble and move to the next step.
-
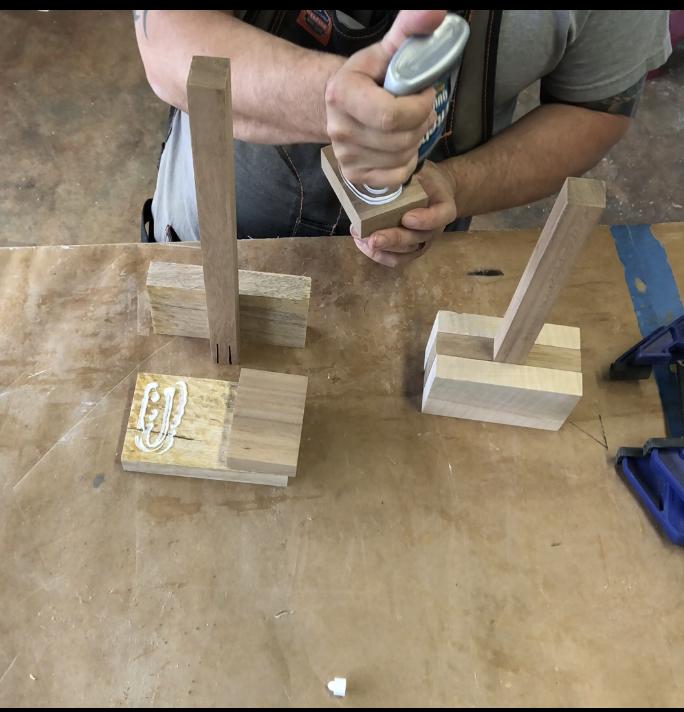
Glue Up
1. Add glue to both large sides of your inner pieces and assemble.
2. Insert handle for spacing and alignment.
3. Use (4) squeeze clamps to add even pressure.
4. Remove handle and allow glue to dry.
-
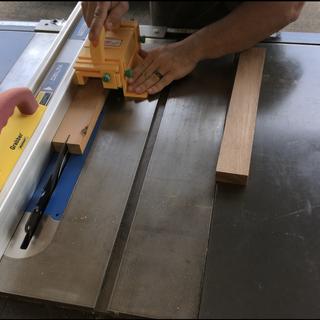
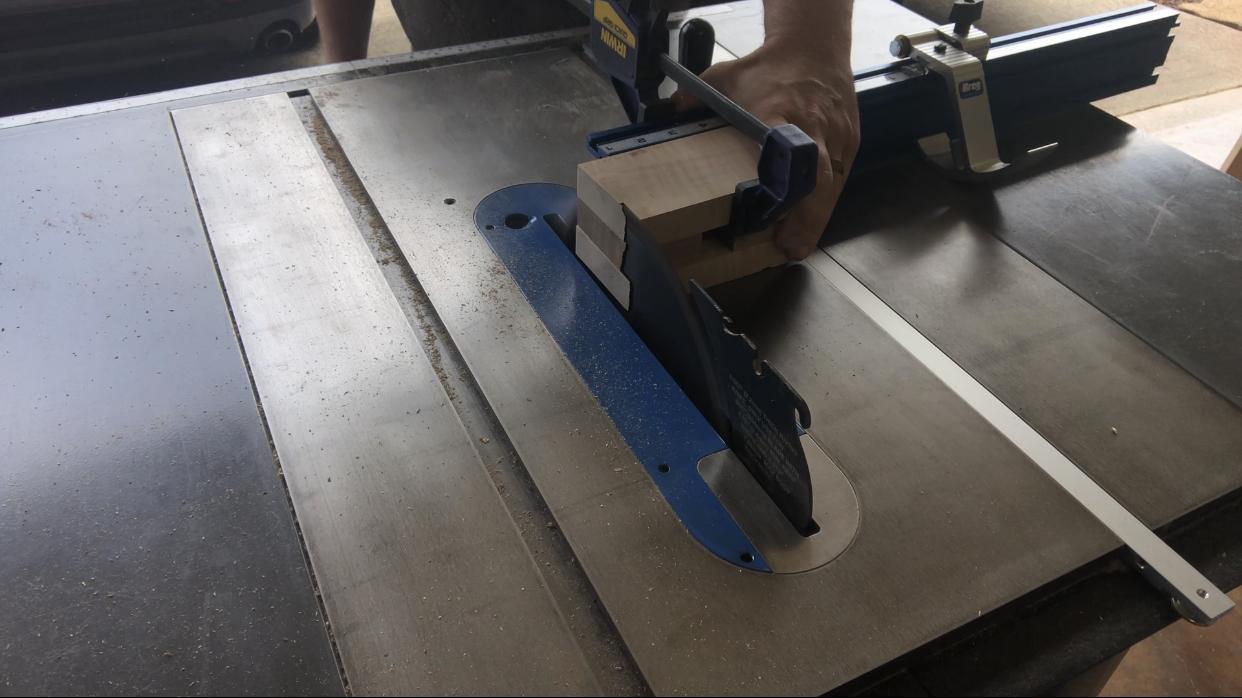
Add 3 Degree Angles to each Face
1. Remove from clamps.
2. Set your saw to 3 degrees and trim both faces.
TIP: These pieces may work for your wedges in the next step.
-
Add Chamfer to Head and Handles
1. Using a 45 degree router bit, route all 4 sides of the head.
2. Choose your hand hold placement length. Then using the same 45 degree bit, route the sides of the handles.
-
Assemble
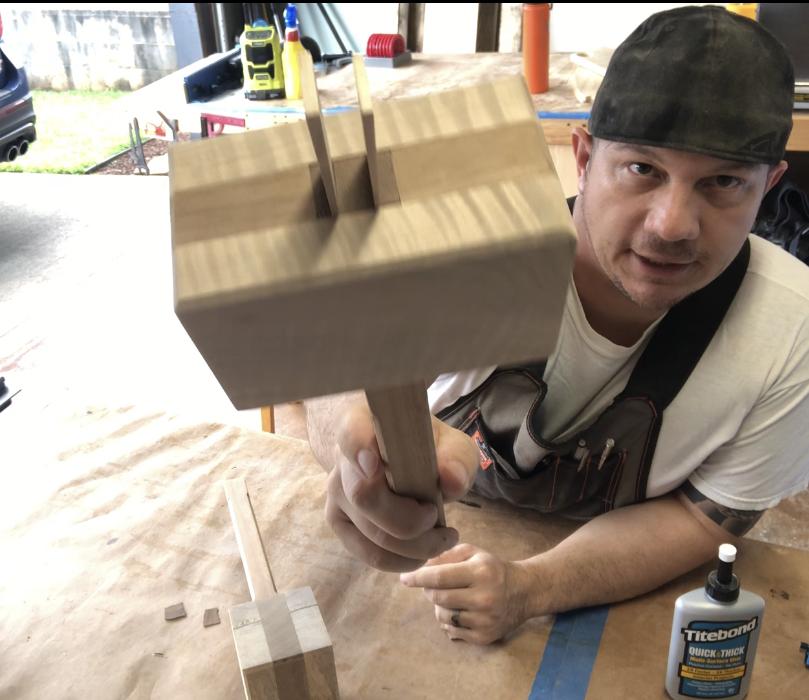
1. Slide the handle into the head of the mallet and gently tap the wedges in until secure.
2. Trim off access using a hand saw.
-
Add Your Finish Coating
1. We added Odies oil to ours. It absorbs well and really accents the woods.
2. Let oil sit per instructions and then wipe clean. Re-accomplish this step as needed.