DIY Wood Candle Holder
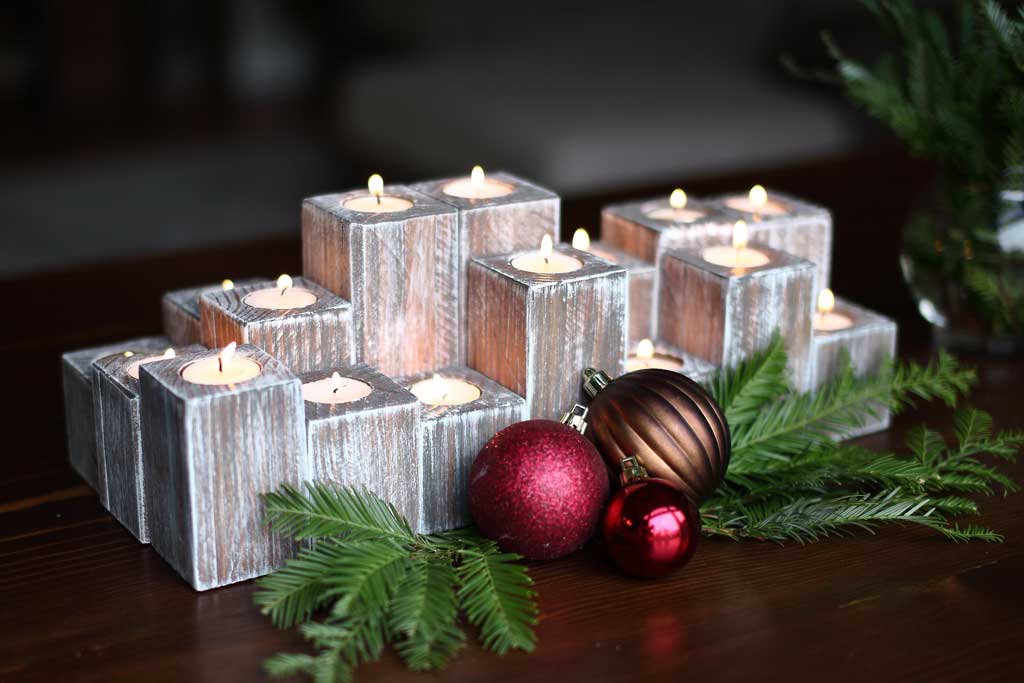
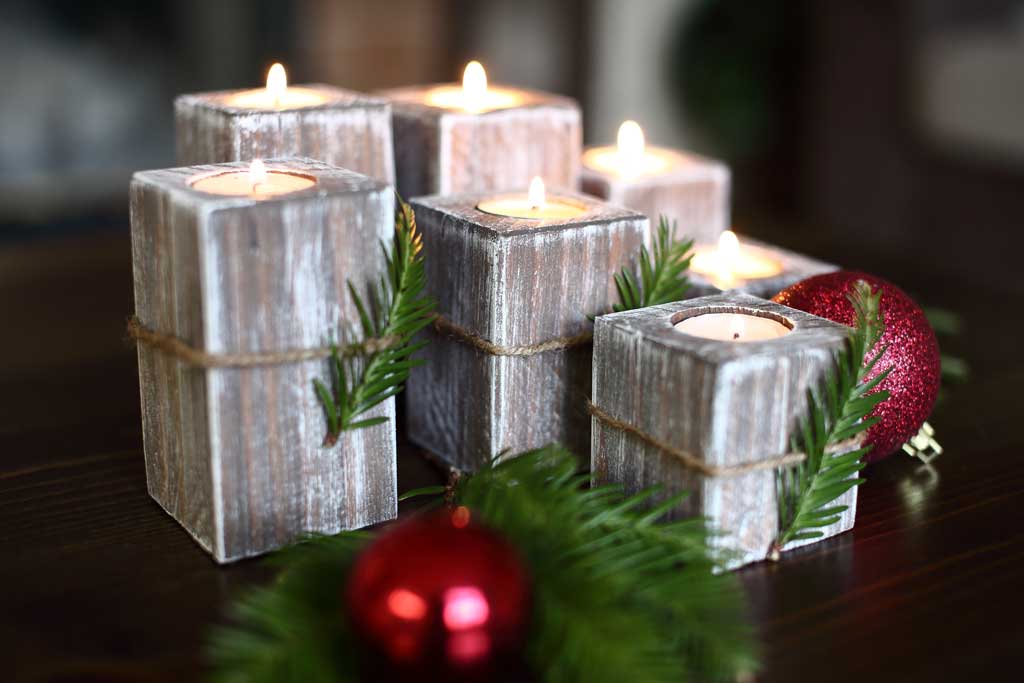
By The DIY PlanI think every woodworker has a pile of leftover scrap wood from other projects. Typically, I don’t throw away small wood pieces and try to use them on small wood projects. I’ve made these DIY Wooden Candle Holders from my scrap wood pile.
Directions
-
Step 1 - Trim 4x4 Board to 2 1/2"x2
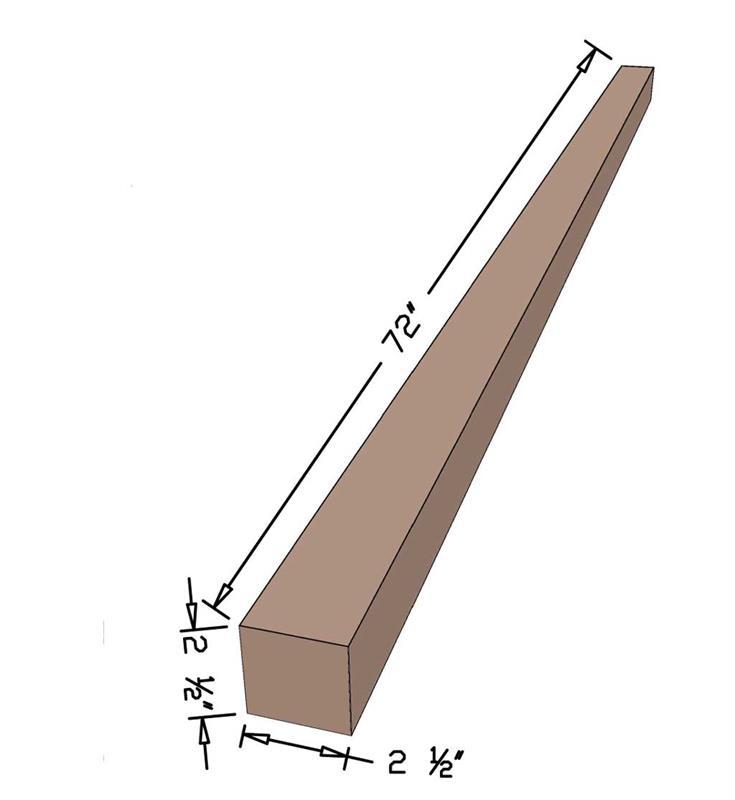
The actual size of 4x4 is 3 1/2"x3 1/2". This is too large for these types of candles. So we need to reduce the actual size to 2 ½” x 2 ½”. Take a 4x4 board, and trim 1/2 an inch on all four sides using a table saw. You could just trim 1" from two sides to get the job done quicker, but then you'll have one rounded corner and three sharp corners. So that's why I trimmed all four sides. I didn't have a full 6-foot long board but I had smaller 4x4 scrap pieces laying around from my previous projects. And it works just as good.
-
Step 2 - Cut Candle Block Pieces
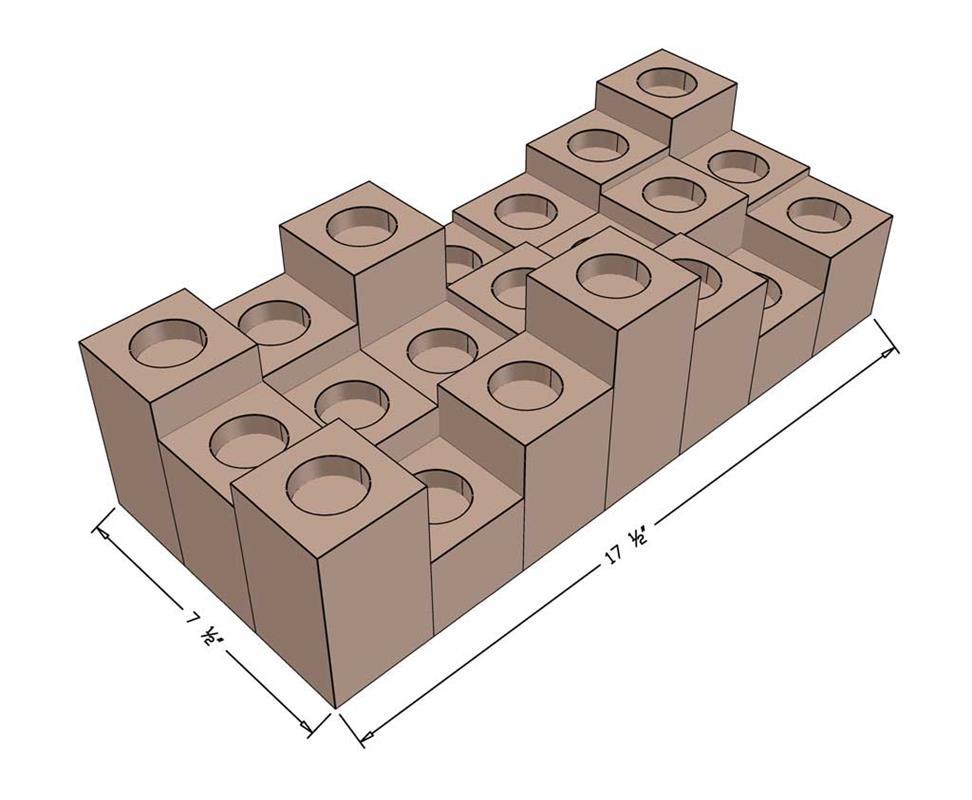
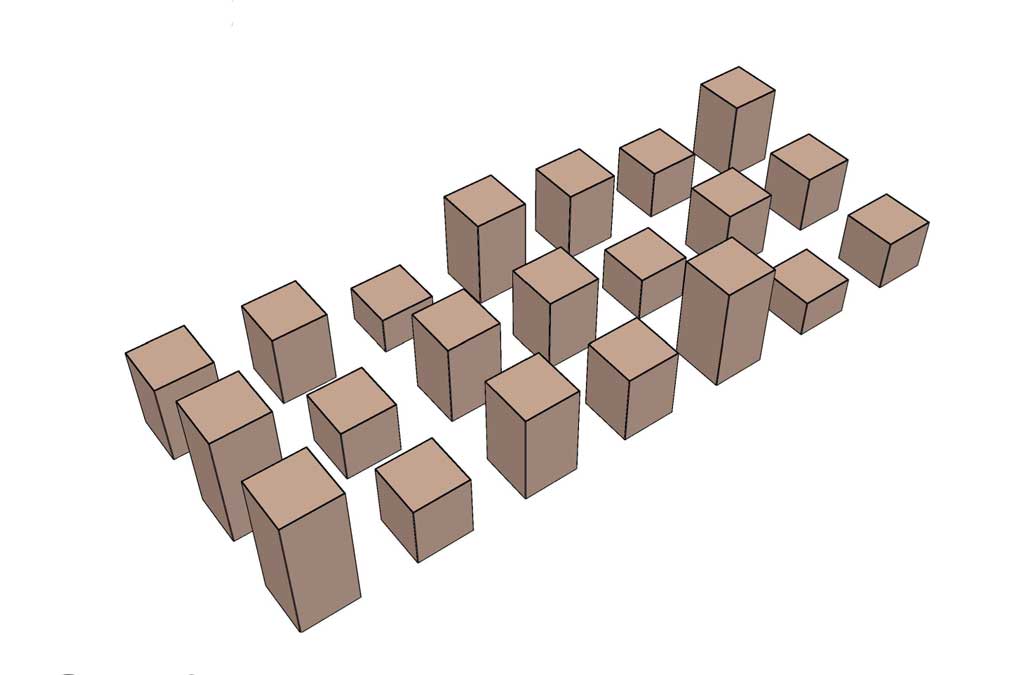
Then with a miter saw, cut the 2 ½” x 2 ½” board into small blocks ranging from 2” to 6” long. I didn't provide lengths for these blocks, because these are totally random and you could cut any length that you'd like. You would need 21 of these blocks.
-
Step 3 - Drill 1 1/2" Holes for Can
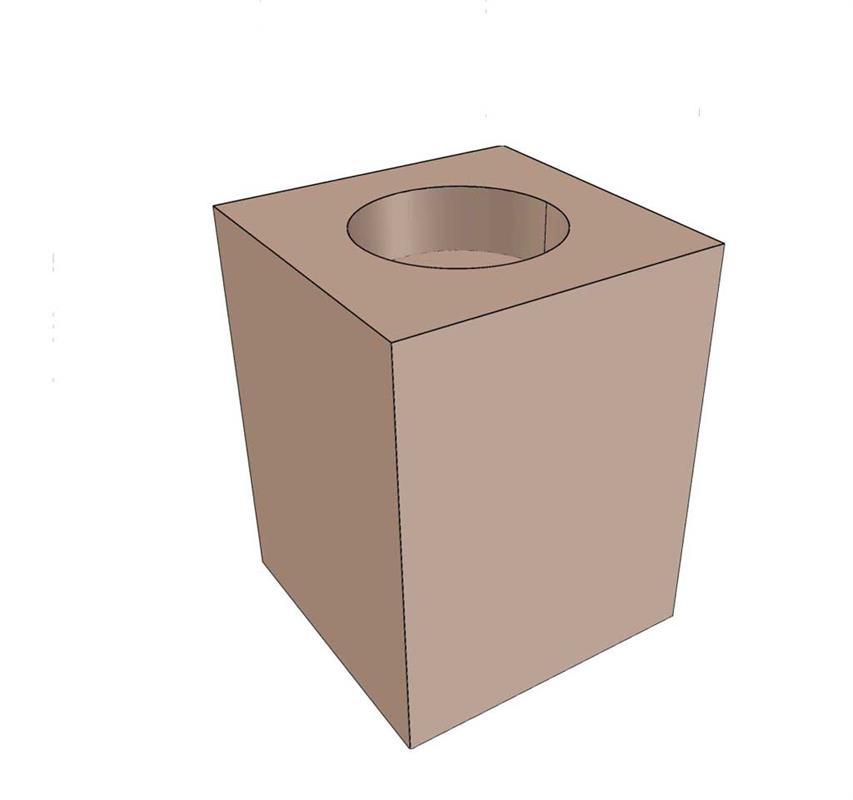
Once all 21 blocks are cut, use a ruler or a square and draw a line from one corner to the next. Then draw another line from the other two corners creating an X on the top of the block. The center of the X is the exact middle where you need to drill the hole for the candle. Drill a ½” deep hole using 1 ½” full thread tip drill bit.
-
Step 4 - Sand the Wood Candle Block
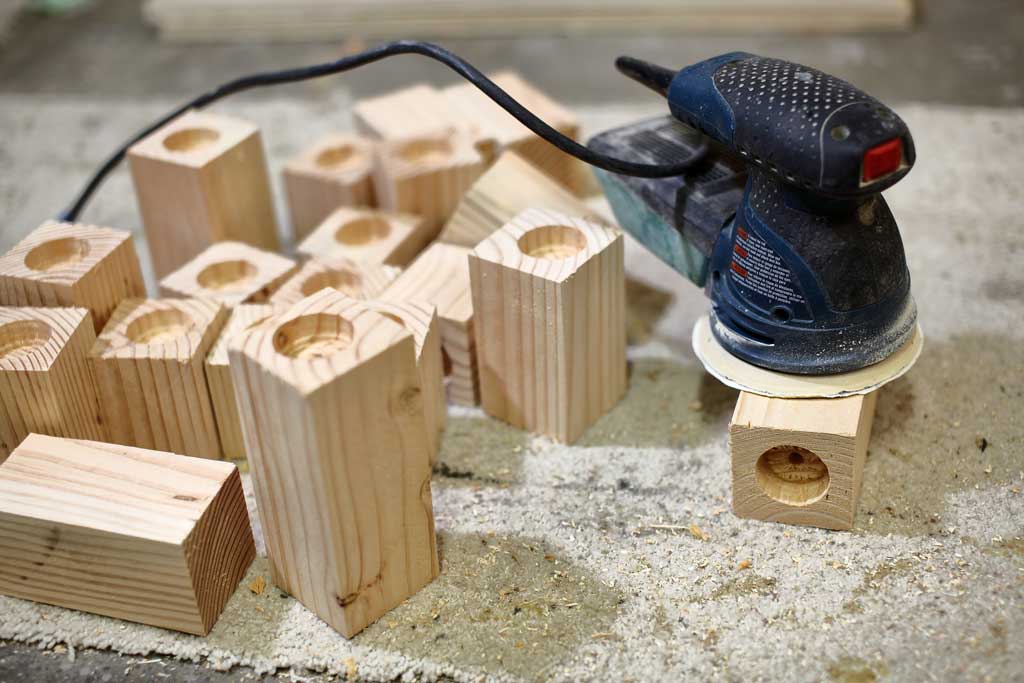
Now using a random orbital sander, sand any rough edges.
-
Step 5 -Stain and Paint Candle Hold
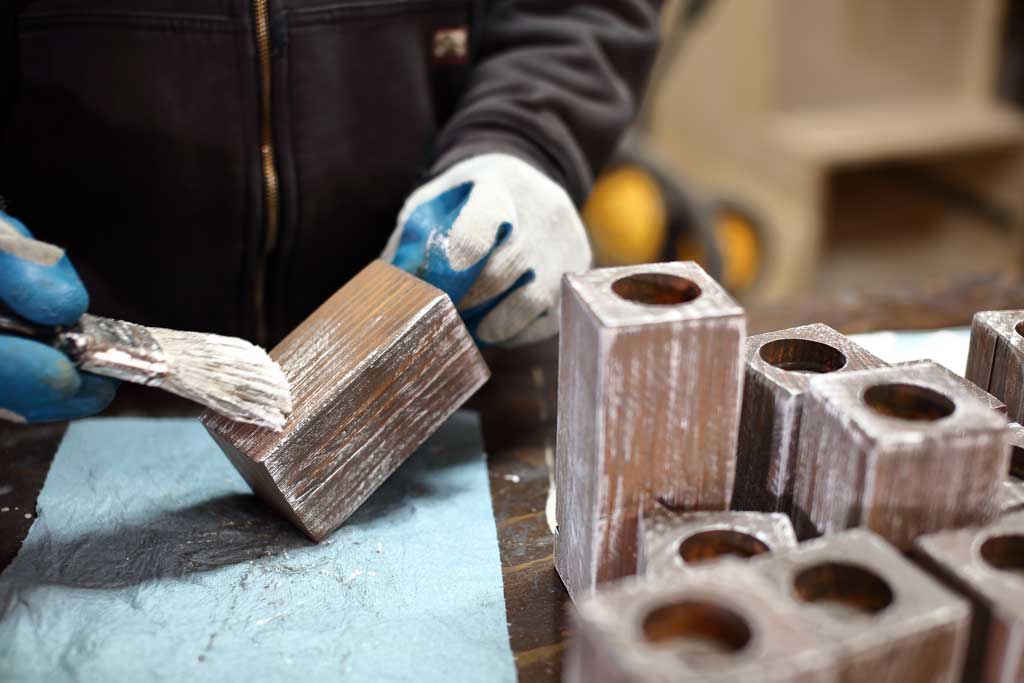
For this step, you could stain or paint any color you want. I used Briarsmoke stain and white paint. First, apply a coat of pre-stain, then Briarsmoke stain and wipe it off with a shop paper towel. Then lightly brush white paint over the stain to make a whitewash effect. You could arrange these wood candle blocks any way you'd like. You're done with the DIY Wood Candle Holder!


