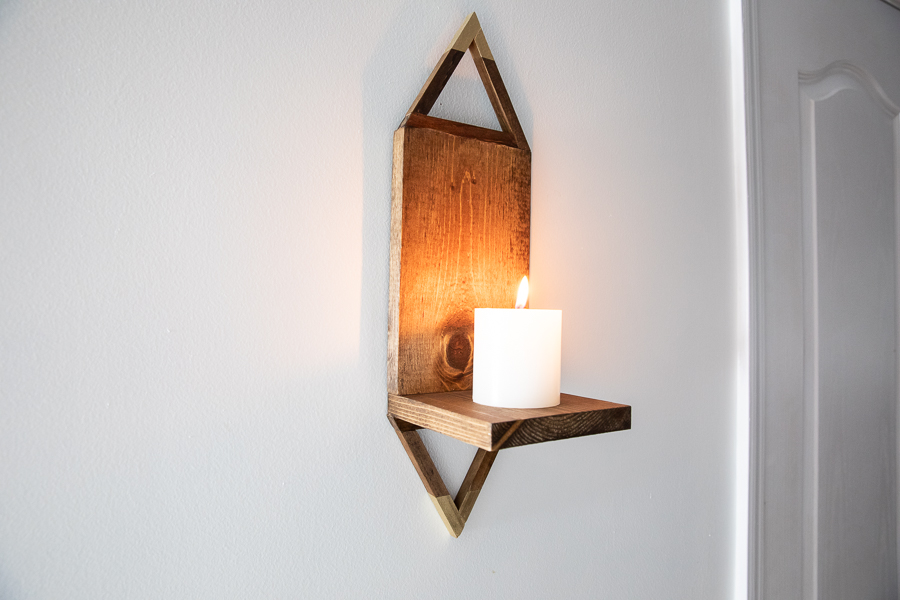


If you're looking to get into woodworking, this is the perfect beginner project! This DIY wall sconce is a great accent for any room.
Tools
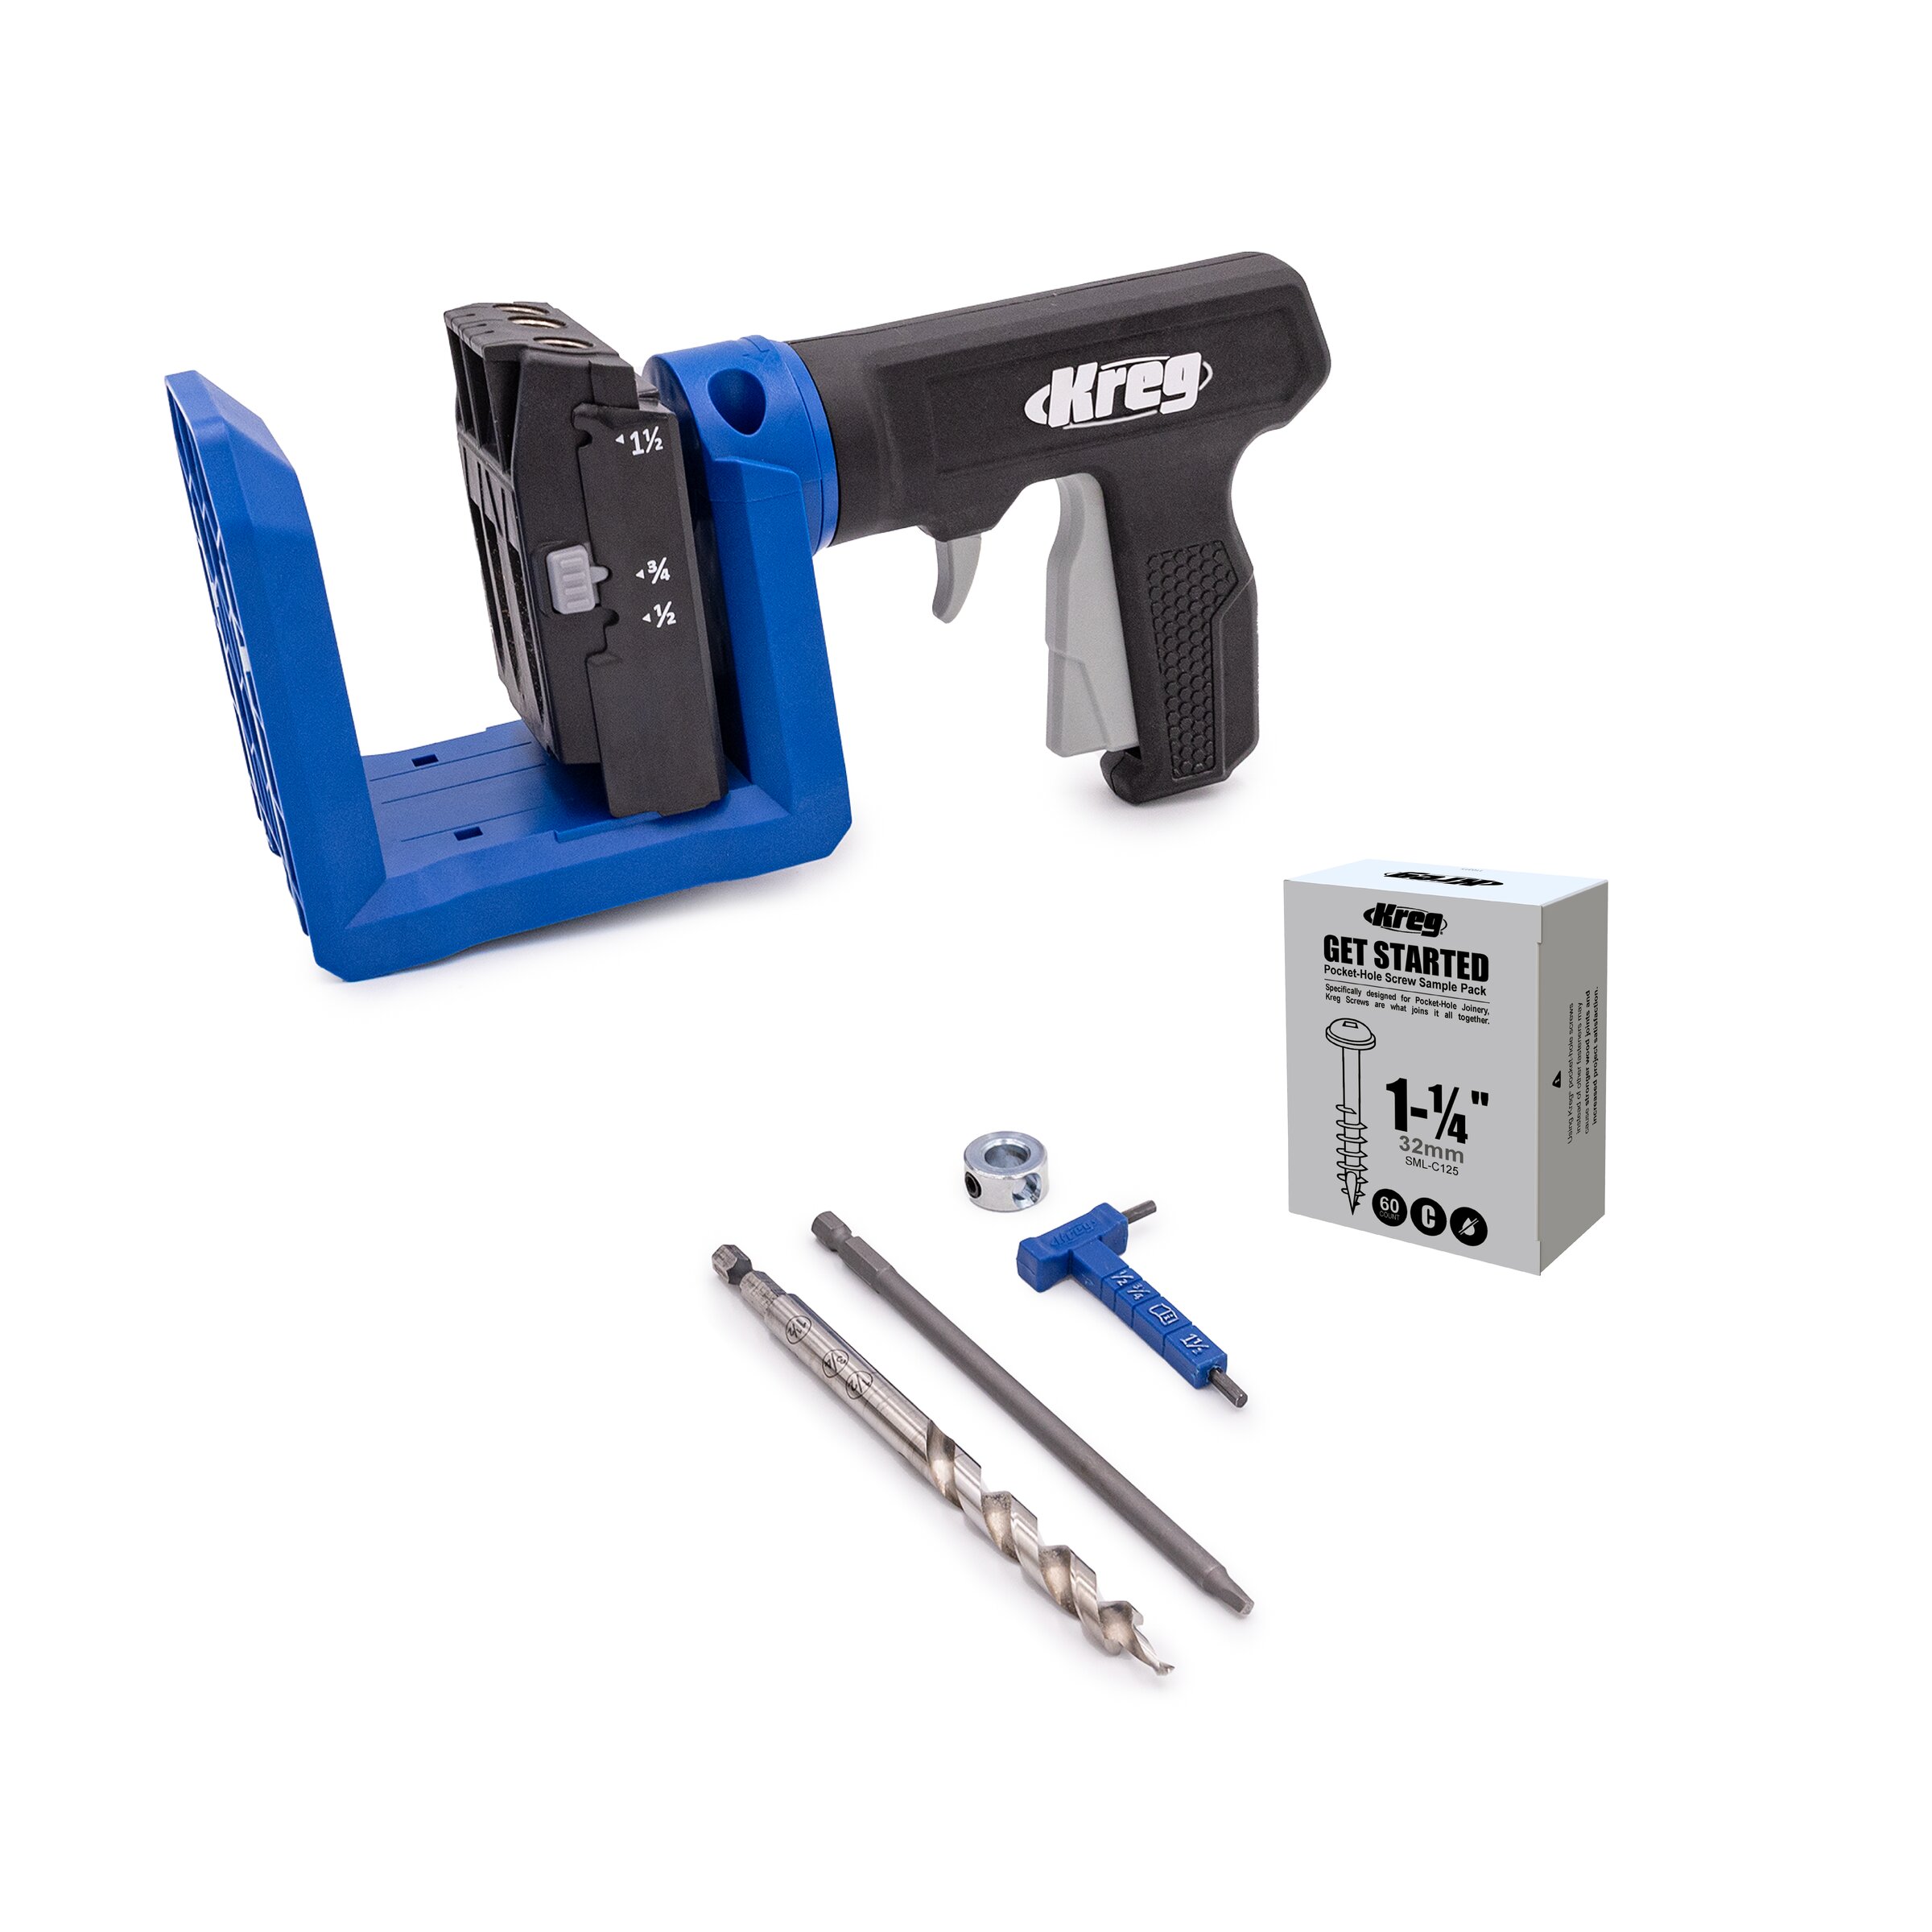
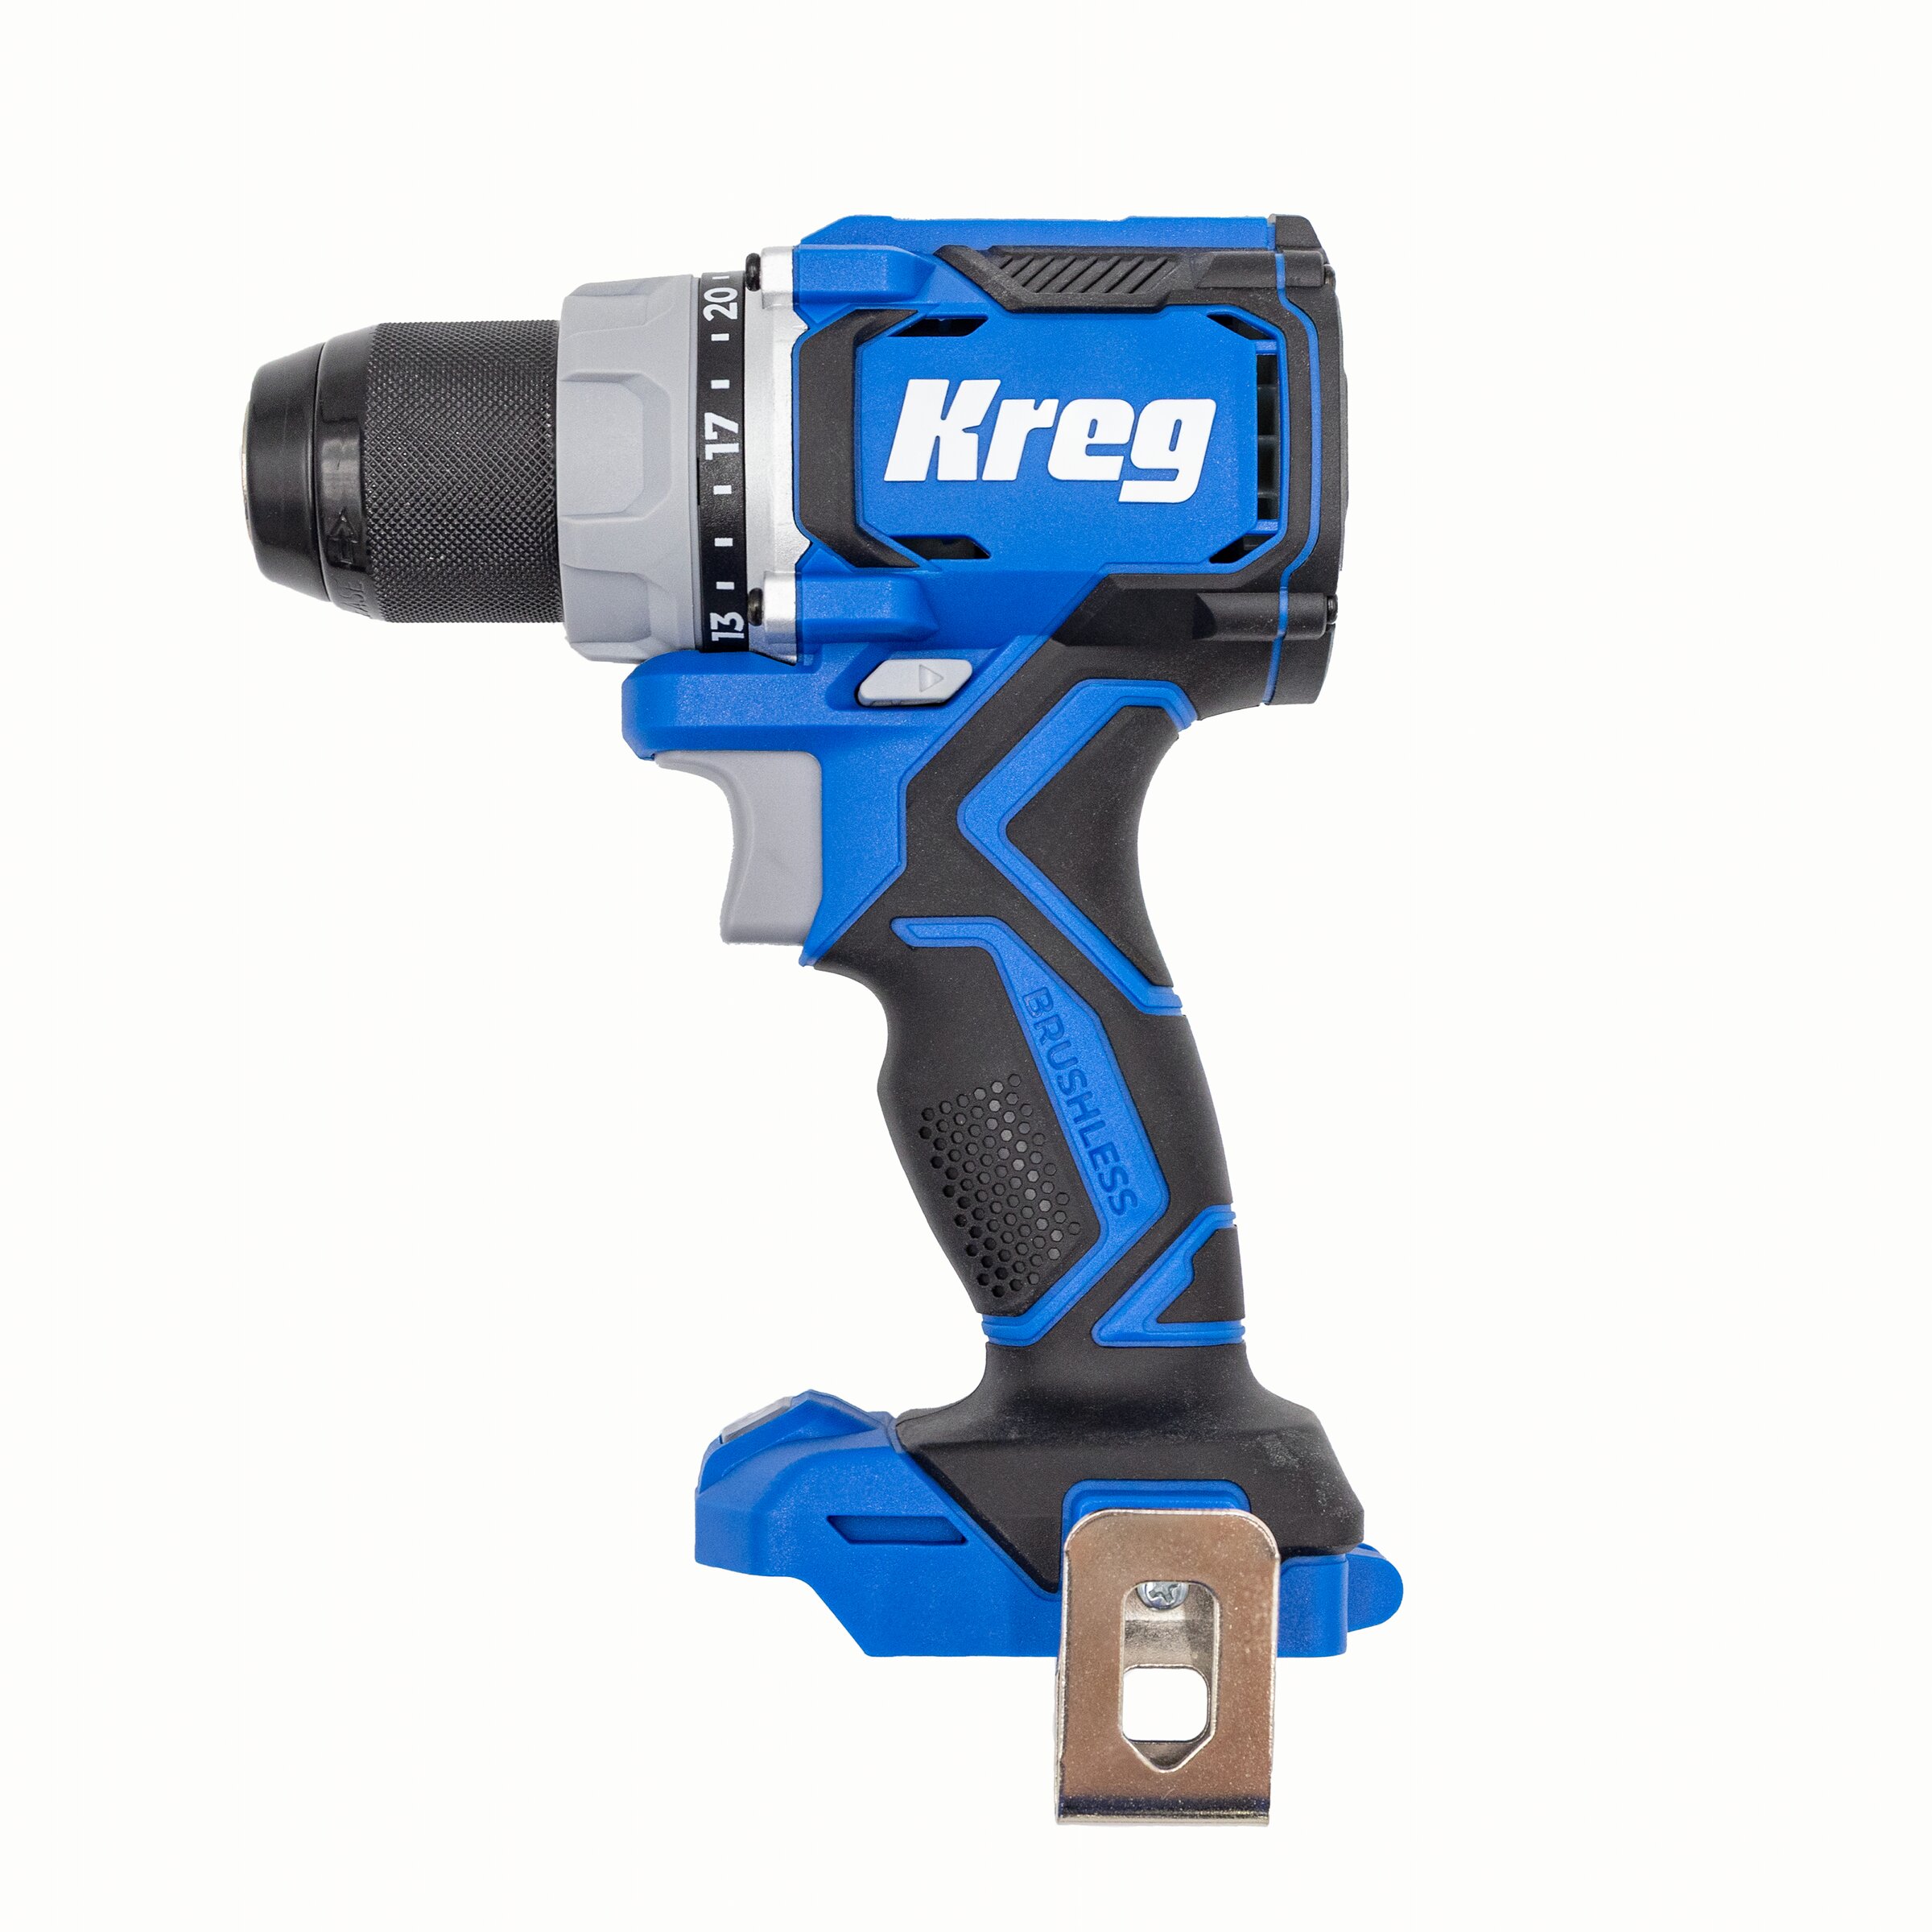
Kreg Tools

Other Tools
-
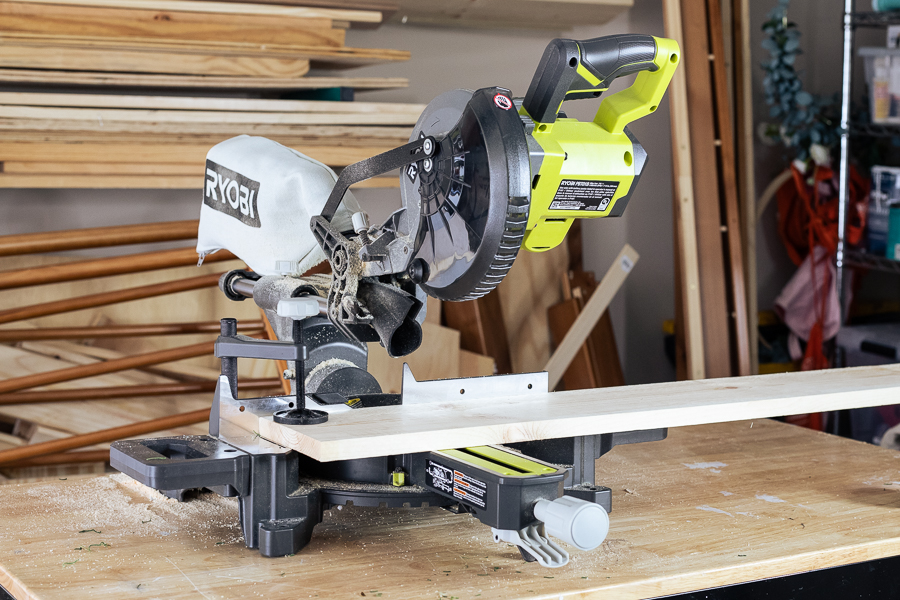
Miter Saw

-
Crown Stapler
Materials
Wood Products
- 1 1x6 Board , 1x6x4
- 1 3/4" Square Dowel Rod , 3/4"x36"
Hardware & Supplies
- 3 1 1/4" Pocket Hole Screws
- 1 Keyhole Hanger
- 1 Pillar Candle
- 1 Paint or Stain
- 1 Wood Glue
- 6 1/2" Crown Staples
- 1 Painter's Tape
- 1 Gold Spray Paint
Cut List & Parts
- 1 1x6 Board , 9" long
- 1 1x6 Board , 6" long
- 6 3/4" Square Dowel Rod , 5" long (at longest points)
Directions
-
Cut Your Wood
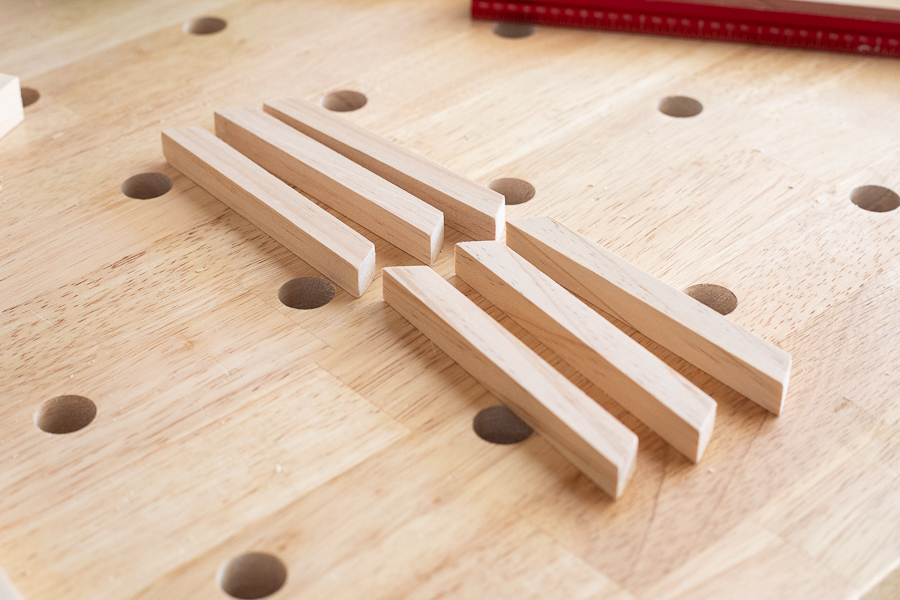
Cut your 1x6 boards to the specified dimensions, and cut your square dowel pieces at a 30 degree angle on each end, not parallel.
-
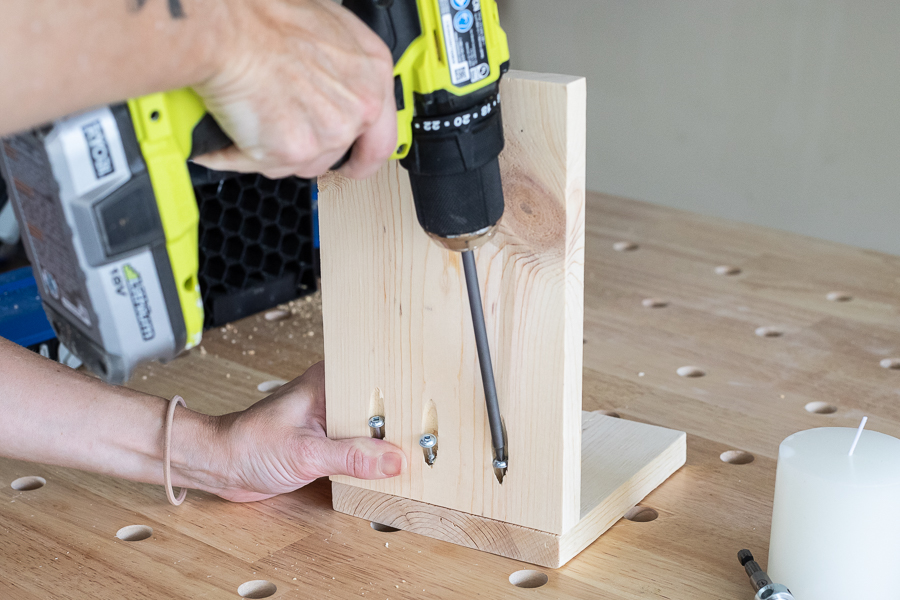
Drill Pocket Holes
Drill 3 pocket holes into one end of your 9" long 1x6 board.

-
Sand
Sand everything smooth
-
Attach Boards
Using 1 1/4" pocket hole screws, attach your 9" long board to your 6" long board.
-
Create Triangles
Using wood glue, attach your dowel pieces and then use painter's tape to hold them in place while the glue dries. When the glue has dried, use a crown stapler to secure and reinforce the pieces, placing one staple at each joint.

-
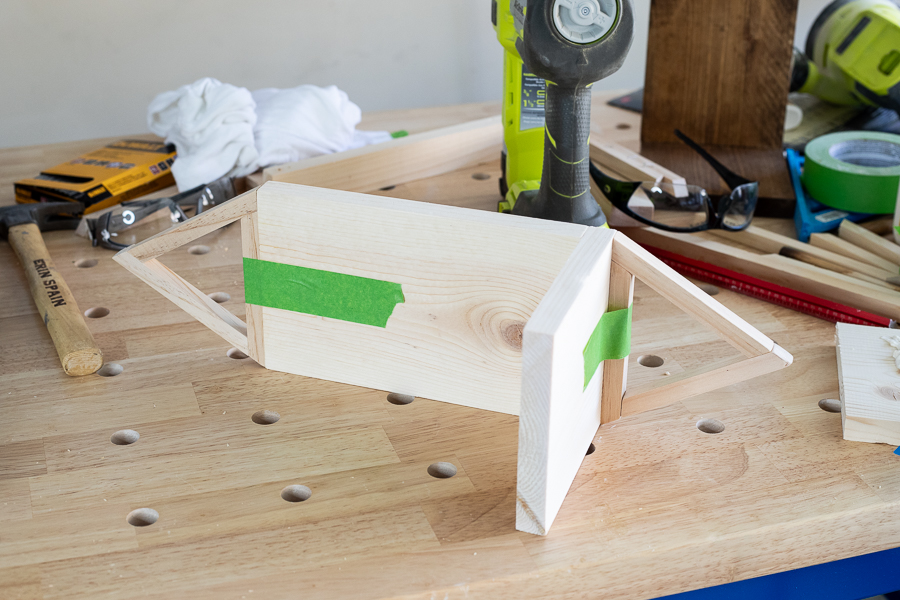
Attach Triangles to Sconce
Using wood glue, attach your triangles to the top and bottom of the sconce and then secure with painter's tape to hold them in place until the glue dries.
-
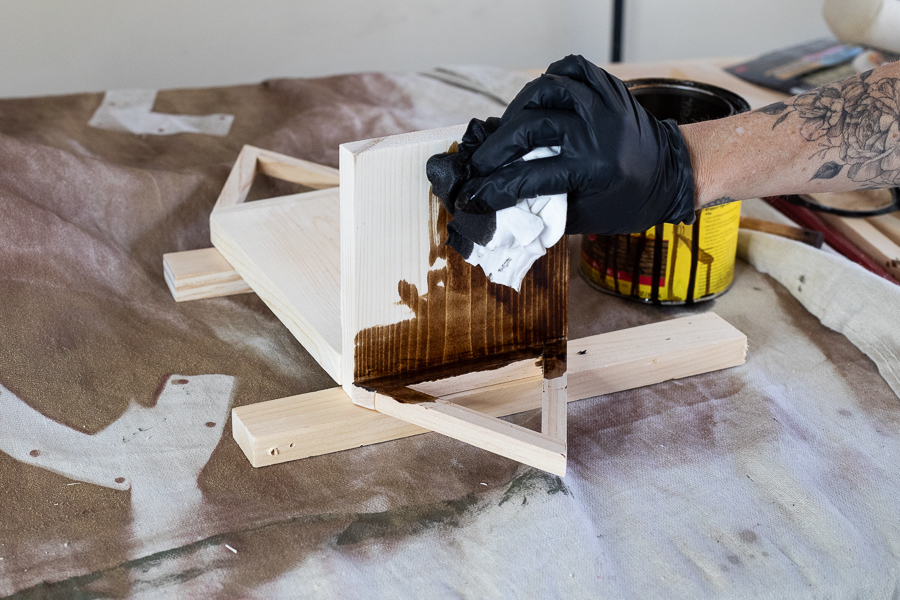
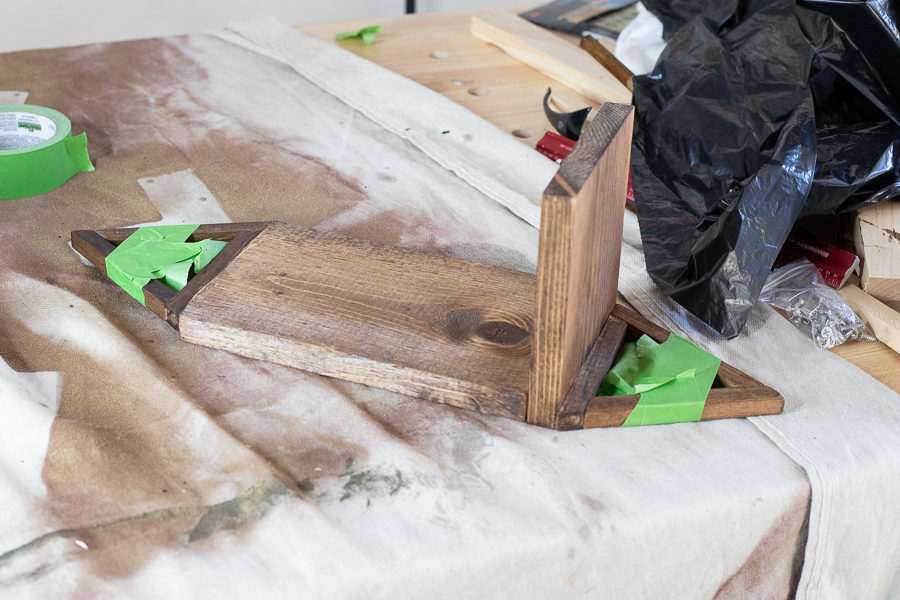
Stain
Stain (or paint) your sconce in the color of your choice. I used a Provincial stain for this one.
-
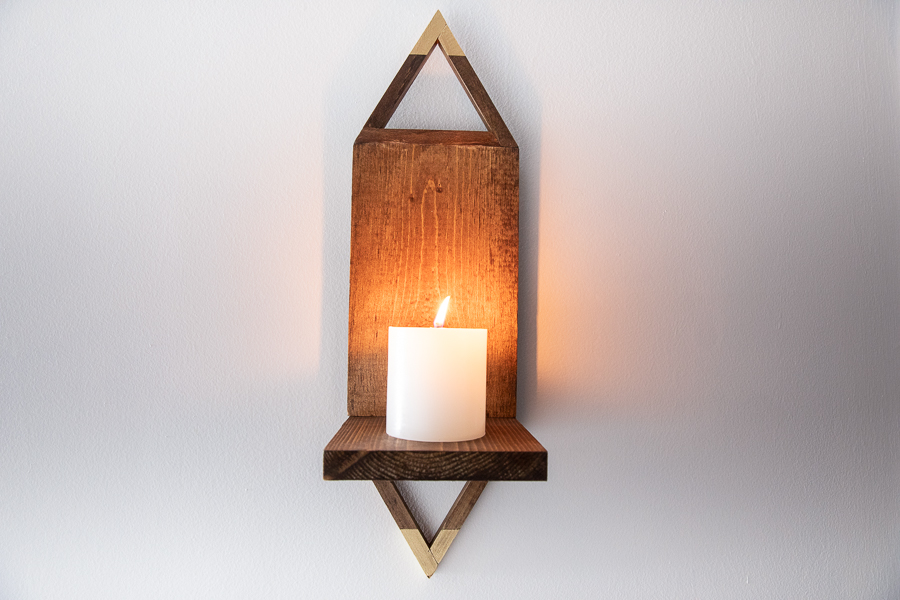
Add Spray Paint Detail (Optional)
Measure and tape 2" in from the top and bottom. Cover the middle section of the sconce with plastic to protect it, and then spray paint the exposed parts. Remove tape while paint is still damp.
-
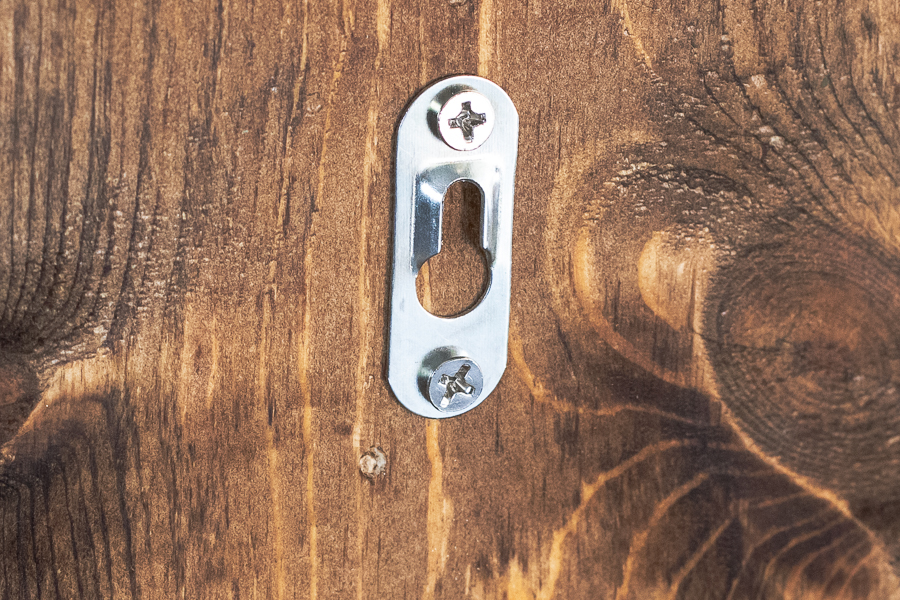
Add Hanging Hardware
Attach keyhole hanger using the screws that come with it. I positioned mine about an inch from the top, centered.