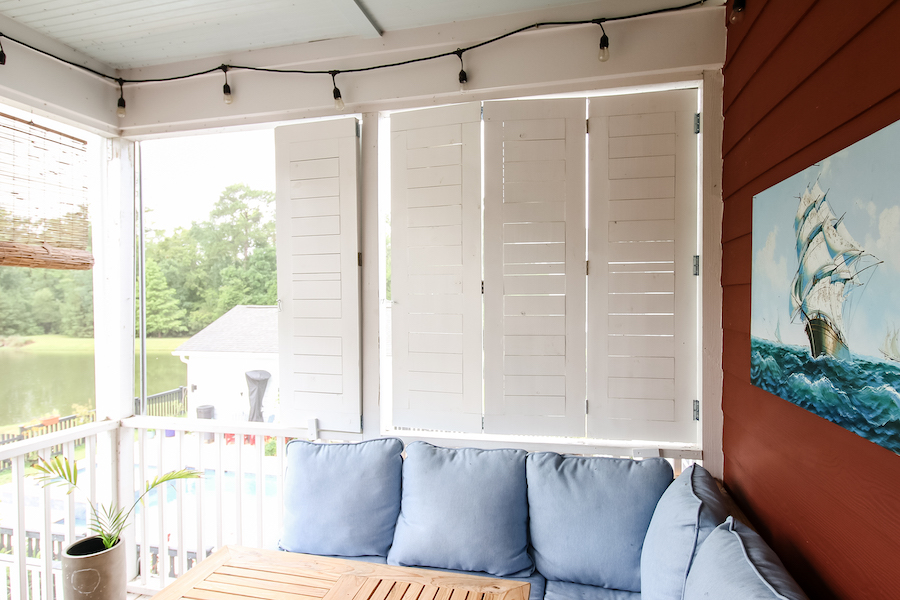
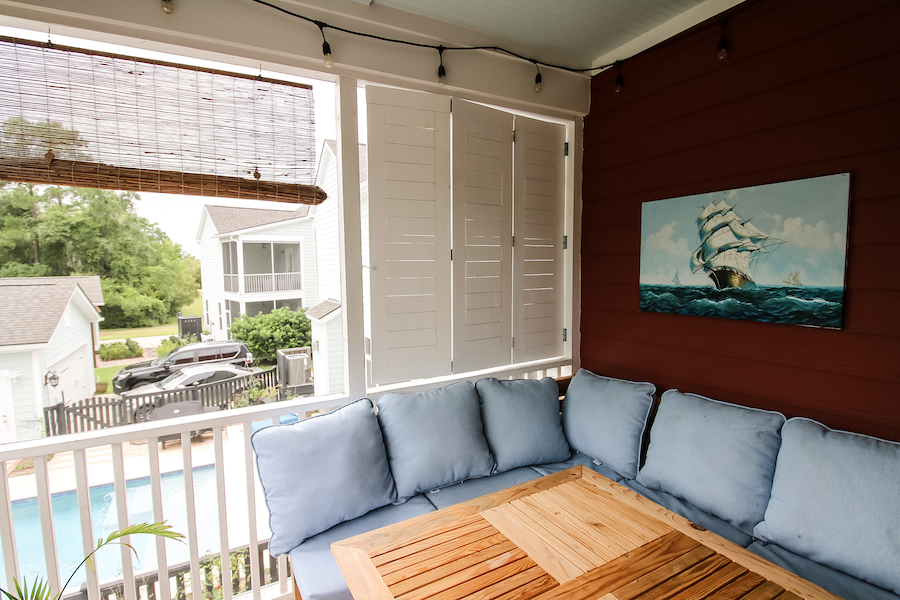


These DIY trifold shutters are a great build for blocking out the sun or creating privacy. Build them individually and connect however many you want or use them by themselves decoratively!
Tools
Kreg Tools


Other Tools
-
Miter Saw

-
Paint Sprayer
Materials
Wood Products
- 10 Boards , 1x4 , 8'
Hardware & Supplies
- 204 Kreg 1 1/4" Blue Kote Screws
- 6 3" Narrow Hinges
- 1 Hook and Eye
- 3 3" Corner Braces
- 1 Wood Glue
- 1 Paint or Stain
Cut List & Parts
- 2 Top/Bottom , 18"
- 2 Sides , 52 1/2"
- 15 Slats , 11"
- 1 Note- these cuts are for ONE shutter, so multiply for however many you need

Directions
-
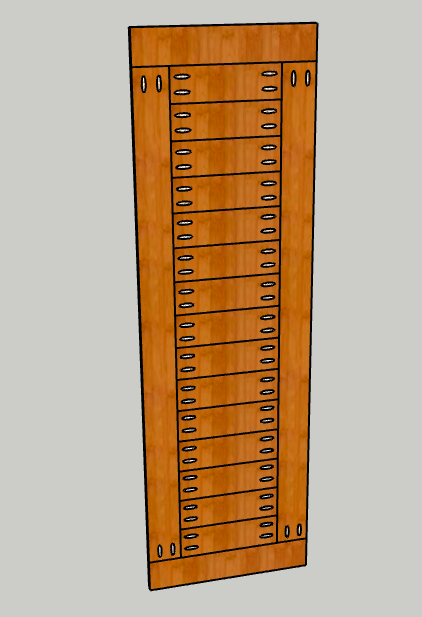
Drill pocket holes
Start by drilling two pocket holes on each short end of all of the Sides and Slats.
-
Start frame
-Using wood glue and pocket hole screws. attach one Side to the end of the long edge of a Top board.
-Using wood glue and pocket hole screws, repeat for another Side on the other end of the Top board.
-Using wood glue and pocket hole screws, attach one Slat snug between the two Sides and against the edge of the Top.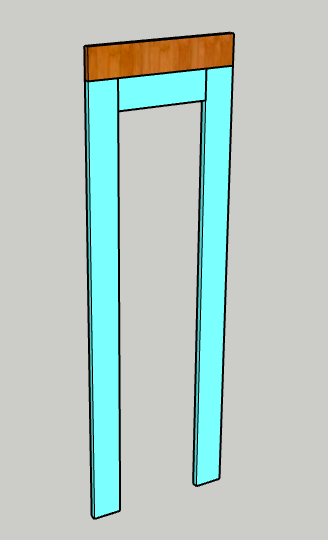
-
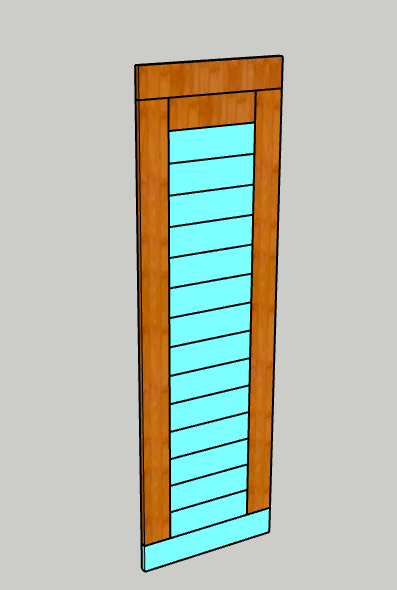
Attach slats
-Using pocket hole screws, attach the next Slat between the two Sides right under the first Slat.
-Repeat all the way down with Slats until you reach the end of the Sides.
-Finally, using wood glue and pocket hole screws, attach the Bottom to the end of the Sides.Note
I'd recommend doing a dry fitting before screwing in slats. Depending how the boards were cut or how they dried, they might not fit 100% perfectly and you might need to trim one down. That slat should be placed in the middle for symmetry.
-
Repeat
-Repeat steps 1-3 for however many shutter panels you need.
-If you are doing individual shutters next to a window, you'll need two shutters per window. If you only need bifold shutters, you'll also need two. If you need multiple, repeat for your needs.
-
Stain or paint
-Stain or paint your shutters to match or accent your aesthetic.
-Let dry and fully cure before working on install.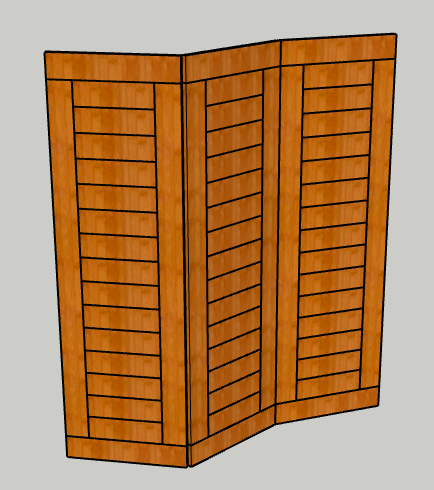
-
Add hardware
-Start by attaching corner braces to one of the shutter panels. Make sure the shutter is facing you with the pocket holes on the back.
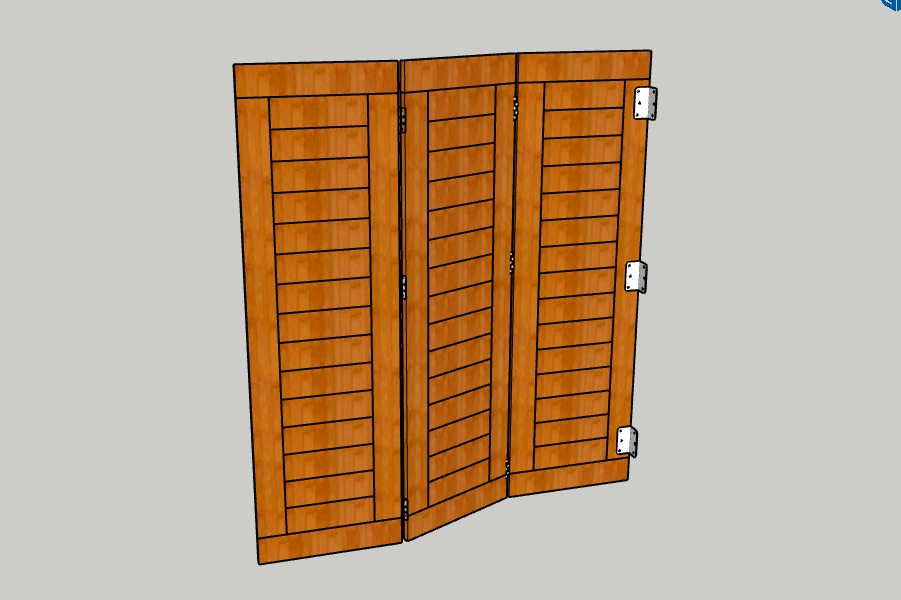
-Next, lay a second shutter down on top of the first so that the fronts are touching. Add three hinges on the opposite edge from the braces and connect them.
-Finally, lay a third shutter panel down on top of the second with the backs touching. Add three hinges on the opposite edges from the last ones so that they can accordion open and closed.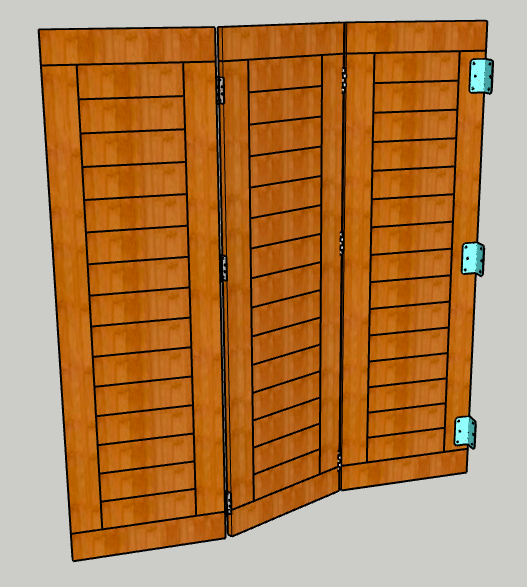
-
Install
-Mark where the corner braces will be installed and pre-drill pilot holes.
-Using a friend, attach the corner braces to the post to hold them up.
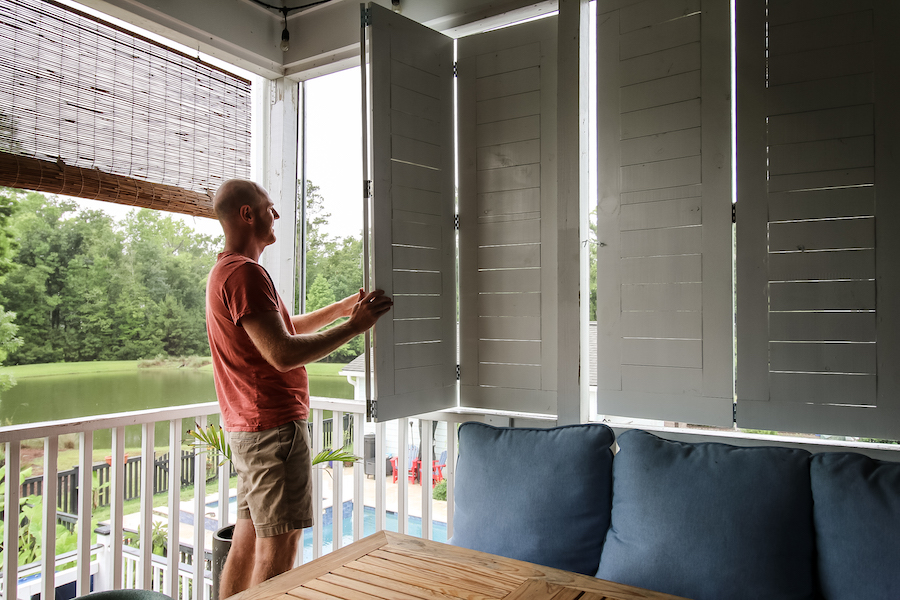
-Then, open the shutters all the way and attach a hook and eye to the outside edge of the shutter so that it can hook onto the eye and hold open.
-Finally, add a scrap of wood or buy a shutter dog to install to hold the shutters closed when folded.
-
Enjoy!
Enjoy your handiwork and tag @CharlestonCrafted on Instagram with a picture!