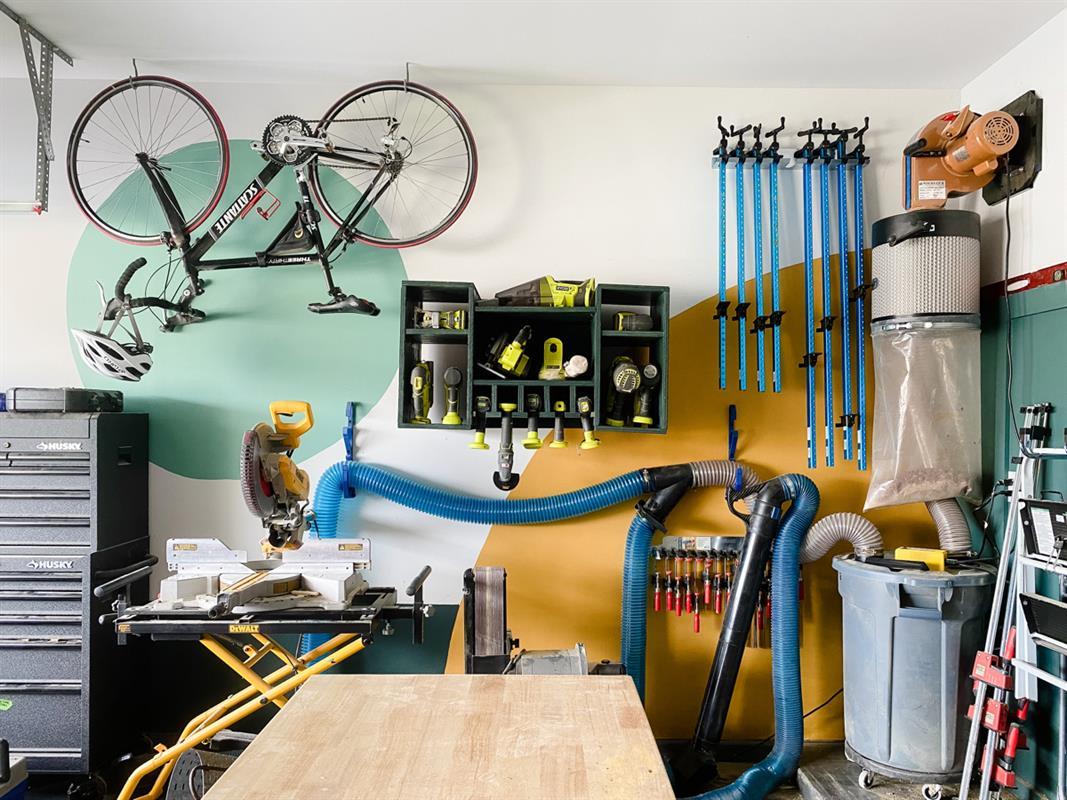


How to build a simple but super functional storage solution for your tools! This little organization workhorse holds more than you'd ever expect, and keeps your garage organized.
Tools
Kreg Tools


Other Tools
-
Table Saw

-
Tape Measure
-
Clamps
-
Nail Gun
Materials
Wood Products
- 1 Plywood , 3/4" Thick , Full Sheet
Hardware & Supplies
- 32 Pocket Hole Screws
- 12 1 1/4" screws
- 20 18-gauge nails
Directions
-
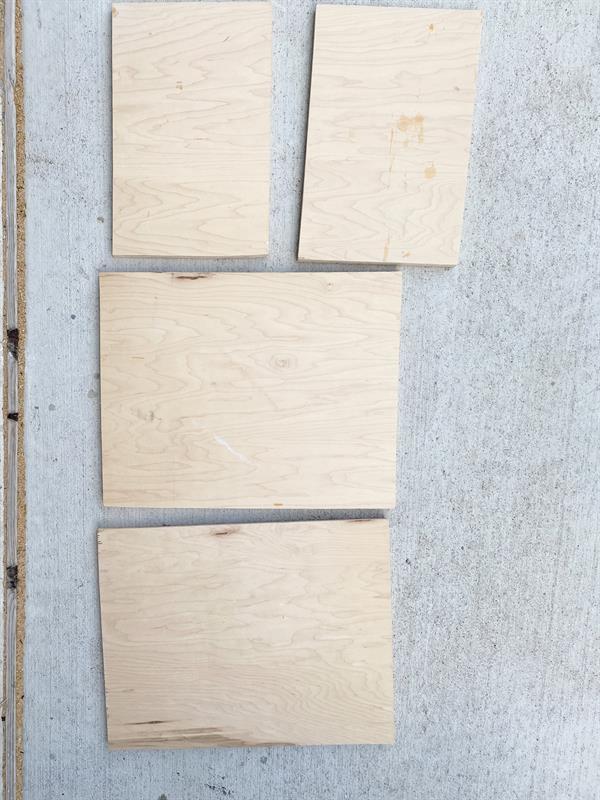
Cut Plywood according to cut list
Start by cutting down your plywood according to the cut list. Feel free to adjust the sizing depending on what you need for your space.
-
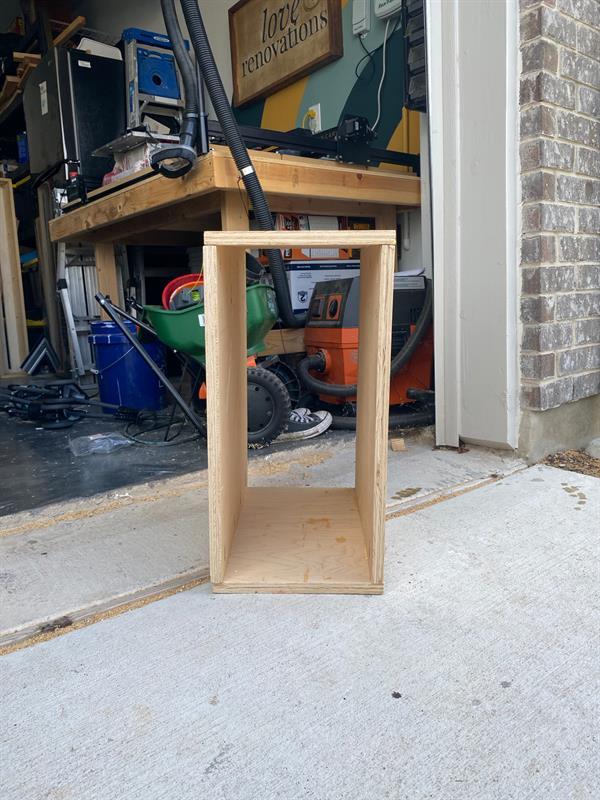
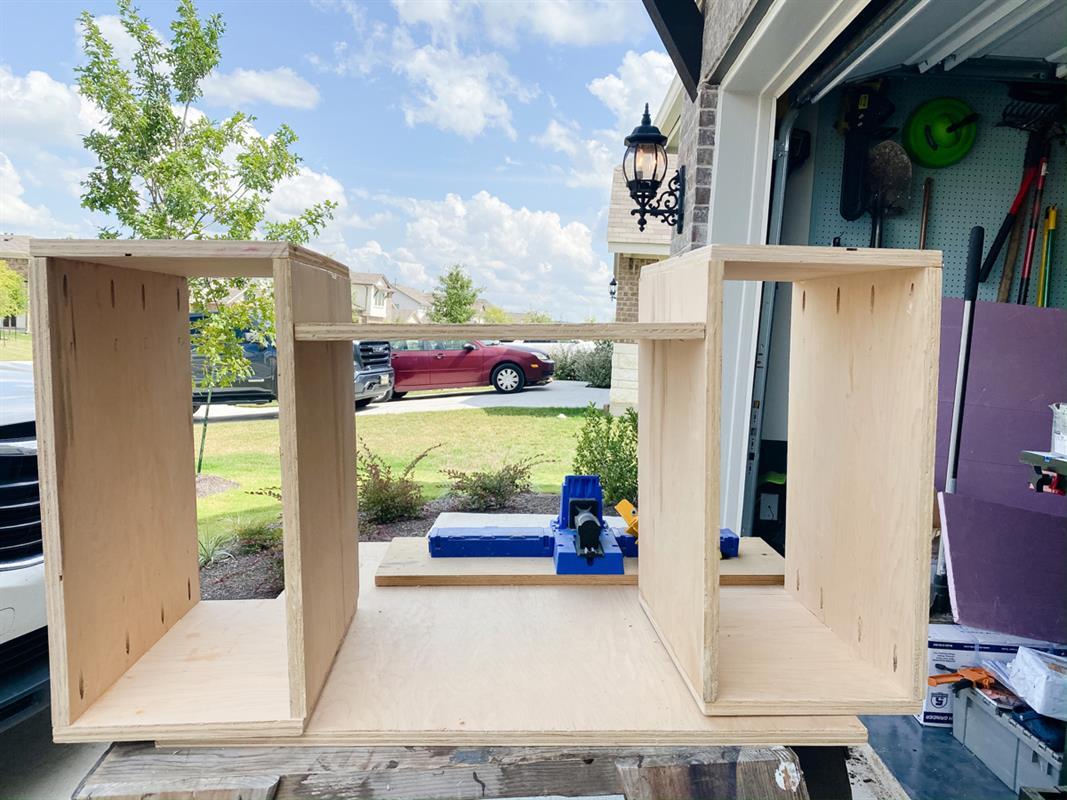
Assemble Side Boxes
Using two 20.25X16 and two 10.5X16 pieces per box, assemble two boxes using pocket holes and wood glue.
I recommend using corner clamps to help you ensure the boxes are square as you assemble.
-
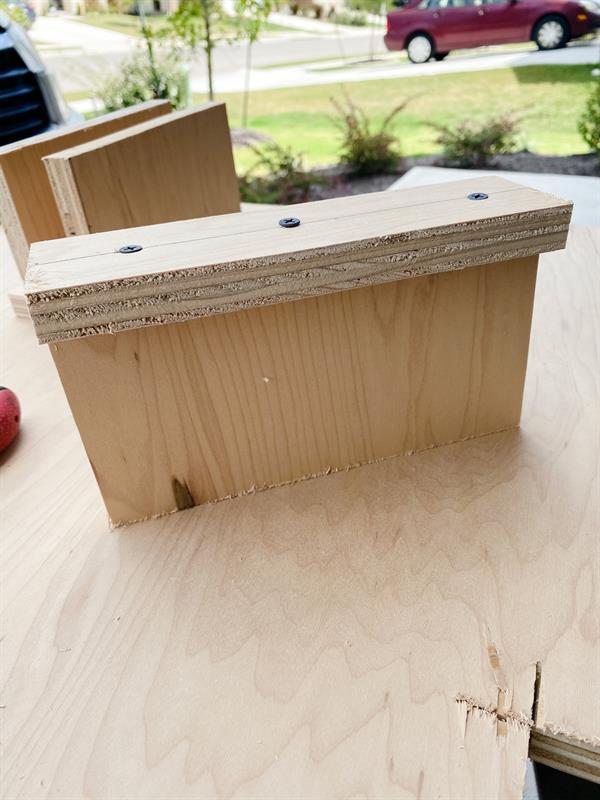
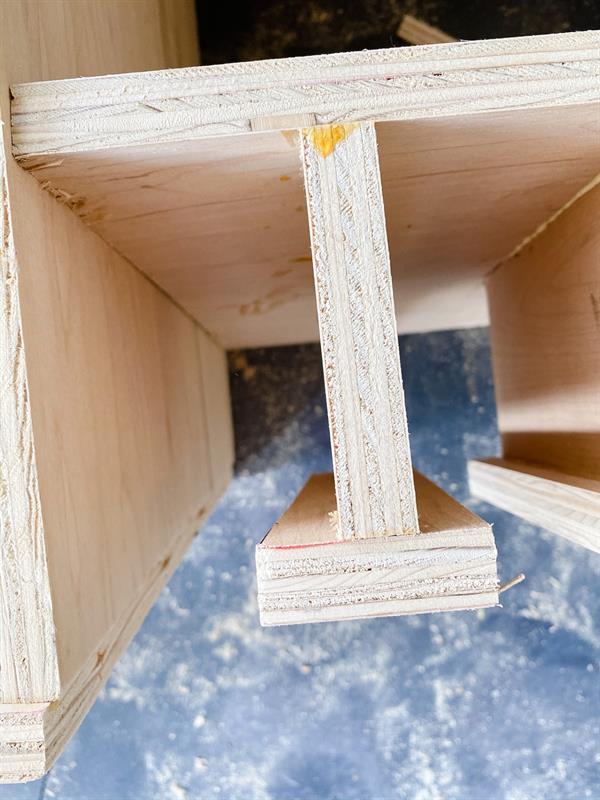
Assemble Drill Hangers
Assemble your drill hangers by drilling one 2.25"x8" piece into the bottom of a 4"x8" piece. Be sure to pre-drill 2-3 holes in the smaller piece before drilling.
-
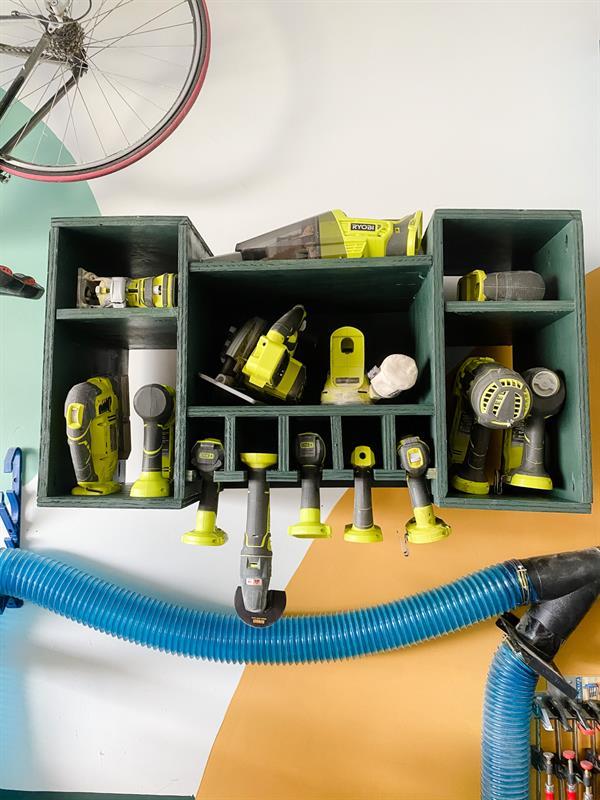
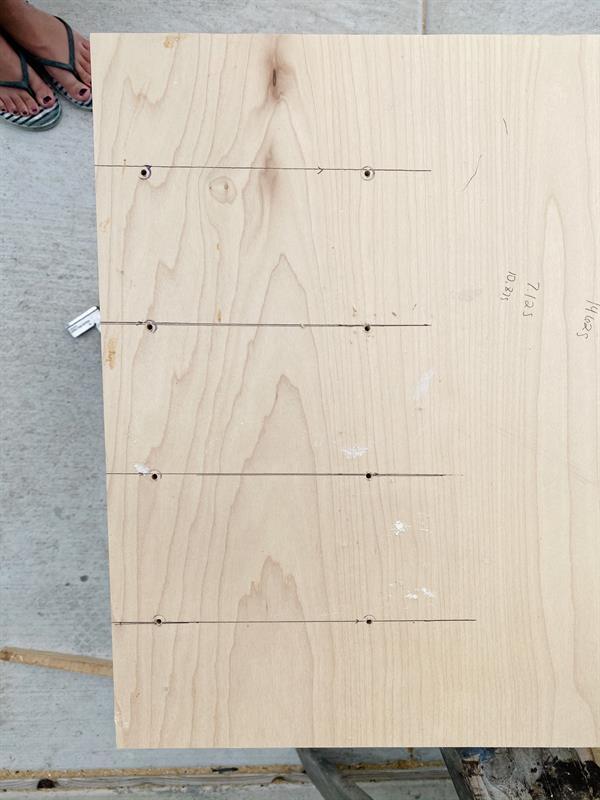
Mark spots on shelf for drill hange
Mark lines on one of the 18"x16" shelves where the drill hangers will go. From center-to-center, the spacing between each drill hanger should be 3.75". The spacing between the side boxes and the first drill hanger on each side should be 3 3/8".
After marking the spots, pre-drill the holes for the drill hangers. You will not hang them until after attaching the shelf.
-
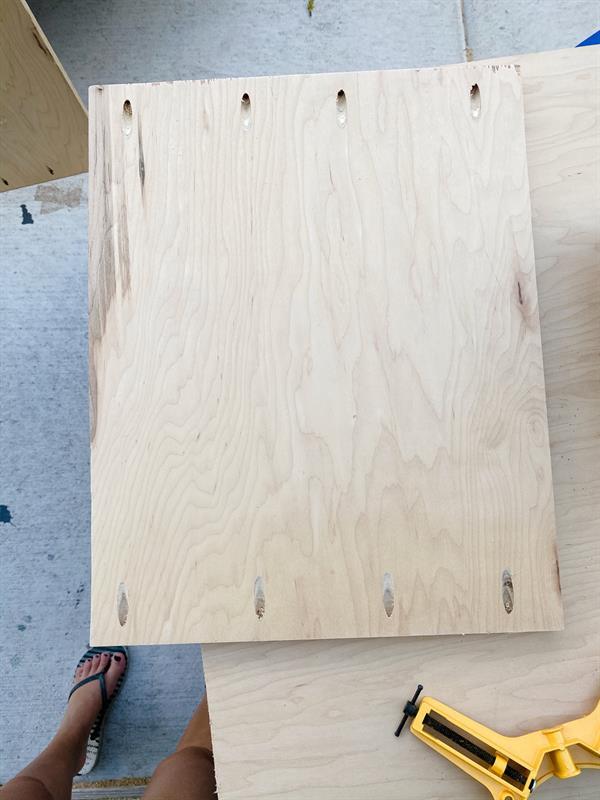
Drill pocket holes in the shelves
Drill pocket holes on the short sides of each 18" x 16" shelf.
-
Attach top shelf
Attach the top shelf to the two boxes using wood glue and pocket screws. It should be attached 3" from the top of the boxes.
-
Attach second shelf
Attach the second shelf in the same manner - it should be 10" from the first shelf.
-
Attach drill hangers to shelf
Add wood glue, then the drill hangers into the pre-drilled holes on the bottom shelf.
-
Add shelf pieces to the boxes
Drill pocket holes in the two 9 1/8" x 16" pieces (NOTE: I highly recommend assembling your boxes prior to cutting these pieces, then measuring and cutting based on your box, to account for any variations).
Using wood glue and pocket holes, add a shelf in each box, approximately 13" from the bottom of the shelf (this is obviously an optional step - if you prefer to store taller tools in this space, leave it open).
-
Attach side pieces for drill hanger
Using wood glue and screws, attach the two 3/4" x 8" pieces to each box, approximately 2" from the bottom of the box and set back 1/2". (Be sure to pre-drill the holes to avoid splitting the wood)
-
Attach backing
Using wood glue and a nail gun, attach the 19" x 21.5" piece to the back of your organizer.
-
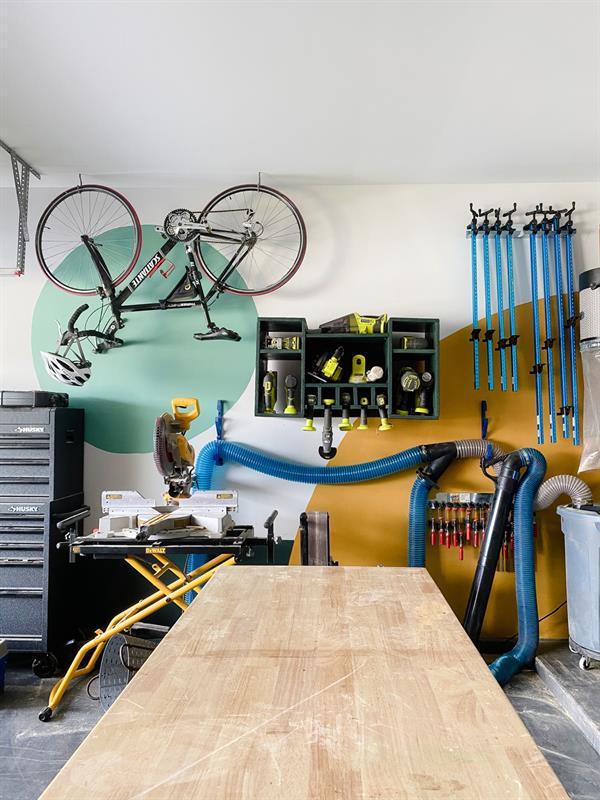
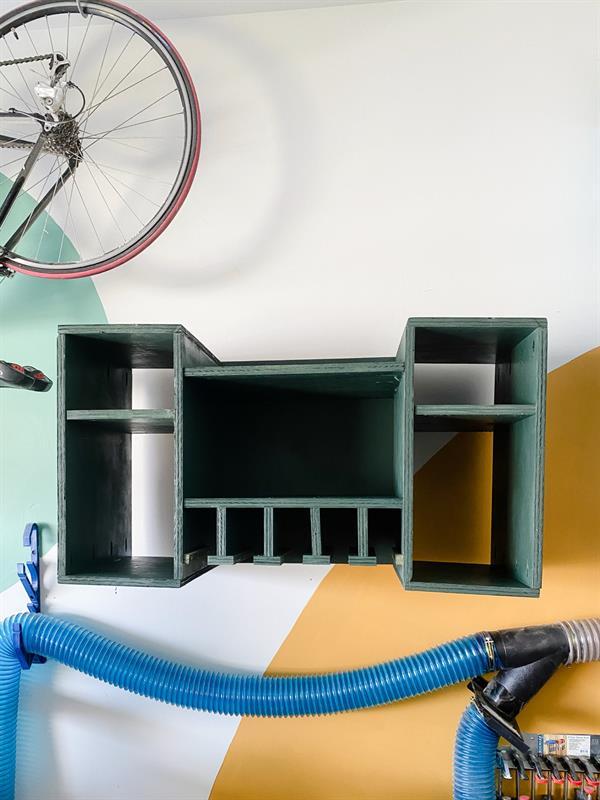
Paint and hang
Paint in your desired color and hang it up on your garage wall - then, fill it up with all of your favorite tools!