This DIY tool caddy is an easy beginner woodworking project, and is a handy little accessory to have in the workshop to haul smaller tools around.
Tools
Kreg Tools


Other Tools
-
Saw

Materials
Wood Products
- 1 Board , 1x6
- 1 Board , 1x10
- 1 Dowel rod , 1"
Hardware & Supplies
- 1 Box of 1 ¼” Kreg Pocket Hole Screws (see tools list)
- 1 Box of 1 ¼” Wood Screws
Directions
-
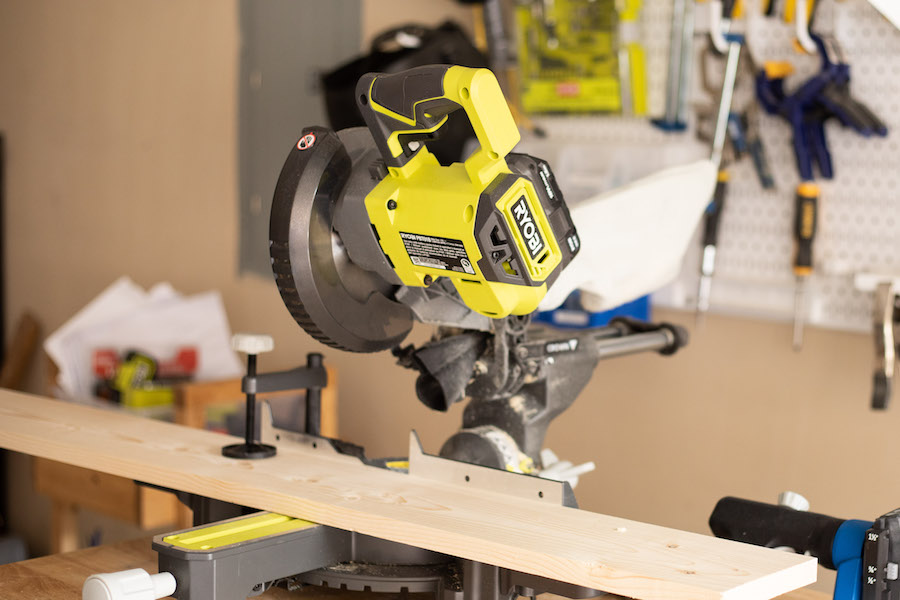
Cut your wood
Cut your wood according to the dimensions in the cut list.
-
Sand
Sand your wood pieces
-
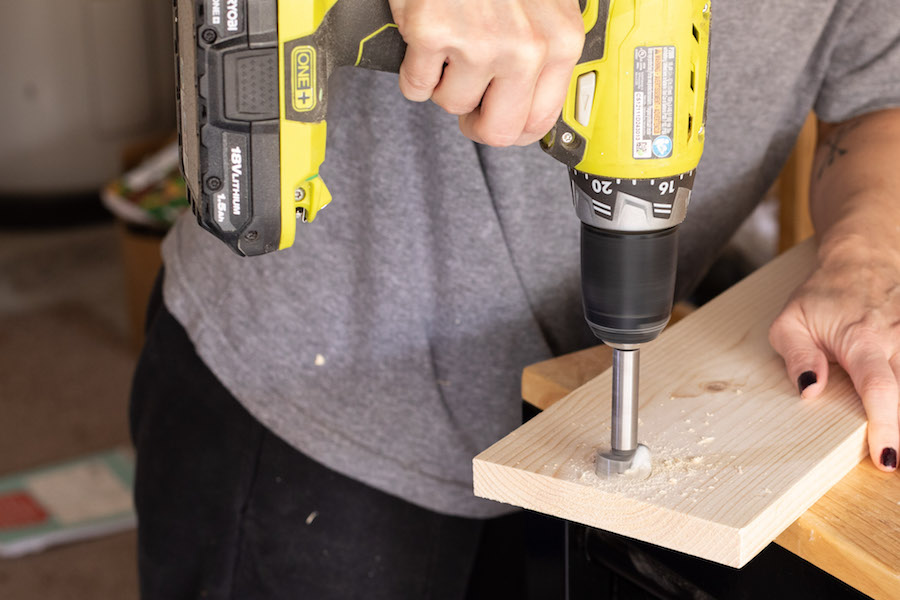
Create Hole for the Handle
Drill a hole with your 1” Forstner bit at the top of each of your two side pieces (18” long 1x6 boards), centered and spaced approximately ¼” from the top edge.
-
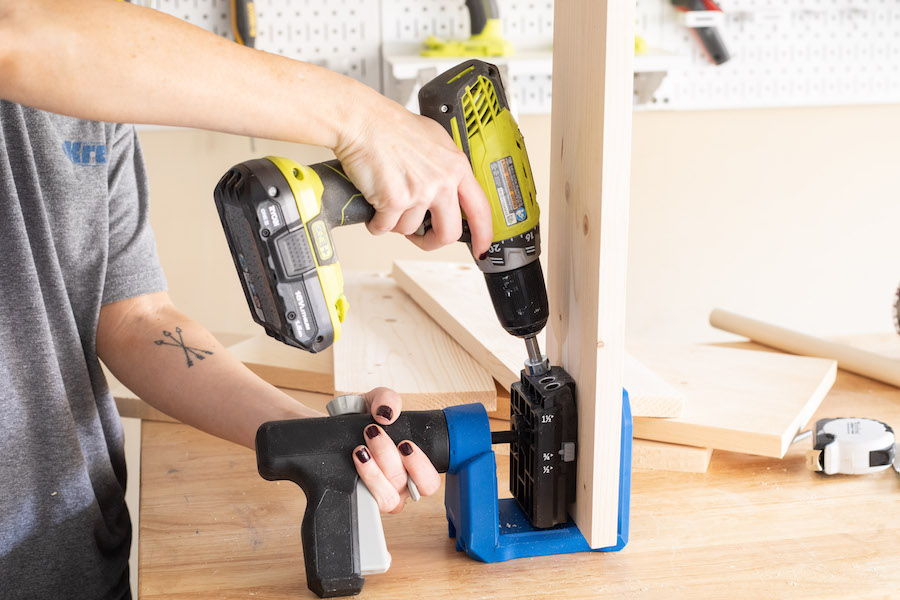
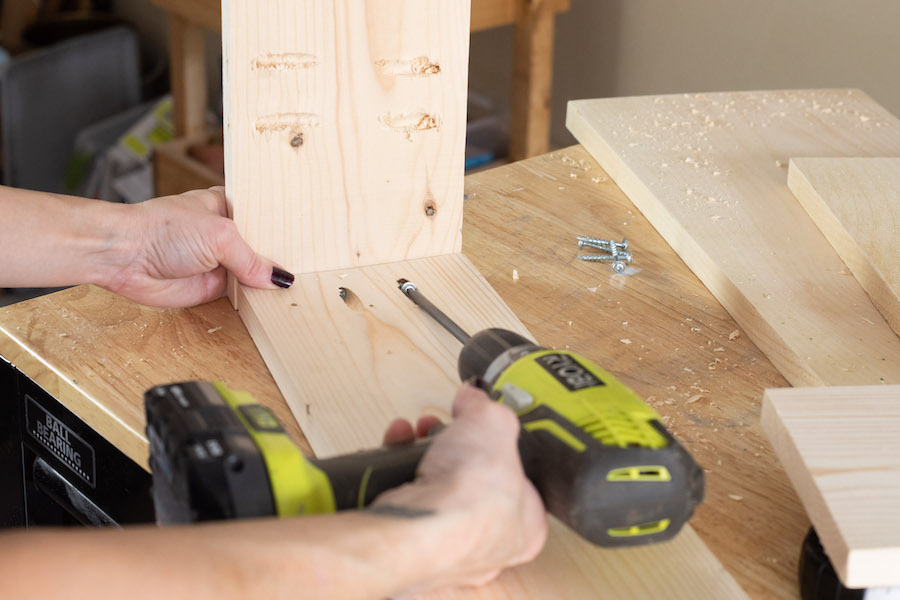
Drill Pocket Holes
Using the Kreg Jig 520PRO, drill pocket holes as follows:
2 at each end of your bottom piece (20 ½” long 1x6 board), and 3 along each side (flip over and drill these on the opposite side from the holes you’ve drilled at each end).
2 at each end of your front and back pieces (22” long 1x10 boards)
-
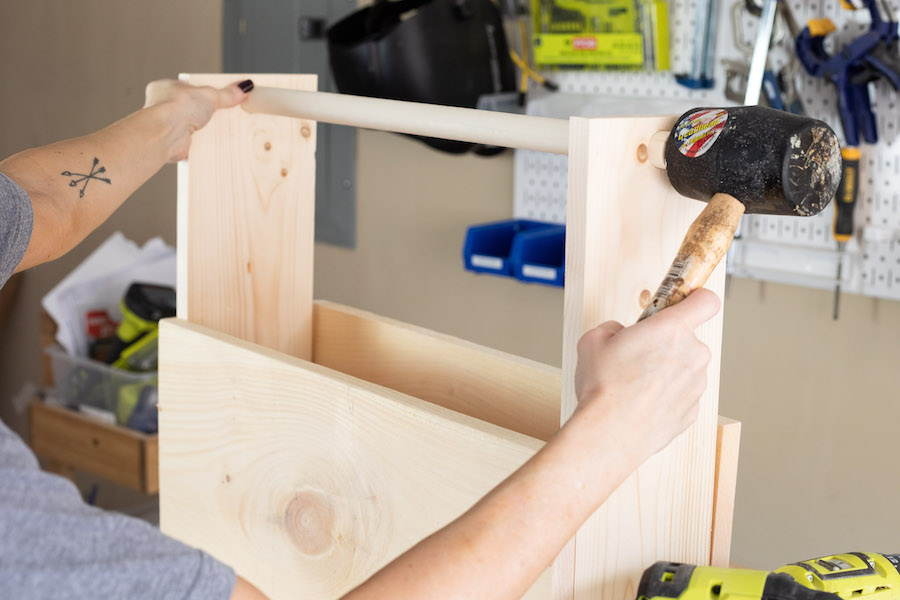
Assemble the Box
Assemble the tool caddy using 1 ¼” pocket hole screws.
Since it will be slightly narrow to attach the back 1x10 piece, you can either use a compact right angle driver or simply drill wood screws in from the front as opposed to hidden pocket hole screws.
-
Add Handle
Slide the dowel rod through the pre-drilled holes at the top of your caddy. You may need to use a hammer or mallet to assist.
-
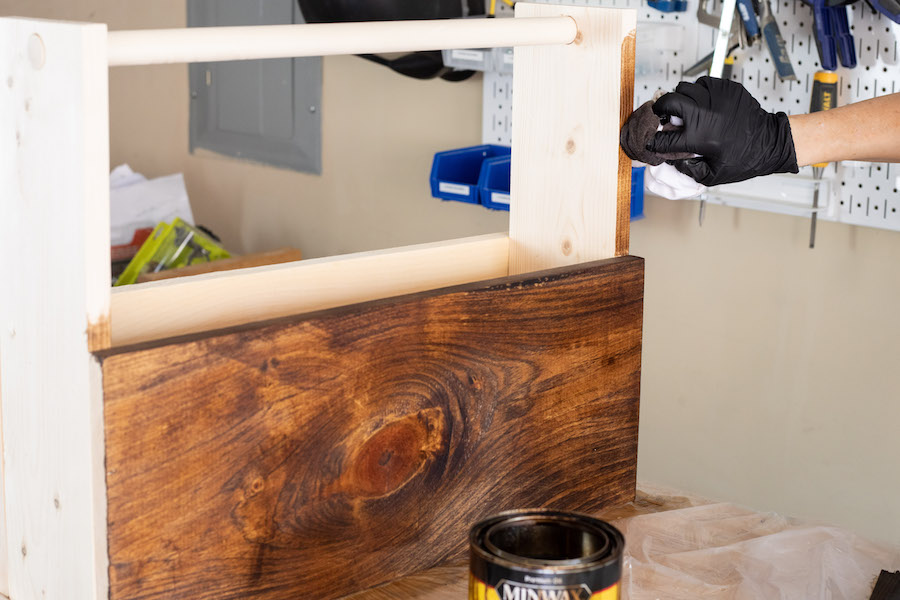
Paint or Stain
Paint or stain your tool caddy, and add a protective topcoat. I stained this one with Provincial stain and added a Spar Urethane topcoat for protection since this caddy will likely see a lot of wear and tear.