DIY Tall Bar Cabinet
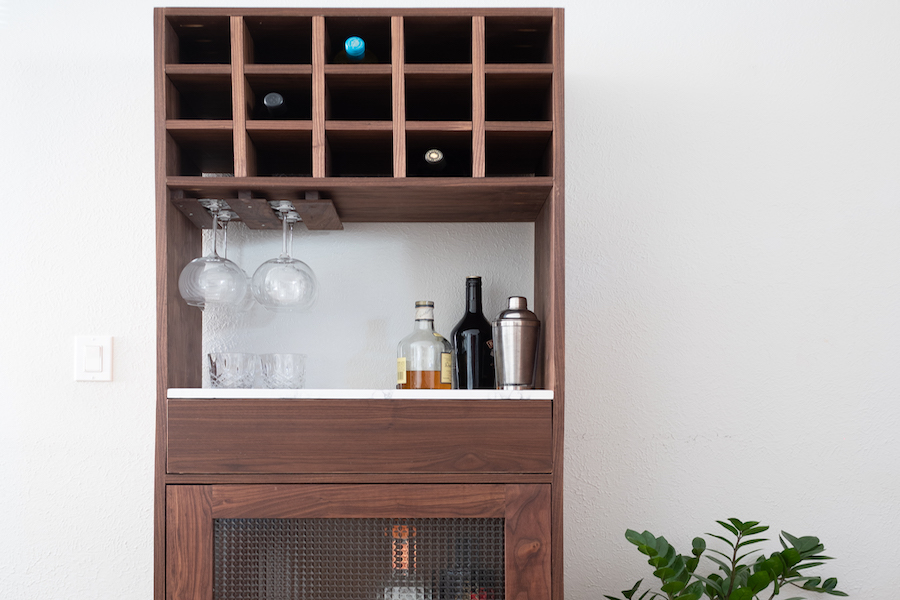
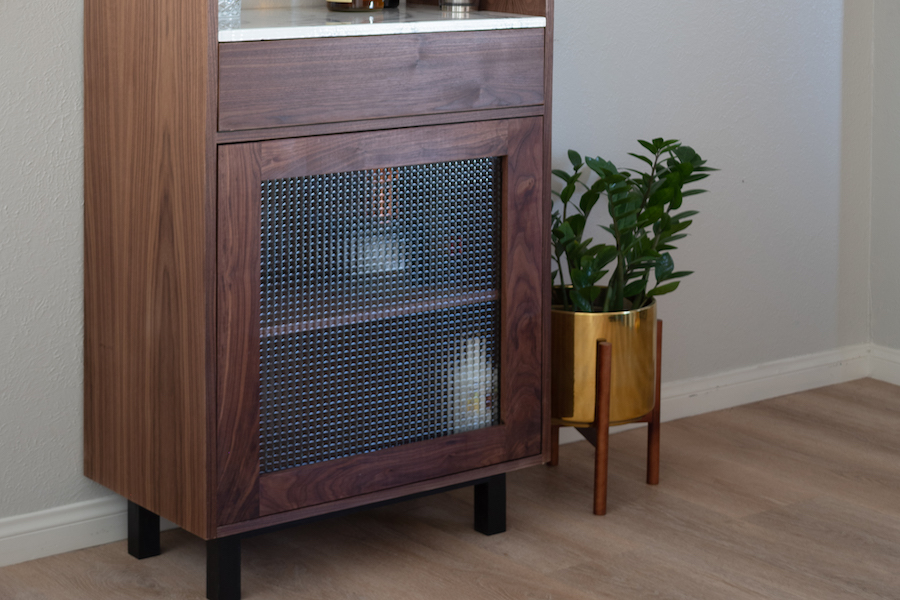
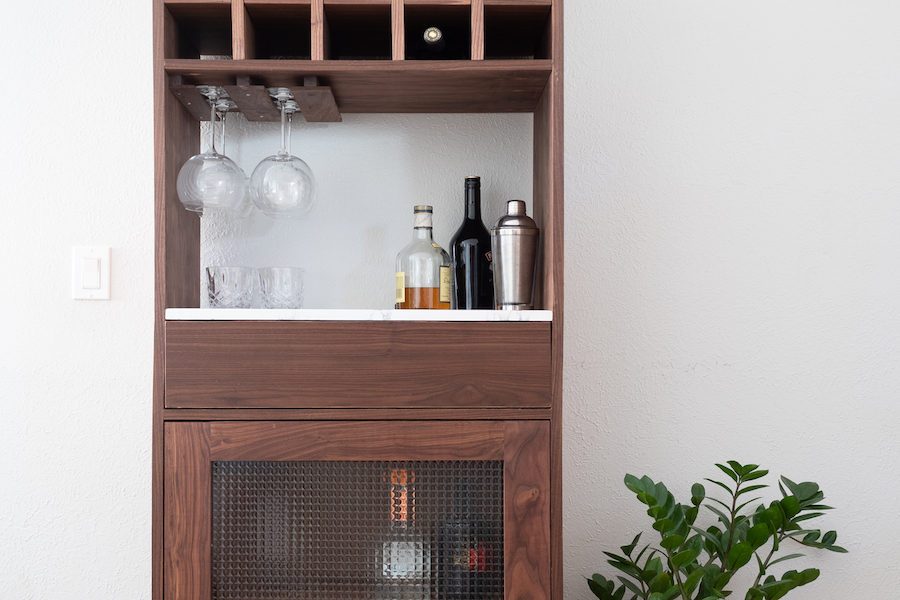
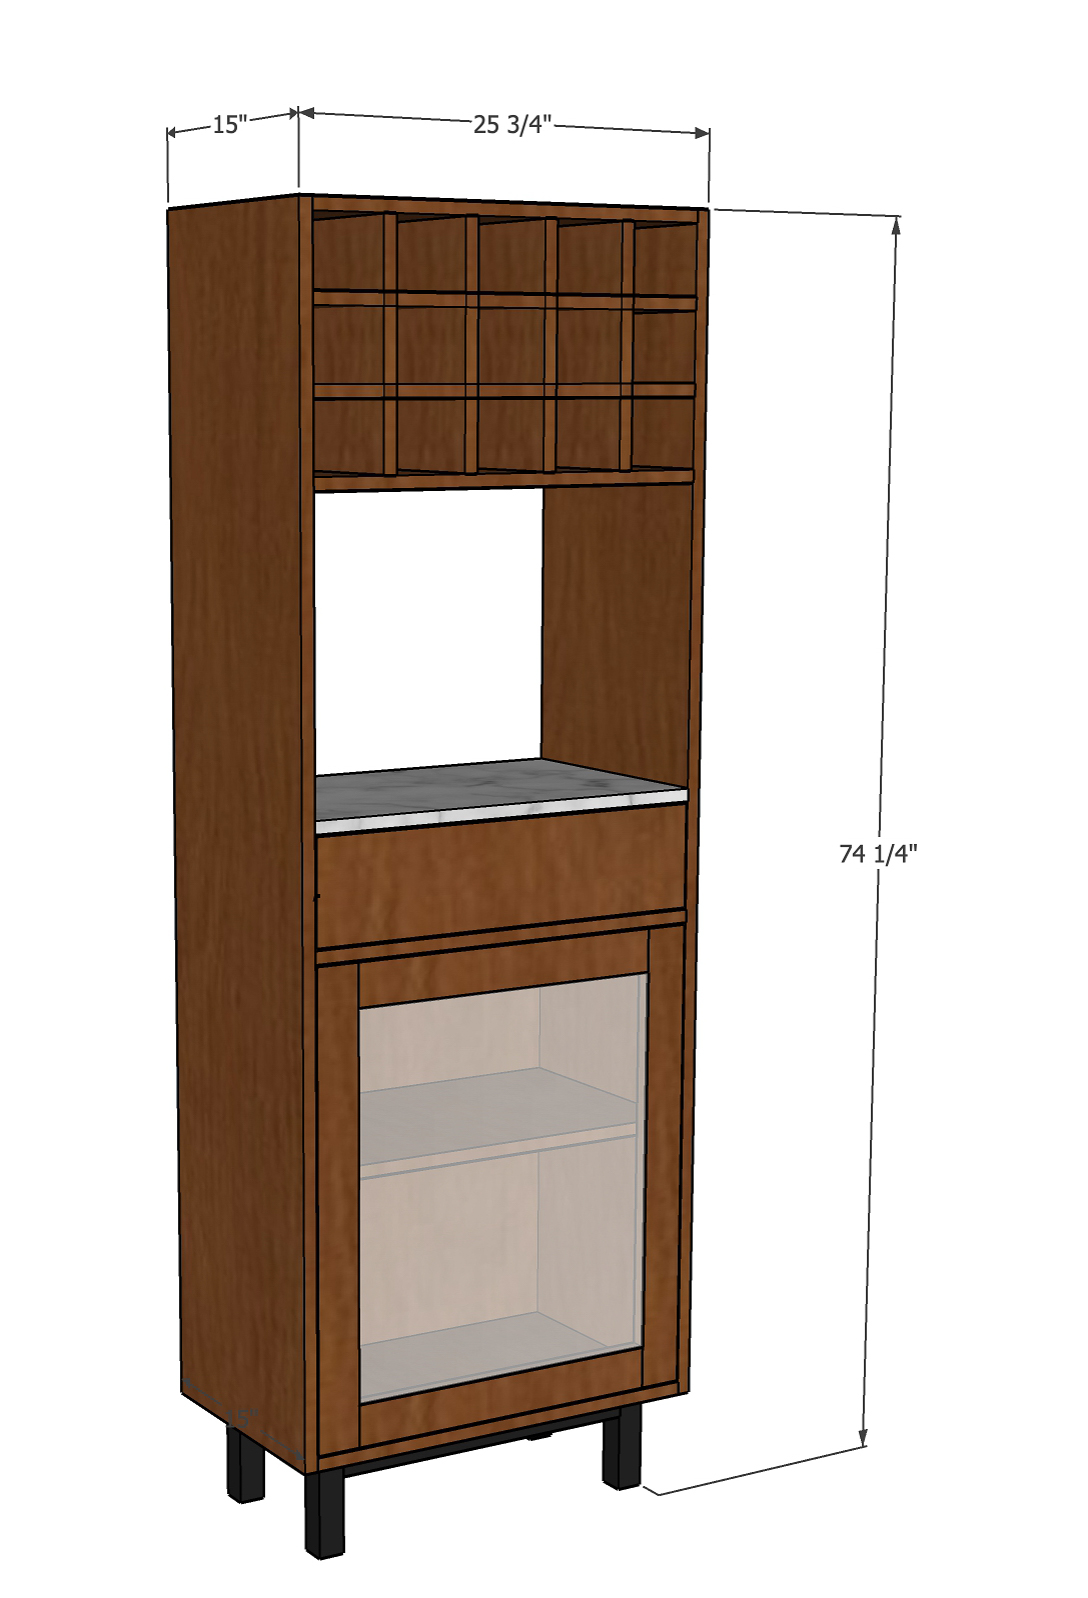
By Anika's DIY LifeBuild a custom bar cabinet with a storage cabinet, drawer, wine rack, and wine glass holder. The tall narrow design makes it ideal for small homes and spaces.
Directions
-
Prepare the boards
Make the cuts per the cut list.
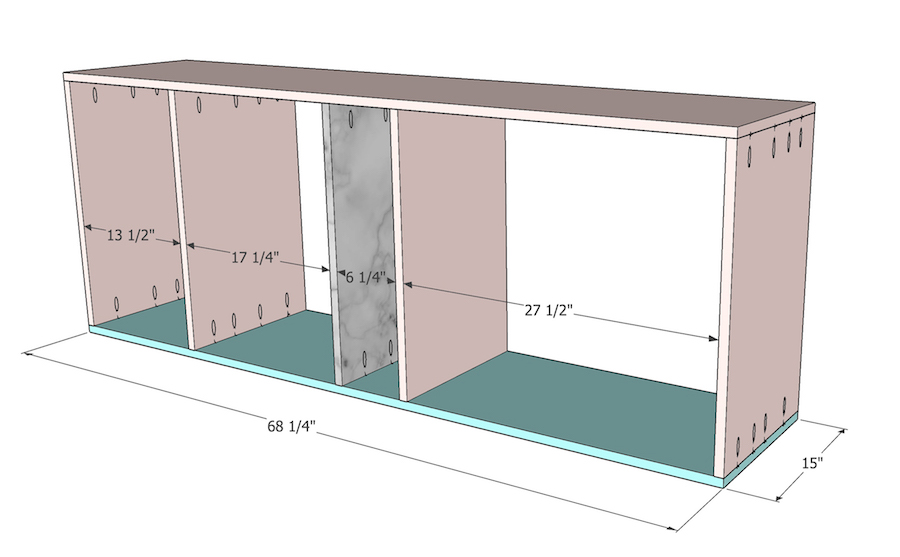
Review the plans and make pocket holes where needed. Pocket holes in plywood are made with ¾” setting on the pocket hole jig and drill bit collar.
Apply edge banding to all the edges that will be visible.
Tip:
I wanted the middle shelf to be wipeable and look like “marble” so I used epoxy to create the marbling effect. This is optional.
-
Attach the shelves
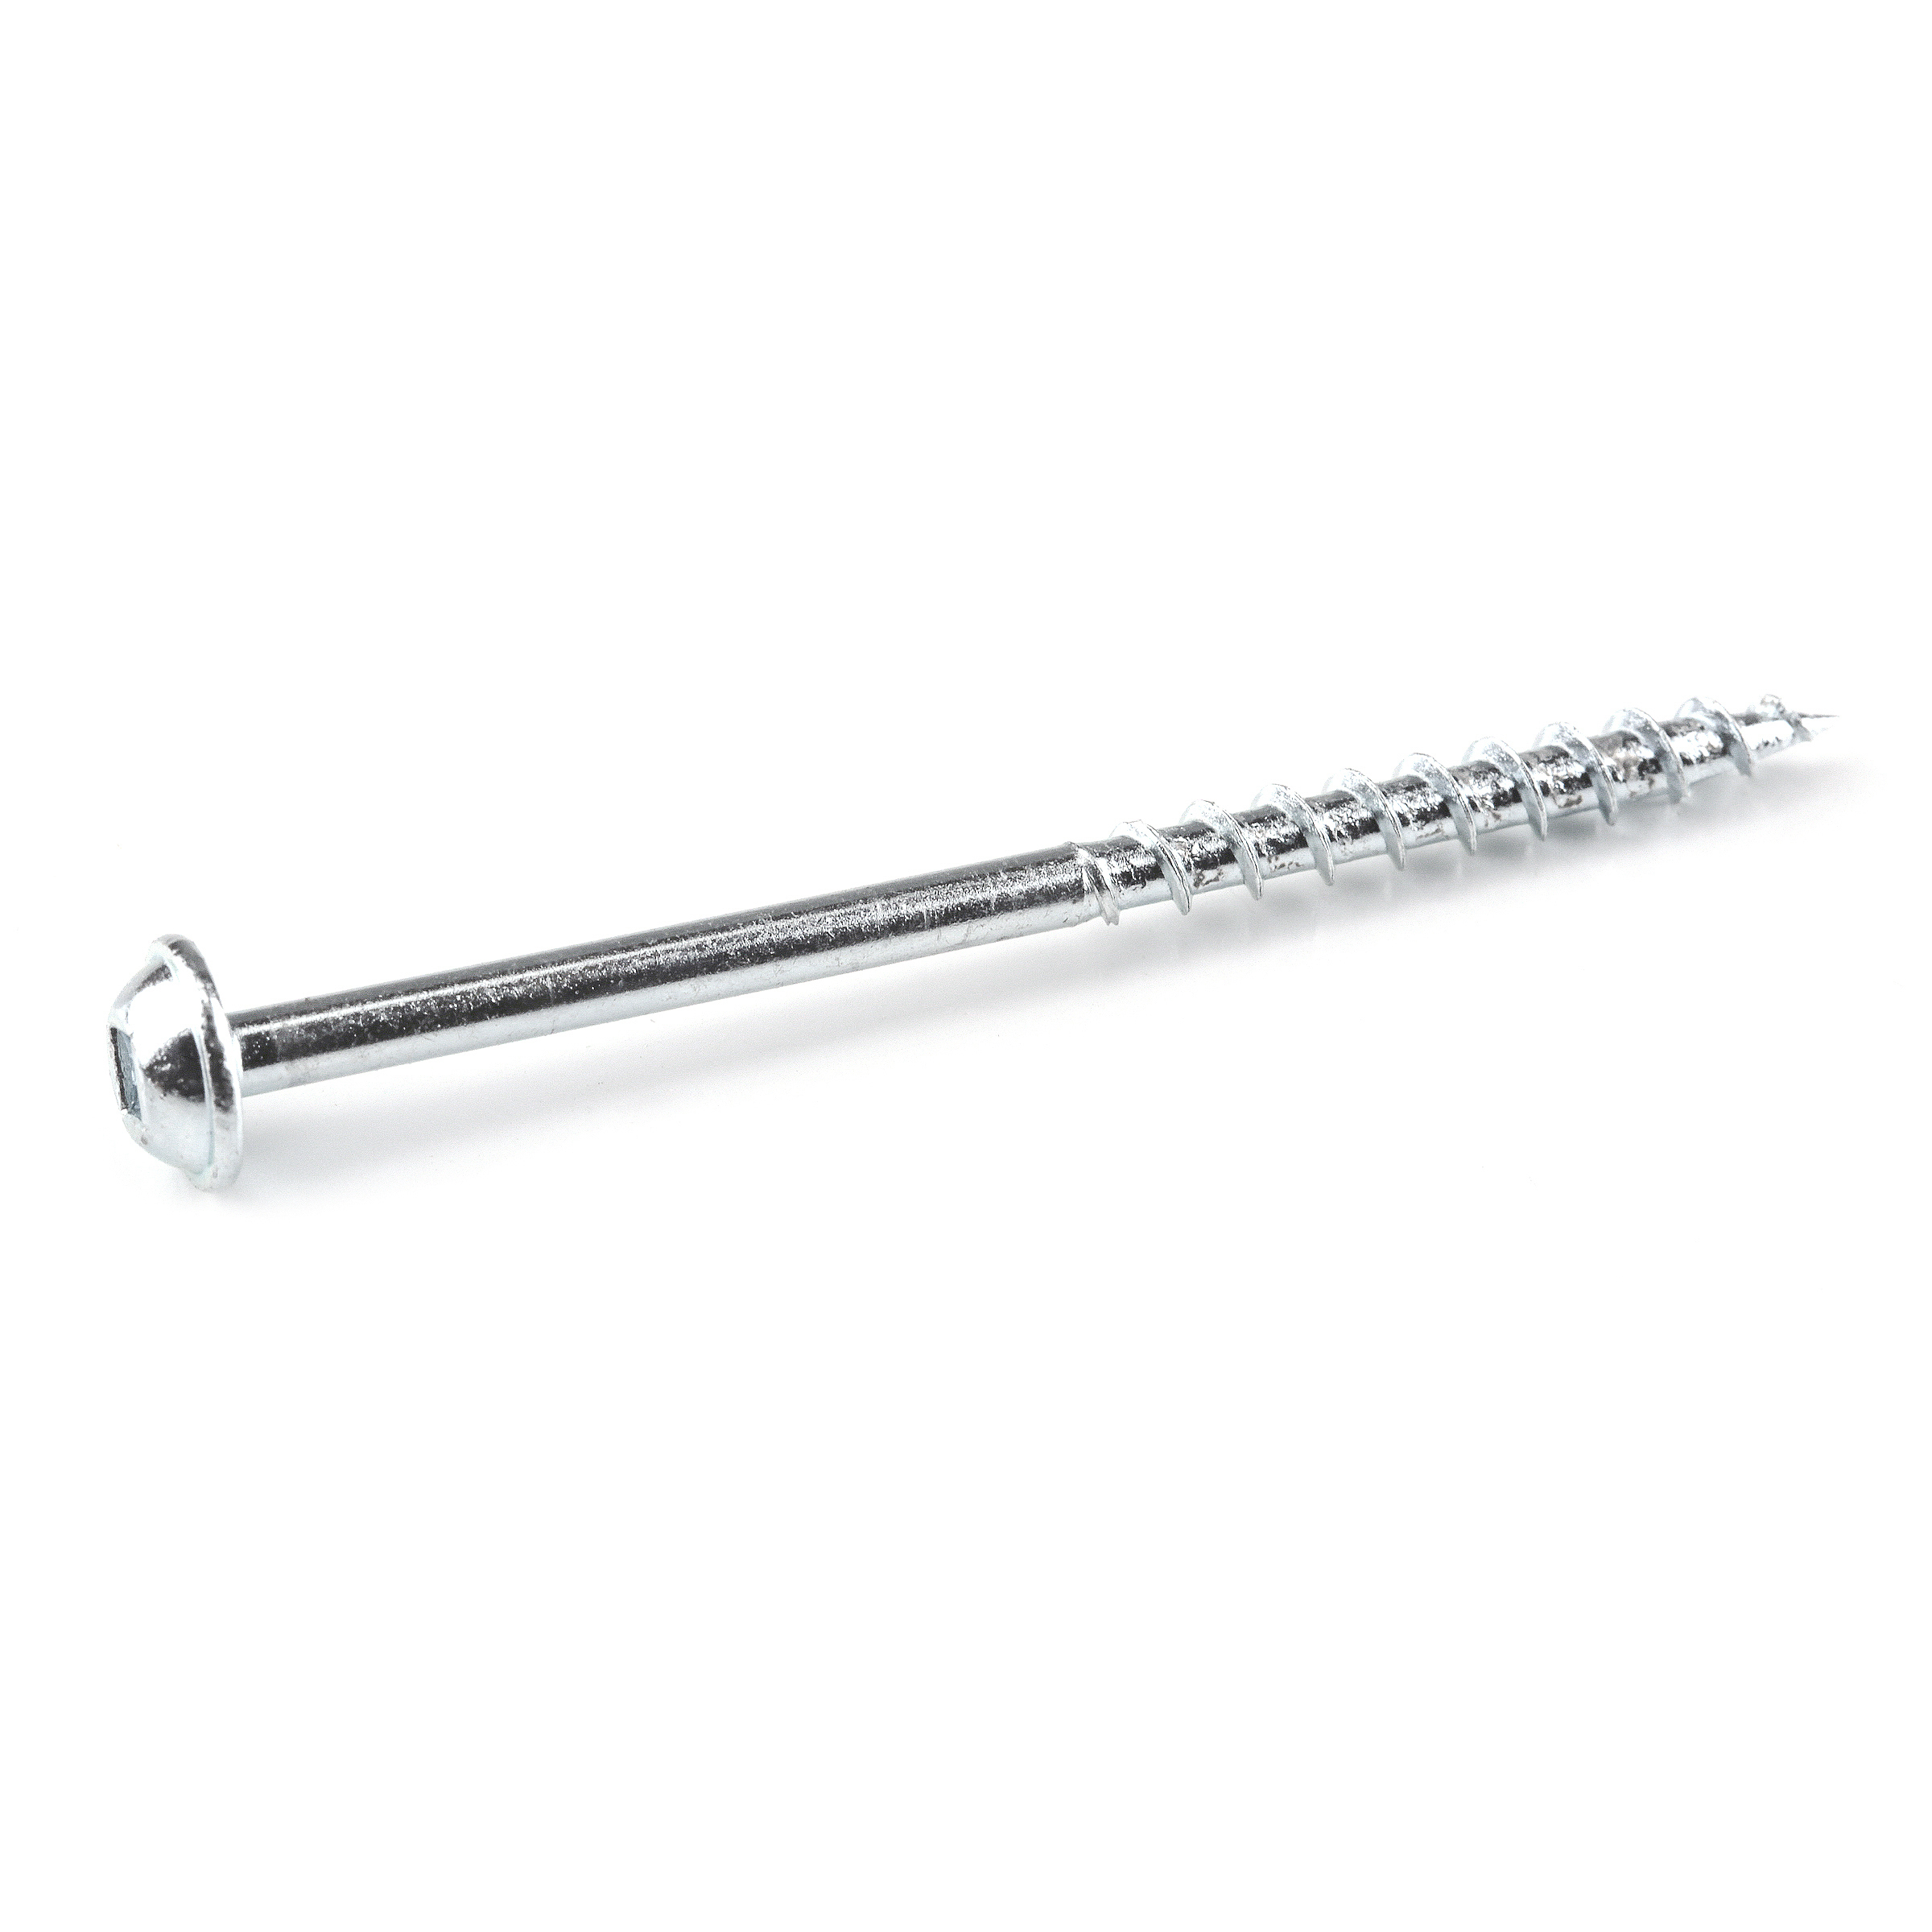
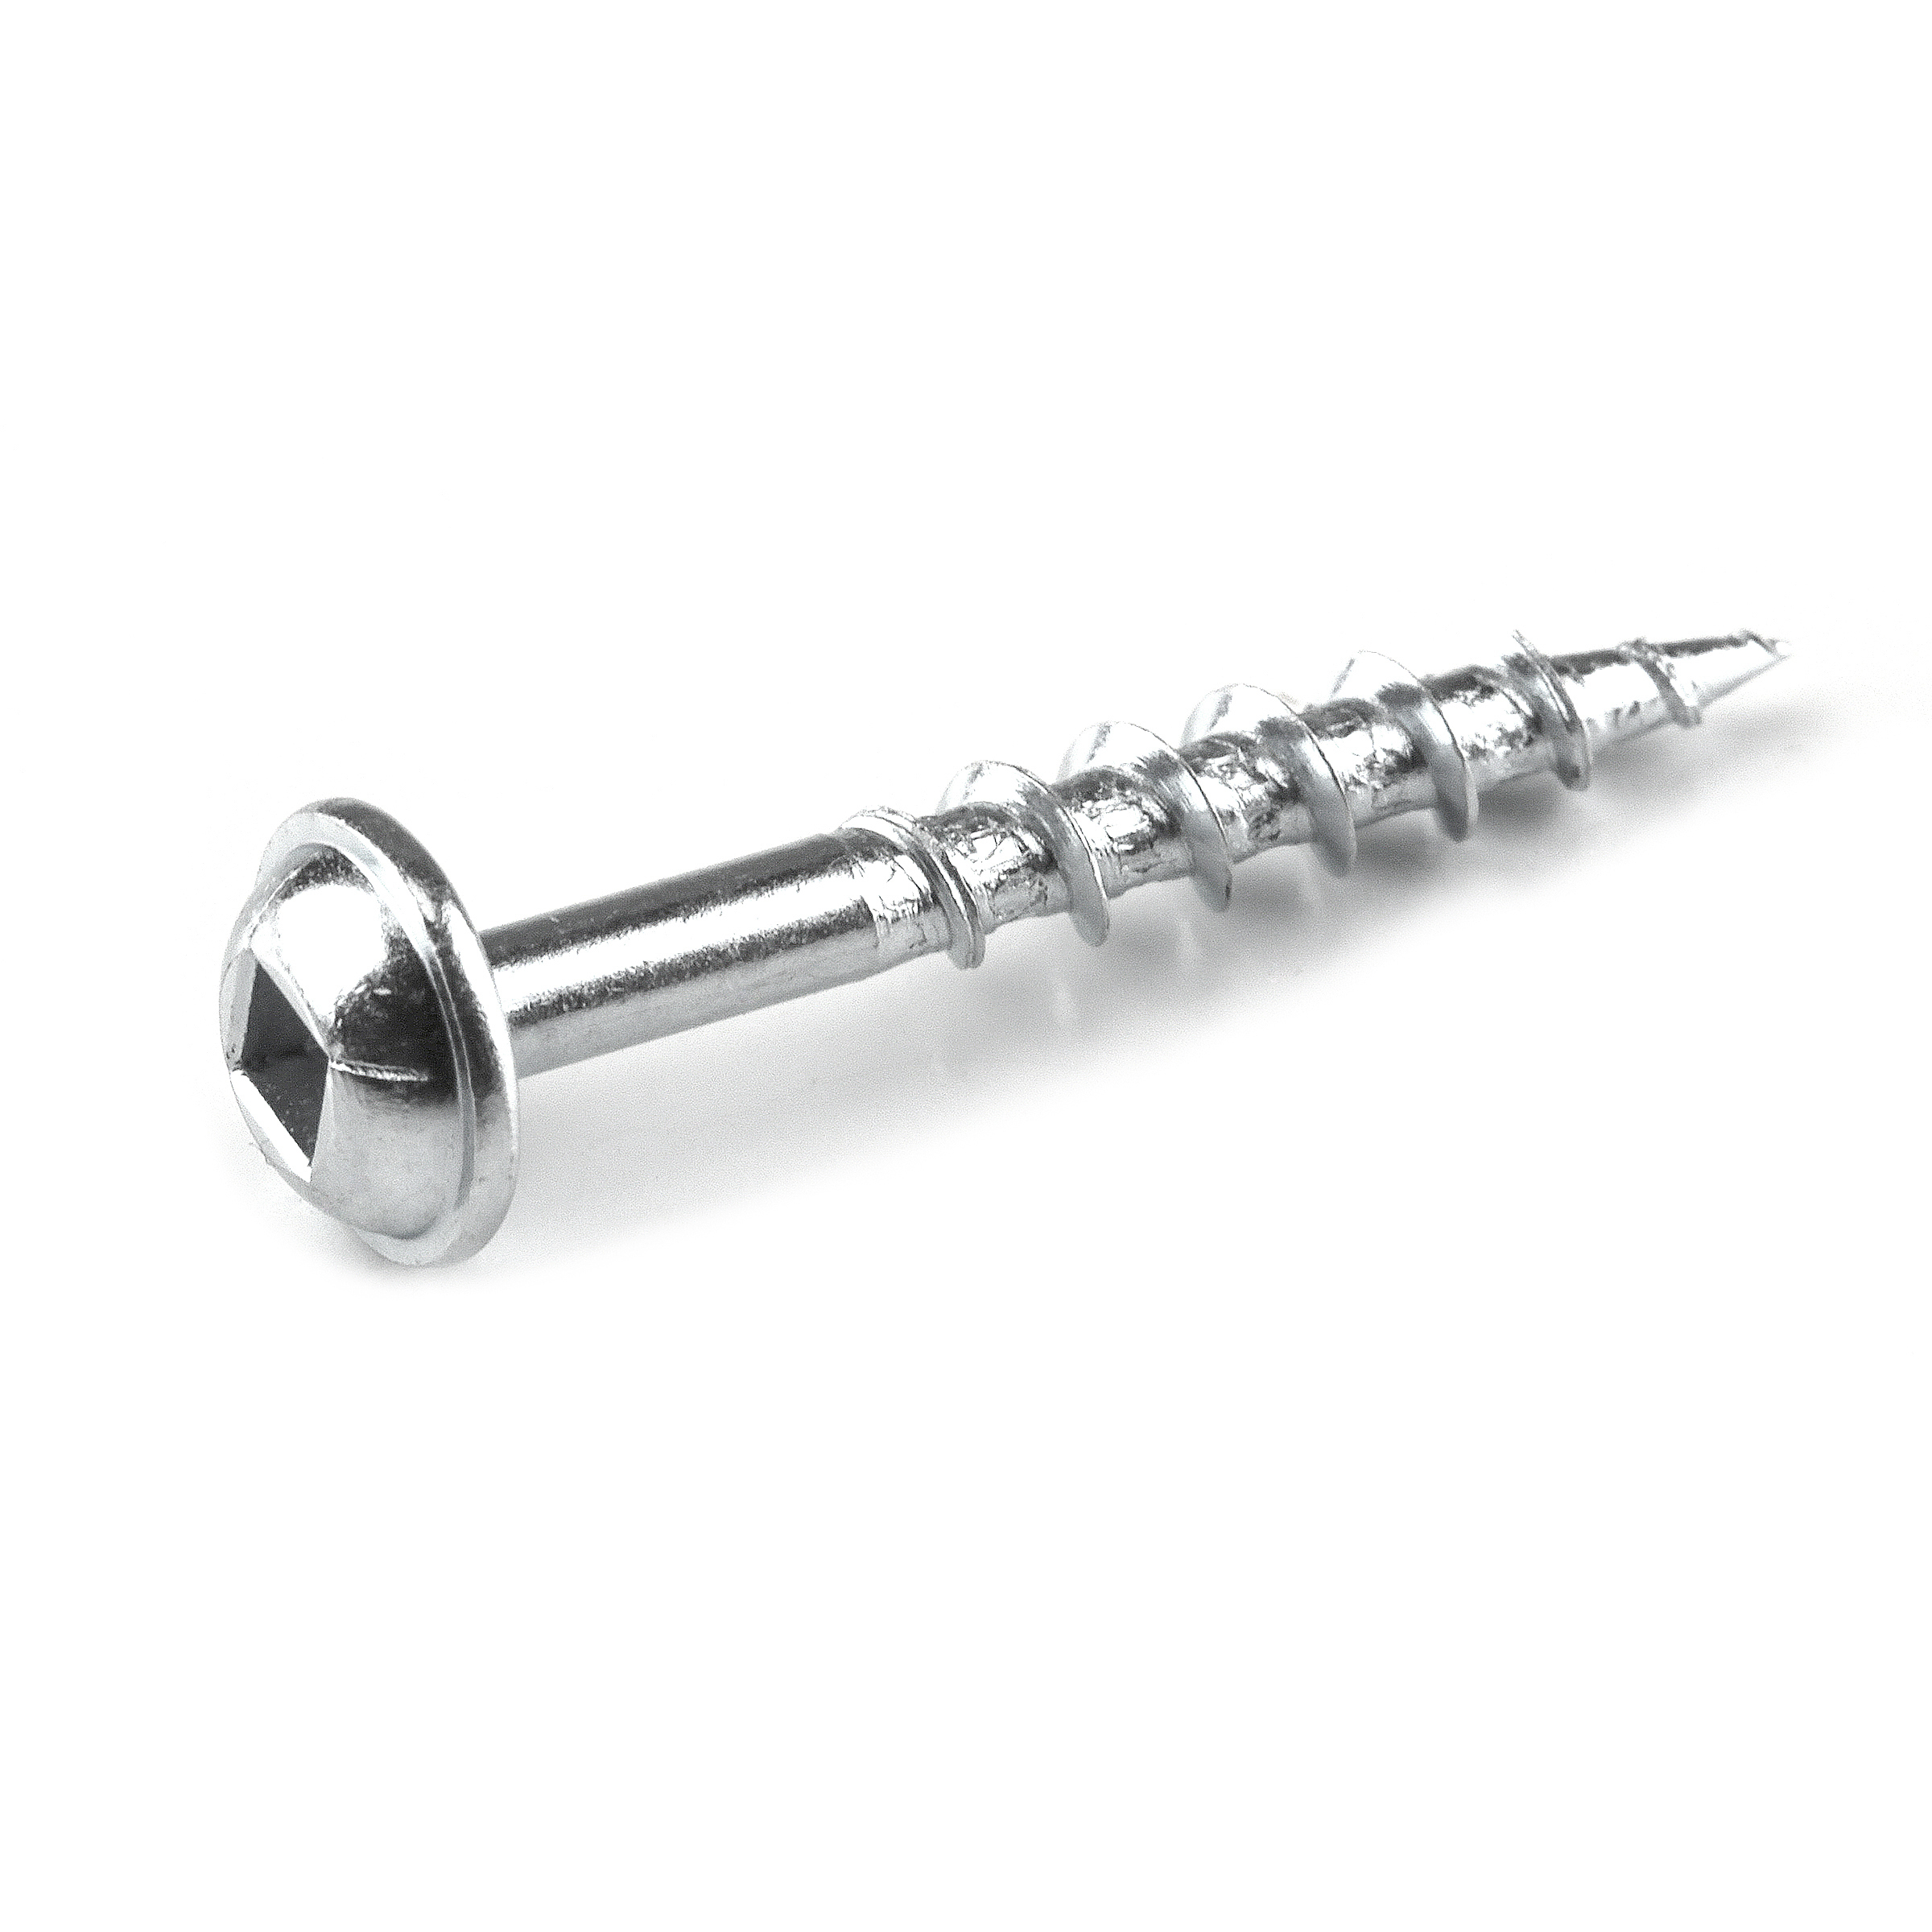
Attach the shelves to the first side using 1¼” pocket hole screws. The pocket holes face various directions to ensure that they are hidden.
Attach the other side using wood glue and 1 ¼” pocket hole screws.
-
Build and install the drawer
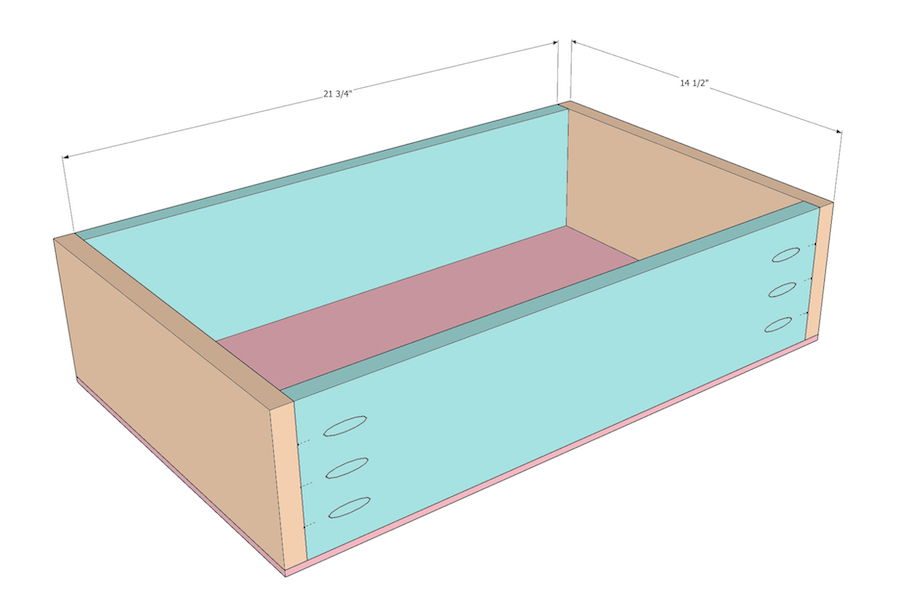
Build the drawer box as shown.
The drawer box can be built in two ways - either with the bottom sitting in a dado groove or on the outside.
Install the drawer slides and ensure it works.
Install the drawer front.
-
Build the wine rack
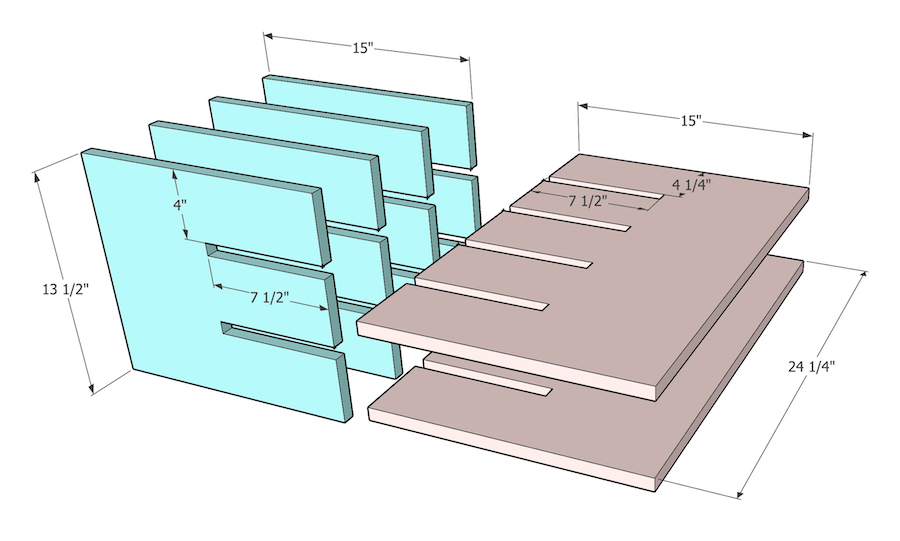
The wine rack is made up of 6 boards. Each board is cut as shown in the diagram using a jigsaw. It is recommended to use a straight-edge guide to make the cuts as accurate as possible.
-
Build the door
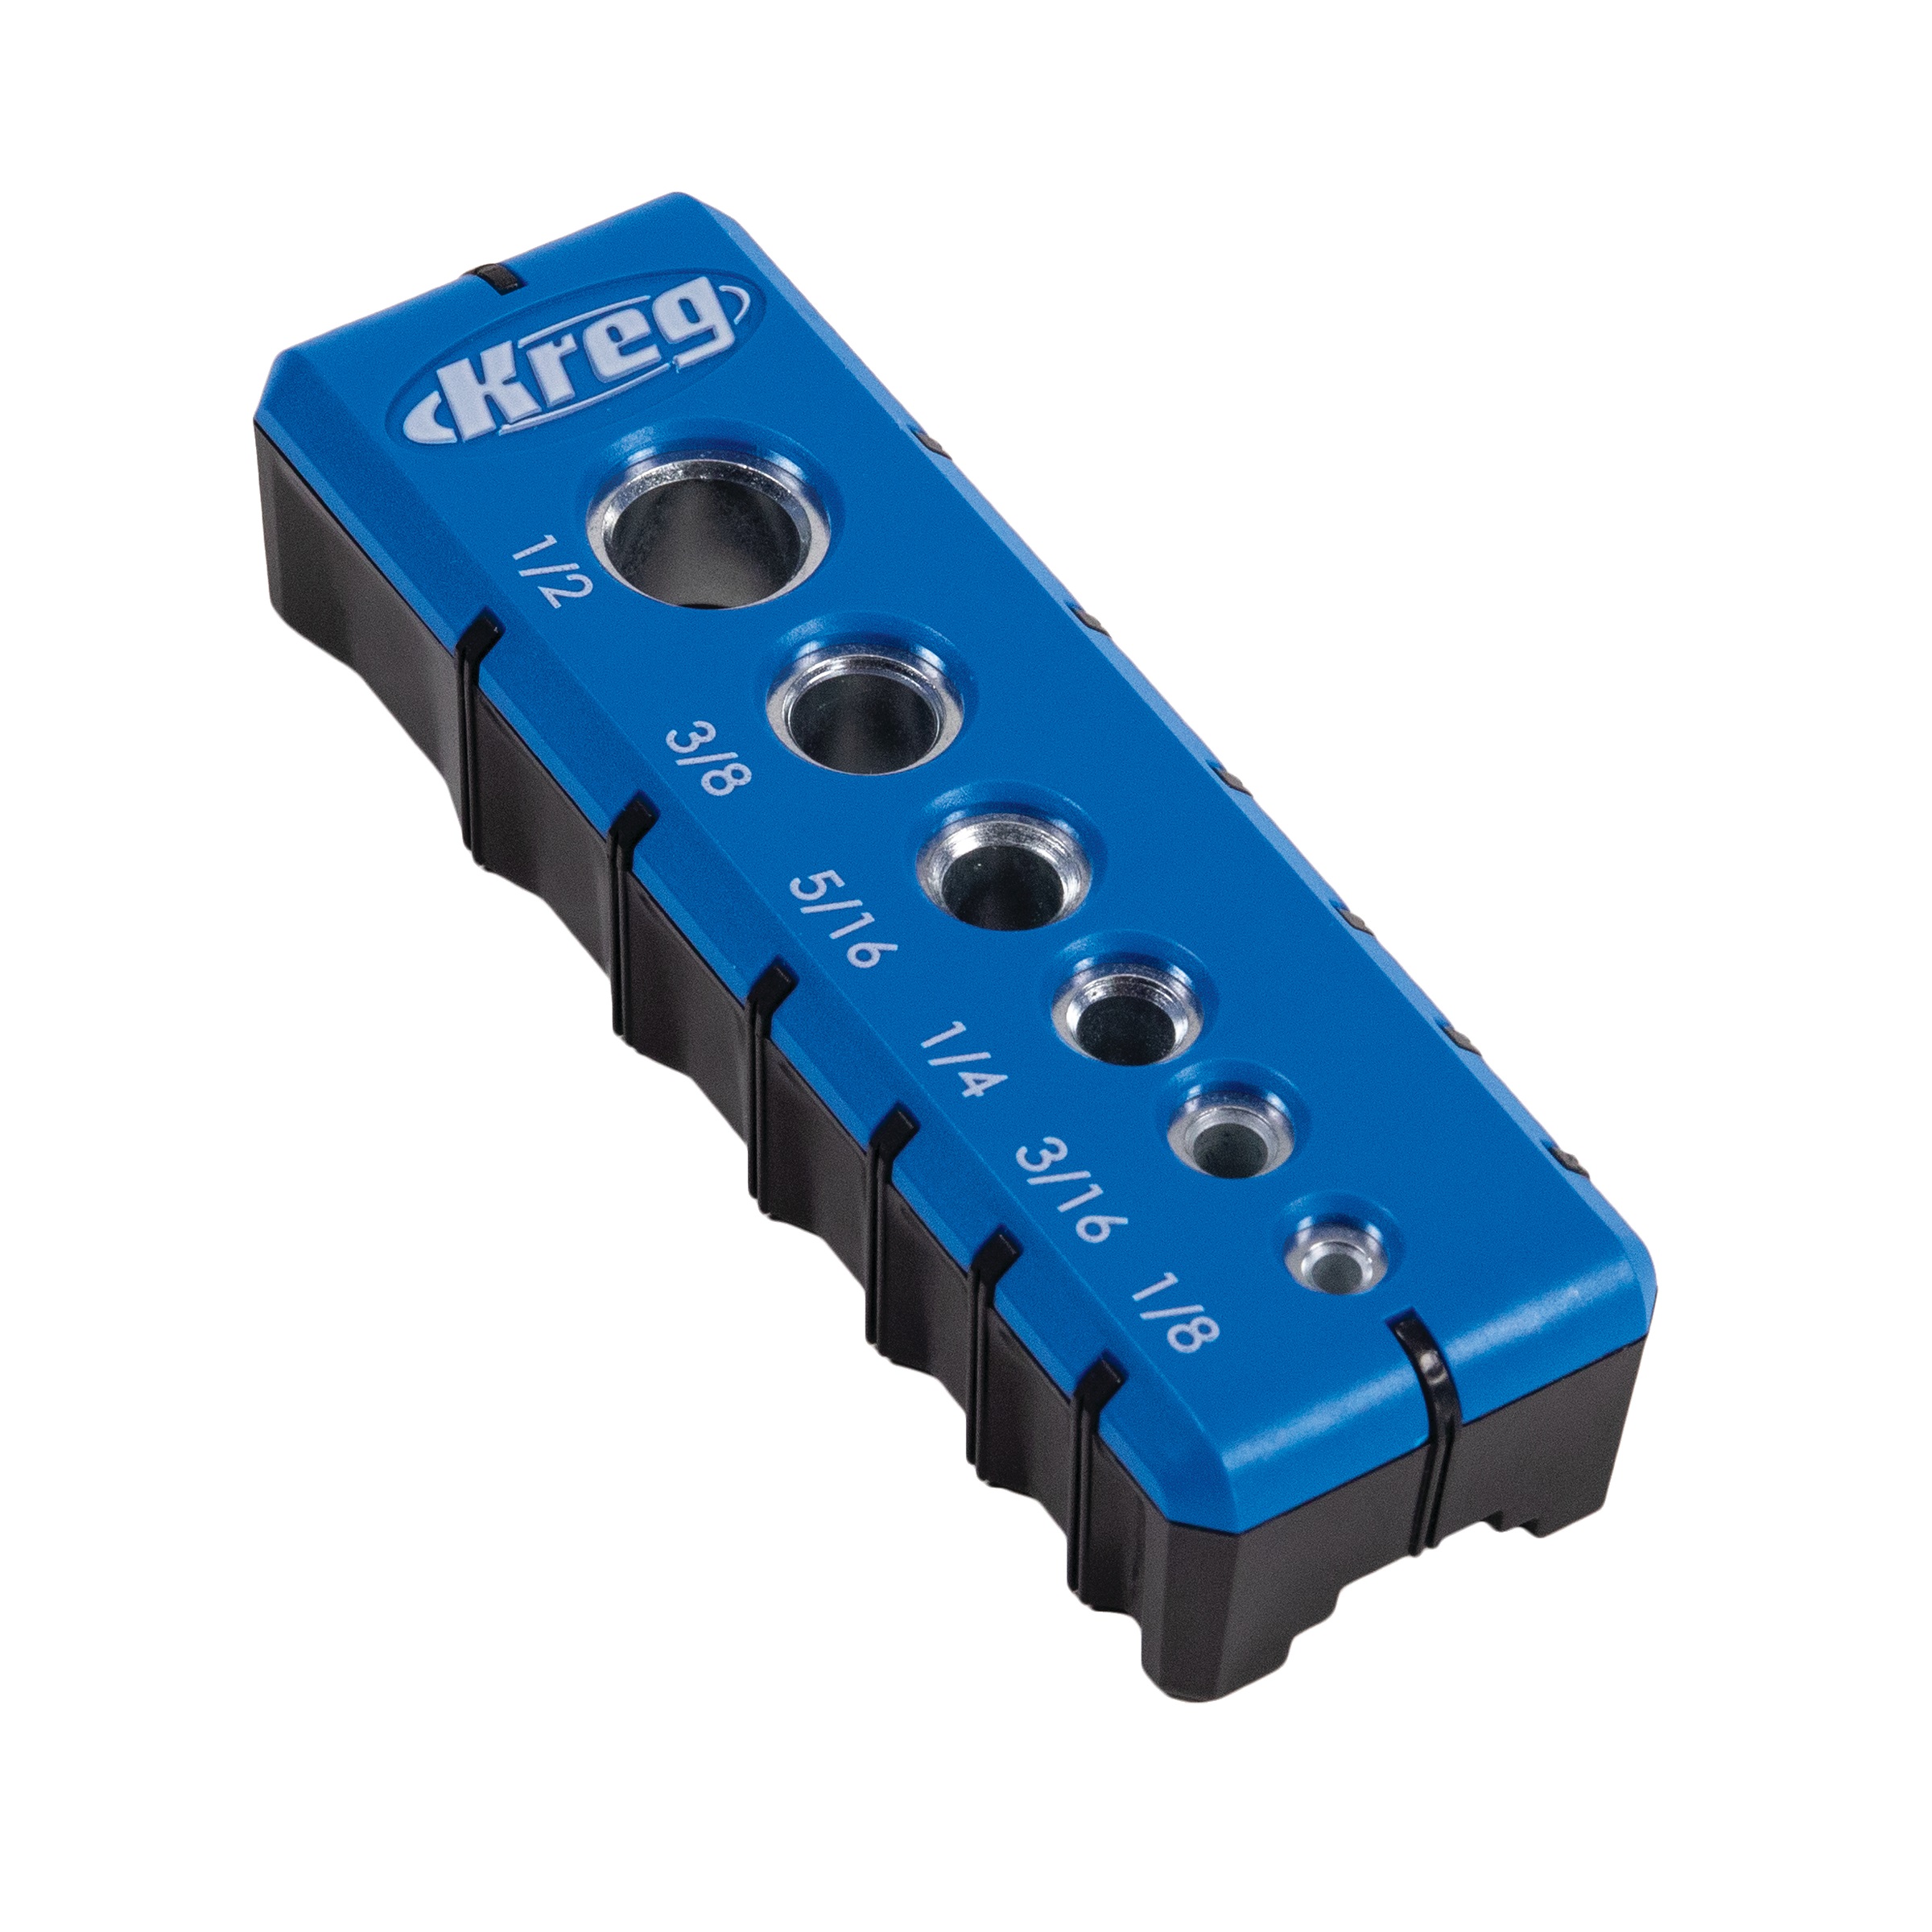
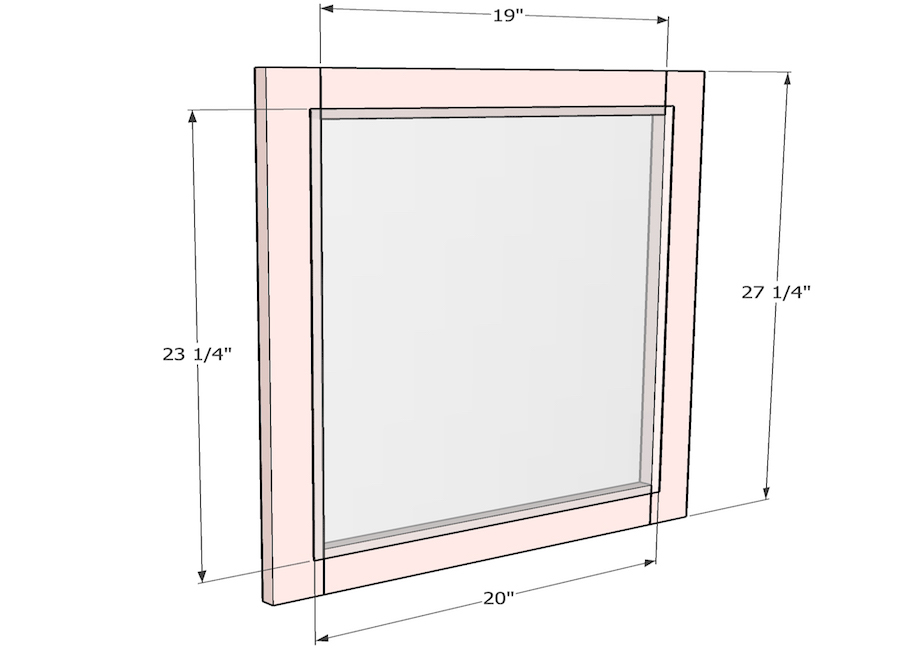
The door is built using 1x3 boards. The joints can be made using pocket holes or dowels for concealed joints. The Kreg drill guide is a great option to use to make dowel joints.
Route a ½” rabbet on the inside of the door for the glass/plexiglass to sit inside.
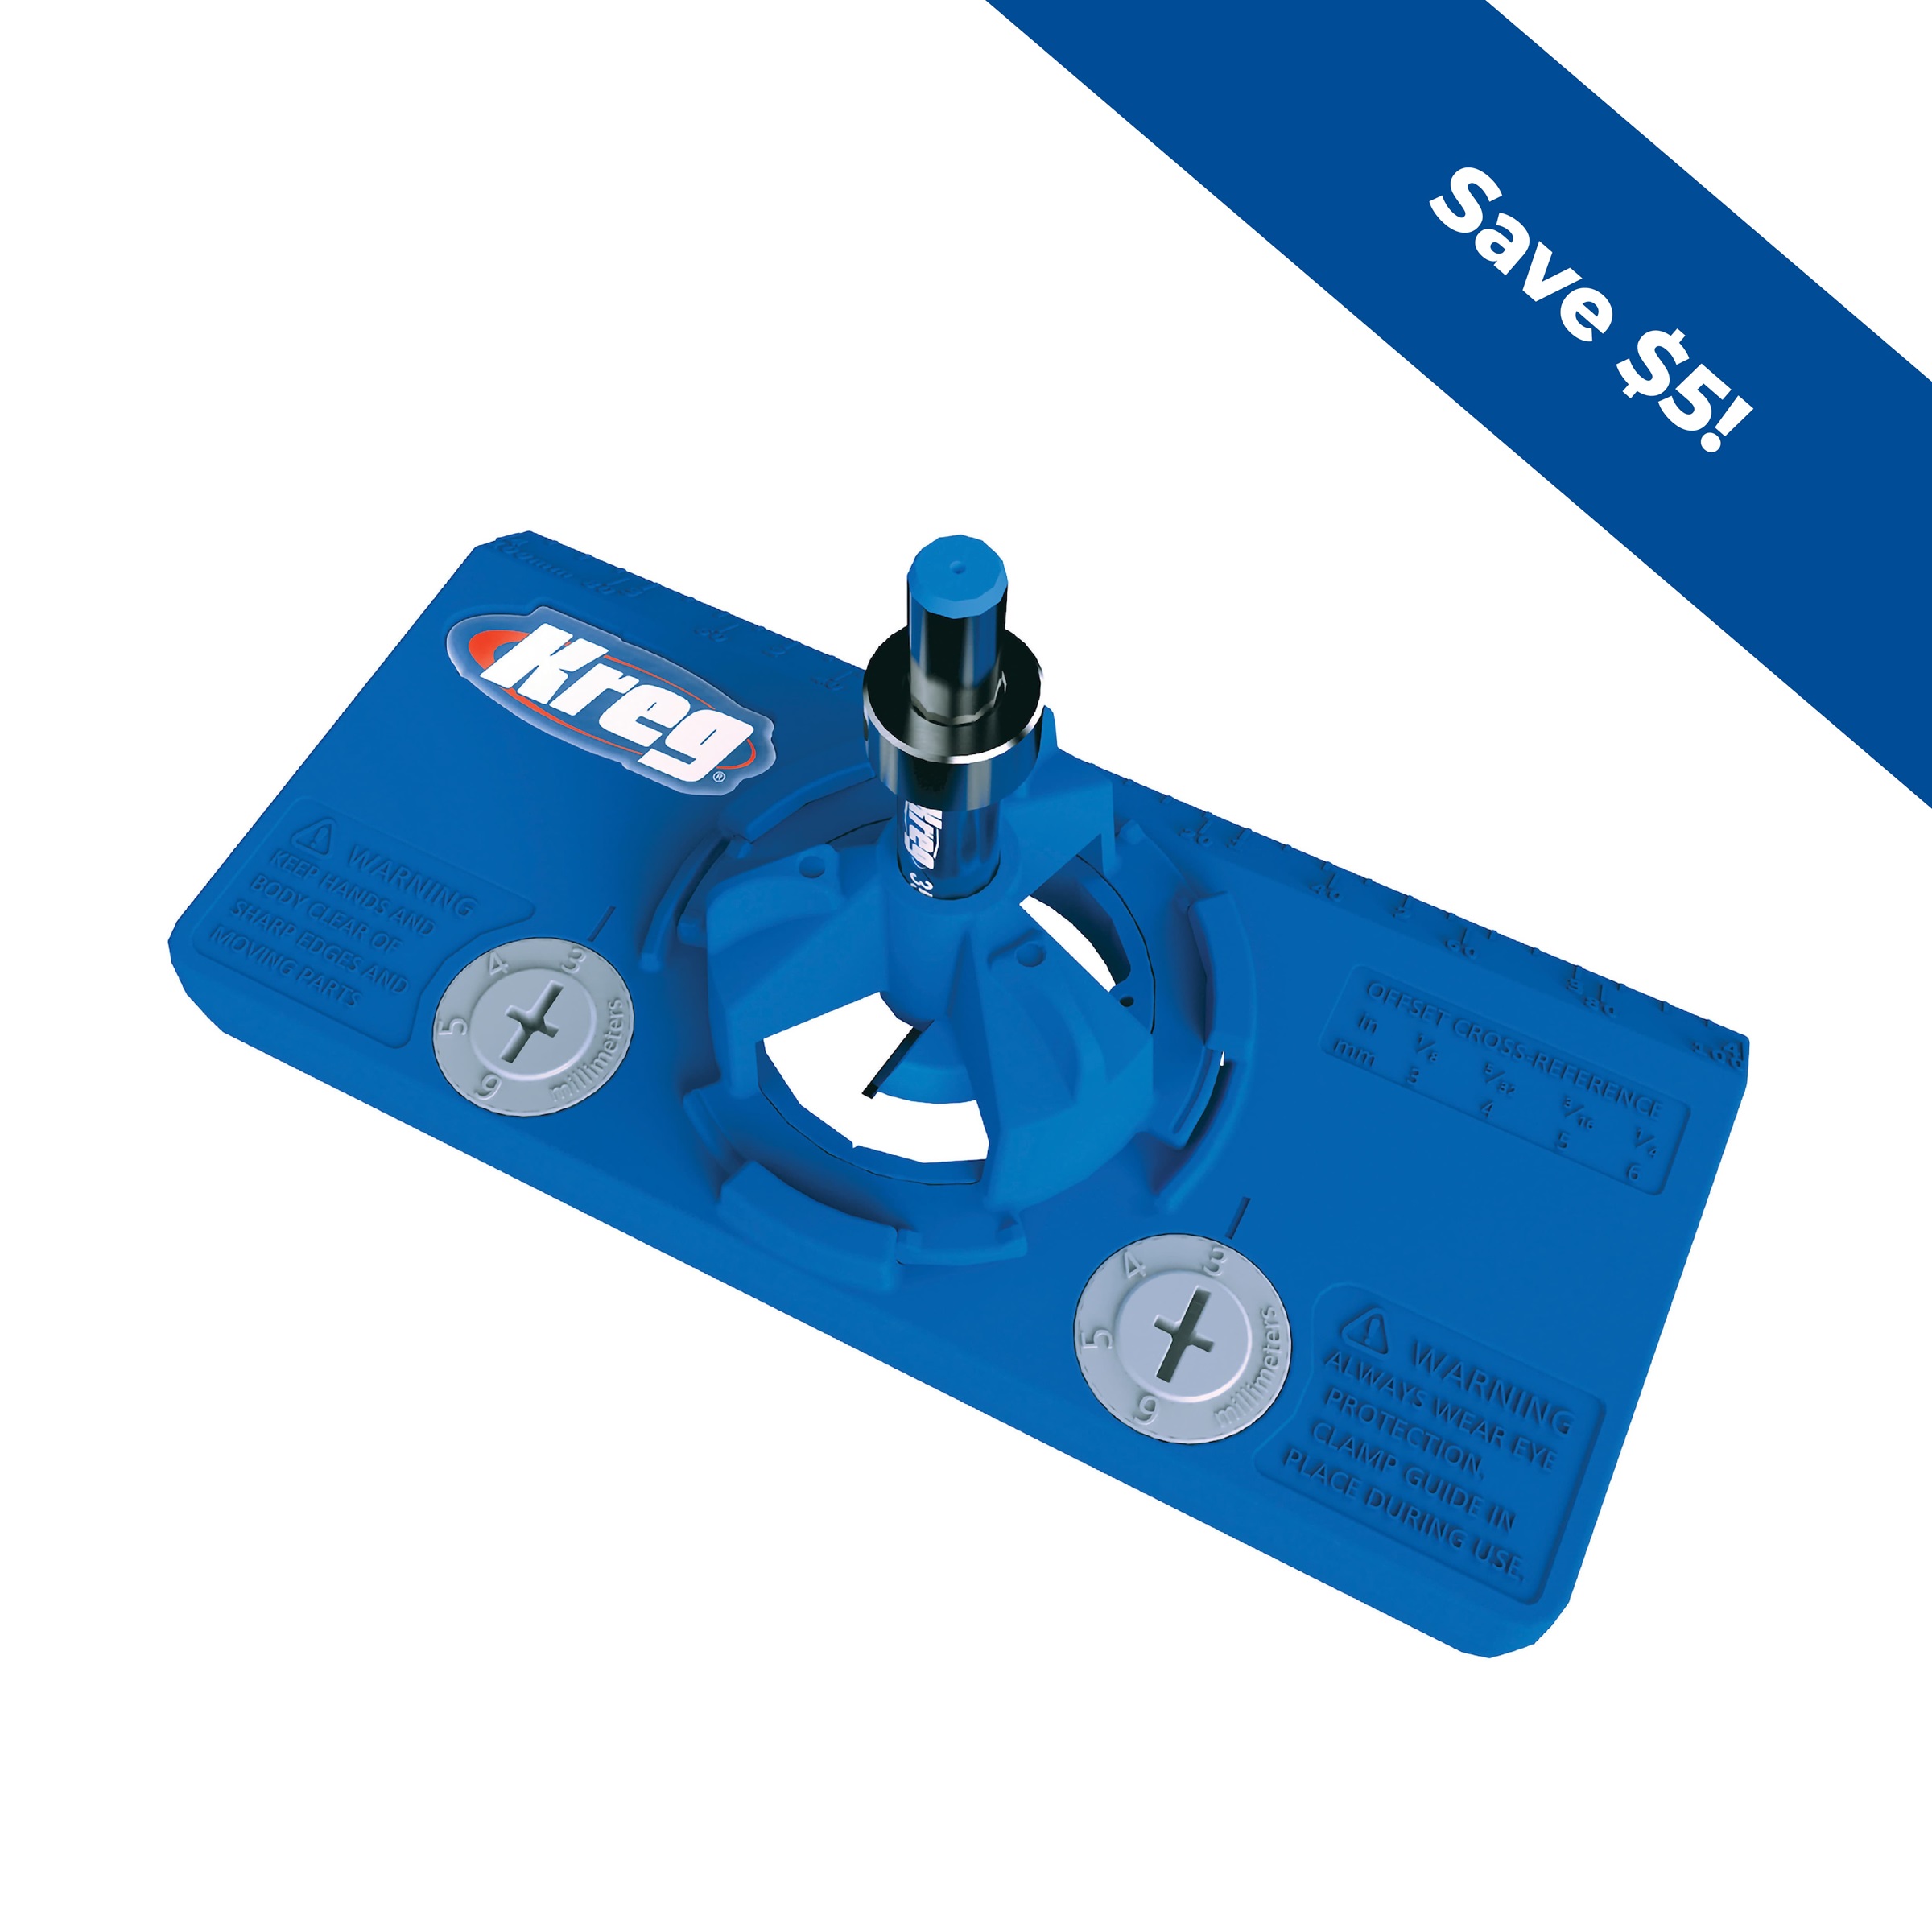
Drill hinge bores using the concealed hinge jig and install them on the cabinet.
-
Build the wine glass holders
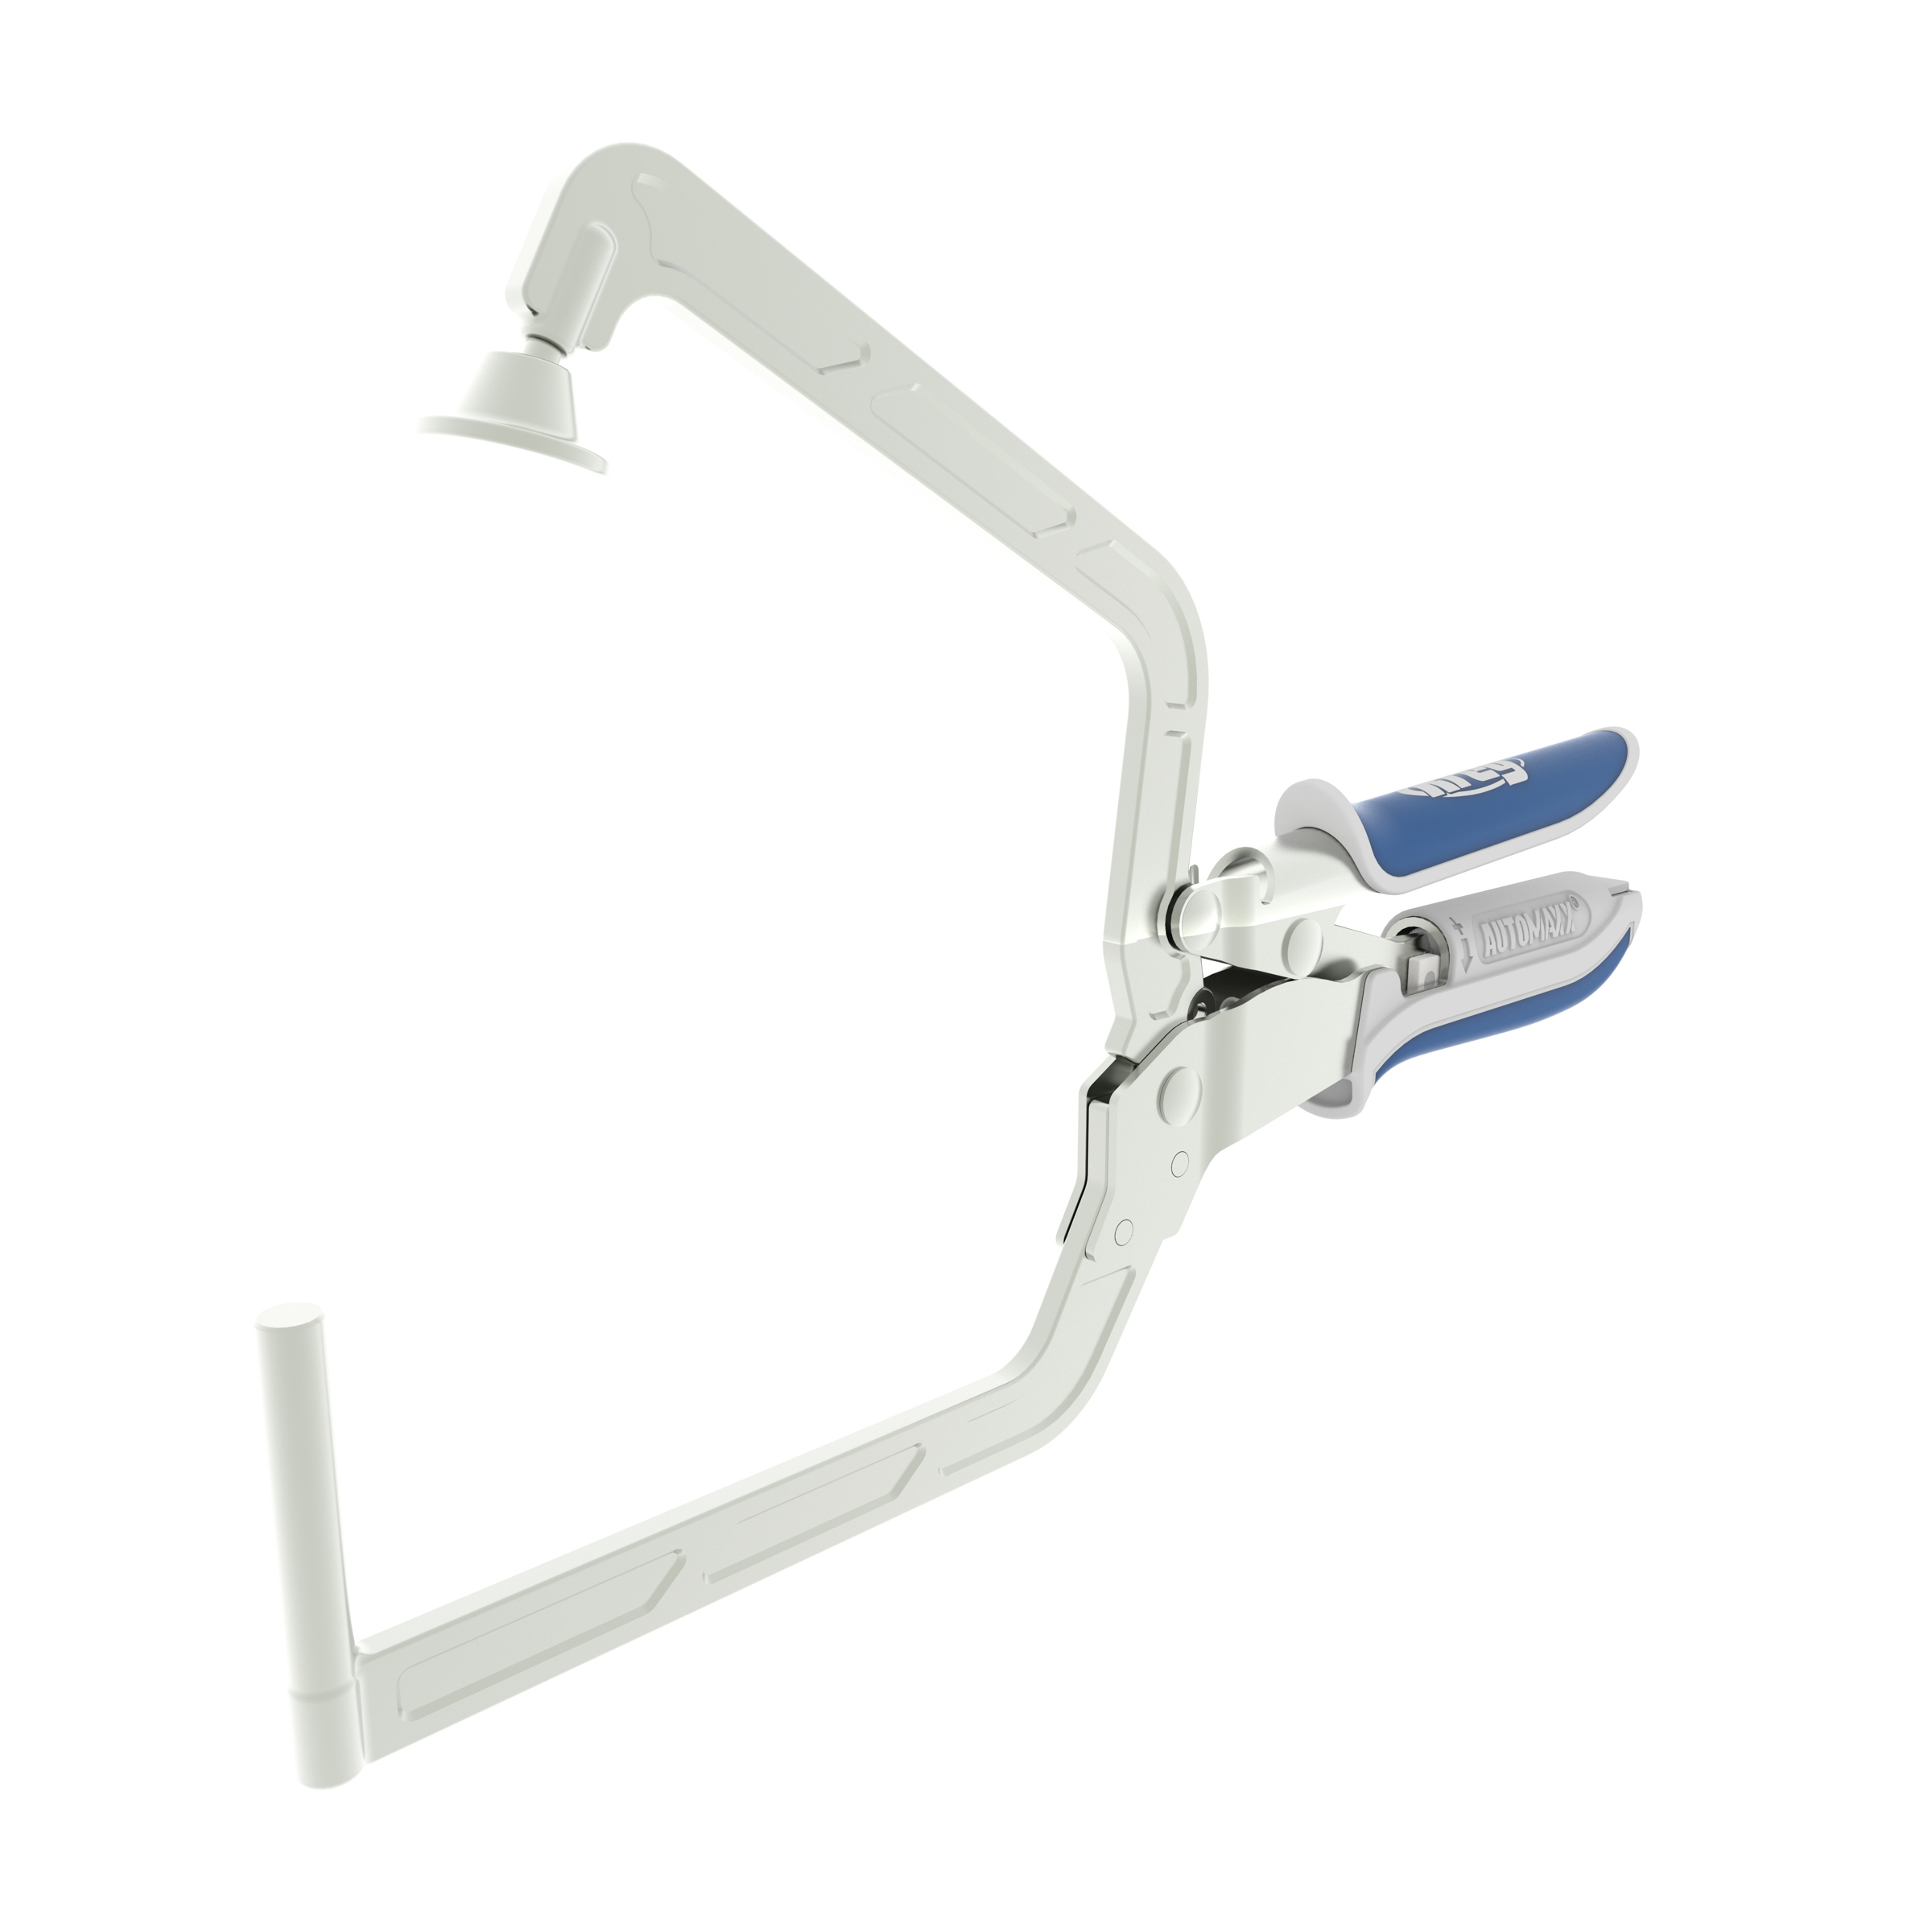
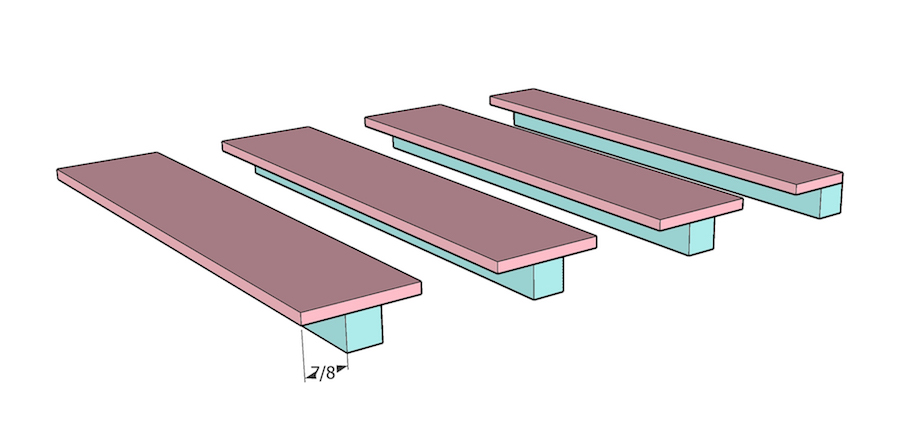
Build the wine glass holder as shown below using the ¼” boards and the ¾” square dowel. These are glued together and clamped together to dry. Finish nails can also be used to hold the pieces together while the wood glue dries.
With the entire cabinet upside down, attach the wine glass holders using countersunk 1 ½” screws.
The spacing between each square dowel is 3 ½”. This accommodates a standard wine glass but be sure to double-check your wine glass size.
-
Build the base
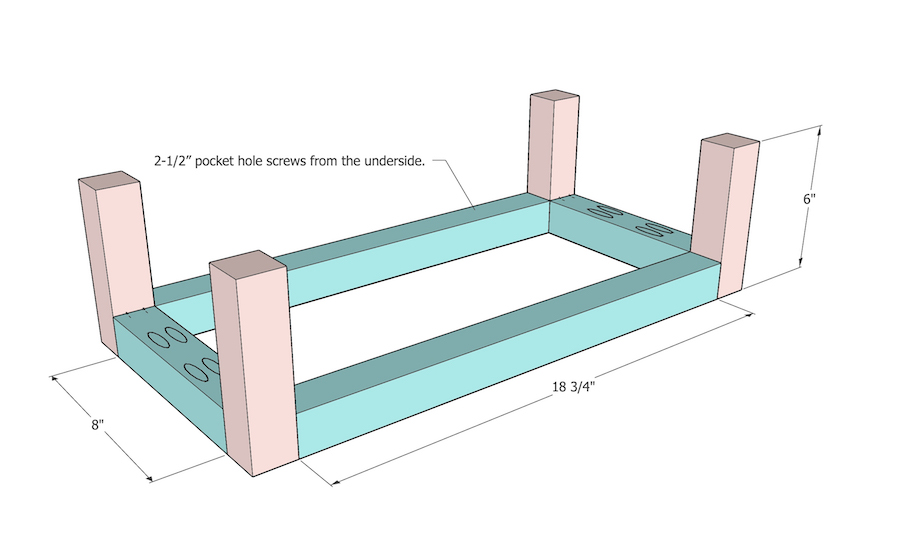
The base is built using 2x2 boards, wood glue and 2 ½” pocket hole screws as shown in the diagram. The pocket holes are facing up or down on the aprons allowing them to be hidden when installed.
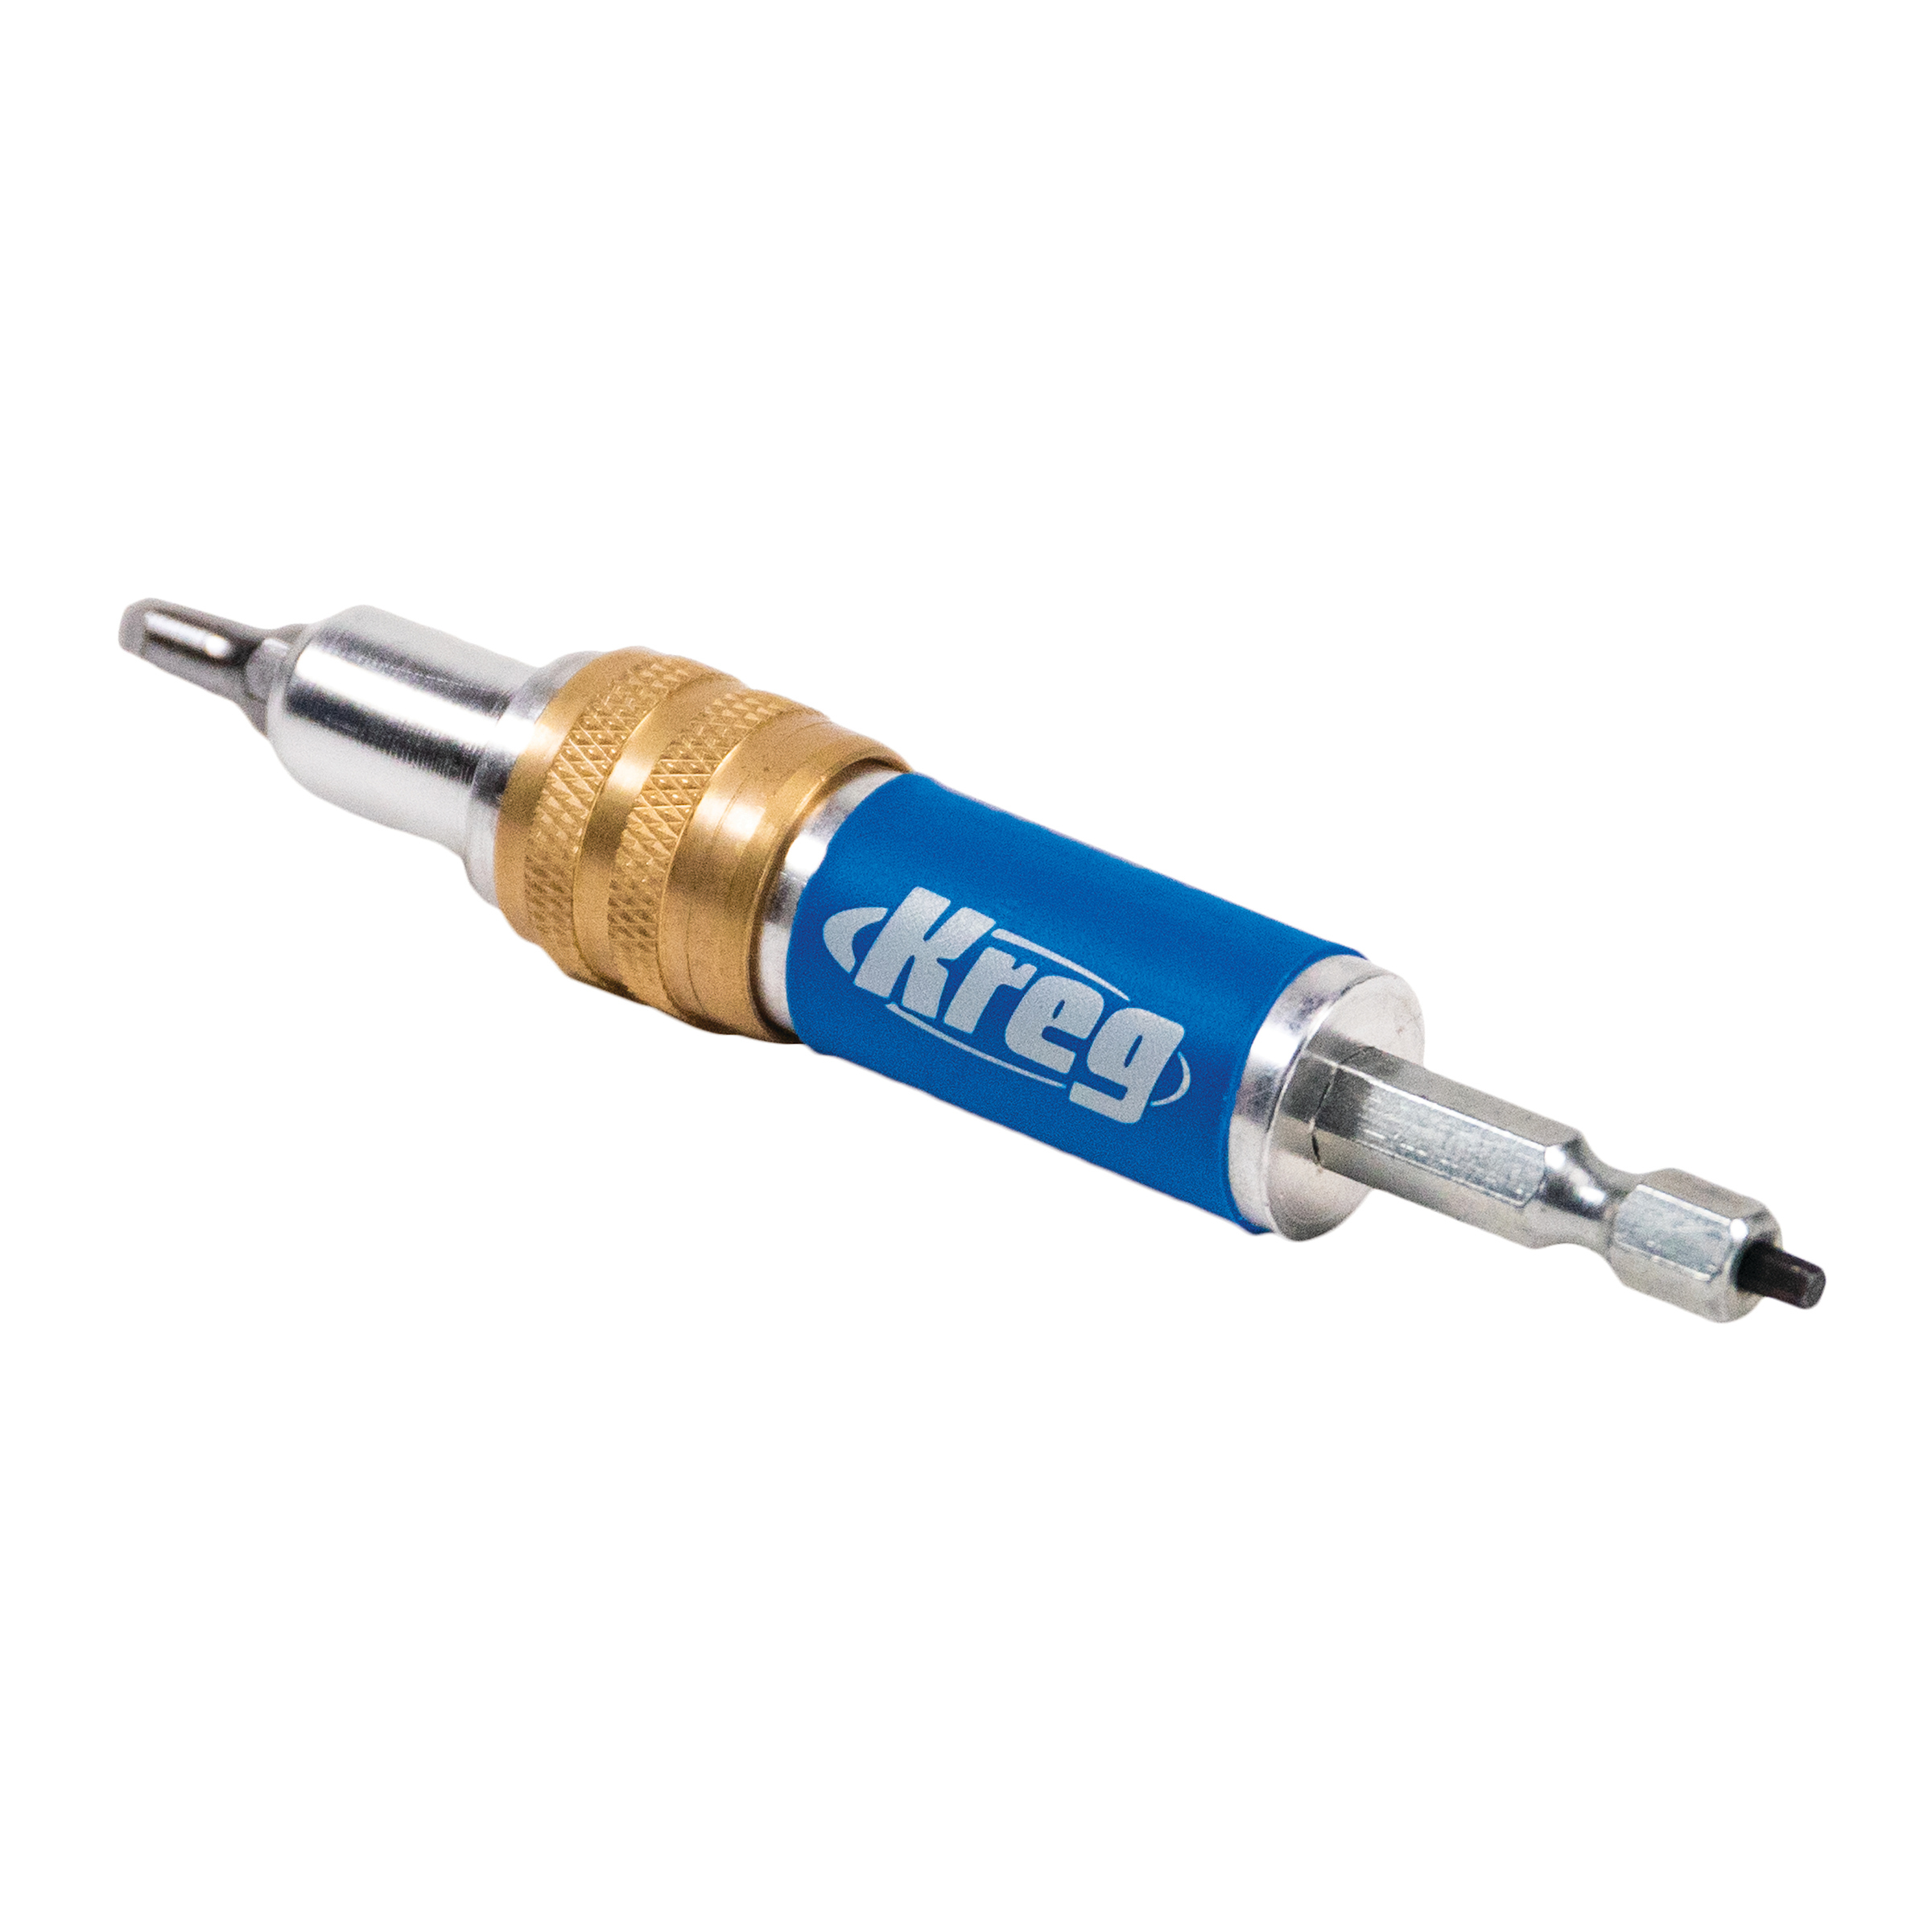
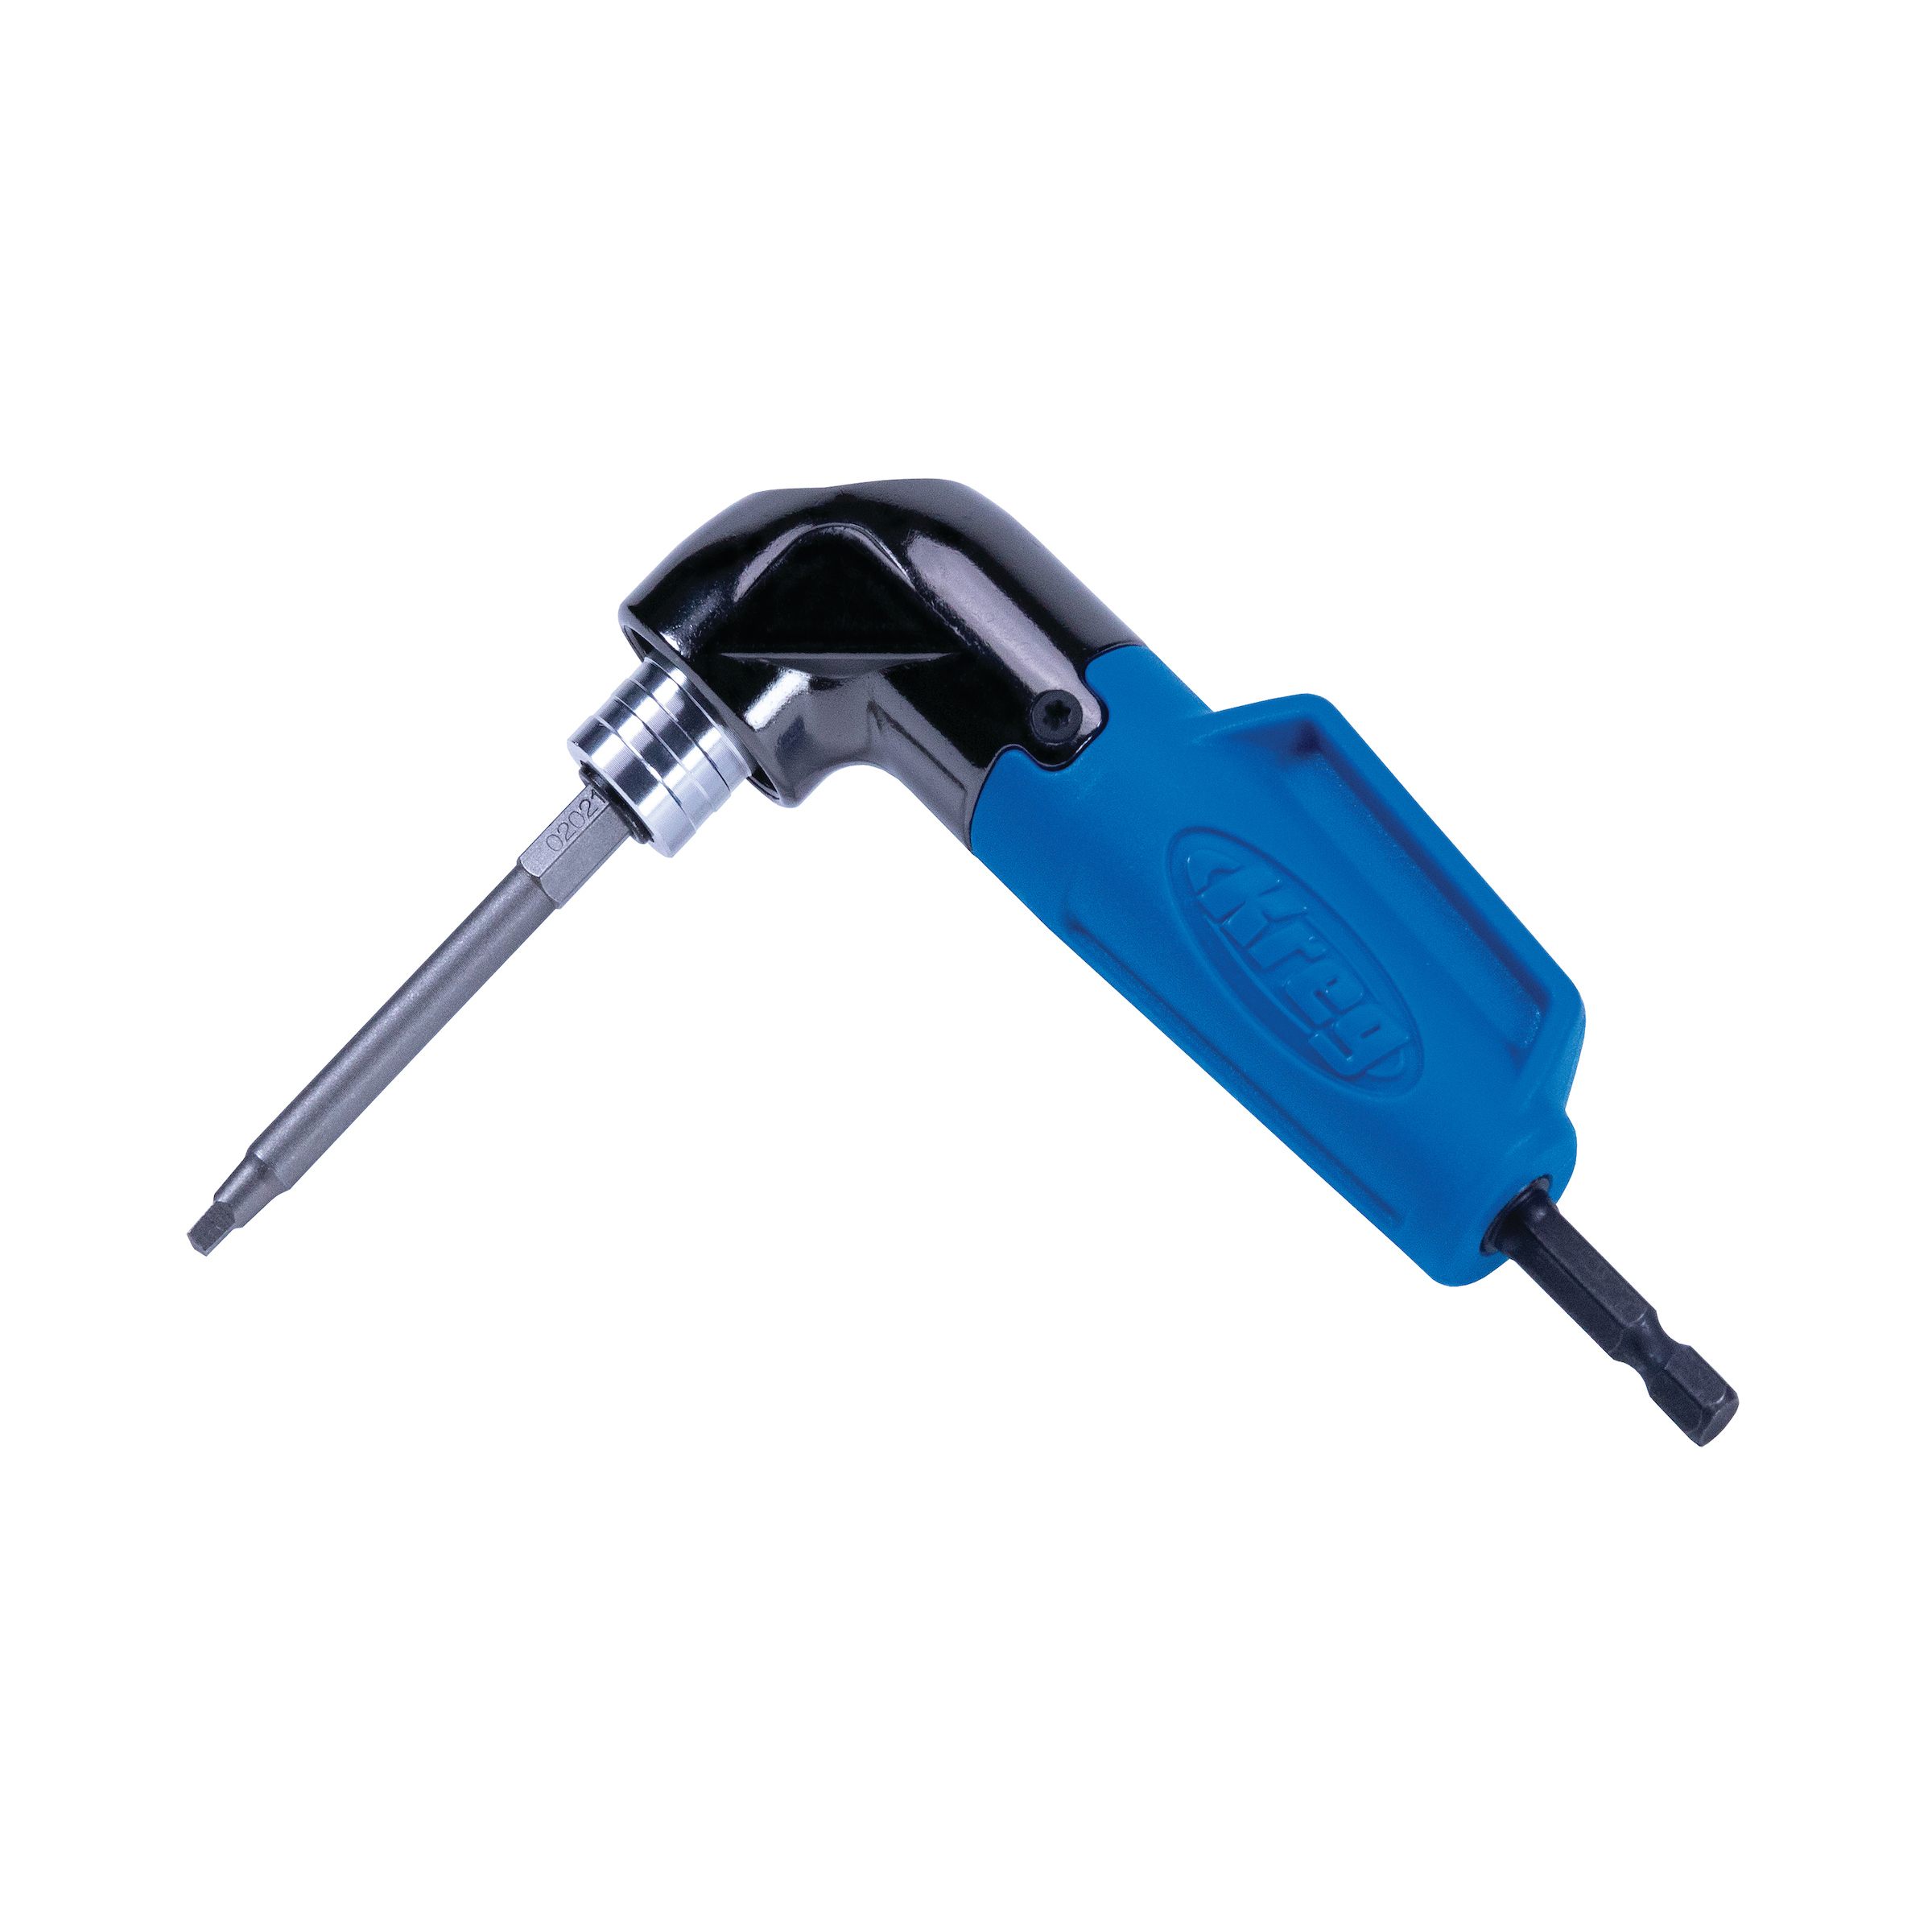
Attach the base to the bottom of the cabinet using wood glue and countersunk 2” screws. I like using the Kreg Quick Flip and pocket hole screws for this.
-
Finishing touches
Once all the components are prepared, stain or paint the cabinet in the color of your choice.
Once the stain/paint has cured, put all the components back together.


