

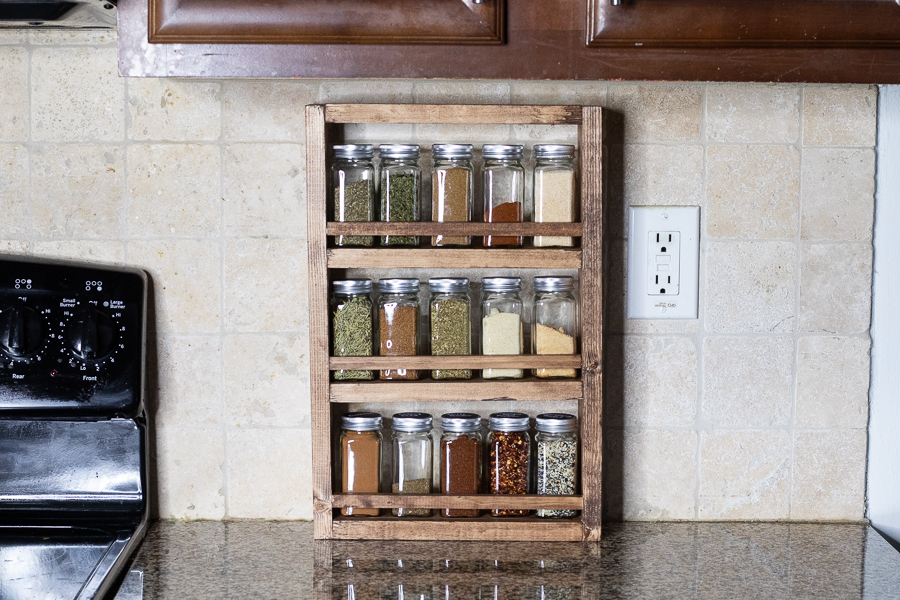
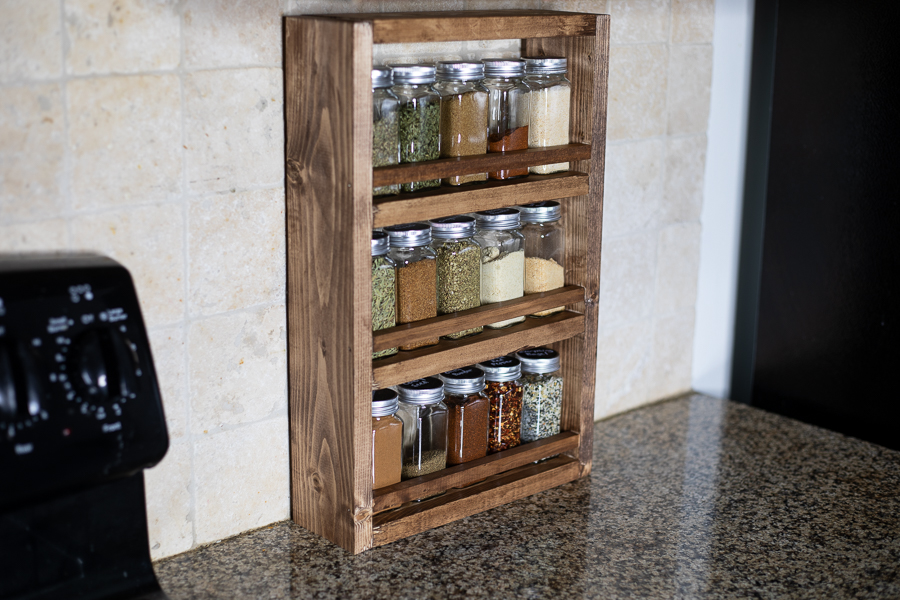


This DIY spice rack is a simple addition to any kitchen or pantry. The size can be modified and hardware can be added if you'd prefer a wall mounted version.
Tools
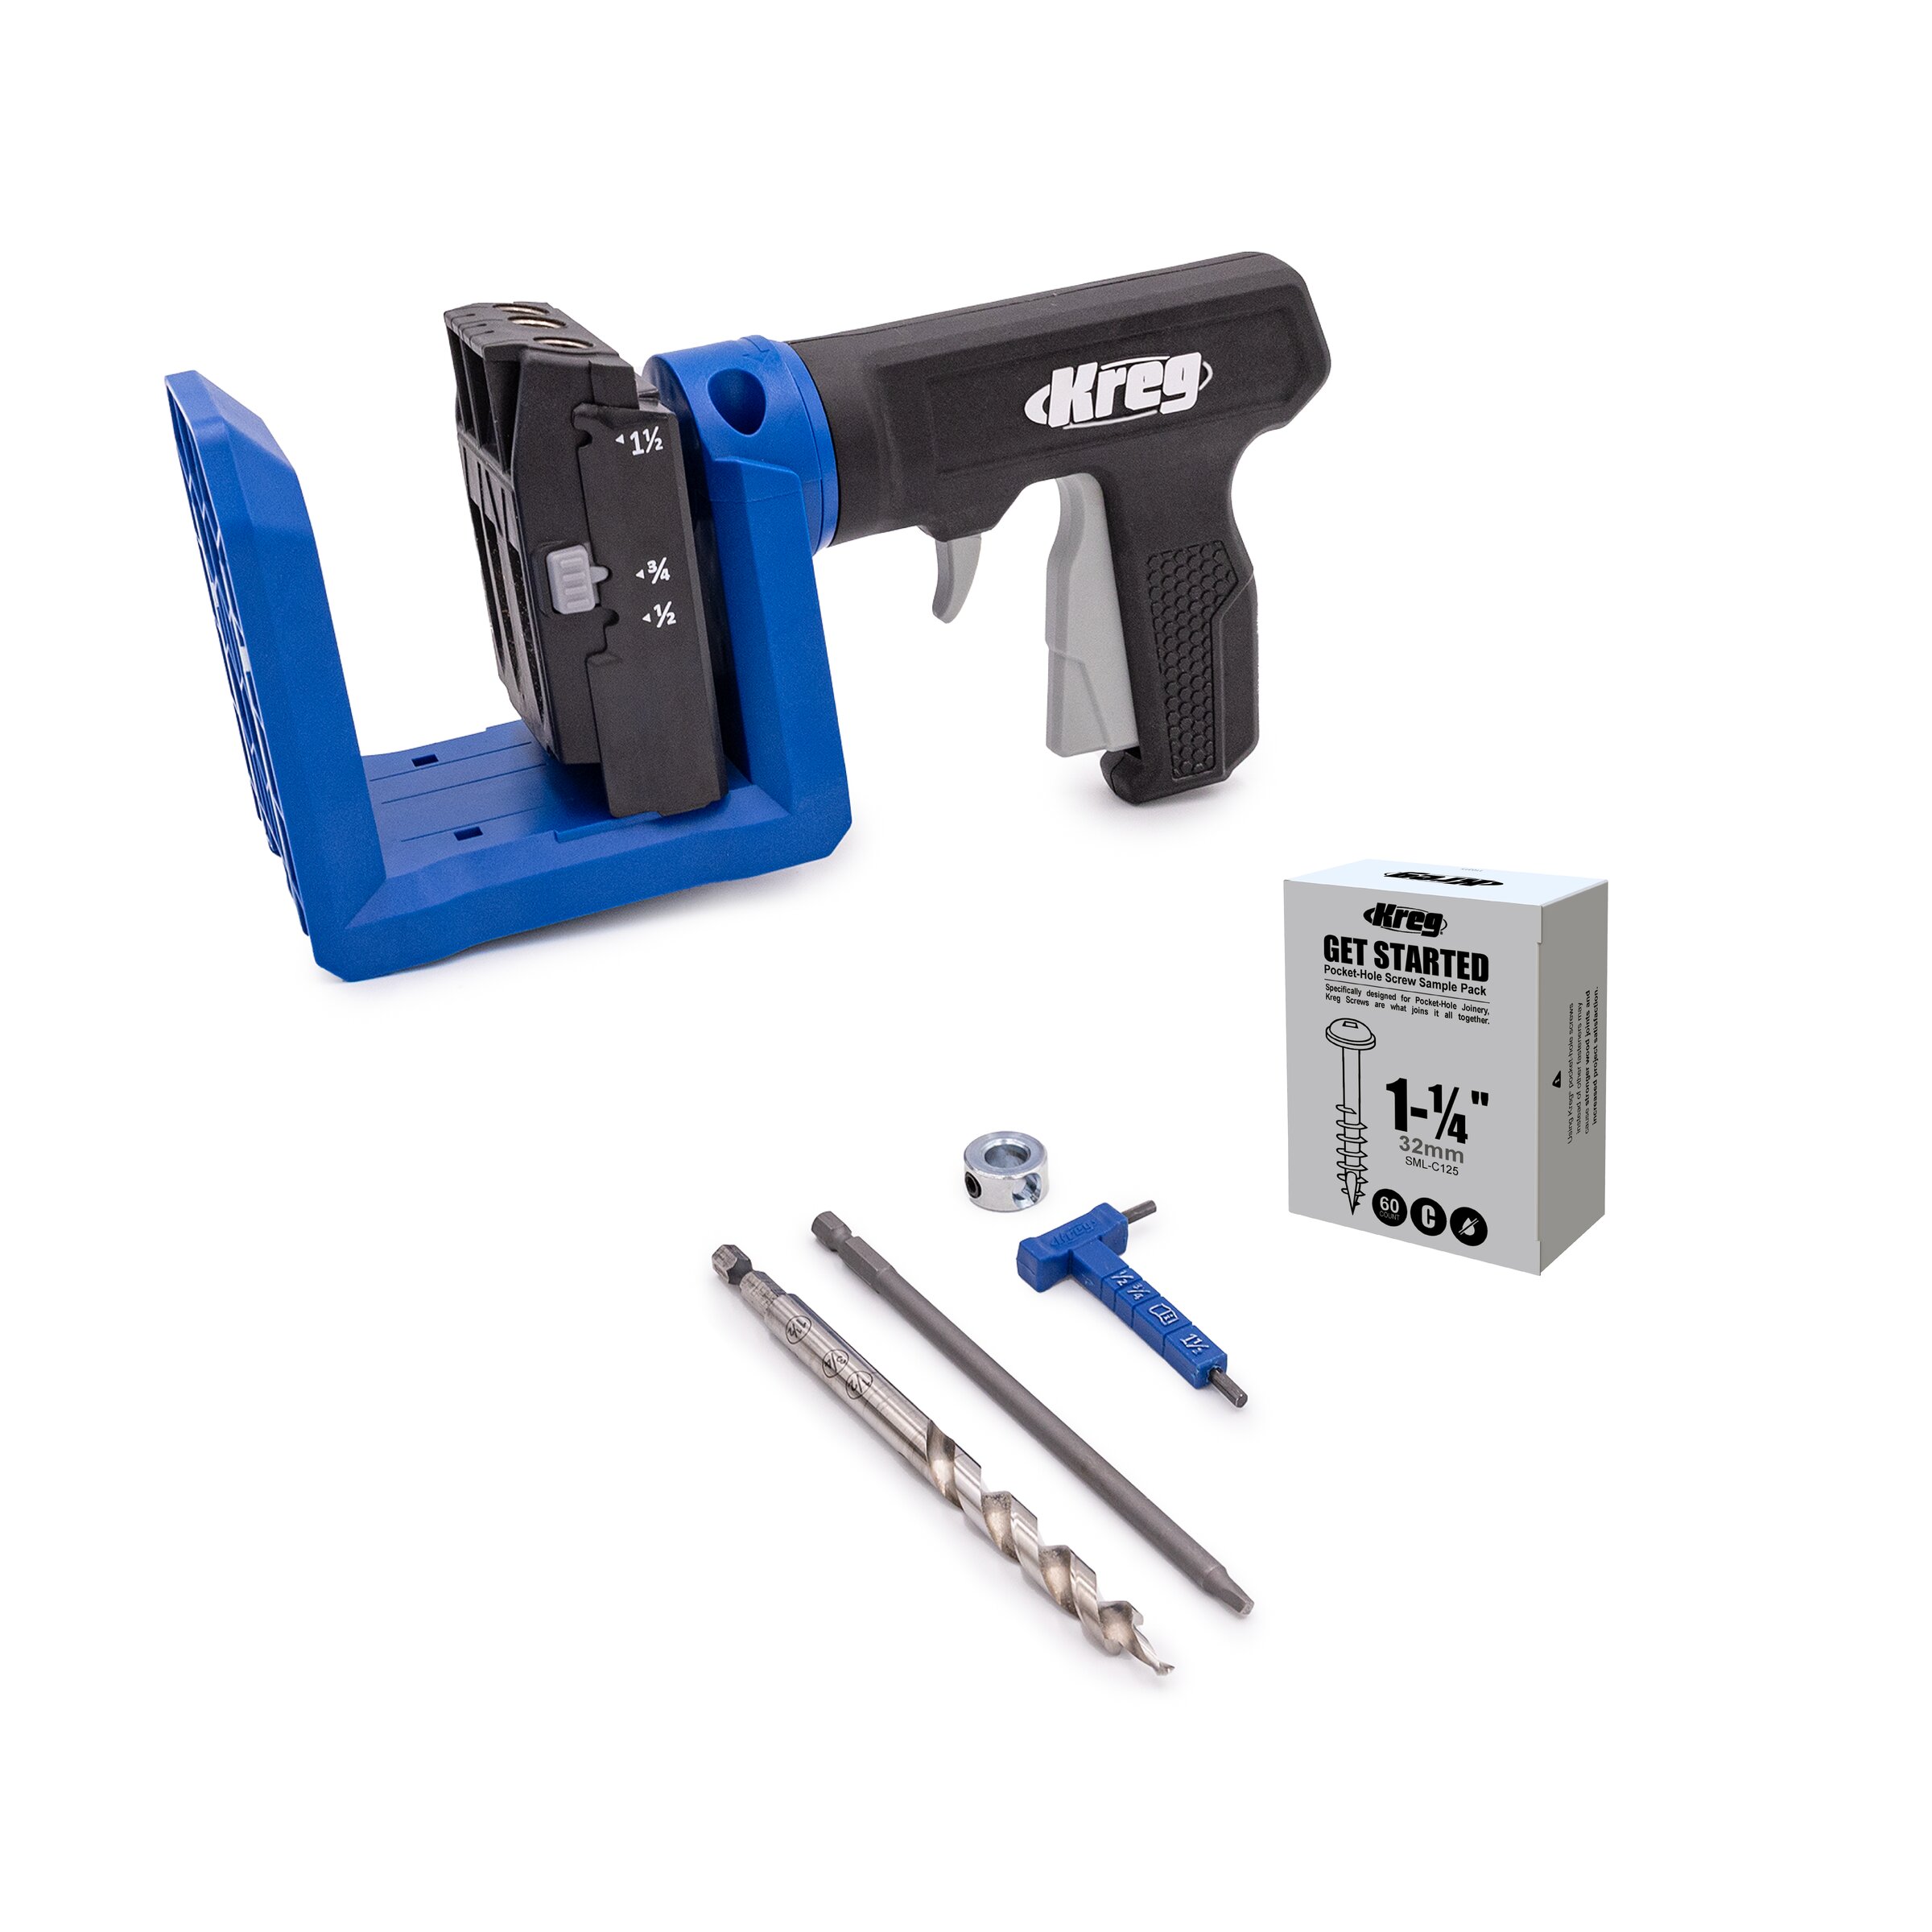
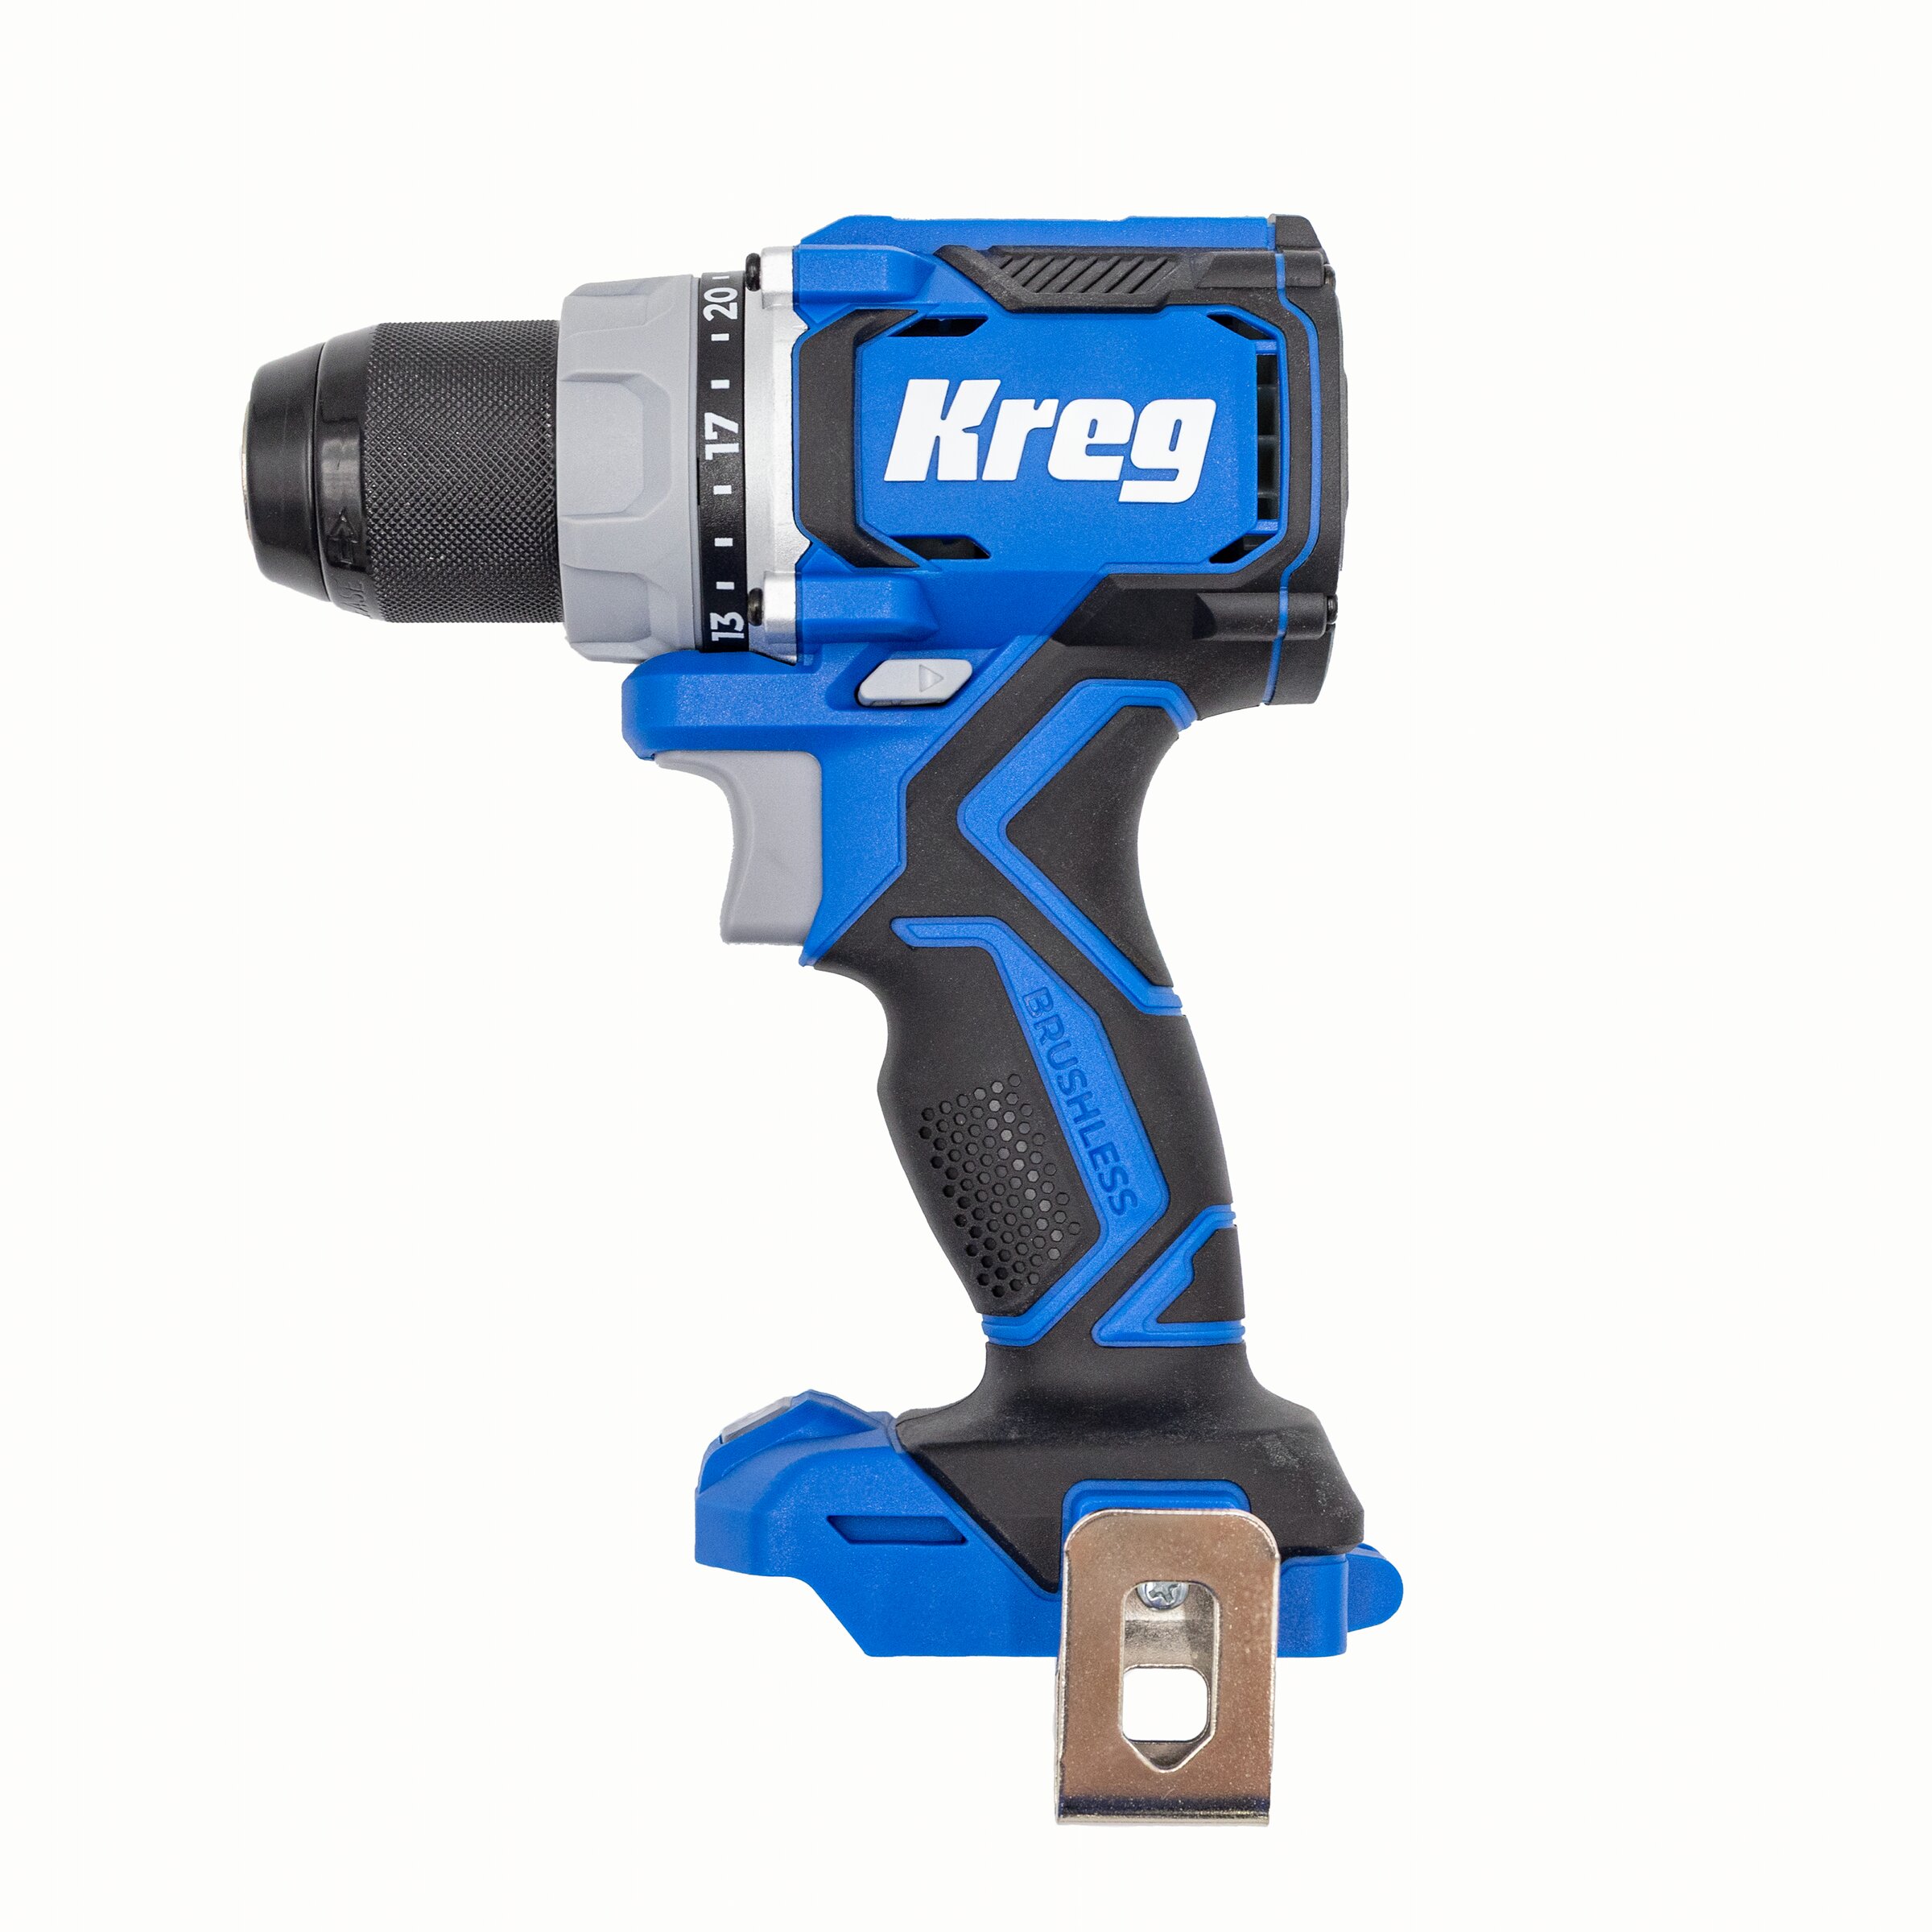
Kreg Tools

Other Tools
-
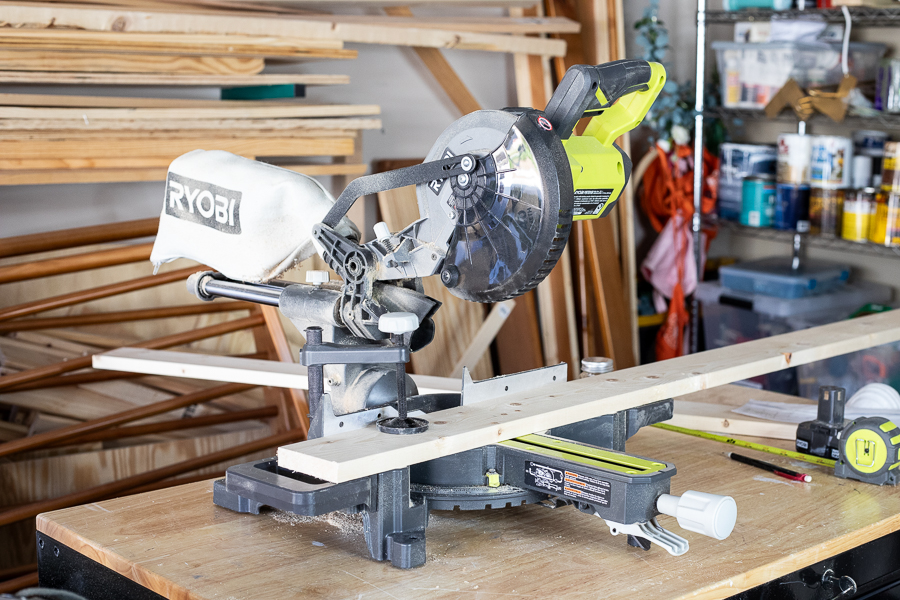
Saw

-
Brad Nailer
Materials
Wood Products
- 2 1x4 Board , 1x4x6
- 1 1/2" Square Dowel , .5"x4'
Hardware & Supplies
- 6 1" Brad Nails
- 16 1 1/4" Pocket Hole Screws
- 1 Paint or Stain
- 1 Wood Glu
Directions
-
Cut Your Wood
Cut your wood to the specified dimensions. This can be modified if you'd like a larger or smaller spice rack. This one accommodates 15 spice jars.
-
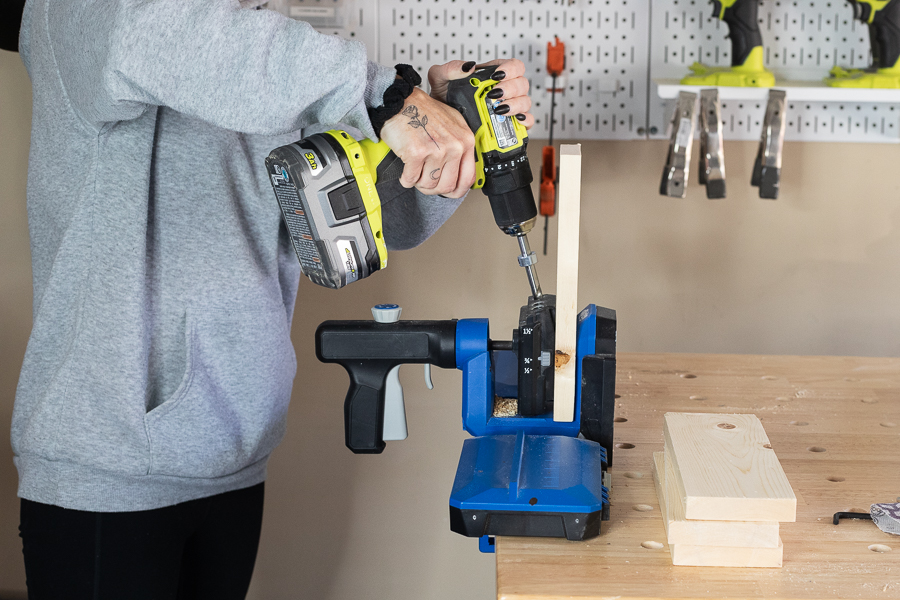
Drill Pocket Holes
Use your Kreg jig to drill two pocket holes at each end of your 10" long 1x4 boards.
-
Sand
Sand everything smooth.
-
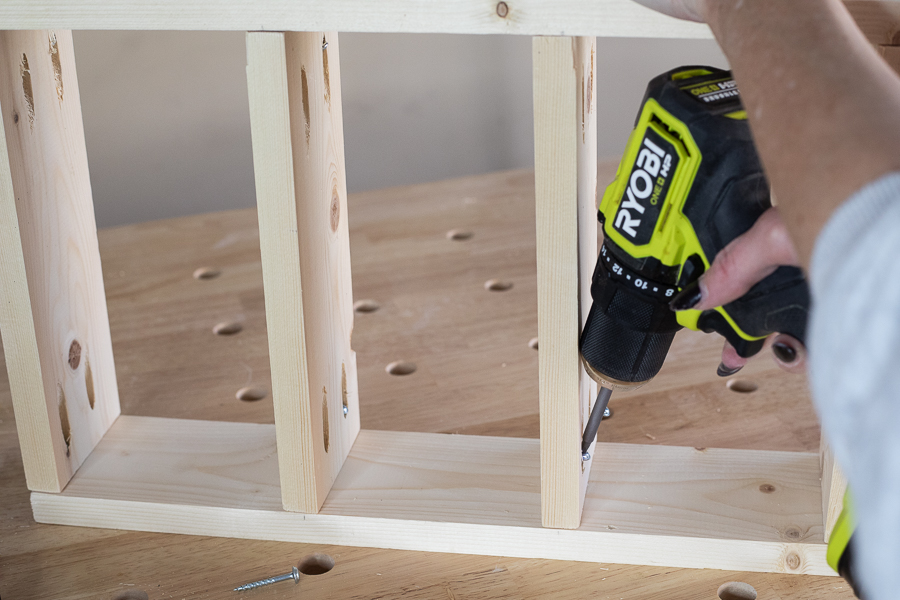
Assemble Top, BottShelves
Use 1 1/4" pocket hole screws to attach your 10" long 1x4 boards (start with top and bottom) to the 17 1/4" long side pieces. Don't tighten screws all the way until you've added your shelves, which should be 5 1/4" inches apart. Once all of your boards have been attached, go back and tighten screws.
-
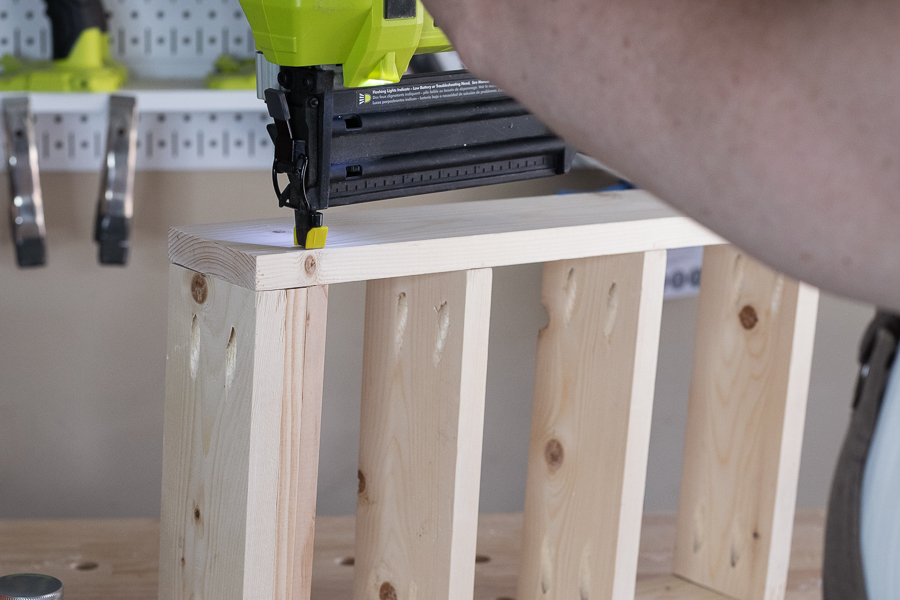
Add Rails
Add your square dowel pieces to the front of each shelf, serving as rails to keep the jars in place. Attach them with wood glue and a brad nailer, using another 1/2" dowel scrap piece as a spacer. Remove the spacer after you've nailed the dowel in place.
-
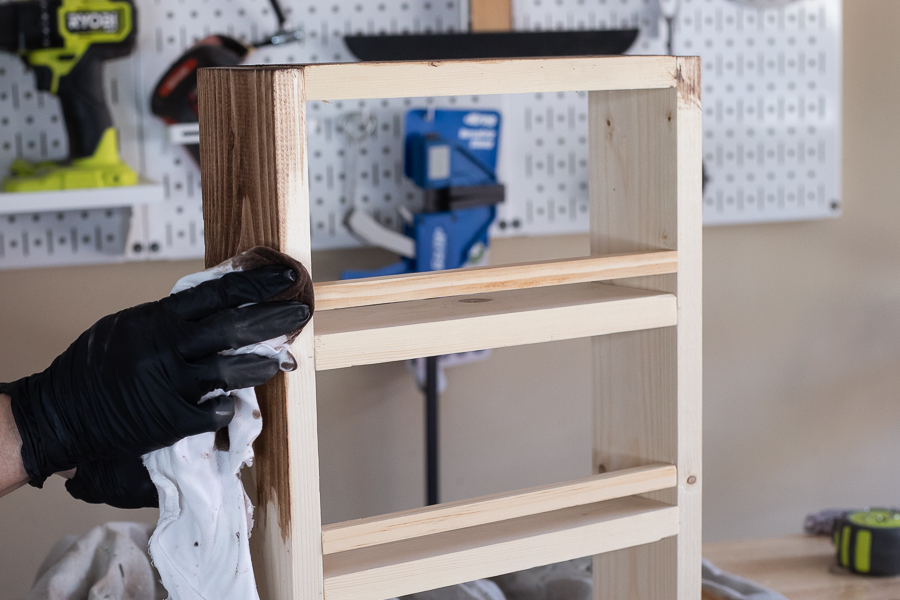
Paint or Stain
Finish your spice rack in the color of your choice. This one is stained with a Special Walnut finish.
-
Add Jars
Add your spices! I ordered some empty jars off of Amazon and added labels to the lids. You can also add hardware to the back of your rack if you'd prefer to mount it on the wall.