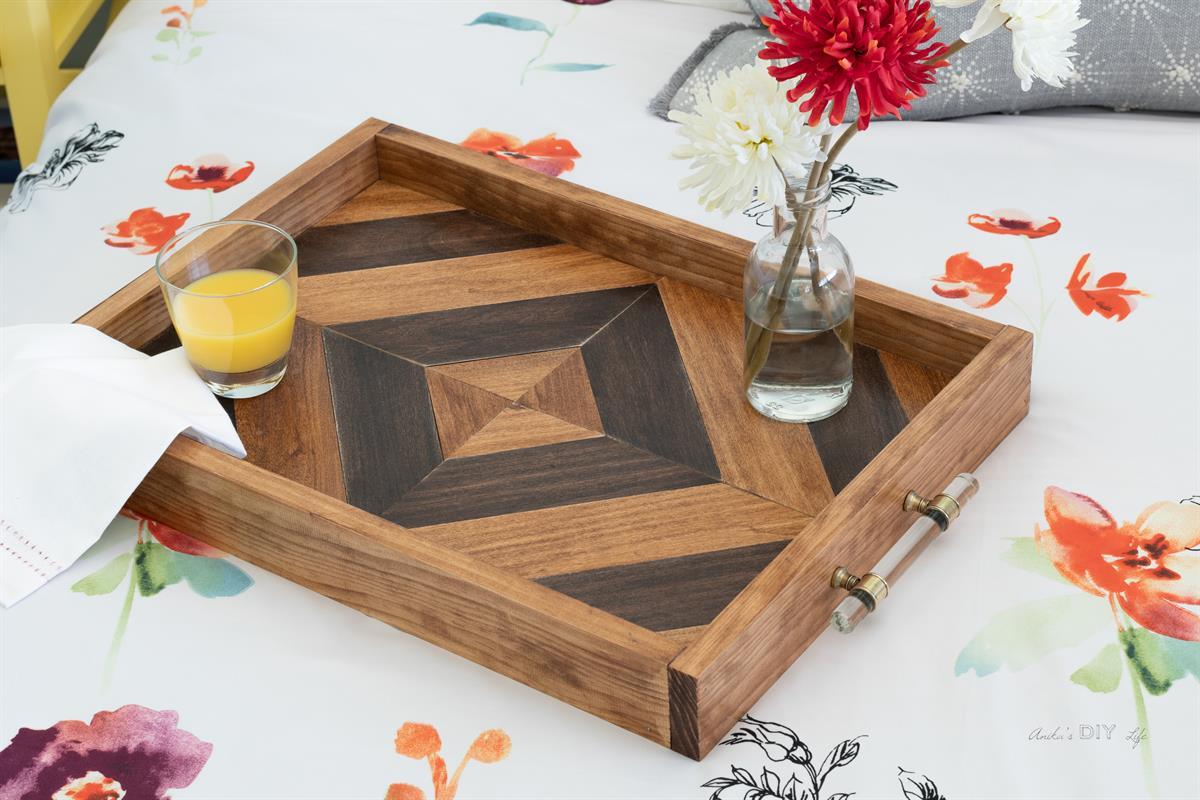
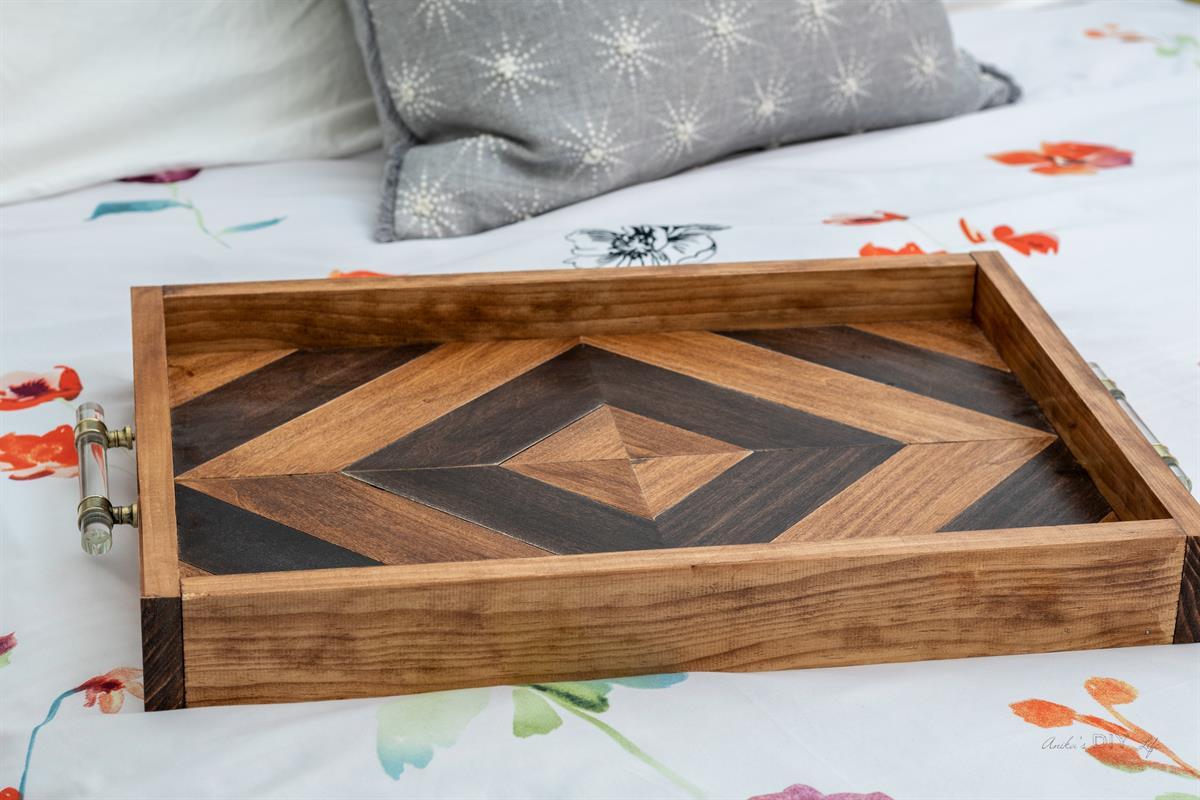
DIY Serving Tray
By Anika's DIY LifeLearn how to build a gorgeous serving tray using basic tools. This is a perfect project for beginners and makes a great handmade gift too.
Directions
-
Make cuts for the top pattern
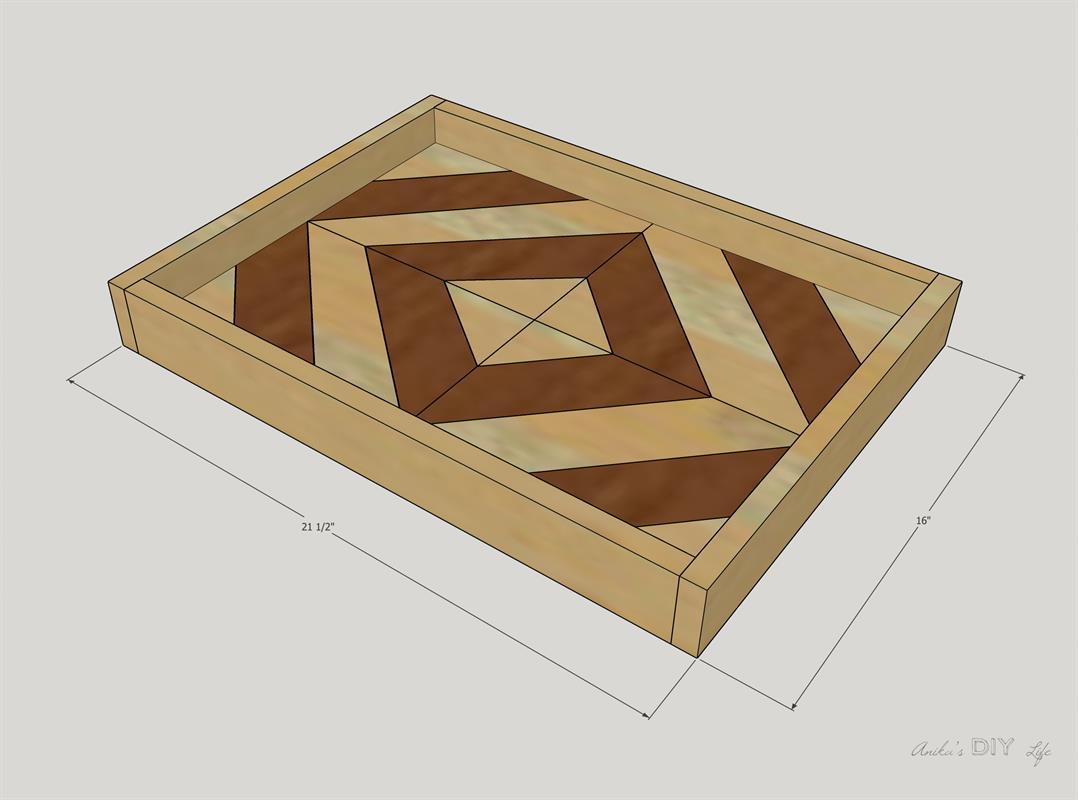
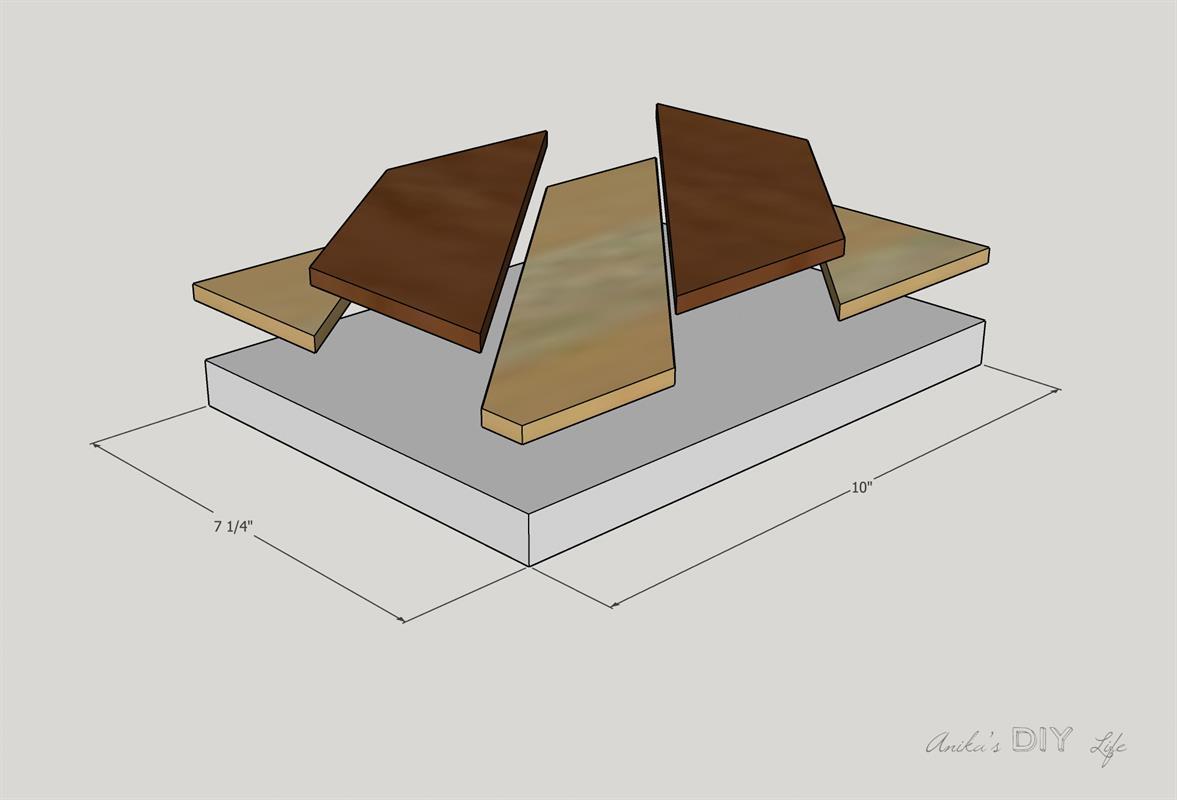
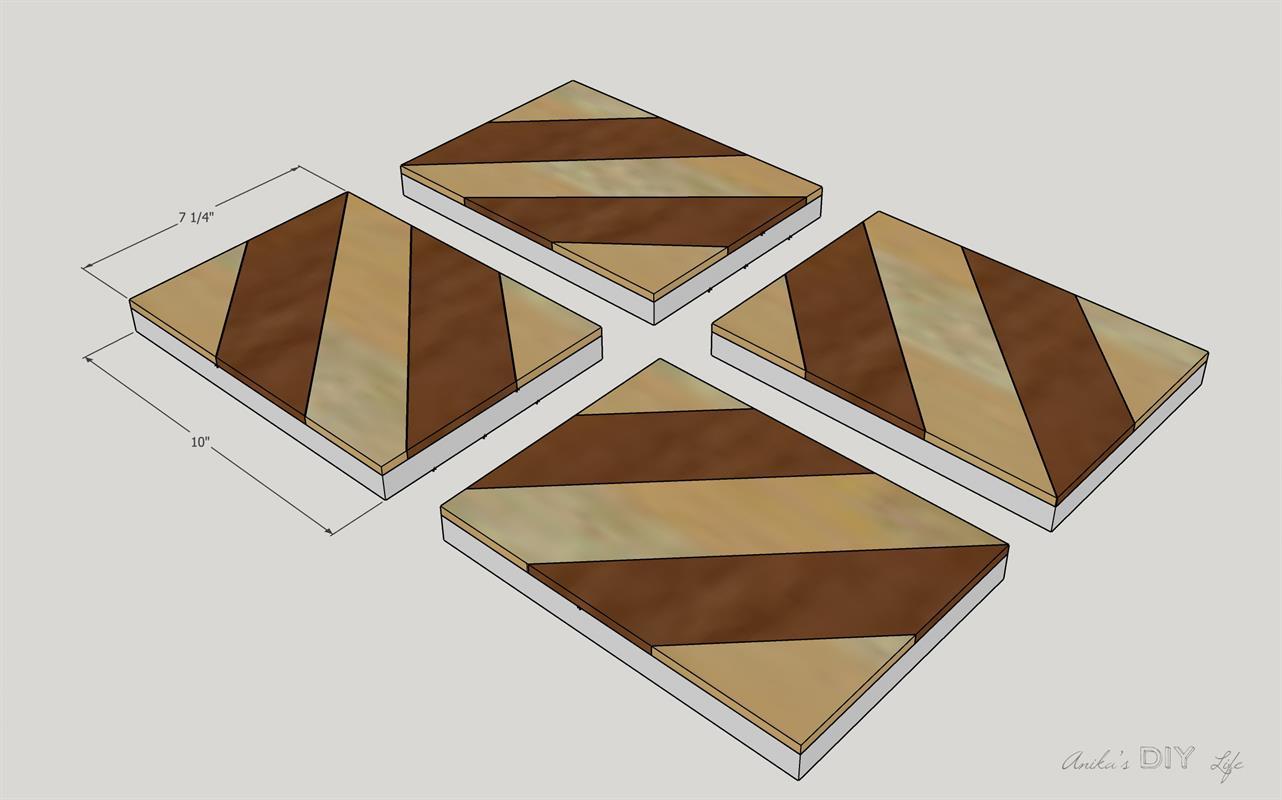
Set the miter saw at 45 degrees and cut out planks from the 1/4" material to lay on the base pieces.
Cut them longer than needed.
Once the pattern is decided, stain them individually.
-
Attach top boards
Apply wood glue to the base pieces and glue the planks and leave overnight.
Once dry, cut off excess from all sides of the base pieces.
-
Attach base pieces
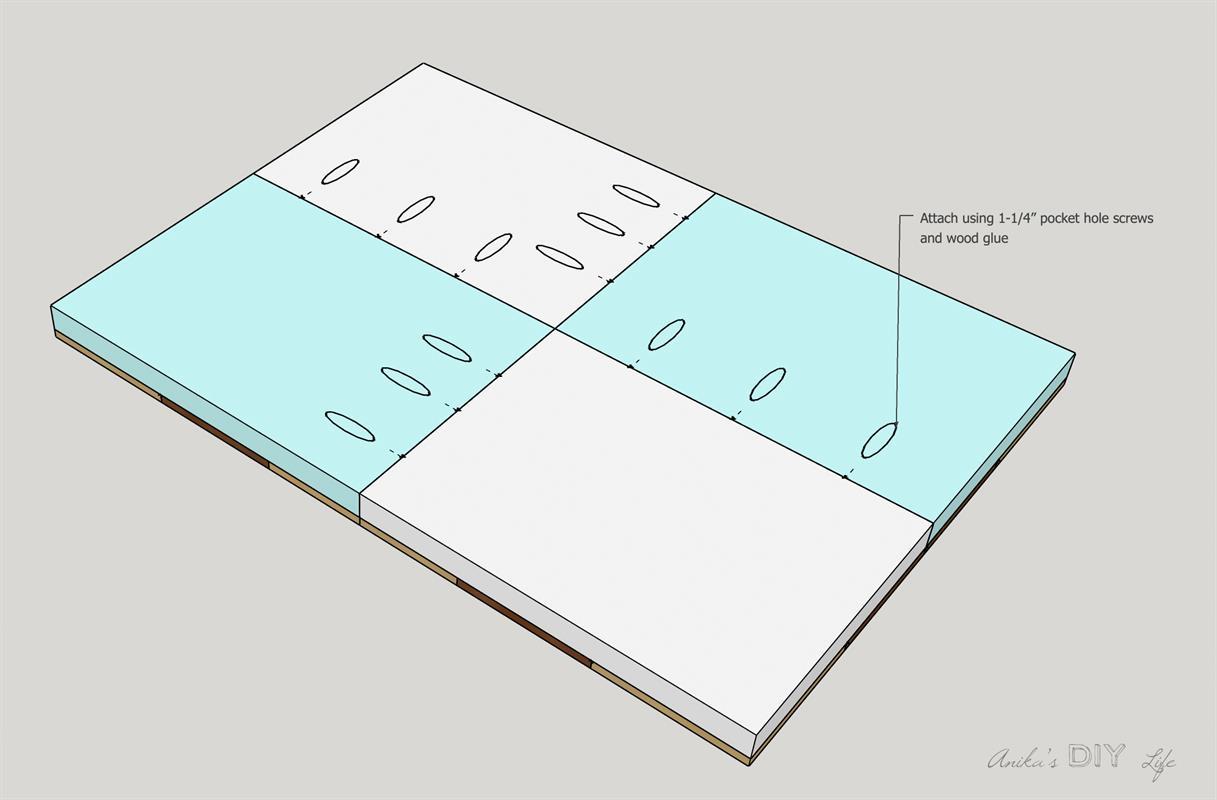
Attach base pieces together using 3/4" pocket holes and 1-1/4" pocket hole screws to form the tray base.
-
Add sides
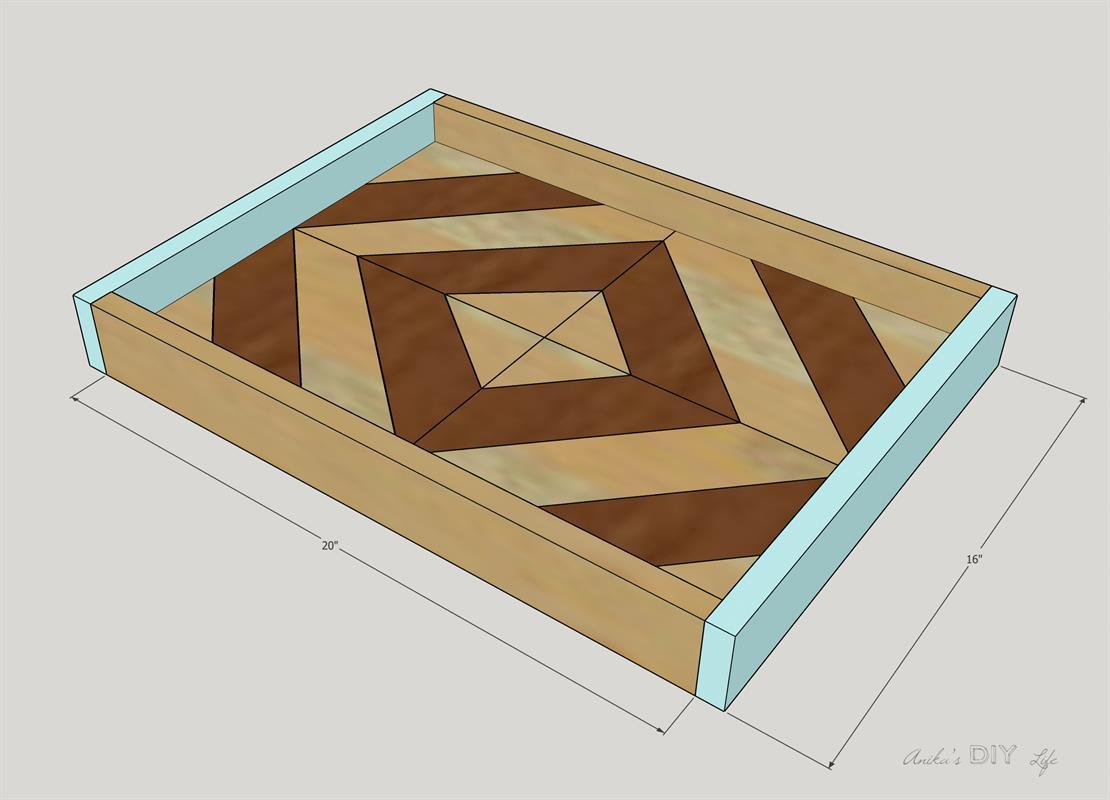
Attach 1x3 sideboards around the tray using wood glue and 1-1/4" finish nails.
Note - be sure to stain the sides separately before attaching.
-
Finishing steps
Apply sealer and add hardware of your choice.
I find it really to use the Kreg hardware jig to ensure everything is perfectly centered.
-
See more
Read more details on finish and get more tips and tricks - https://www.anikasdiylife.com/diy-wood-tray/
Full video of the project - https://youtu.be/IjNQVTcQnx0


