DIY Rolling Toy Bin
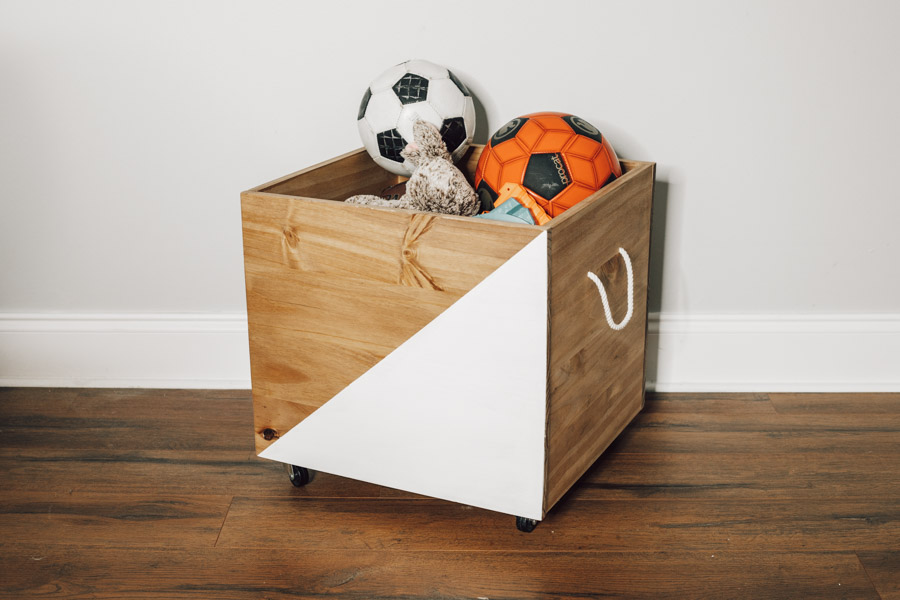
By Erin SpainThis rolling toy bin is a great way to corral toys or sports equipment! You can modify the size and design to suit your individual style and needs.
Directions
-
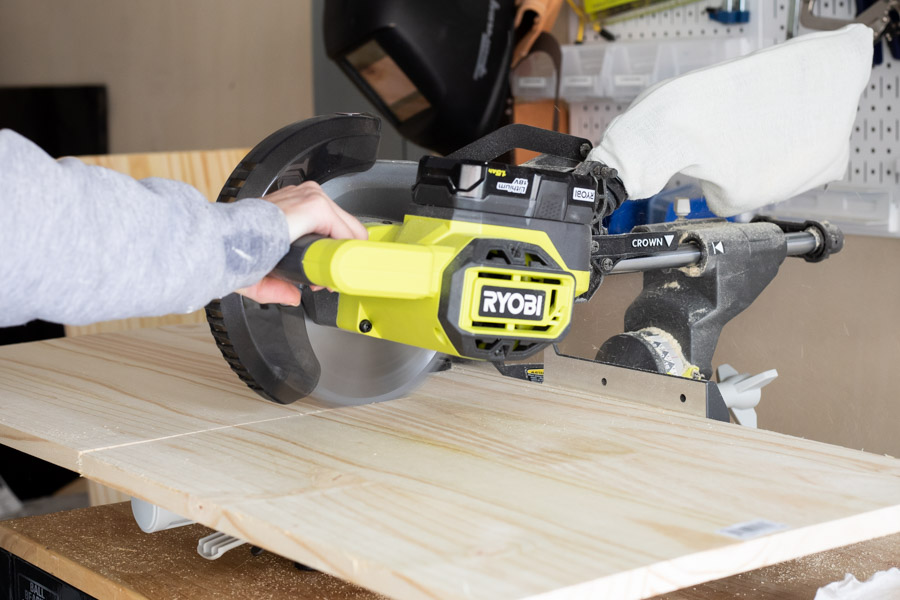
Cut Your Project Panel
Cut your project panel to the specified dimensions.
-
Sand
Use a sander or sanding block to smooth rough edges.
-
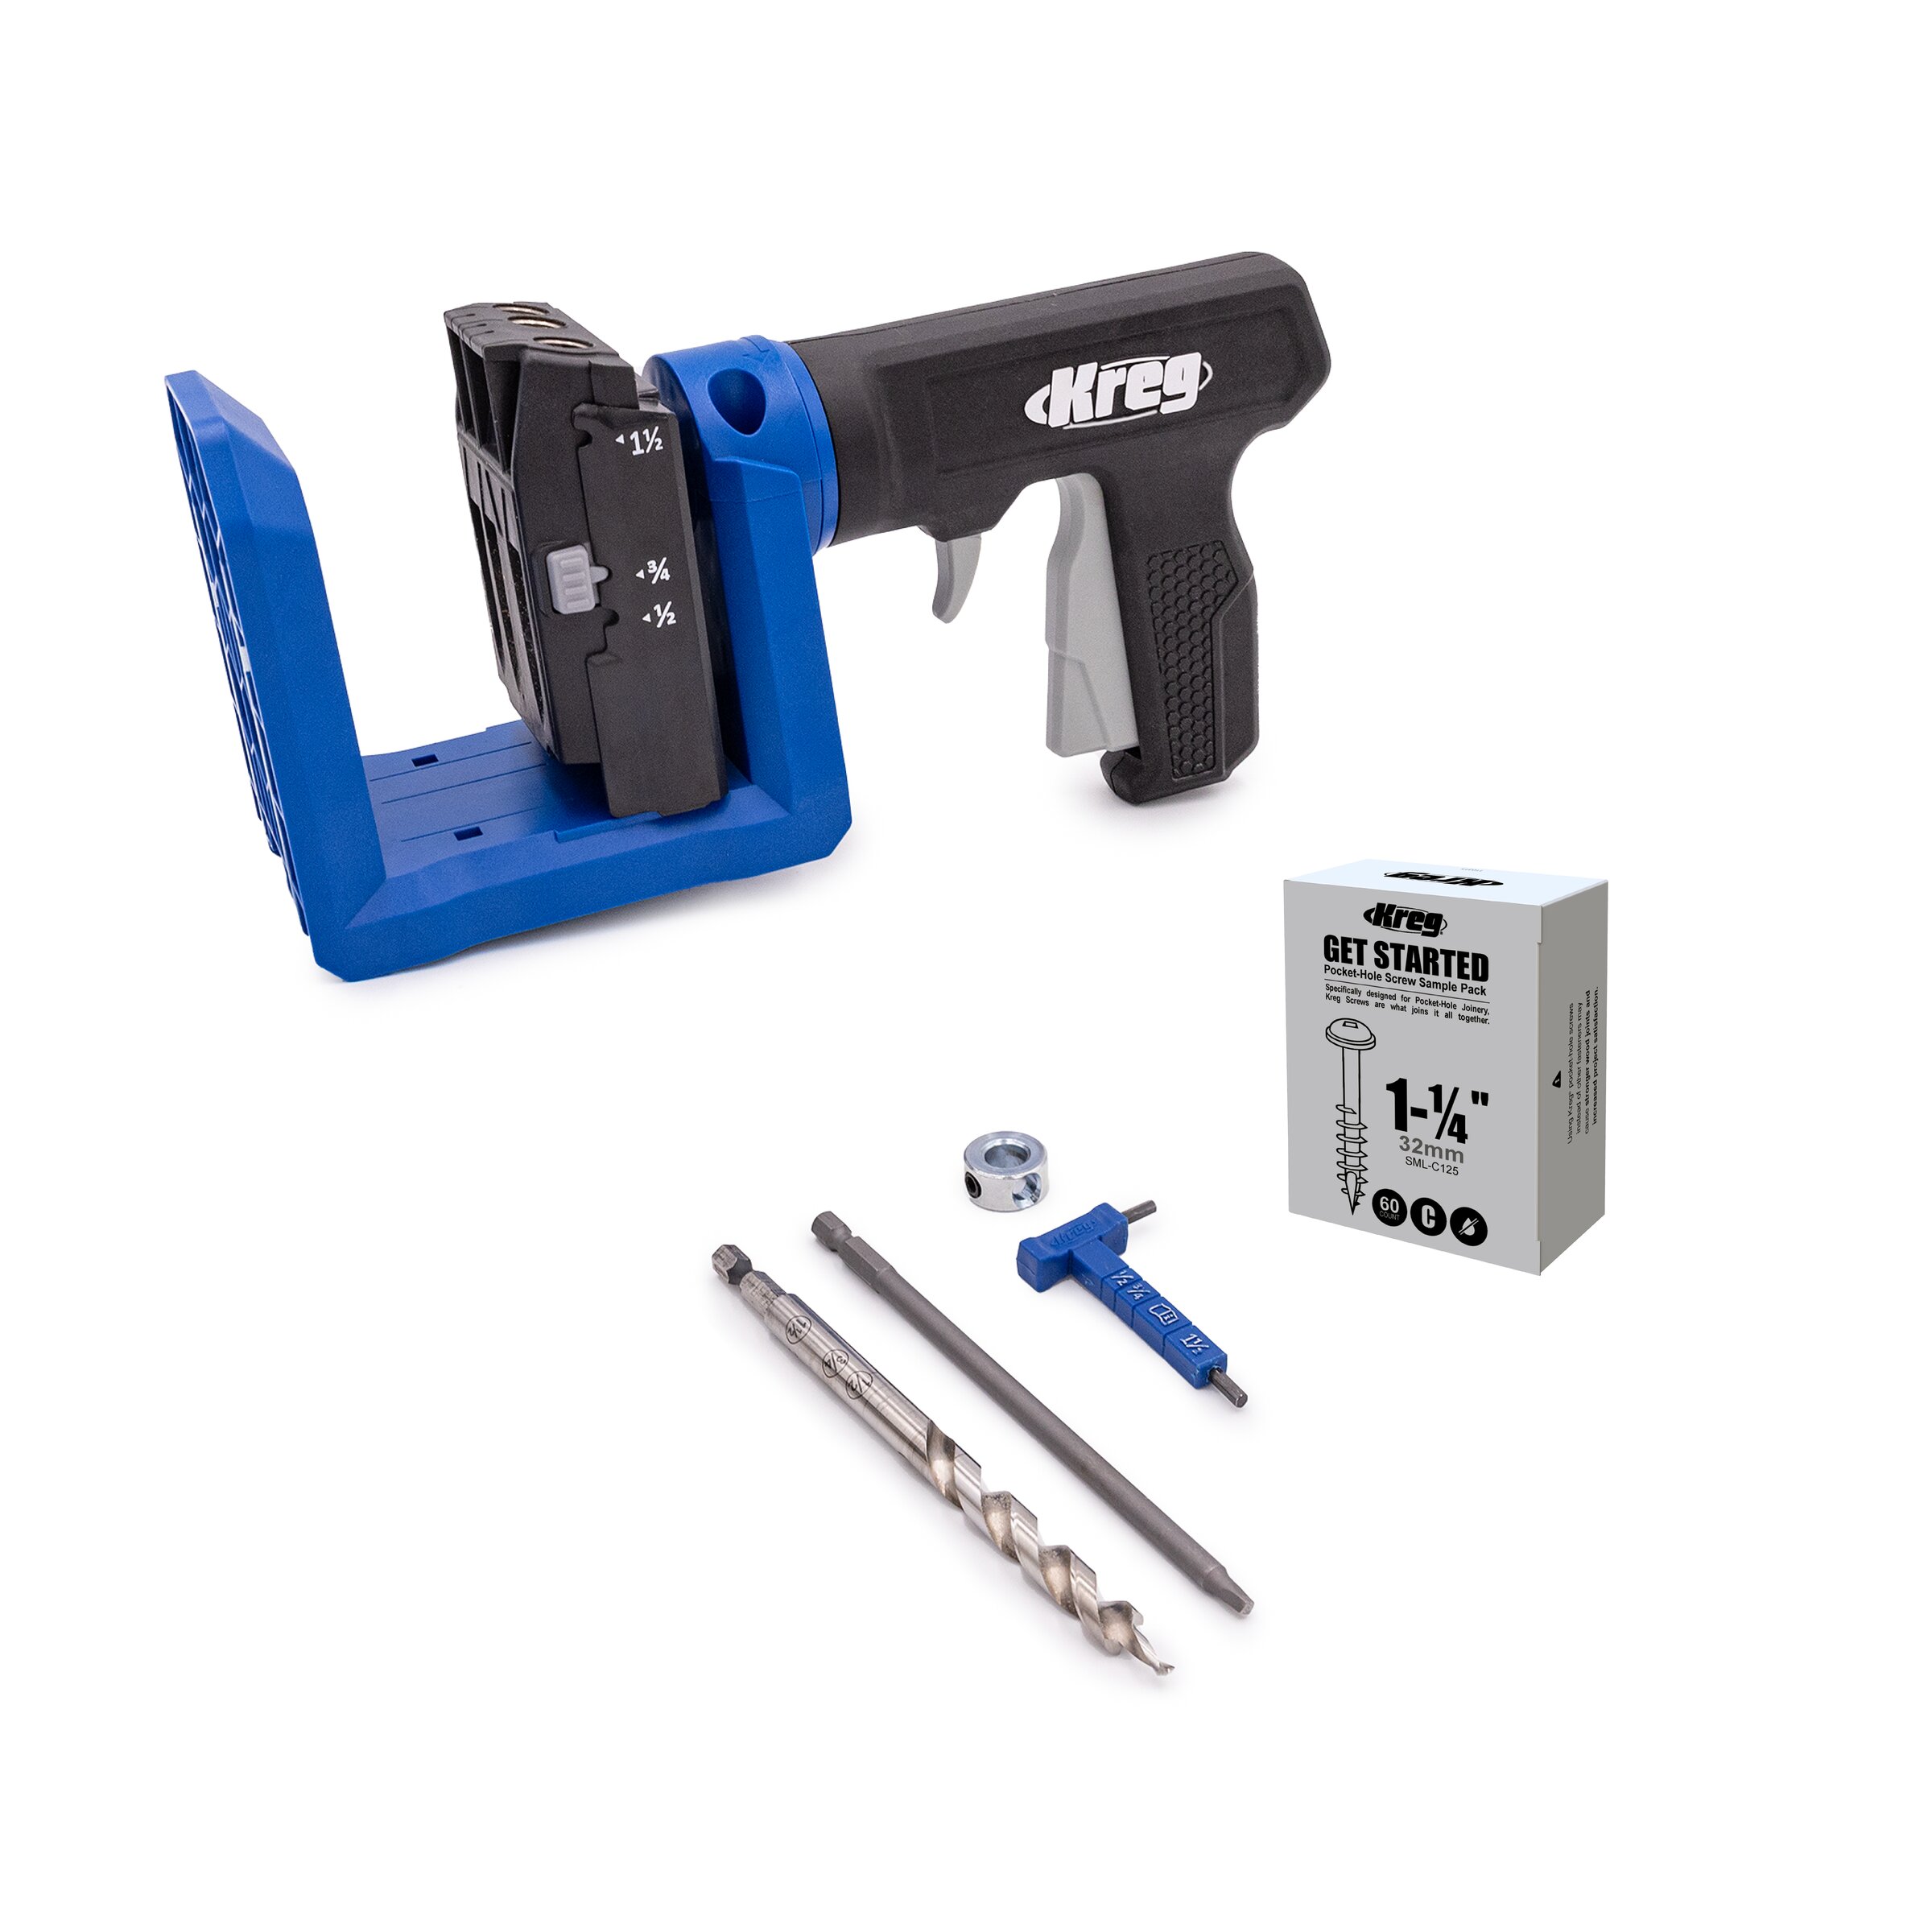
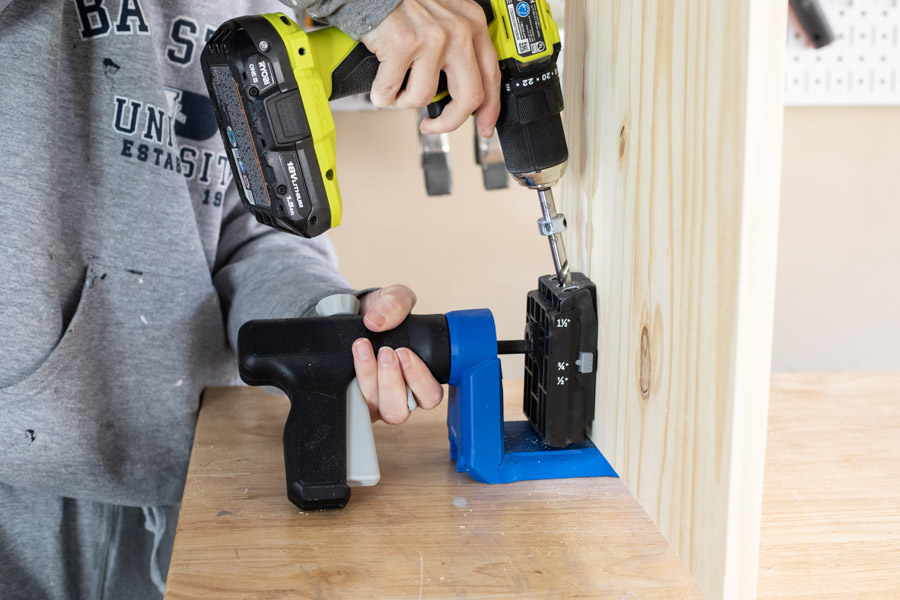
Drill Pocket Holes
Drill pocket holes as follows:
3 pocket holes on each side of your bottom project panel piece (16 1/2" long x 15 3/4" wide piece)
3 pocket holes along 2 parallel sides of each of the 2 side pieces (15 3/4" long x 15 3/4" wide pieces) -
Build Your Bin
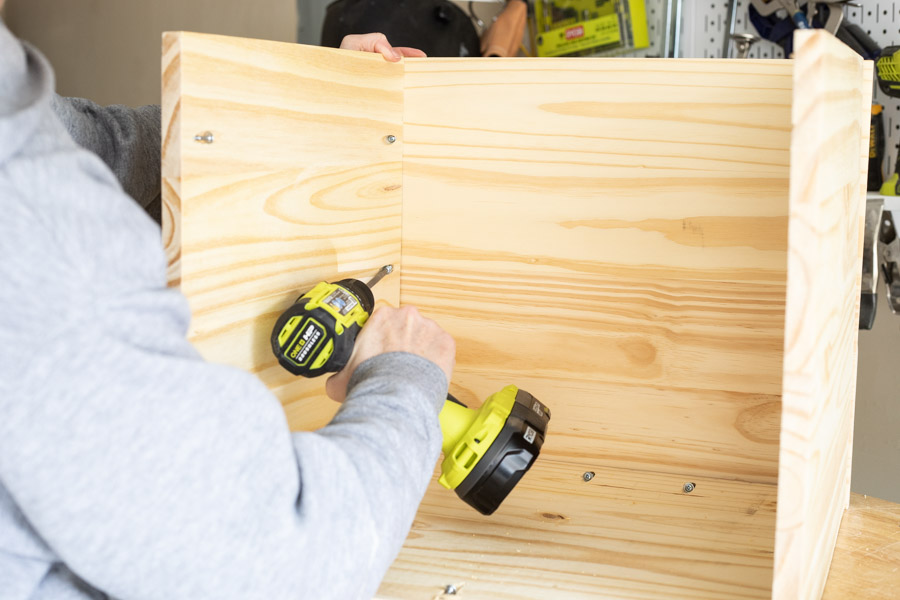
Using 1 1/4" pocket hole screws, assemble your toy bin. Drill pocket hole screws into the bottom project panel, attaching the sides first and then the front and back pieces. Secure the sides to the front and back pieces using 1 1/4" pocket hole screws as well.
-
Drill Holes for Handles
Using a 3/4" drill bit, drill 2 holes on each side of your toy bin for your rope handles. I measured and marked 6" and 11" across and about 4" down from the top, and drilled holes on those marks.
-
Paint or Stain
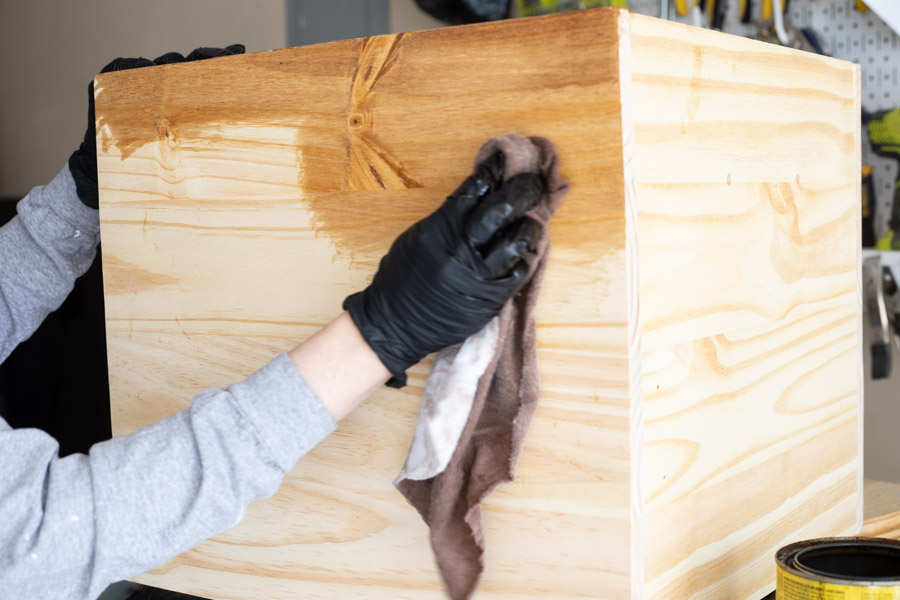
Customize your toy bin with whatever paint or stain you choose. For this one, I used a special walnut stain and then taped off a diagonal design and painted it white.
-
Add Casters
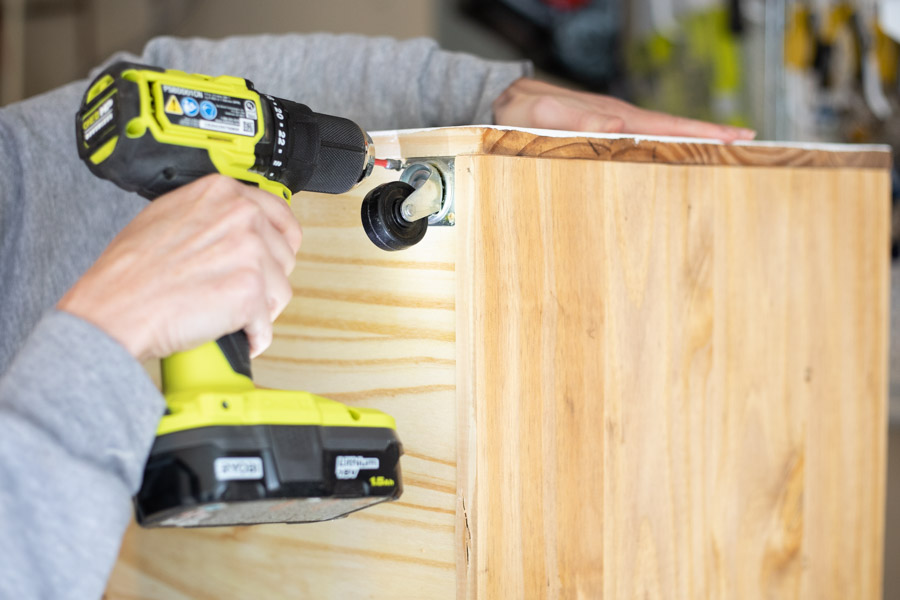
Attach small casters using 1/2" screws.
-
Add Handles
Insert rope through holes and tie knots to create handles. You can make these any length you choose. These are approxiately 10 inches including the knots.


