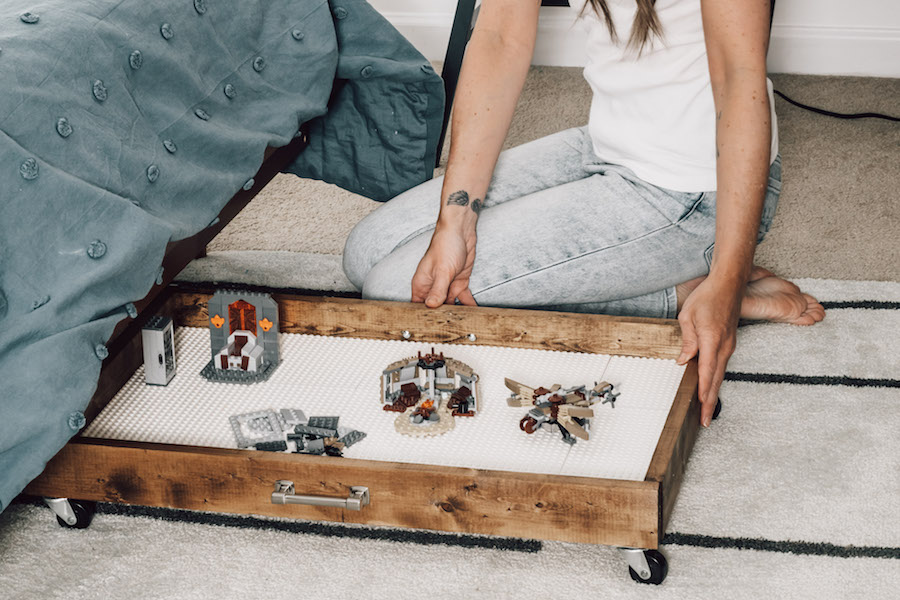


Learn how to build this simple DIY rolling LEGO storage tray, perfect to slide under the bed when not in use. This is an easy beginner woodworking project and also a great way to keep from stepping on those LEGO pieces!
Tools
Kreg Tools


Other Tools
-
Saw

Materials
Wood Products
- 1 Project panel , ¾” thick
- 1 Boards , 1x3x8ft
Hardware & Supplies
- 2 Drawer pulls of your choice
- 1 Paint or stain of choice
- 4 Small casters
- 1 LEGO baseplates (optional)
Directions
-
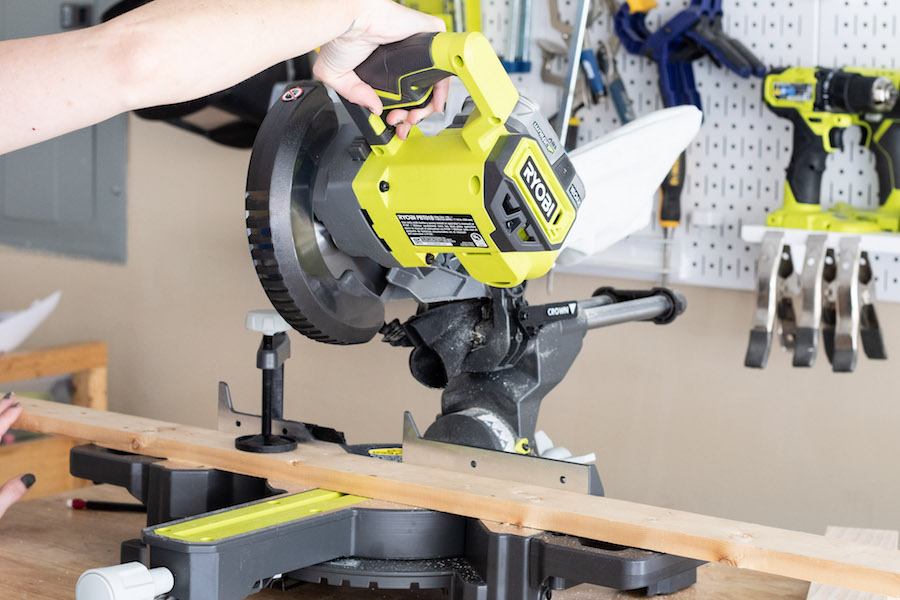
Cut Your Wood
Make cuts according to cut list
-
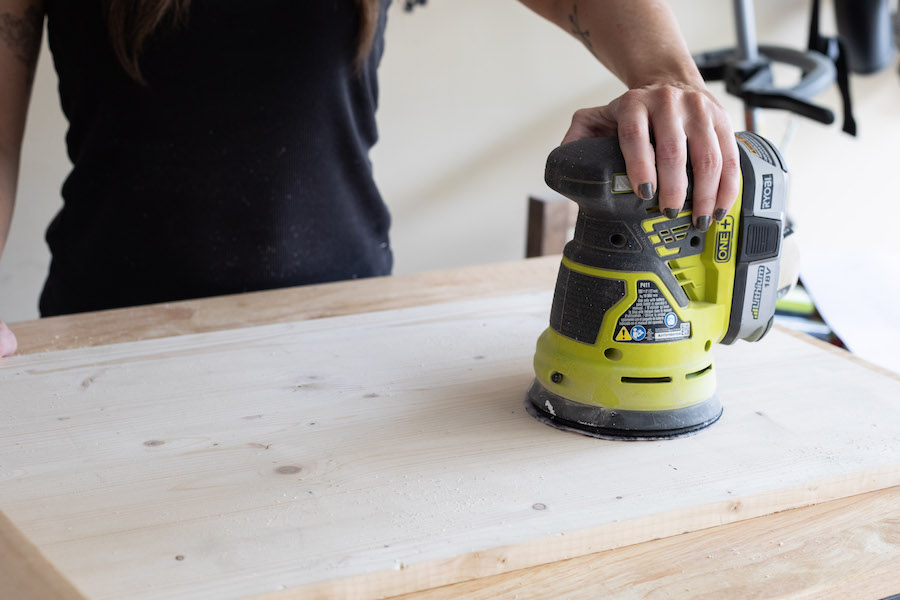
Sand
Sand everything smooth using a random orbit sander
-
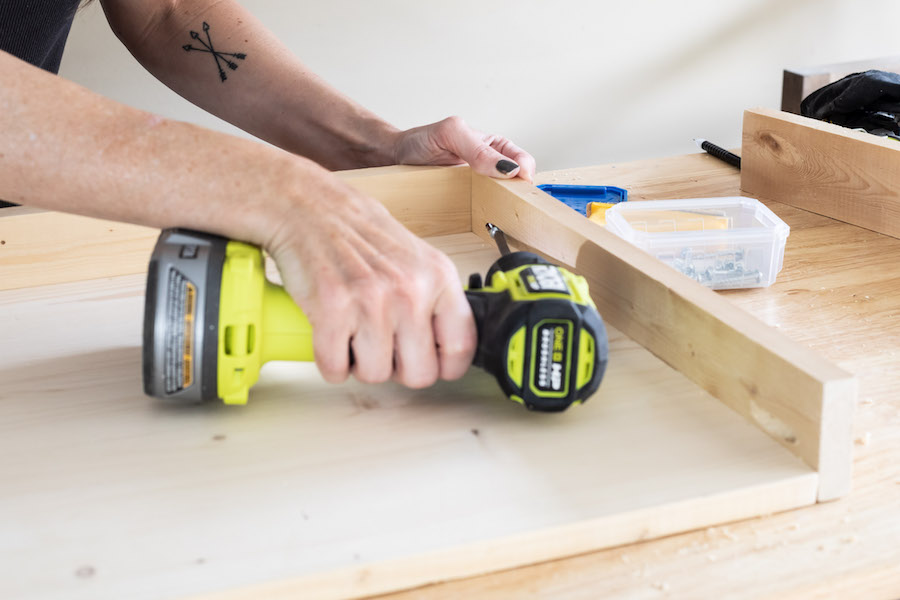
Drill Pocket holes
Using the Kreg Jig 520PRO, drill pocket holes as follows:
1 pocket hole at each end of your 15 ¾” long 1x3 pieces.
3 pocket holes along each side and along each end of your project panel.
-
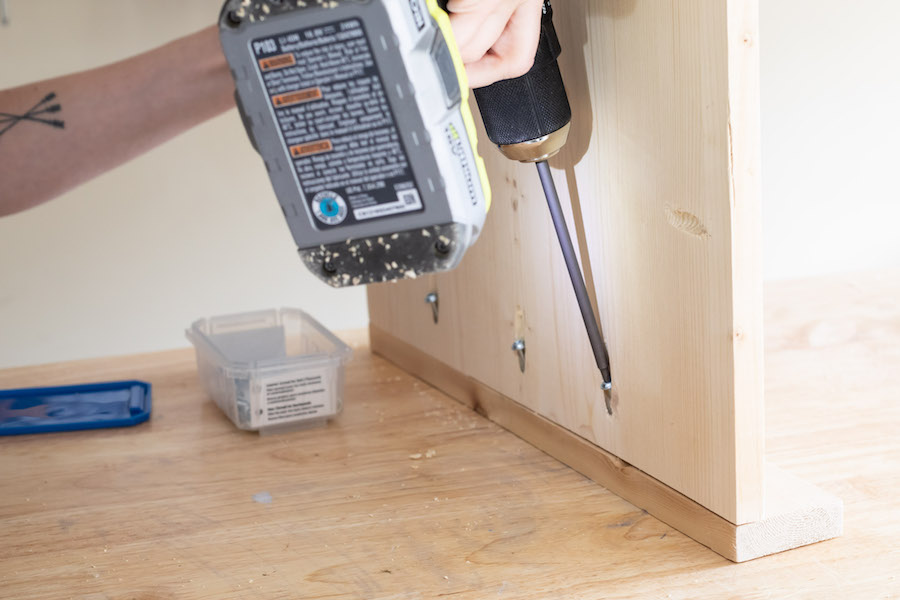
Assemble
Attach the 25 ½” long side pieces to the project panel using 1 ¼” pocket hole screws, situating it so your pocket holes will end up on the bottom of the tray and therefore not visible.
Flip it over and attach the 15 ¾” long 1x3 pieces to the side pieces using one pocket hole screw on each end.
Flip it over again and secure the 15 ¾” long end pieces to the bottom project panel piece using 1 ¼” pocket hole screws.
-
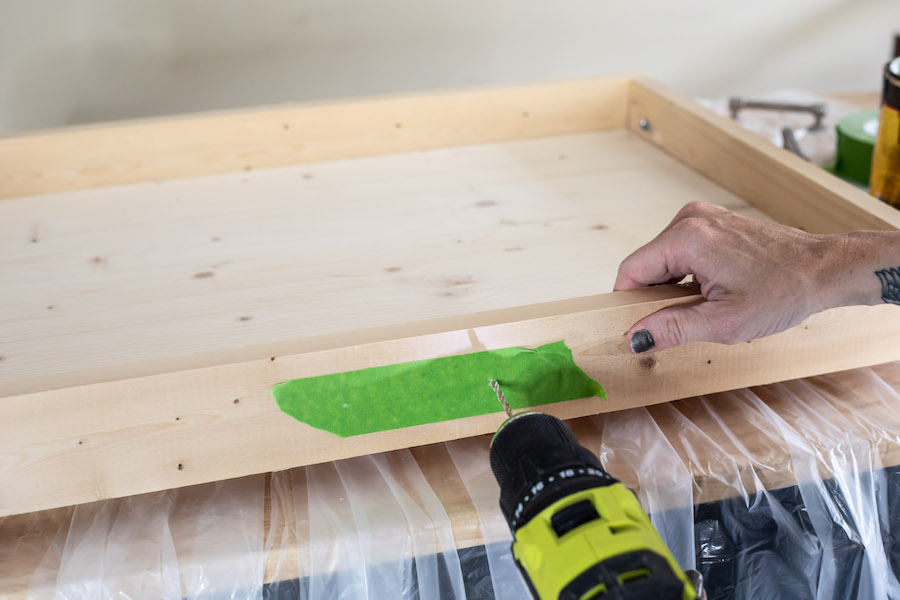
Drill Holes for Hardware
Measure and mark your hardware placement centered on each of the longer sides of your tray. I find it easiest to use a strip of painter’s tape and stick it on the drawer pull, marking the holes, and then stick it onto the tray and use it as a template to drill through.
-
Paint or Stain
Customize your tray with any color paint or stain you choose. For this one, I used a Provincial colored stain.
-
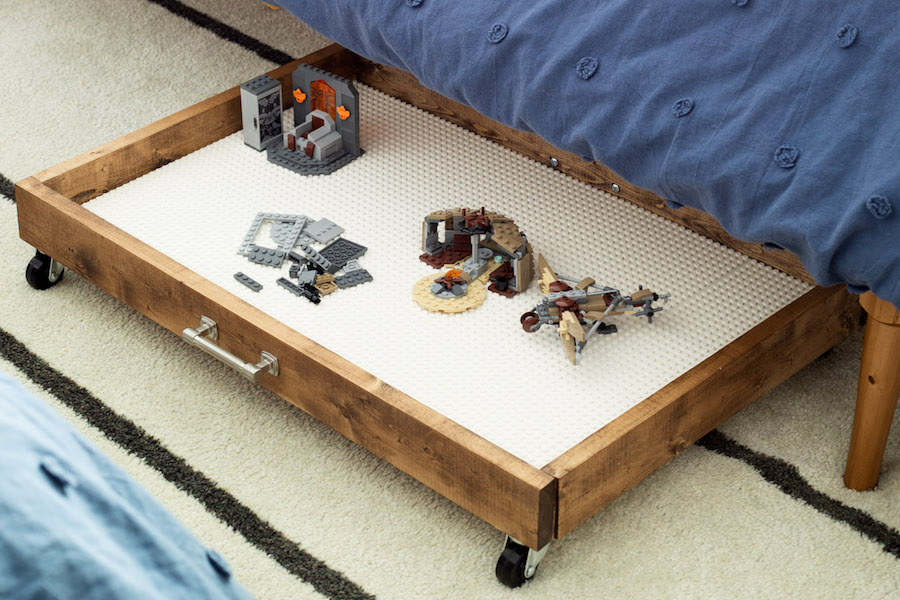
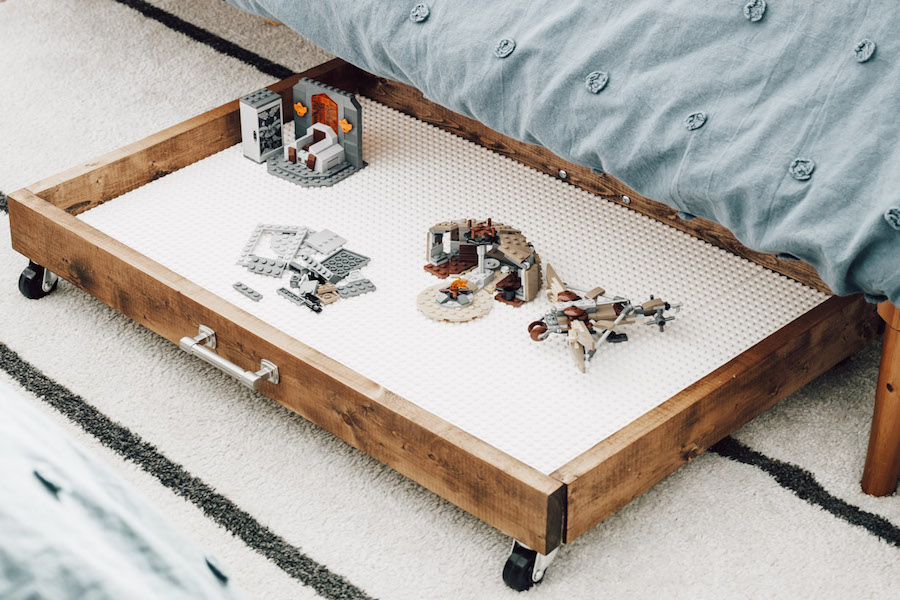
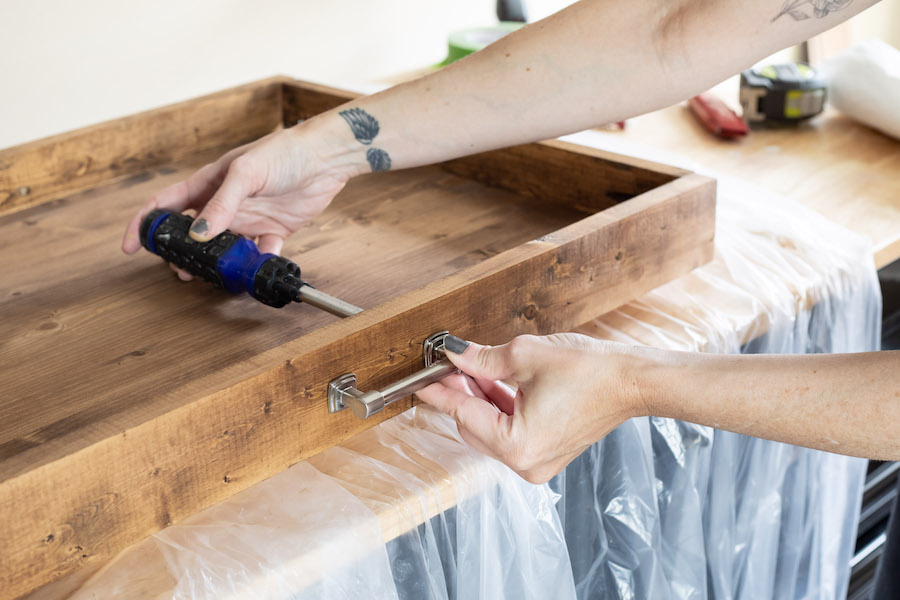
Add Casters and Hardware
Attach small casters to the bottom at each corner. Install your drawer pulls into your pre-drilled holes on each side.
-
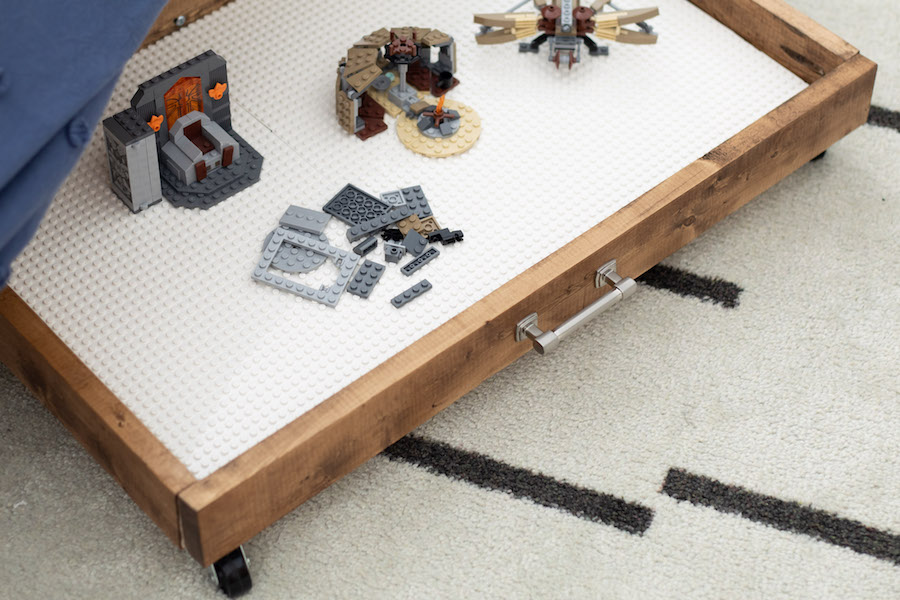
(Optional) Add LEGO Baseplates
You can add LEGO base plates and either make them removable, or attach them to the tray using hot glue. You can use a utility knife to trim them to size by scoring them and then snapping them in half.