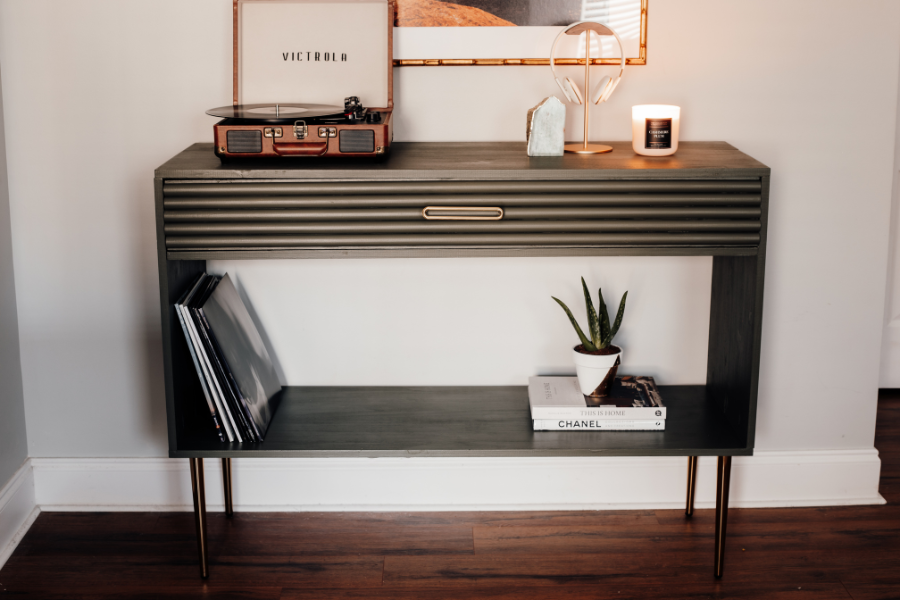
DIY Record Player Table
By Erin SpainThis DIY record player table can double as a media console, and you can customize it with any color or finish you choose!
Directions
-
Cut Your Wood
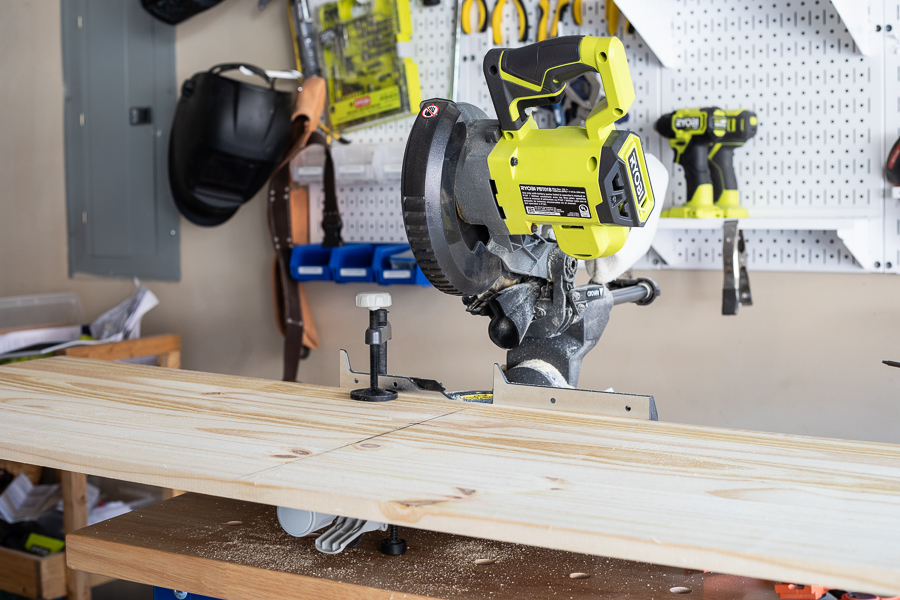
Cut your wood to the listed dimensions. I used a miter saw for this.
-
Drill Pocket Holes
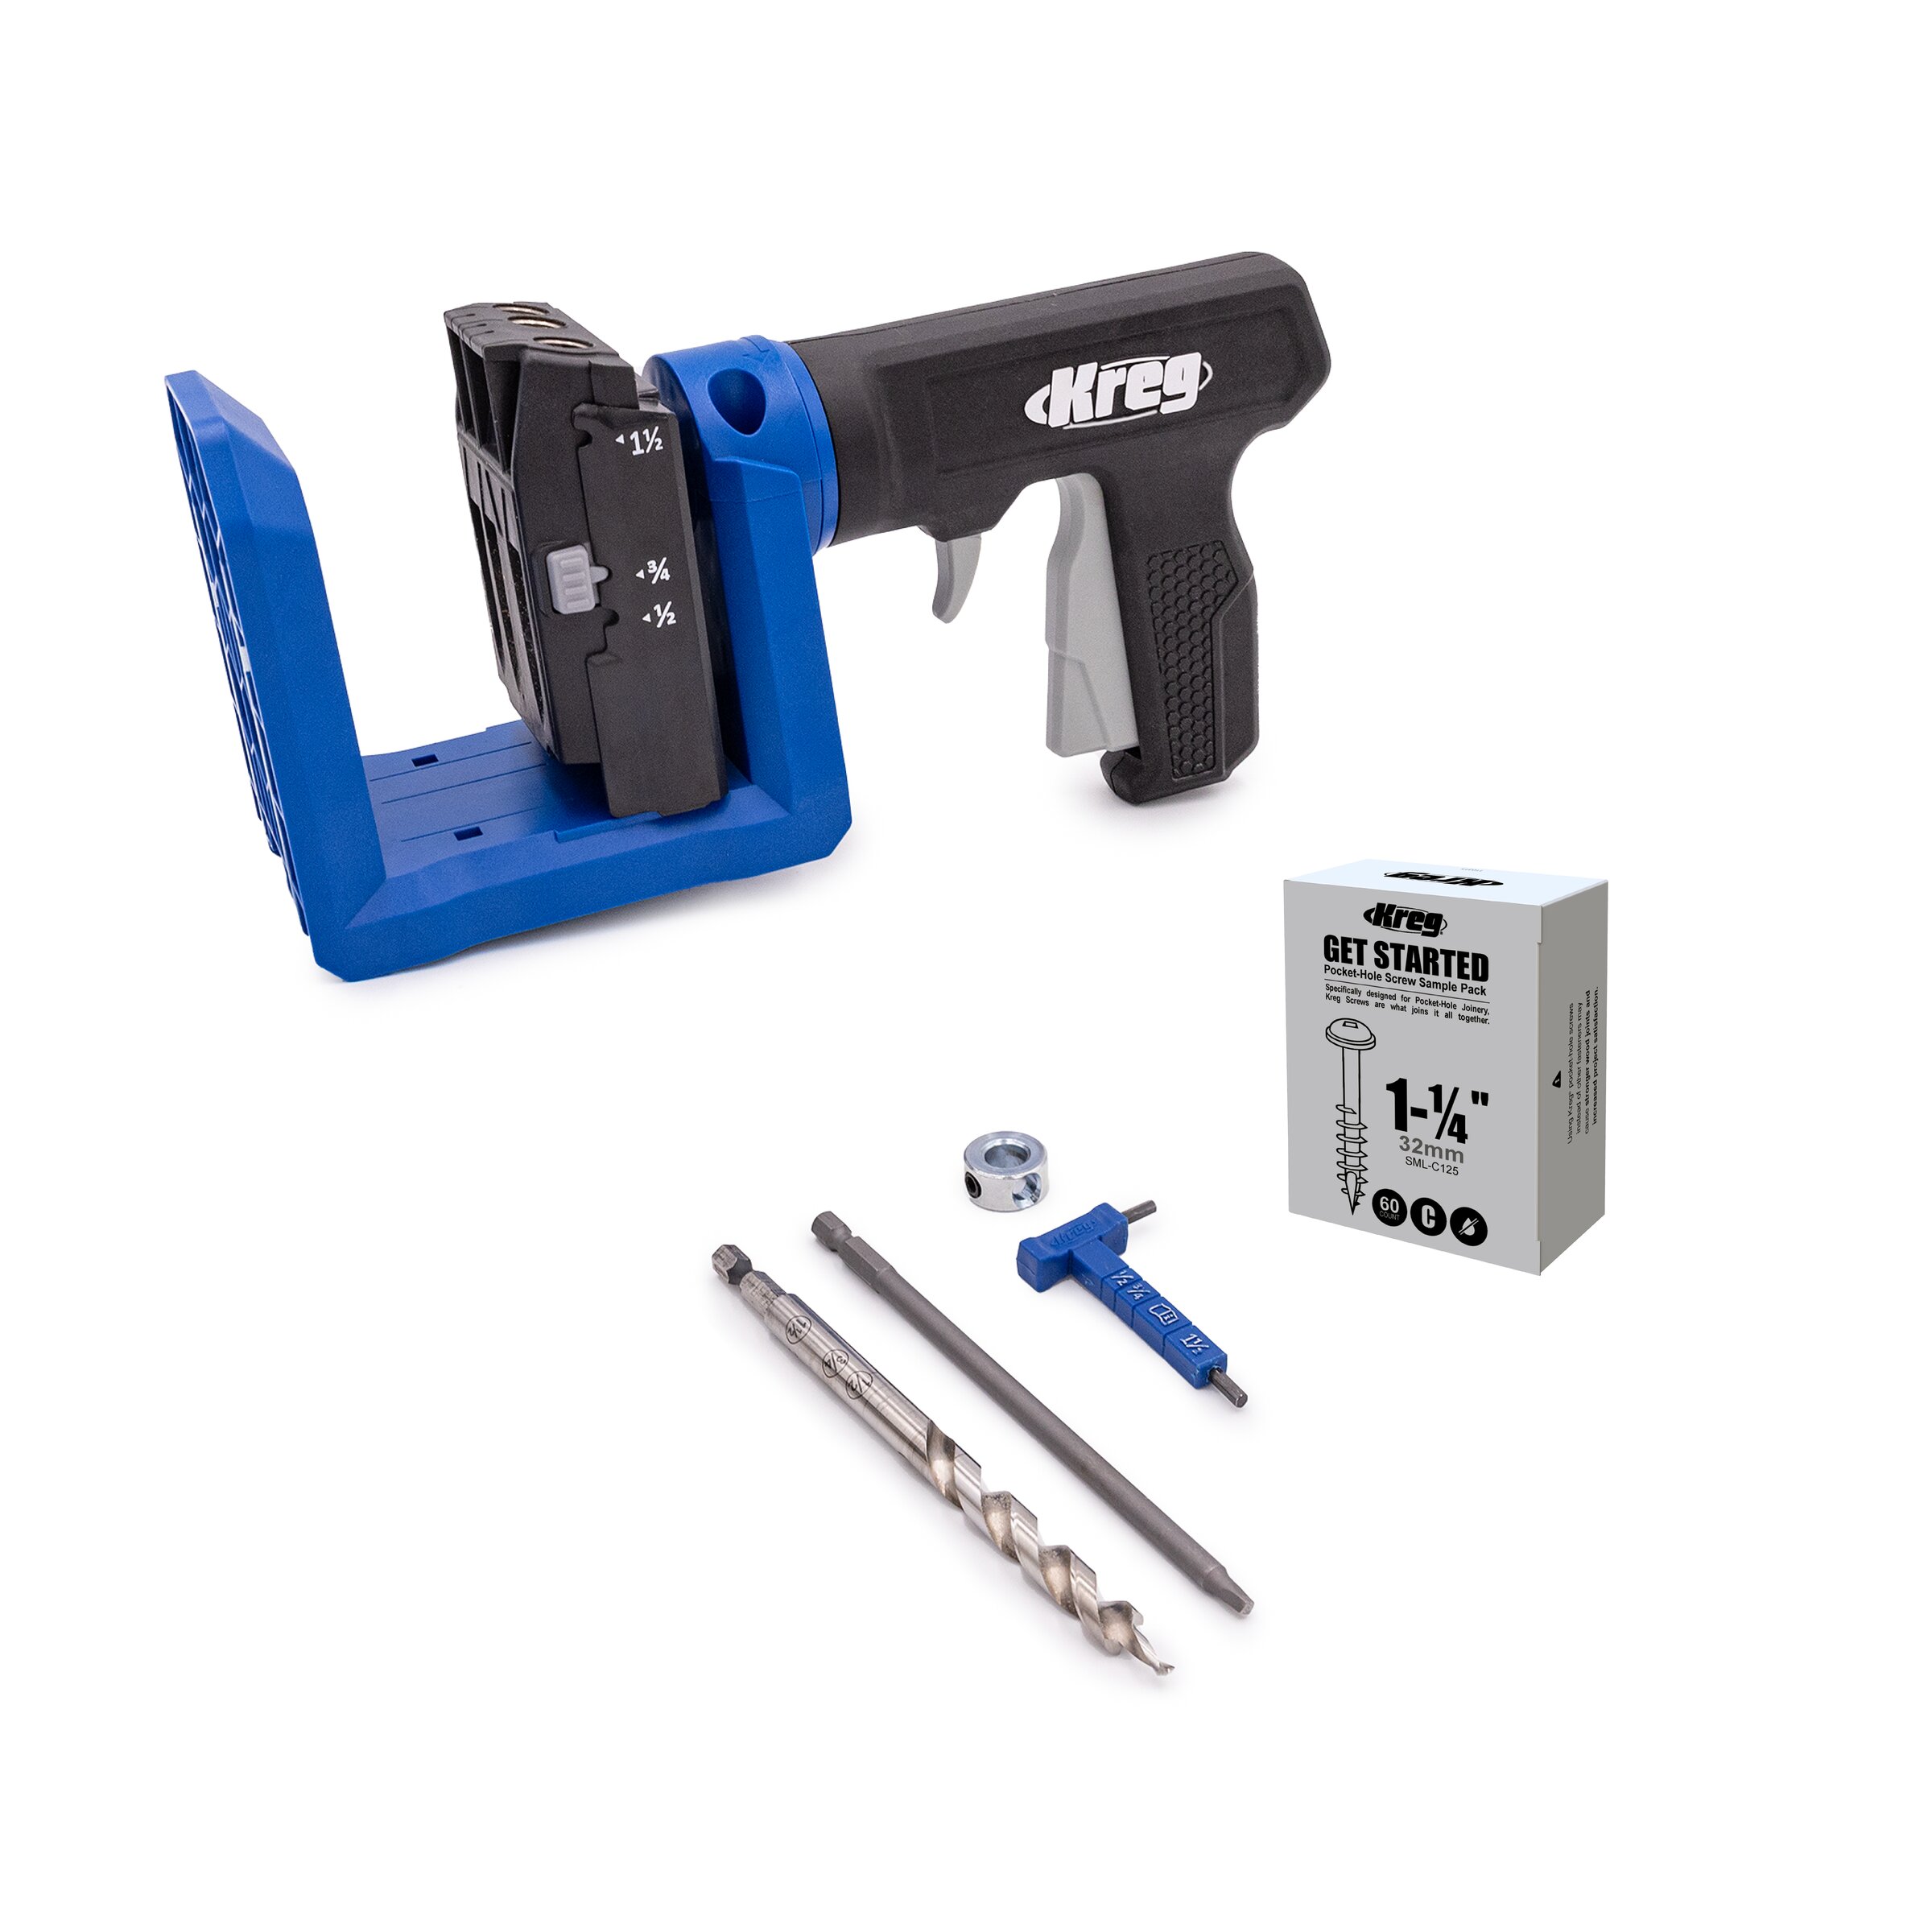
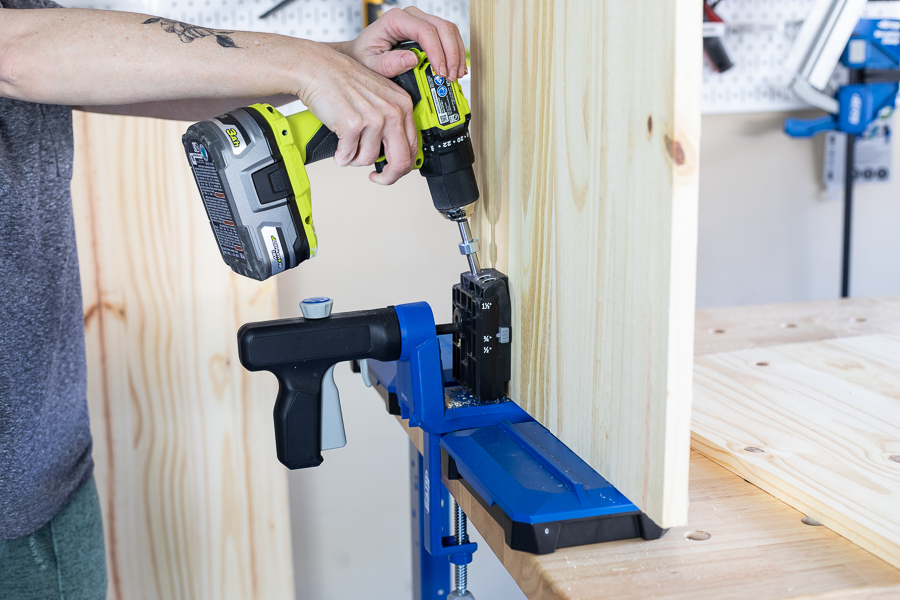
I used the Kreg Jig 520PRO for this. Drill pocket holes as follows:
3 holes along each short end of the side pieces (22 1/2" long project panels)
3 holes along each short end of the 46 1/6" long compartment shelf project panel. -
Drill Hinge Holes
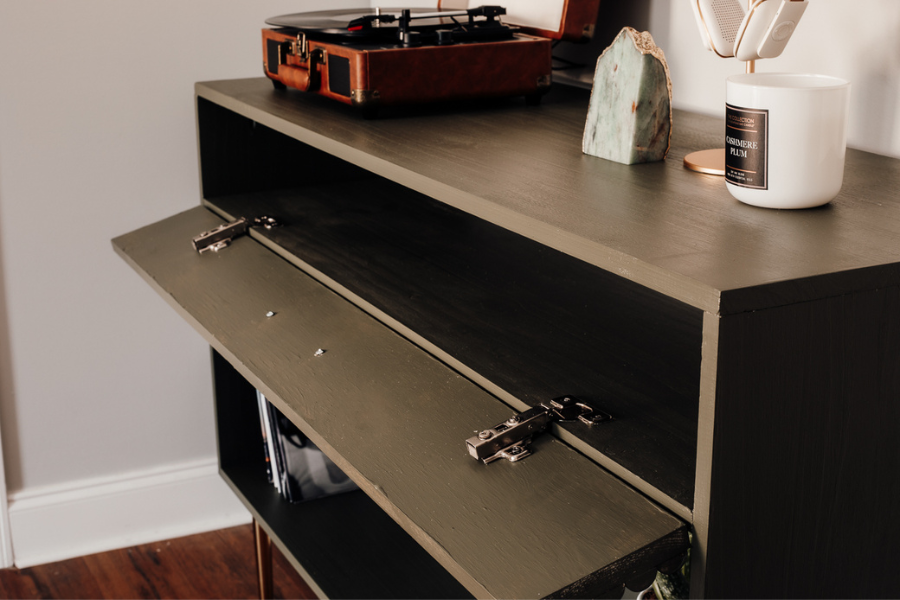
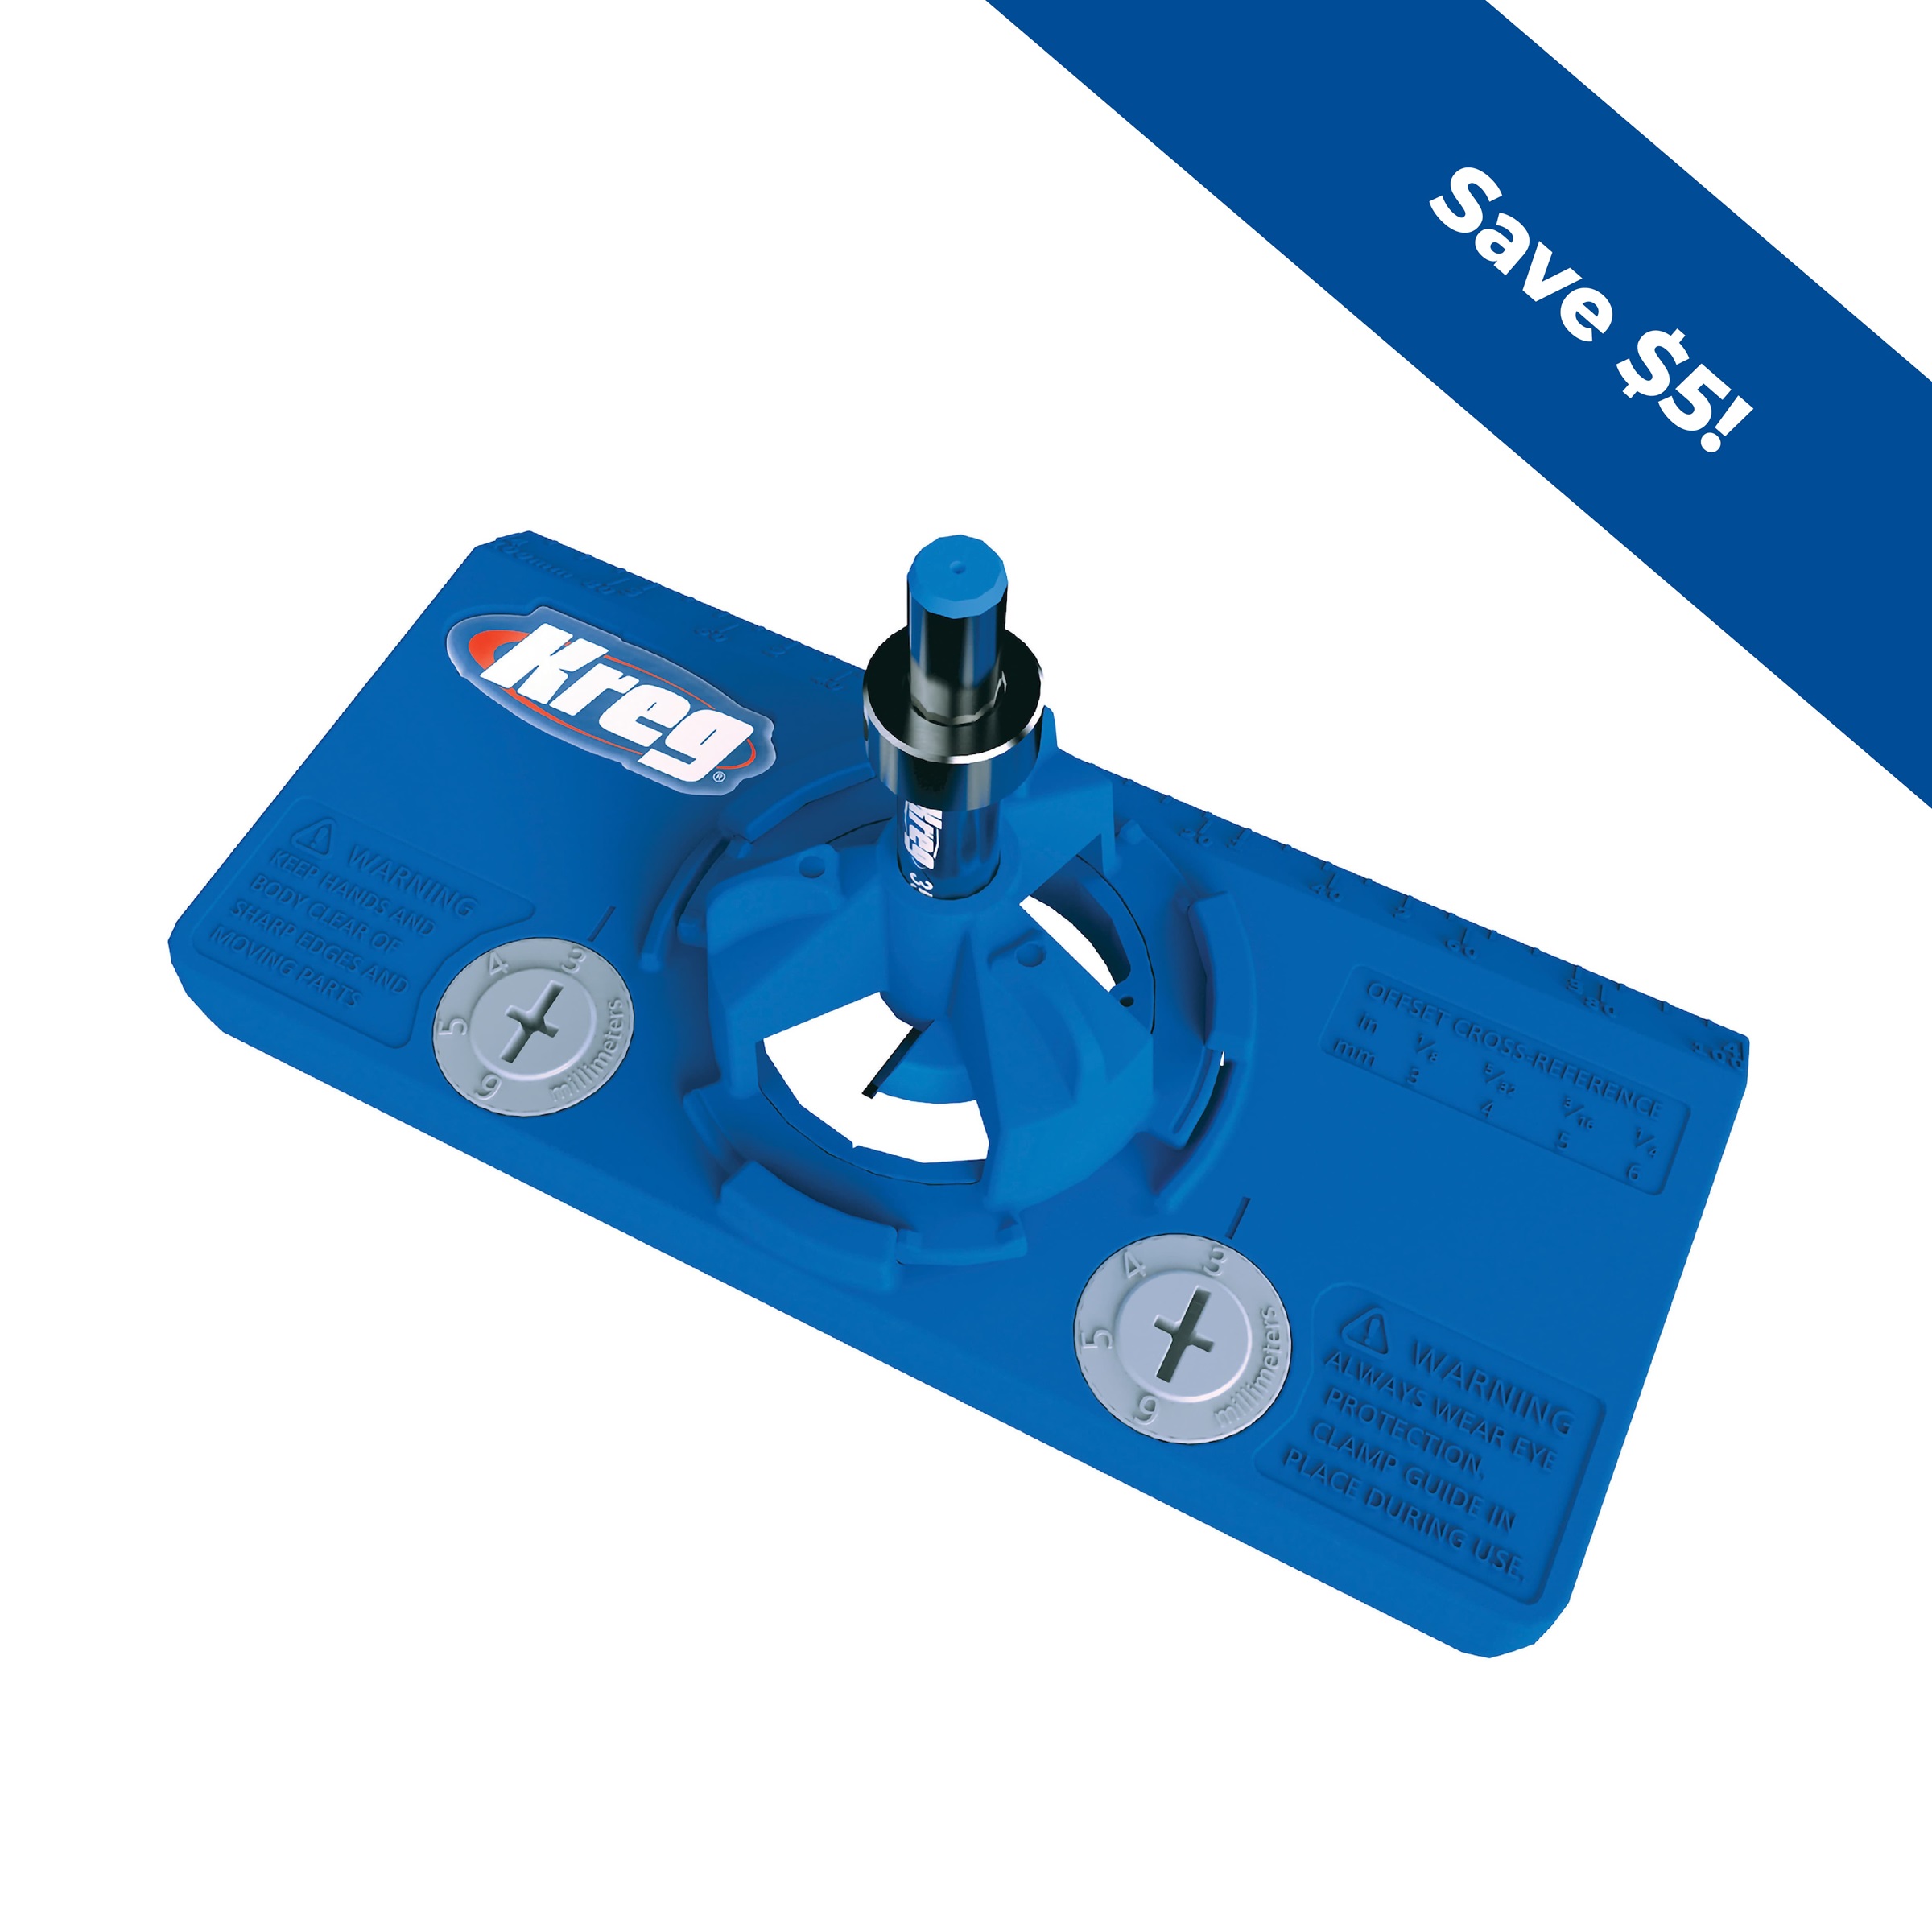
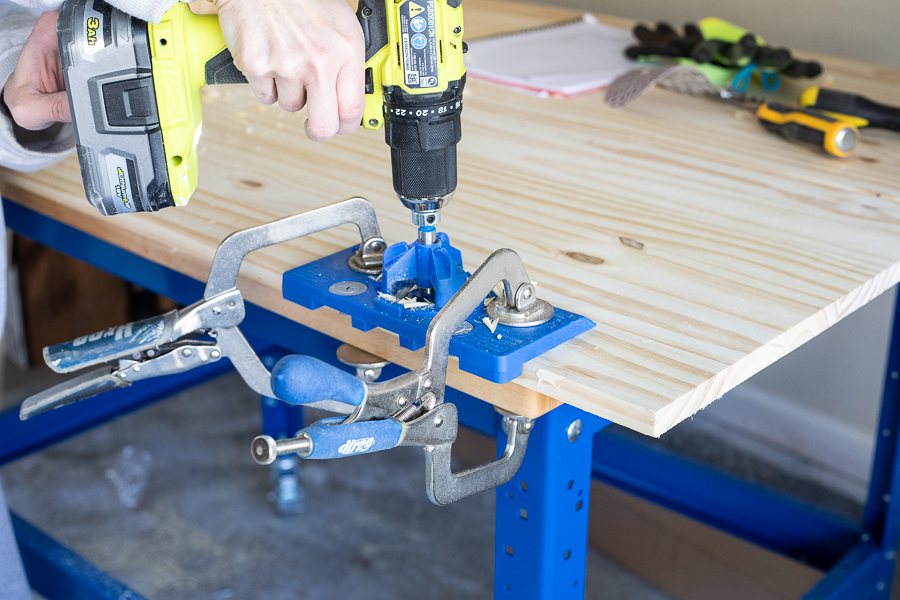
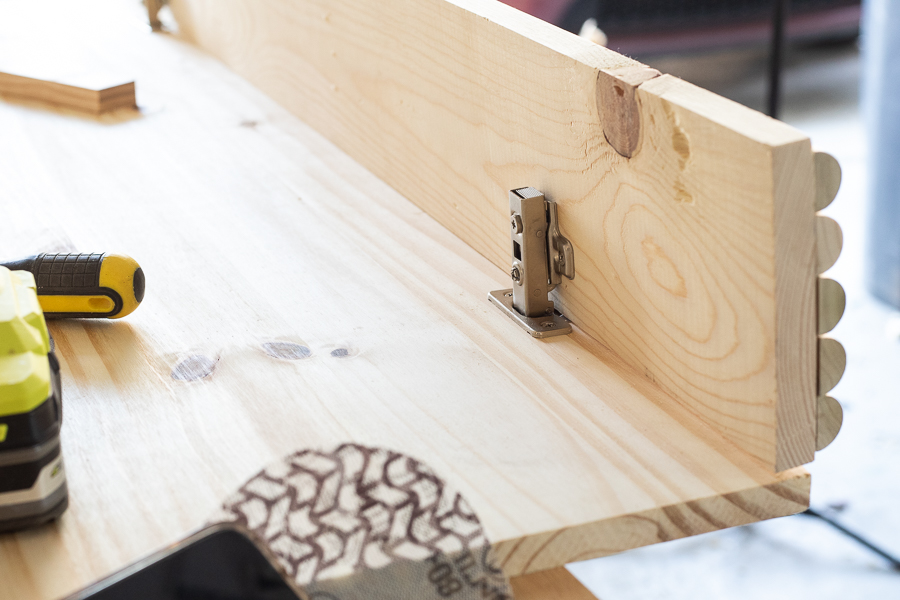
Using a concealed hinge jig, drill two holes, each of them about 8 inches in from the outer edge of your compartment shelf project panel piece. Depending on the type of hinge you use, you may have to adjust the positioning. Follow instructions that come with your hinges and adjust your jig accordingly. Install hinges.
-
Sand
Sand everything smooth.
-
Attach Sides to Top and Bottom
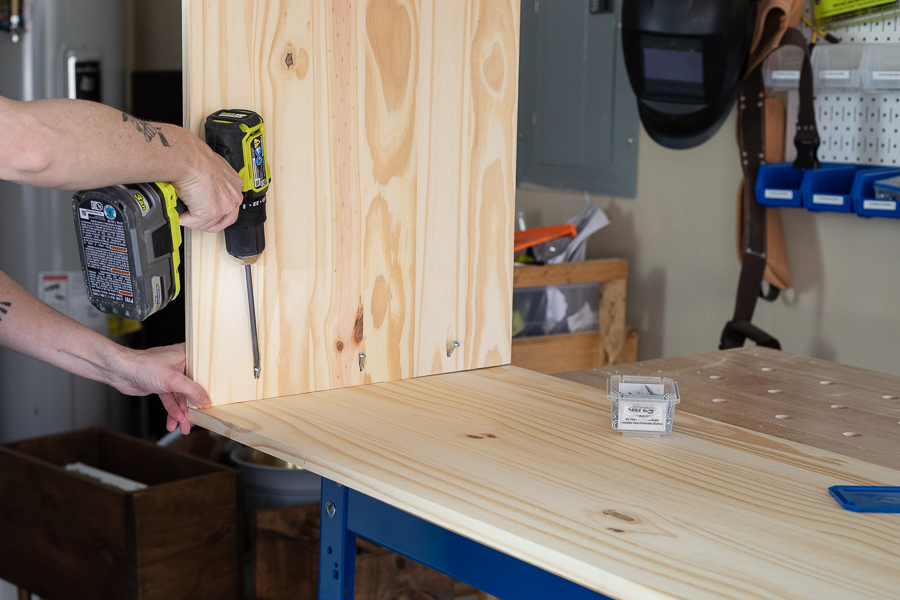
Attach the side pieces to the top and bottom using 1 3/4" pocket hole screws.
-
Attach Dowel Rods
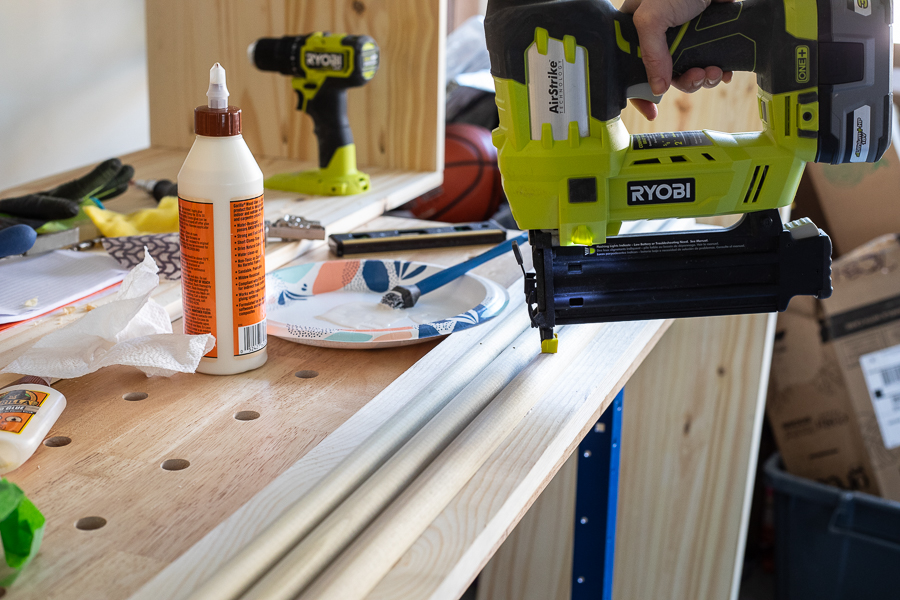
Using wood glue and a brad nailer, attach the split dowel rods to the 1x6 board, centering the first one and then using that as a guide so they are all even and level. Patch over nail holes using wood filler. (I like to patch over wood knots too so they don't bleed through the paint.)
-
Attach Compartment
Attach compartment door to compartment shelf using the hinges, then attach it to the table/box you've already built using 1 3/4" pocket hole screws. I attached all of it as one piece so that I could ensure it was placed correctly and spacing was adjusted accordingly. Then I removed the compartment door in order to paint.
-
Paint
Paint or stain your piece. I primed mine and then used an olive green interior latex paint in an eggshell finish. I added a furniture paste wax for protection.
Attach Legs
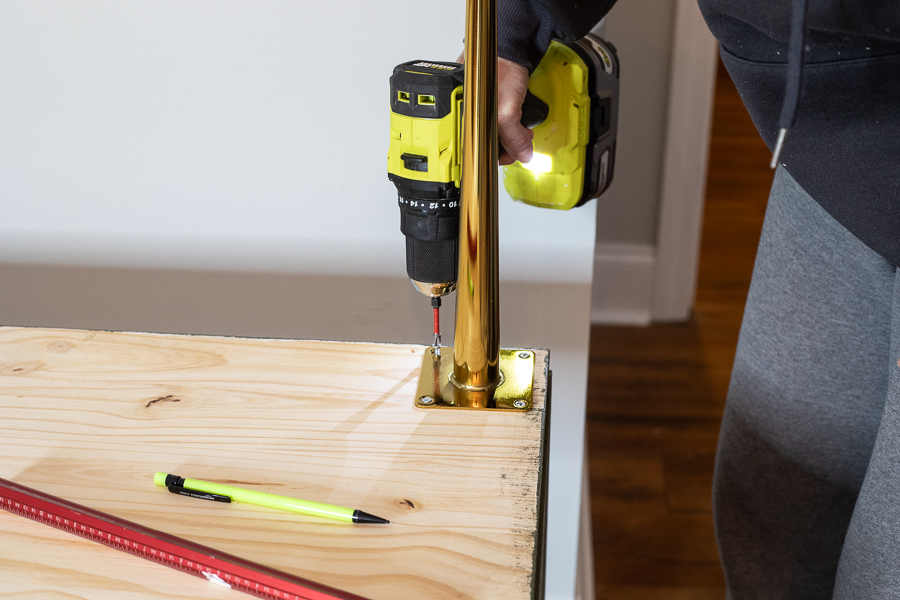
Attach legs with 1/4" screws (or whatever screws come with the prefabricated legs you choose). I found some brass furniture legs online.


