

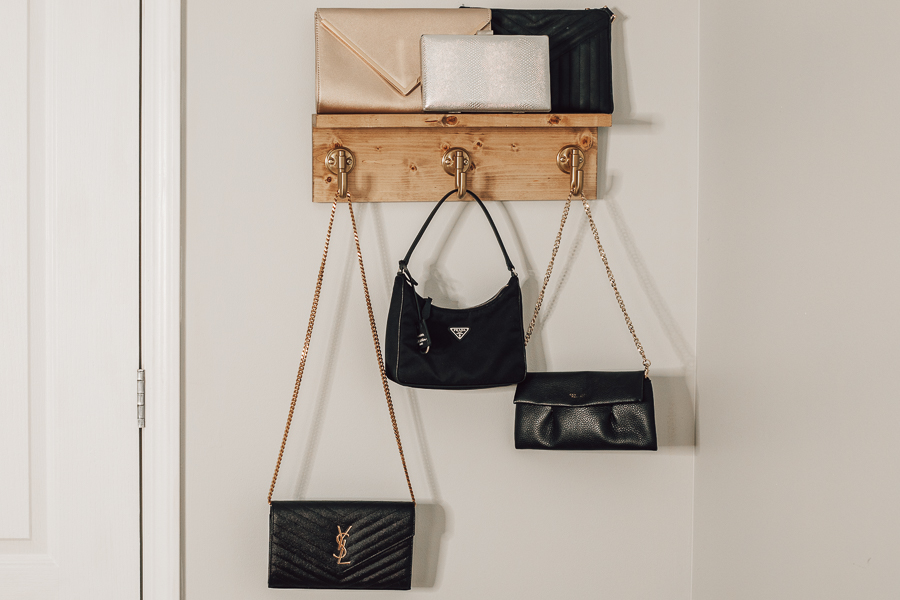
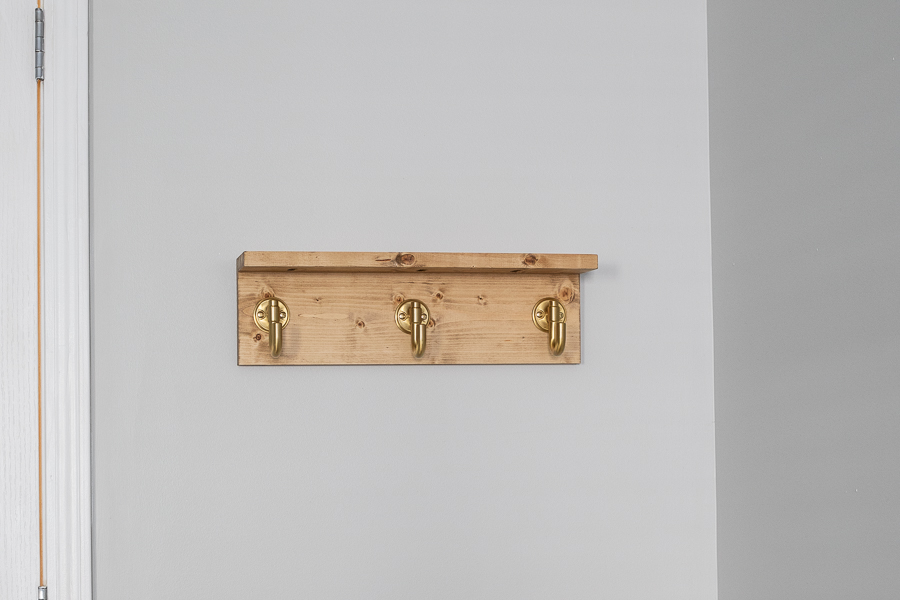


This DIY purse rack is a simple beginner woodworking project and can be customized to your personal style by altering the length and finish.
Tools
Kreg Tools


Other Tools
-
Saw

Materials
Wood Products
- 1 1x6 Board , 1x6x6
- 1 1x3 Board , 1x3x6
Hardware & Supplies
- 3 Purse/Coat Hooks
- 2 Picture Hanging Hardware
- 1 Screwdriver
- 1 Stain or Paint
- 1 Speed Square
- 3 1 1/4" Pocket Hole Screws
Directions
-
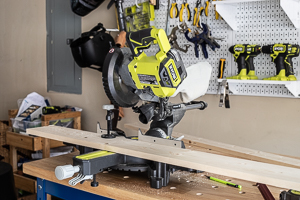
Cut Wood
Cut boards for back and top of purse rack to listed dimensions (or modify if you want it to be longer).
-
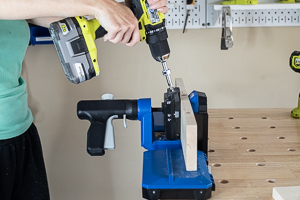
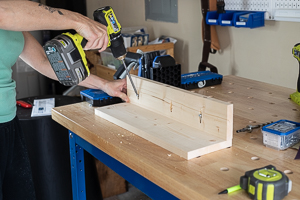
Drill Pocket Holes
Drill 3 pocket holes along one side of your 1x3 board.
-
Sand
Sand everything smooth.
-
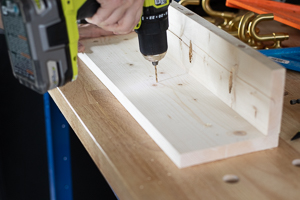
Attach Top and Side
Attach your 1x3 board to your 1x6 board using 1 1/4" pocket hole screws.
-
Drill Holes for Hooks
Measure, mark, and drill holes for your purse hooks. I found it helpful to use a speed square to make sure my holes would be straight and level.
-
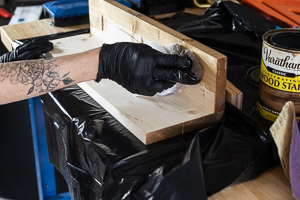
Stain
Stain or paint your purse rack. I used an Early American color stain.
-
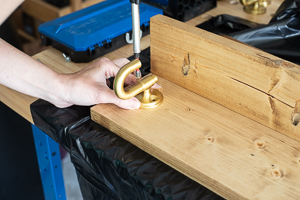
Attach Hooks
Attach hooks. I used the screws that came with the hooks I ordered, and ended up having to use a Dremel to trim the backs since they were too long, so I recomend purchasing shorter screws separately.
-
Hang
Use picture hanging hardware to attach your rack to the wall.