DIY Padded Sofa
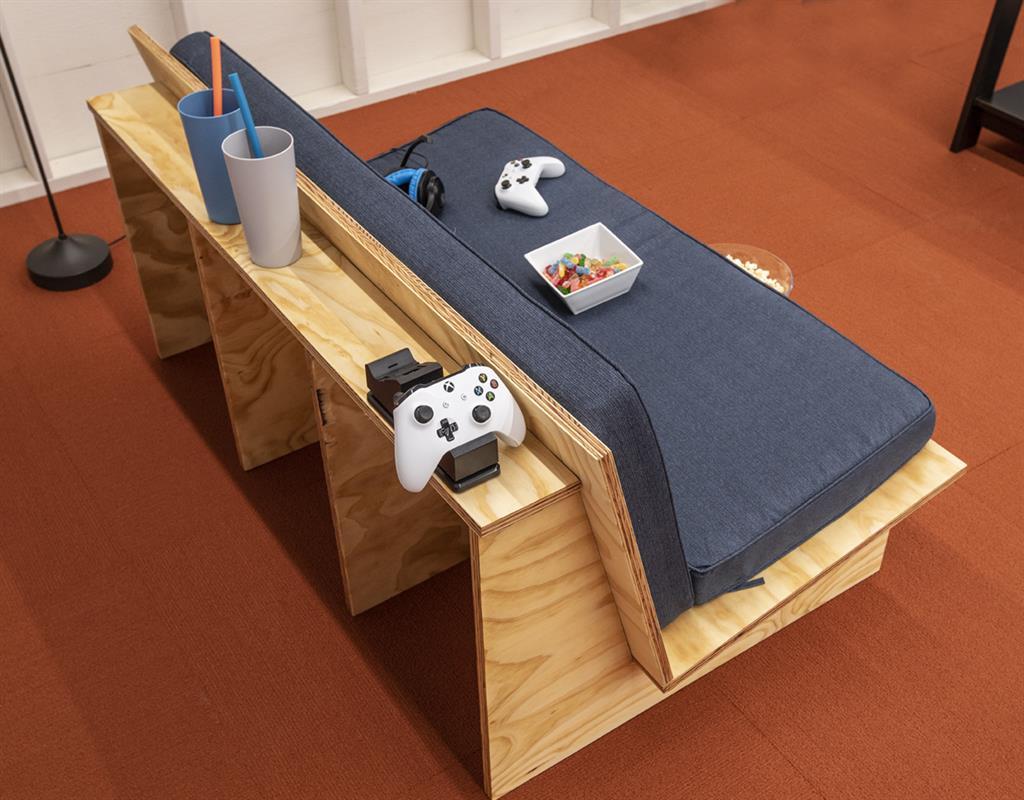
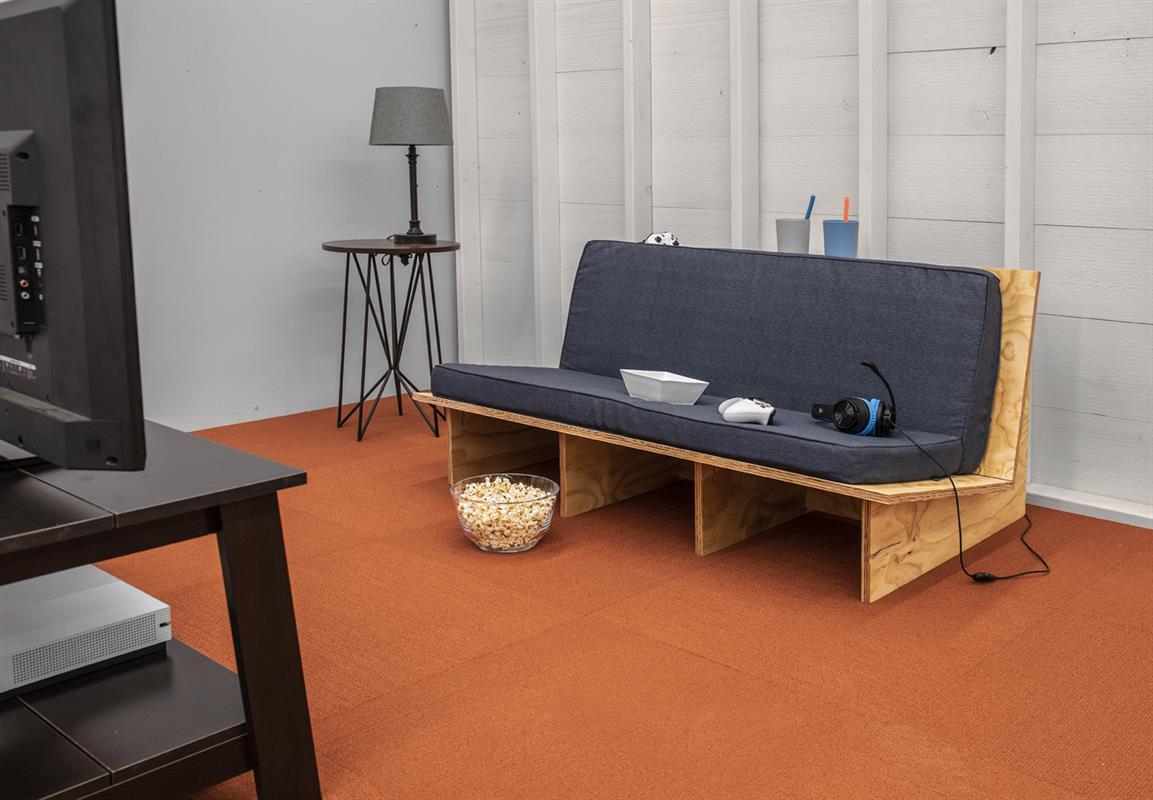
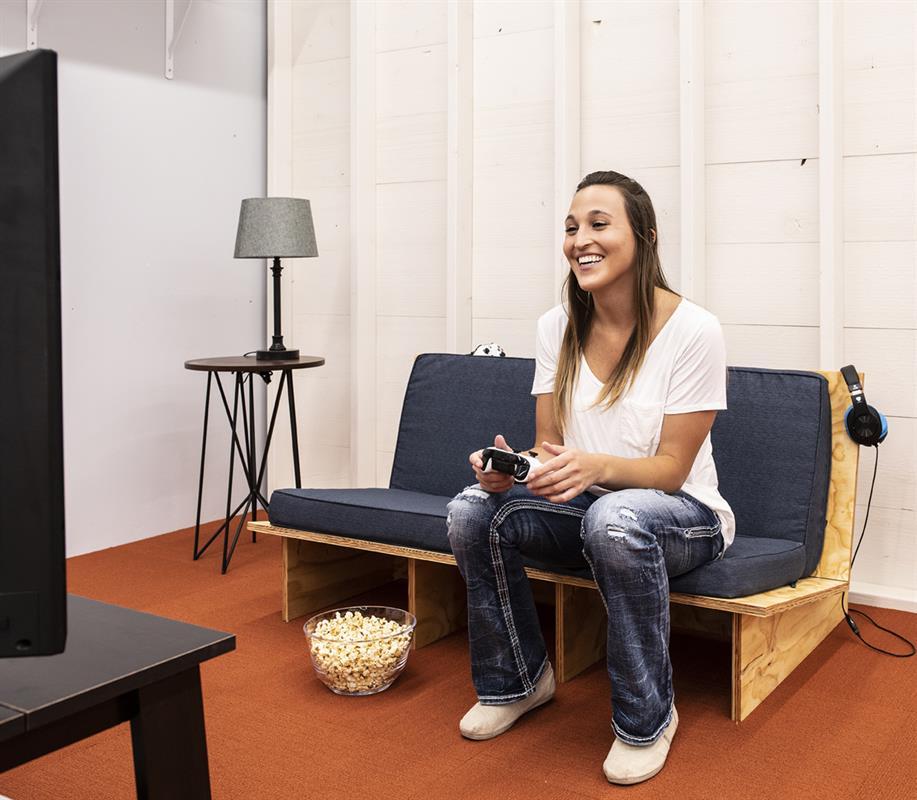
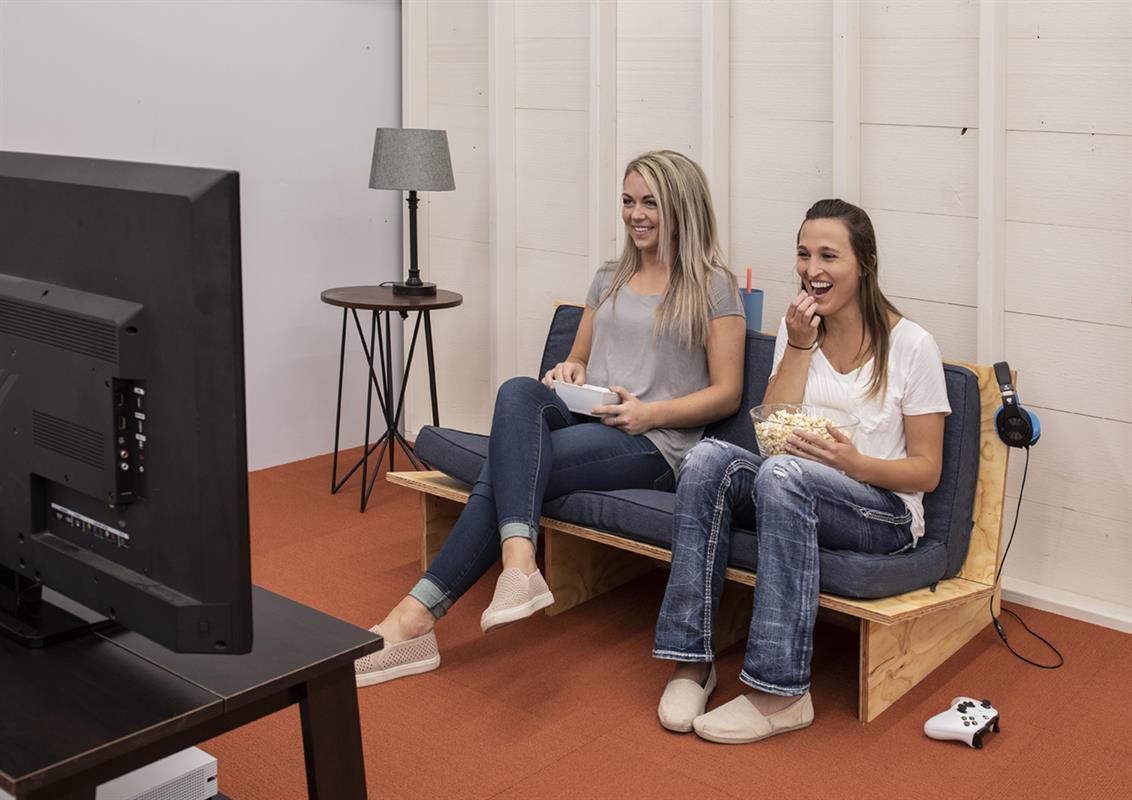
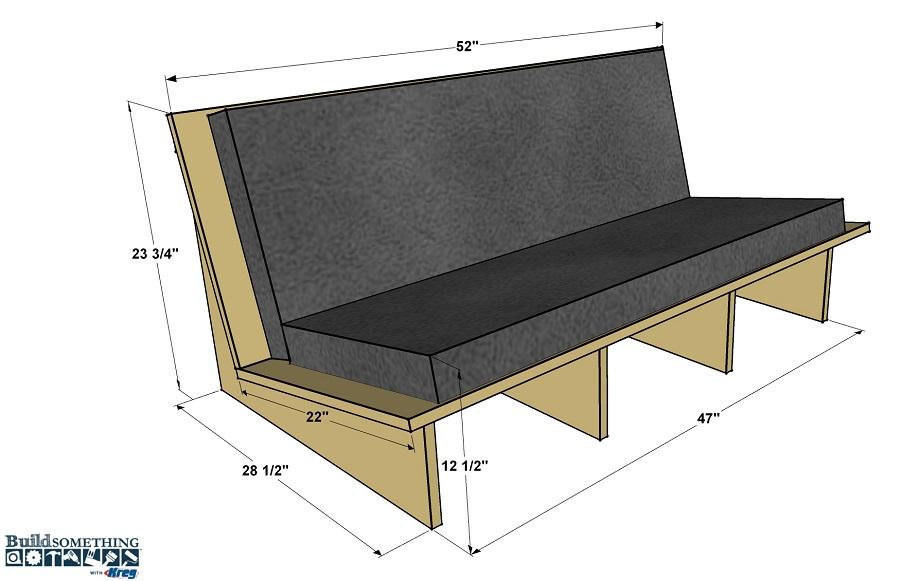
By Kreg ToolAdd comfy seating to your game room, kids’ room, or dorm room for around $100! This stylish sofa is made with just one sheet of 3/4" plywood and a couple of off-the-shelf indoor/outdoor cushions. With so many colors and styles available, the customization possibilities are almost endless.
Directions
-
Make the Shelf and Braces
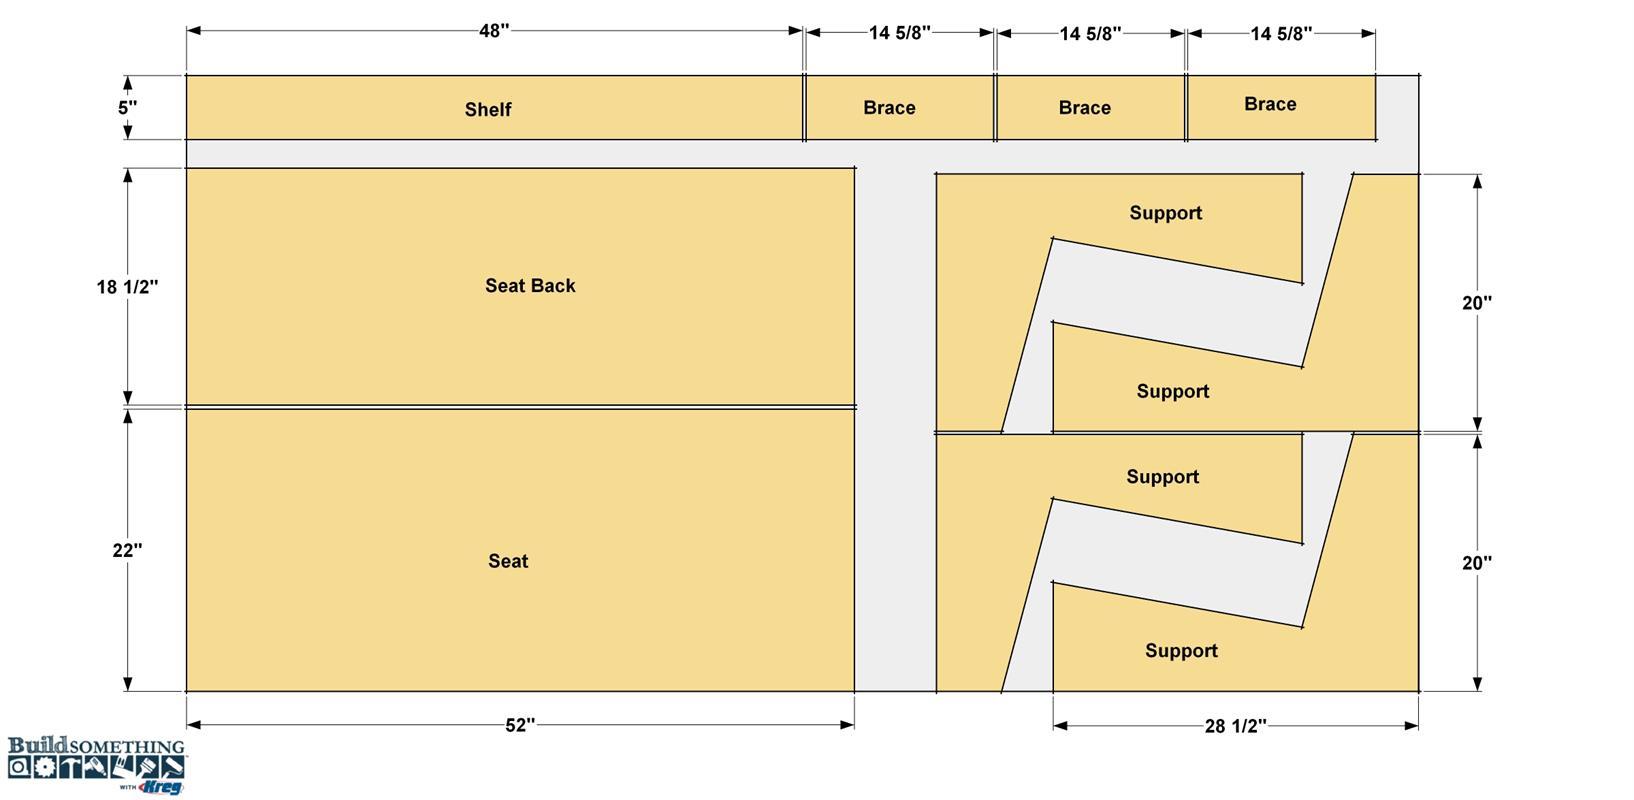
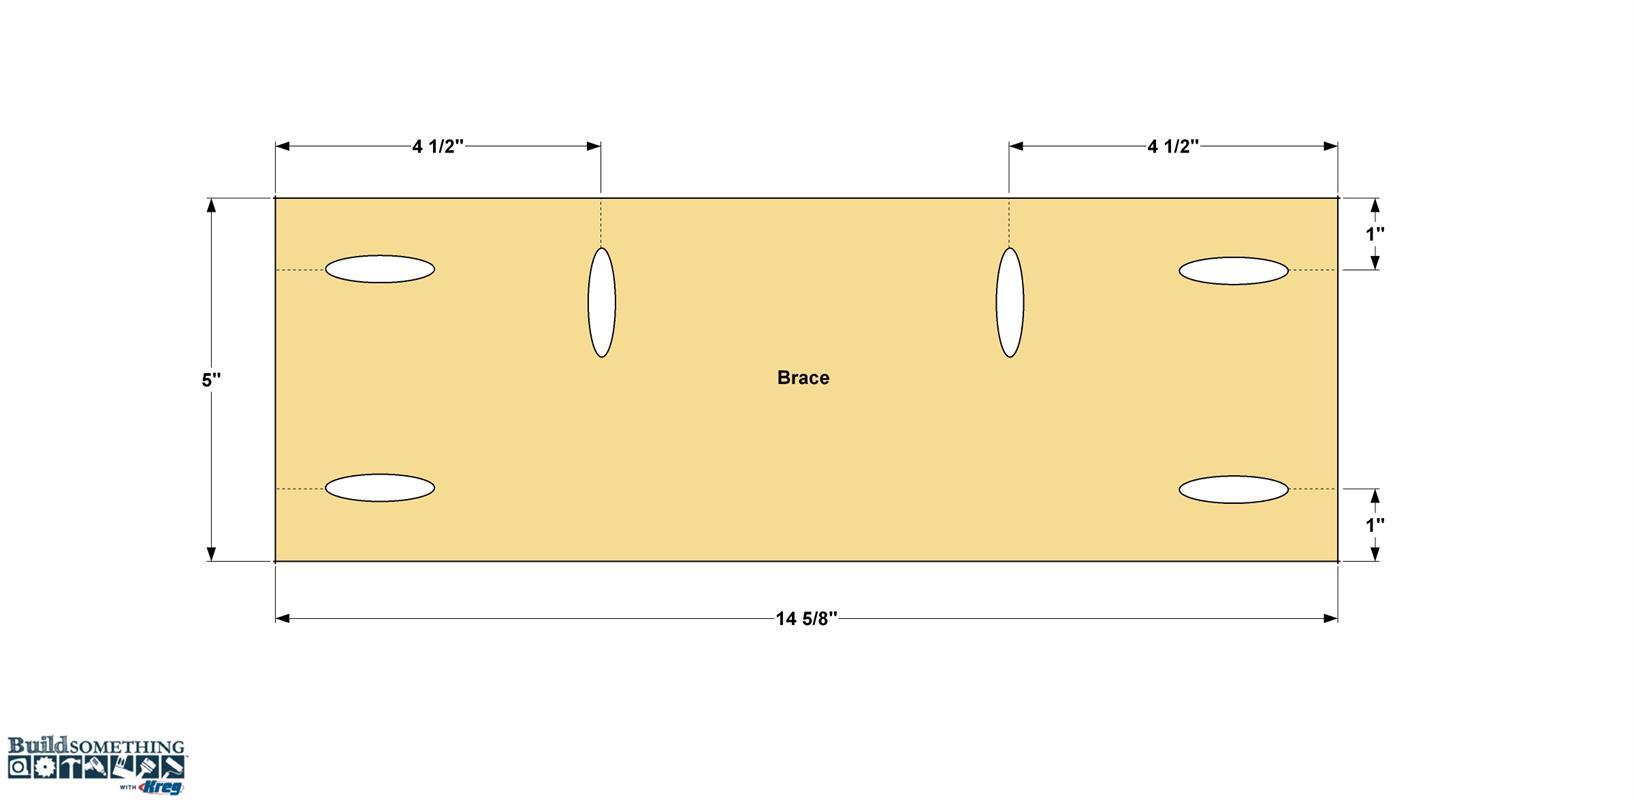
Start by ripping the one Shelf and three Braces from a sheet of 3/4"-thick sanded plywood, as shown in the cutting diagram. A saw guide makes it easy to make straight, accurate cuts. You can learn more in the How-To video below. Next, cut each part to final length. Set your Kreg Jig for 3/4" thick material, and then drill pocket holes in the three Braces at the locations shown. Sand the Braces and Shelf smooth, and set them aside for a later step.
-
Make the Supports
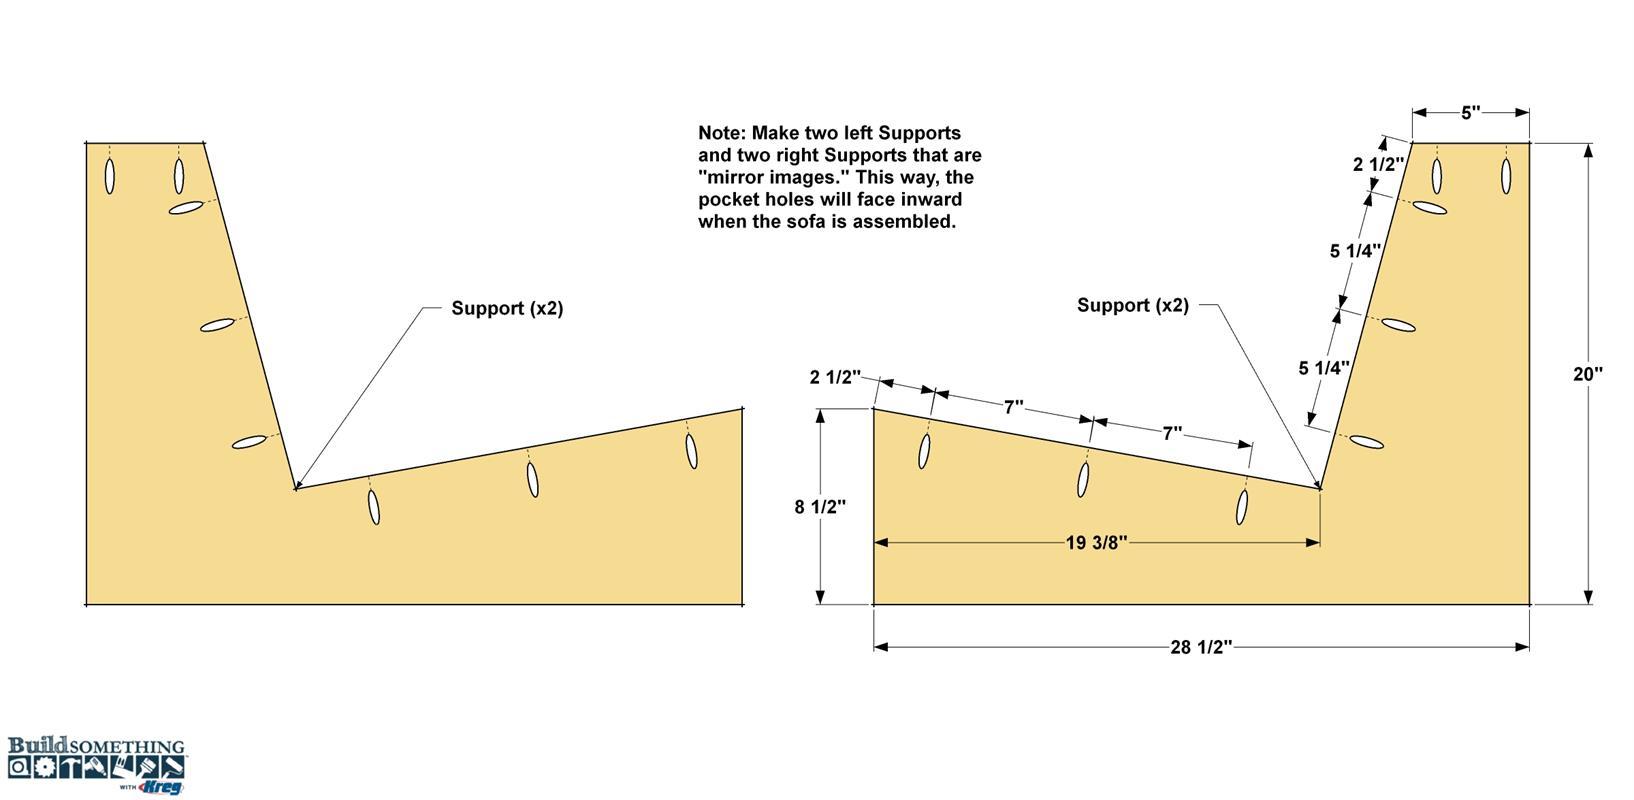
Use the dimensions shown to lay out the first Support where shown on the sheet of plywood. Now cut this Support using a jigsaw. For best results, cut just on the “waste” side of your layout lines, rather than trying to stay on the lines exactly. Then sand the edges up to the layout lines to get them flat and smooth. With the first Support done, use it as a pattern to trace out the remaining three Supports on the plywood, as shown. After you sand all the edges flat and smooth, drill pocket holes drill pocket holes on the four Supports at the locations shown. Note there are two “left” side and two “right” side Supports that mirror one another. Sand the faces smooth.
-
Assemble the Supports and Braces
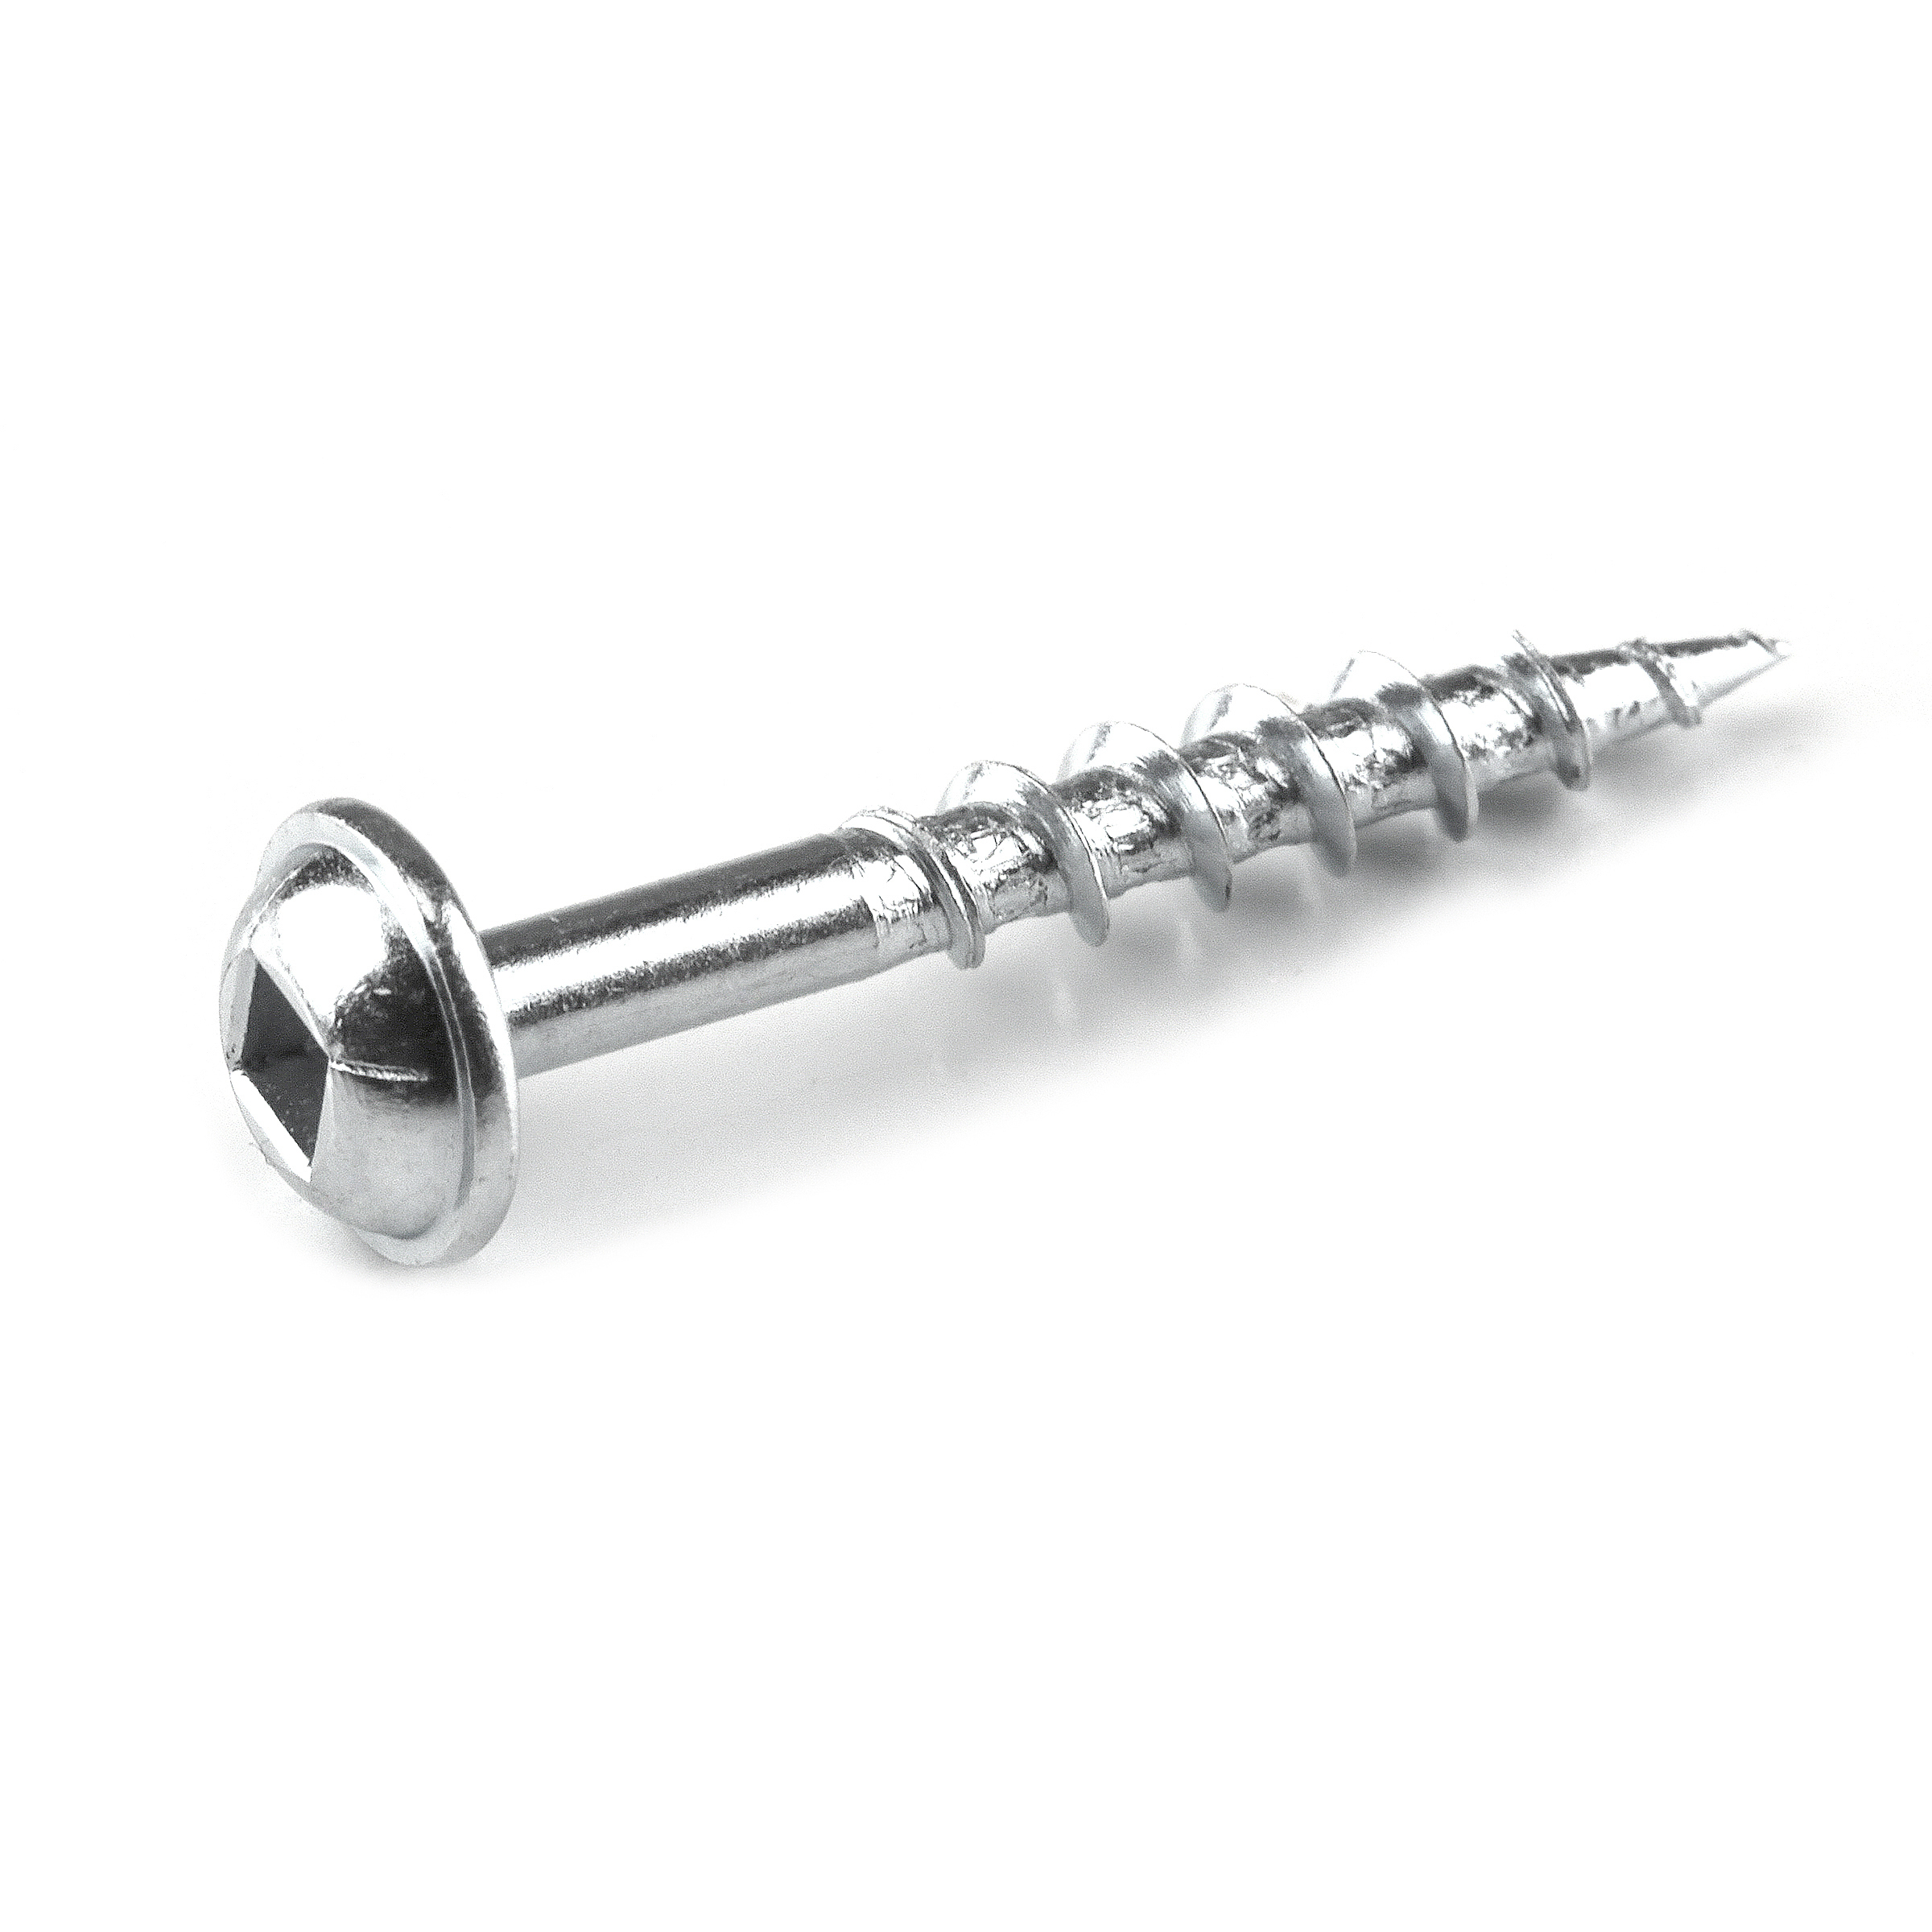
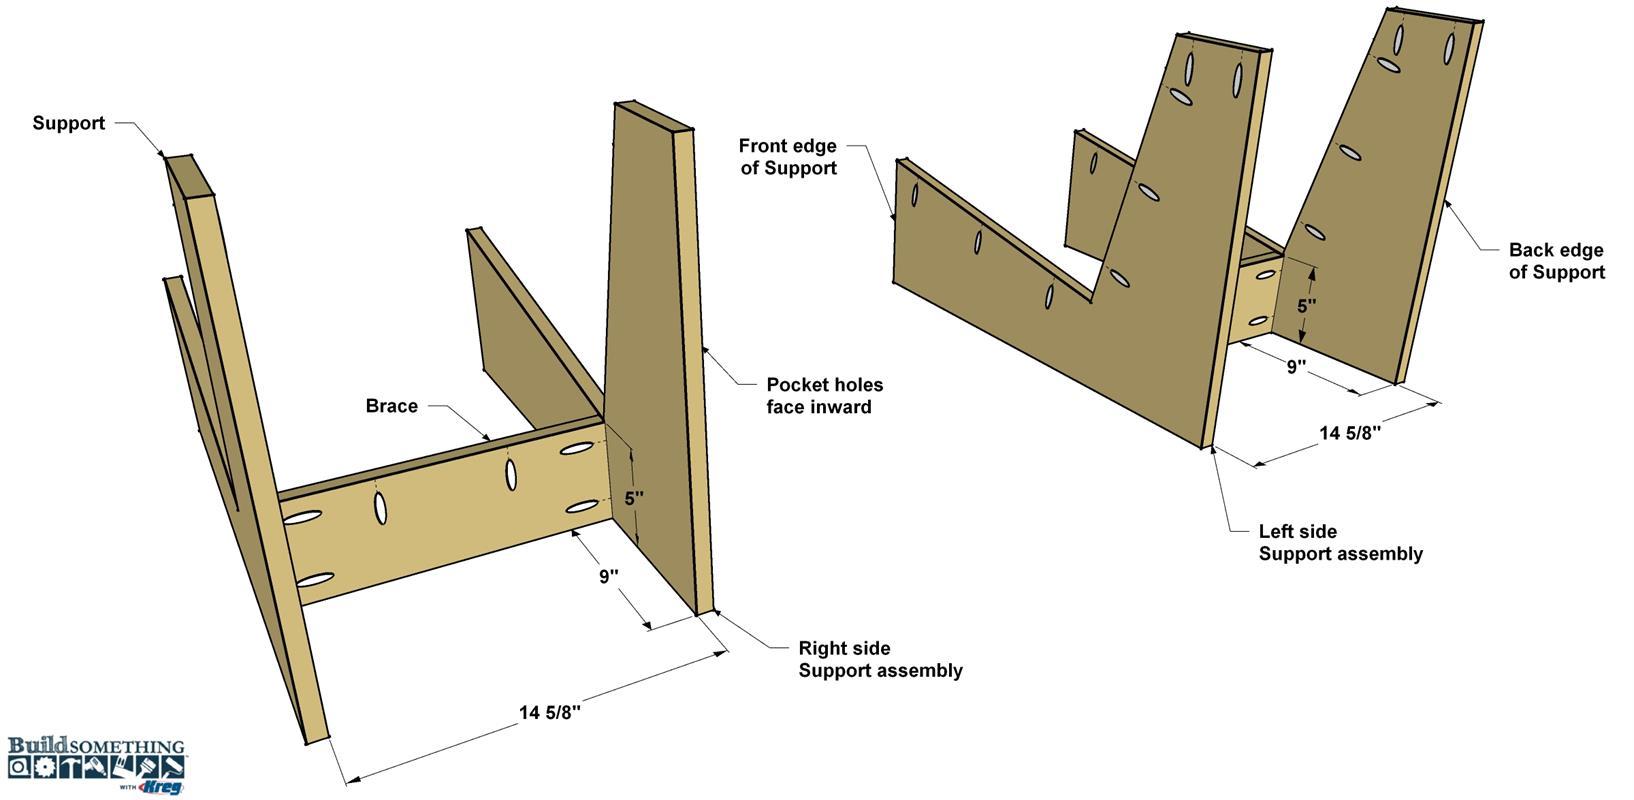
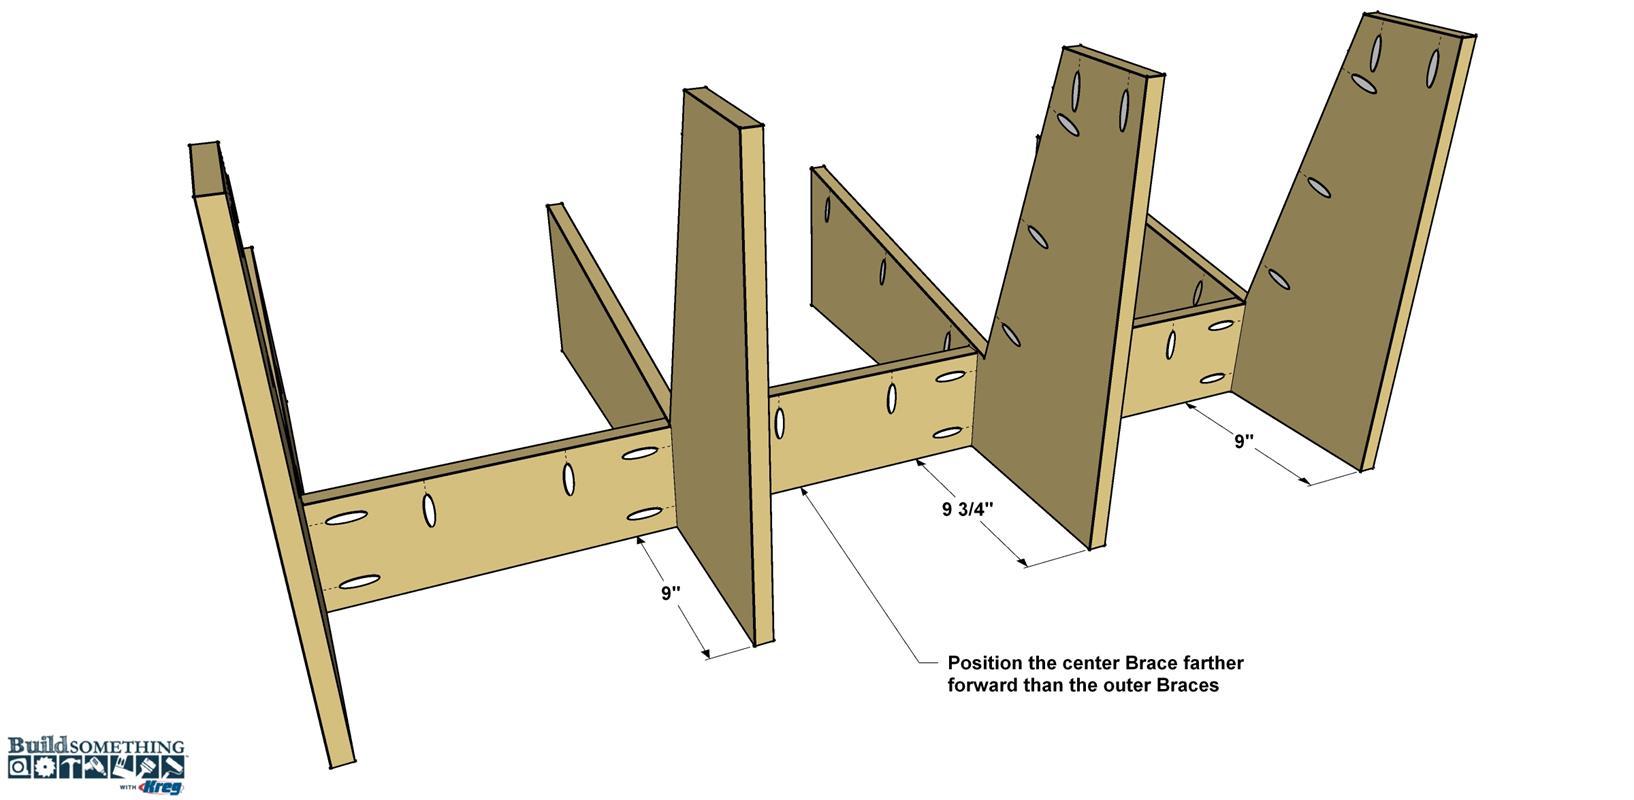
Start with two “left” Supports and one Brace. Position the Brace where shown, making sure it sits straight and square, and then attach the Brace to the Supports using 1 1/4" coarse-thread Kreg Screws. Repeat the same process for the “right” Supports.
-
Add the Center Brace
With the two side assemblies together, you can now add the center Brace to complete the base frame. Notice the center Brace is set 3/4" farther toward the front of the sofa than the side Braces. This is make sure the center Brace pocket hole screws are offset from the side Braces and don’t hit each other.
-
Attach the Seat
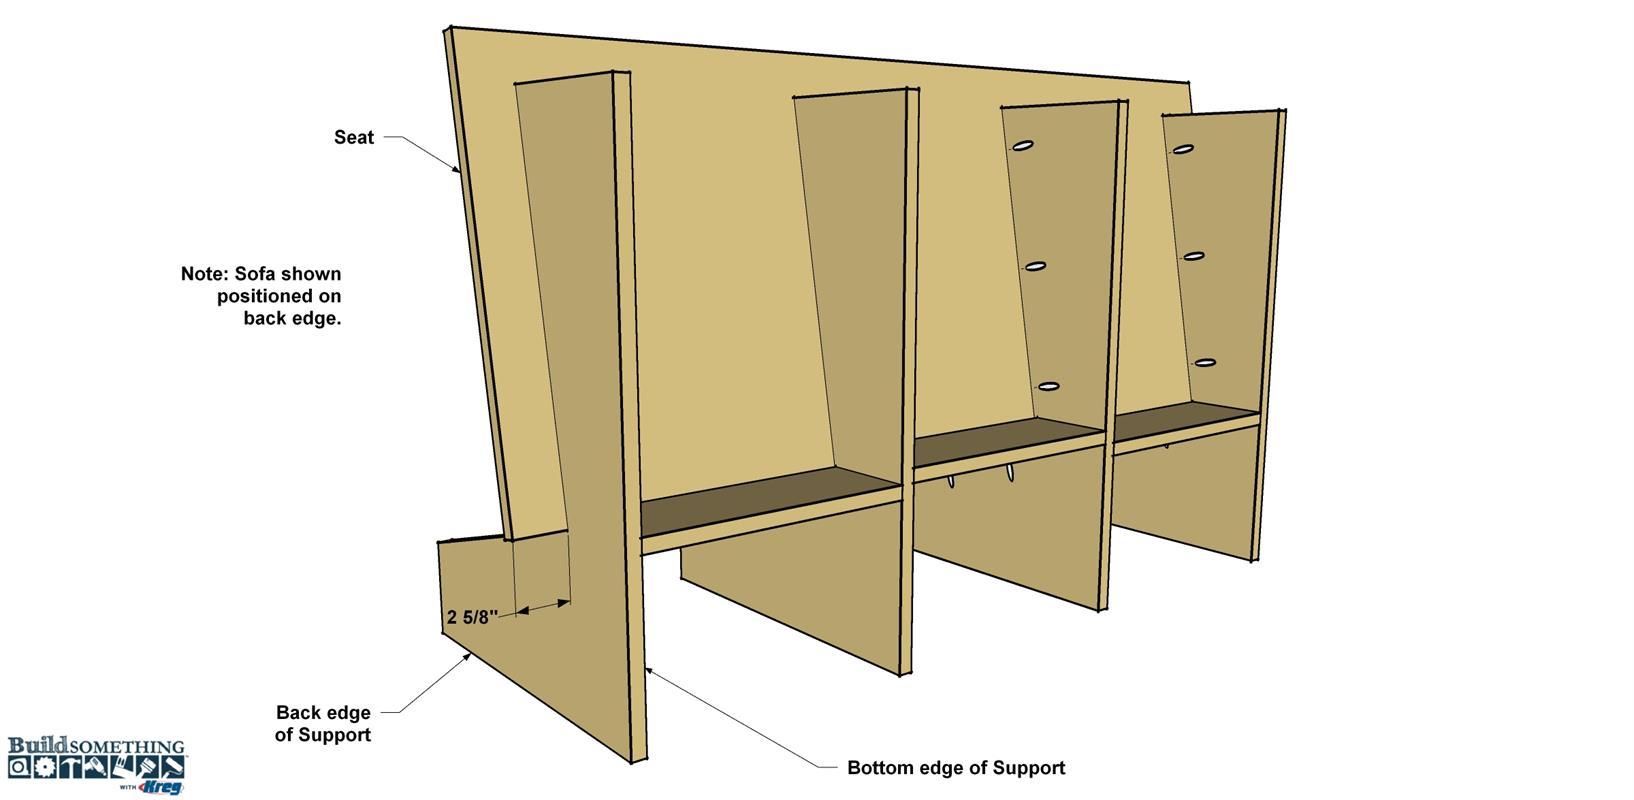
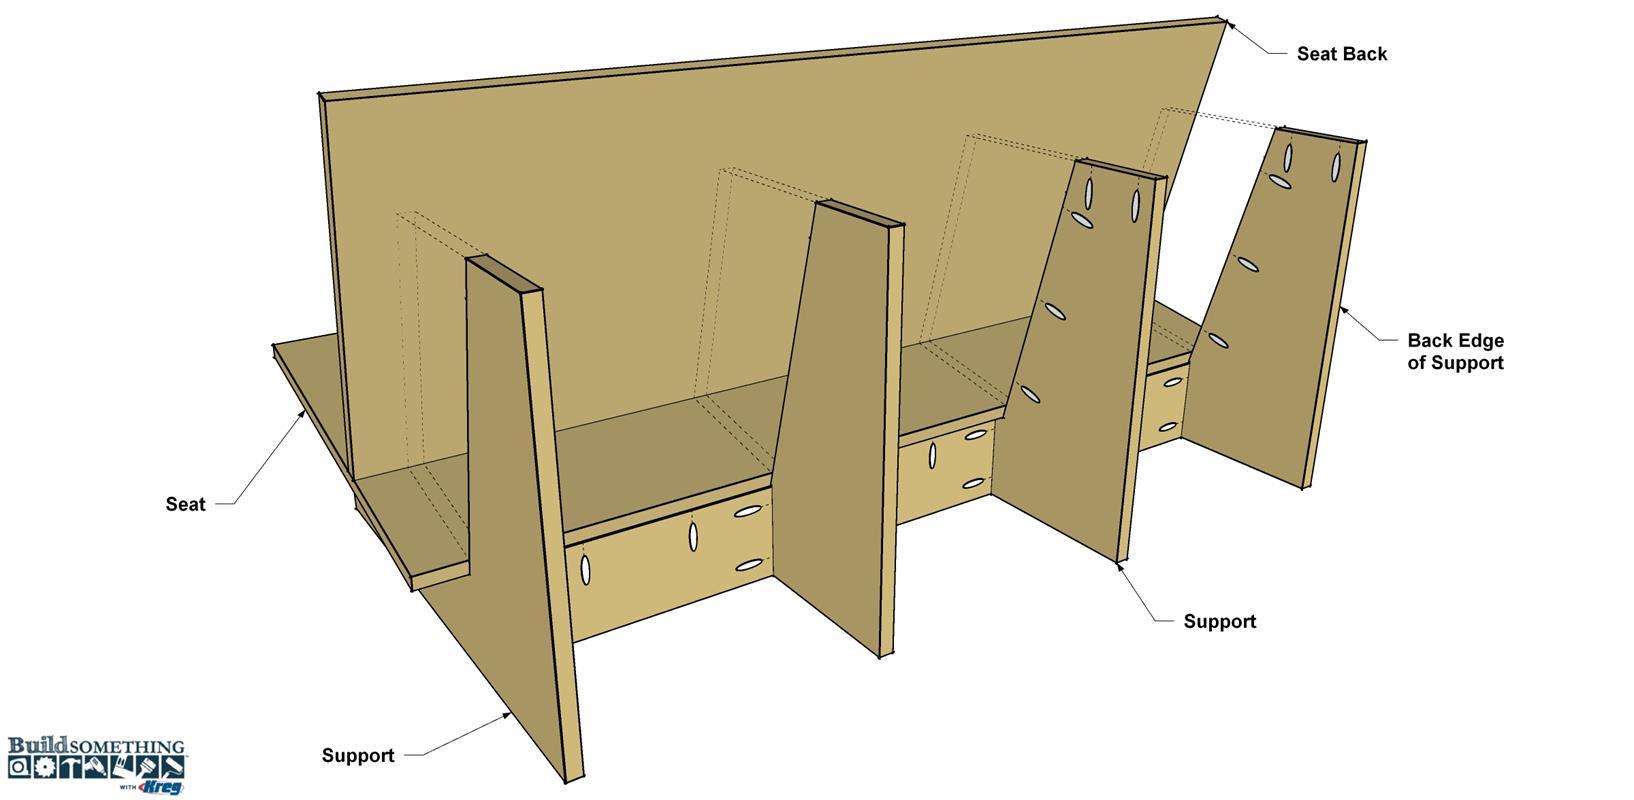
Cut a Seat to length and width, as shown in the cutting diagram. Then sand the edges and faces smooth. To install the Seat, first lay the sofa base assembly on its back edges, as shown. Position the Seat, making sure it overhangs each outside Support edge equally, and clamp the Seat in place. Secure the Seat to the Supports using 1 1/4" coarse-thread Kreg Screws.
-
Attach the Seat Back
Now cut a Seat Back to length and width, as shown in the cutting diagram, and sand it smooth. Set the Sofa upright again and place the Seat Back in position so the edges are flush with the Seat edges. Clamp the Seat Back in place, and then secure it using 1 1/4" coarse-thread Kreg Screws.
-
Add the Shelf
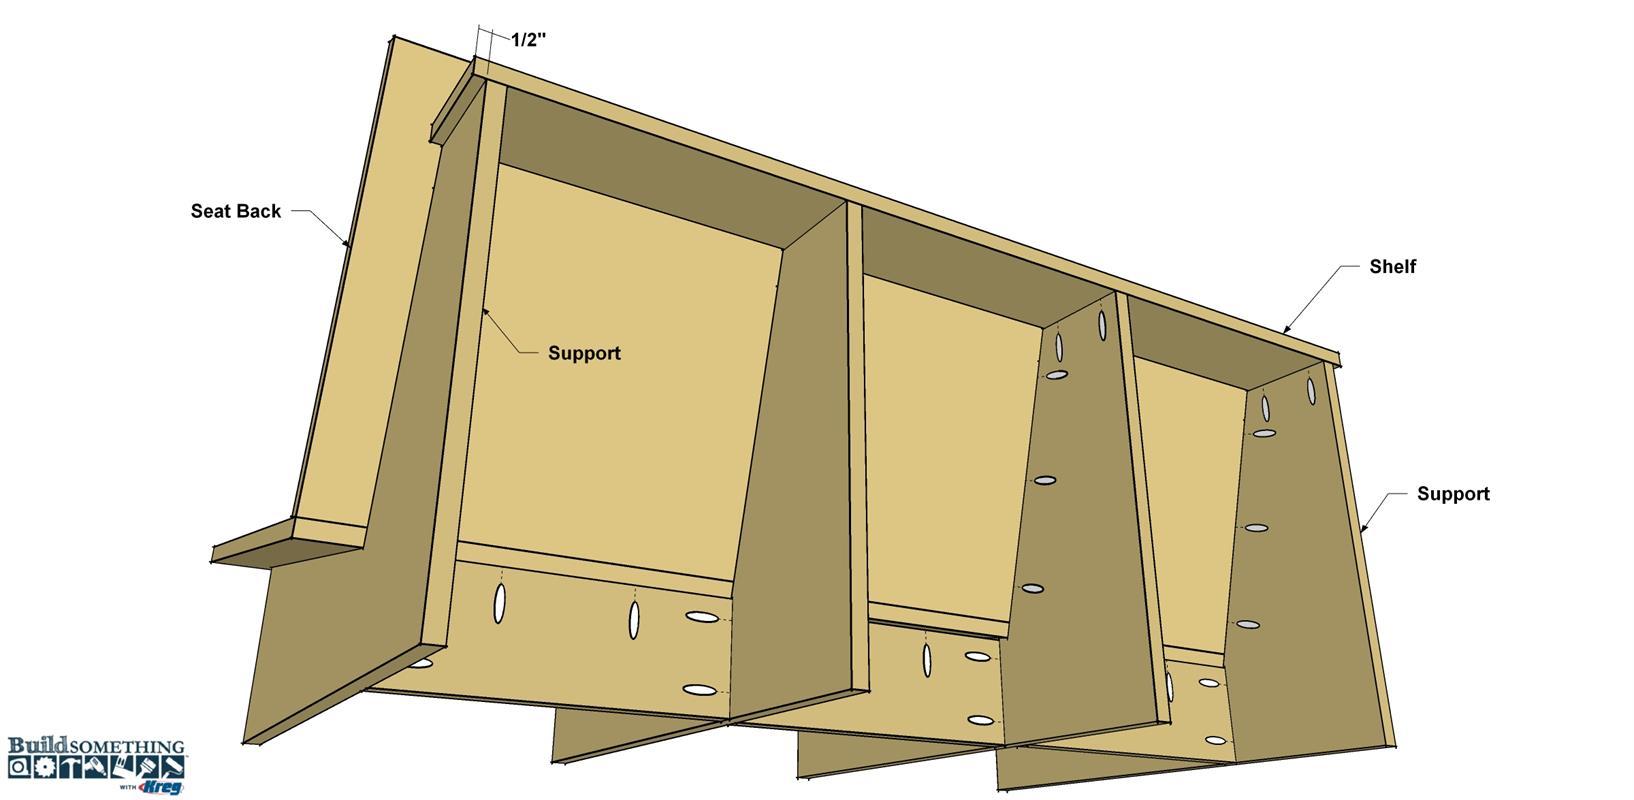
Finally, place the Shelf on top of the Supports as shown, making sure it overhangs equally on each end. Secure the Shelf to the Supports using 1 1/4" coarse-thread Kreg Screws.
-
Apply the Final Finish
Do any touch-up sanding that’s needed, and then soften the exposed corner surfaces of the seat and seat back by sanding them. Brush or vacuum the sawdust from the sofa. Then you can apply the finish. We chose to just wipe on a natural oil finish. Of course, you could paint the sofa, too. Once the paint or finish dries, you can throw on the cushions, and relax in comfort on your new sofa.


