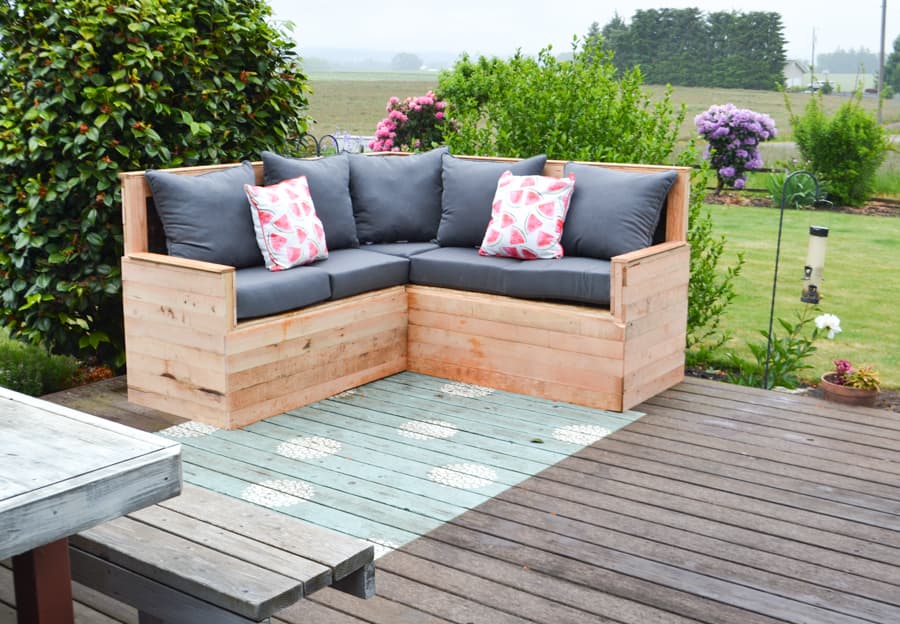
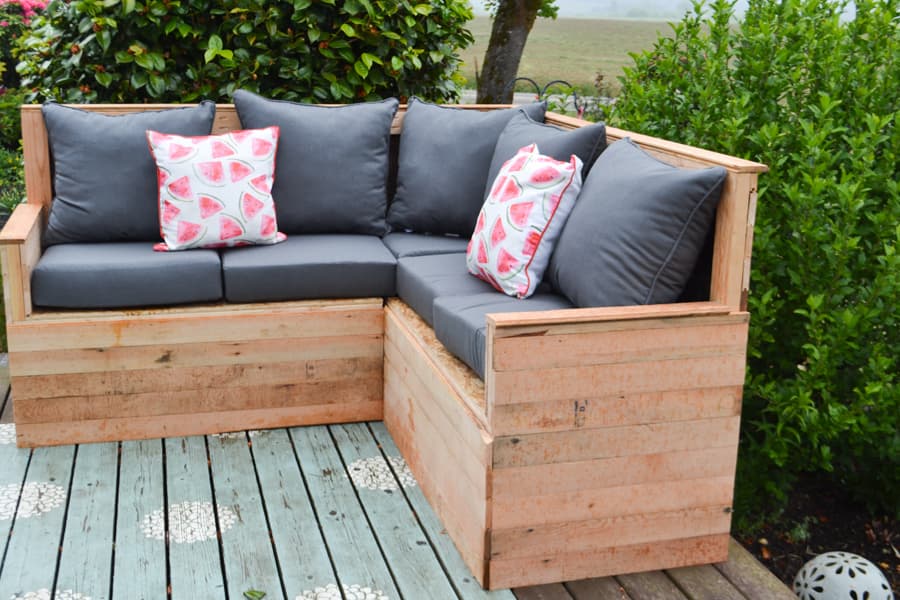
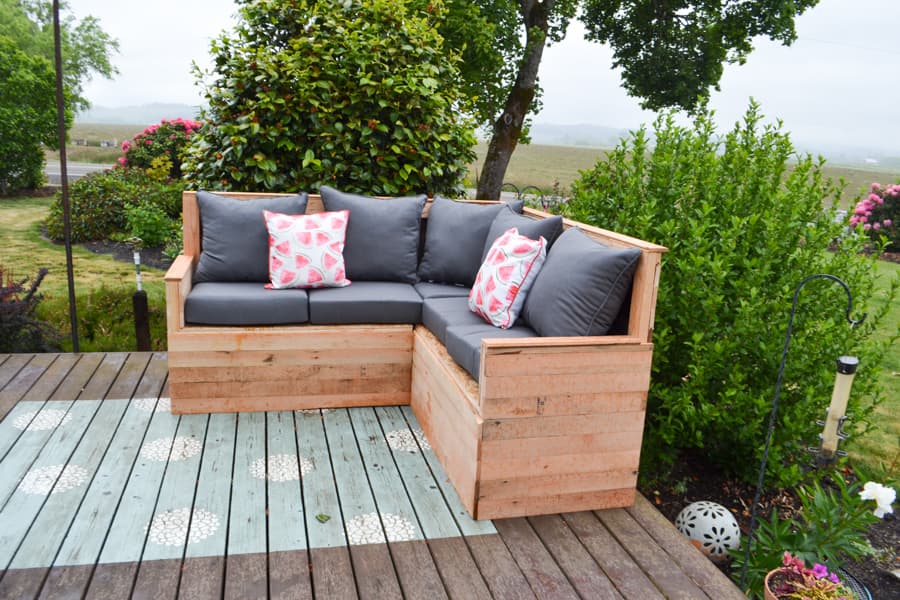


Create a 6’ x 6’ outdoor sectional sofa for a deck or patio to enjoy entertaining and relaxation with your family and friends.
Tools
Kreg Tools


Other Tools
-
Compound Miter Saw

-
Brad Nailer
-
Rubber Mallet
Materials
Wood Products
- 12 Boards , 1.5" x 3.5" x 120"
- 1 Plywood Sheet , 4' x 8'
- 1 Optional: Pine wood flooring (or choose another board type or sanded plywood would work too) , 143’- ¾” x 3 1/4”
Hardware & Supplies
- 1 Exterior Deck Screws
- 1 Brad Nails
Directions
-
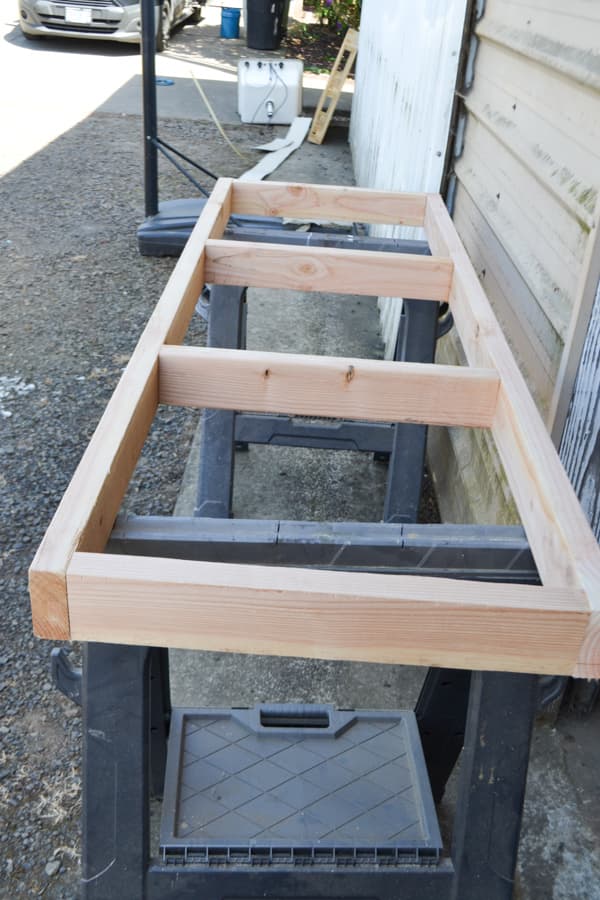
Cut seat bases
Cut the pieces for the seat bases. We built this in two separate couch sections that can be pushed together but will not be attached. Attach the 21” seat braces with deck screws at even intervals on each of the 4’ and 6’ section. Then attach the other 4’ and 6’ board on top and drill in from the sides.
-
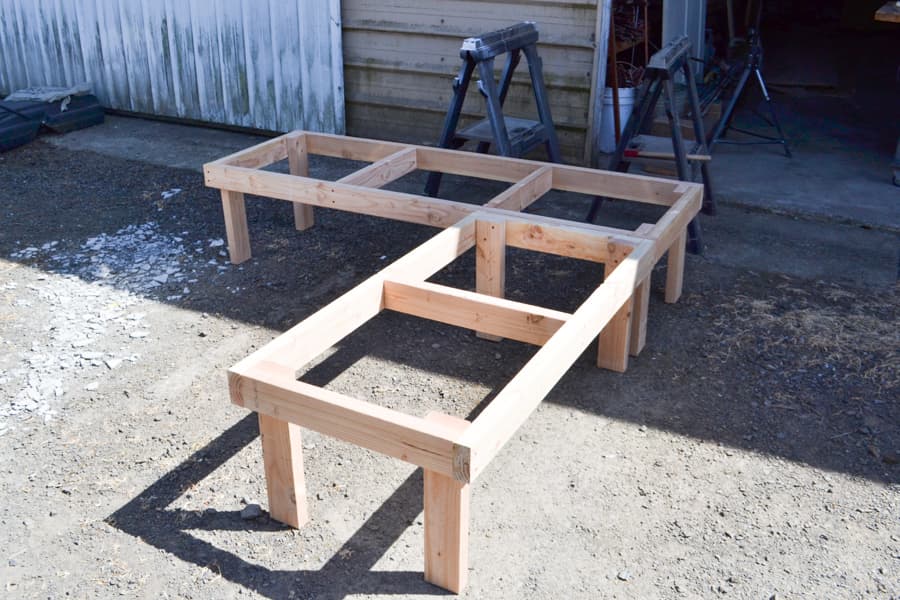
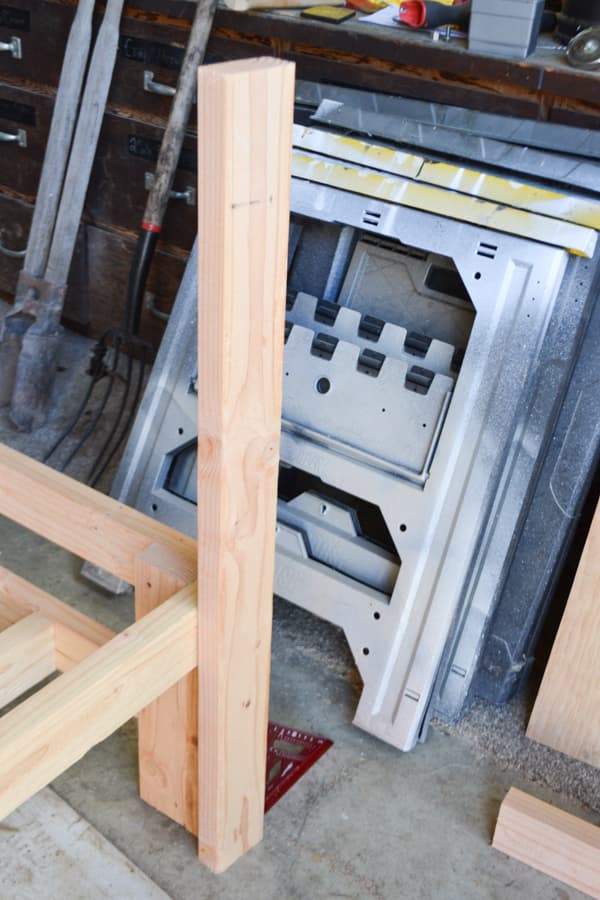
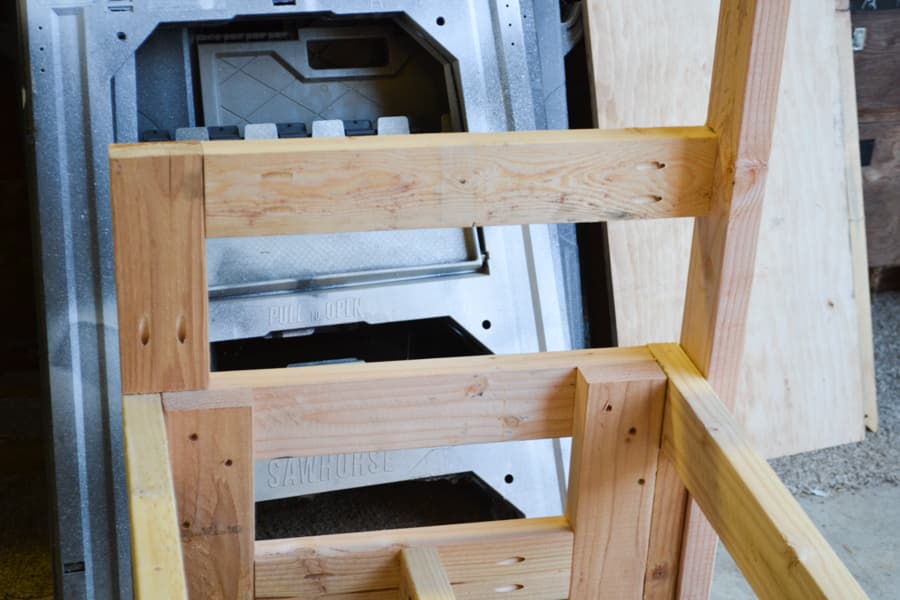
Cut legs
Cut the pieces needed for the sectional legs. Attach these to the inside of the frame using a cordless drill and deck screws.
-
Optional: Cut leg braces
This next step is optional but highly recommended. Cut 4-13.87” to brace the sectional legs and 1-45” length and 1-69” length to be attached to these leg braces. Use the 720 jig to drill holes in each end of these cuts and then attach these with deck screws.
-
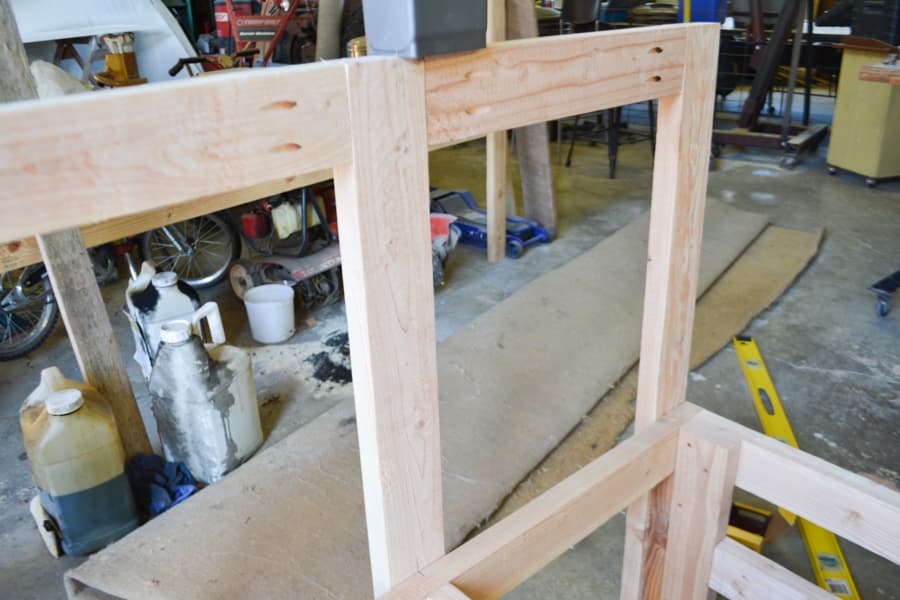
Cut seat backs and supports
Cut 9-seat backs and the supports for along the top. Attach back supports to the frame with the cordless drill and deck screws. Use the 720 Kreg jig to create pocket holes in the seat back supports and attach with screws.
-
Cut arms
Cut the two sections for the two chair arms. Again, use the 720 jig to cut pocket holes and attach to the frame with the cordless drill and screws.
-
Cut plywood for seat
Cut the plywood sheet to the dimensions listed and screw into the seat with the deck screws.
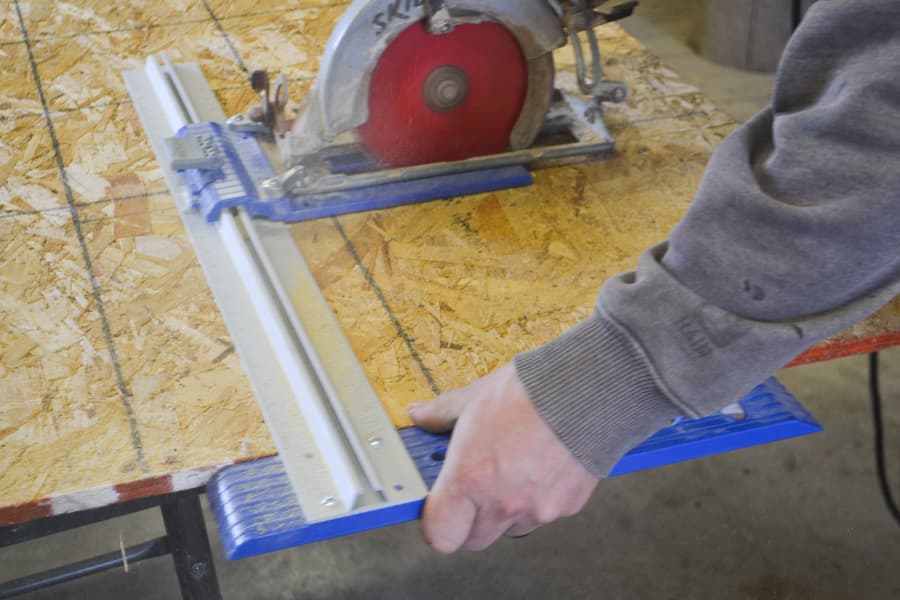
Use the Rip-Cut
Cut the sheet of plywood using the Kreg Rip-Cut to the seat dimensions and attach to the frame using drill and screws.
-
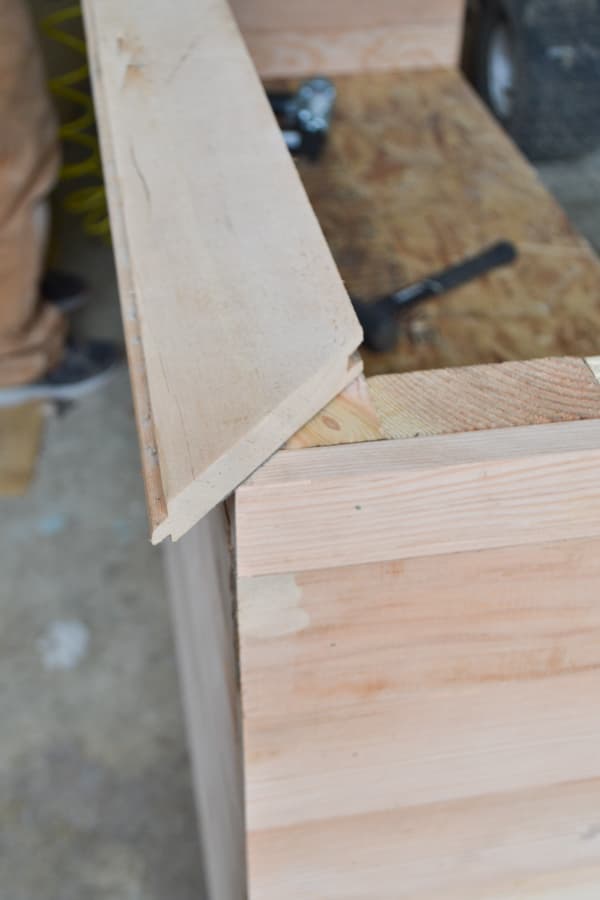
Add cap and arm rests
Use the floorboards for a cap on top of the sectional and for the arm rests. For the cap on top we cut this at a 45 degree angle with the compound miter saw before attaching with brad nails. At this
point you are done and just need to add cushions and pillows! If you want to stain or seal the piece you should do this before adding the cushions. We chose to keep the natural wood and to use a sectional cover for times it is not in use.Note:
If you are choosing a pine floorboard like I did you will want to cut your pieces to fit the areas you want to cover and attach with a brad nailer. Because of wood variances we did not cut these pieces all the same as the frame seemed to narrow towards the top. So, we cut boards after measuring up the frame. And used a rubber mallet to make sure the flooring was flush against the frame before using the brad nailer to attach the boards.
This step is entirely up to your personal preference on how you want the outside of the sectional to look. Because I had access to old pine floors from a century old house, I decided to use these floorboards to cover all the opens parts of the sectional. But you could also use sanded plywood that could be painted. And you could definitely leave certain parts open such as the arm rests and the bottom.