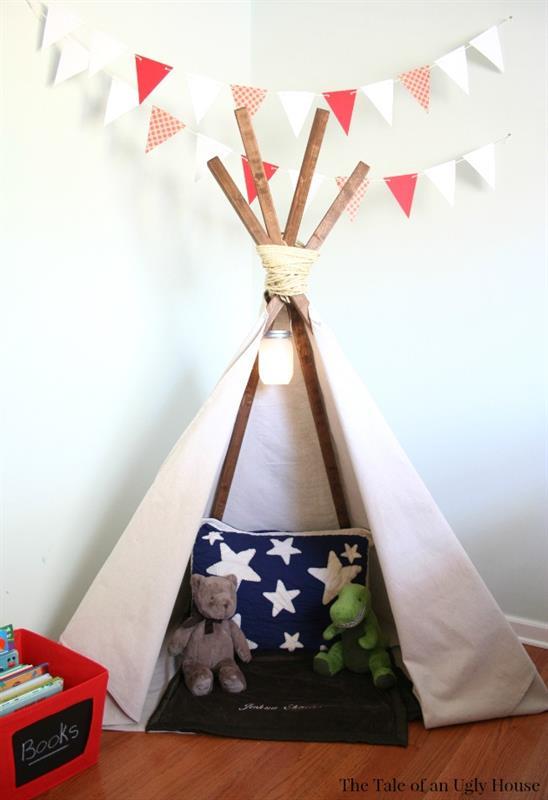


No-sew teepee for kids!
Tools
Kreg Tools


Other Tools
-
Miter Saw

-
Tape Measure
Materials
Wood Products
- 4 Board , 2x2 , 72"
Hardware & Supplies
- 8 1/2″ screws
- 8 1/2" washers
- 1 Rope of choice
- 1 9'x6' Drop cloth
Directions
-
Step 1
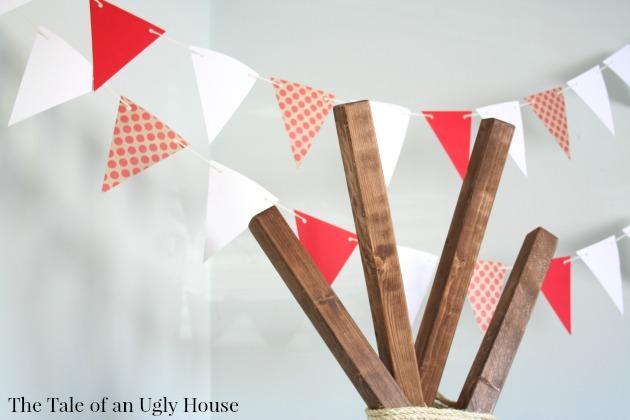
First, stain your poles.
Tip: We recommend cutting a 45º angle at the bottom of the poles so they will sit flush on the floor. This angle might be different for you, depending on how wide your teepee will be.
-
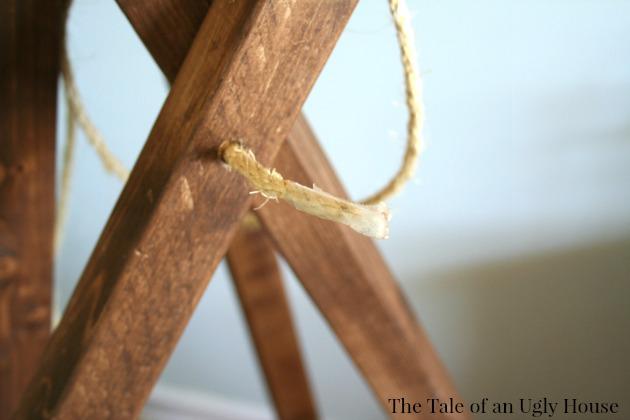
Step 2
Next, drill a hole through each pole about 1 foot from the top. Make your hole big enough to feed your rope through. It’s a good idea to put your teepee together in the space it is going in. This way, you can make sure it is the right size for that space.
-
Step 3
Feed your rope through the two poles in the front.
-
Step 4
Wrap the rope around the two poles once or twice, then staple it. This will add some stability while you adjust the other poles.
Tip: Make sure you add staples in a spot that will be covered by the rope later on.
-
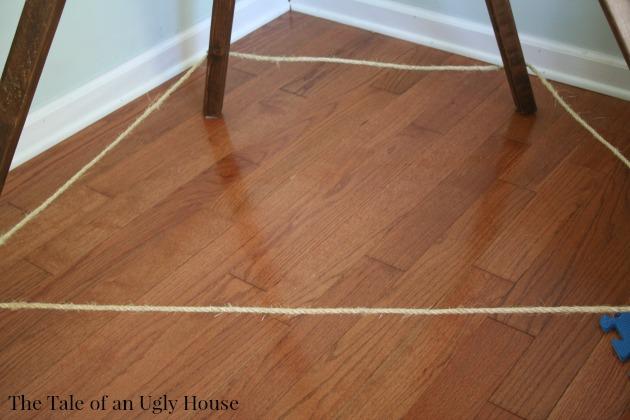
Step 5
To hold the shape while you work, staple some rope to each pole around the bottom. For this teepee, the opening was 44” wide and the back was 22” wide. This shape allowed the teepee to be pushed back enough to fit in the corner of the room.
(After you add the drop cloth, you can remove the rope around the bottom.)
-
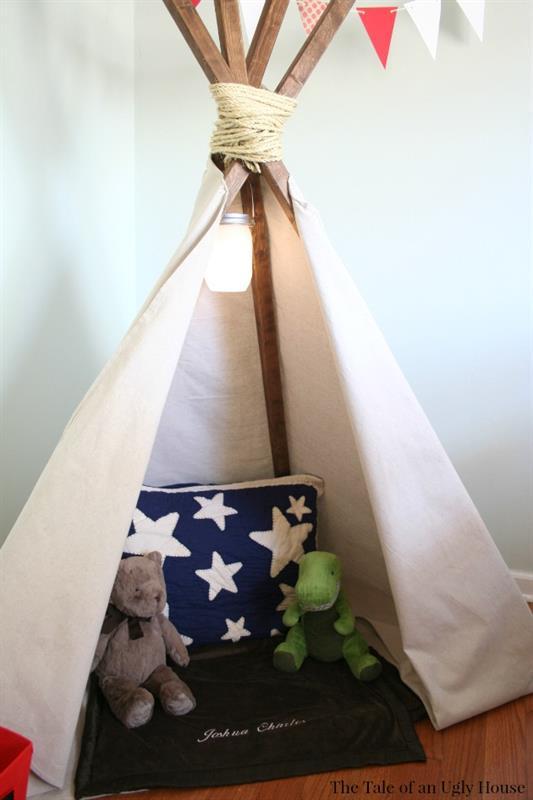
Step 6
Once you like the way the poles are positioned, wrap the rope around the top. Weave the rope through the poles first to make it more stable. Then, wrap the rope around the outside several times until you like how it looks
-
Step 7
Start adding the drop cloth from the back of the teepee. Find your middle point and place a screw and washer at the top of your pole.
-
Step 8
Wrap the drop cloth around. Pull and tuck until you achieve the look desired; you can tuck the excess cloth under the bottom of the poles. This works great if you’re worried about the poles scratching up wood floors – win-win!
-
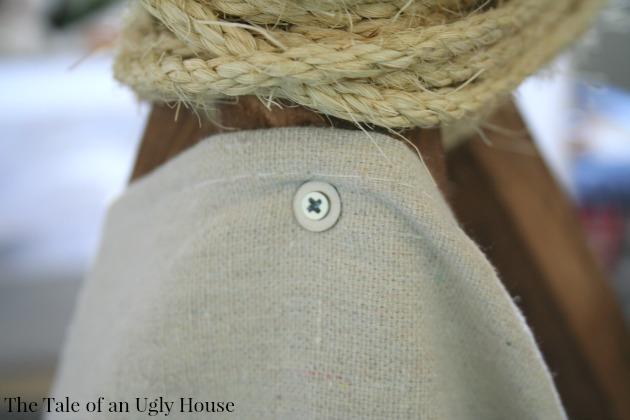
Step 9
Place a screw and washer at the top and bottom of each pole to hold the fabric in place. Once all your screws are in place, you’re finished!