DIY Jewelry Stand
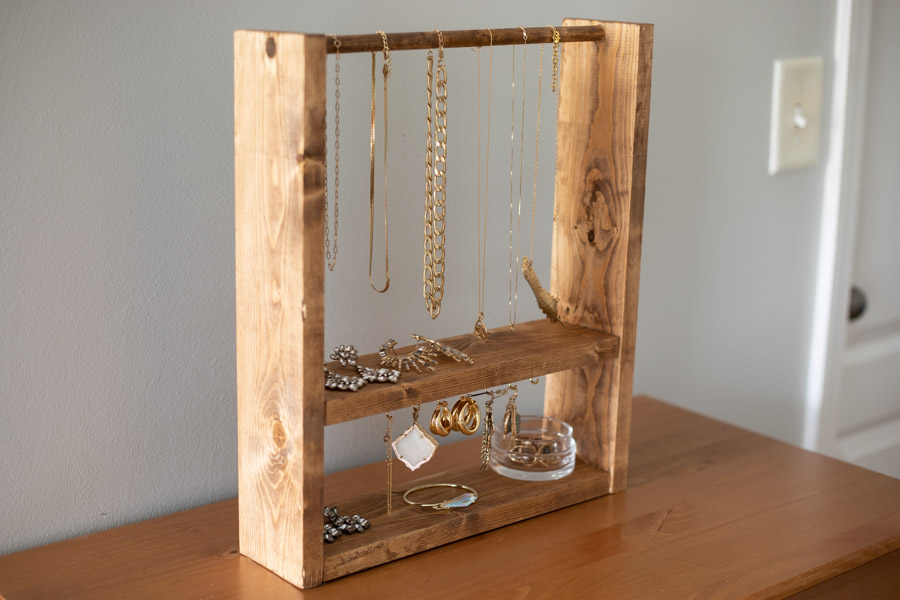
By Erin SpainThis DIY jewelry stand is a beautiful way to display jewelry, and the size and finish can be modified to suit your needs and style.
Directions
-
Cut Your Wood
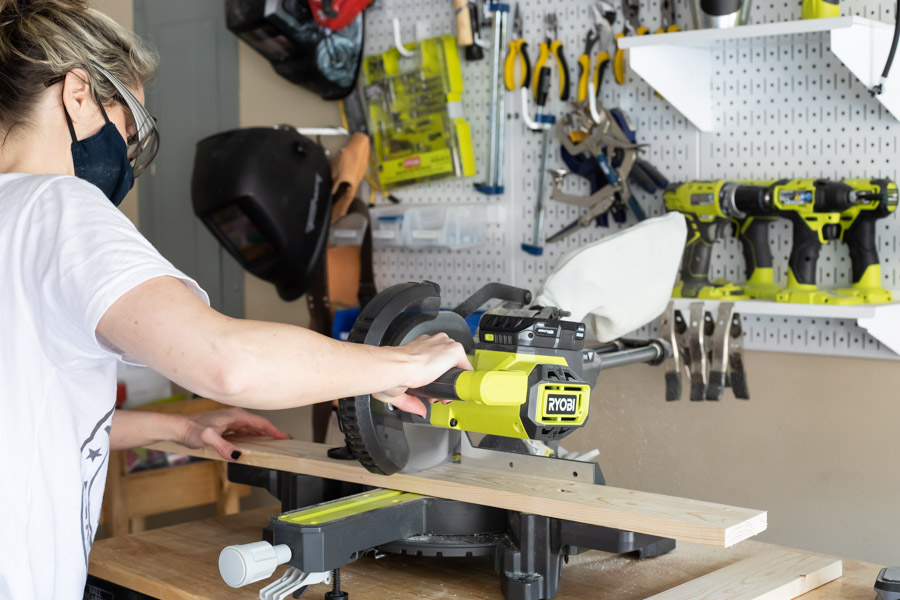
Cut your wood to the specified dimensions.
-
Sand
Sand edges smooth using a sander or sanding block.
-
Drill Pocket Holes
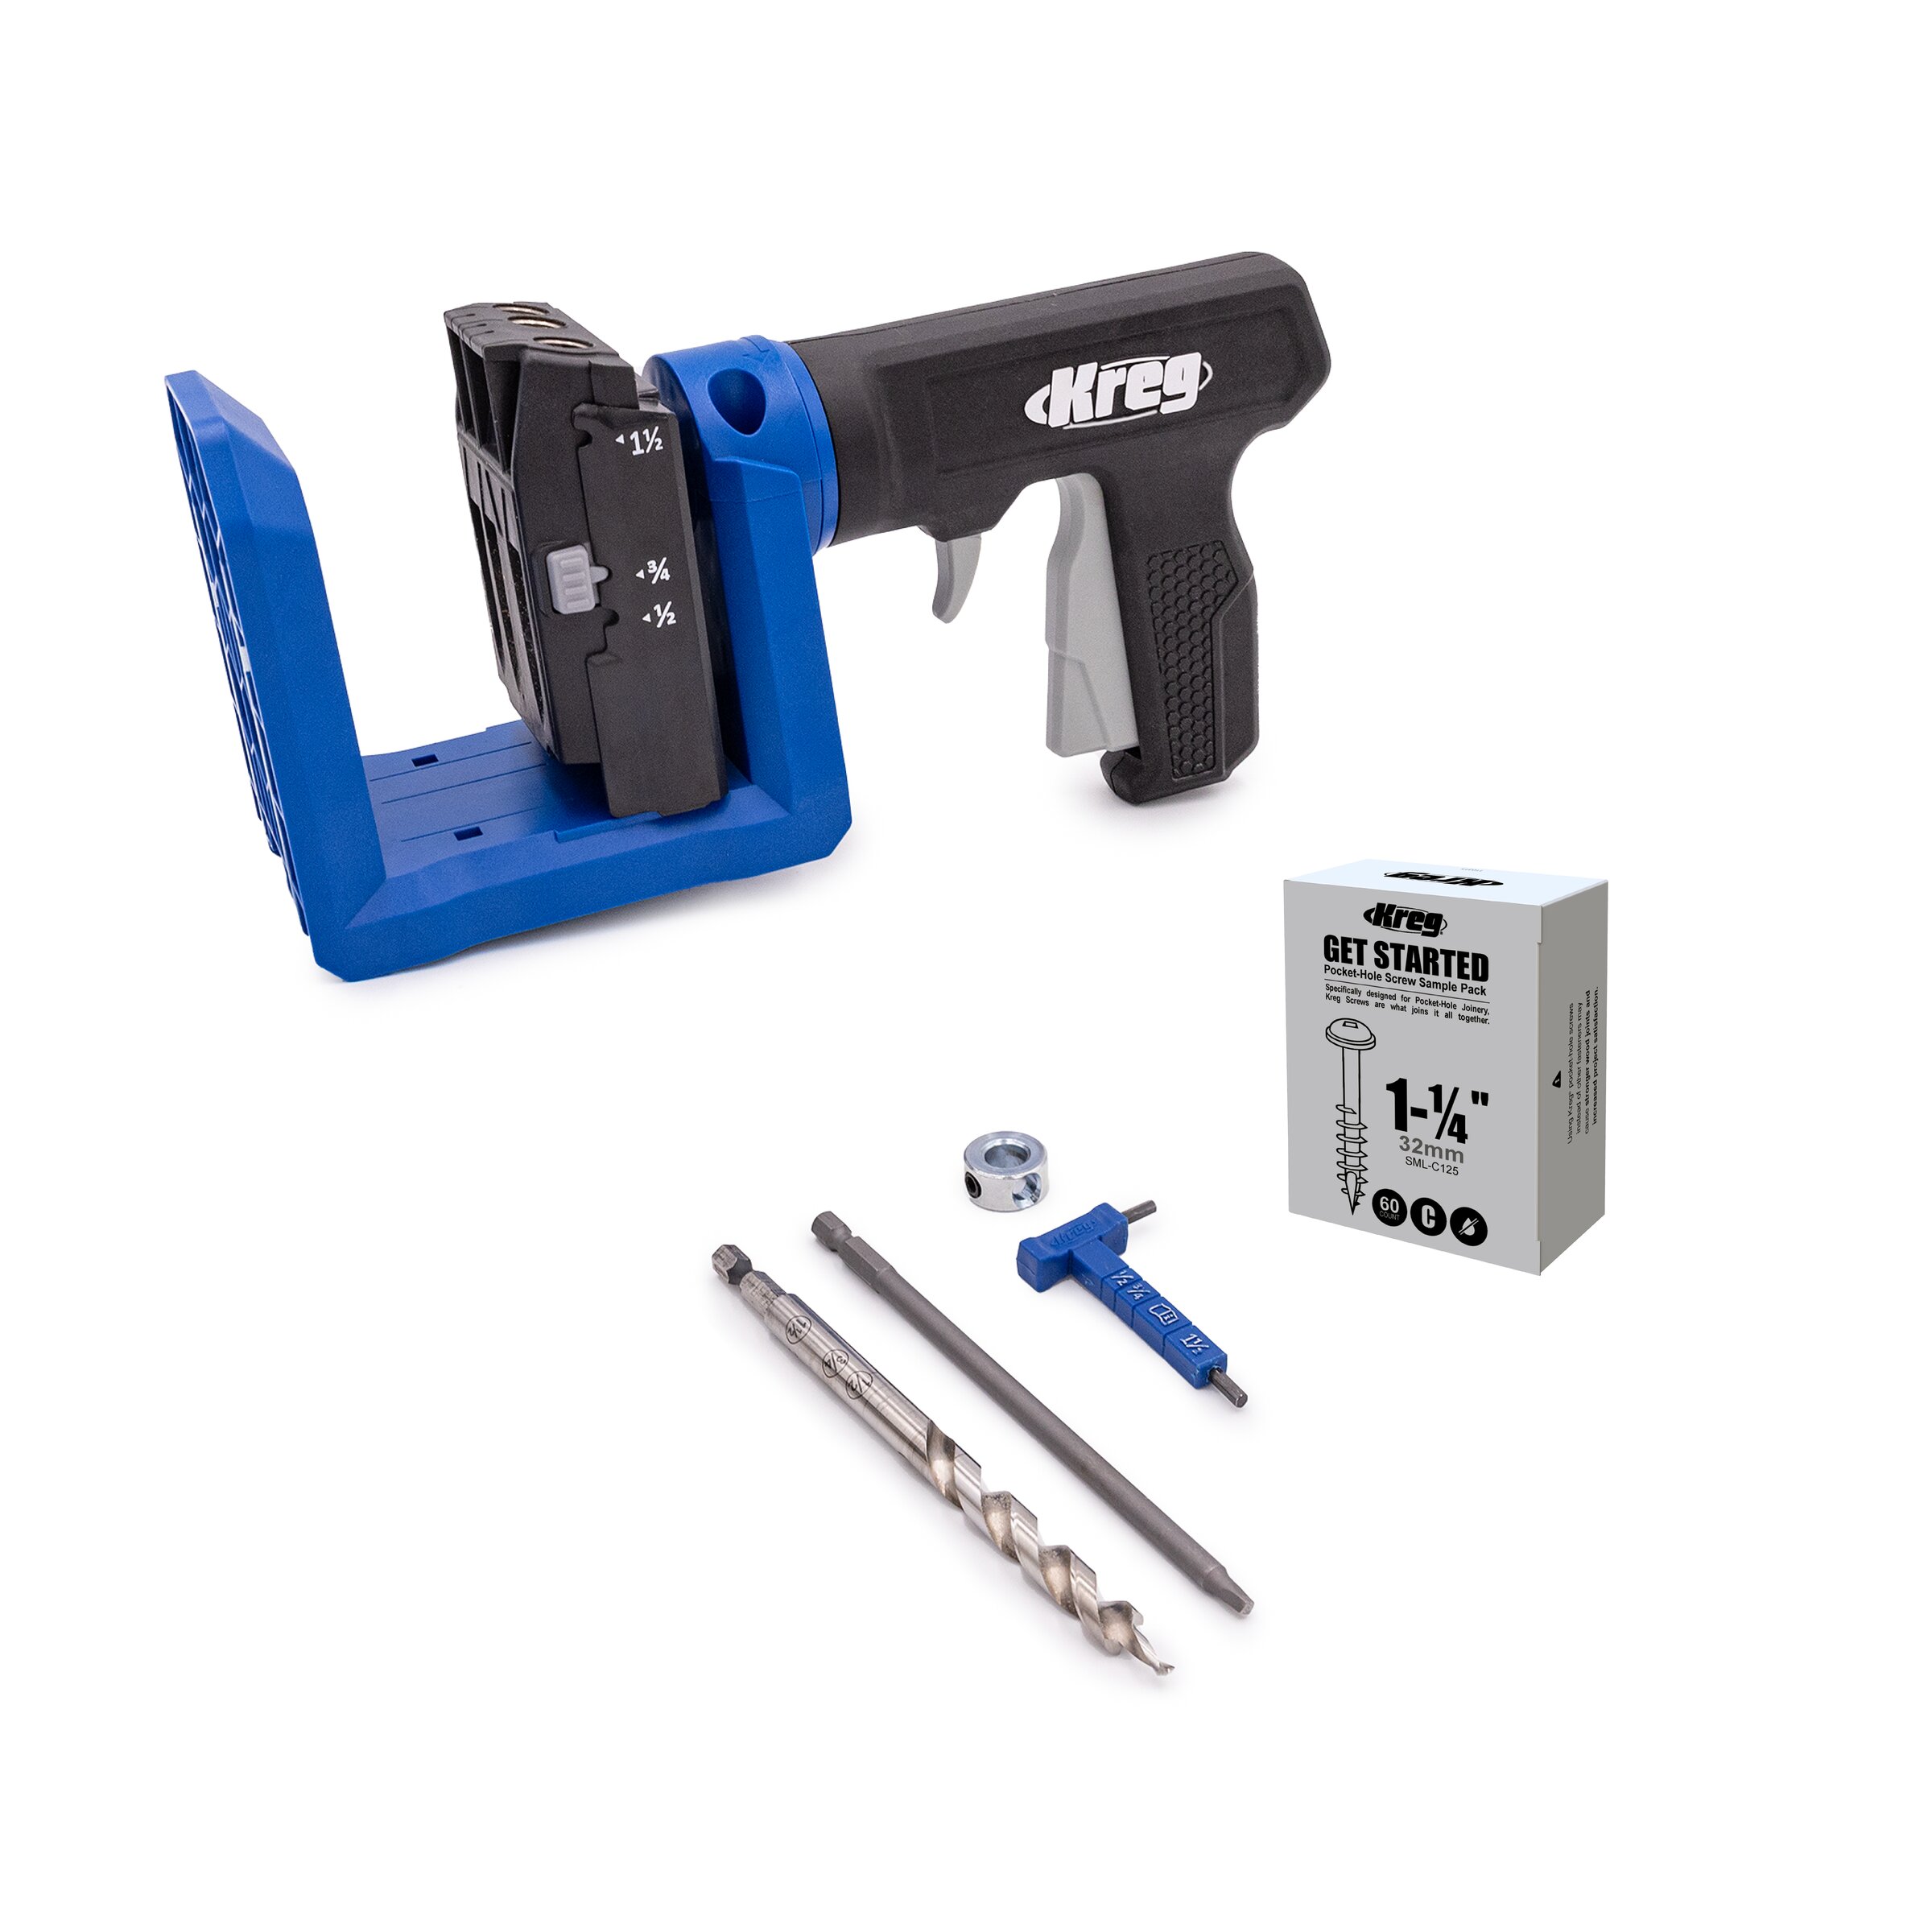
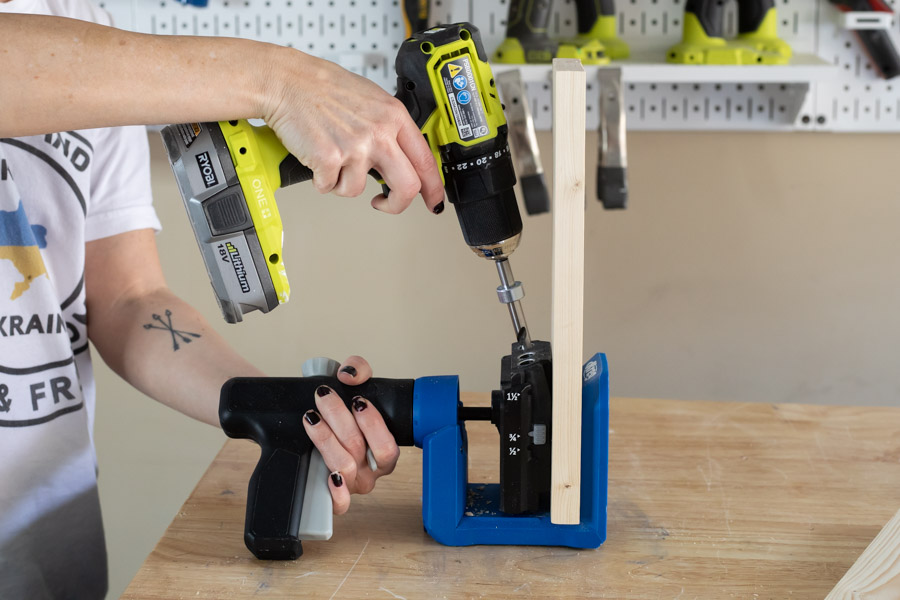
Drill 2 pocket holes at each end of your 12" long 1x4 boards.
-
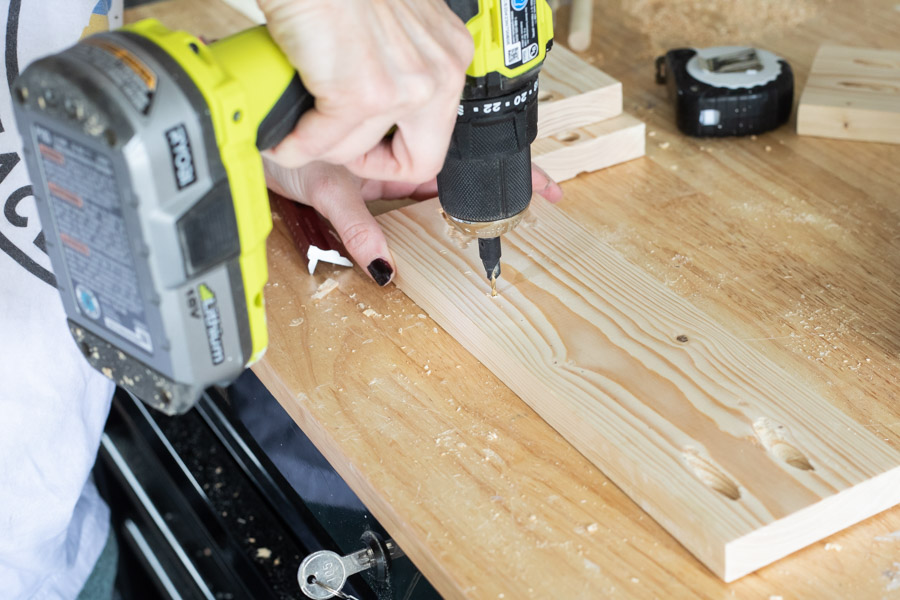
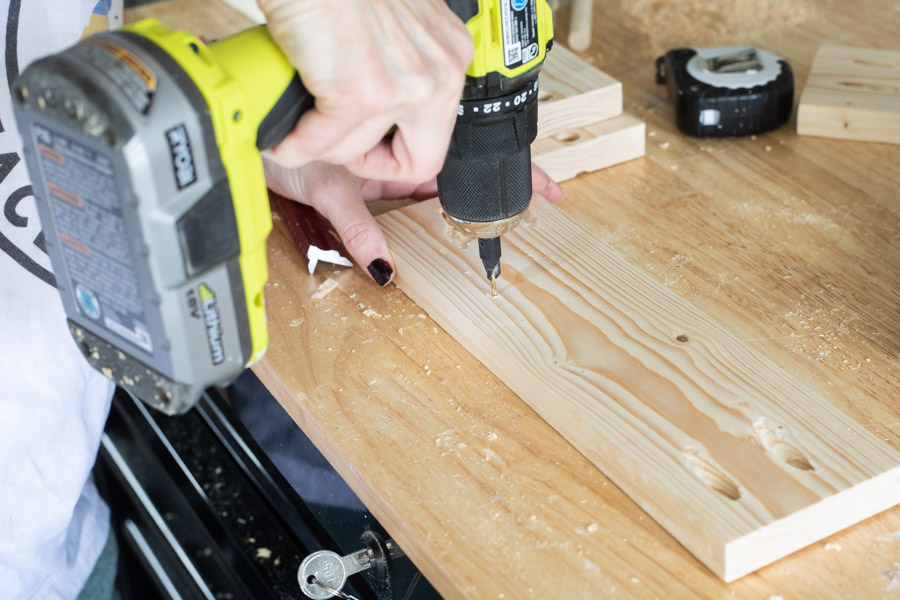
Drill Hole for Dowel Rod
Using a 1/2" Forstner bit, drill a hole at one end of each of your 16" long 1x4 boards. These holes will go at the top of your jewelry stand and you will slide your dowel rod through to hang necklaces.
-
Drill Pilot Holes for Cup Hooks
Using a small drill bit, drill pilot holes on the underside of one of your 12" long 1x4 boards. This board will be the shelf that goes in the middle of your jewelry stand. Place these holes approximately 1 inch apart.
-
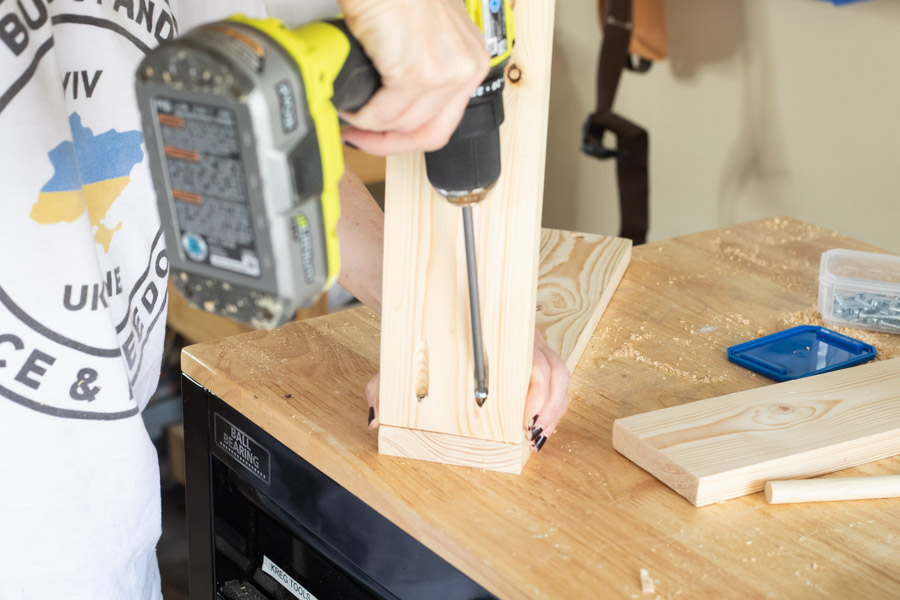
Attach Bottom and Shelf
Using 1 1/4" pocket hole screws, attach the bottom piece (12" long 1x4 board) perpindicular to the side pieces (16" long 1x4 boards). Next, attach your shelf using 1 1/4" pocket hole screws also. You can use two 4" pieces of scrap wood as spacers to ensure you attach it evenly. You can attach the shelf before the bottom piece if you have trouble maneuvering your drill in such a tight space, just use a little bit longer spacer pieces in that case.
-
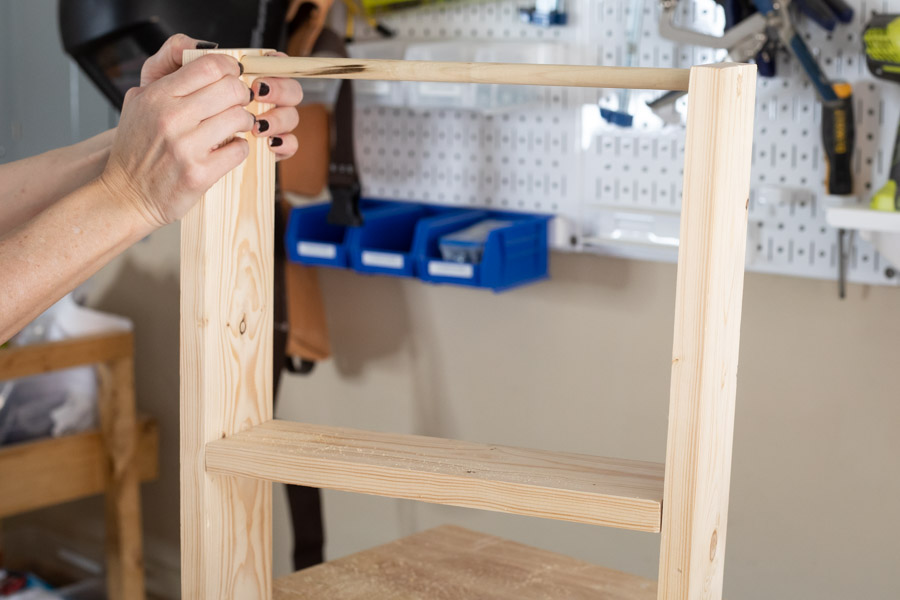
Attach Dowel Rod
Slide your dowel rod in through the pre-drilled holes at the top of your jewelry stand. You may need a mallet to help since it will be a tight fit. You can also wiggle your drill bit a bit to enlarge the hole as you drill it.
-
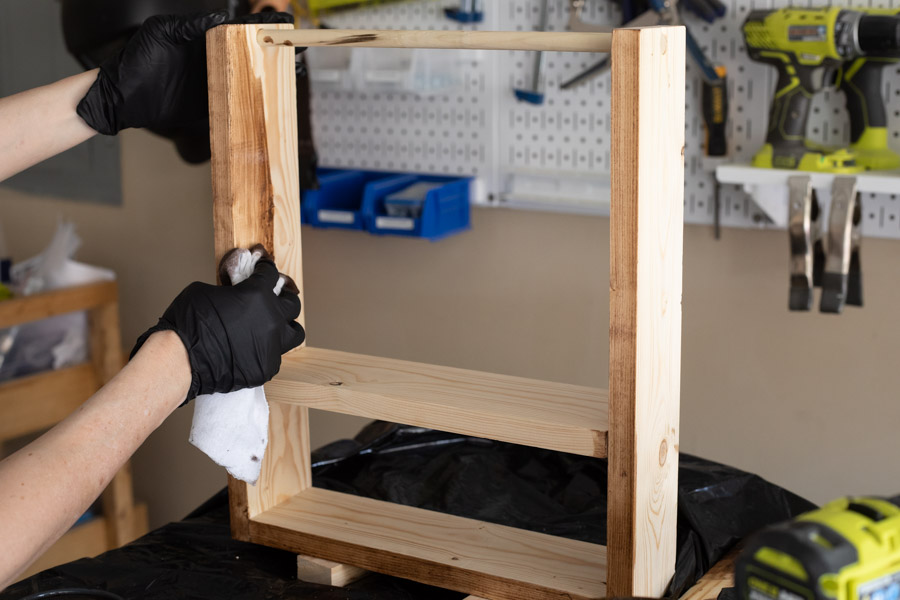
Paint or Stain
Finish your jewelry stand with the paint or stain of your choice. I used a special walnut stain for this one.


