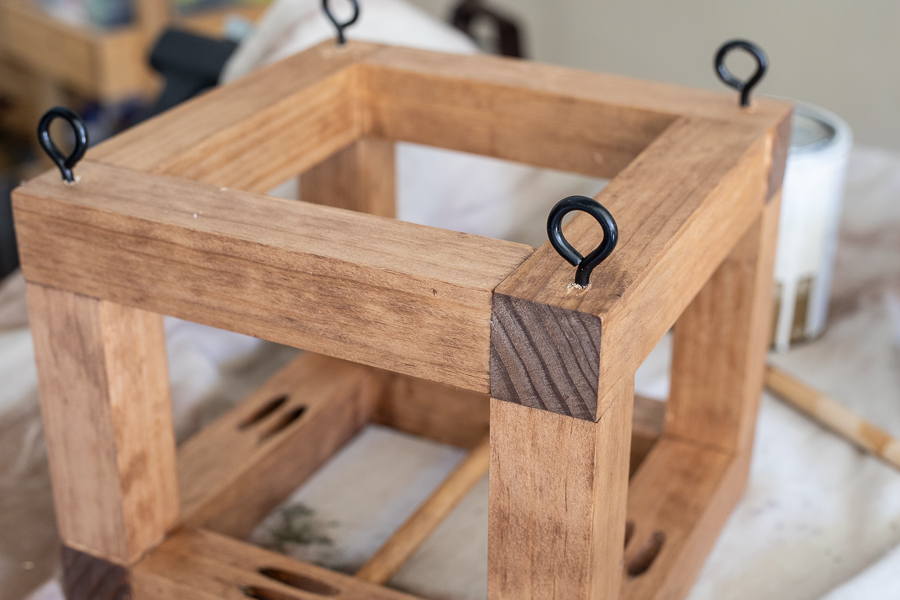
DIY Hanging Planter
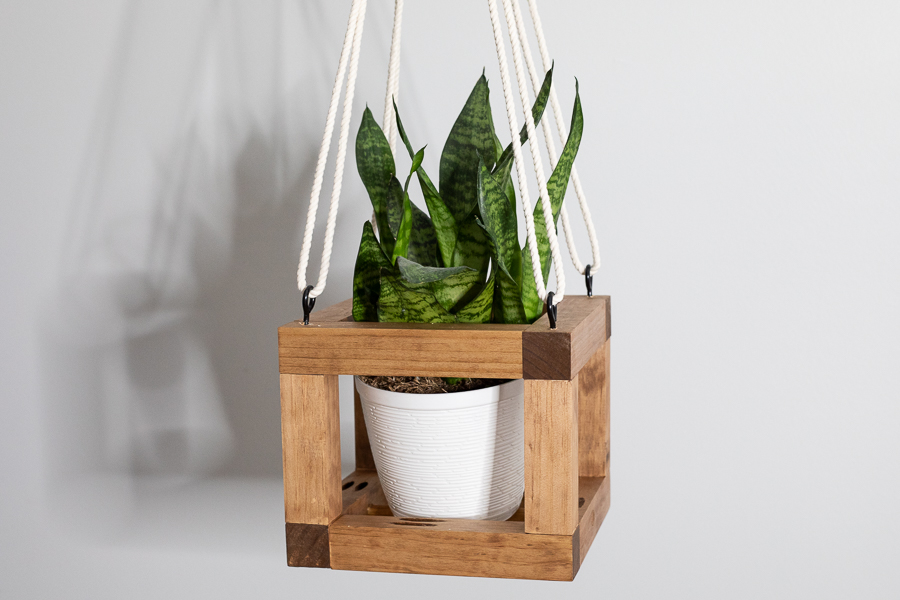
By Erin SpainThis DIY hanging planter can be customized depending on the size you want, and it's a great addition to any space!
Directions
-
Cut Your Wood
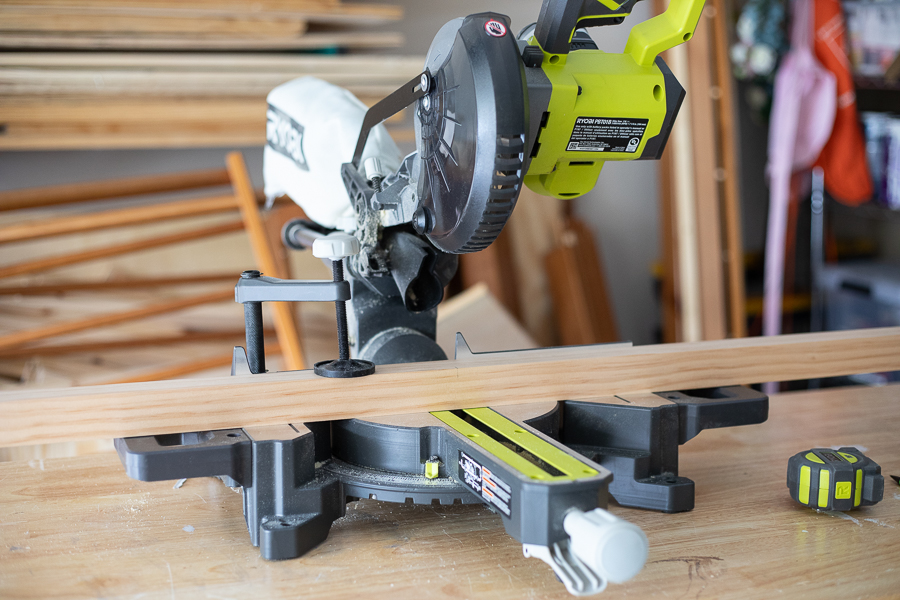
Cut your wood to the dimensions listed.
-
Drill Pocket Holes
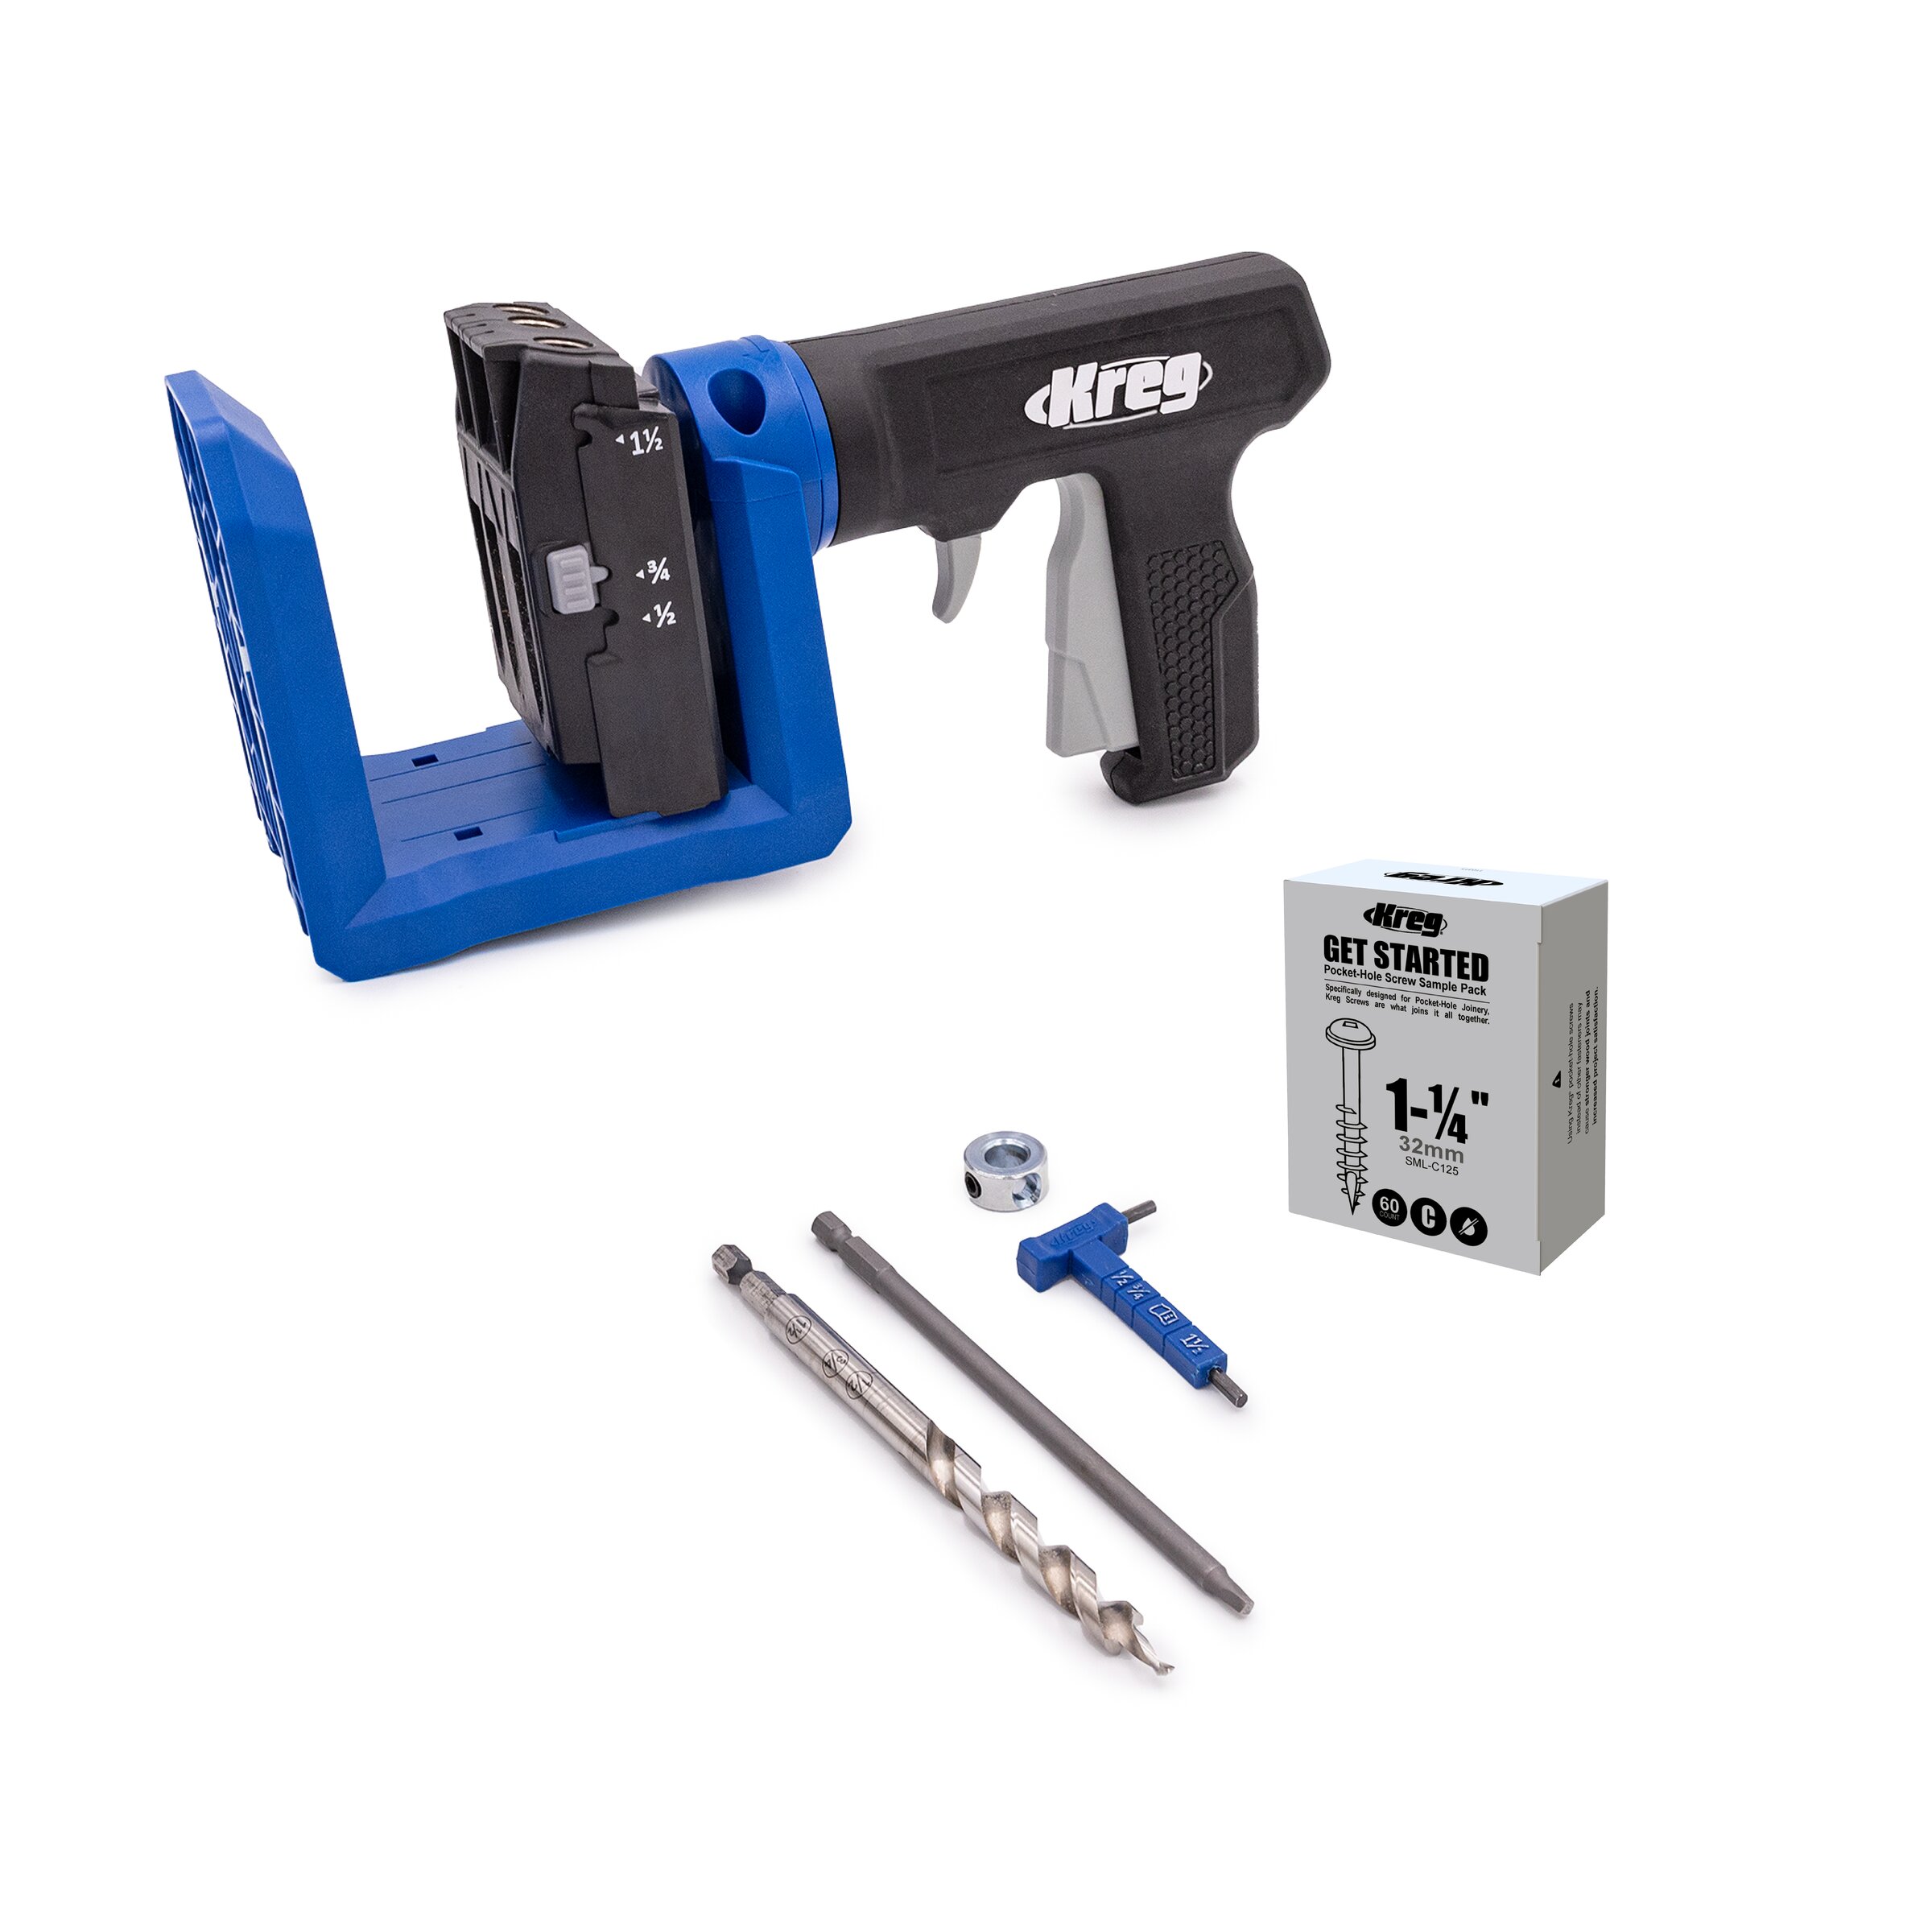
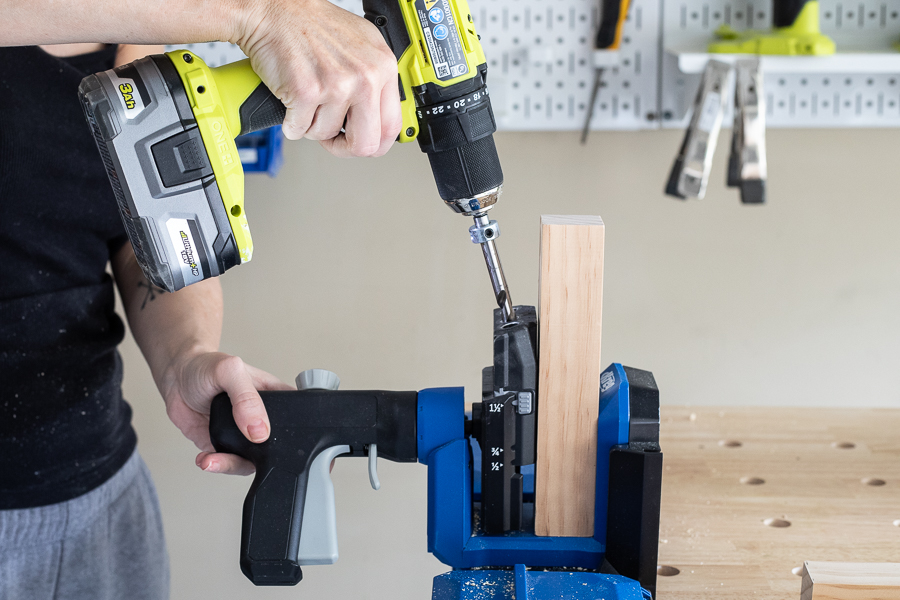
Drill 2 pocket holes at one end of each of your 8" long 2x2 boards.
-
Sand
Sand everything smooth.
-
Build Top and Bottom of Planter
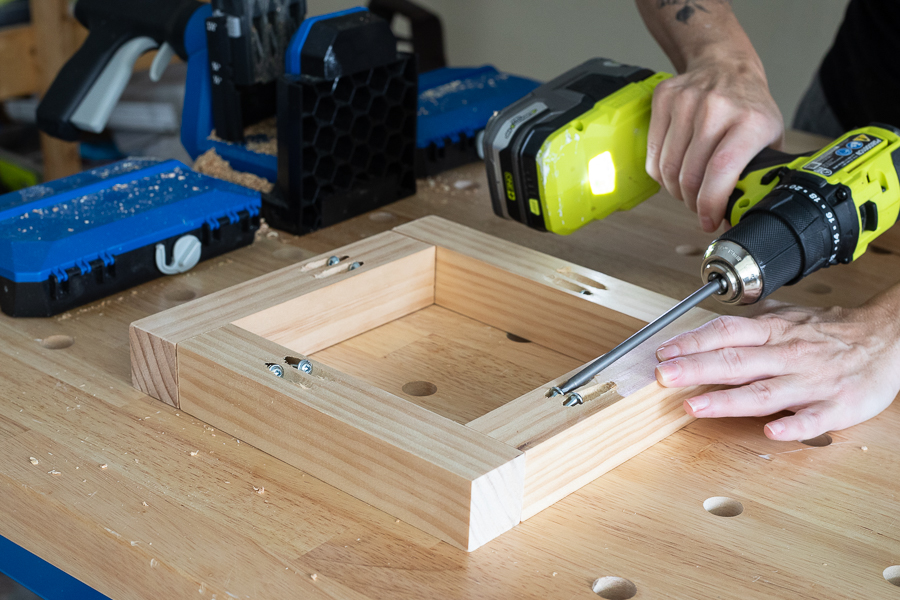
Attach 4 of your 8" long 2x2 pieces using 2 1/2" long pocket hole screws, forming a square. Repeat and build a second square. These will be the top and bottom of the planter.
-
Drill Holes for Dowel Rod
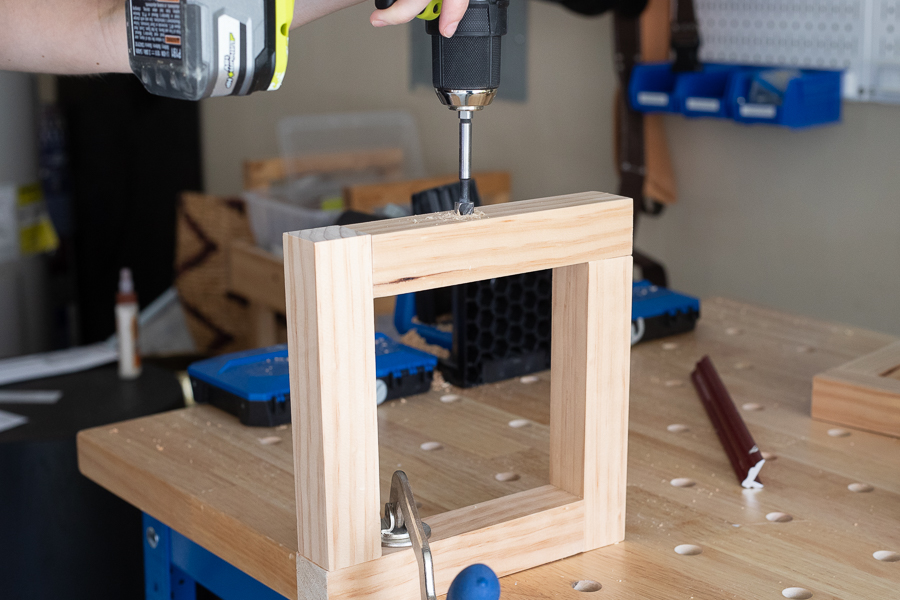
Choose one of your "squares" - this will be the bottom of the planter. Drill a 1/2" hole in the center of 2 of the parallel sides using a Forstner bit. This will allow you to drive a dowel rod through the holes from one side to the other.
-
Insert Dowel Rod
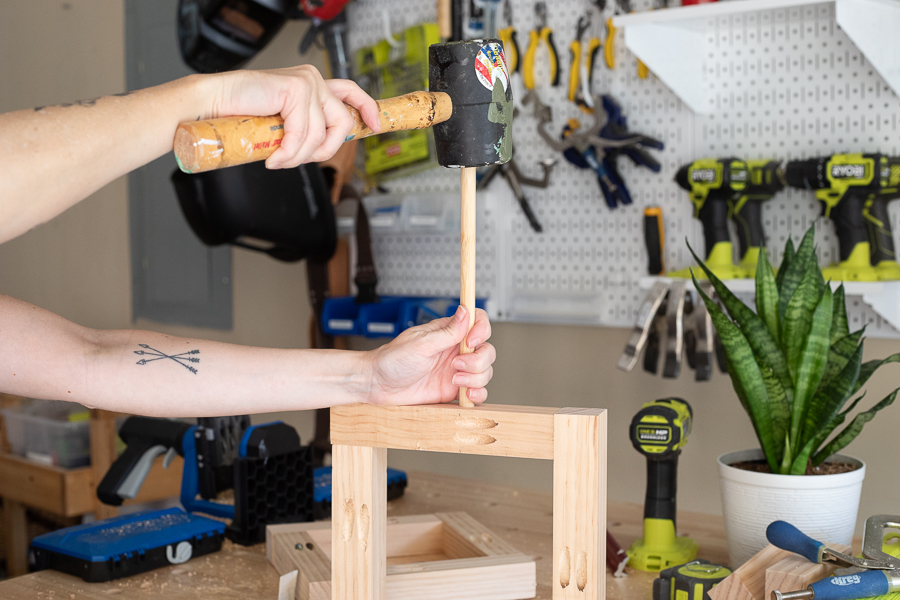
Use a mallet to insert your dowel rod through the holes. This will create a place for your planter to rest when everything is assembled.
-
Attach Side Pieces
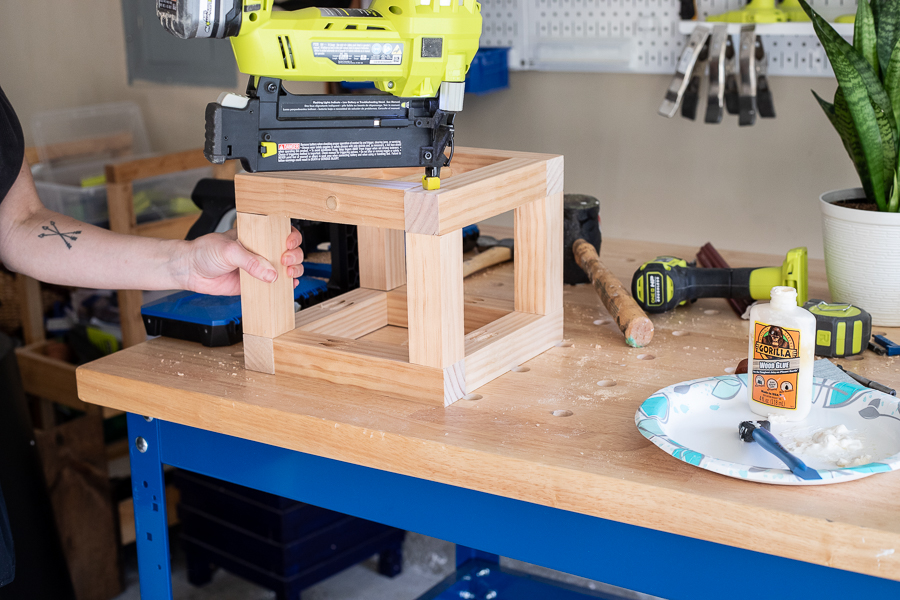
Using a brad nailer and wood glue, attach your 5" long 2x2 board pieces to each corner of your squares, connecting them and creating a "box." These will form the sides.
-
Stain or Paint
Stain or paint your piece. I used a special walnut stain for this one.
-
Add Screw Eyes
Use a small drill bit to pre-drill holes in each corner of the top of your planter. Then insert screw eyes.
-
Add Rope
Cut rope to your desired length (just depends on how high you want to hang it), and thread it through the screw eyes, then tie a knot at the top.


