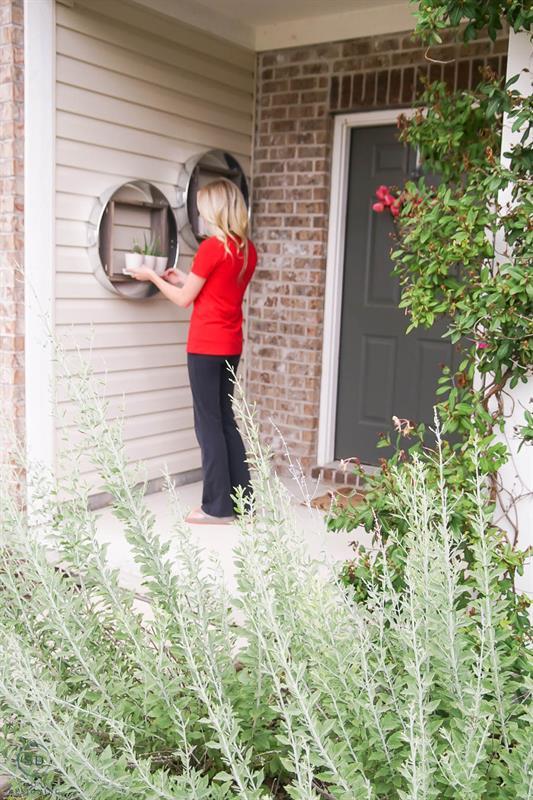
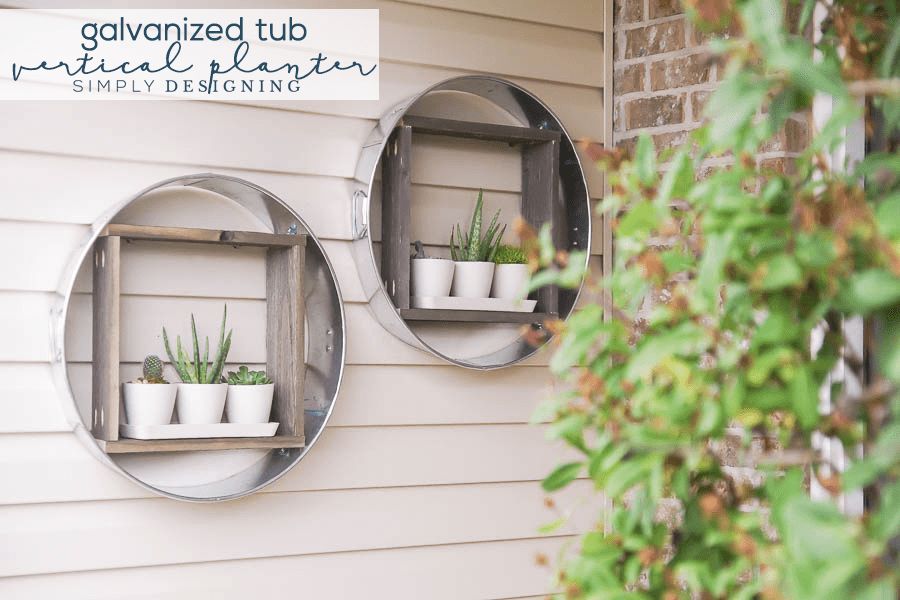


Adding plants to your front entry space can help to create a warm and inviting porch. But when you have a small porch, like I do, space is often limited so creating these vertical planters out of galvanized tubs is a great way to add stylish planter shelves to a small space.
Tools
Kreg Tools


Other Tools
-
Miter Saw

-
Tape Measure
-
Cut Off Tool
-
Hammer
-
Rivet Tool
-
Sanding Wheel
Materials
Wood Products
- 1 Board , 1x4 , 96"
Hardware & Supplies
- 1 24" Galvanized Tub
- 8 1 1/4" Kreg Jig Screws
- 4 3/4" L Brackets
- 4 3/16" Rivets
- 4 3/4" Wood Screws
Directions
-
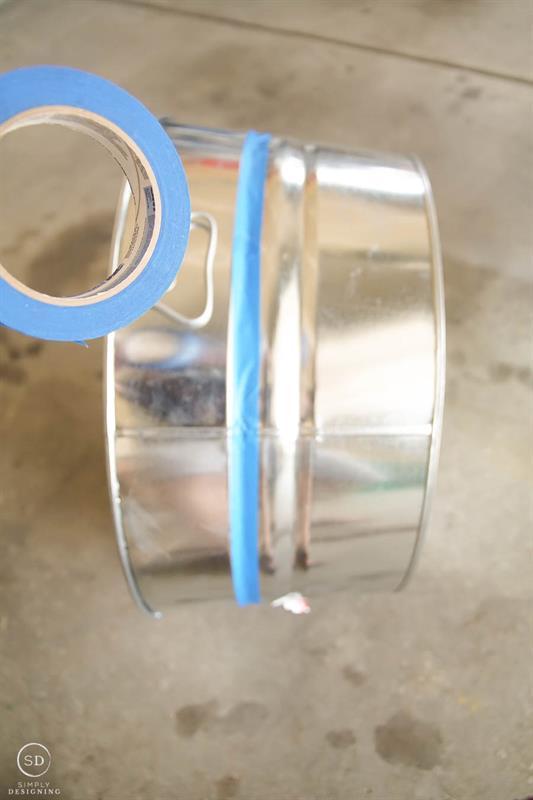
Mark the Tub
*These plans are to build (1) galvanized tub vertical planter.*
We used painters tape to mark where we wanted to cut our galvanized tub. We chose to cut it along a indentation in the tub, but were careful to make sure that it was wide enough to accommodate our wood.
-
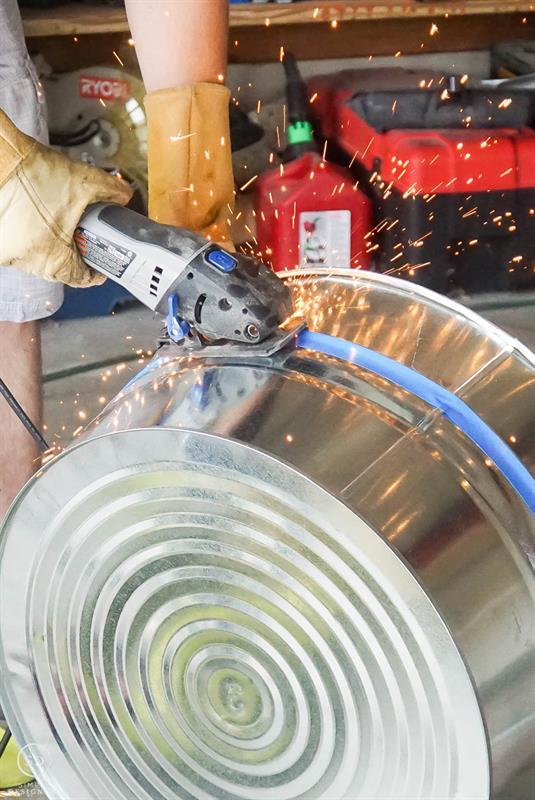
Cut the Tub
We used a hand-held cut off tool with a metal cutting blade and cut our tub where we marked it off. We wore leather gloves and protective gear while doing this.
-
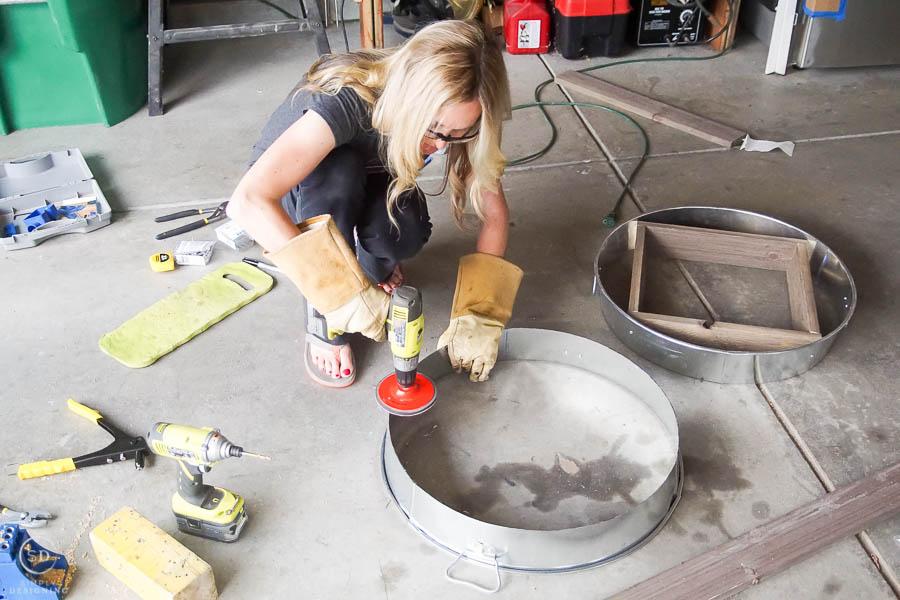
Sand the Edges of the Tub
We used a circular sanding wheel attached to an electric drill to sand the edges of the tub where it was cut.
-
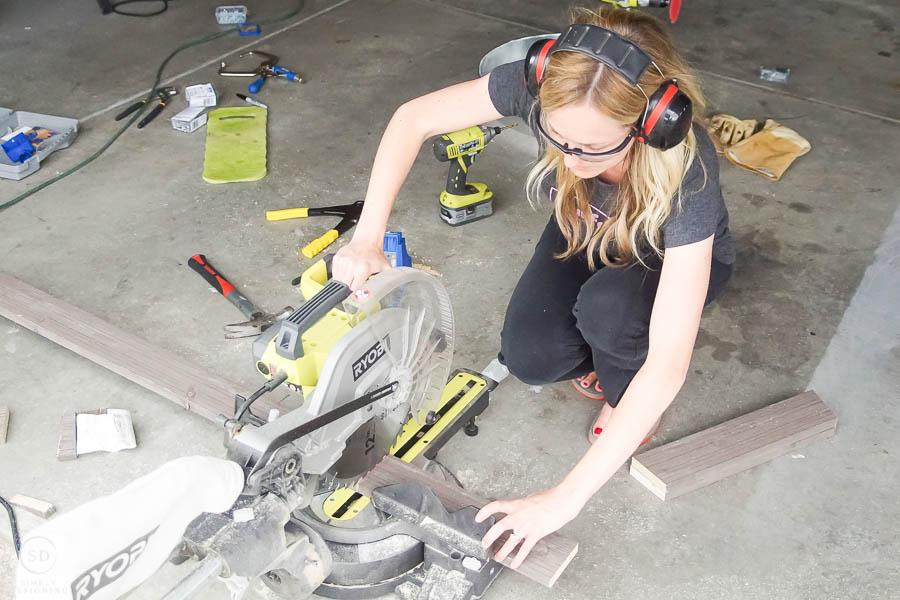
Cut Wood
We cut our wood using a compound miter saw. We cut 2 lengths of wood to 16.75" with both ends cut at a 10 degree inward angle. This was to match the inside taper of the tub.
The other 2 lengths of wood were cut to a 14.5" length with no angle.
-
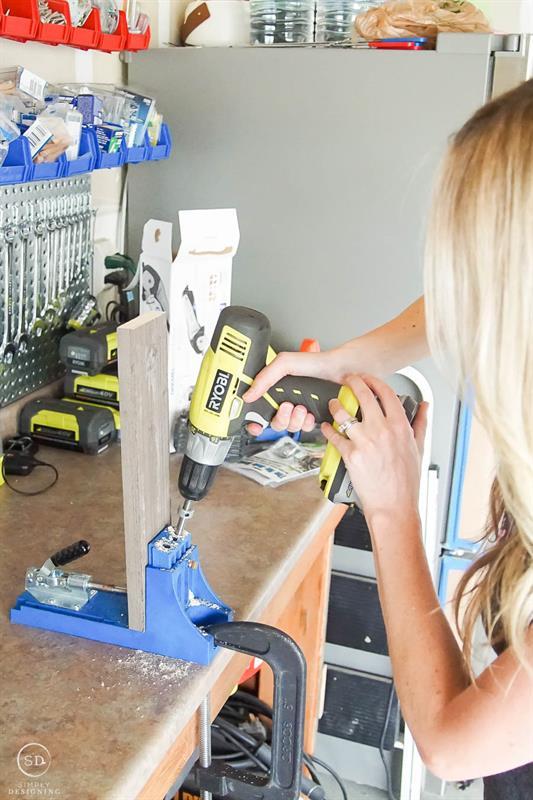
Drill Pocket Holes
We used a Kreg Jig to drill pocket holes into both ends of the 14.5" length pieces of wood.
-
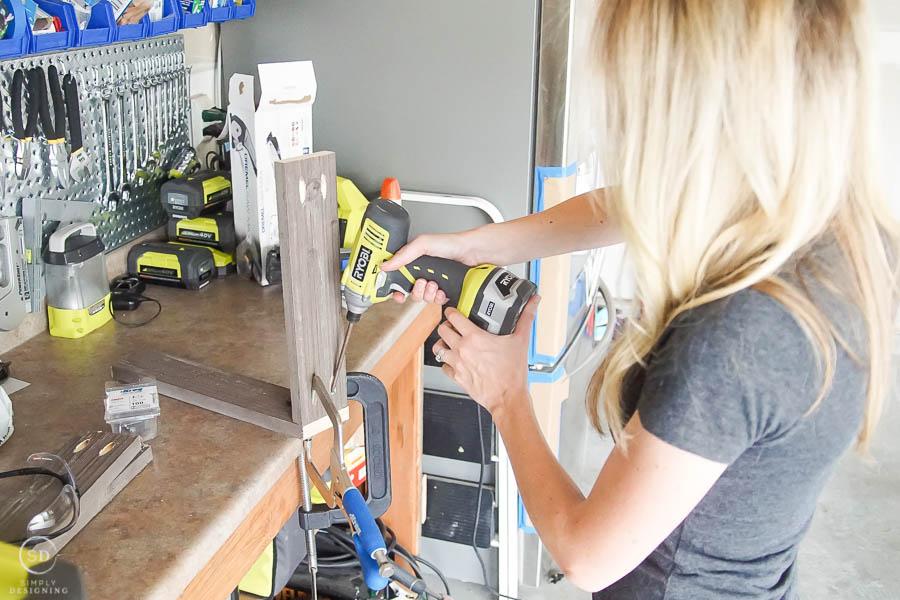
Join Wood Pieces
Once our pocket holes were done, we used Kreg Screws, the Kreg drill bit and a drill to join the wood pieces together. A right angle clamp was really helpful when we did this.
-
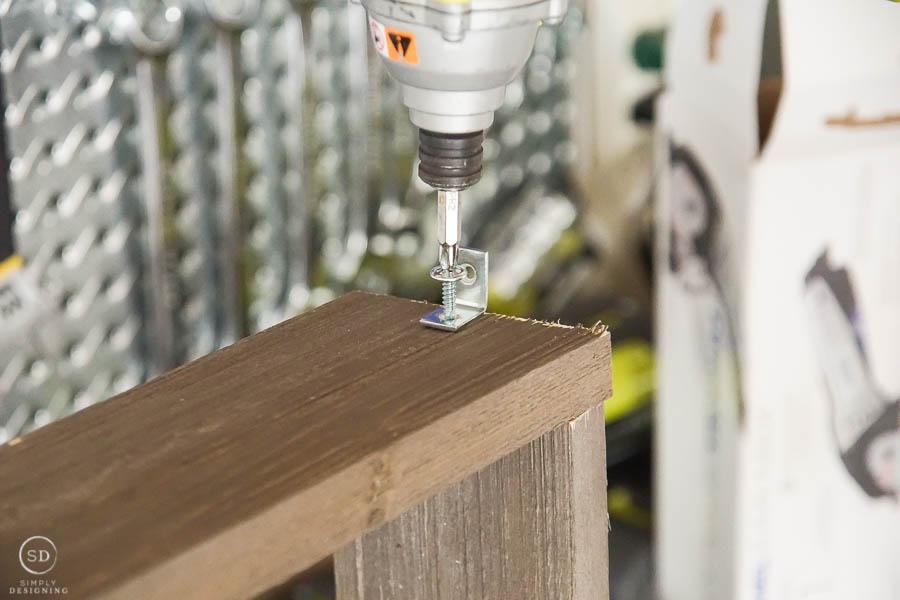
Attach L Bracket
On four corners of our wood box, we attached L brackets using a drill and screws.
-
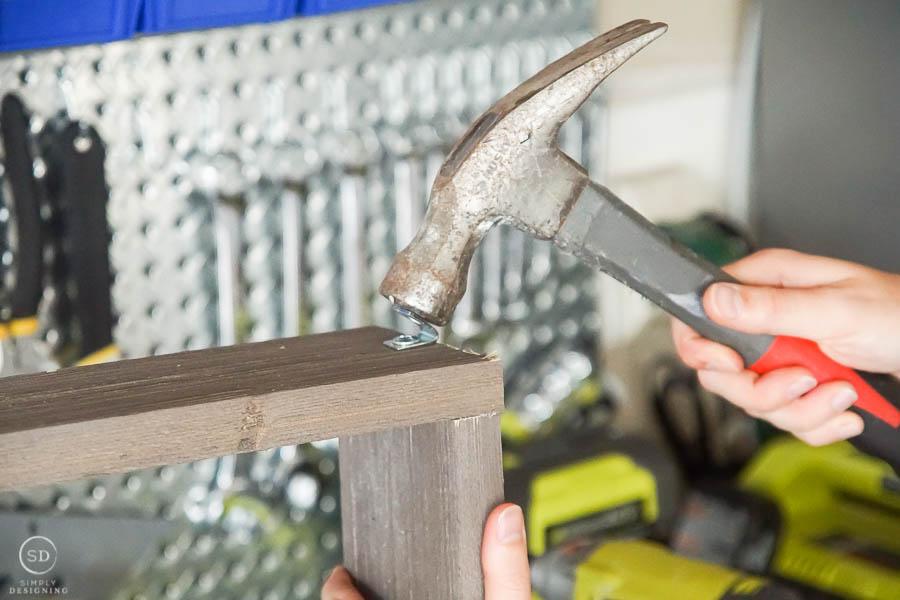
Bend L Brackets
We then bent our L brackets to fit the inside angle of our tub using a hammer.
-
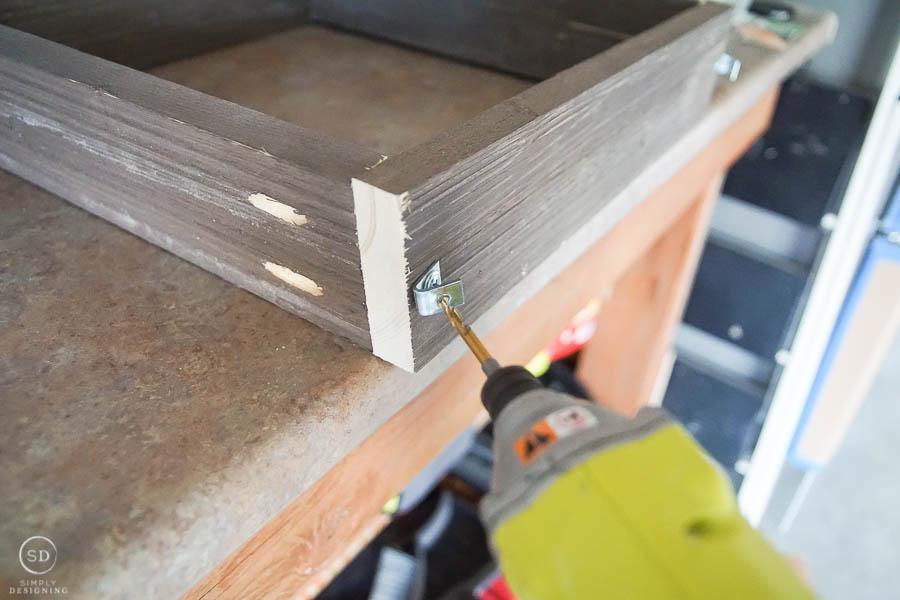
Drill L Bracket Hole
We used a drill to make the holes in the L brackets a bit larger to accommodate the rivet.
-
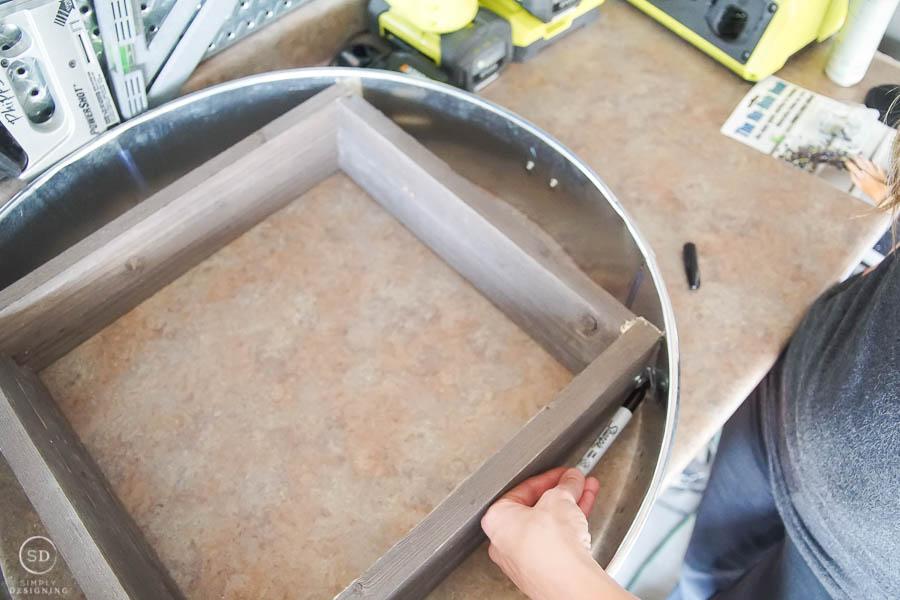
Mark Rivet Holes
We placed the wood box into the tub and marked where the rivet holes would need to be drilled with a permanent marker.
-
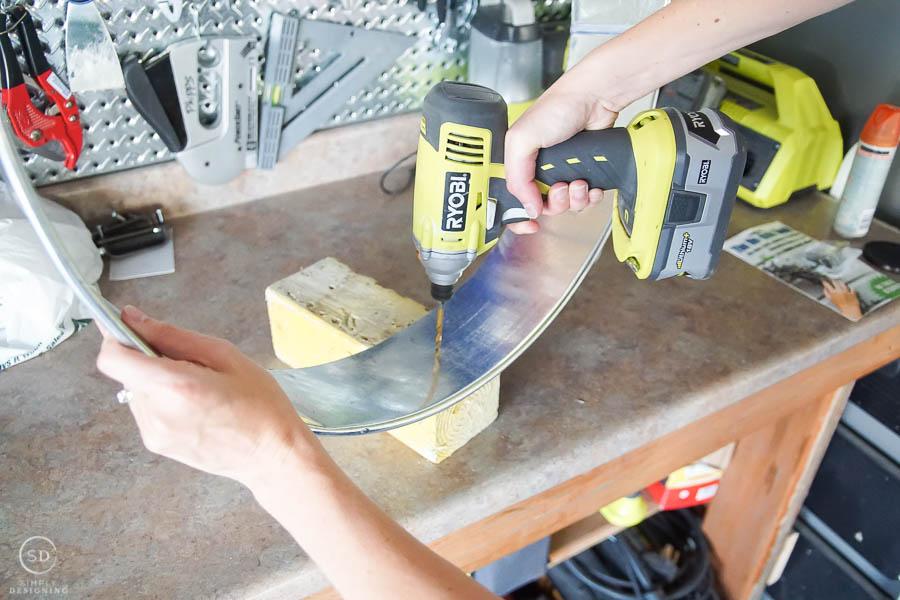
Drill Rivet Holes
We removed the box from our tub and drilled holes where we marked for our rivets.
-
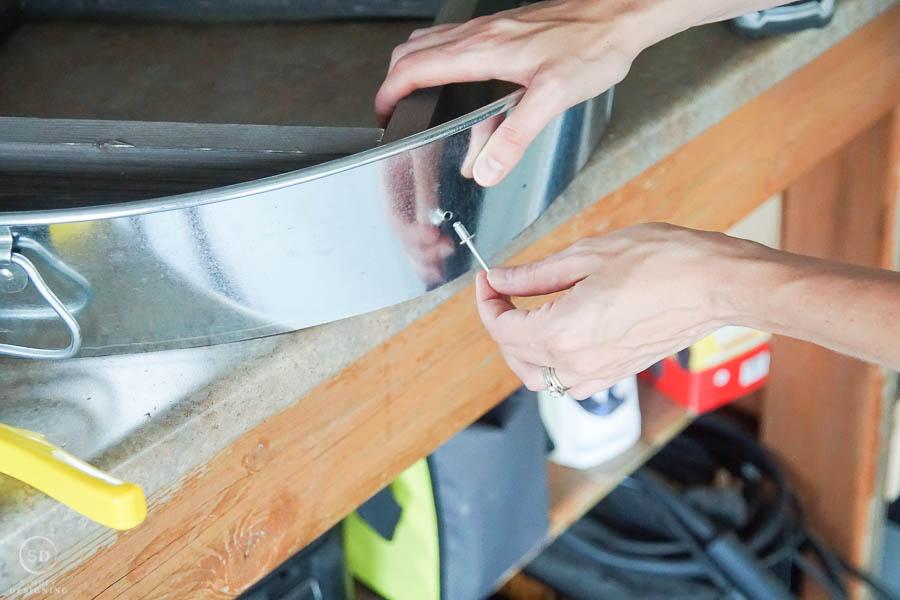
Place Rivet
We inserted the rivet into our pre-drilled hole and into the L brackets on the wood shelf.
-
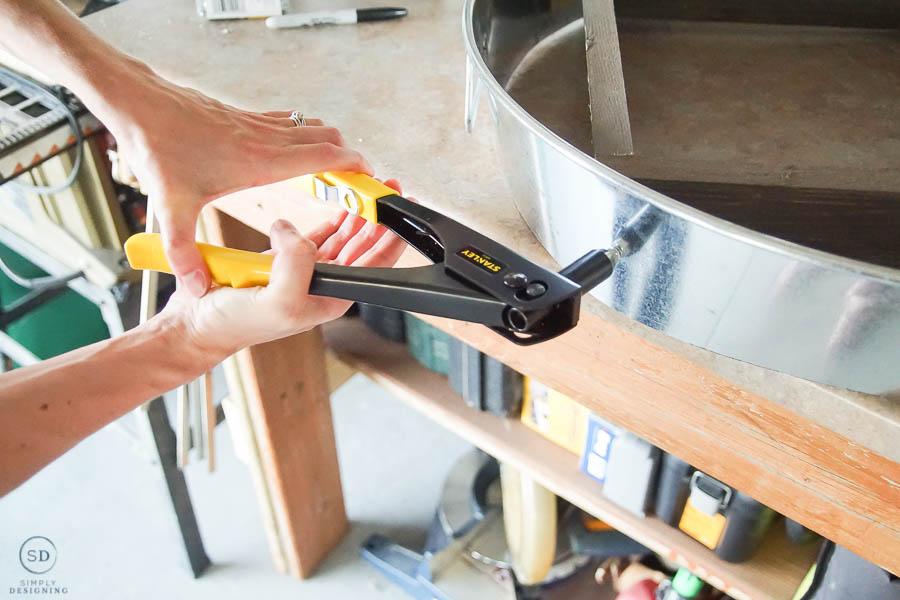
Rivet Shelf to Tub
Then we used a hand rivet tool to secure the tub to the L bracket.
-
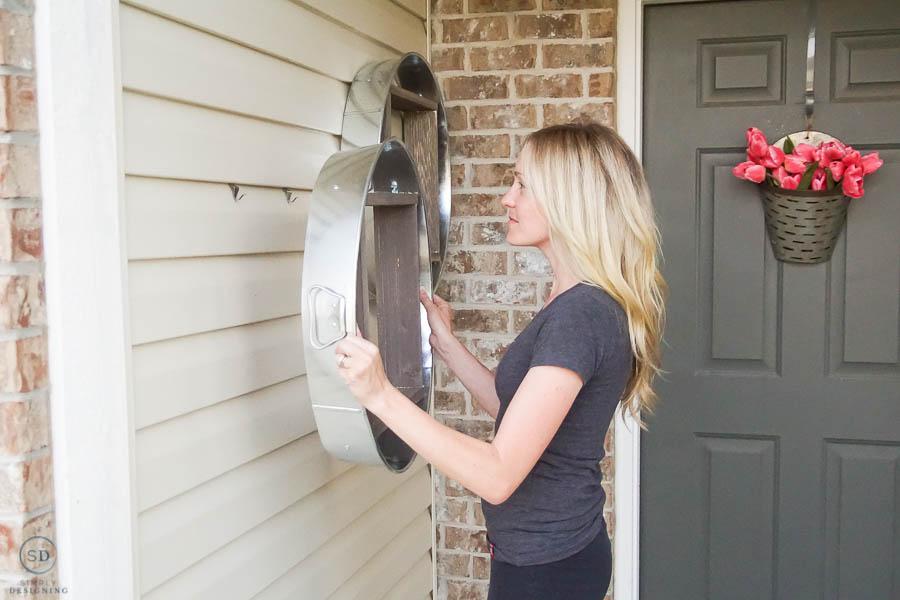
Hang Vertical Planter
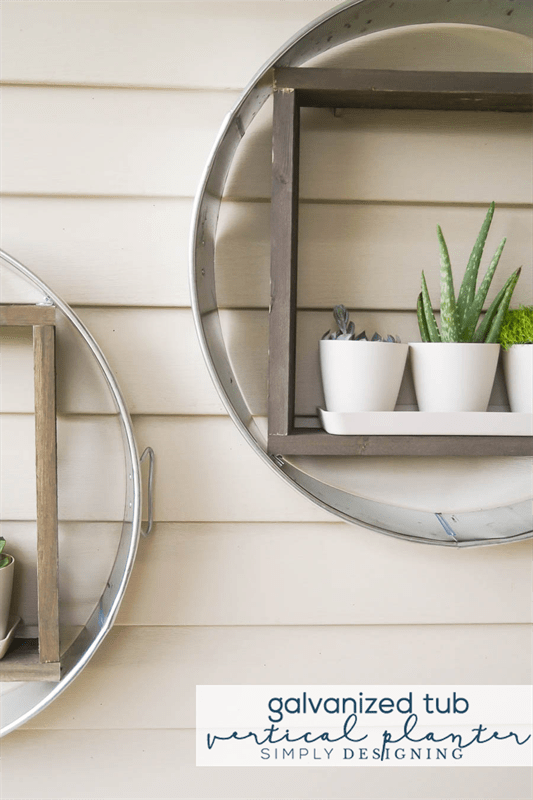
We used special vinyl siding hooks to attach our vertical planters to our patio wall.
-
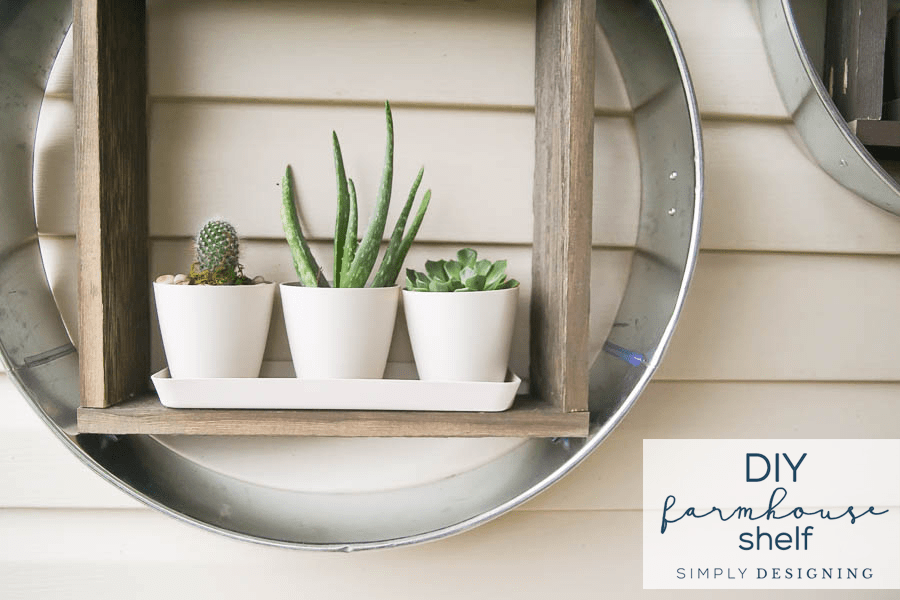
Pot Plants
We then picked plants that we thought would be nice to go on the planters. We picked out some beautiful succulents and a cactus and potted them. But flowers or herbs would also be really lovely.
-
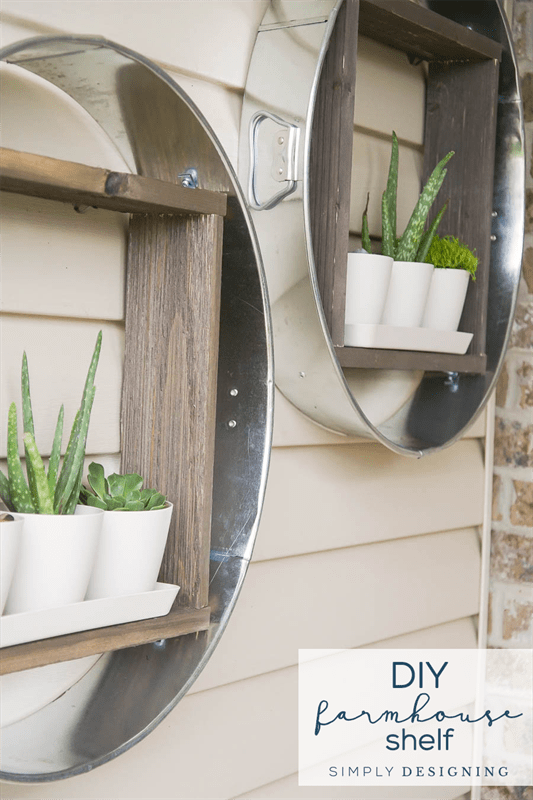
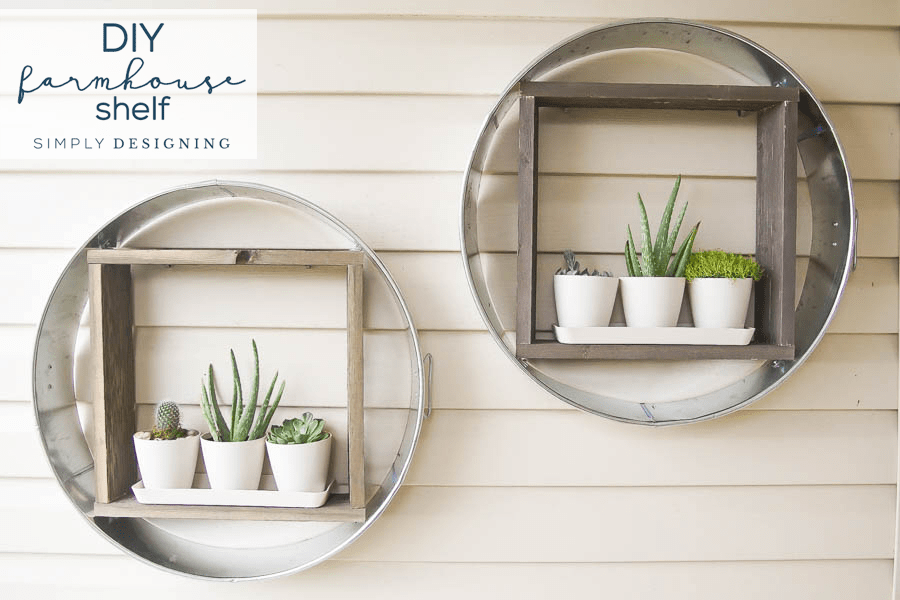
Add Plants to Shelf
Then we placed our potted plants onto our shelf and we were ready to enjoy our newly updated porch decor!