DIY File and Printer Cabinet
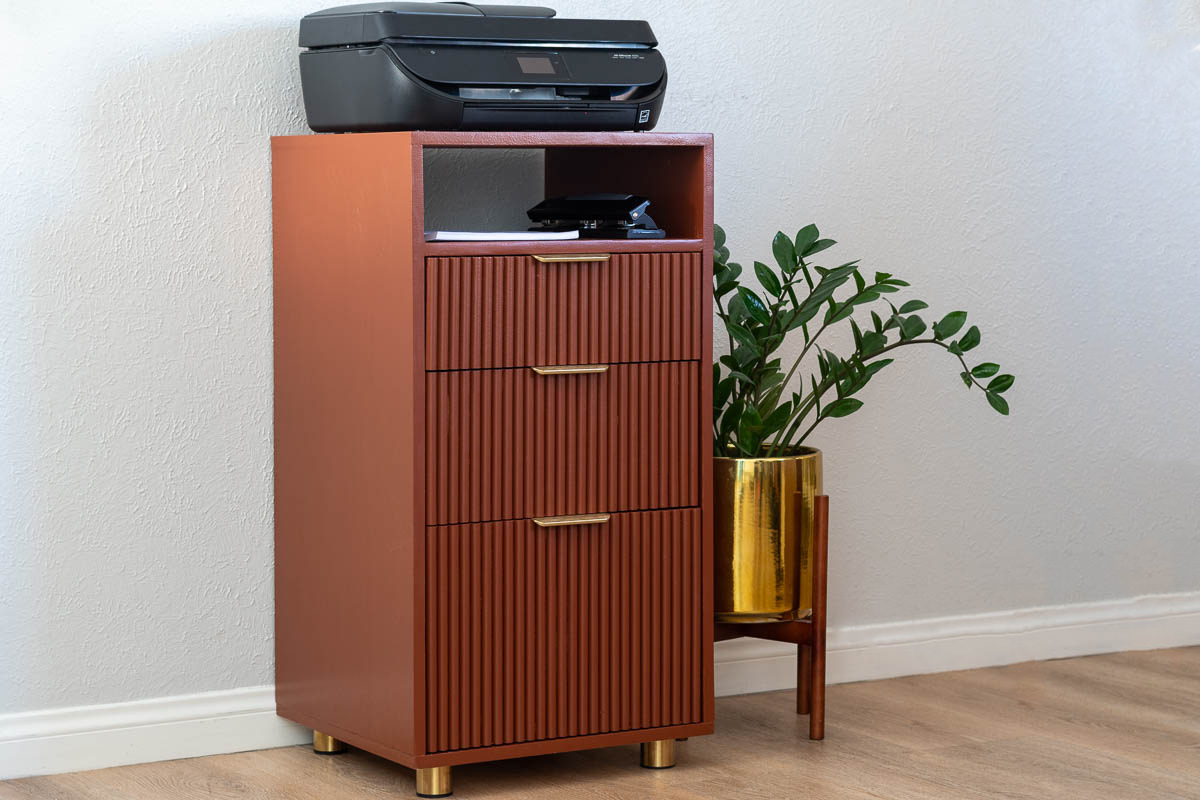
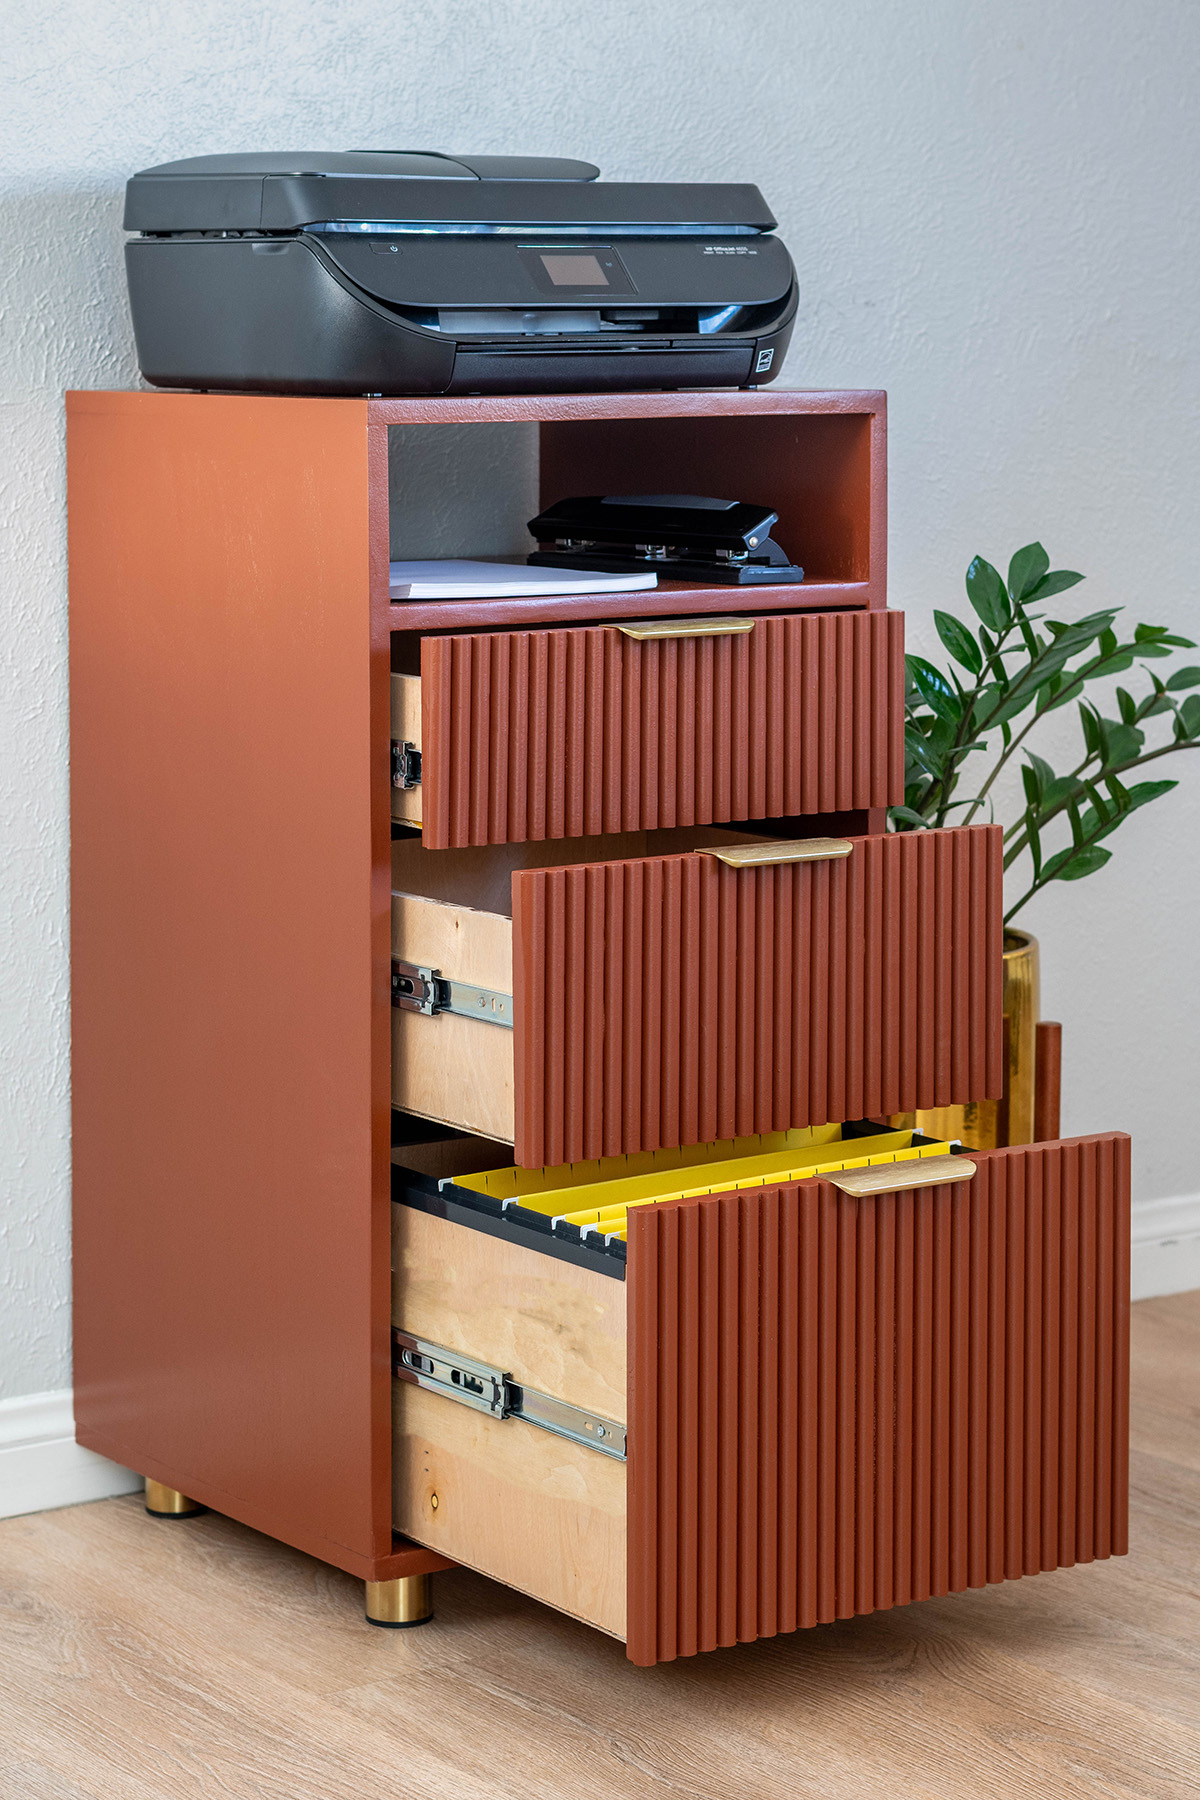
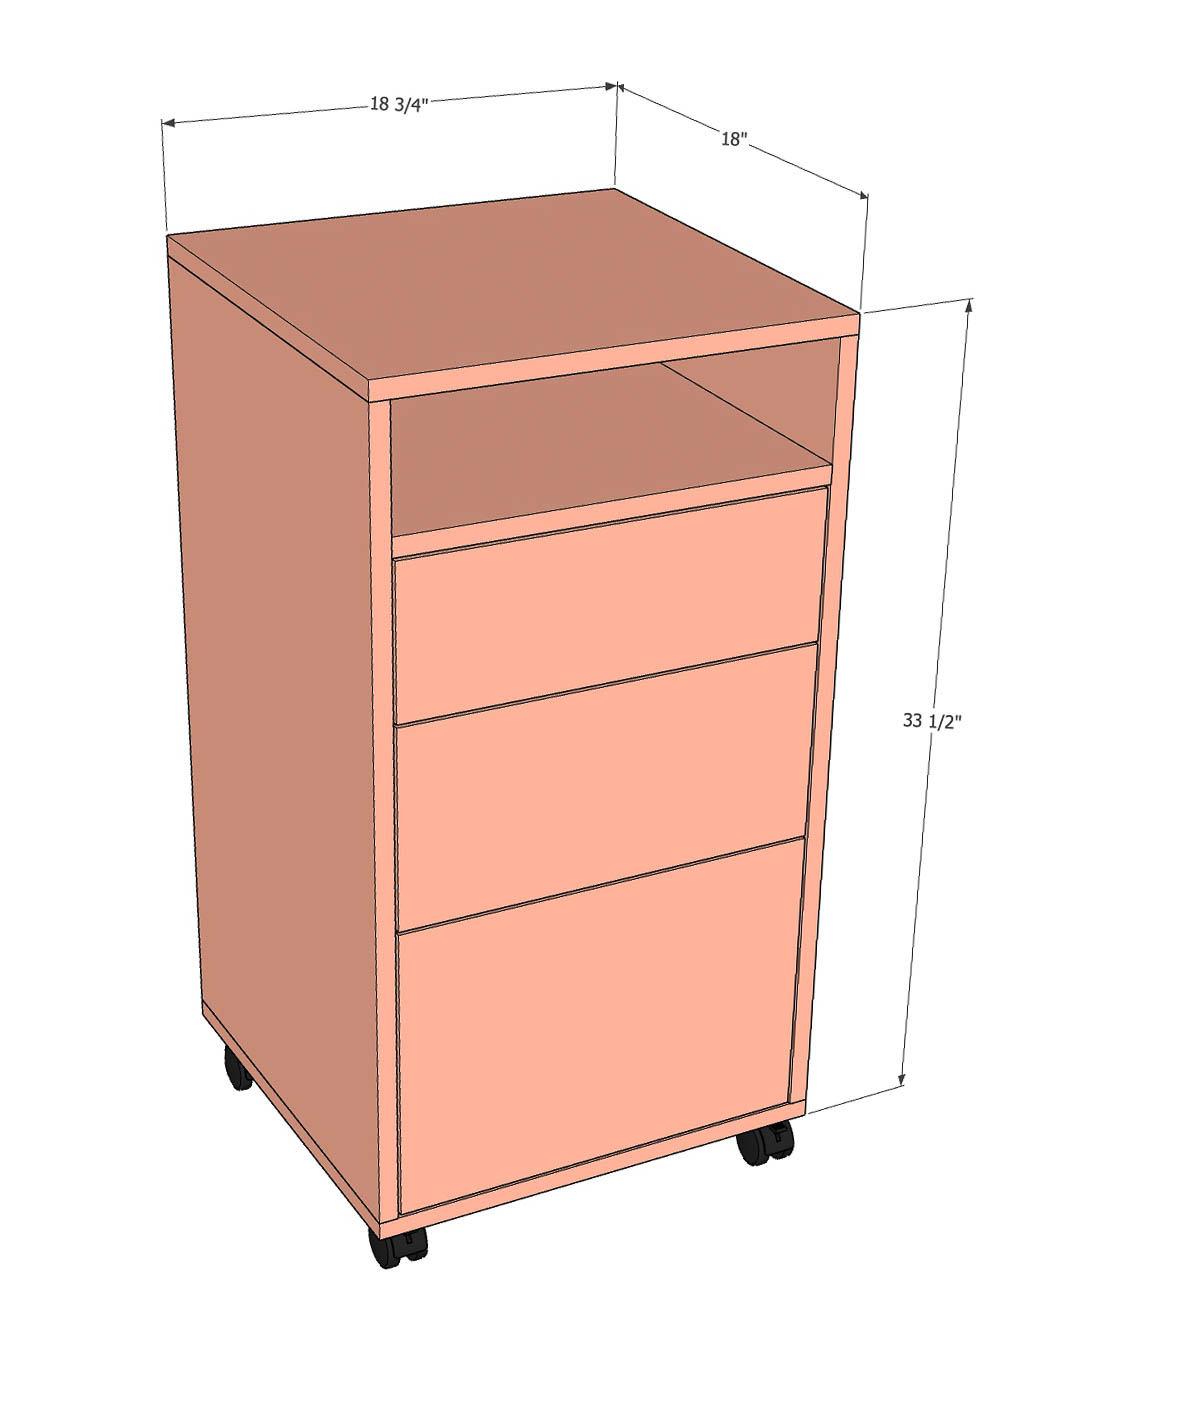
By Anika's DIY LifeBuild an easy DIY File cabinet for your home office. It has a large filing drawer, and 2 smaller storage drawers for organization. Need two filing drawers? Just combine the top drawers and make one large filing drawer. The cabinet also doubles as a printer stand with a shelf for storing paper.
Directions
-
Attach Top and Bottom
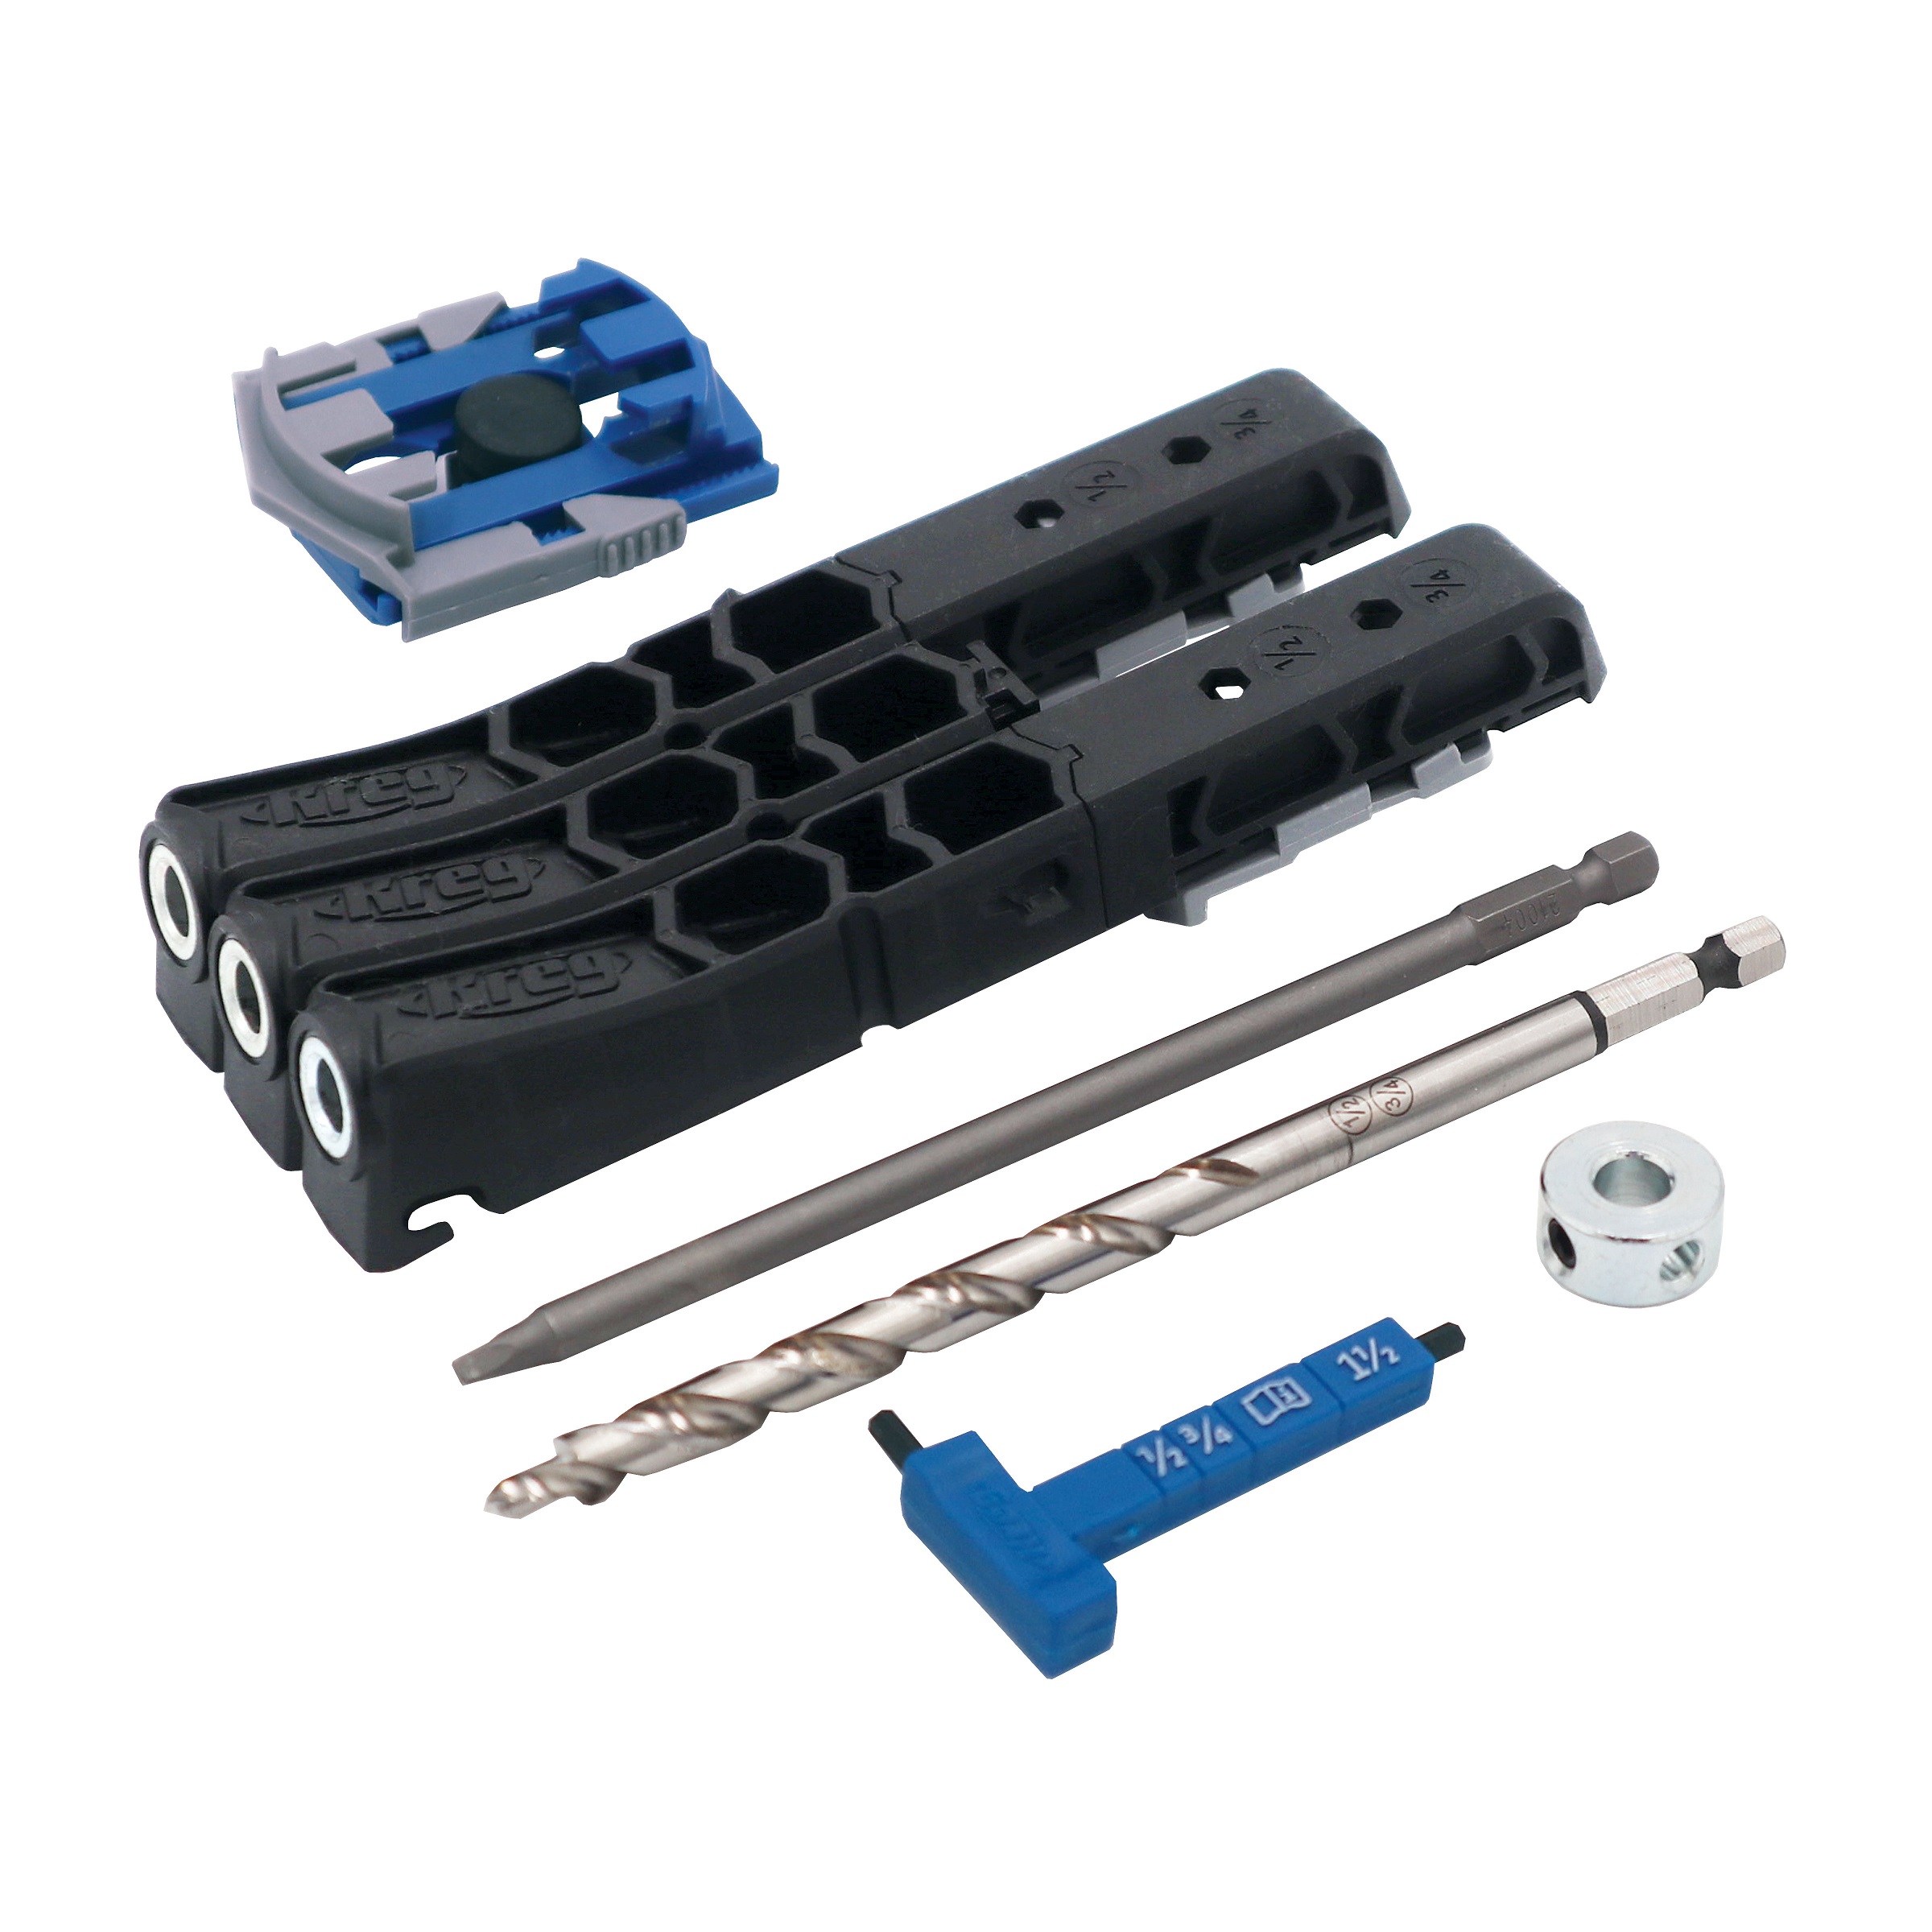
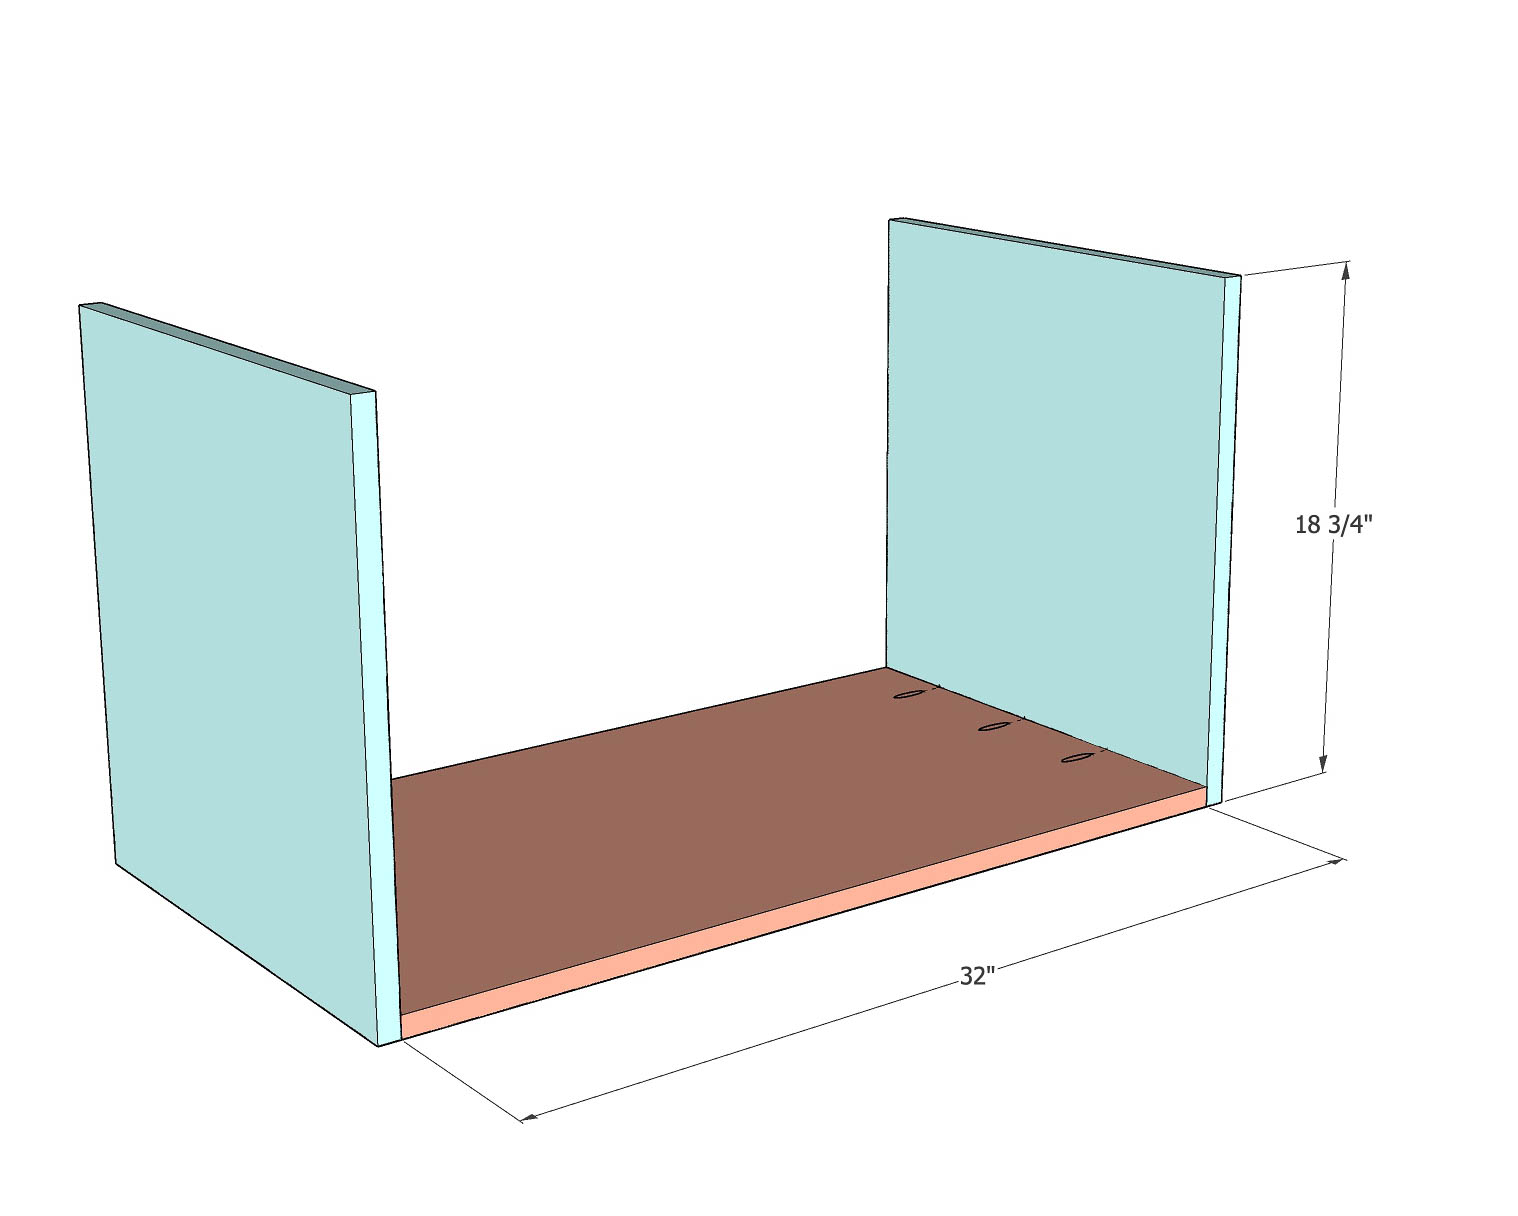
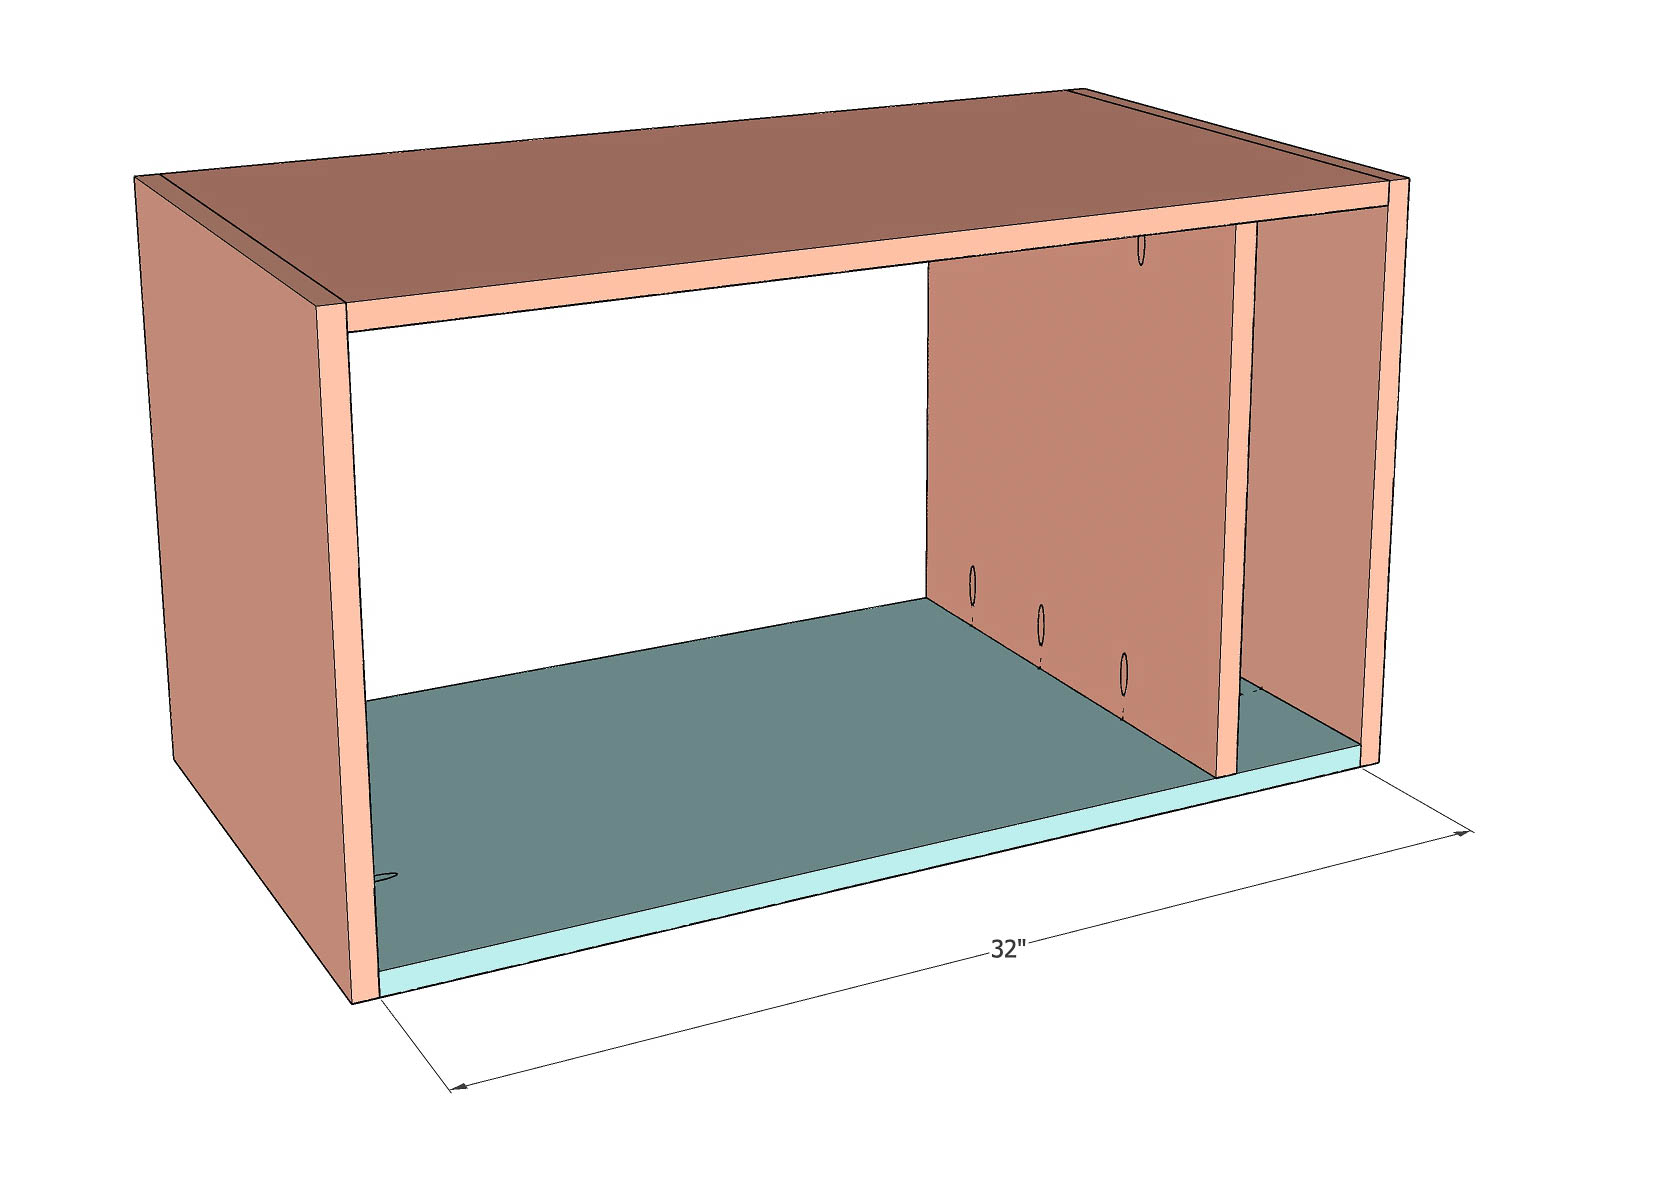
Attach the top and bottom to the side plywood using wood glue and pocket hole screws. The pocket hole screws are on the inside. Use 1-1/4" pocket hole screws.
-
Attach shelf
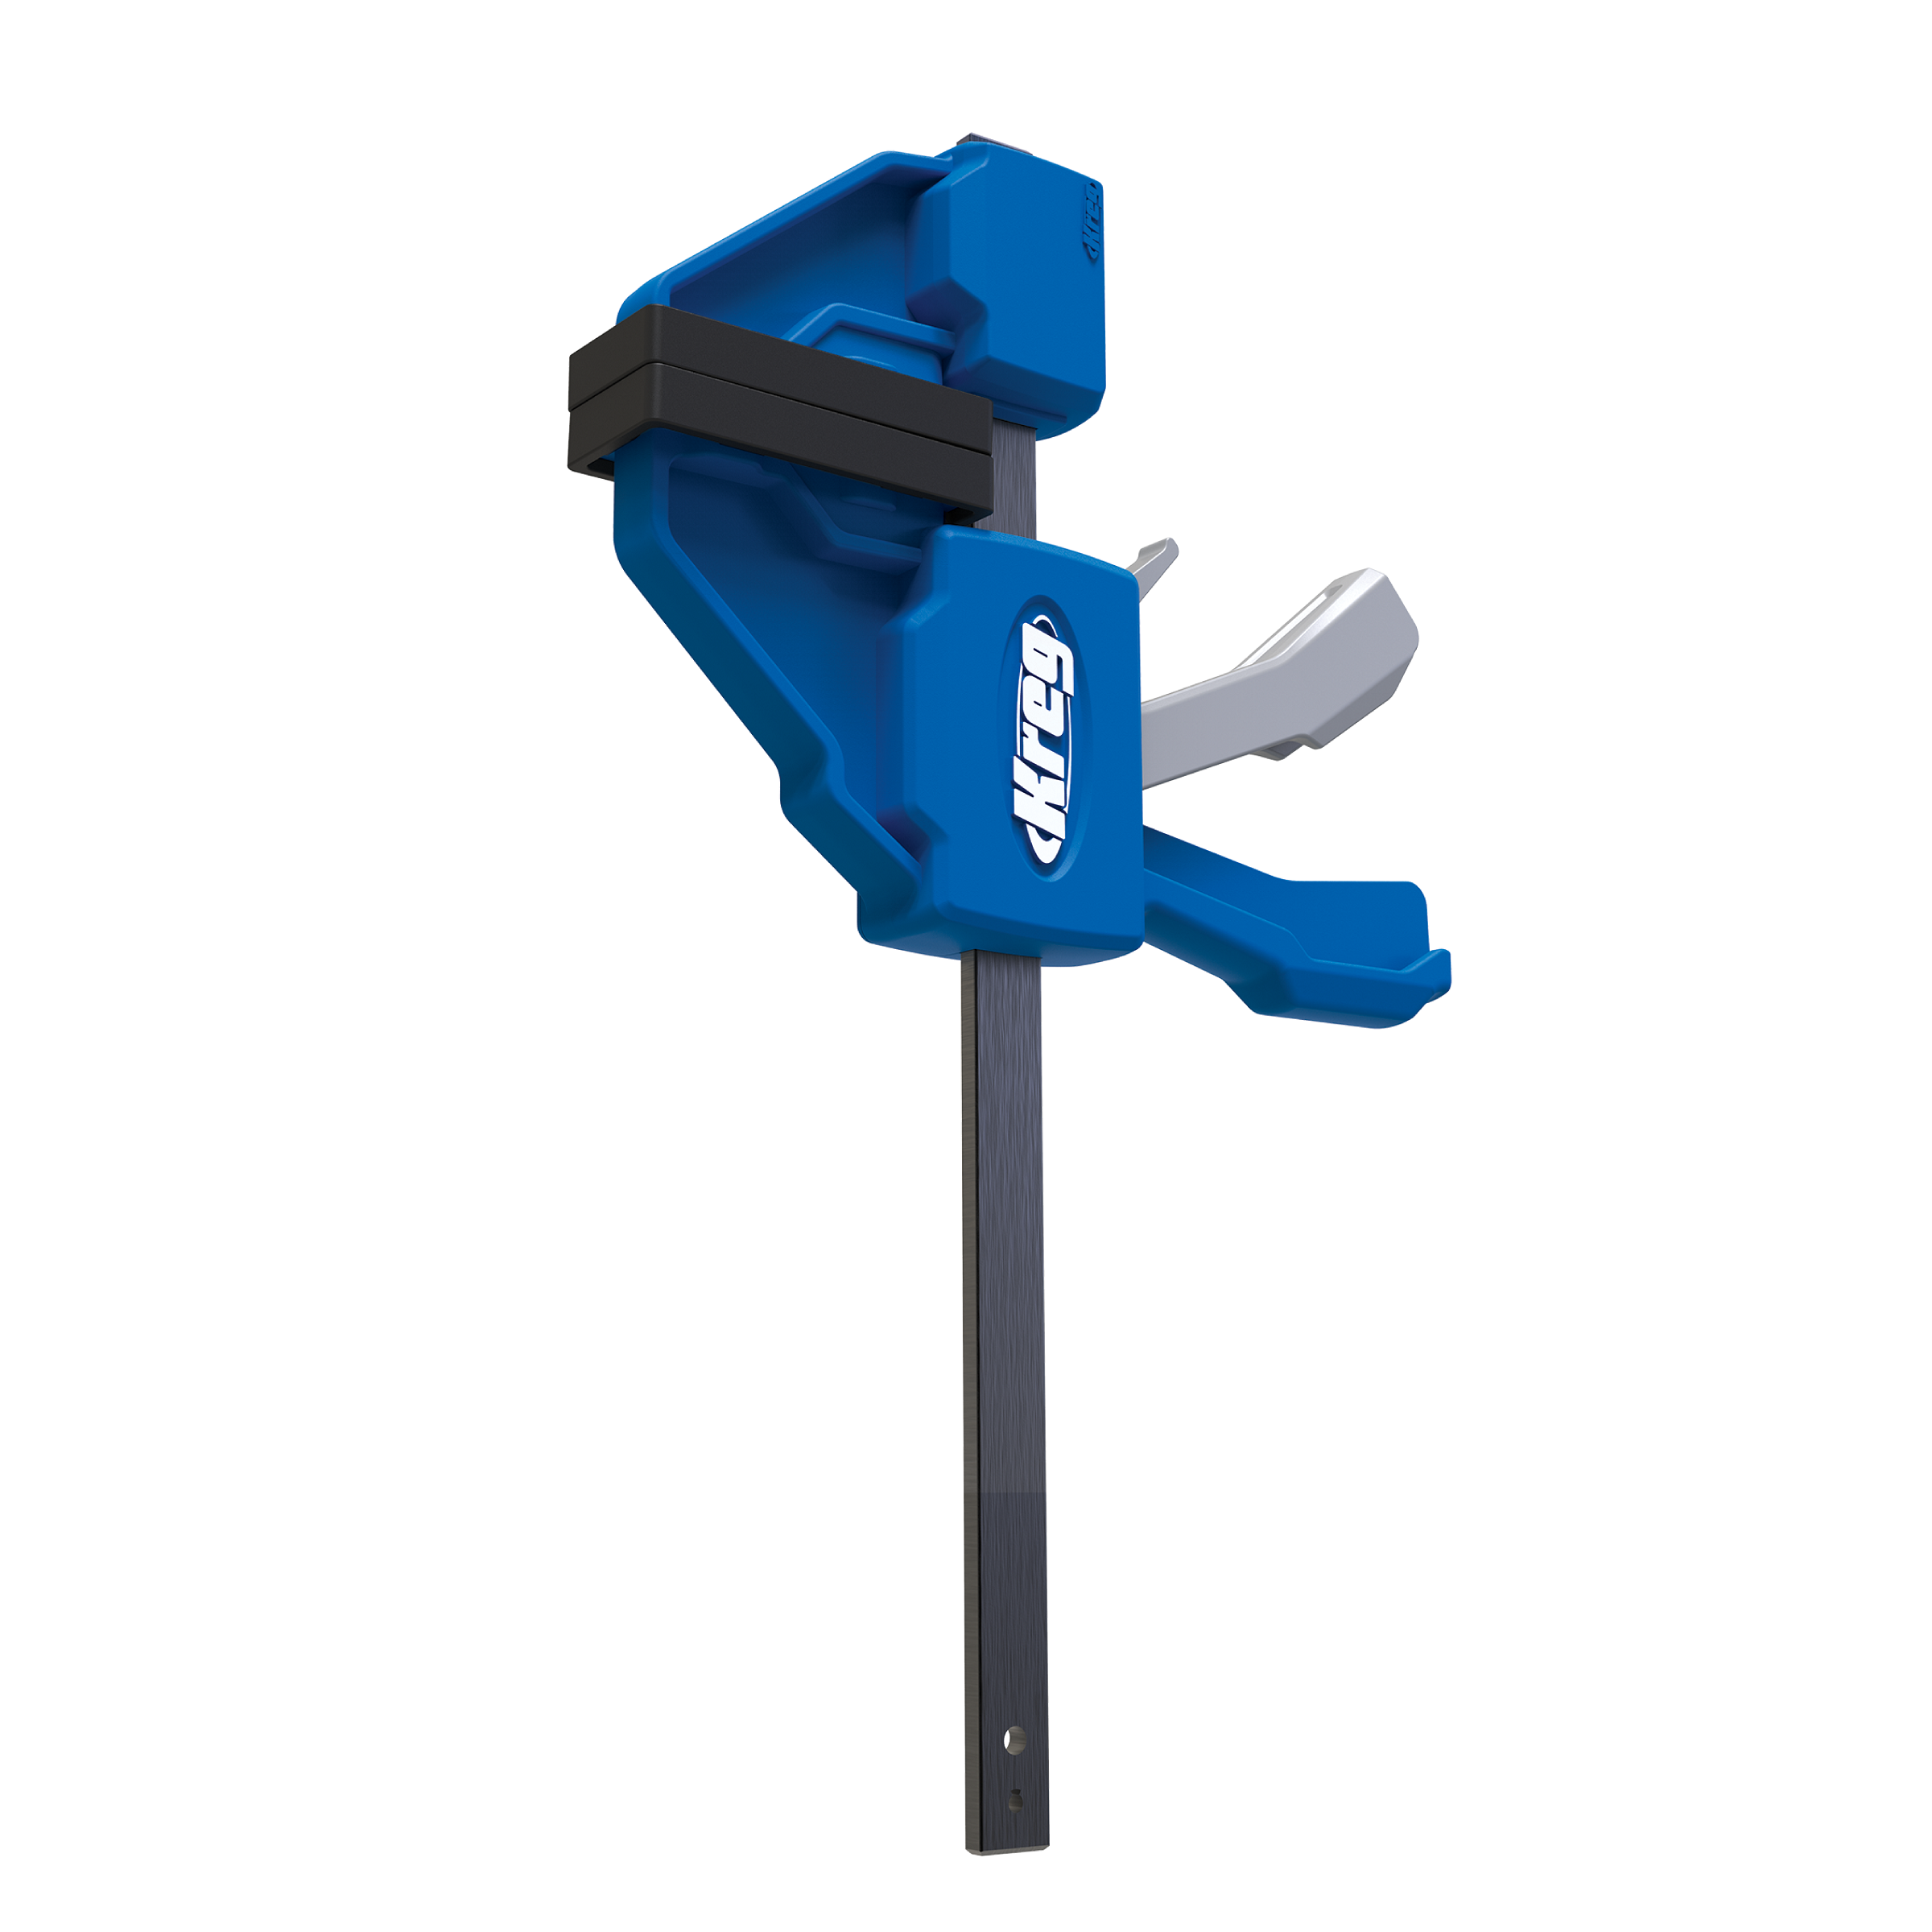
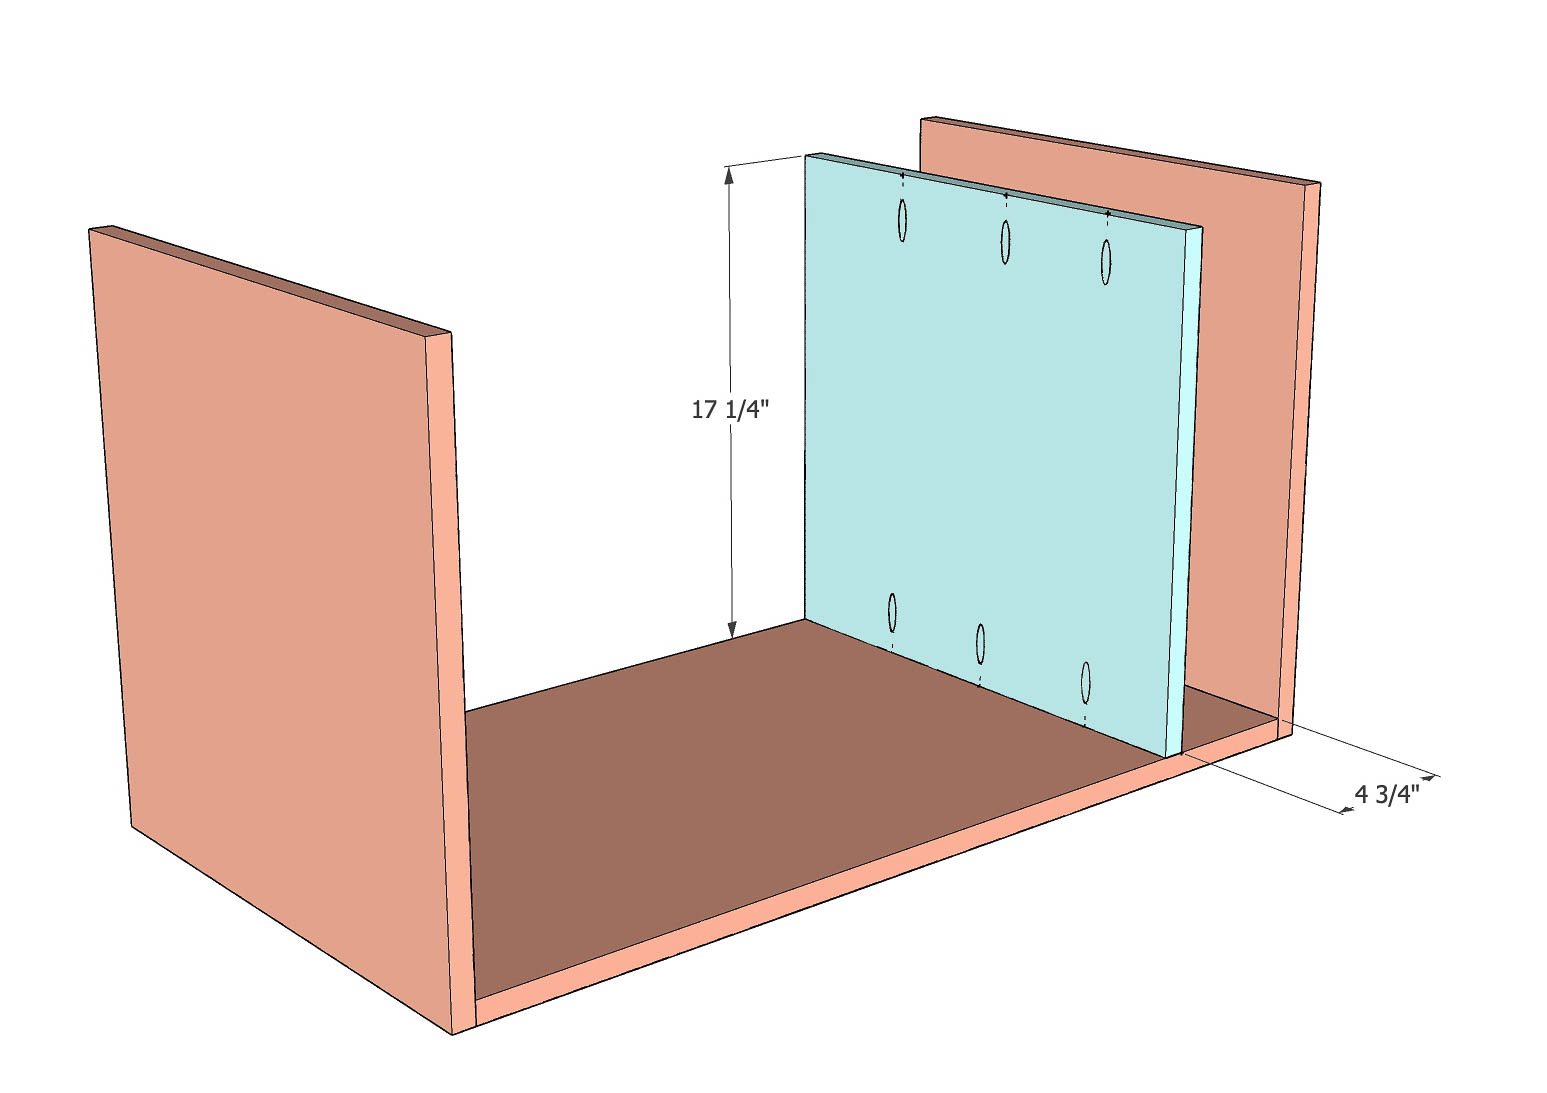
Attach the shelf as shown using wood glue and 1-1/4" pocket hole screws. You can clamp a scrap 2x4 board to help keep the shelf aligned as you attach it.
-
Complete the cabinet
Attach the remaining side using pocket hole screws and wood glue to complete the cabinet.
-
Build and install the drawers
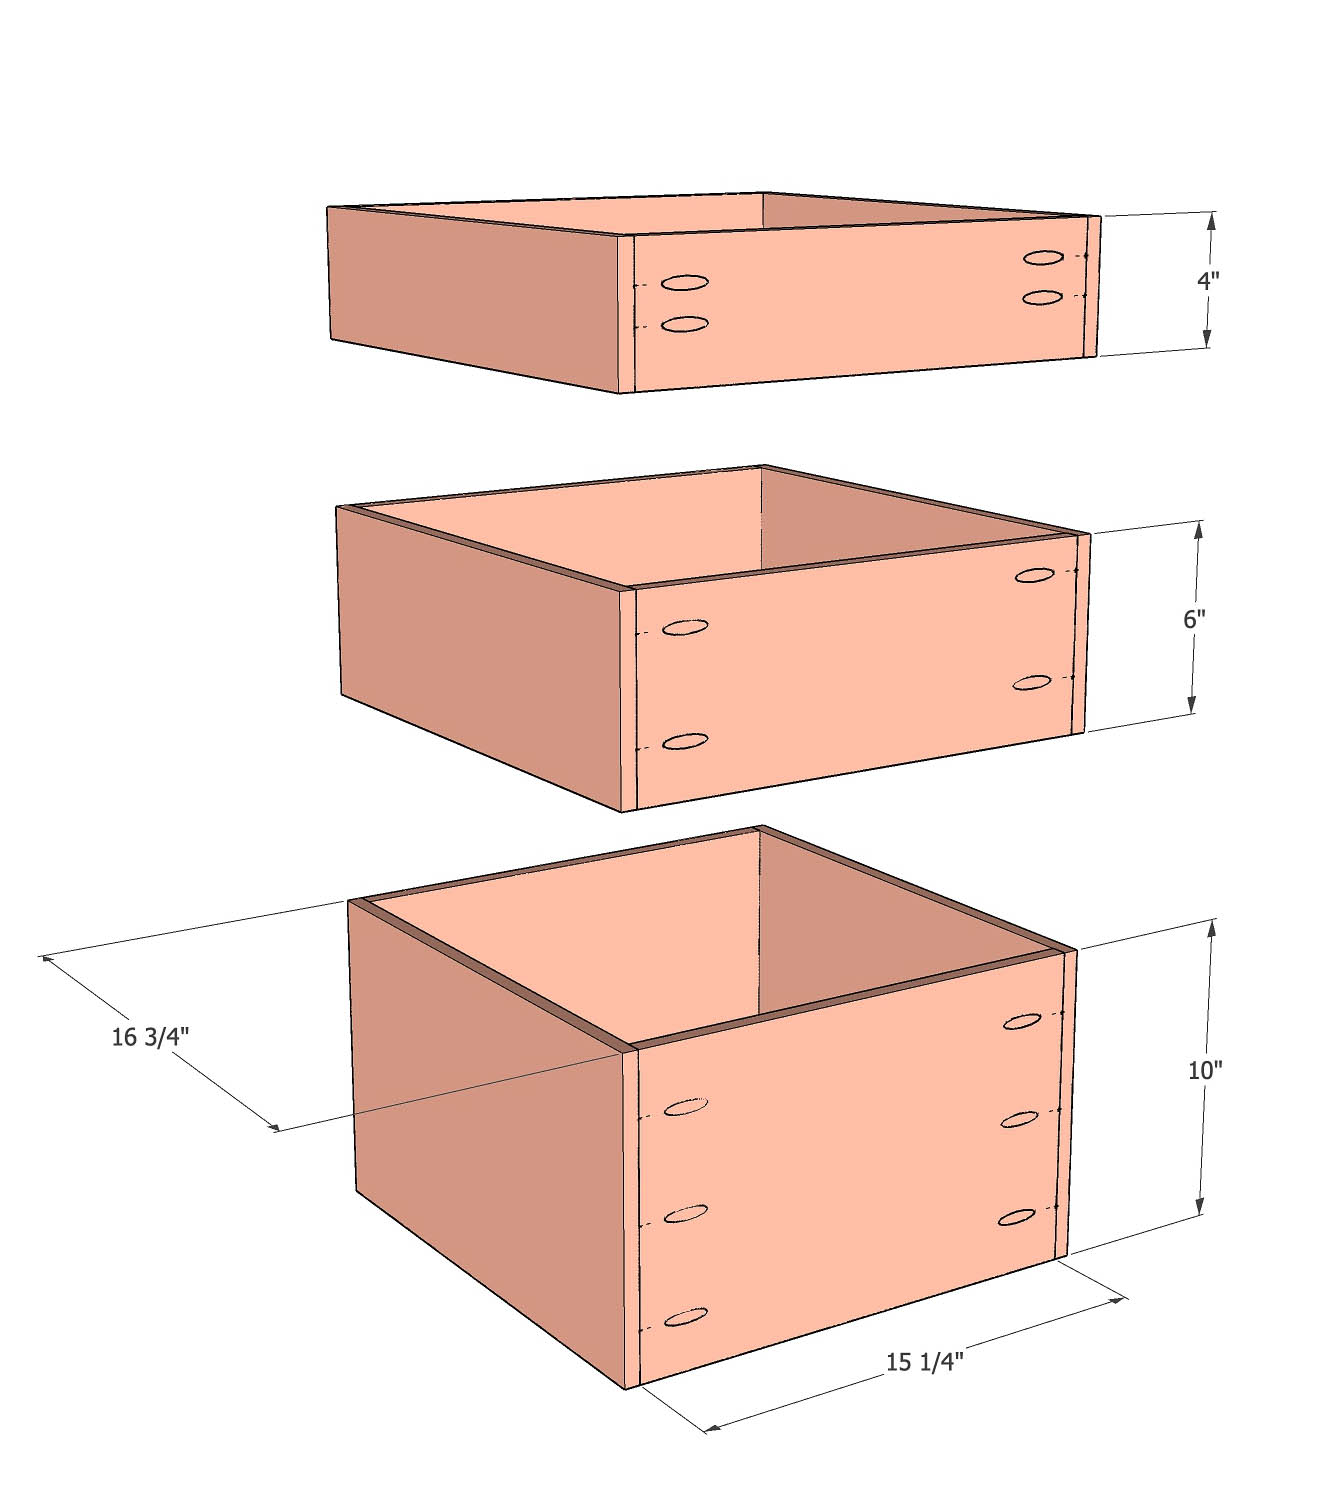
Build the three drawers using pocket hole screws and wood glue. Since we are using 1/2" plywood, we use 1" screws. There are three drawers with the exact same depth and width but different heights.
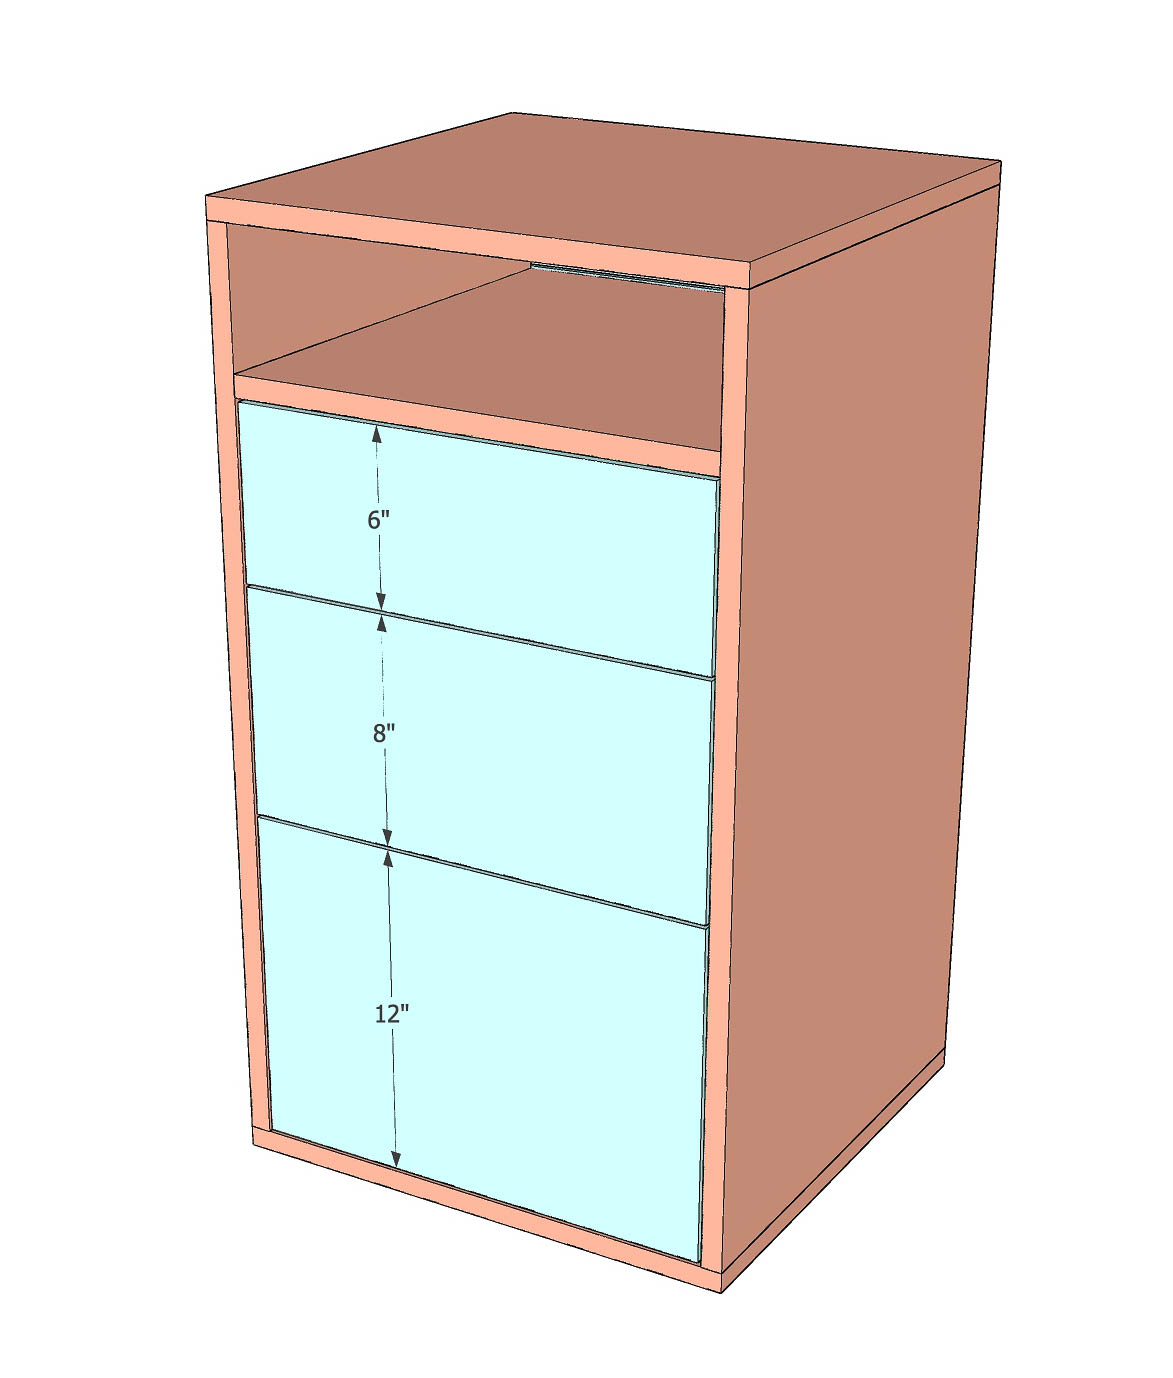
Install the drawers into the cabinet built above using drawer slides. Full extension ball bearing drawer slides are highly recommended. -
Install the drawer fronts
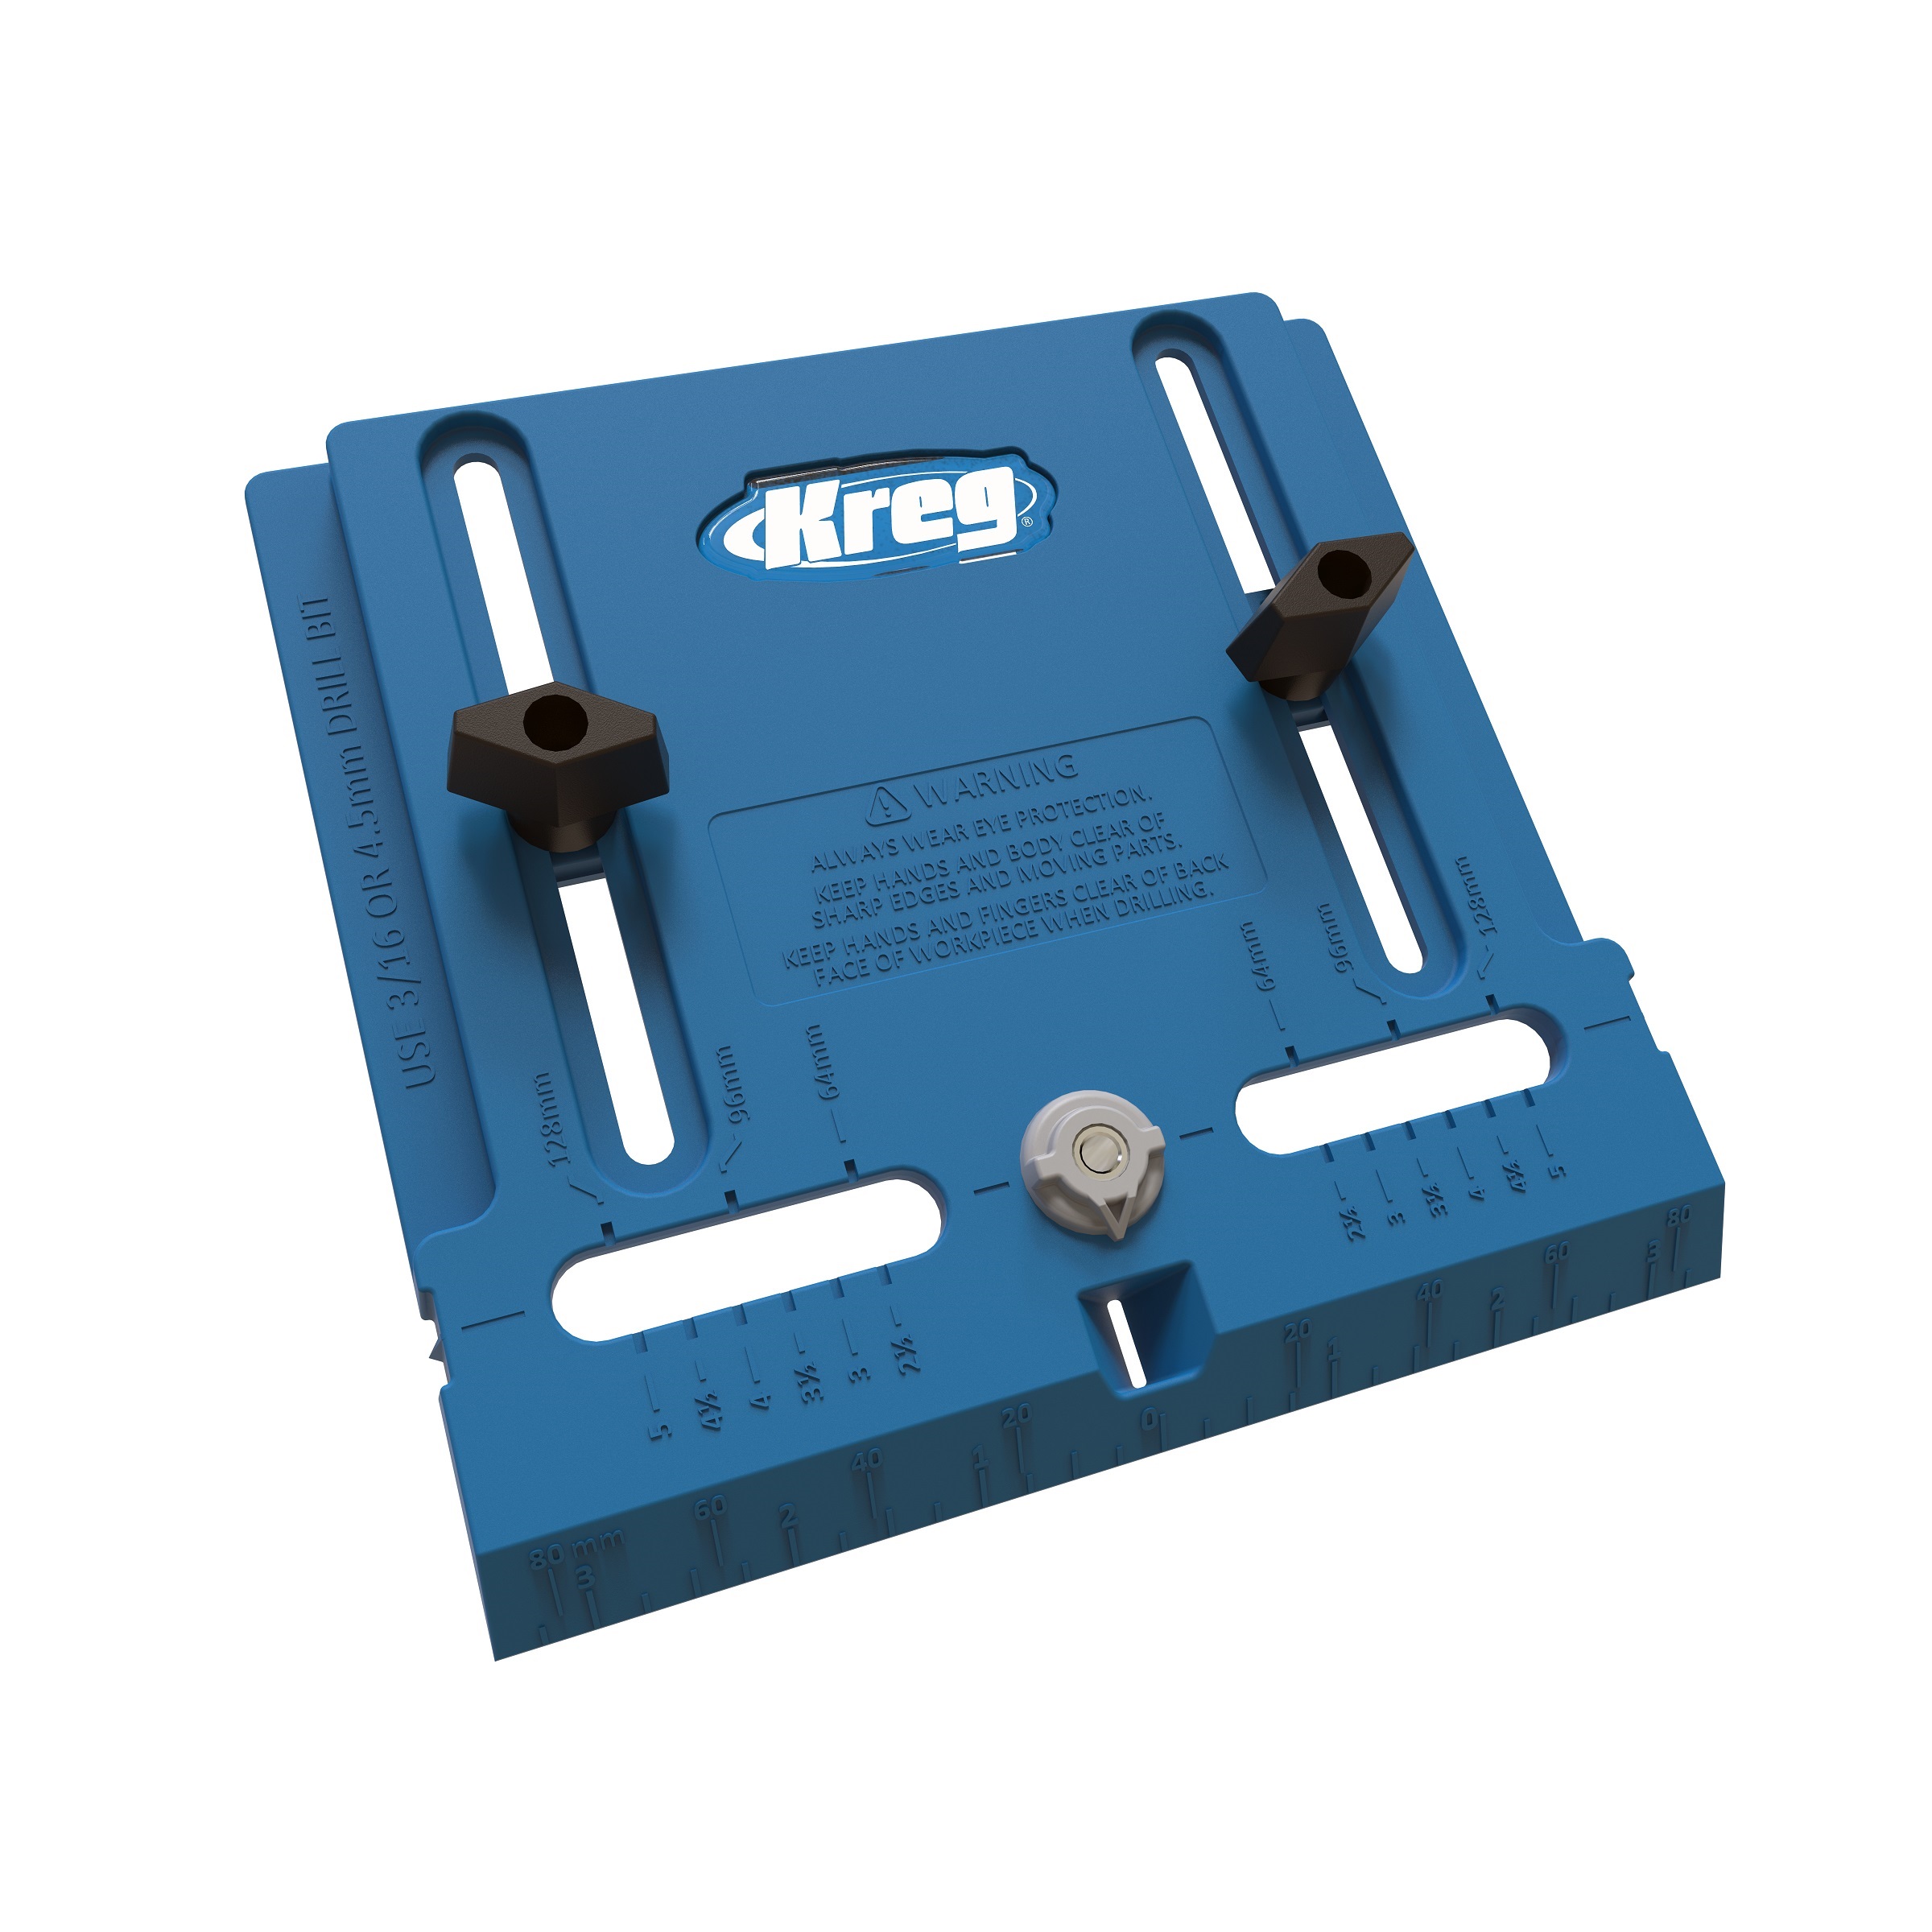
Attach drawer fronts to the drawers. These are inset drawers. You can use the Hardware jig to attach drawer hardware.
-
Finishing touches
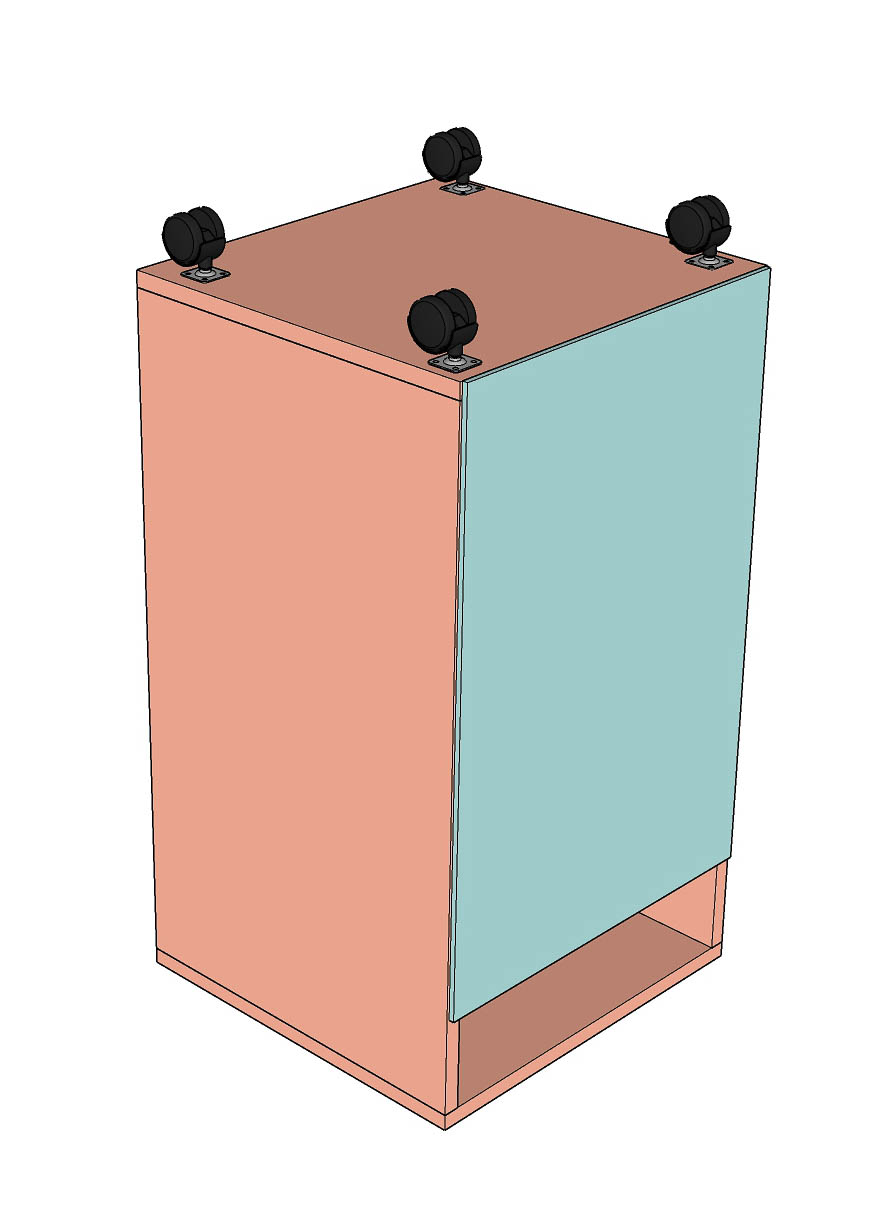
Add a 1/4" plywood to the back of the cabinet. The plywood is cut 1/8" smaller on all sides so the edges aren't visible.
Install casters or stationary feet as desired.
Add hanging file rails on the sides of the bottom drawer.
For the fluted look shown in the project, cut half-round molding to size and glue them to drawer fronts before attaching them.
See full step-by-step build pictures here – https://www.anikasdiylife.com/diy-file-cabinet-printer-stand/


