DIY Dog Kennel Cover with an Antique Door
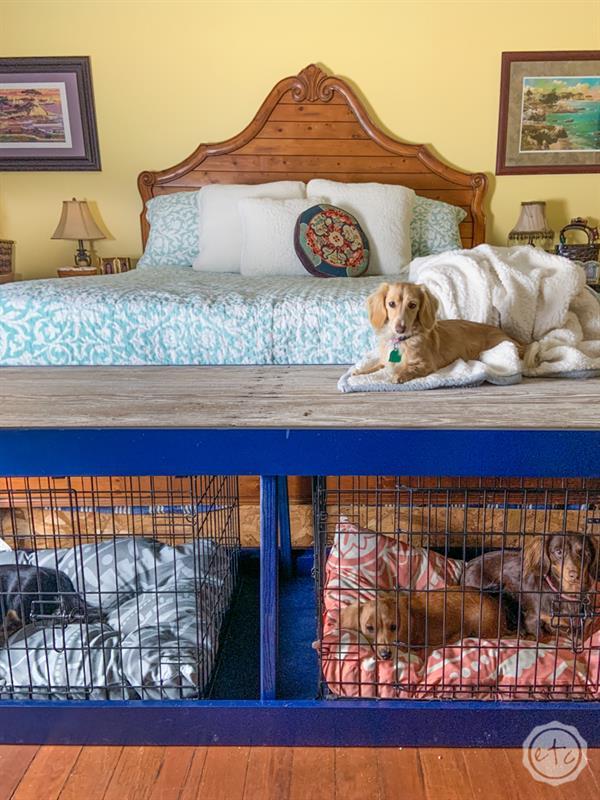
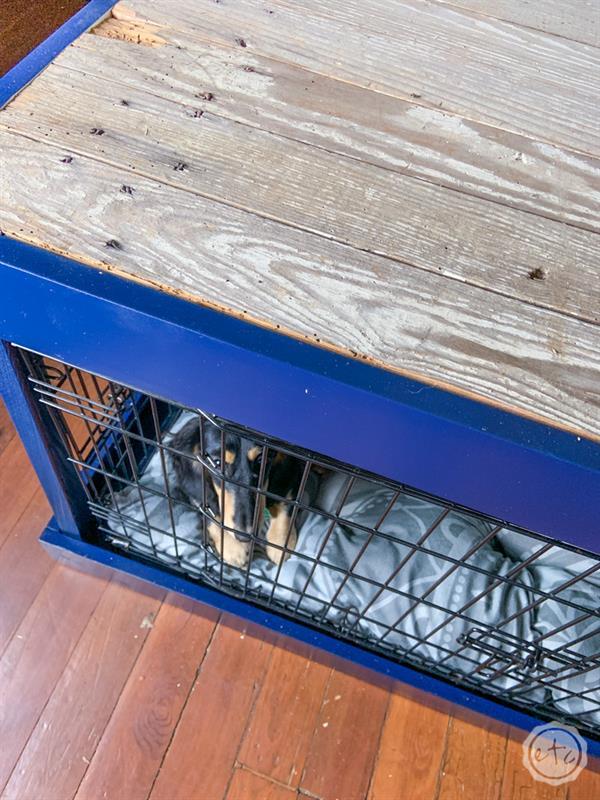
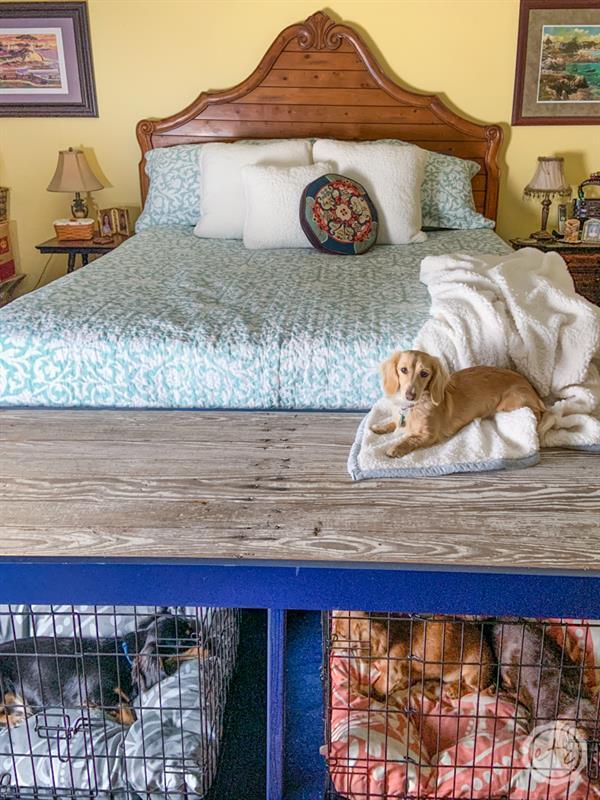
By Happily Ever After Etc.A stylish dog kennel cover that works with your existing dog crates to provide an alternative to the existing wire framework.
Directions
-
Step 1: Cut your Boards
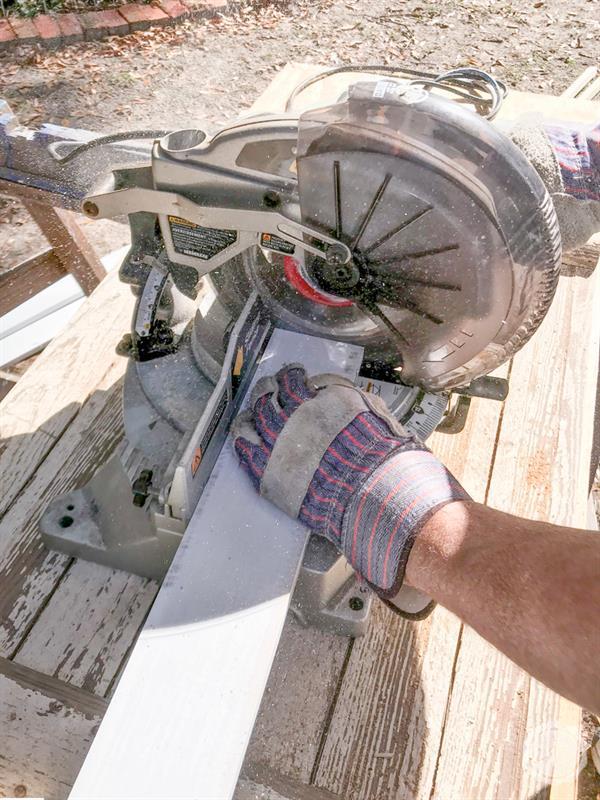
Cut your boards according to the cut list. Cut the antique door top, plywood for the kennel bottom, 4 long pieces (from the 1x3’s) for the kennel fronts/backs as well as 4 short pieces for the sides. Then cut your 2x2’s into 23” sections for the legs.
NOTE: This dog kennel cover comes out to 74.5 inches long by 23 inches wide which is roughly the width of a king sized bed. Two 30” long dog crates fit inside this cover so if you want an exact fit the kennel cover size will need to be adjusted to accommodate the 60 inches of dog kennel without the extra space.
-
Step 2: Drill Pocket Holes
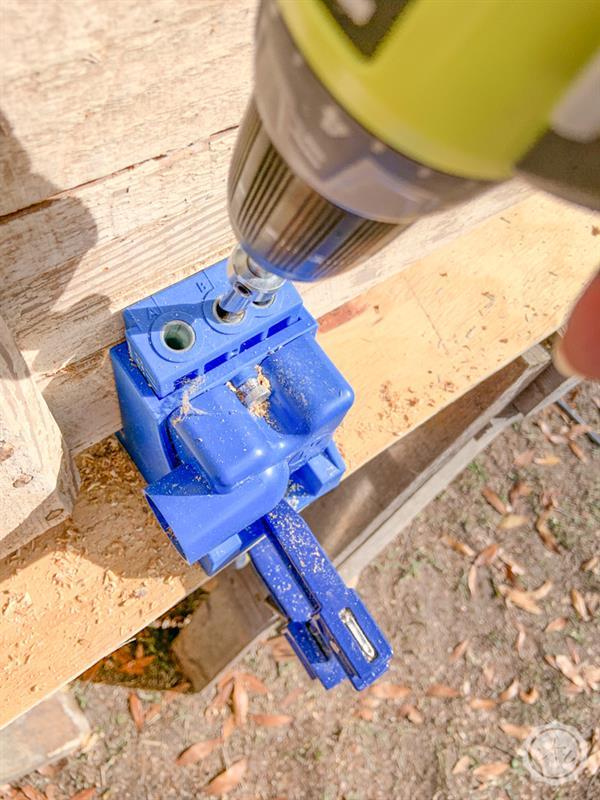
Drill ¾” pocket holes along all four sides of the antique door kennel cover top and the plywood kennel cover bottom using a Kreg pocket hole jig. I added four pocket holes along each of the long edges and two along the short edges.
-
Step 3: Attach Boards with Pocket S
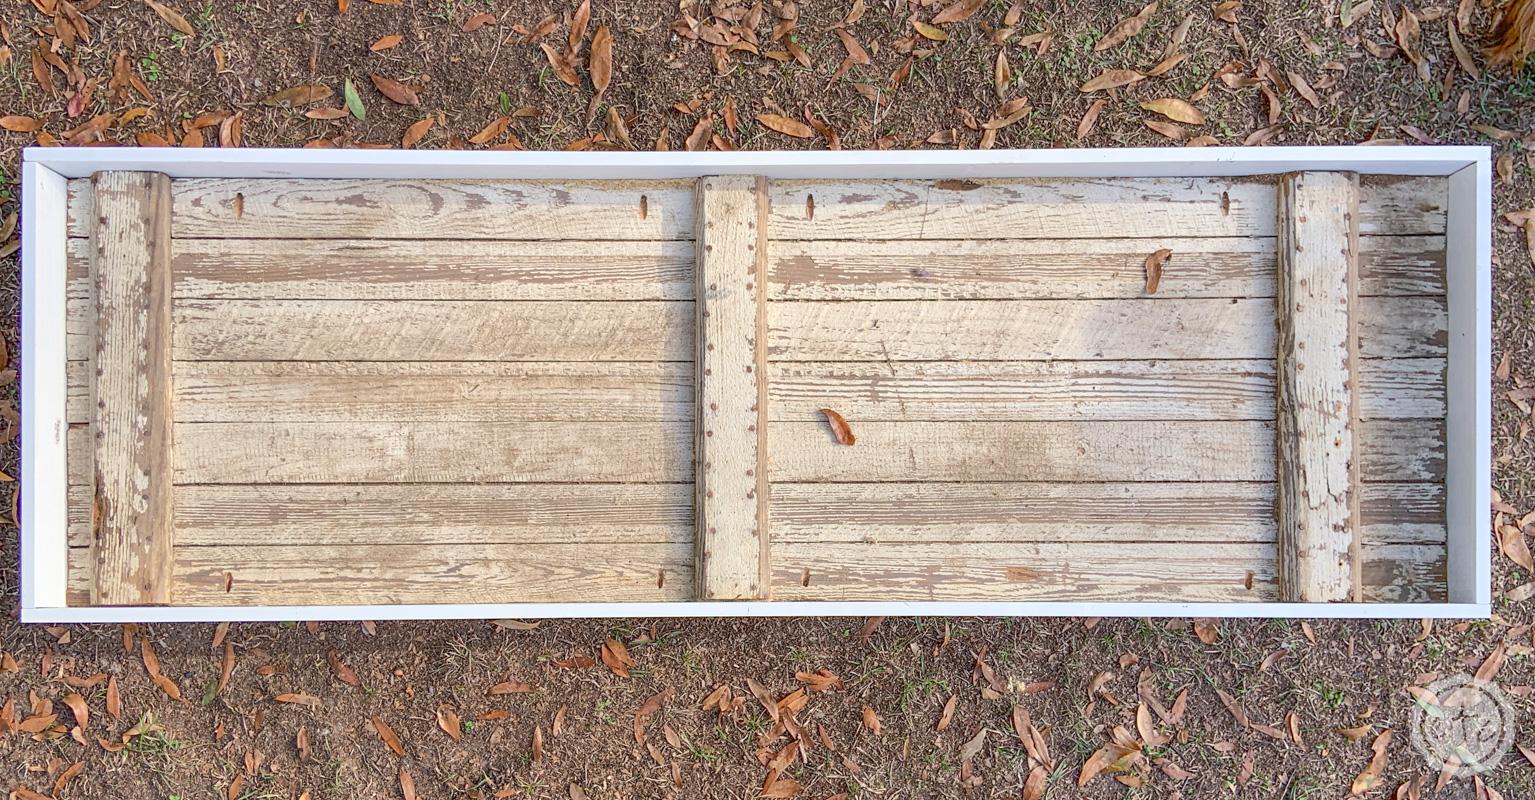
Start with the 23″ sides and secure them to the kennel top and bottom with pocket hole screws on each end. Then add the 74.5” boards to the front and back of each section. Use 1” pocket hole screws.
-
Step 4: Attach Legs
Now use your countersinking drill bit to drill bit to drill two pilot holes through the front of the bottom 1×3 board, through the legs and then secured everything with 2″ long screws. Then fill in the screw holes with putty, let the putty dry and sand it smooth.
If you have any gaps in the seams of your kennel cover joints you can fill those with putty as well.
-
Step 5: Cover the Top
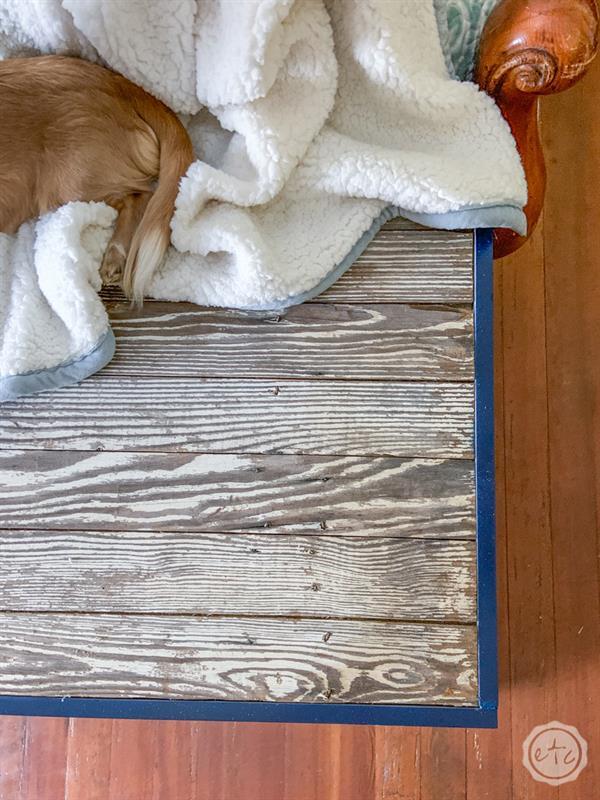
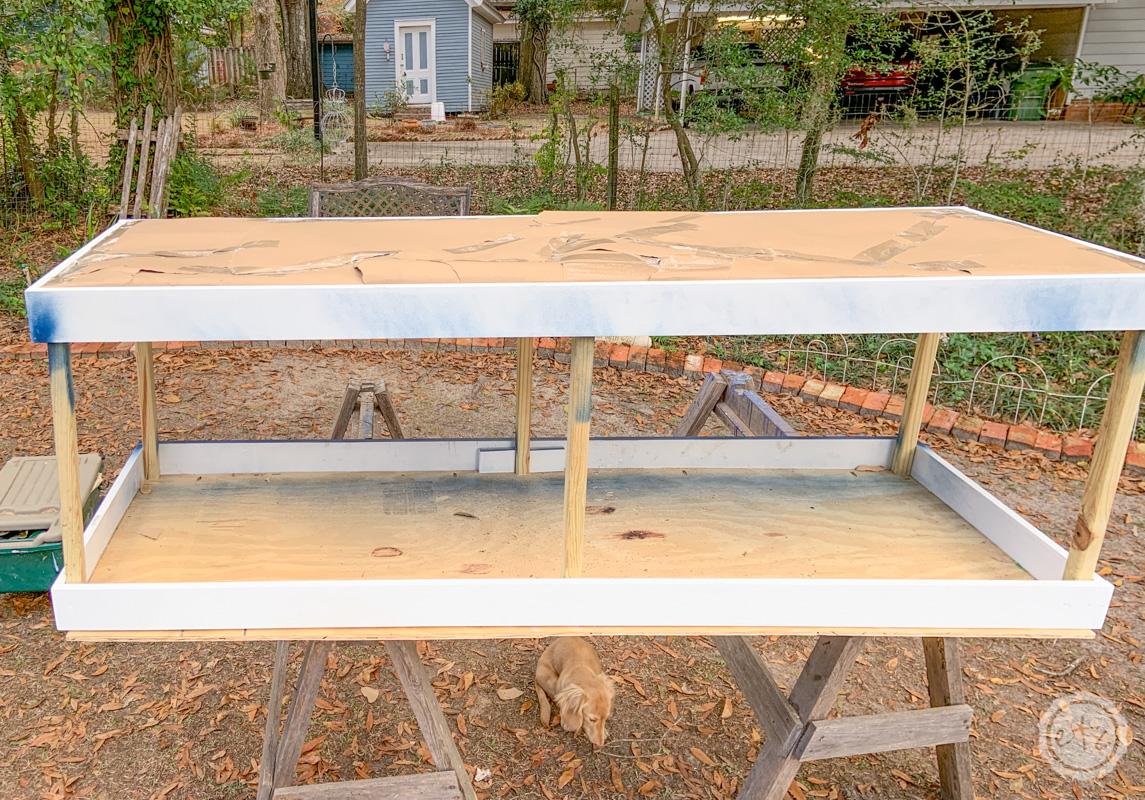
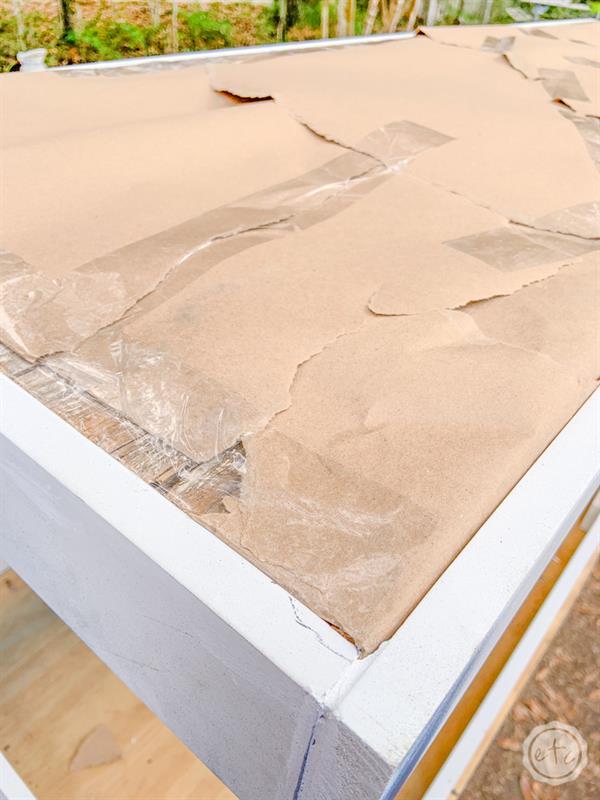
Now take pieces of brown paper and fit them down in the little groove between the 1×3 and the antique door top. On the areas where the door and the 1×3 were too snug and I couldn’t fit the brown paper down in between I simply taped off the door so that it was covered by tape and wouldn’t be painted.
Once the entire top is covered we can paint.
-
Step 6: Paint
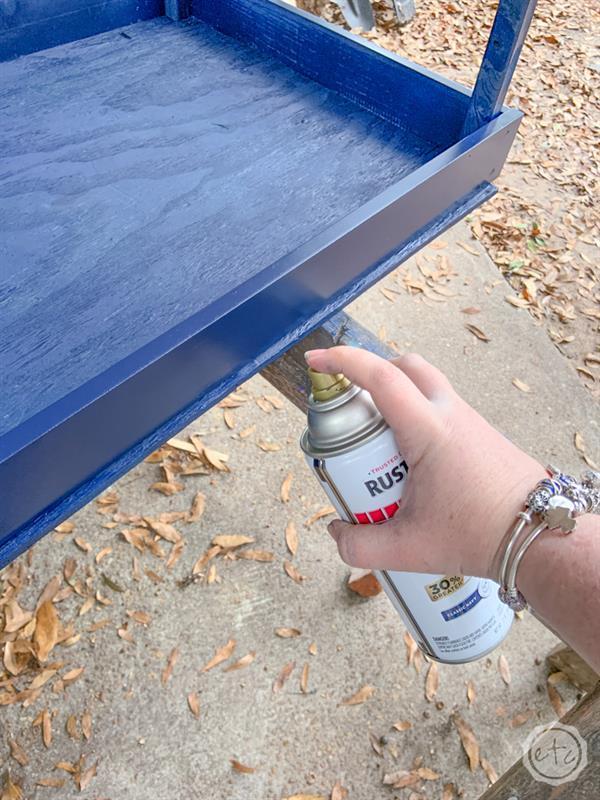
Add 3 coats of classic navy spray paint to the wooden sections. Let each coat dry before adding a new coat.
-
Step 7: Finish
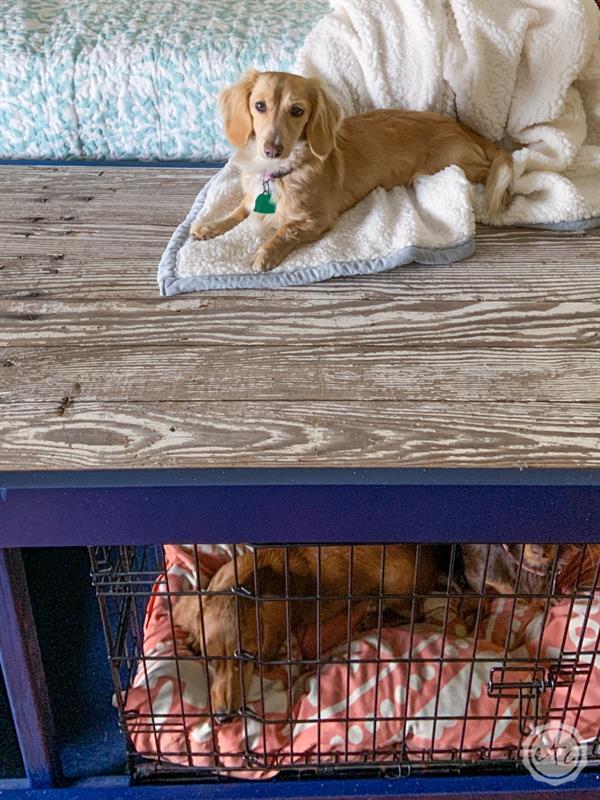
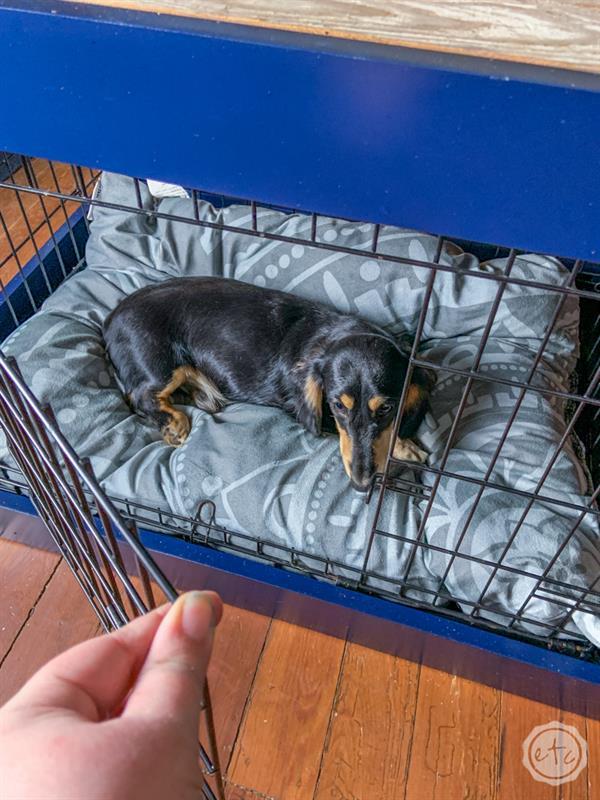
Once the paint is dry you can bring your new dog kennel cover inside, add the dog crates to the bottom of the cover and then place the kennel cover top over the legs. The weight of the antique door will hold the cover in place and keep it sturdy to be used as a bench at the foot of your bed while your four legged friends sleep peacefully inside.


