

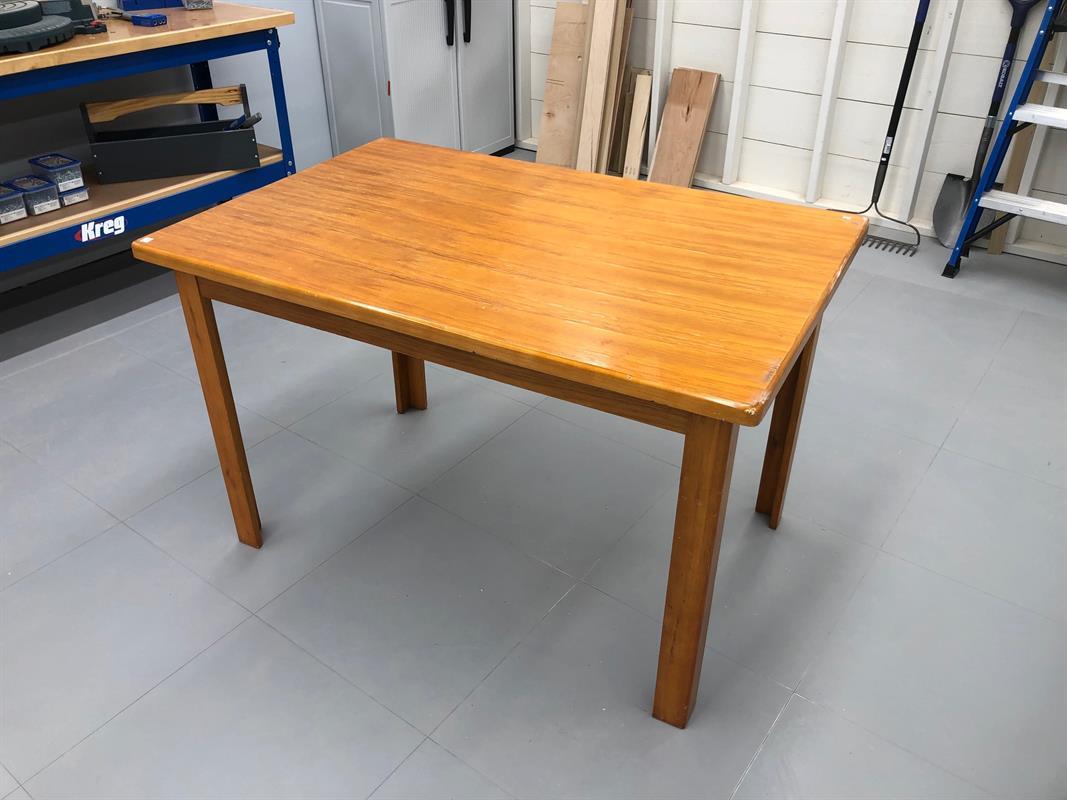


We’re kicking off April with a project only fools wouldn’t love! Pallet projects continue to be popular, which can make good pallets tough to find. Thankfully, you can make your own pallet by downcycling a dining table from a functional piece of furniture into a rugged raw material.
Tools
Kreg Tools

Other Tools
-
Hammer

-
Sense of Humor
Materials
Wood Products
- 1 It Is , Whatever Size , Table
Hardware & Supplies
- 1 Bunch of nails--random sizes are better
- 1 Dining Table of Questionable Value
Directions
-
Carefully disassemble the table
Once you have your table home, you’ll need to separate the legs and base from the top. A hammer (the bigger the better) or a rusty pry bar works great for doing this. One added bonus of disassembling the table this way is that it will add that distressed look that everyone loves about pallets!
-
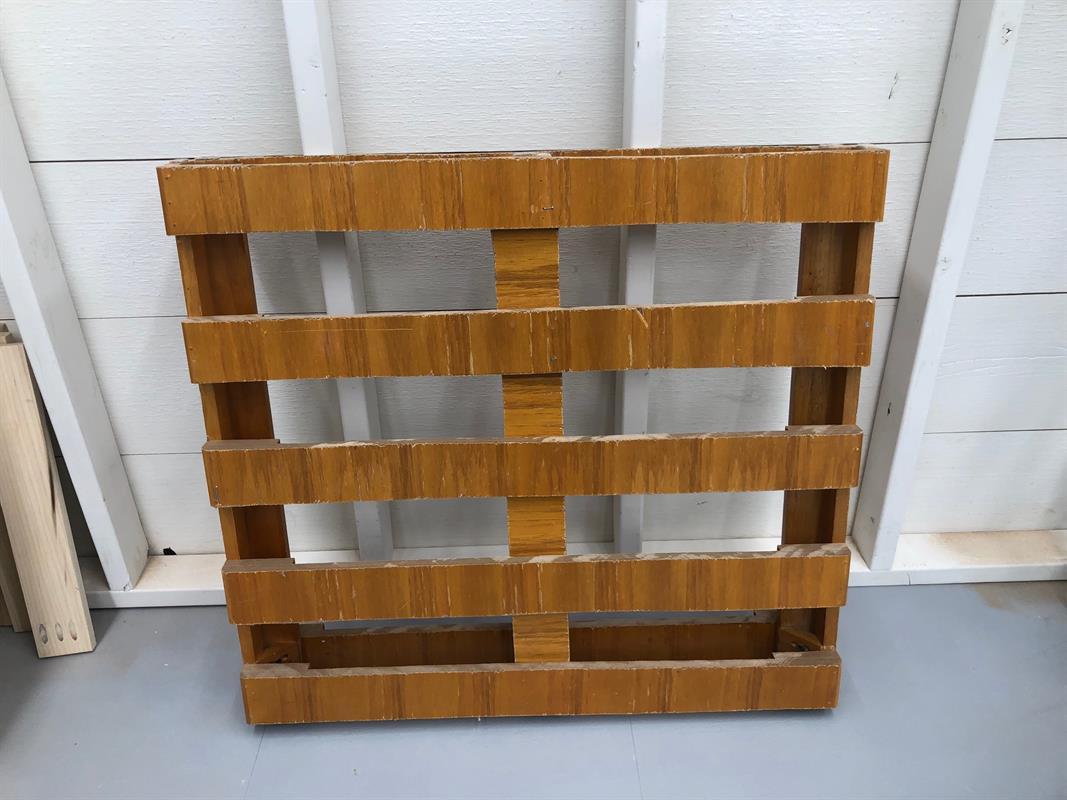
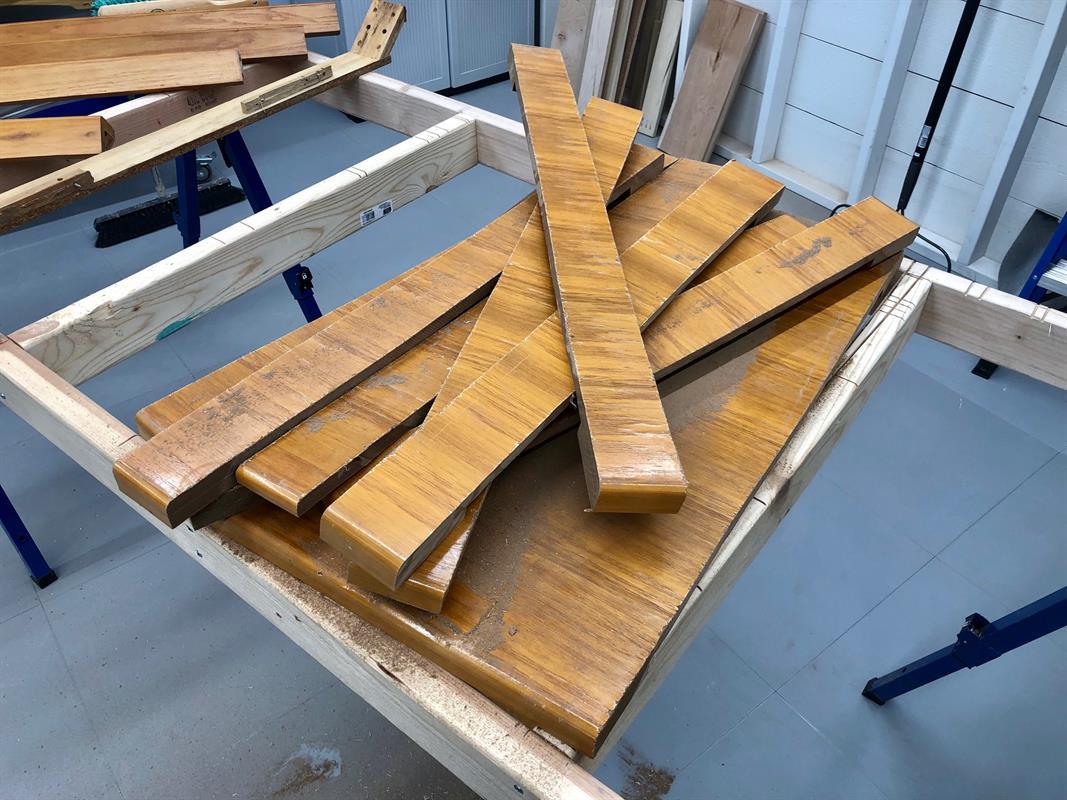
Make the Top Slat things
A pallet consists of just a few parts: some Top Slat Things, a few Bottom Slat Things, and the In-Betweeny Parts that separate the other Things. Start by cutting the table top into strips a few inches wide, give or take a few inches, to make the Top Slat Things. To get the results you want, make sure to choose the right saw blade. A dull blade that produces rough, chipped cuts is the perfect choice. You could use a saw guide to make straight, smooth cuts, but why would you?
-
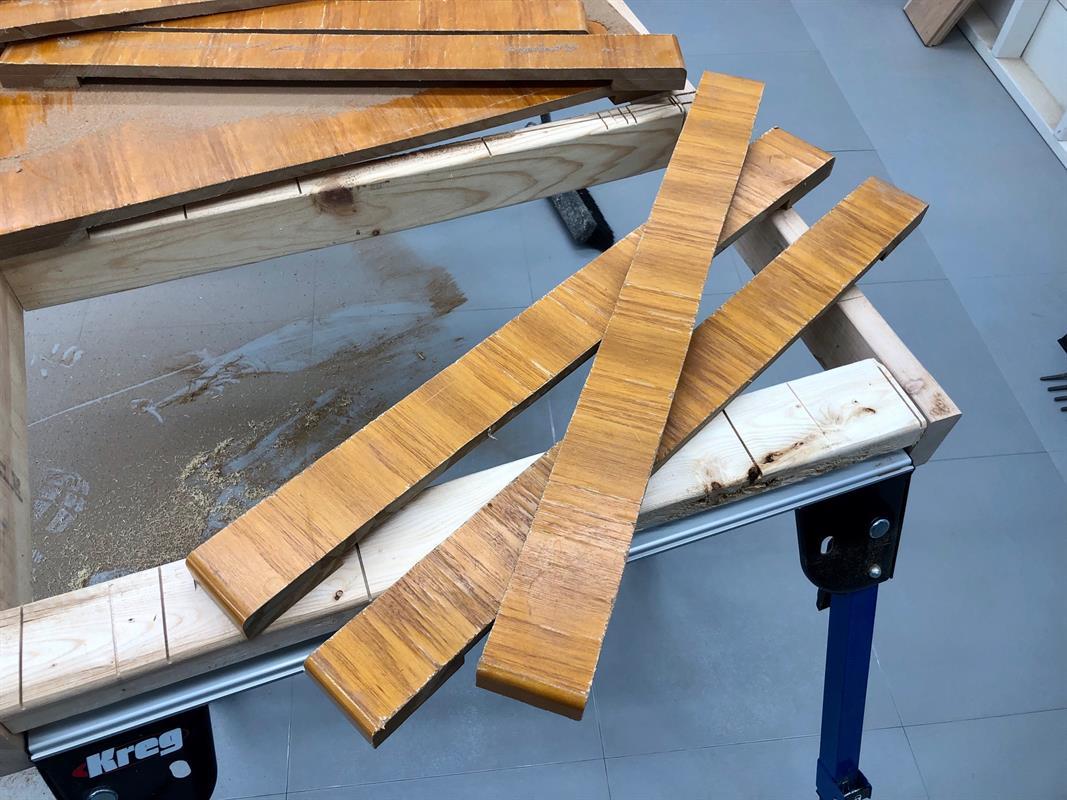
Make the Bottom Slat things
While you’re at it, cut a few Bottom Slat Things to rough size—which is also the final size. These should be about the same size as the Top Slat Things, or not. When it comes to sizing parts, nobody puts Baby in a corner!
-
Make the In-Betweeny parts
The last parts to cut are the In-Betweeny Things that go between the Top and Bottom Slat Things. In our case, we downcycled the table legs because, frankly, this was way easier than having to inaccurately cut more things.
-
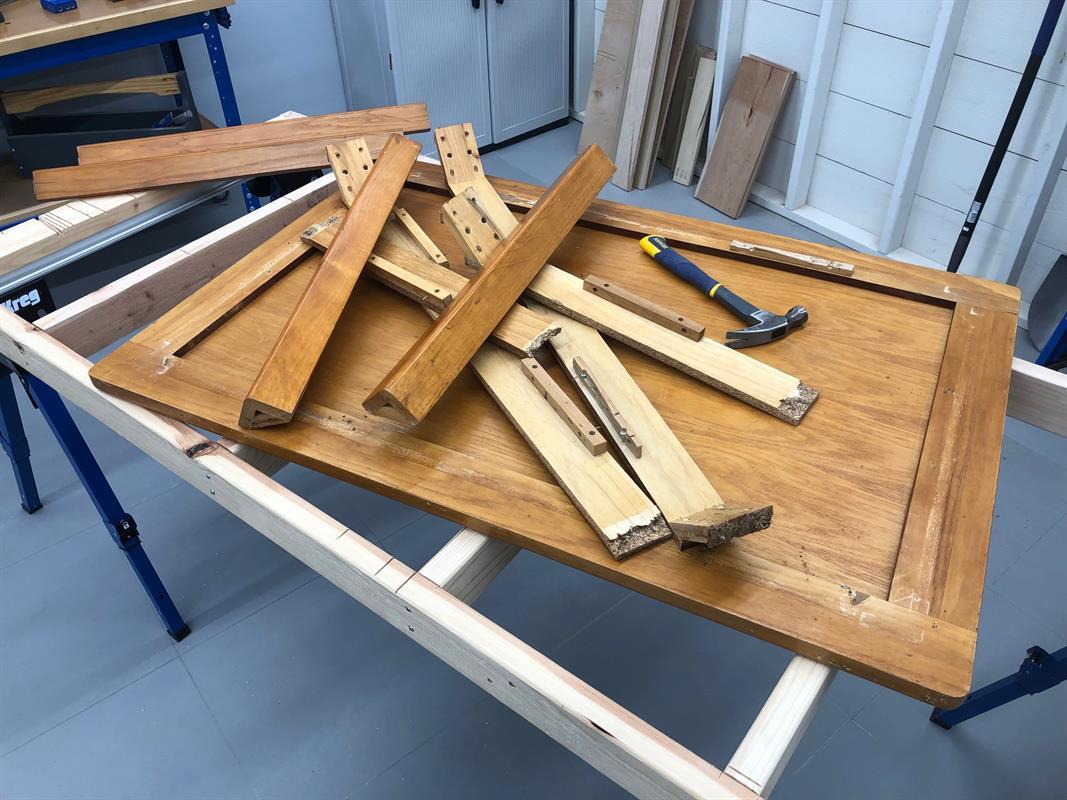
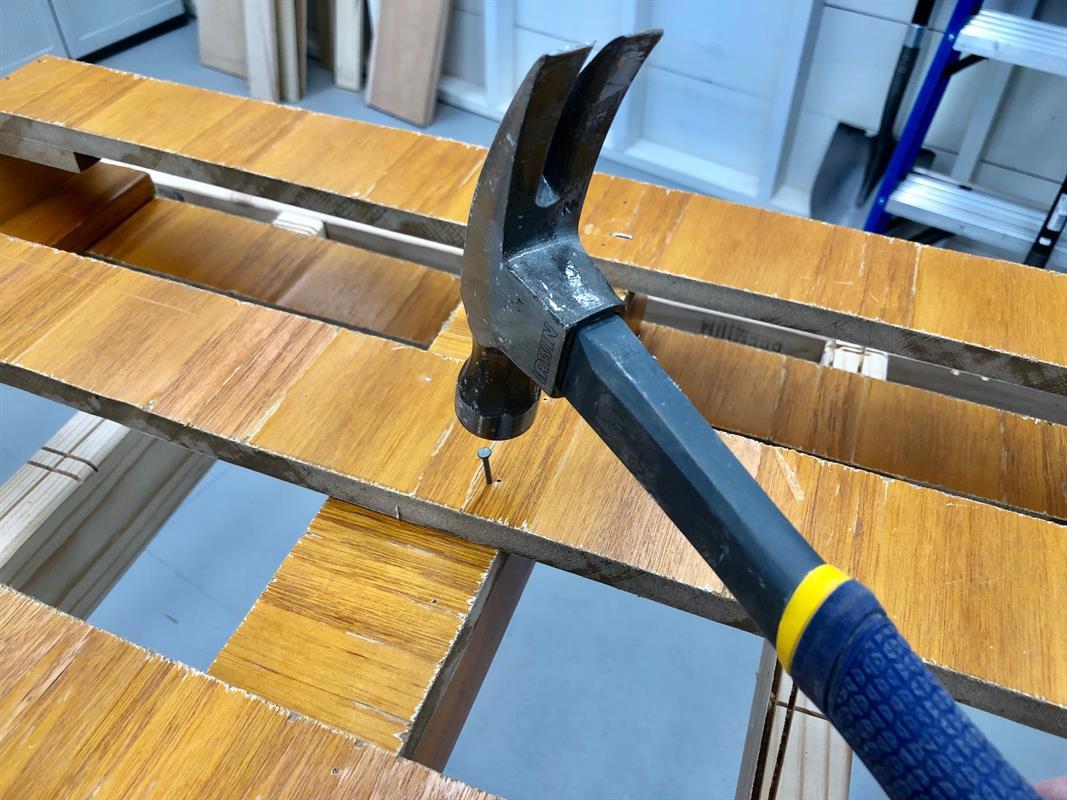
Put it all together
With your pallet parts all made, you can put it together. Fancy joinery techniques are great for many projects, but not here. Nails are the ticket. Grandpa always said if one nail will hold it, three will hold it better, so just go nuts. Hammering in a bunch of nails is like free therapy.
-
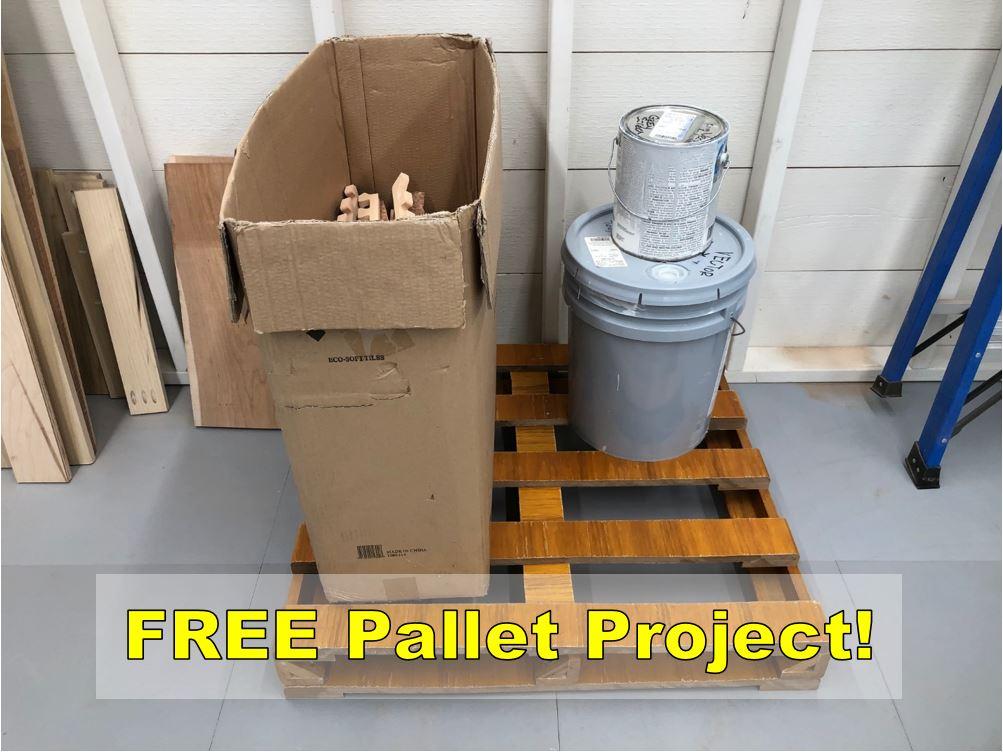
Use it, or reuse it
Once you’ve worked out all your frustrations, or used up all your nails, your pallet is complete. Now you can use it for storage, or upcycle it into something cool like, maybe, a table.
