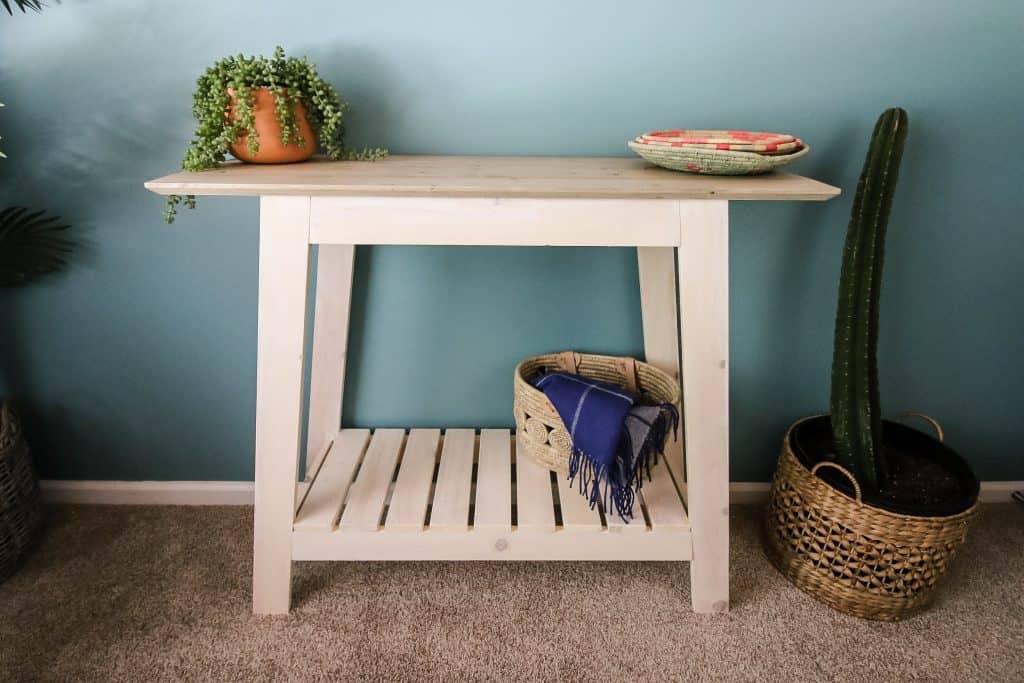
DIY Coastal Console Table
By Charleston CraftedThis console table has a rustic coastal look. It is perfect for a guest bedroom, living room, or entryway. You can mix up the look to match your space using different stains or finishes. This is perfect for our guests who need space to put suitcase underneath and small items on top!
Directions
-
Make cuts
Make cuts according to the cut list.
-
See more at CharlestonCrafted.com
Visit our site https://www.charlestoncrafted.com/diy-coastal-console-table/ for all the details including the specific cut list!
-
Drill Pocket Holes
Drill two pocket holes in the ends of the Top Leg Supports, Bottom Leg Supports, and Side Braces.
Drill pocket holes necessary to attach the top pieces together. -
Create tabletop
Connect the Top pieces together. Router edge for finished look.
-
Build the base
Build the front and back of the base by attaching the Top Leg Supports to the top of the Legs, then connecting the Bottom Leg Supports to the Legs where they fit flush.
-
Attach the legs
Attach the two leg frames using the Side Braces. Attach them flush at the top and lined up with the Bottom Leg Supports.
Use a nail gun to attach the slats along the Bottom Leg Supports. -
Attach the top to the base
Attach the top to the base using wood glue and clamps.
-
Finish
Stain or paint as desired.


