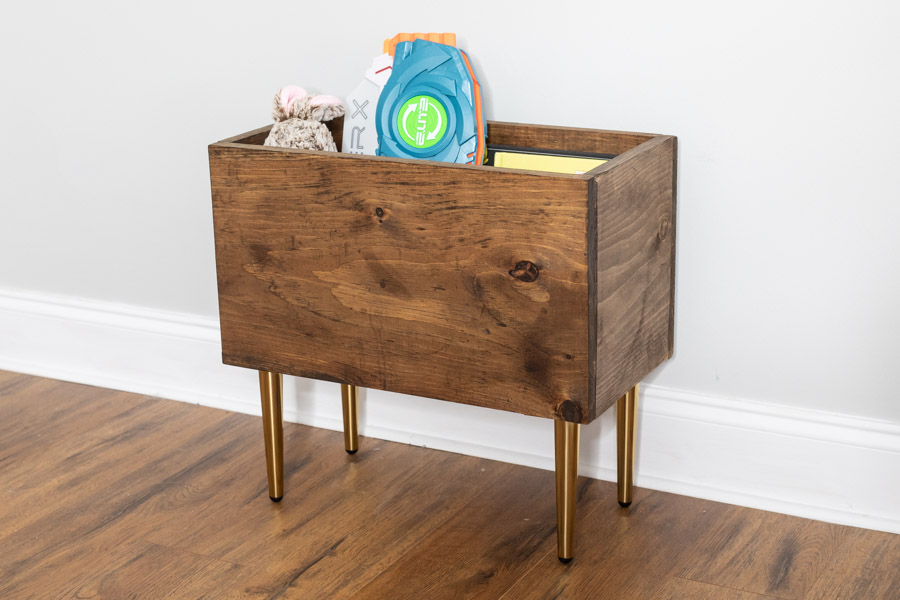


This book and toy storage bin is versatile and could be used for virtually anything, plus the dimensions could be modified to suit your needs.
Tools
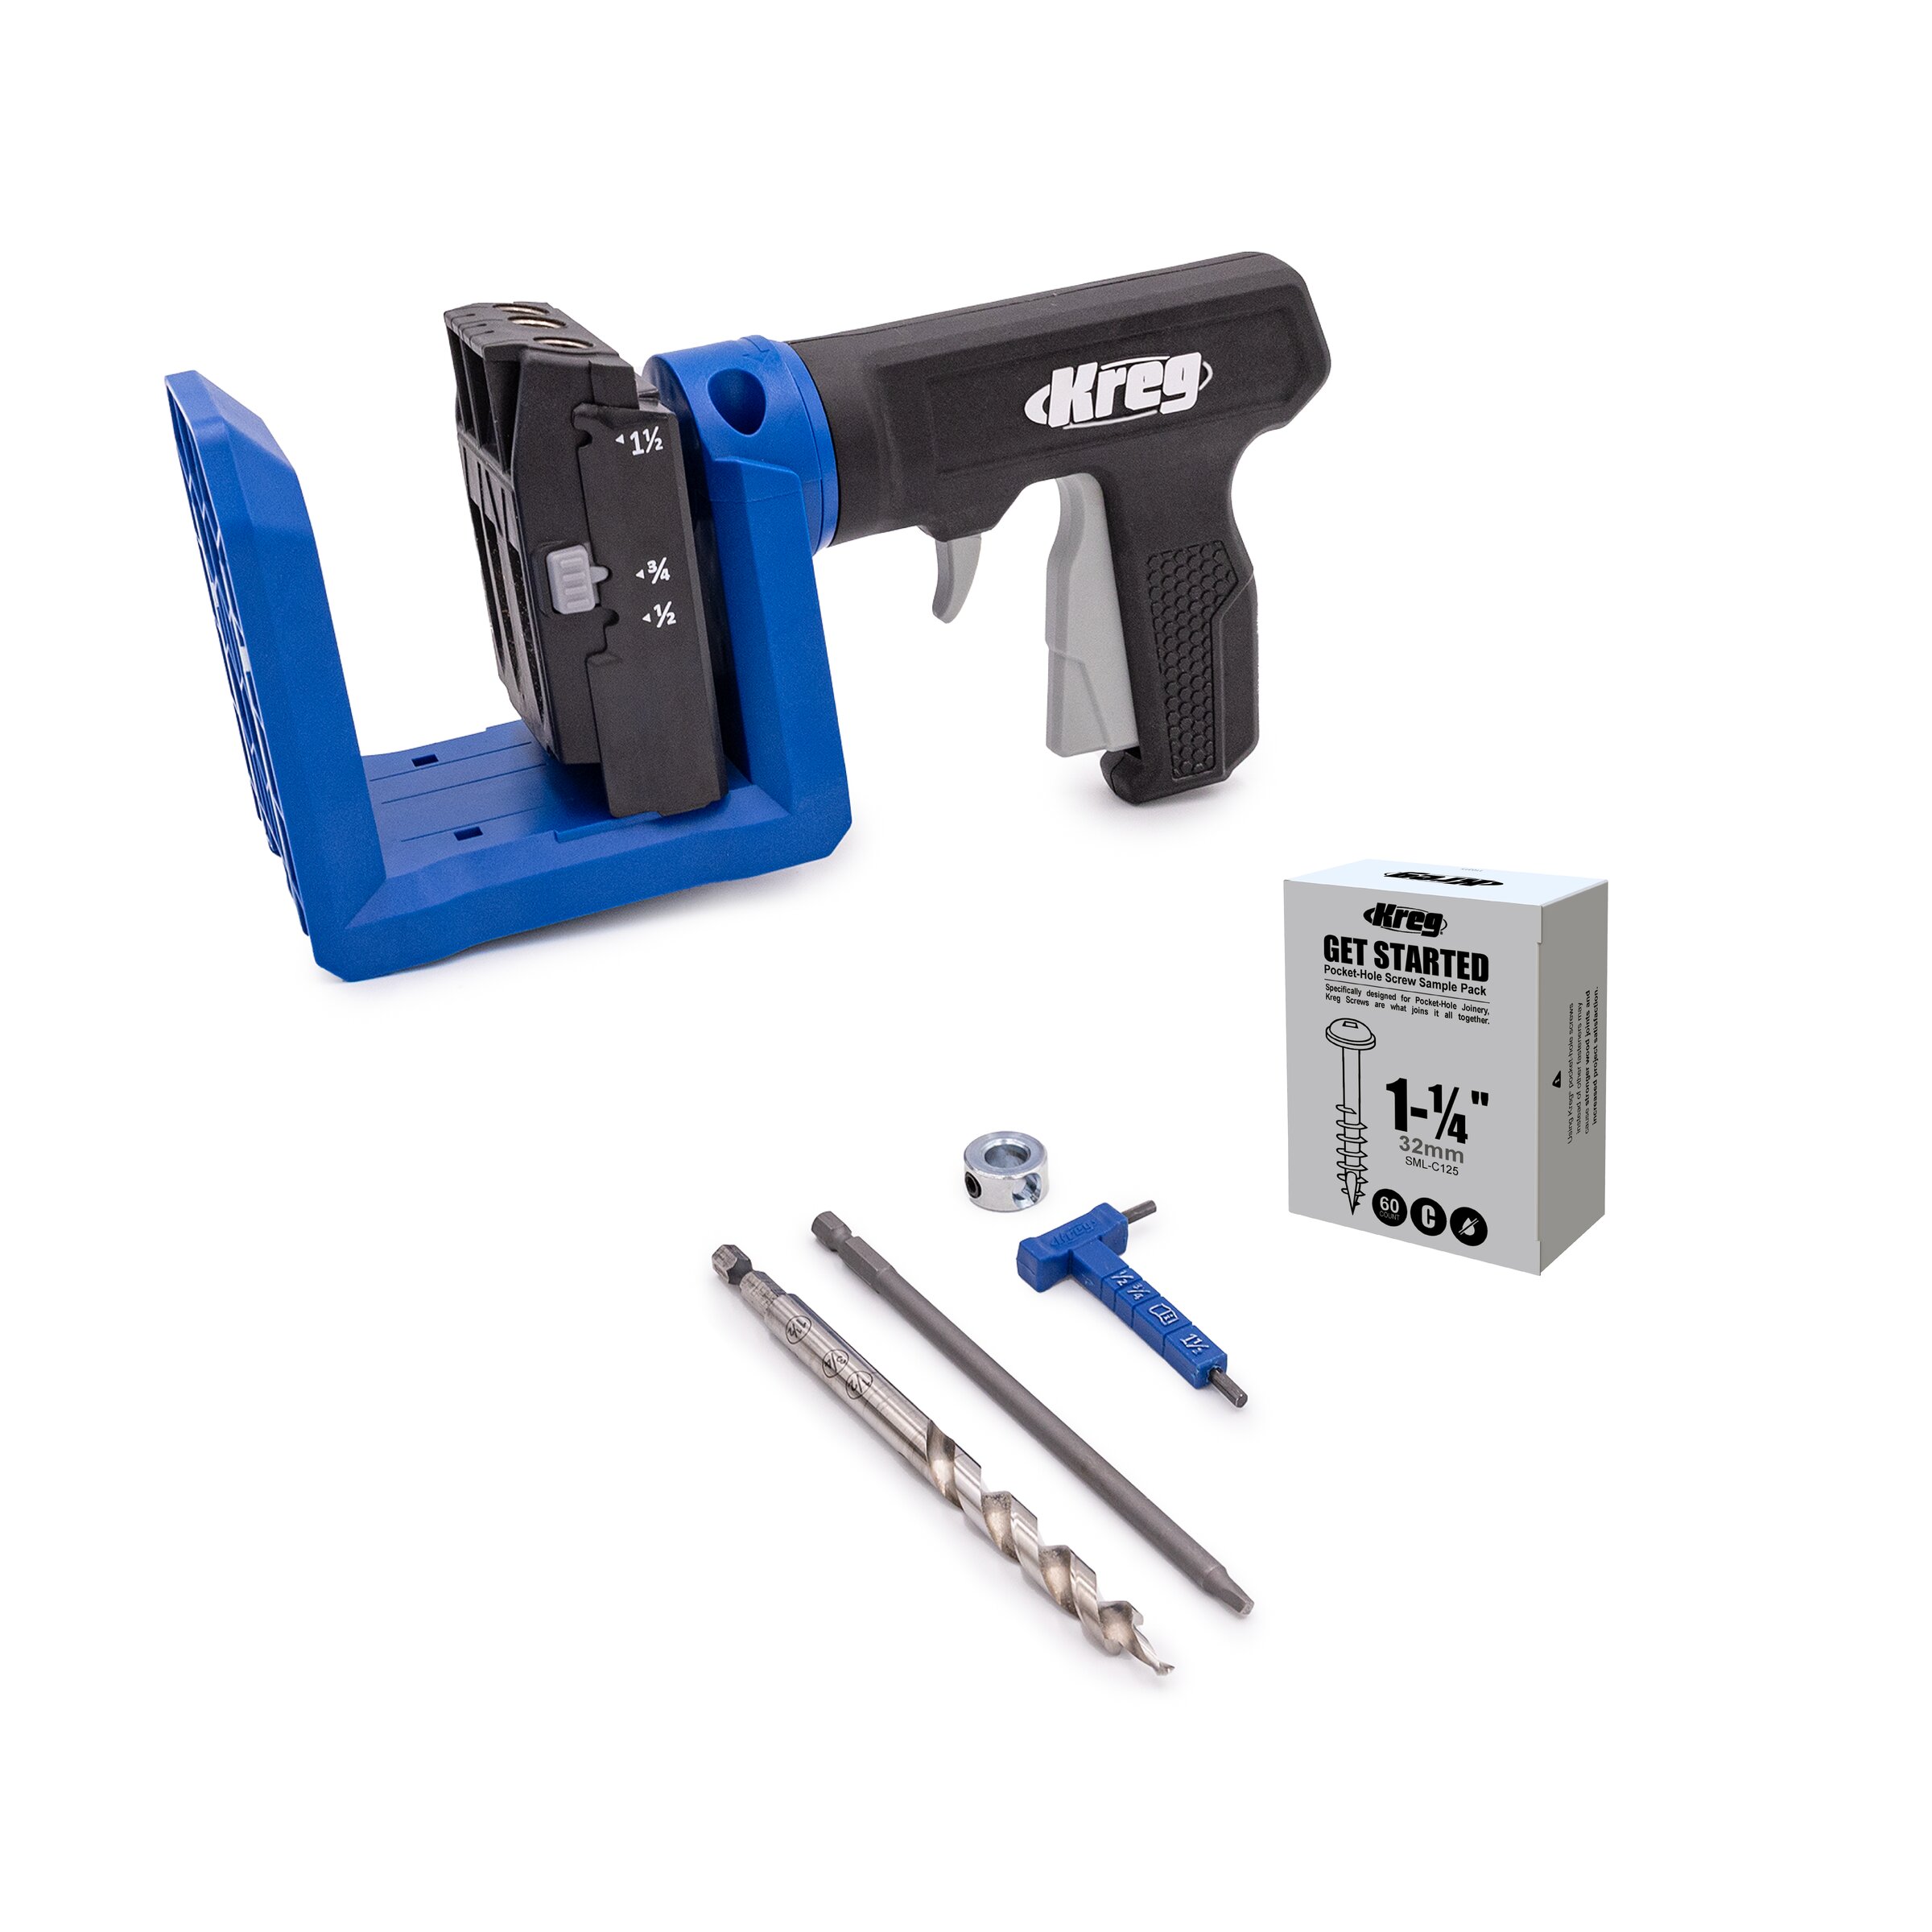
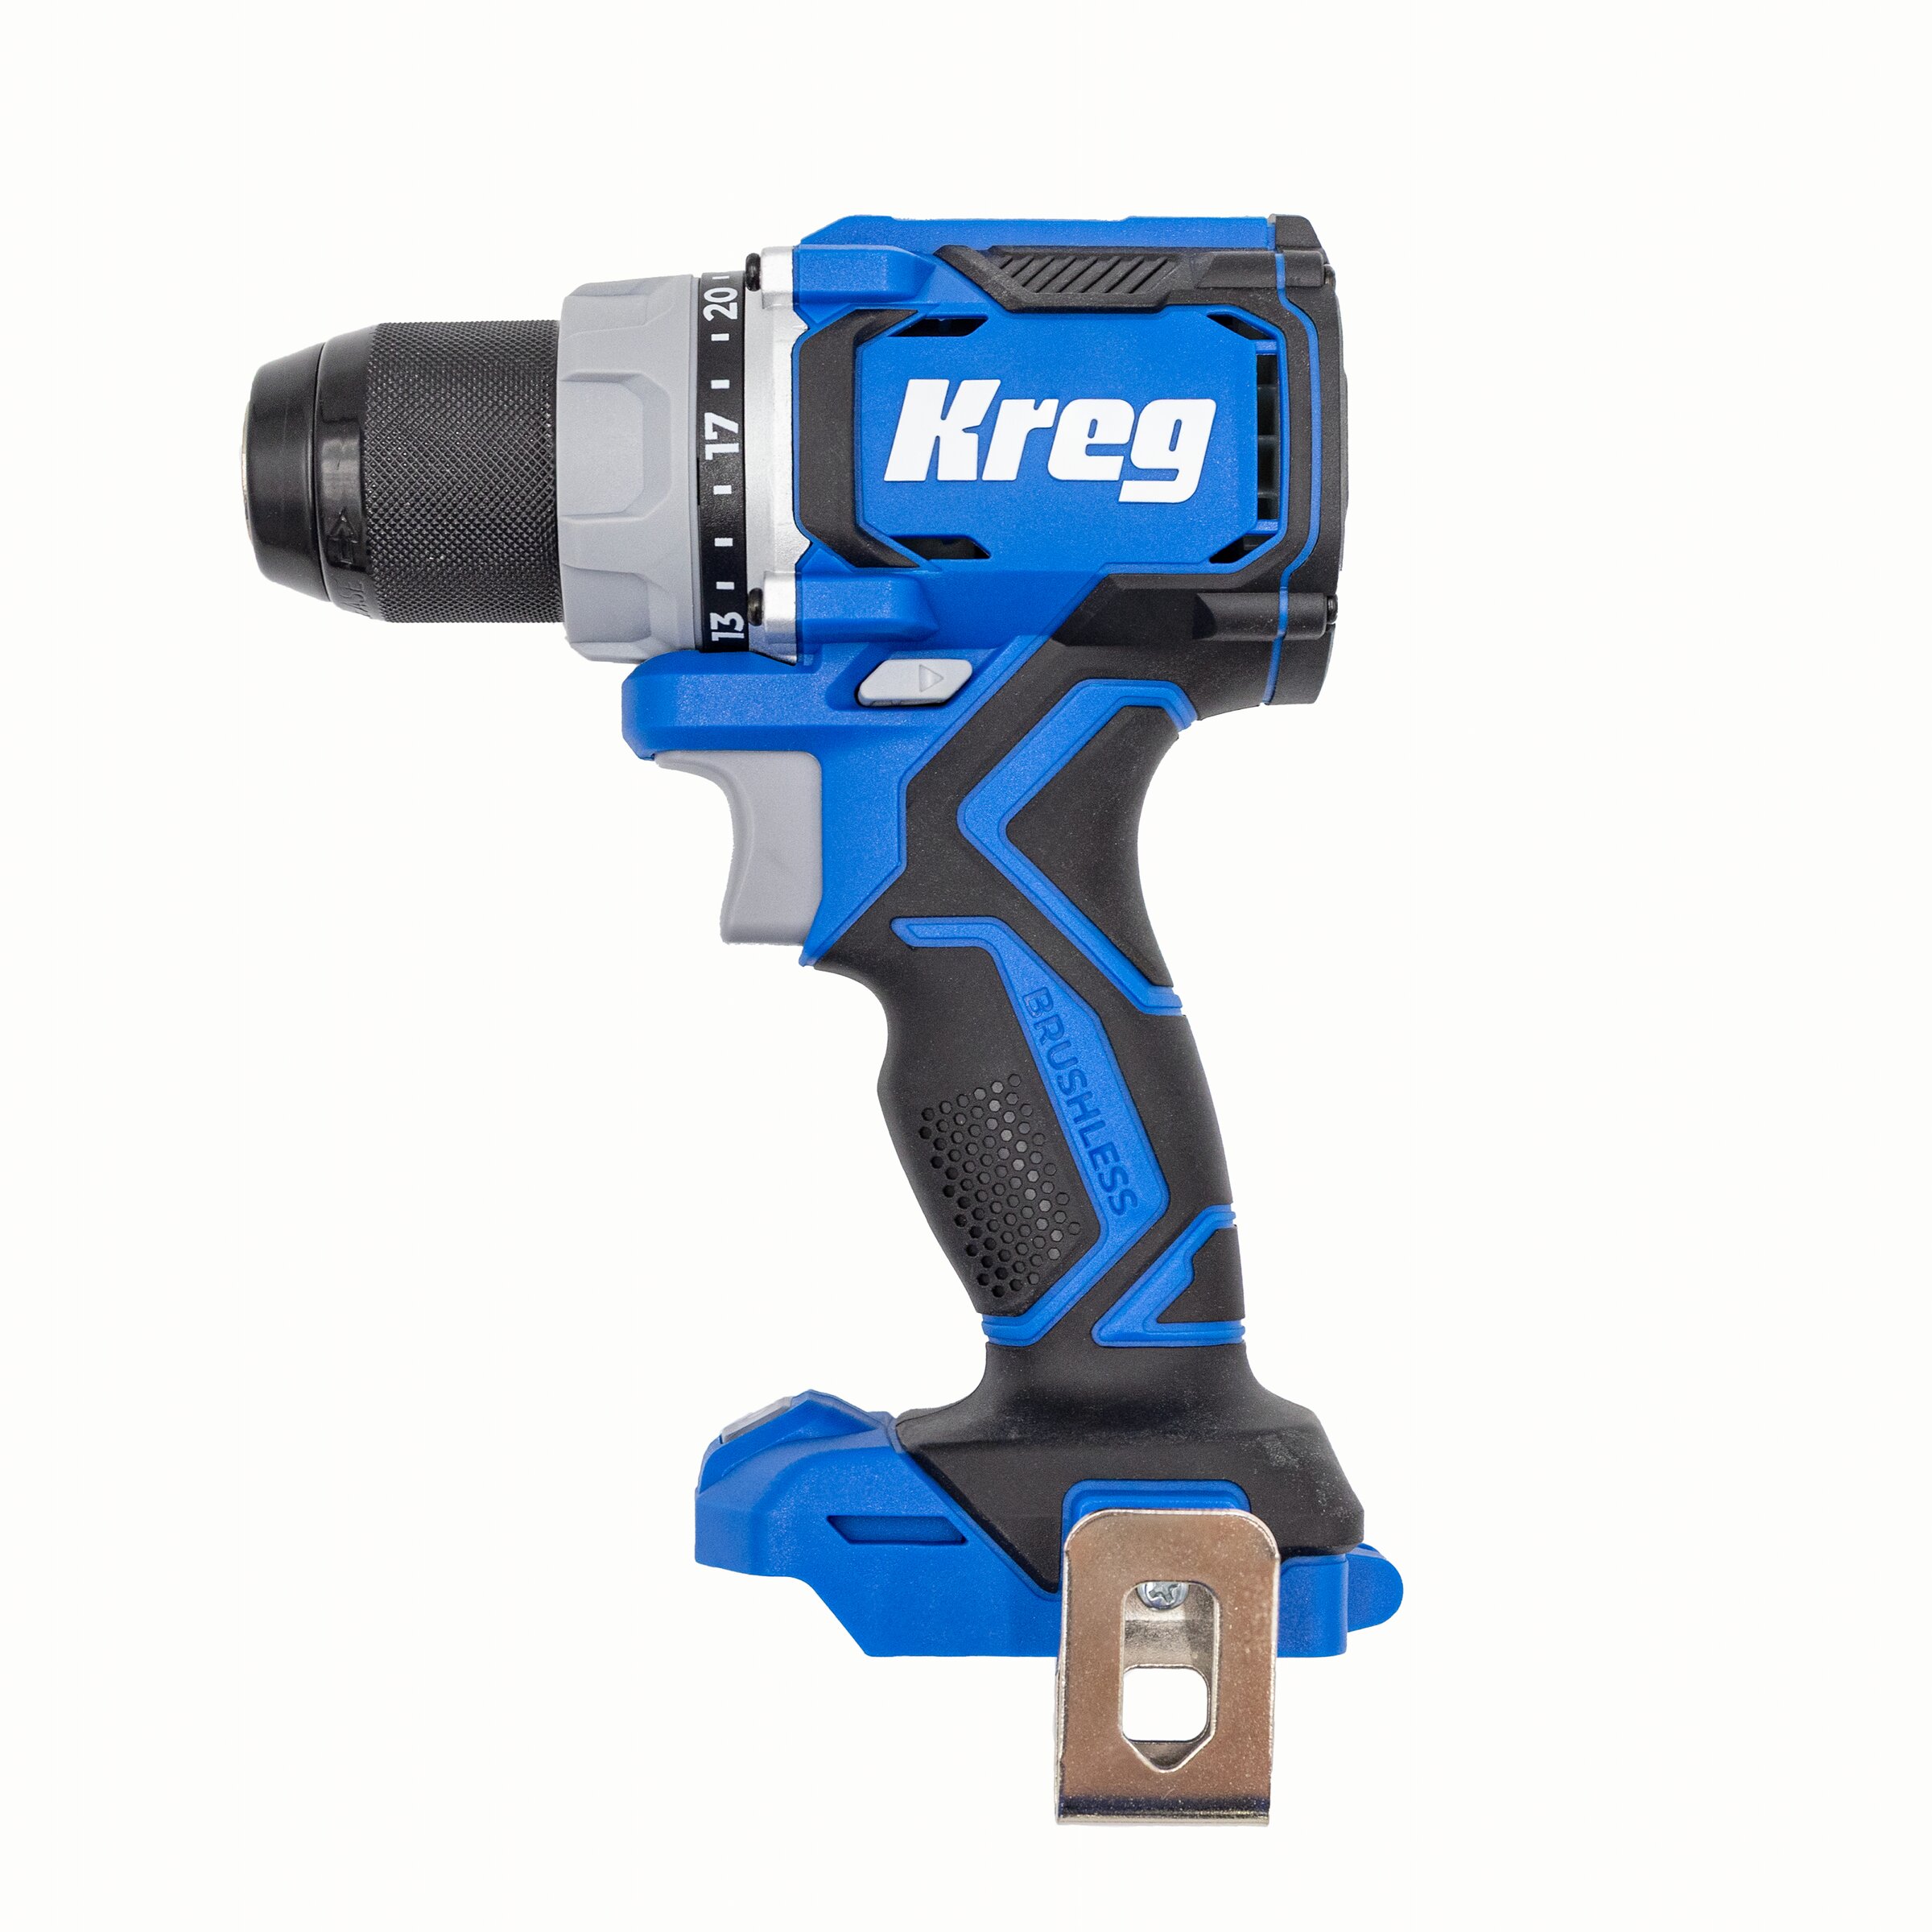
Kreg Tools

Other Tools
-
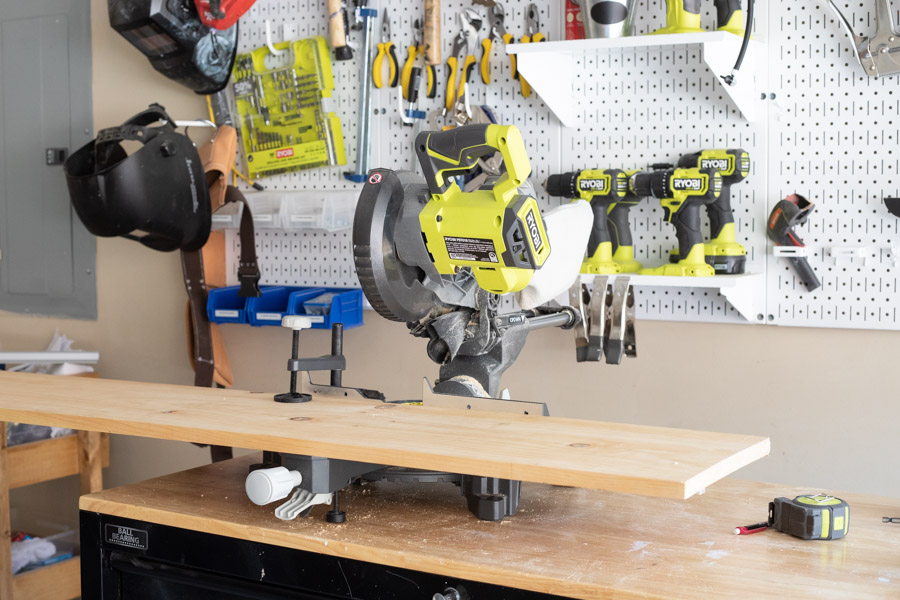
Saw

Materials
Wood Products
- 1 1x12 board , 1x12x6
- 1 1x10 board , 1x10x6
Hardware & Supplies
- 4 Furniture Legs
- 18 1 1/4" Pocket Hole Screws
- 1 Stain (or paint)
Directions
-
Cut Your Wood
Cut your wood to the listed dimensions.
-
Sand
Use a sander to smooth edges.
-
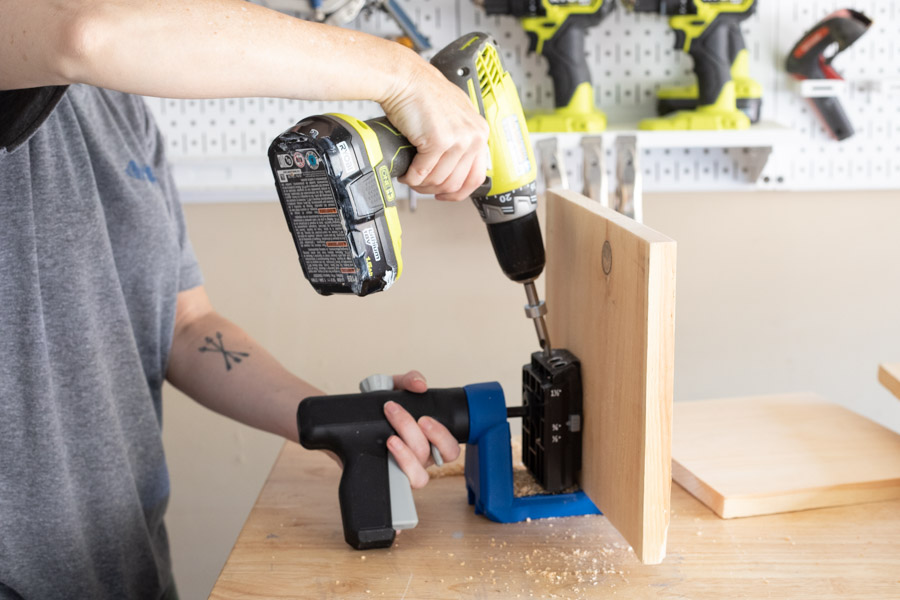
Drill Pocket Holes
Drill pocket holes as follows:
3 holes on both parallel sides of your 1x10 board
2 holes on both parallel ends of your 1x10 board
(so there should be pocket holes all the way around the perimeter of your 1x10 bottom piece)2 holes on each of the longest parallel sides of your 1x12 side pieces
-
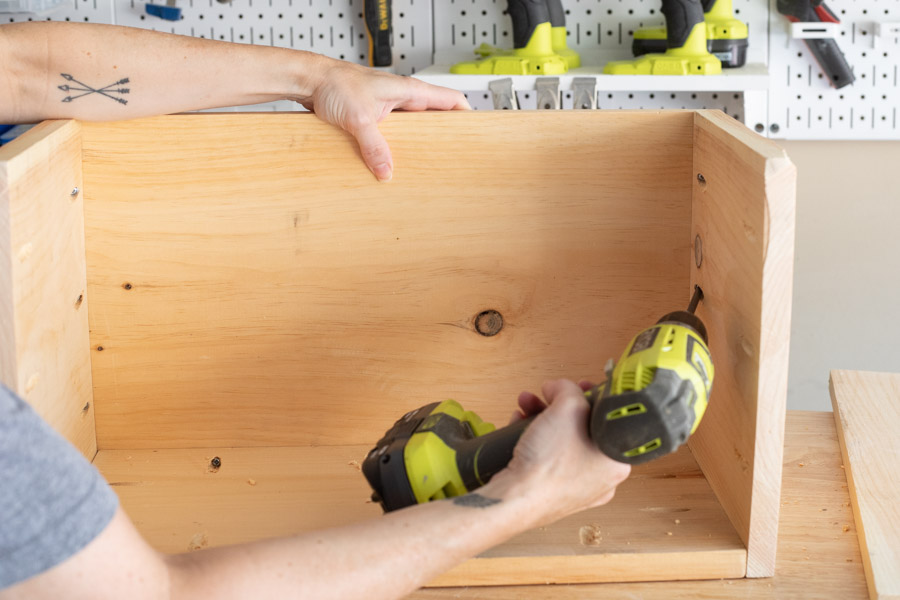
Build Your Box
Using 1 1/4" pocket hole screws, attach your 1x12 front, back, and side pieces to the bottom 1x10 board, creating a box. When you add the last side it might be a tight fit, so I recommend using a short bit and a compact size drill if possible.
-
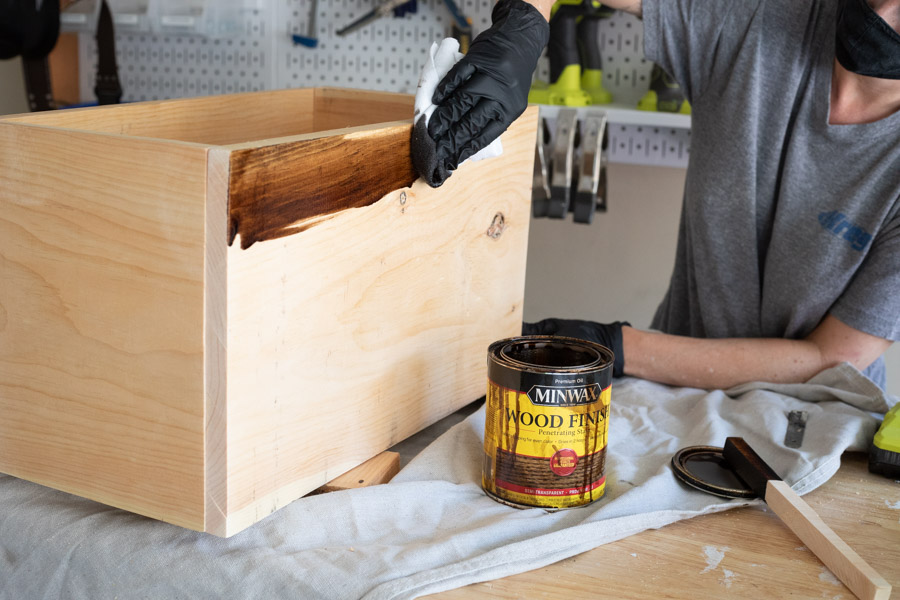
Stain or Paint
Using stain or paint of your choice, finish your bin. I used Provincial colored stain.
-
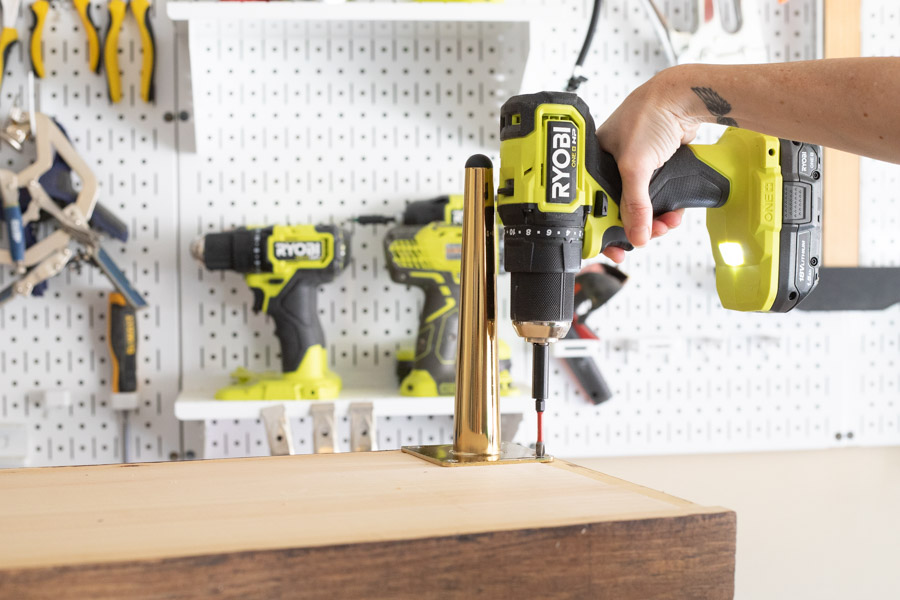
Add Legs
Use small screws to attach prefabricated legs. I found some gold furniture legs on Amazon, but you can use any style you choose.