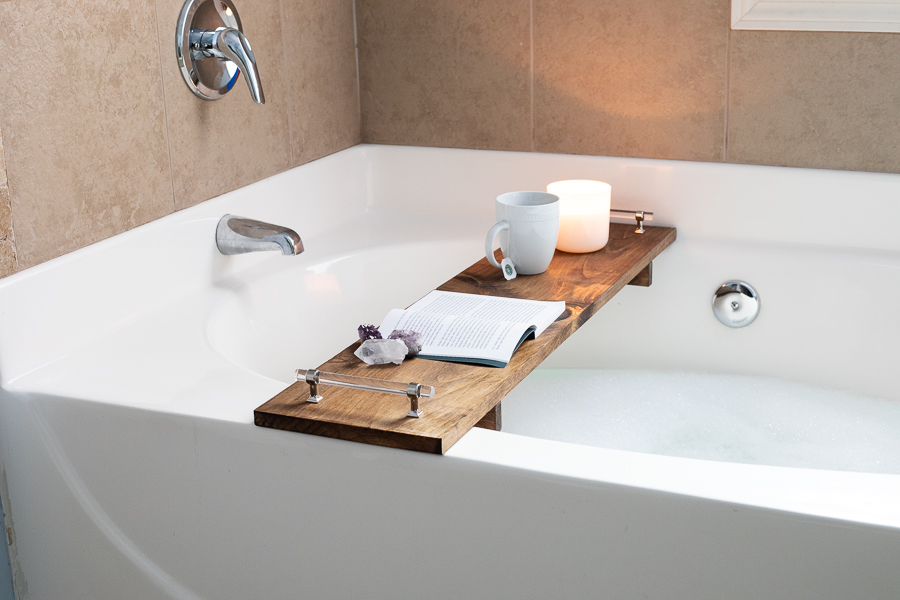
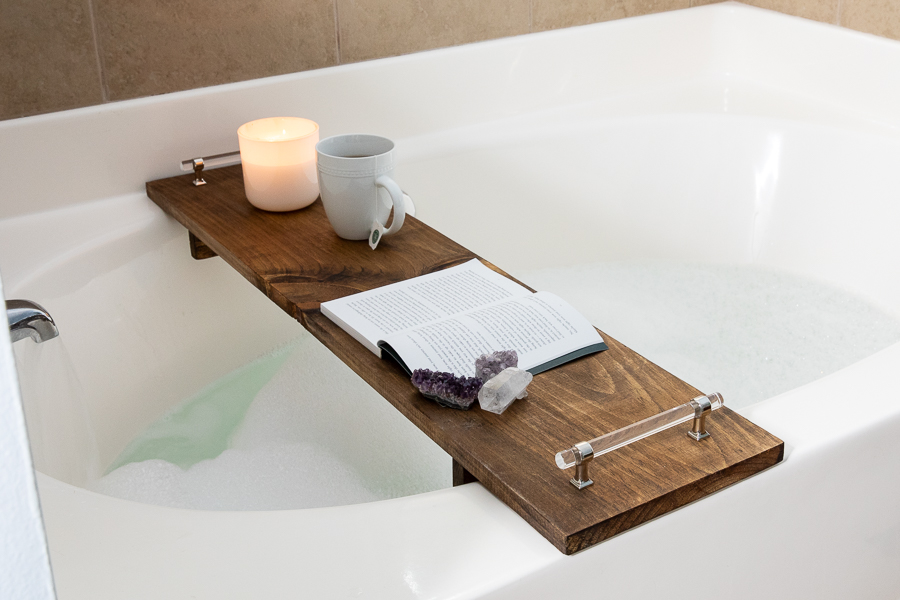


This DIY bathtub tray is an easy beginner woodworking project and a great addition to any bathroom. Relax and pamper yourself! This can be customized according to the width of your bathtub.
Tools
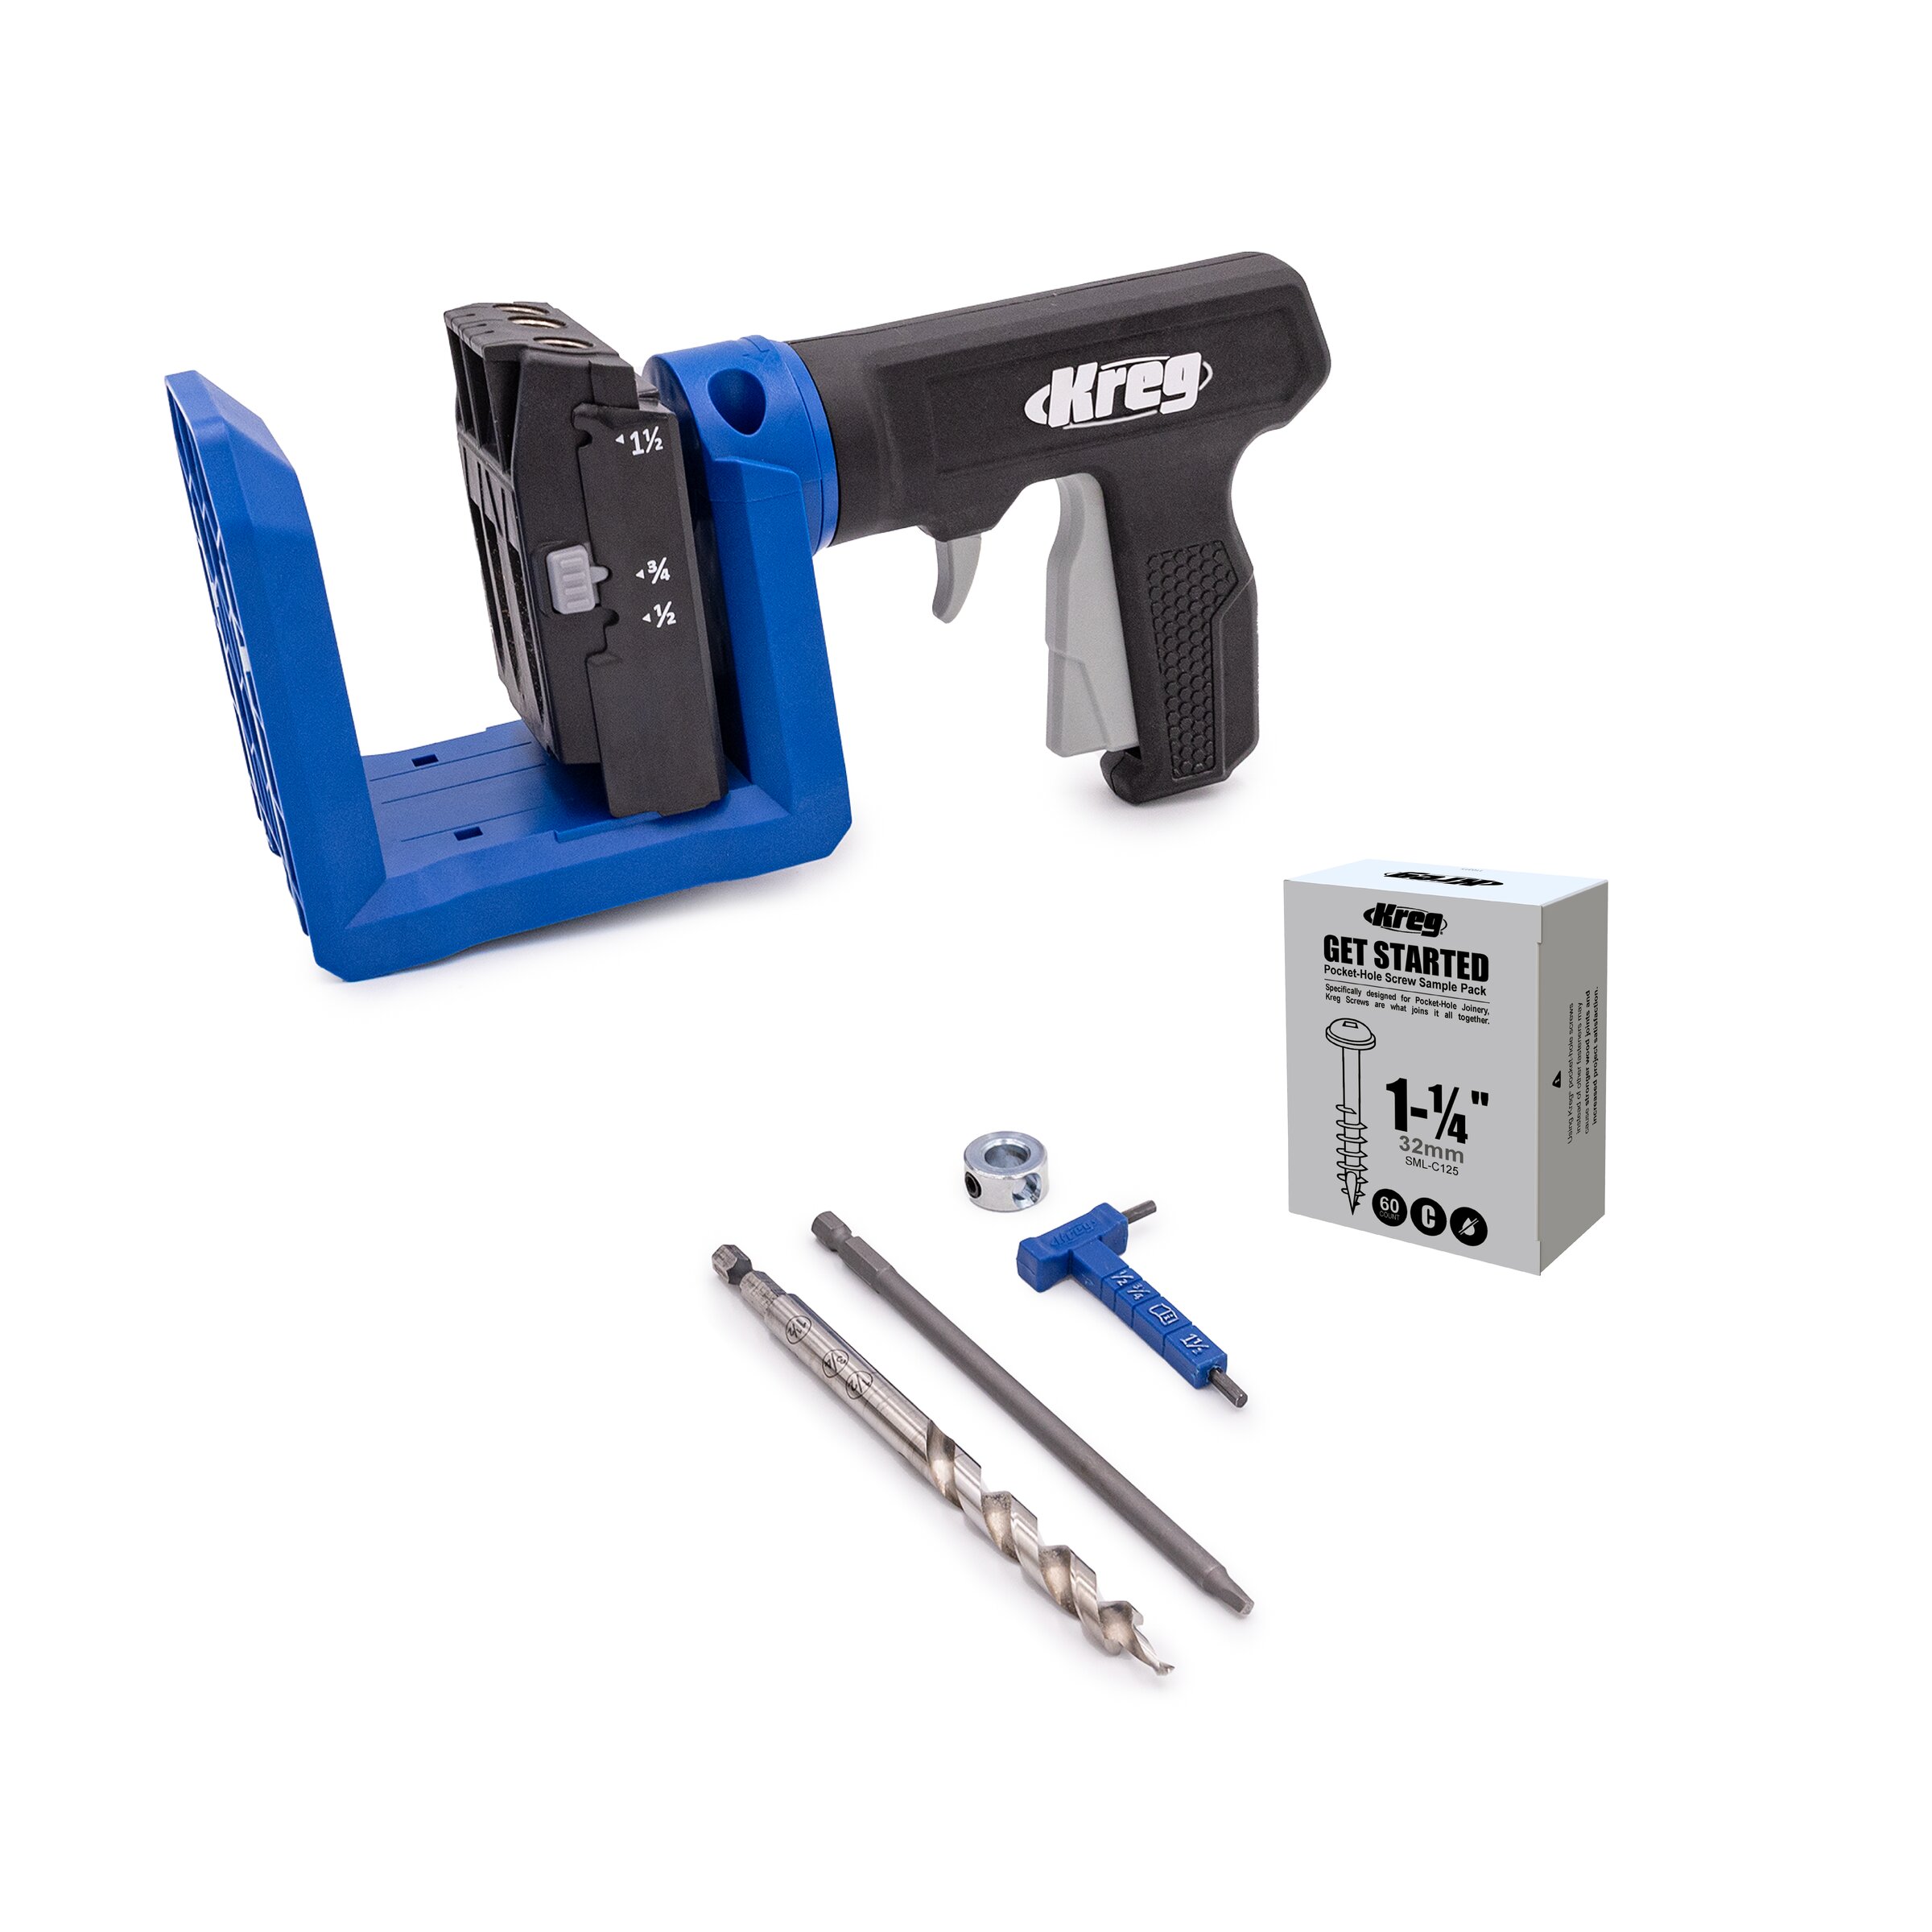
Kreg Tools


Other Tools
-
Saw

Materials
Wood Products
- 1 1x10 Board , 1x10x6
- 1 1x2 Board , 1x2x4
Hardware & Supplies
- 4 1 1/4" Pocket Hole Screws
- 2 Drawer Handles
- 1 Stain
- 1 Spar Urethane/Marine Varnish
- 1 Paintbrush
- 1 Staining Cloth
Directions
-
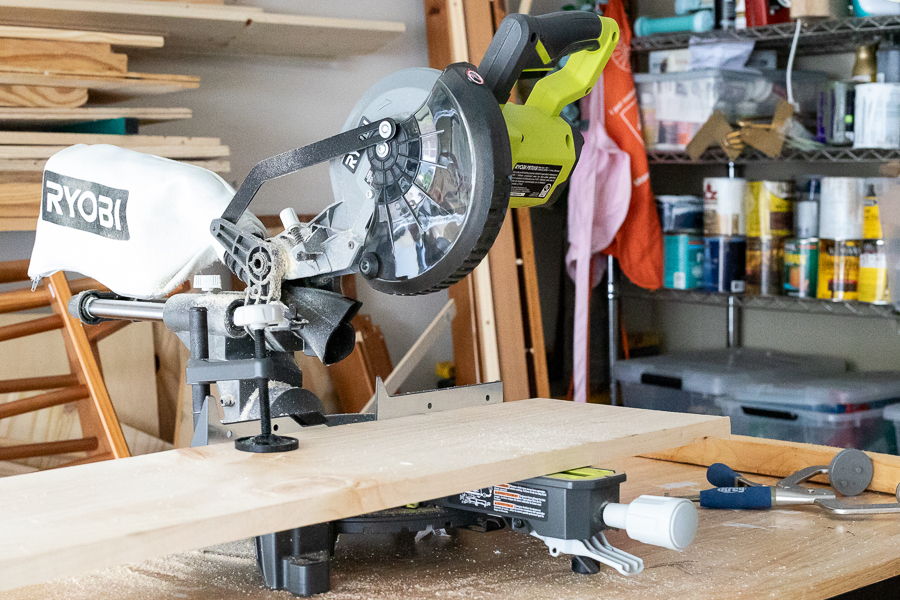
Cut Your Wood
Cut your wood to the specified dimensions. This tray is cut to 38" long to fit this specific bathtub, but make sure to measure and cut it to the right length to fit yours.
-
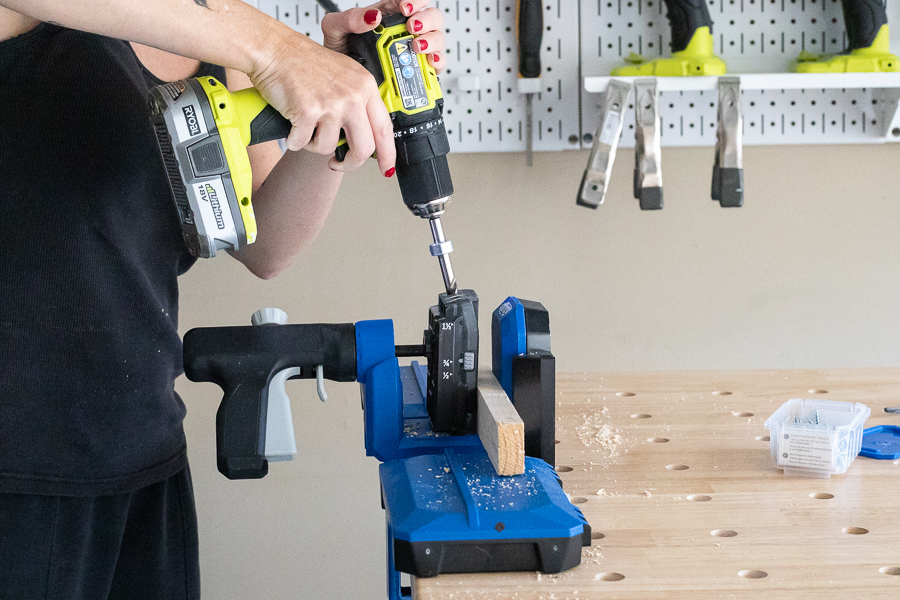
Drill Pocket Holes
Drill 2 pocket holes along one of the long sides of each of your 2 1x2 pieces.
-
Sand Your Wood
Use a sander to sand all of your wood smooth and get rid of any jagged edges.
-
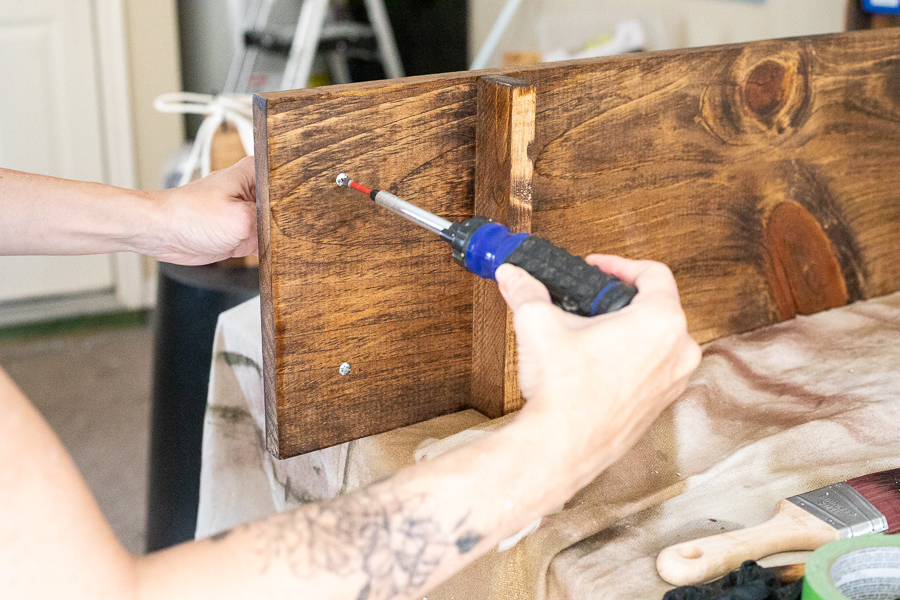
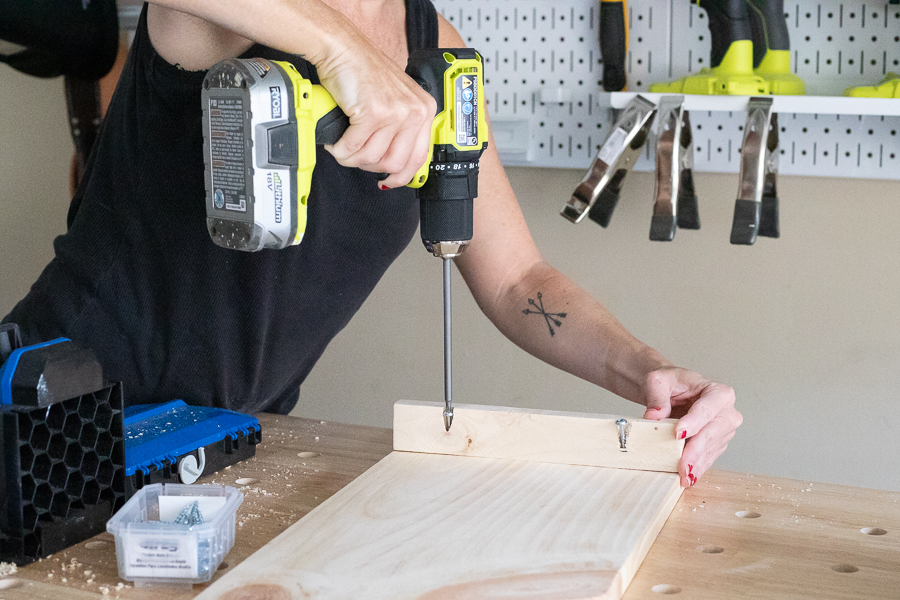
Attach Legs
Use 1 1/4" pocket hole screws to attach your legs to your tray, placing them approximately 6 inches in from each end (these can be adjusted depending on the width of your bathtub edge). The purpose of these "legs" is to keep the tray from sliding back and forth or falling in the tub.
-
Stain and Seal
Stain your tray in the color of your choice. I used a Provincial colored stain for this one. Since this will be used around water and needs to be protected, I sealed it with a spar urethane.
-
Add Handles
Drill holes and add your handles. I placed mine about 2" in from each end, and used 5 1/2" long handles.