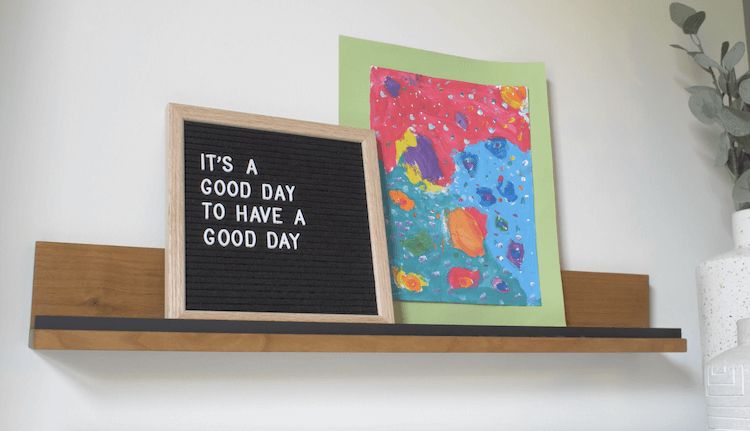


With back to school time upon us we wanted to make a display ledge or shelf to display some of the kids art projects. We also wanted to put our twist on the standard display shelf and mix in some metal for a little more modern look. This is a simple quick project that can easily be customized!
Tools
Kreg Tools


Other Tools
-
Tape Measure

Materials
Wood Products
- 1 Board , 1x4 , 96"
Hardware & Supplies
- 1 1/8" x 3/4" x 36" steel bar
- 1 Set of keyhole fasteners
Directions
-
Cut Wood
Start by cutting down a 1×4 into two pieces that are identical in length. This shelf can be as long as you want it. But, do note that if you go longer than 4 feet, then you will need another 1×4 board. The type of wood that we used is Alder however, Poplar or even a select Pine would be great as well.

-
Cut Metal
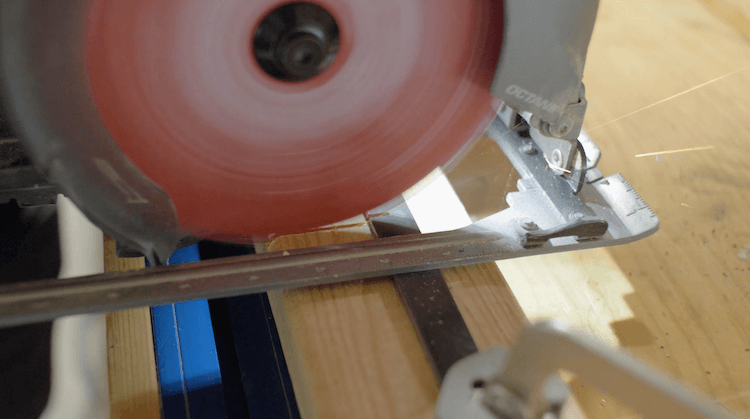
Now it’s time to cut the metal to the same length as the 1×4 boards. Did you know that you can cut metal with a circular saw!?! However, you do need a metal cutting blade. The first time I did this I was pretty terrified of what was about to happen, but, with minimal sparks, the carbide teeth left a clean cool cut. Luckily, now Diablo has come out with a wood and metal cutting blade which is the perfect blade to leave on the circular saw and be able to use for both applications which is exactly what happened here. It sure does take a lot less effort than a hacksaw.
-
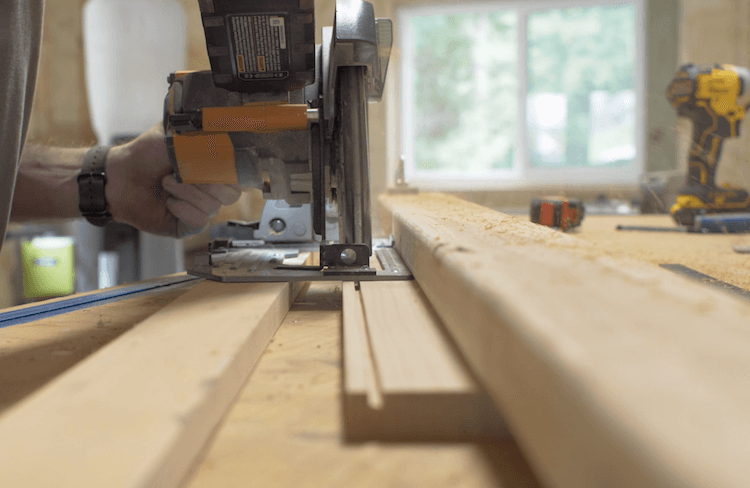
Cut Groove
Then I used the same tool and blade to cut a groove in the front edge of one of the boards. This would be a lot easier to do on a table saw, however, I wanted to show that this project could be done with basic tools and how to safely do it.
Start by laying the board that will get the groove on your work surface with a piece of wood of similar thickness on both sides of it. Then lay another board (I used a longer 2×4) on top. This will be used as a straight edge guide, so make sure it is straight. Line it up such that the circular saw blade will be cutting a line about 1/2 inch in from one side. Then, clamp everything in place, set the circular saw cutting depth to 1/4 inch and make a slow controlled cut, riding the straight edge.
-
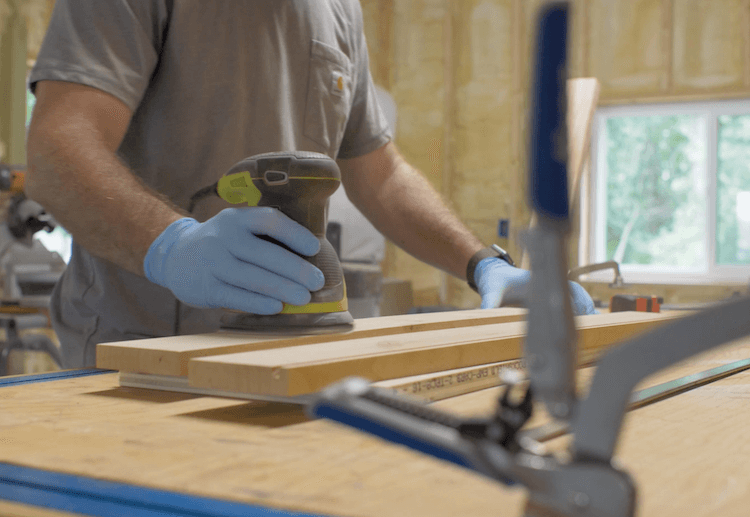
Finishing
Now is a good time to finish the wood. We sanded everything down with 120 grit sandpaper and applied a danish oil with a medium walnut color.
-
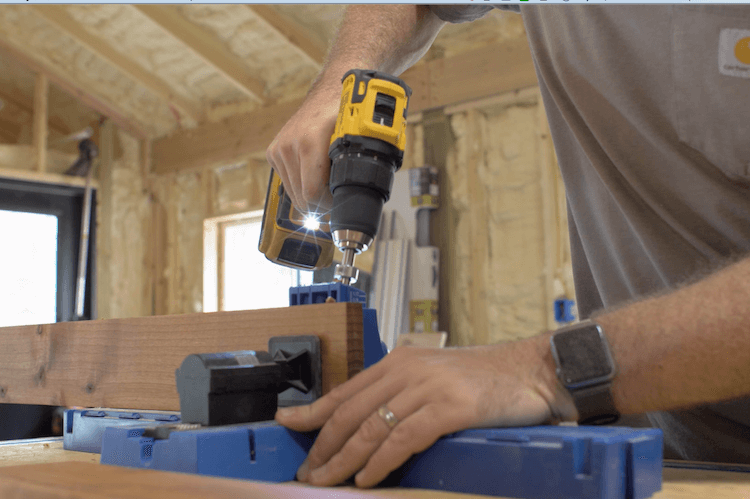
Assemble
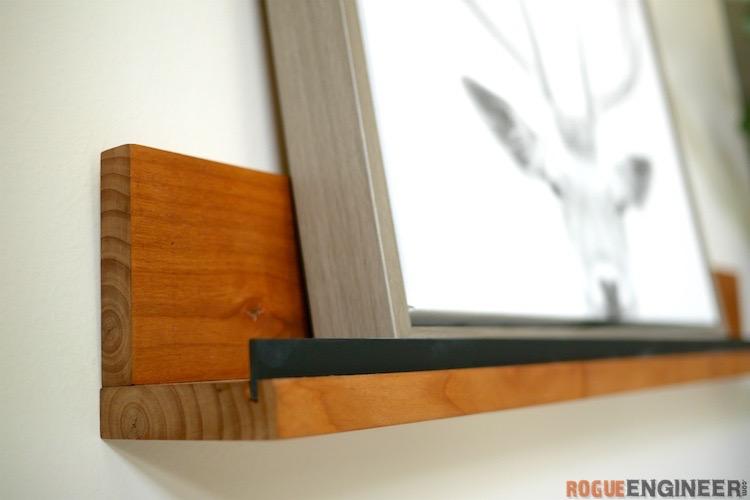
Once the finish dried we drilled pocket holes in the vertical board (one without a groove) using the Kreg K5 pocket hole jig about 10 inches apart or so. With the pocket holes drilled we could then attach the two boards together using 1-1/4″ pocket hole screws.
-
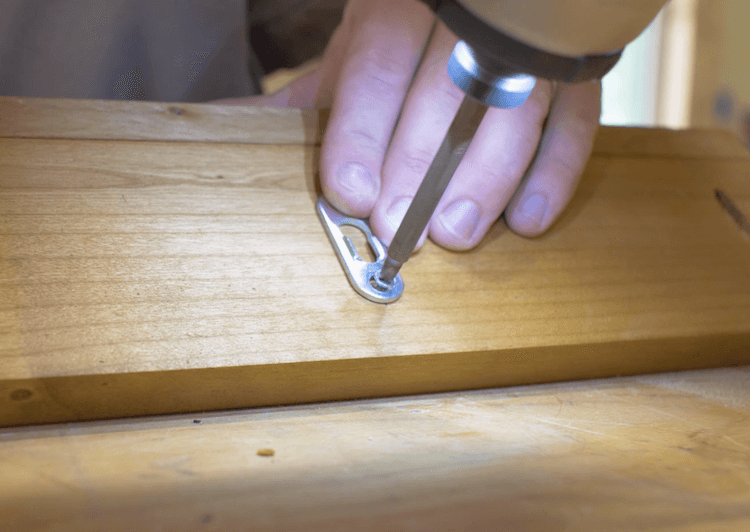
Attach Hardware
To hang this shelf we used keyhole hangers which are a strong and easy way to hang something. Make sure the hangers are installed at the same height on the back so that it will be easy to level the shelf when hanging it. You can also space the hangers 16″ (or a multiple of that) apart as this would be the same spacing as wall studs.
-
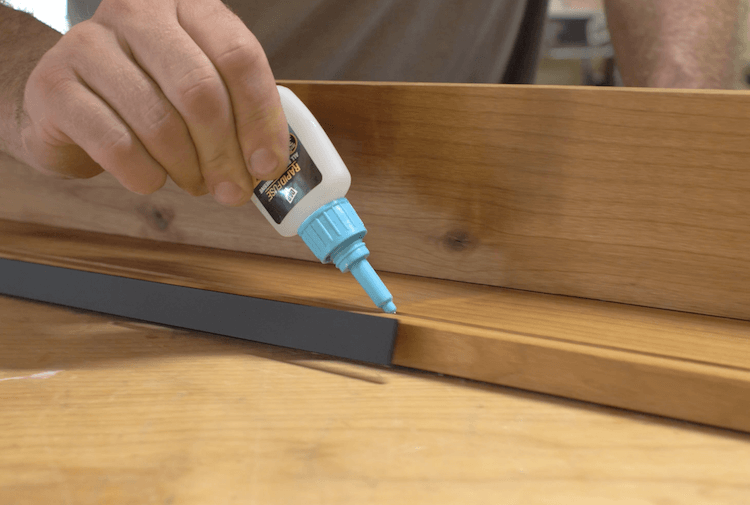
Install Metal
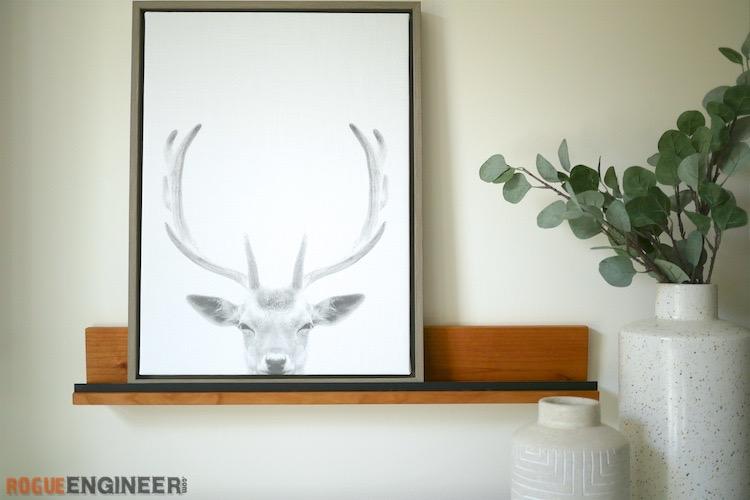
Last but not least is to finish and install the metal. We used a matte black spray paint to give the metal a good contrast to the natural wood. Then the flat metal gets glued in place with RapidFuse which is an all purpose fast curing glue.
-
Hang
If it works out to screw into a stud that is ideal however this isn’t always ideal. In which case you would need a set of drywall anchors. Either way, you’ll need to locate your first 2″ wood screw location, then using a level, find the second location and space them according to the spacing of the hangers.
Hang your shelf and you are ready to go! Enjoy!