Craft a DIY Beer+ Flights Tasting Tray
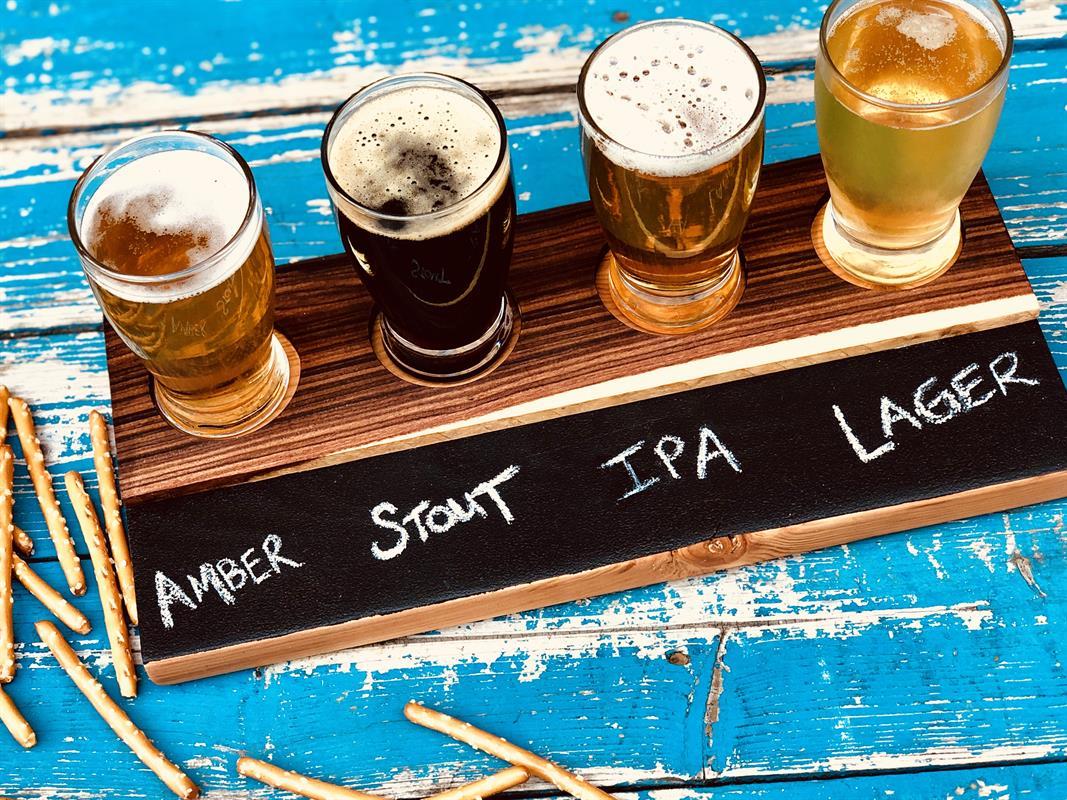
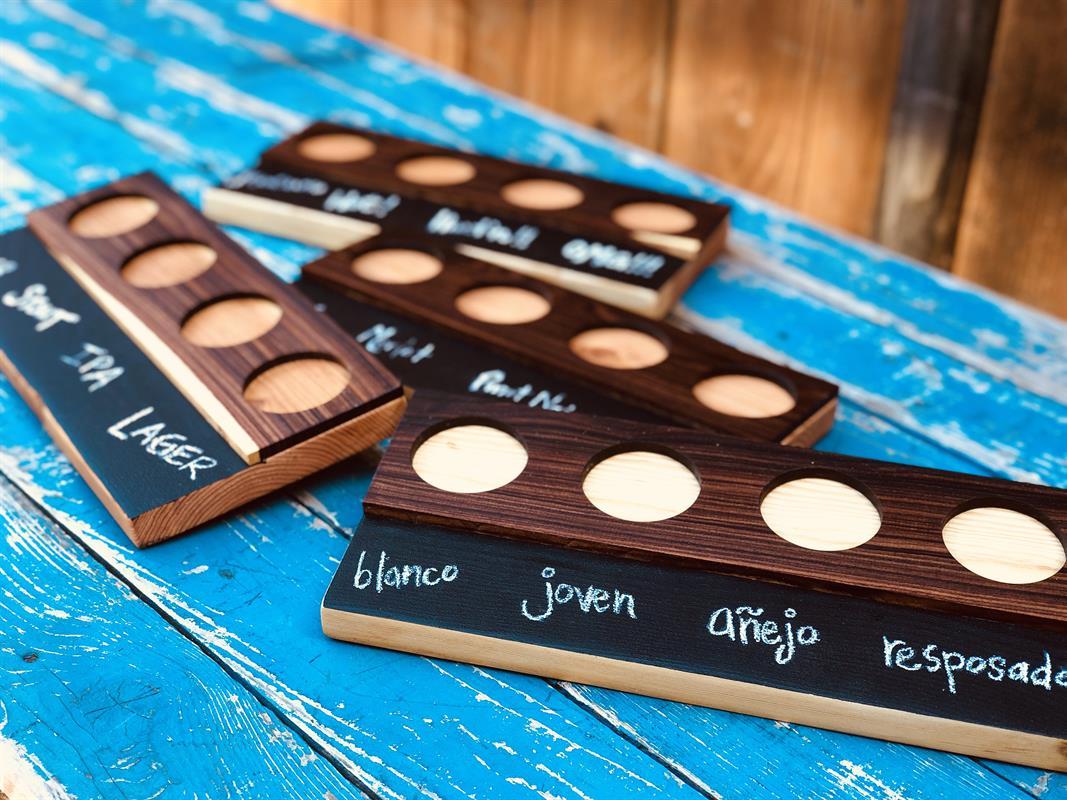
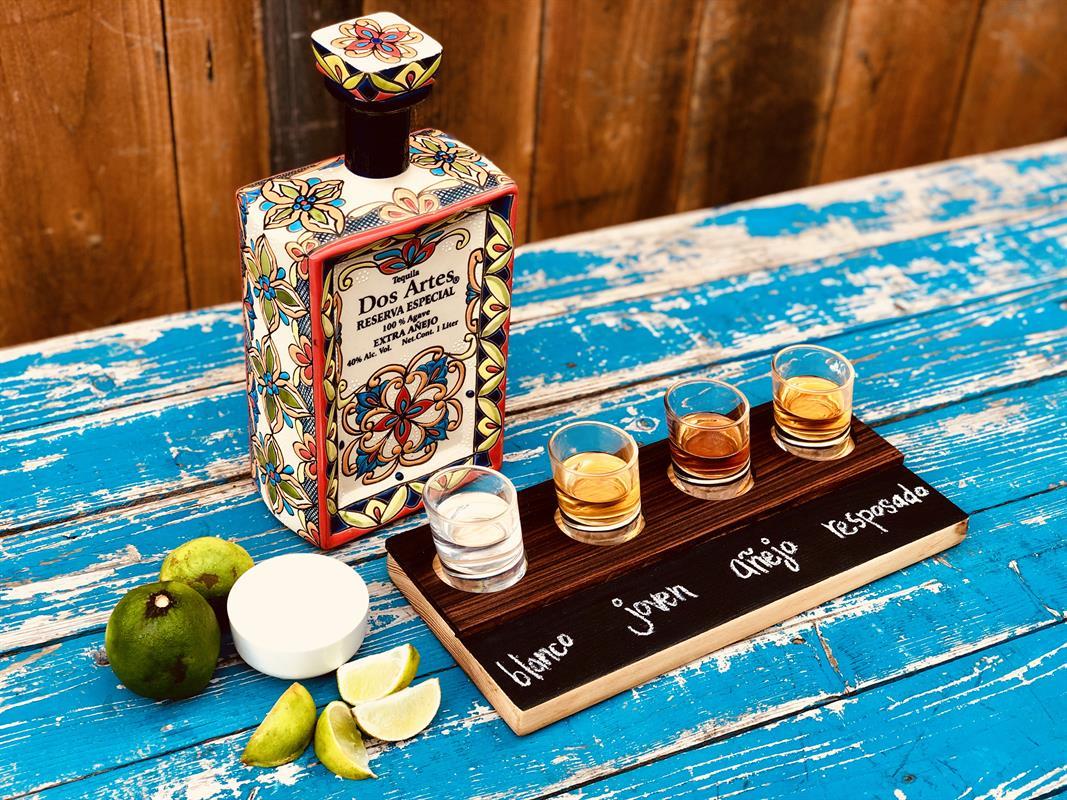
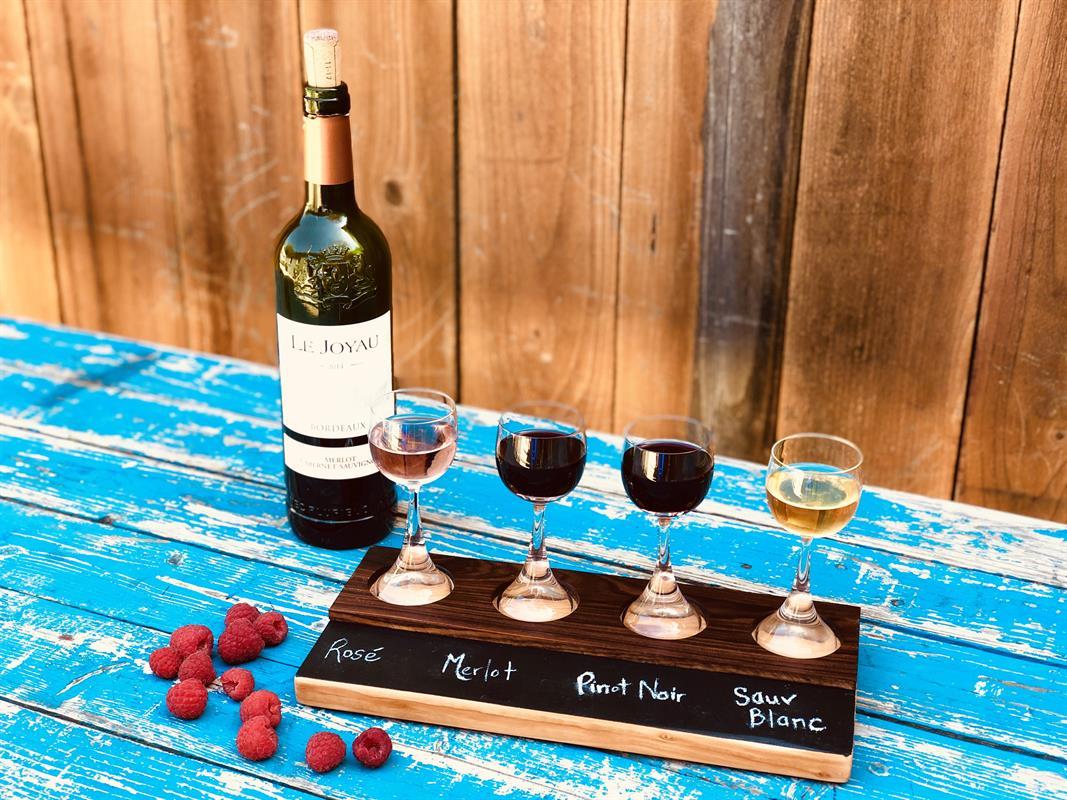
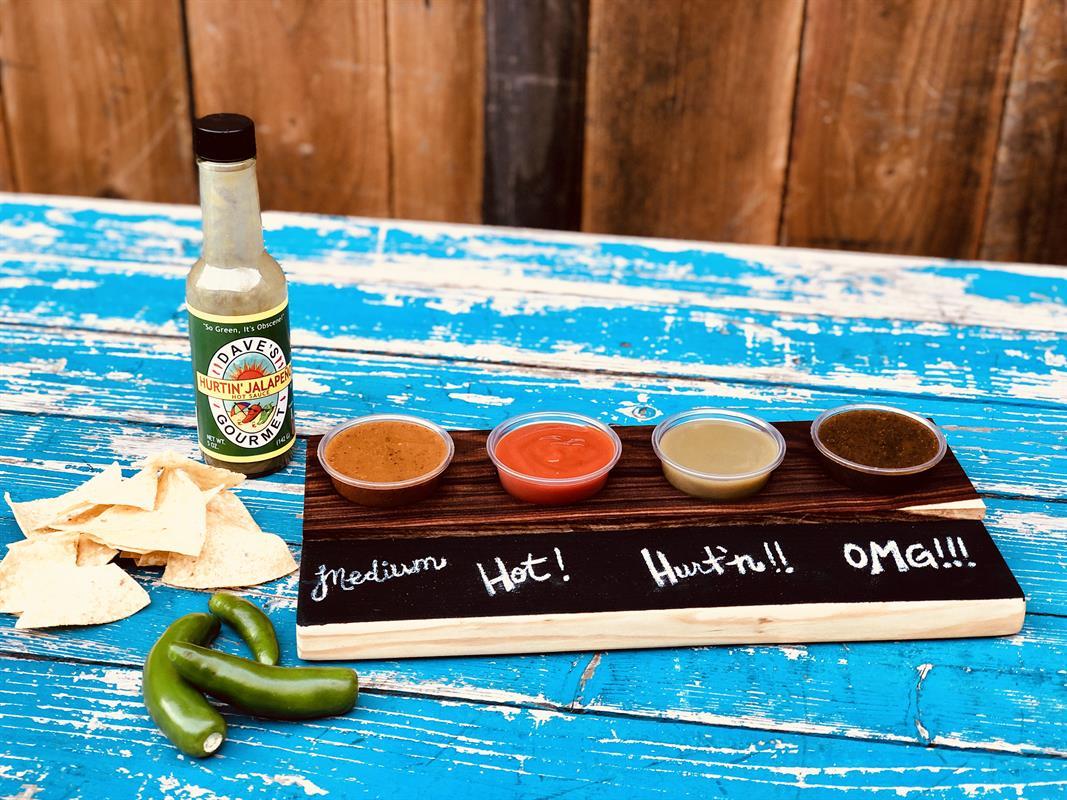
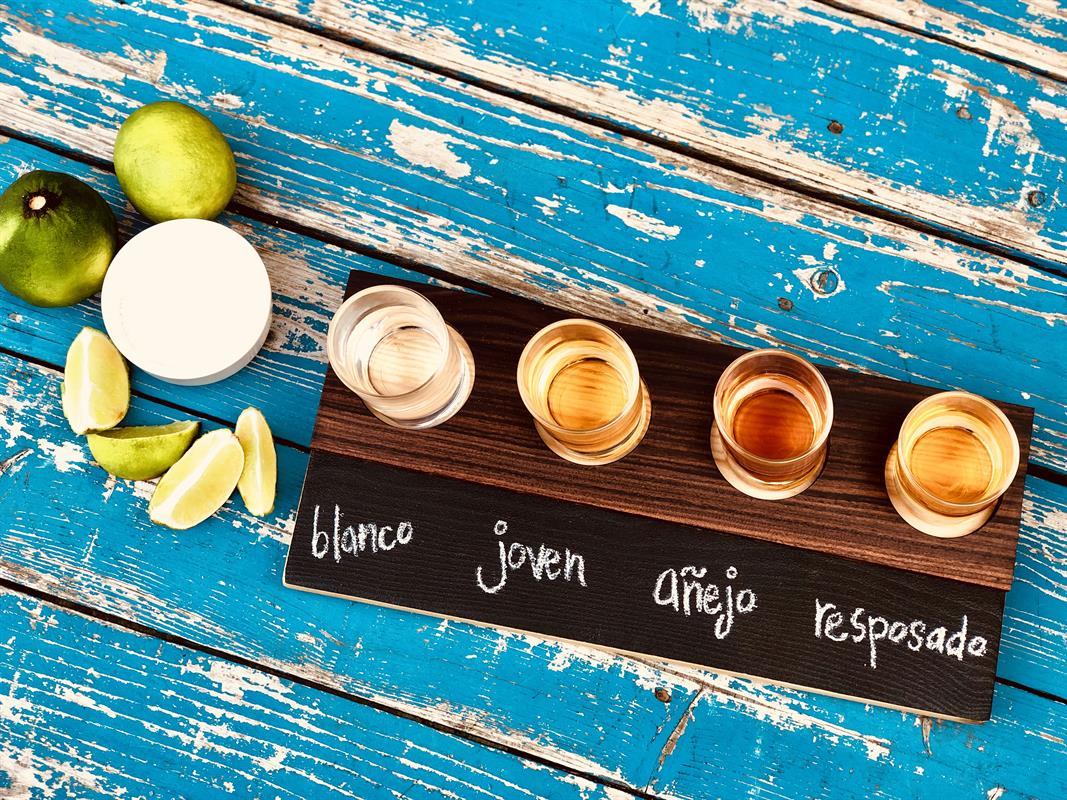
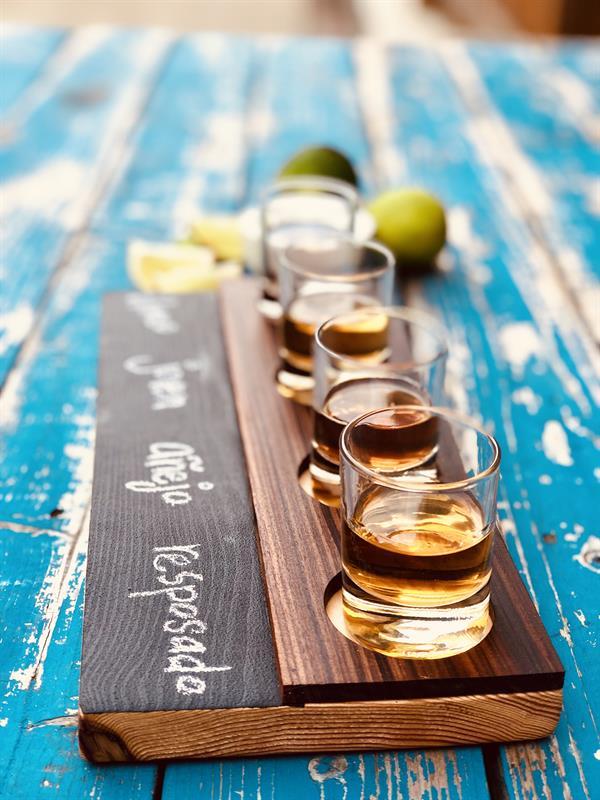
By HomeJellyYou'll love how easy this how-to project is to make! Craft a beer flights tasting tray in a day! Besides beer, you can also serve liqueur, hot sauces, candies or anything you wish to label and try with invited guests. Watch the full VIDEO tutorial in EXTRAS to easily make a set of four in no time!
Directions
-
Cut top pieces to size.
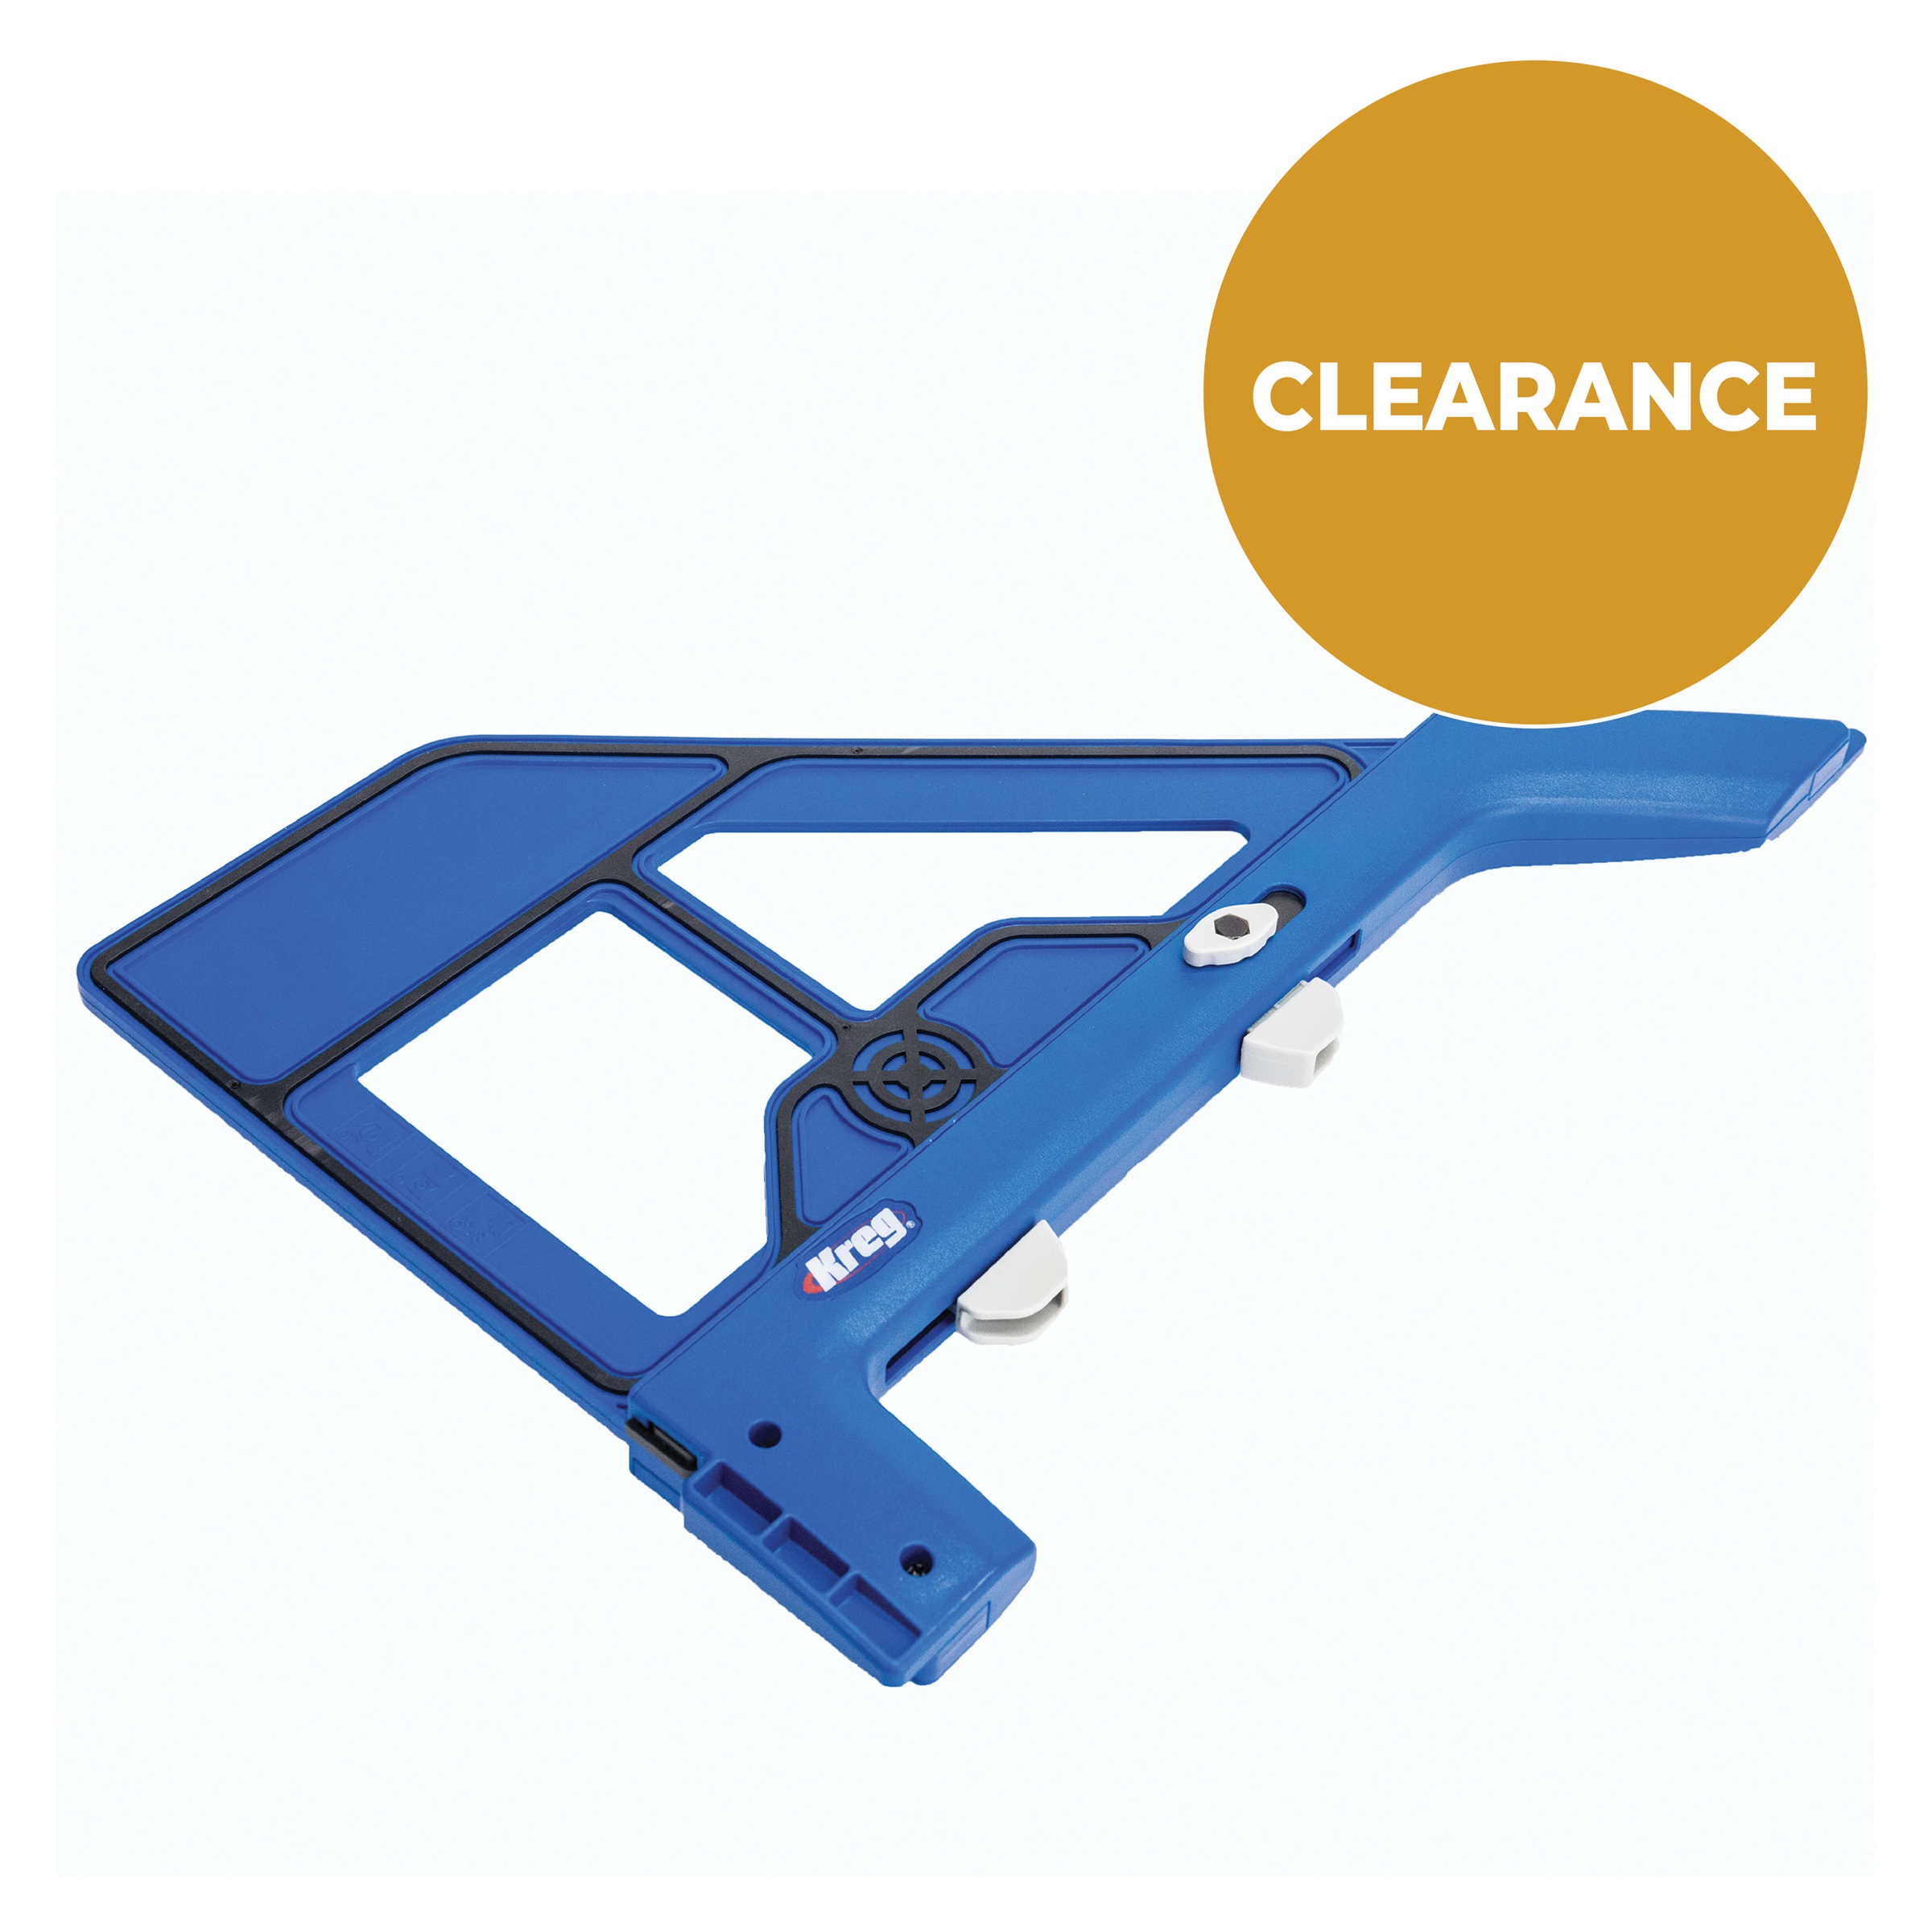
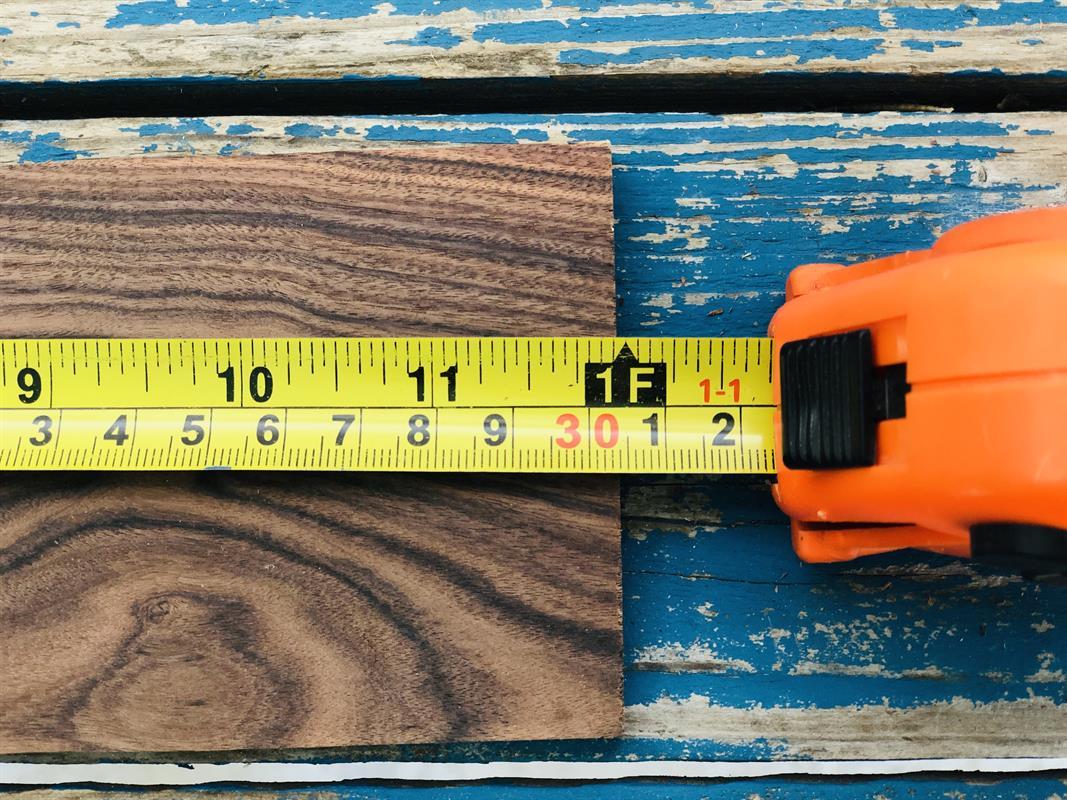
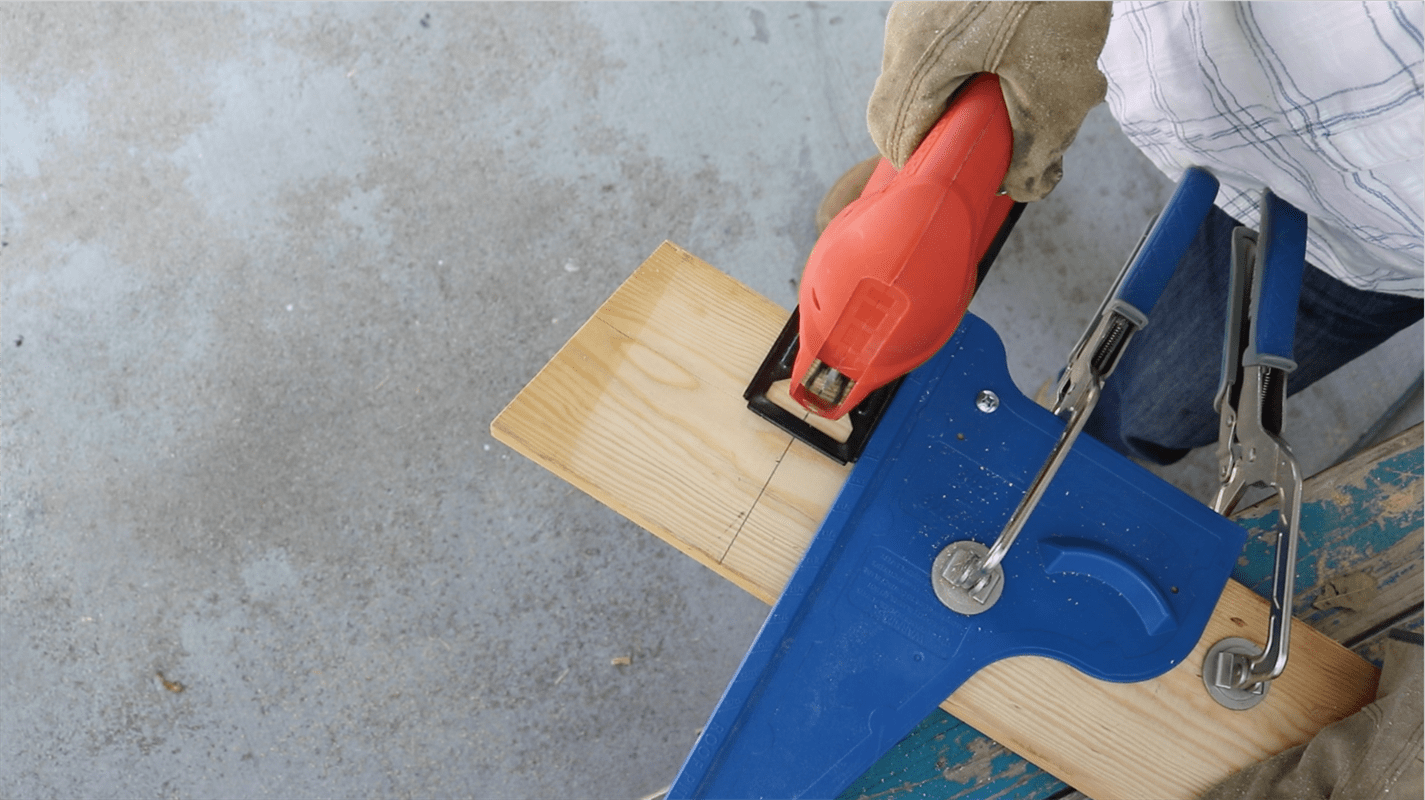
SEE CUT LIST. If you don’t have a miter saw, you can cut straight and accurate pieces using the Kreg Square-Cut and a jig saw. TIP! Be sure to CENTER your blade onto the cut mark to allow for the ⅛” kerf of your jig saw or miter saw blade. Sand edges smooth.
CUT LIST NOTE: when considering the ⅛” allowance for full-kerf blades on your miter saw, your top and base pieces will actually end up being approximately 11 15/16” long. When purchasing decorative wood like maple or Bolivian Rosewood in pre-cut pieces (ours was 48” long), you’ll need to allow for the kerf to keep all pieces the same size and reduce the risk of any wasted wood and money. So, instead of four (4) 12” trays out of a 48” long piece of wood, we made them more like 11 ⅞.
-
Cut base pieces to size.
SEE CUT LIST. Place top piece onto conjoining base piece to measure and mark your cut line. This will insure conjoining top and base ends are even. Sand all surfaces smooth with P60 sandpaper. Sand front of base with P120 to get an extra smooth surface for the chalkboard paint.
-
Paint base with chalkboard paint.
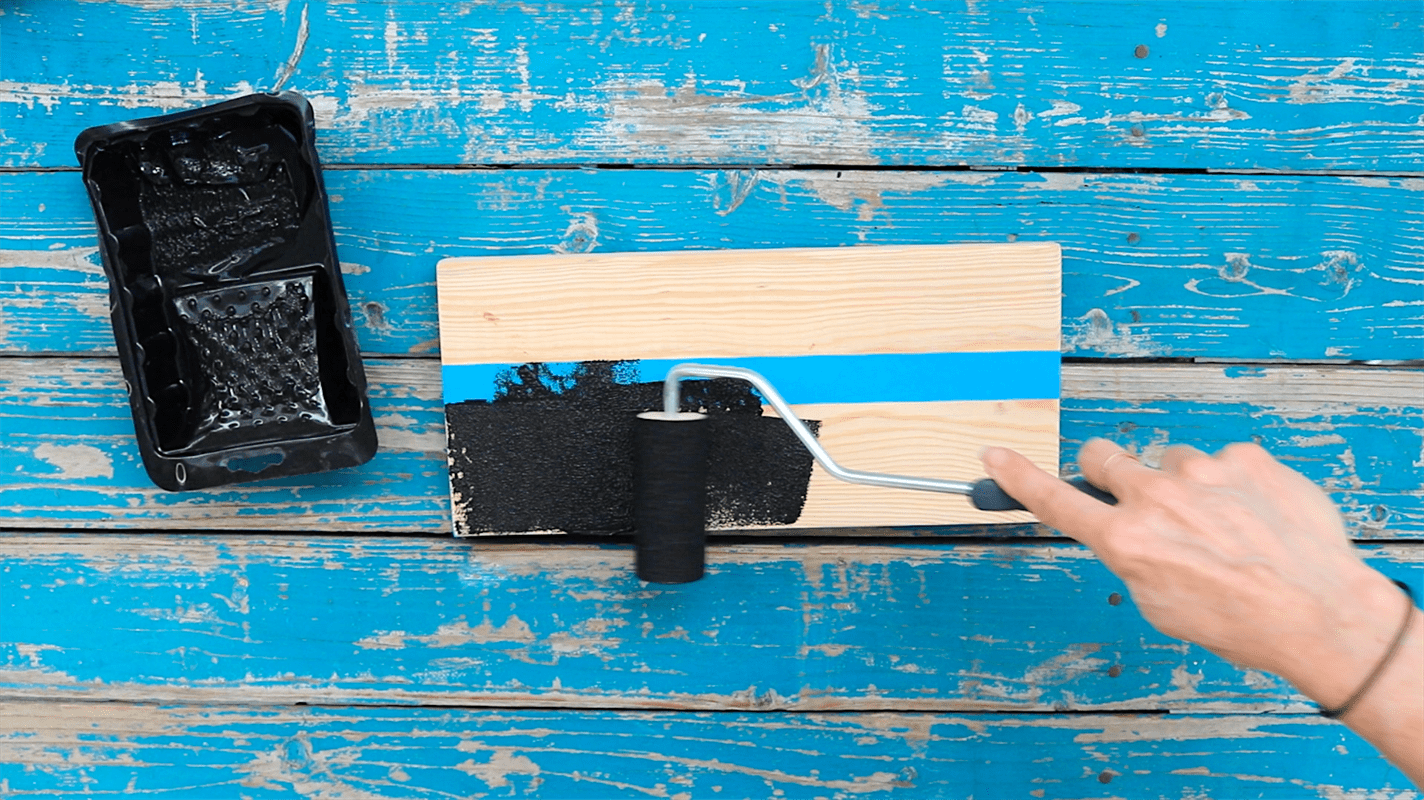
(a.) Place top piece onto base, then lightly draw a pencil line along its edge. (b.) Place painters tape about ⅛” inside the pencil line (to insure paint coverage is complete) and along the front and sides of the base piece. (c.) Roll on 2 coats of chalkboard paint onto the top edge. Wait 1 hour to apply second coat. Allow to cure 24 hours before writing with chalk.
-
Drill 2” holes in top pieces.
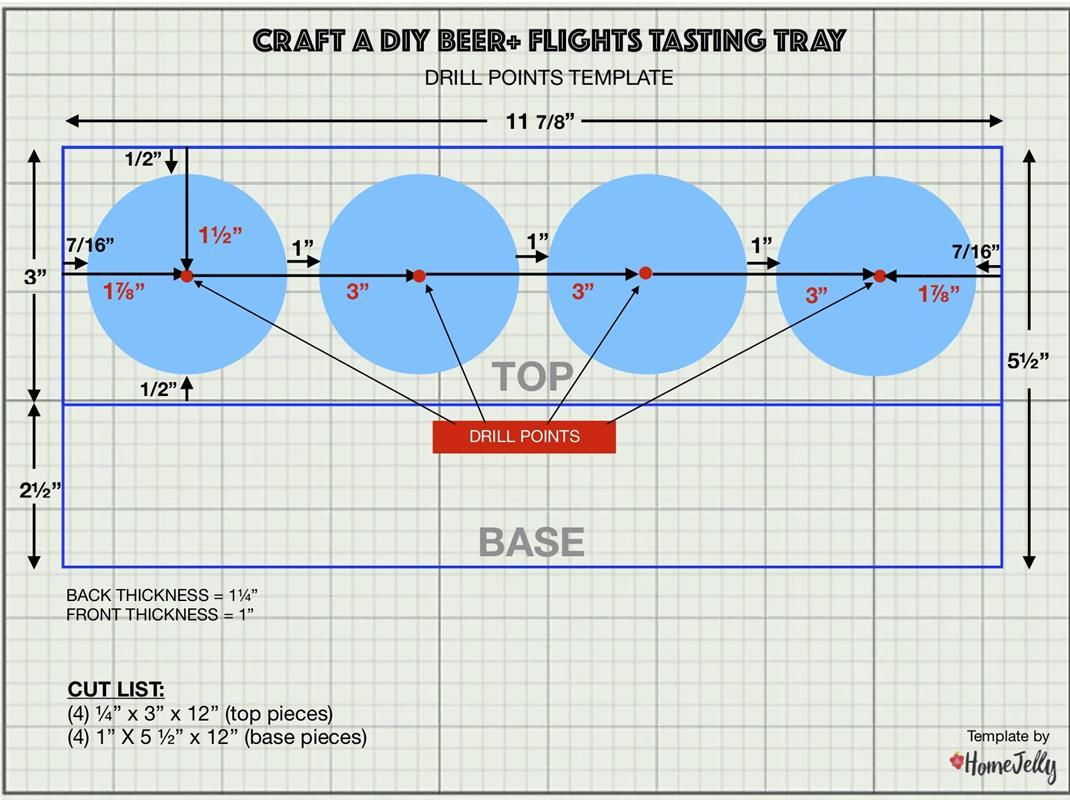
SEE DRILL POINTS TEMPLATE. Clamp top piece to scrap wood. TIP #1: Referring to the drill points template, transfer drill point measurements to tracing paper. Smear chalk on the backside of each point, place chalk-side down onto your top piece, then use a pencil to press over each point. The chalk will leave a mark on your wood.
TIP #2: To avoid tear out, try placing painters or masking tape to cover a 2” hole. Use a drill press or guide to drill out 4 holes. Sand holes smooth. -
Glue top to base.
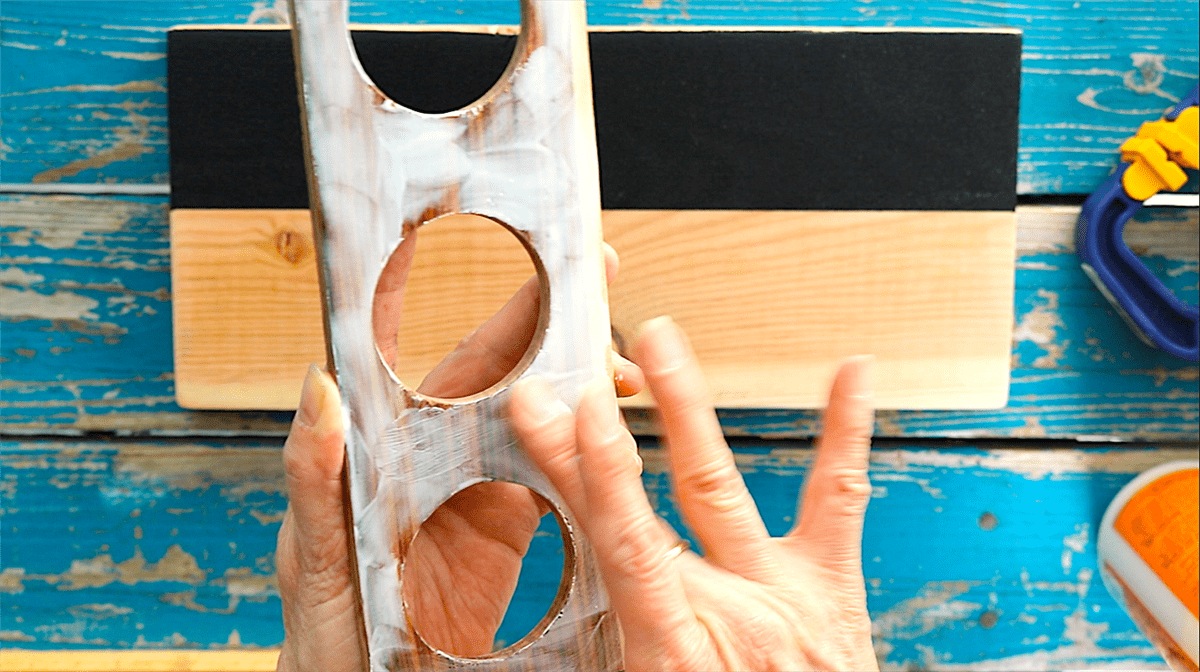
Apply wood glue to underside of top piece, then clamp to base making sure back and sides are even and allow to dry.
-
Apply beeswax/mineral oil blend to
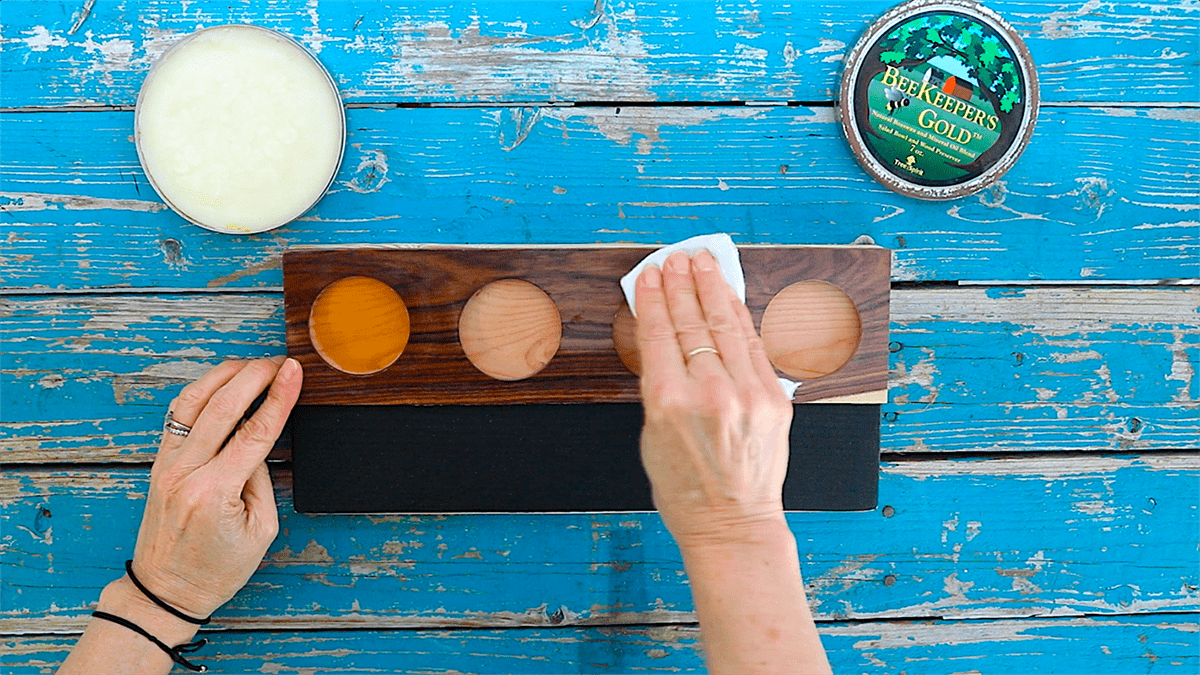
Using a clean dry cloth, apply beeswax/mineral oil to top piece and inside holes, sides of tray - do not apply to chalkboard paint. Allow to dry approximately 15 minutes, then buff with a clean dry cloth. Note: if you’d like to use your trays for food, a beeswax/mineral oil blend is the safest way to seal your wood. When washing, simply use a soft sponge then dry with a clean dishcloth.
-
Add bumpers to bottom corners.
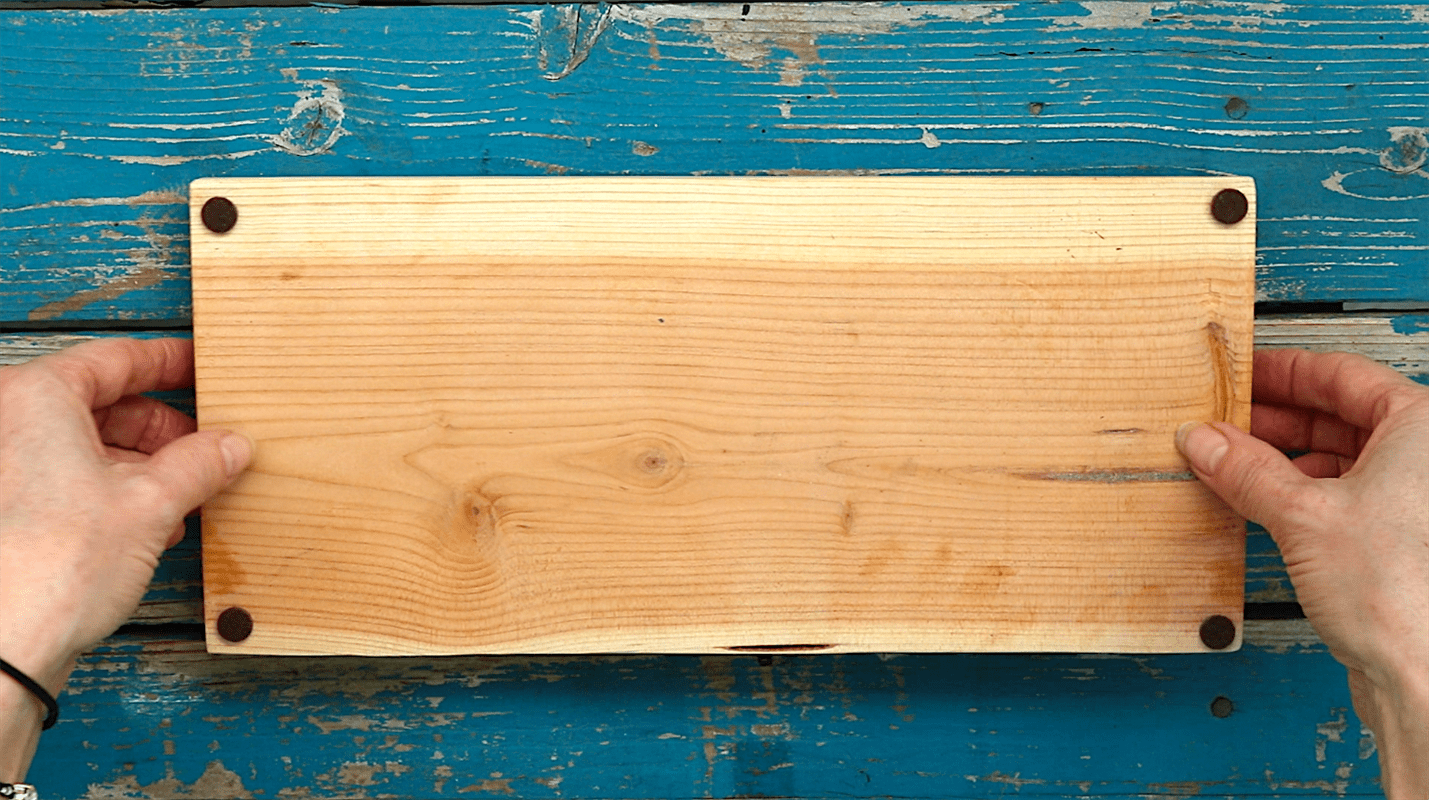
This will help prevent trays from sliding on your table. NOTE: we applied a coat of beeswax/mineral oil after placing on the bumpers so they would adhere better.


