Cookbook Stand
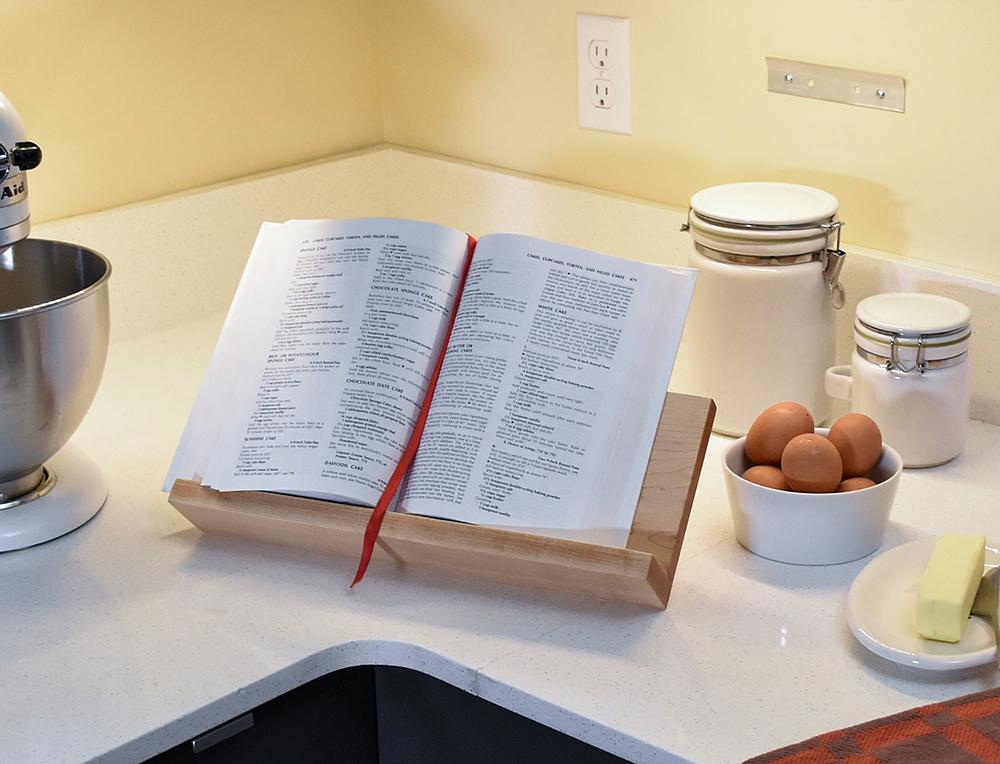
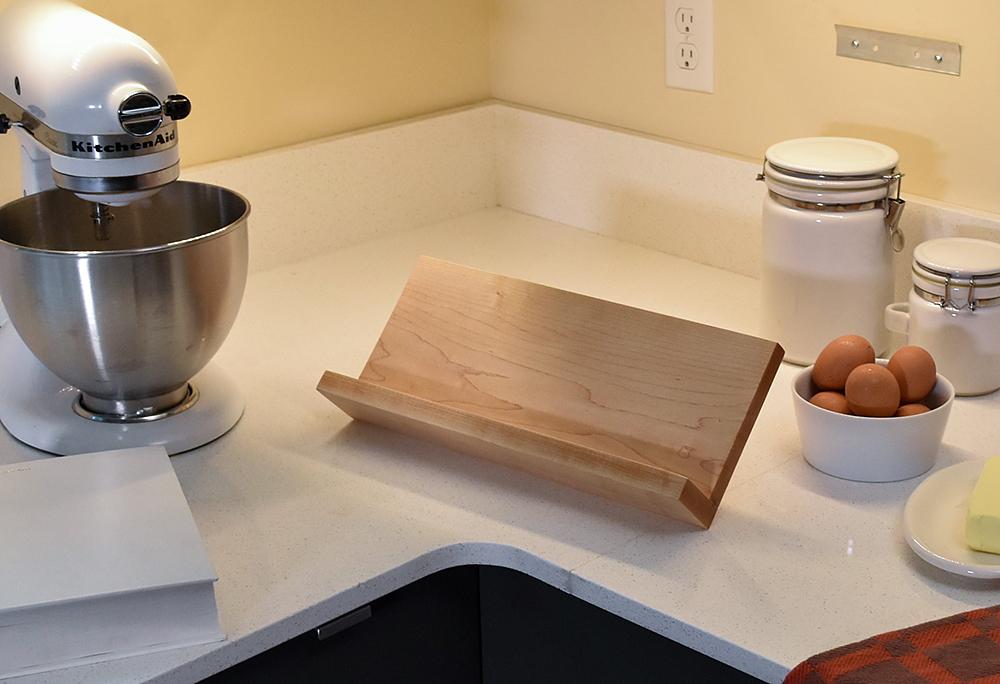
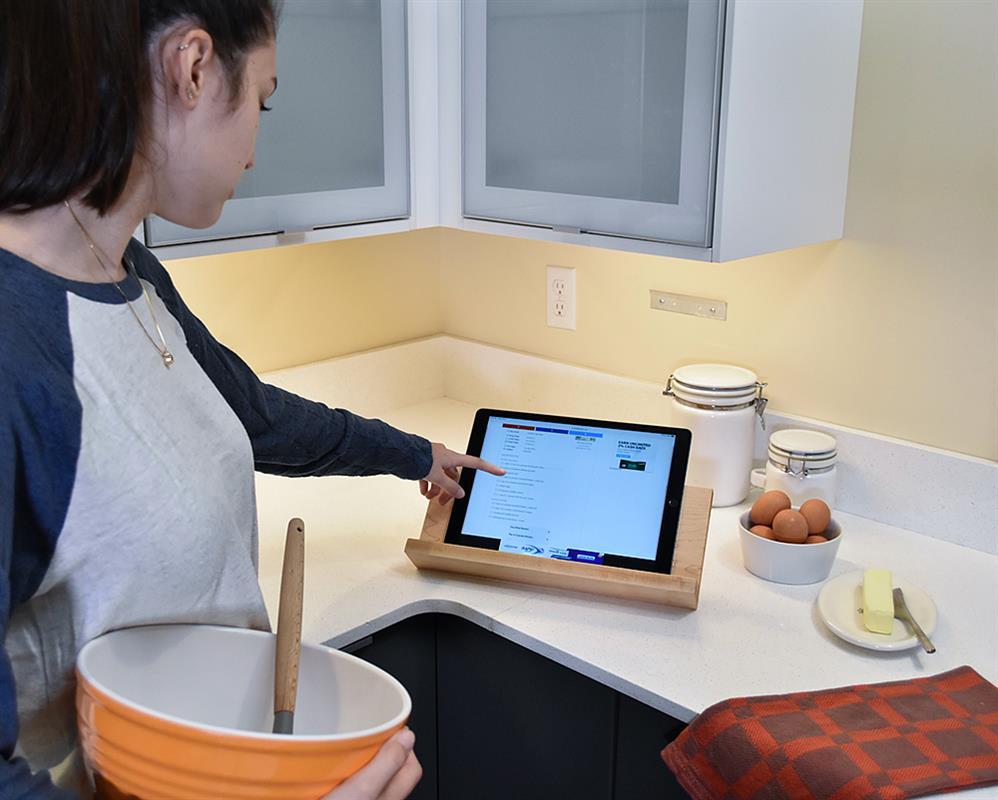
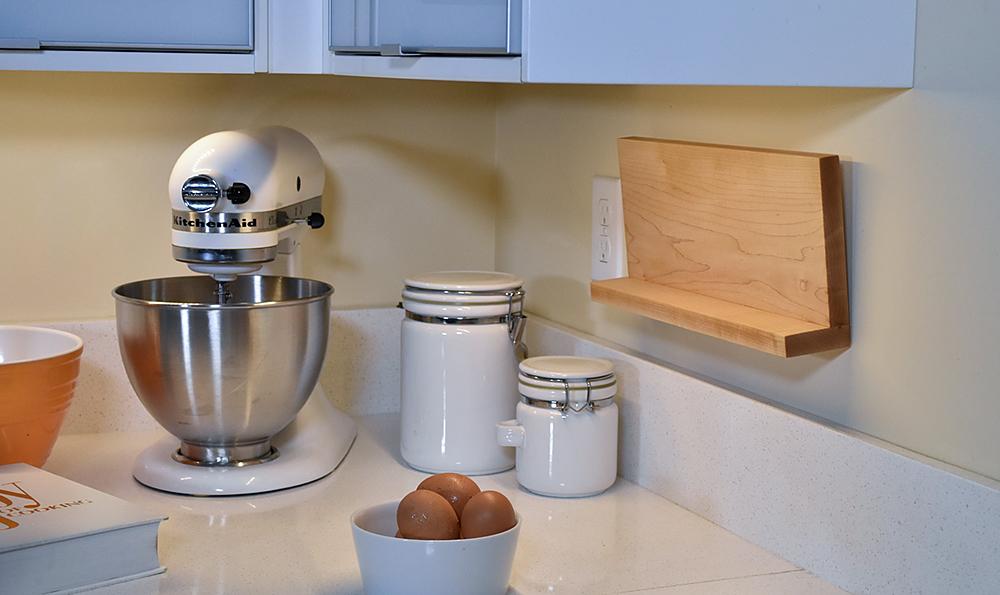
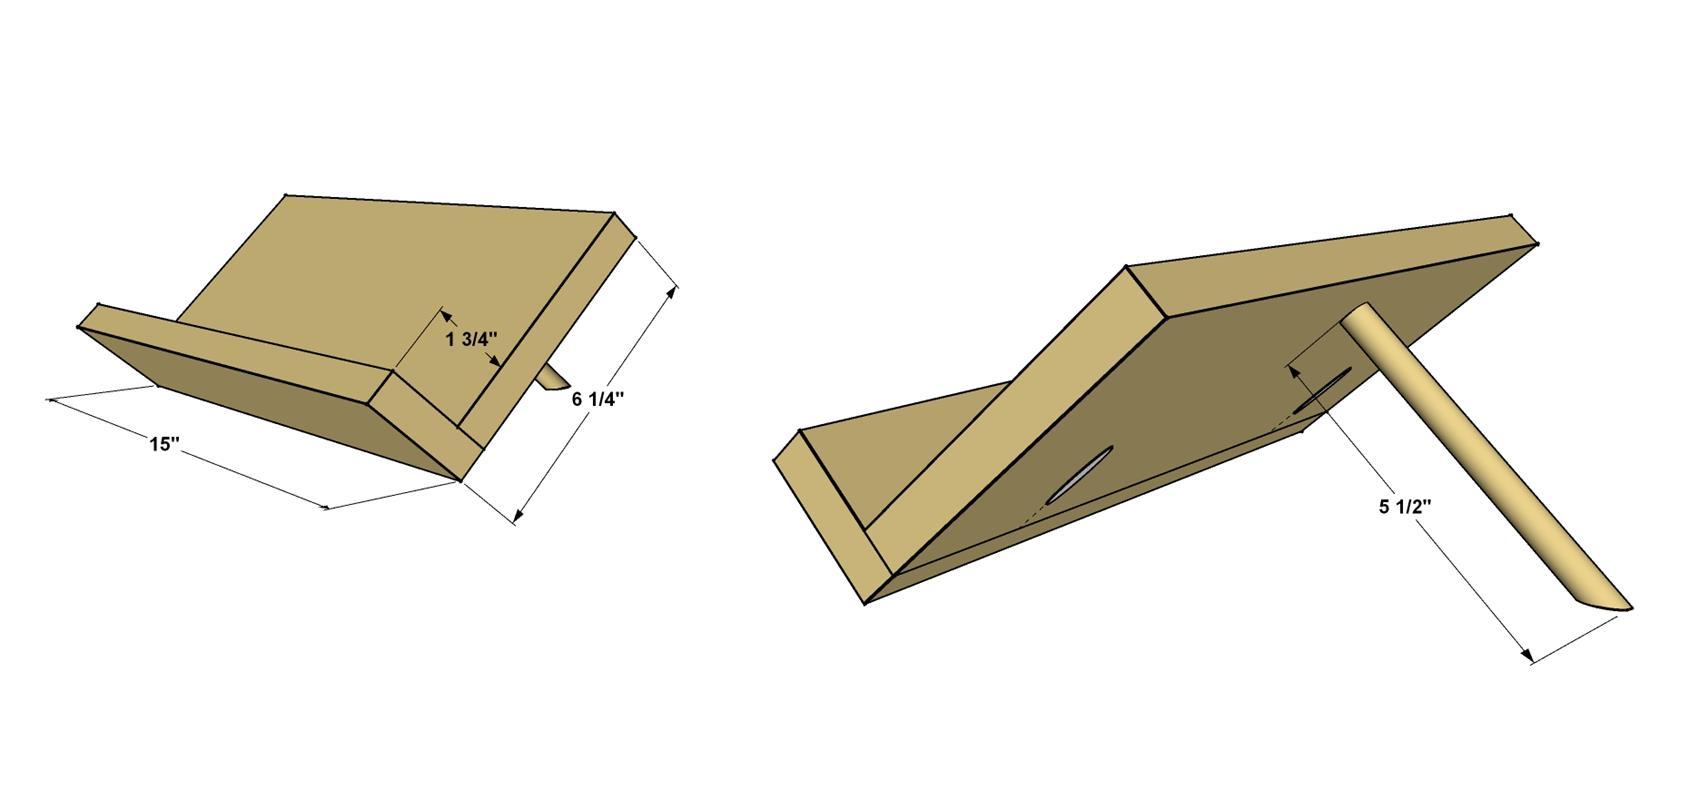
By Kreg ToolKeep your recipes close at hand—whether you’re using a cookbook or a tablet—with this easy-to-build stand. It sits on your counter at an angle to make the recipe easy to read while keeping it out of your way and out of the mess. When not in use, you can hang the stand on your wall for easy storage.
Directions
-
Cut the Back and Ledge
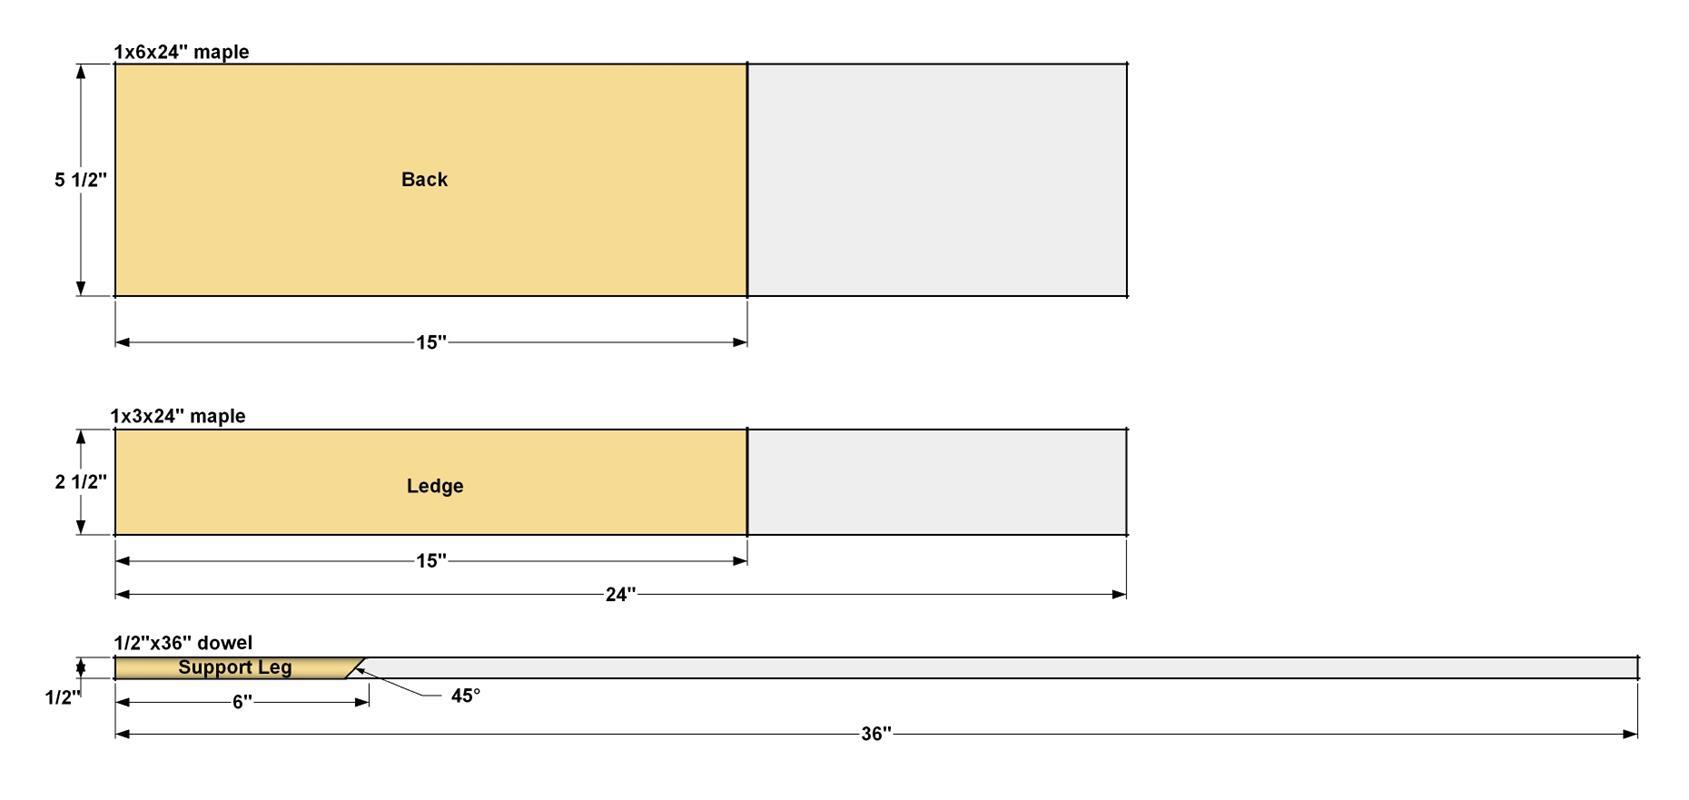
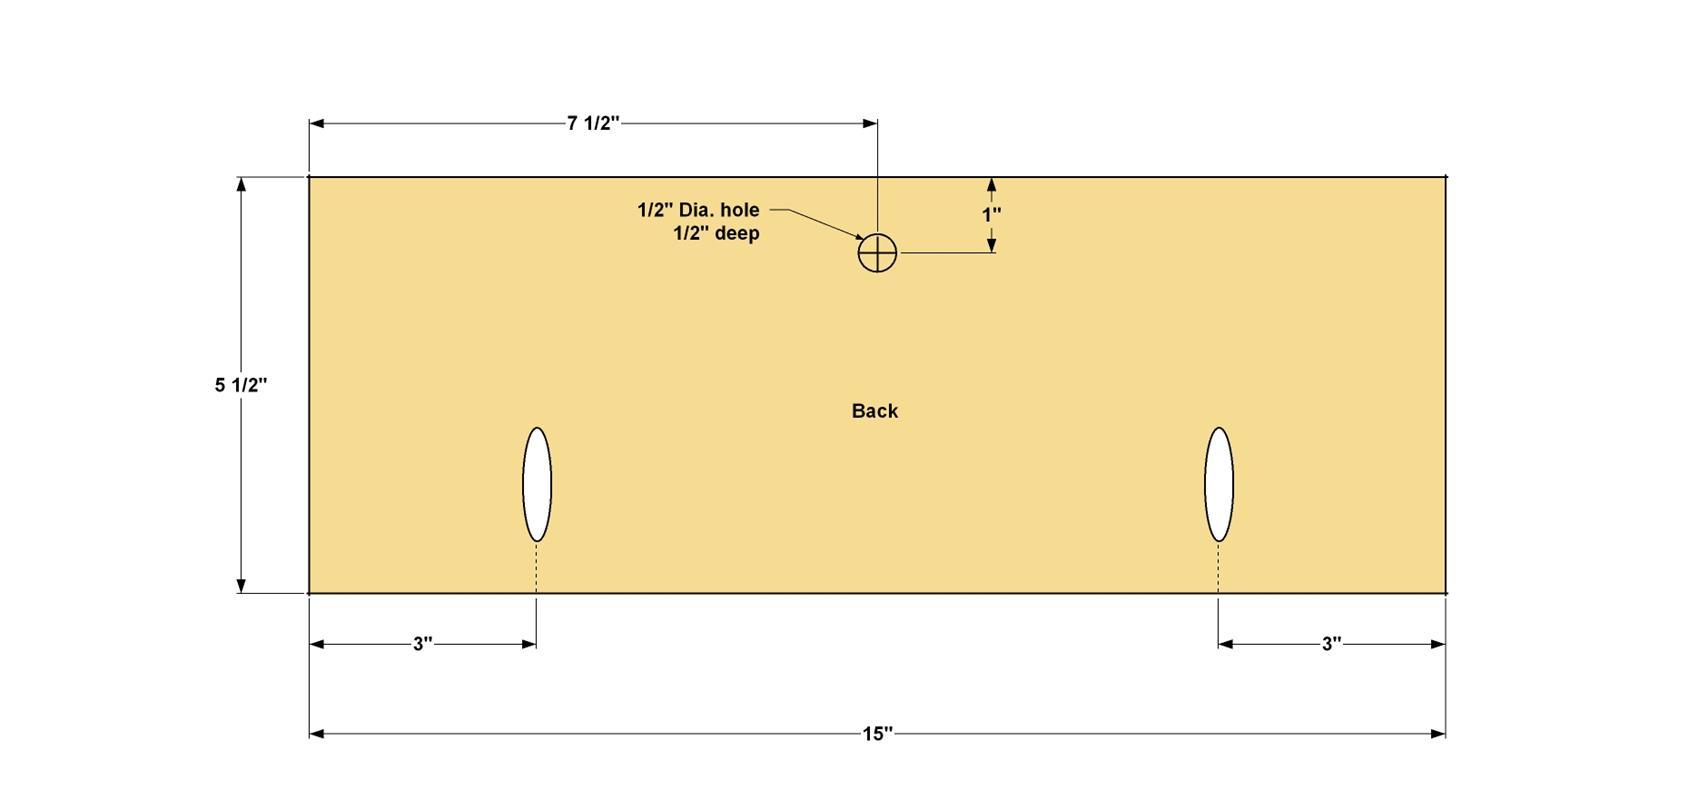
Begin by cutting the Back to length from a 1x6 board, and cutting the Ledge to length from a 1x3 board, as shown in the cutting diagram. Set the Ledge aside until the next step. Set your Kreg Pocket-Hole Jig for 3/4"-thick material, and then drill two pocket holes in the Back, as shown. Next, drill a 1/2" hole, 1/2" deep at the location shown. This will be for the Support Leg. Sand the faces of the Back and Ledge smooth.
-
Assemble the Stand
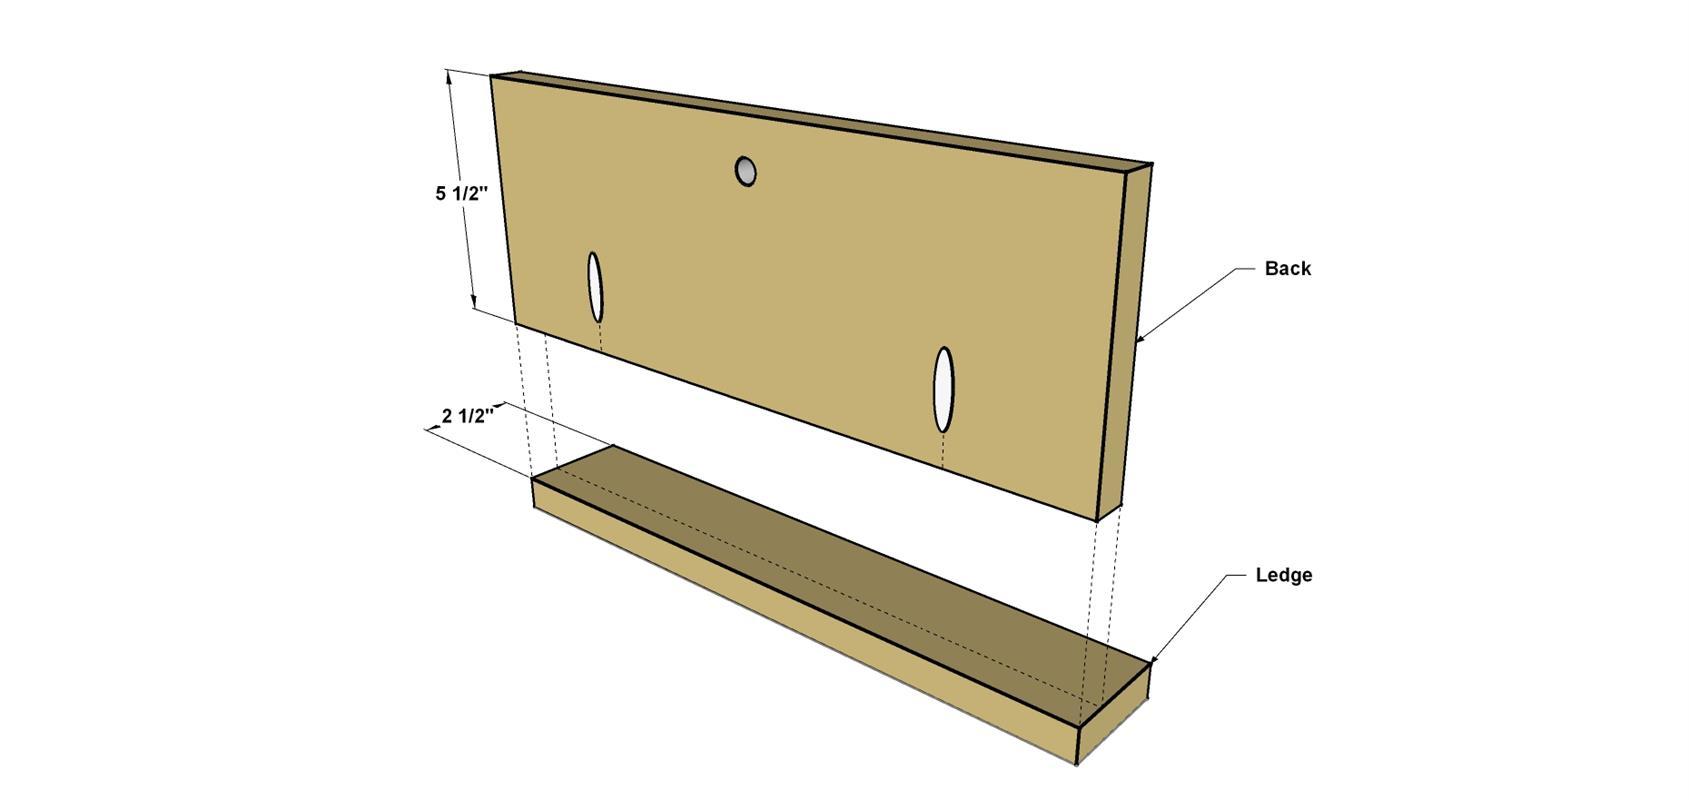
Working on a flat surface, apply a small amount of glue to the lower edge of the Back. Clamp Ledge to the Back, as shown, and then attach the Ledge to the Back using 1 1/4" fine-thread Kreg Screws. Once the glue dries, sand the ends and exposed edges of the assembly smooth.
-
Cut and Fit the Leg
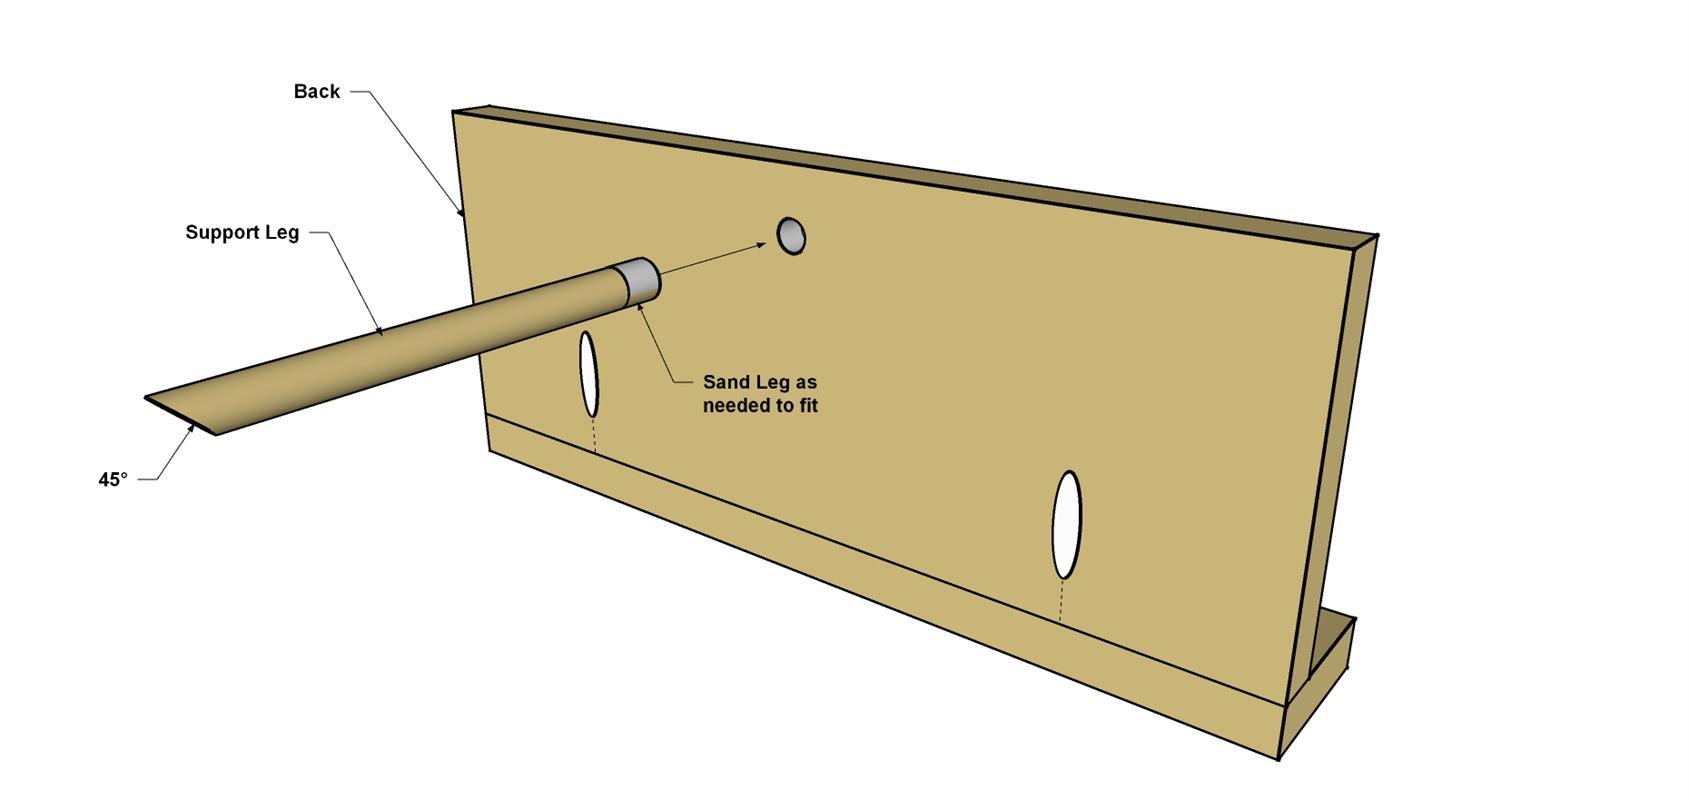
From a 1/2" dowel, cut a 45° angle on one end of the Dowel. Turn the saw back to 90° and cut Support Leg to final length, as shown in the cutting diagram. Sand the Support Leg smooth. Test fit the Support Leg in the hole in the Back that you drilled earlier. If the fit is too tight, sand a little more material just on the end until you have an easy fit. Set the Support Leg aside for the moment.
-
Add the Hanger
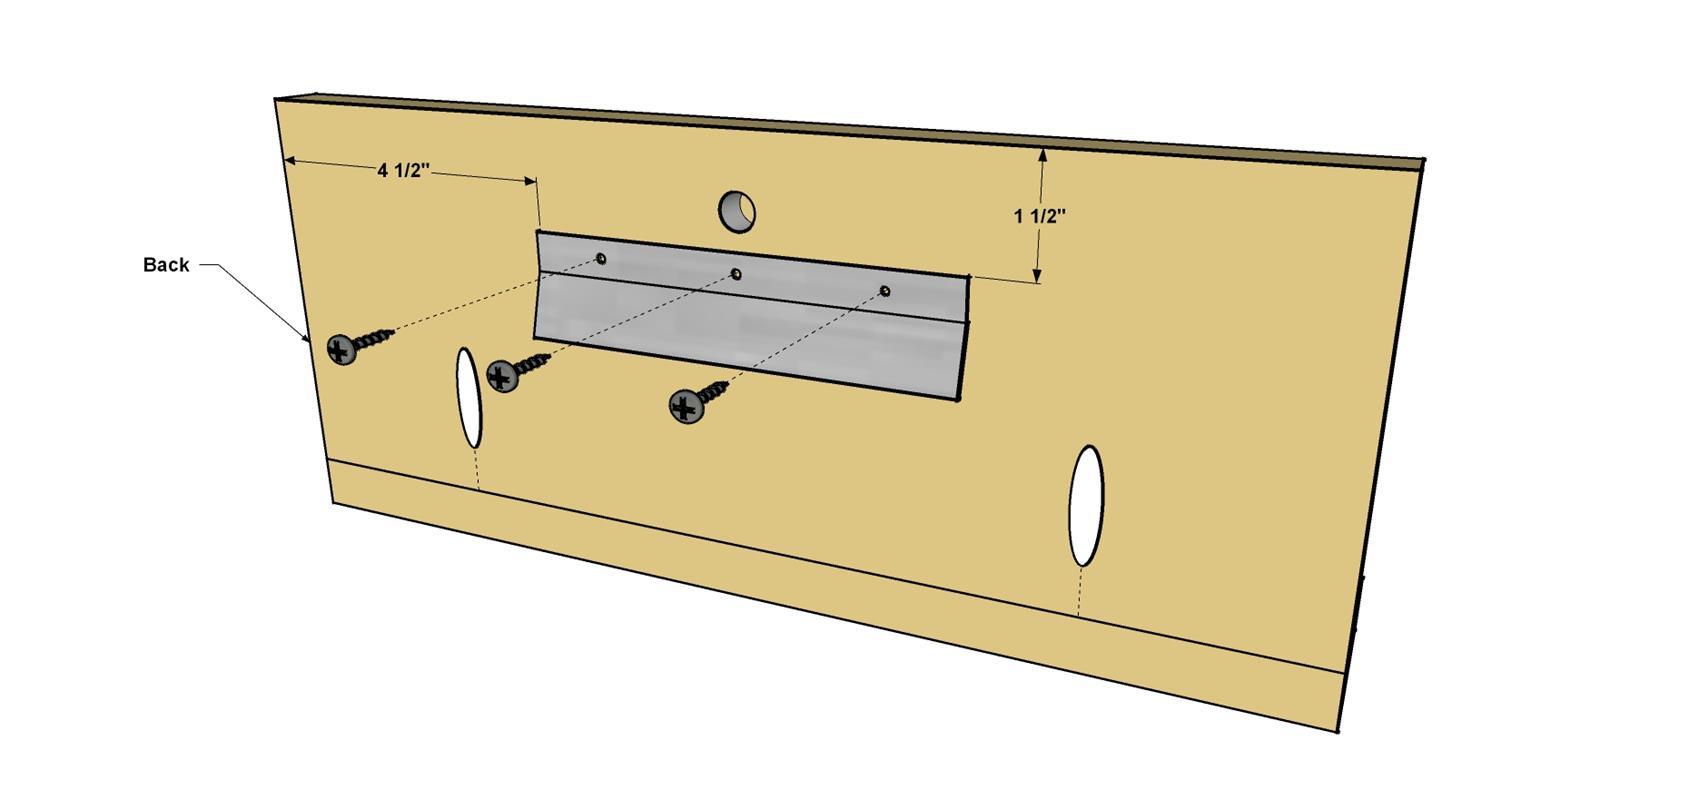
We didn’t glue the support Leg in place, so that it could be removed to stored flat when the stand is not in use. We added a picture hanger to the back of the stand so it could hang on the wall. We use a “Hangman” picture hanger for this. The hanger is heavy duty, but it’s interlocking design makes it easy to put away. Also, when the stand is its stored position on the wall, the Hanger creates a small cap behind it which is perfect for storing the Leg. Position the hanger on the Back and mark the location of the holes. Remove the hanger and drill pilot holes in the Back. Follow the manufacturer’s instructions to install the other half of the hanger on the wall.
-
Apply a Food Safe Finish
Sand any sharp edges of the stand and wipe away dust with a cotton cloth or shop towel. Then you can apply a finish. Because baking and cooking can be messy, we wanted to make sure to use a finish that was safe around food. We applied a natural non-toxic butcher block oil. To ensure a safe finish, look for products that are labeled “food safe.”


