Contoured Wood and Nail Bottle Opener
By Mad Raven WoodworksA popular design with an ergonomic twist. This project only takes about an hour of work and can be made with a small piece of scrap. Break this out in front of your friends and show them that it actually works!
Directions
-
Choose the Wood
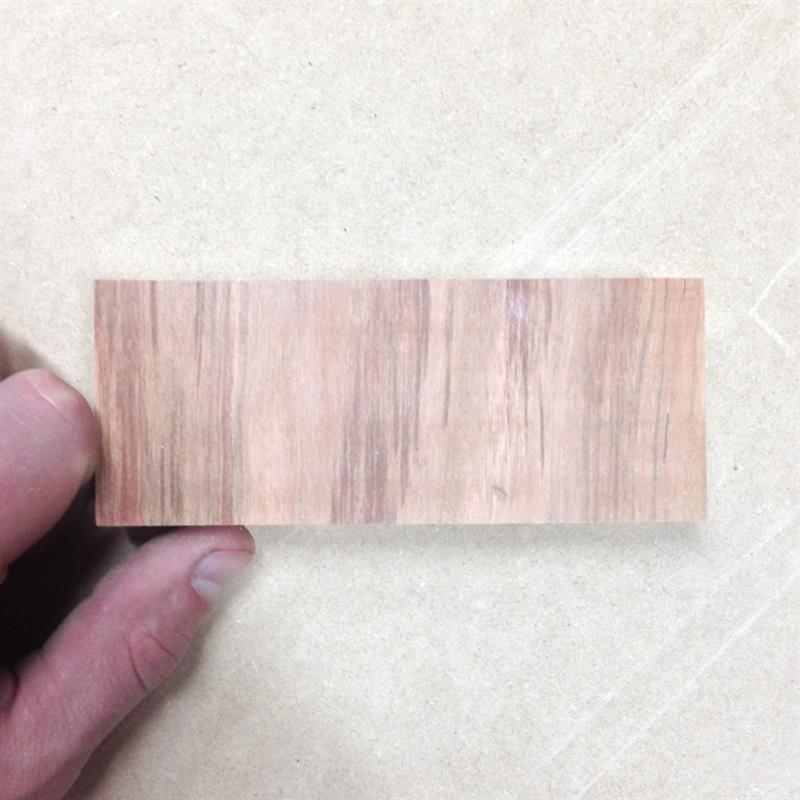
Find a new or old scrap hardwood board that is at least 3/4" thick (I recommend 7/8"), 1 1/2" wide, and 5" long. I chose a scrap piece of spalted cherry.
-
Design and Cut
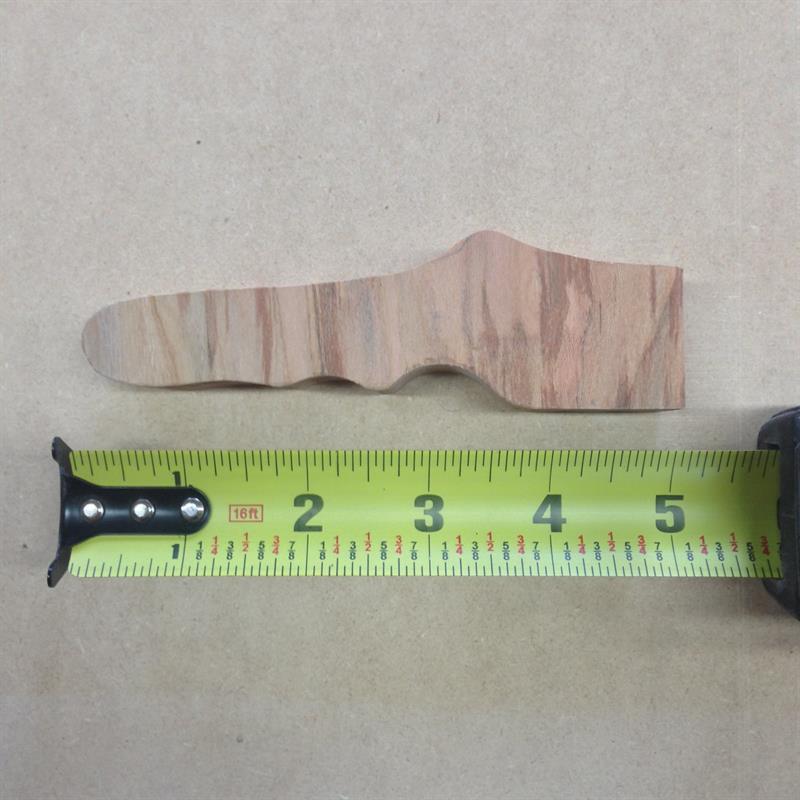
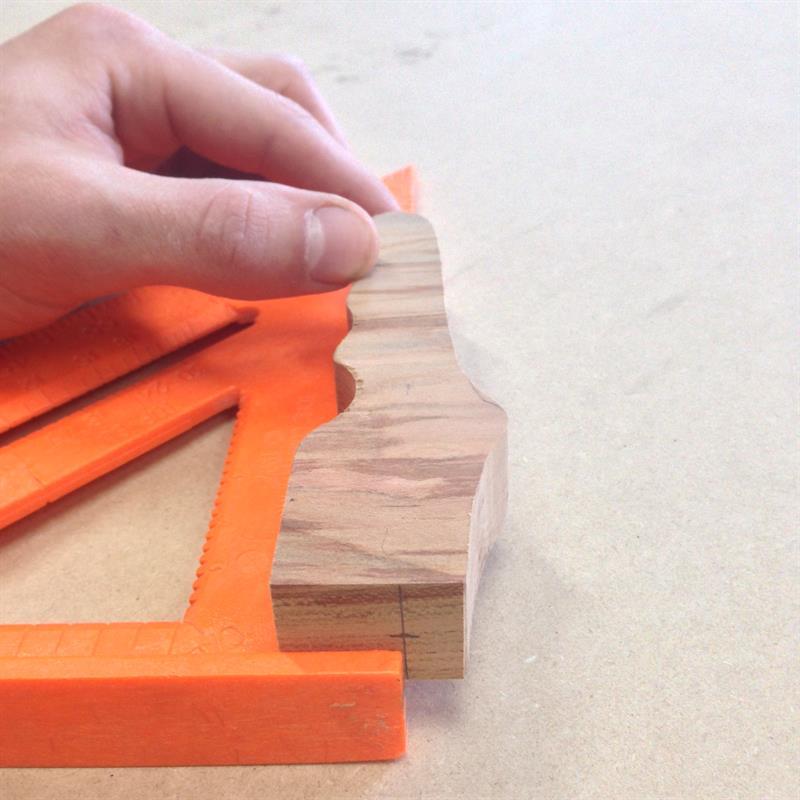
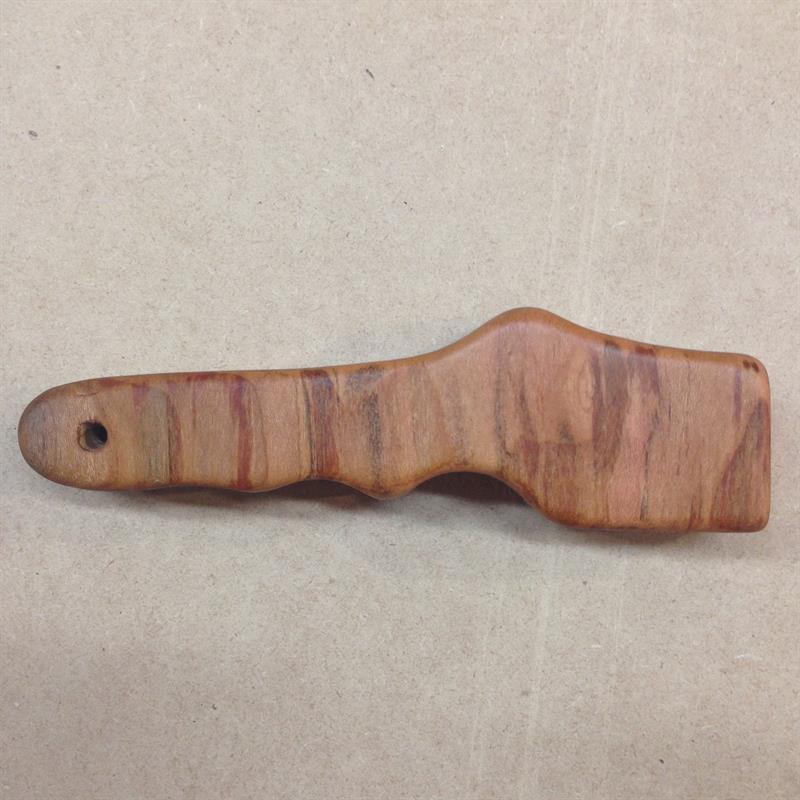
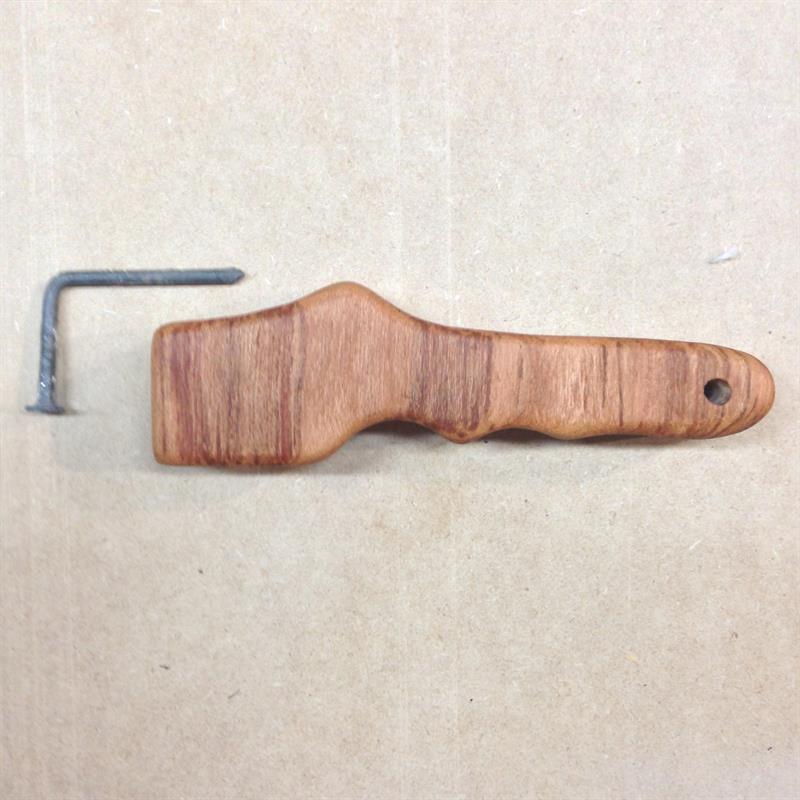
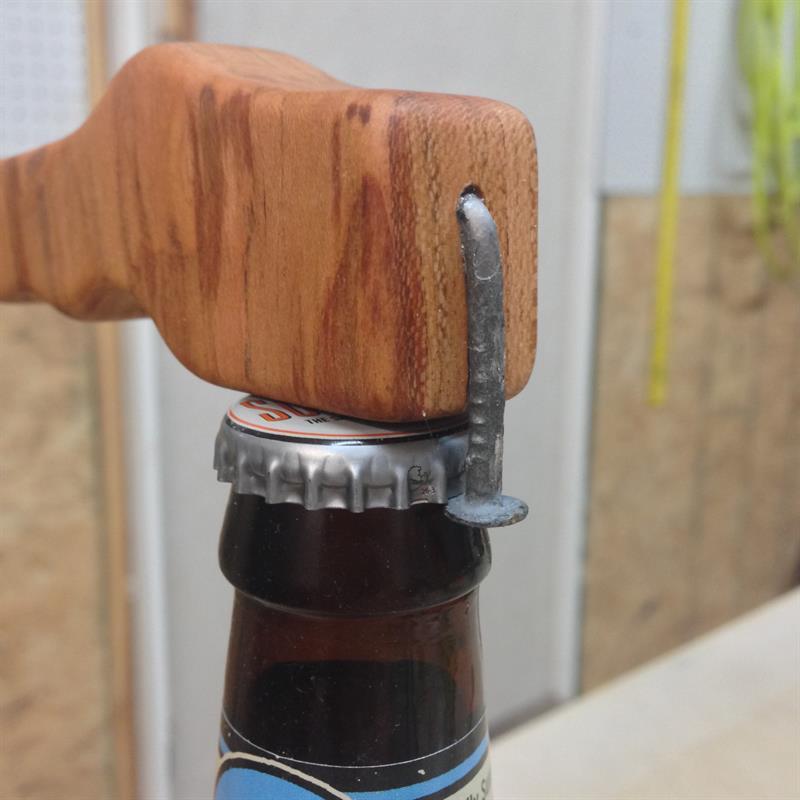
Draw out your design. Using the bottom right corner of your piece, make sure you leave straight edges at least 1 1/8" long up and also to the left of your bottom right corner. You need those two flat surfaces and the 90 degree angle for your nail and bottle cap (see picture for reference). Be sure to leave enough handle to support the large nail that will be inserted. Try out your custom grip design on a piece of scrap and see how it fits your hand first. Once you find that perfect design, use a scroll saw or band saw to cut the shape.
-
Mark the Nail Path
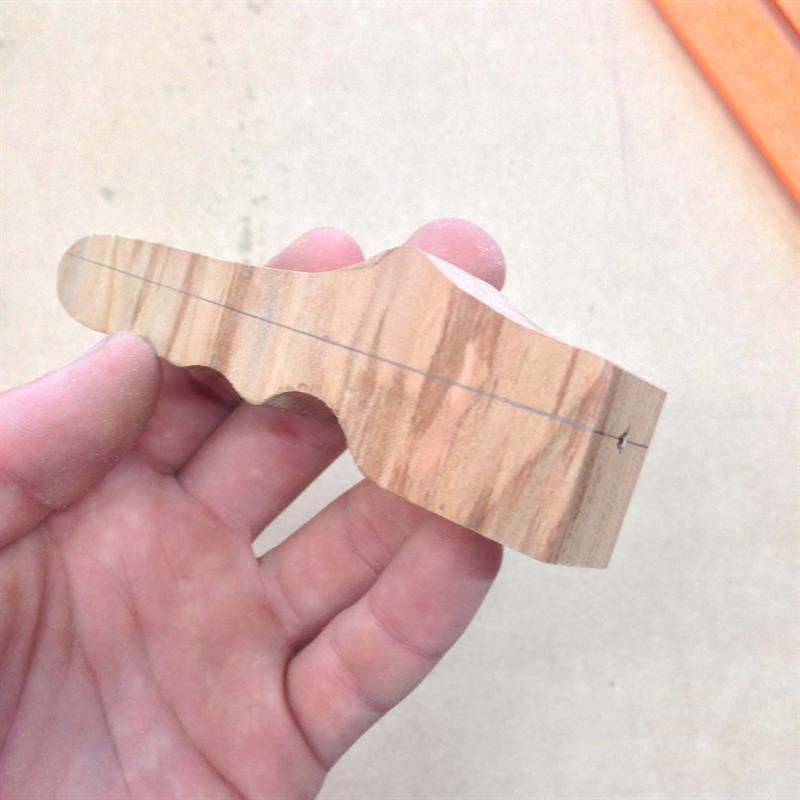
Square up your handle at 90 degrees and mark a line down the center as a reference to where your nail will fit. Mark the front end as well when you find your center line.
-
Punch the Nail Hole
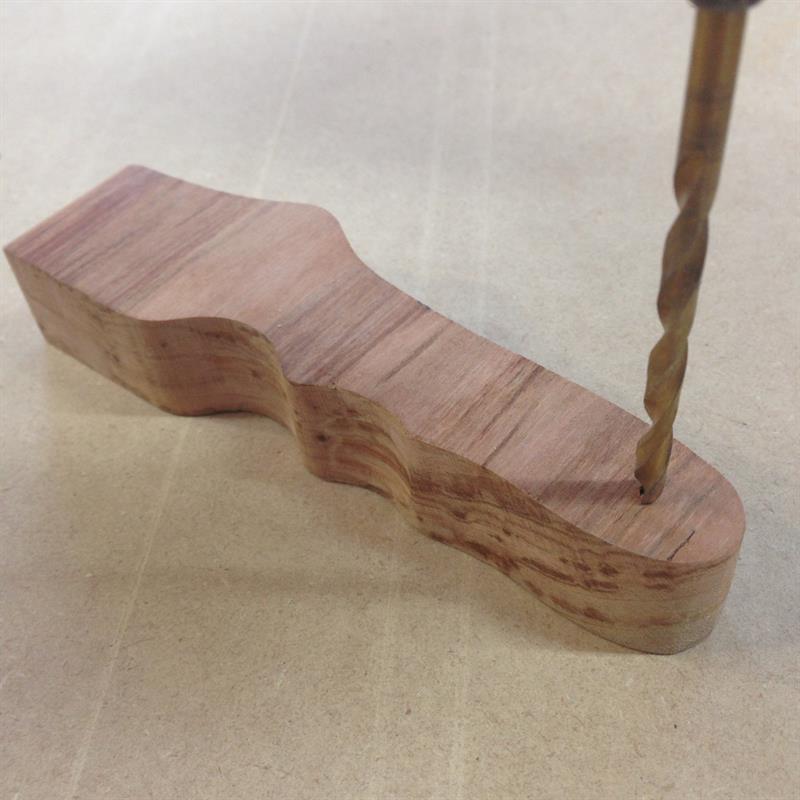
Find the center of the front face and mark where that intersects the center line you just made on the last step. Punch a hole at that spot to help guide your drill bit.
-
Drill the Rear Hole
Before drilling out the nail hole, use a 5/32" bit to drill a hole in the rear for your leather strip, paracord, string, etc.
-
Find the Nail Diameter
Test out different bits on a piece of scrap wood to see how your nail fits. The hole should be loose enough to pry the nail out after pushing it in, but snug enough to where it will take a little effort to get it back out. I ended up using a 1/8" bit for my nail.
-
Drill the Nail Hole
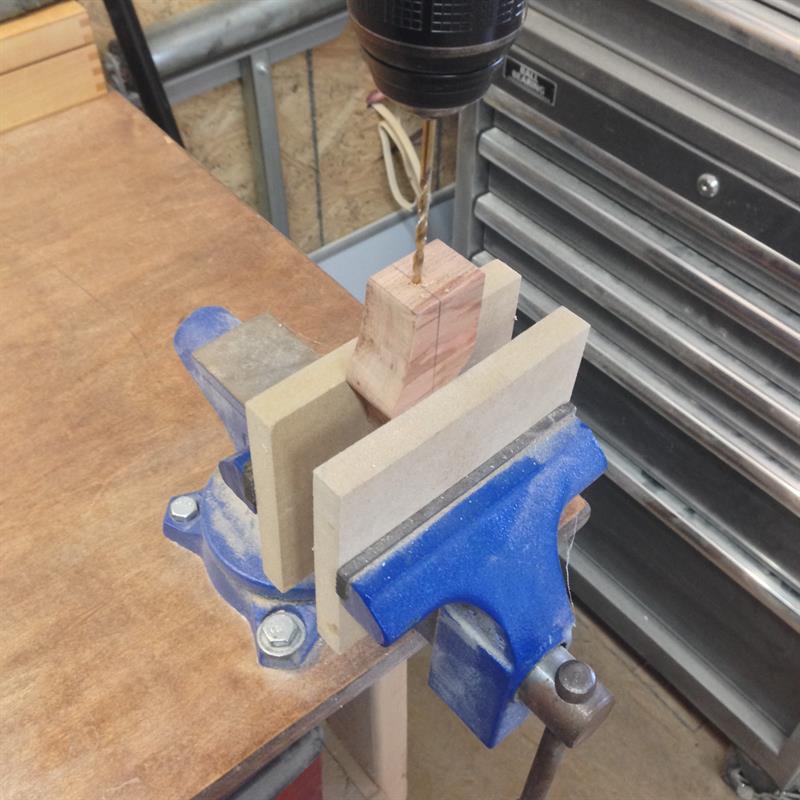
Clamp it up (I used a vise) with the center line facing towards you for reference. Drill down the center 90 degrees from the face.
-
Sand and Finish the Handle
Sand the edges until your hand fits comfortably in the grip. Once done, apply a finish before inserting the nail.
-
Mark the Nail
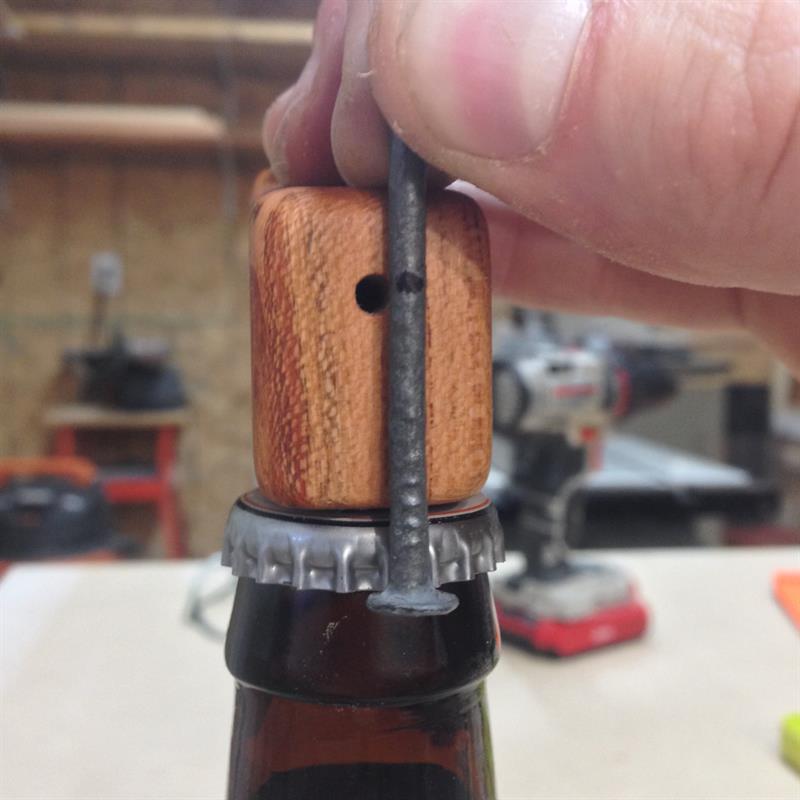
Bending the nail correctly might take some trial and error before getting it right. Do a mock-up with your handle, nail, and bottle. Once you get the head of the nail under the bottle cap, mark the nail at the top half of the hole. See picture for reference.
-
Bend the Nail
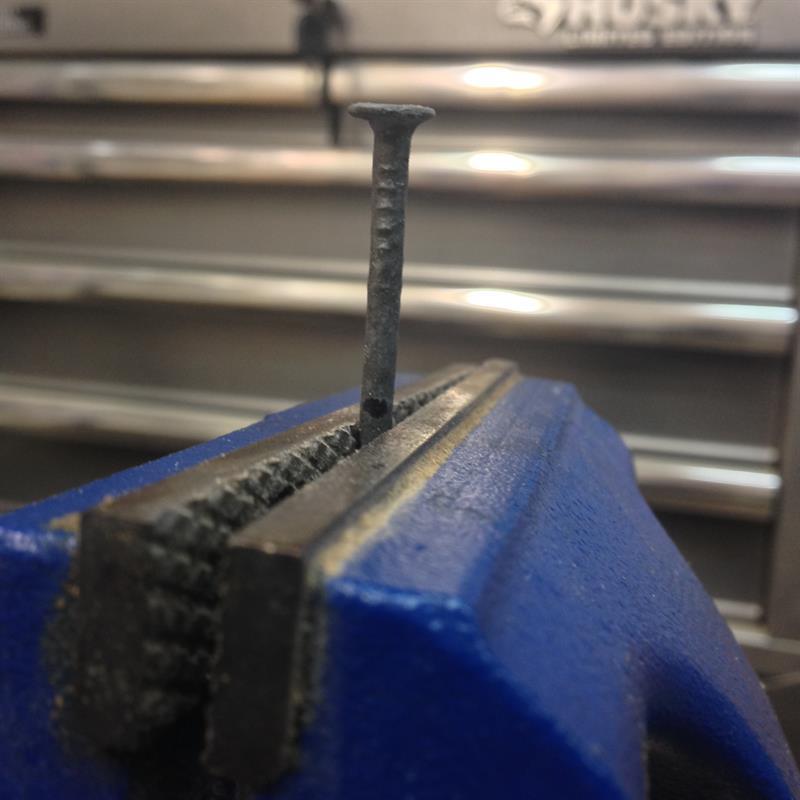
Using a vise, align the mark on the nail with the top of the jaws and hammer it over at a 90 degree angle.
-
Test It
Insert your bent nail into the handle's nail hole. Push it all the way in and try to open a bottle with your opener. If it doesn't work well, pry it out in a twisting motion with pliers. Get another nail, make adjustments, and try again.
-
Finish the Job
If your nail is still in the handle, twist it out with pliers. Insert some super glue into your nail hole and hammer your bent nail back in there. After that, tie your leather strip, paracord, etc. through the rear hole and you are FINISHED!
-
Choose the Nail
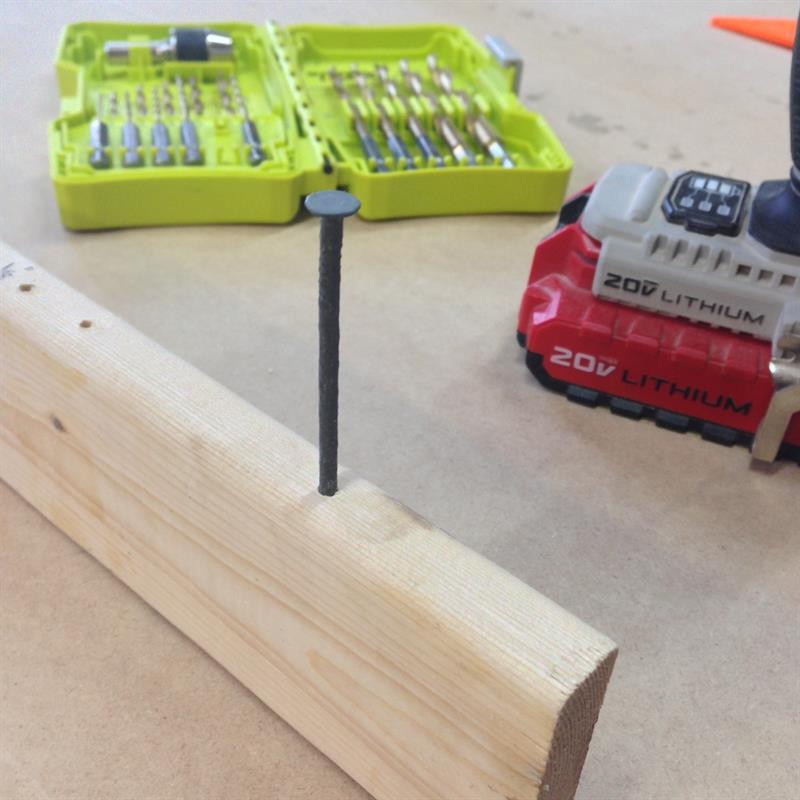
I used a 2 1/2" nail, but i would recommend a little thicker and longer 3" nail. Also, try to find a nail with a head that has a sharp 90 degree corner where it meets the shank. Many nails will have a curved transition between the two. I've made the curved-type work, but a nail with a sharp corner works better.


