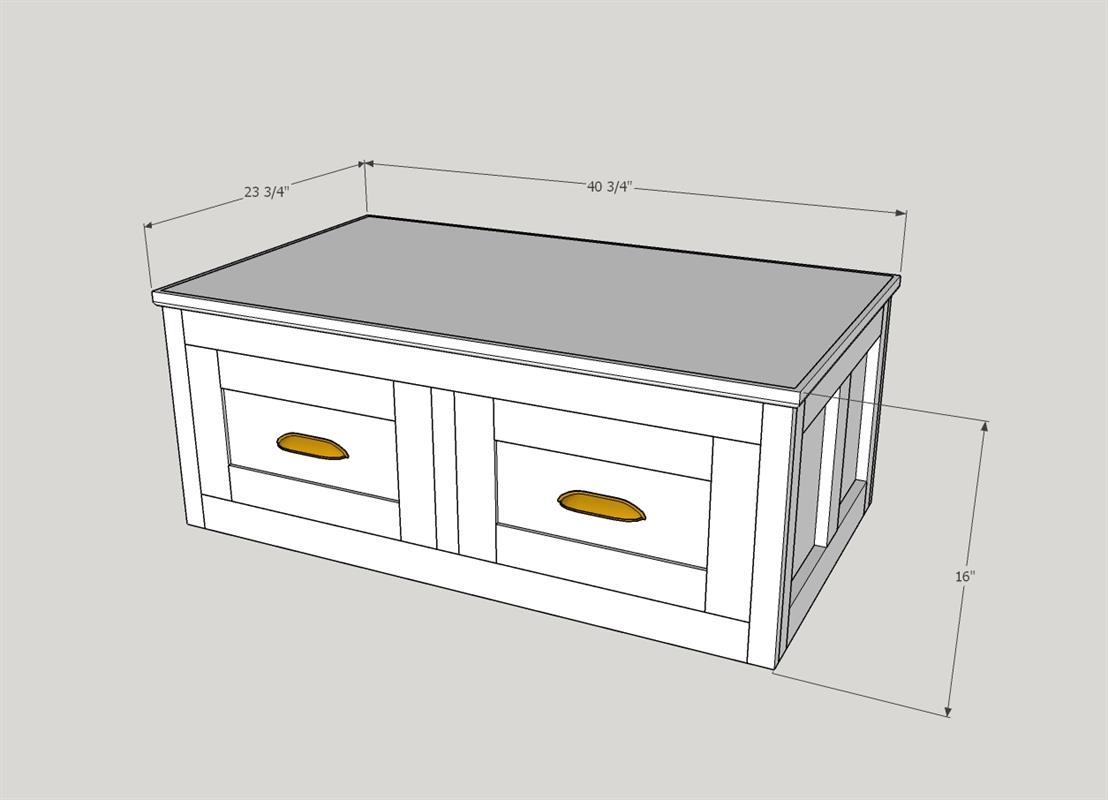
Coffee Table with Storage Drawers
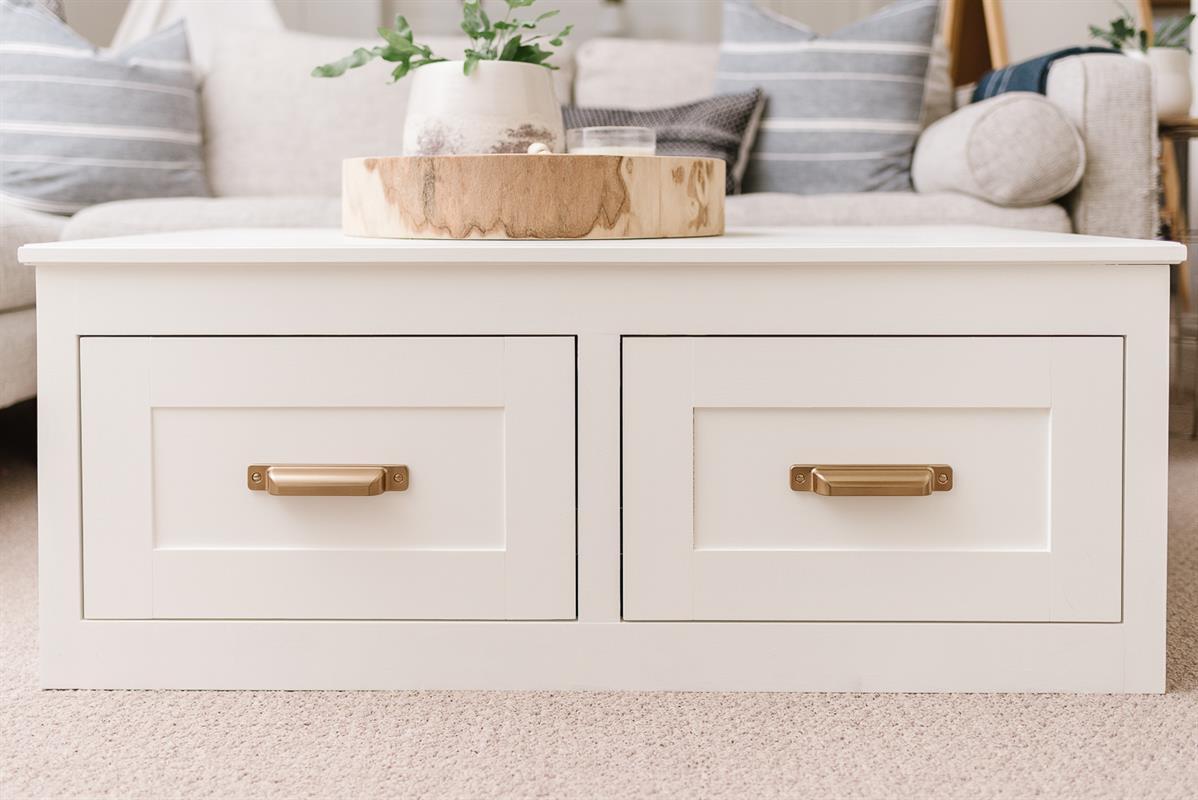
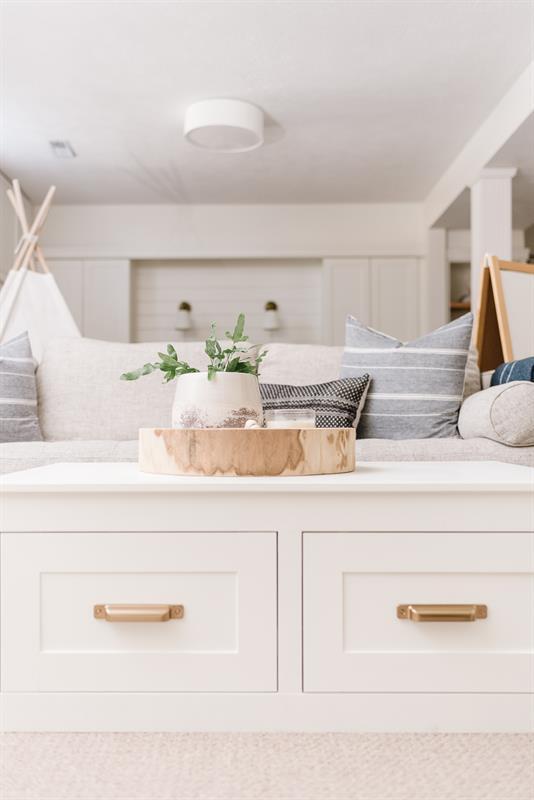
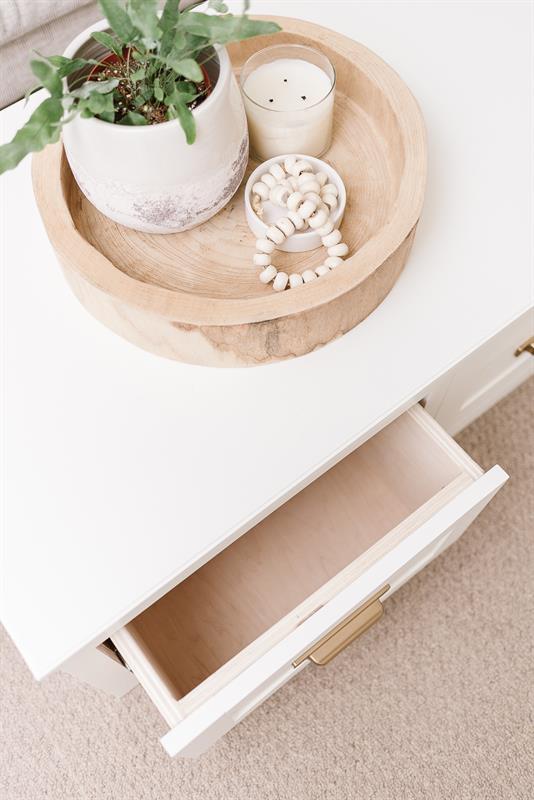
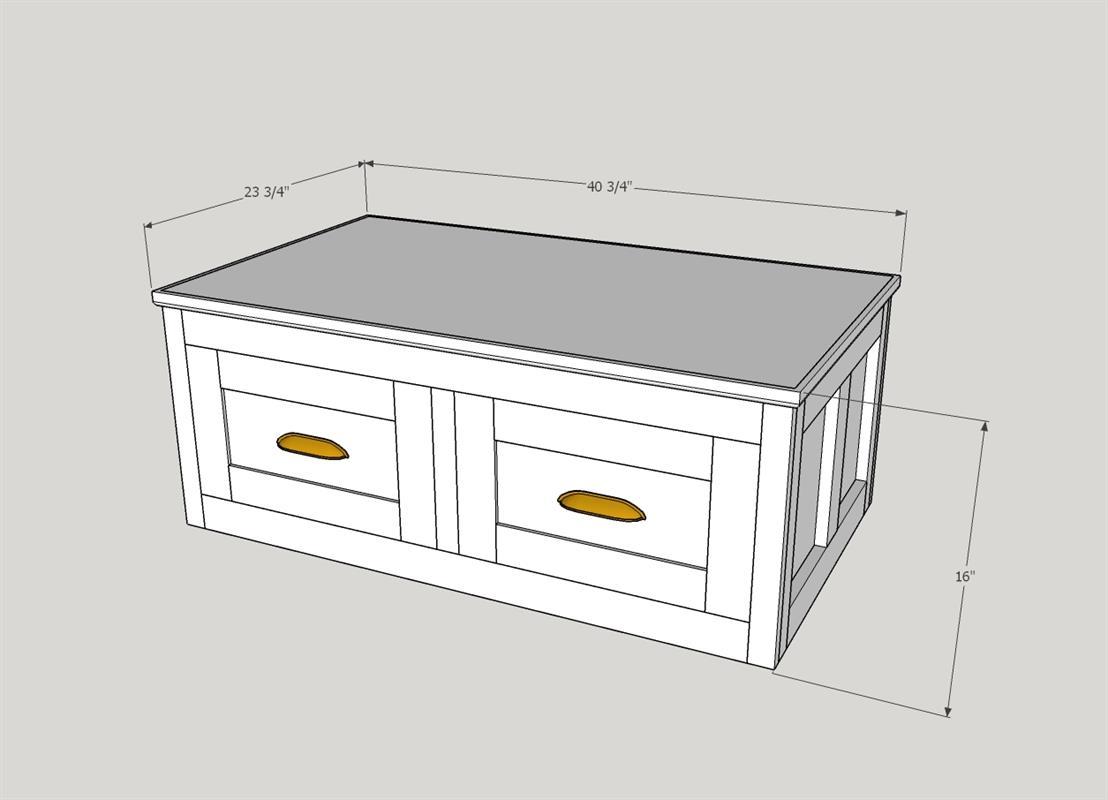
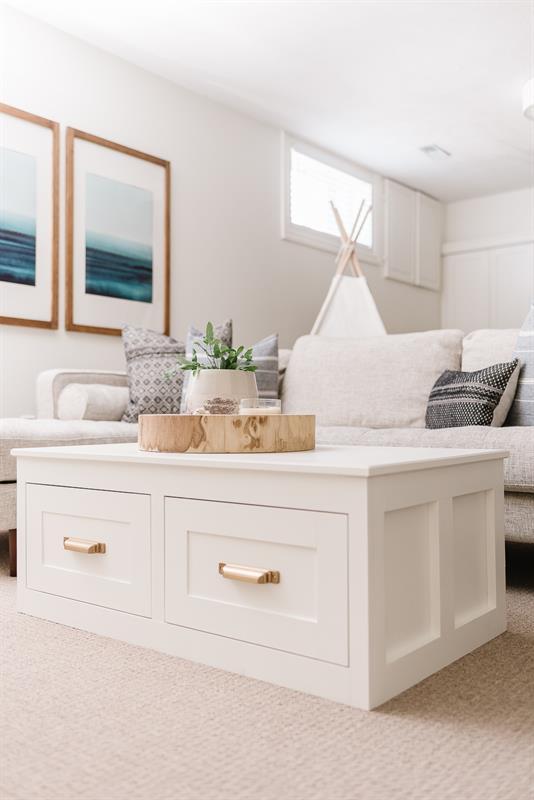
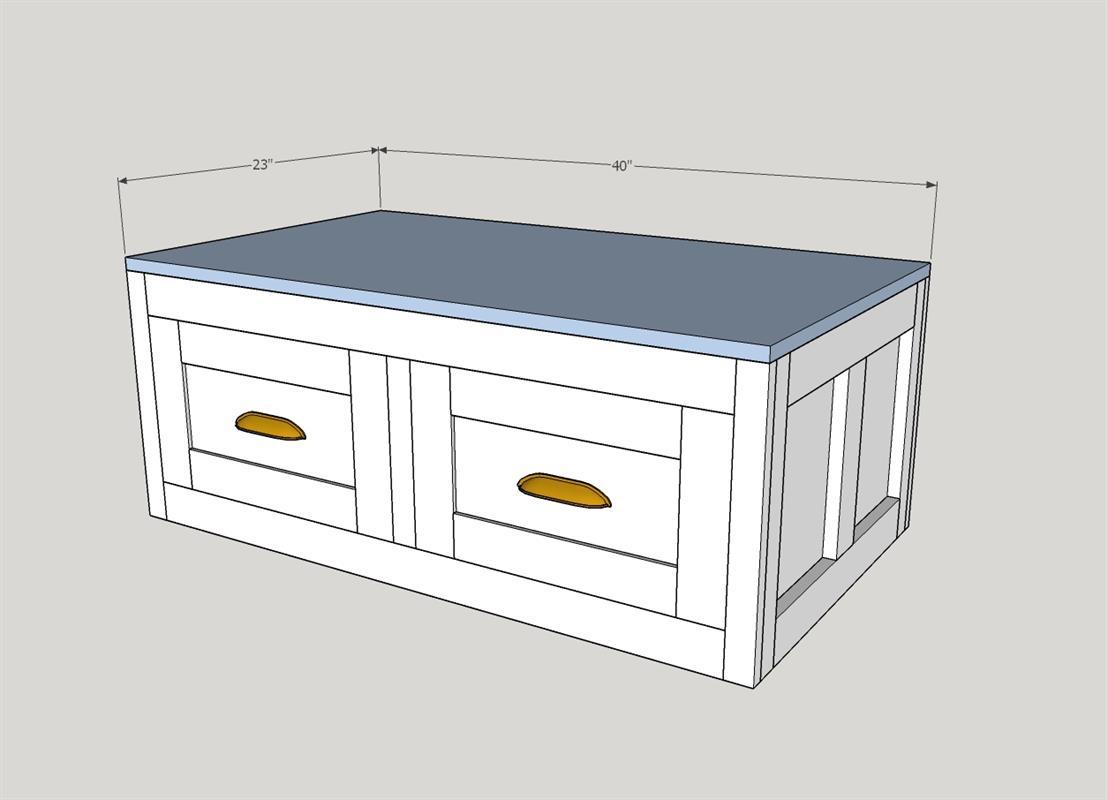
By Nick + AliciaThis coffee table with two generous storage drawers is a great way to corral items like toys, magazines, remotes and keep them out of sight, yet accessible. Its average height is appropriate to pair with a sofa of any seat height. It would also make a great TV stand. www.nickandalicia.com
Directions
-
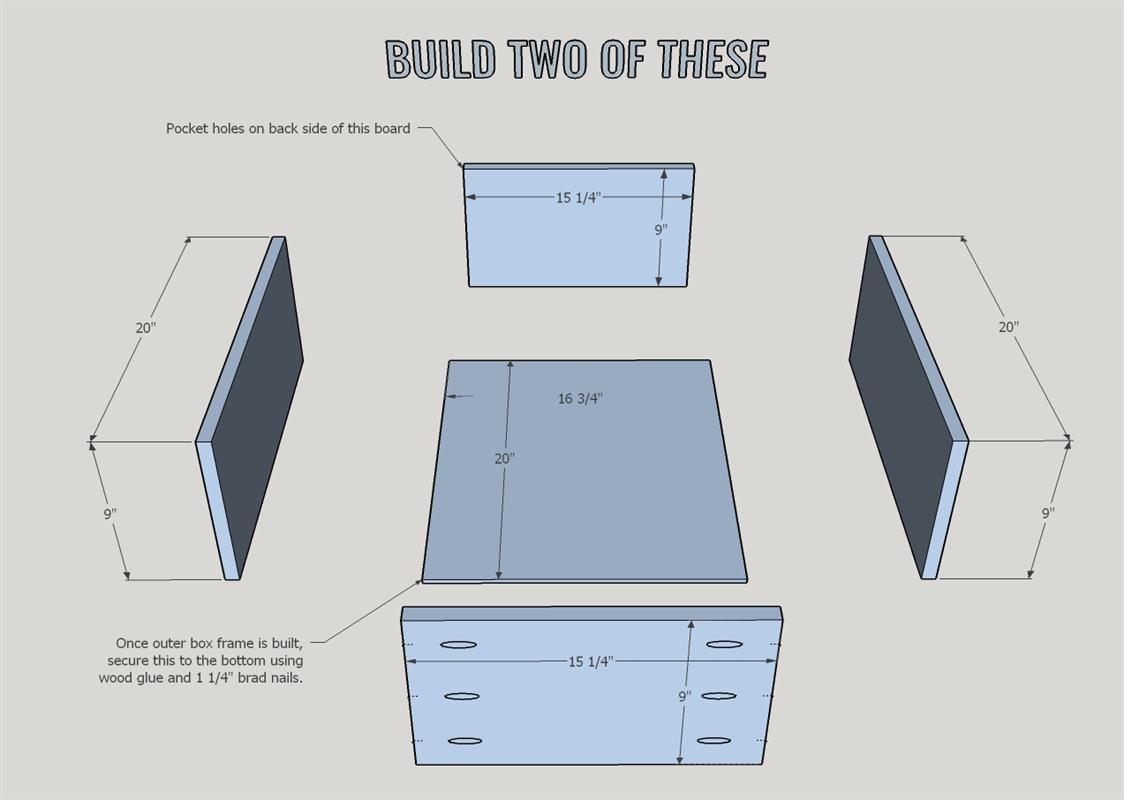
Create Two Base Boxes
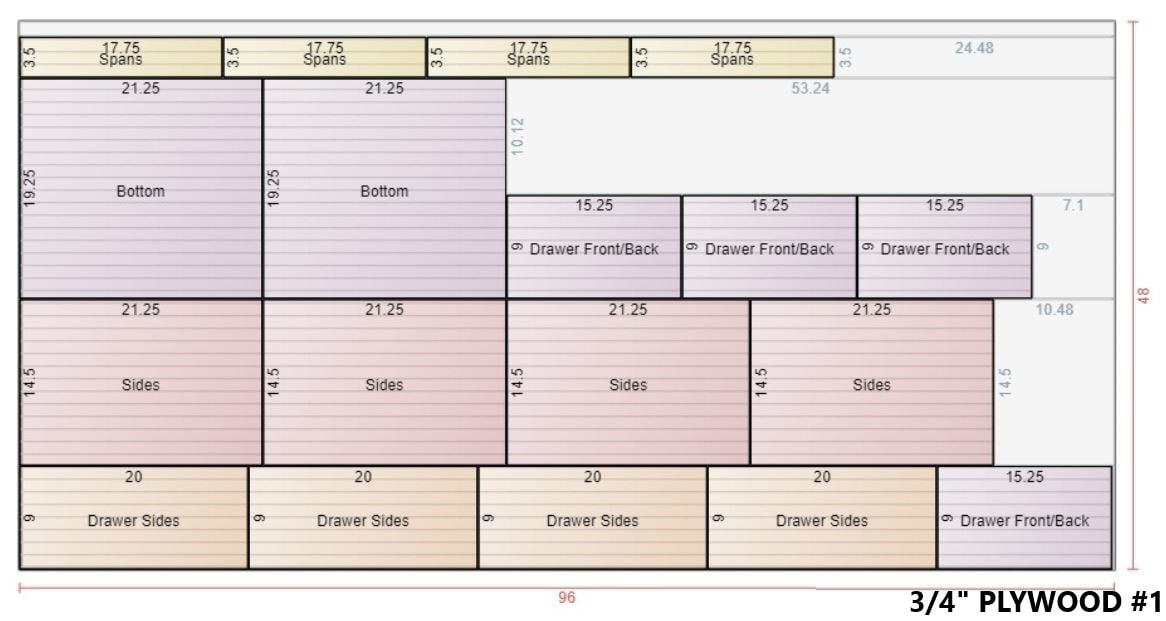
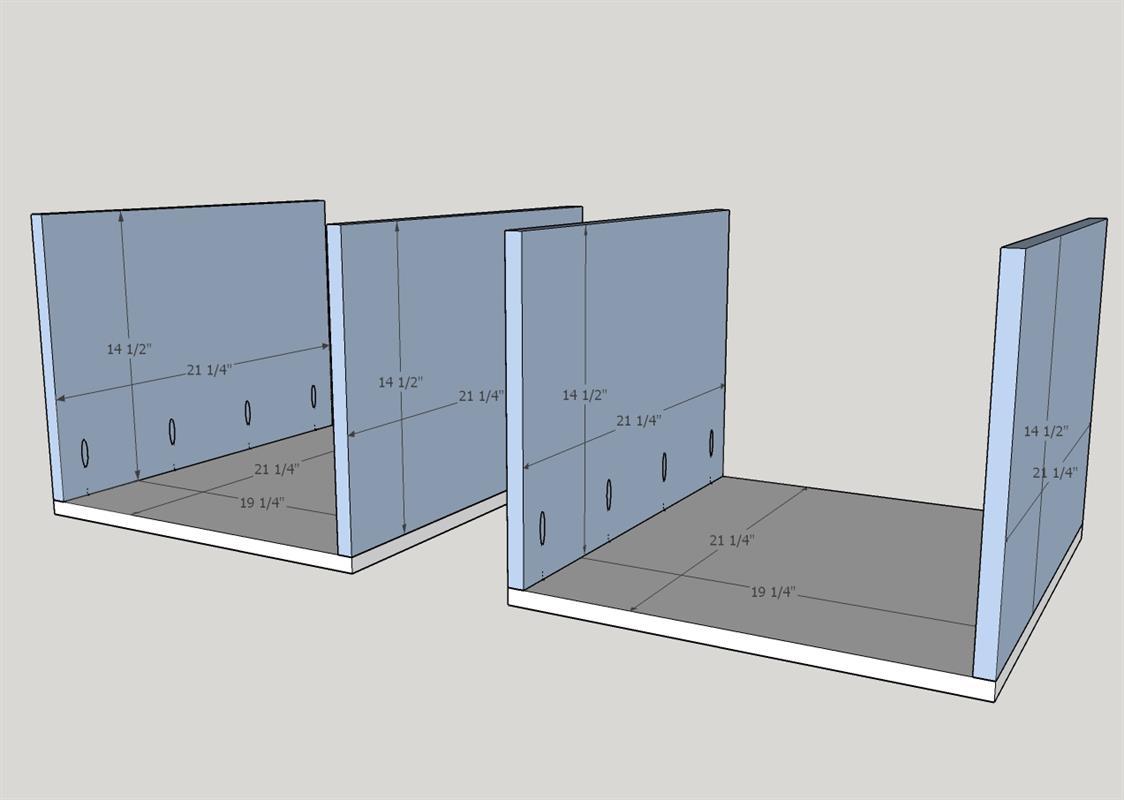
Drill pocket holes on the bottom end of the 21.25" ends of the SIDE boards, as shown in the diagram. Using wood glue and 1 1/4" pocket hole screws, secure to each side of the BOTTOM pieces.
-
Attach SPAN's and boxes together
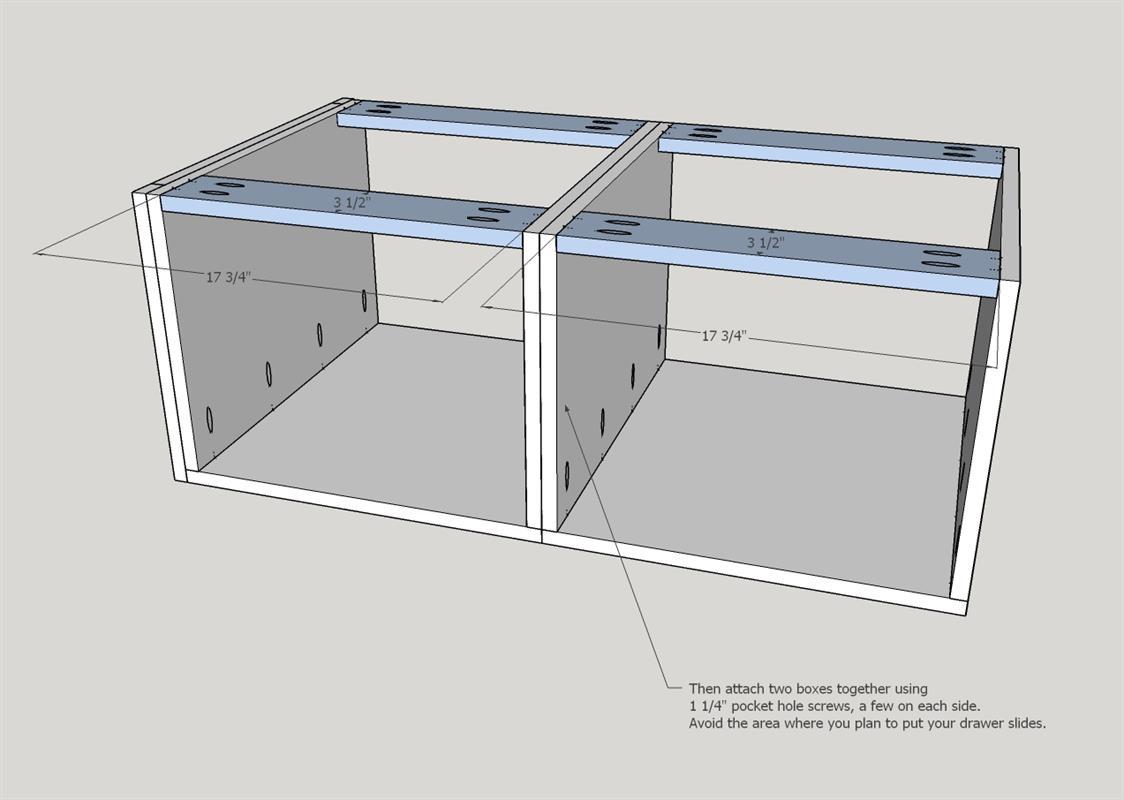
Drill 2 pocket holes at the end of each SPAN piece. Attach the SPAN pieces to the boxes in the locations shown on the diagram using wood glue and 1 1/4" pocket hole screws. To secure the two boxes together, align them so they are flush with each other and secure with 1 1/4" pocket hole screws (about 8 on each side). Be mindful to avoid the area where you plan to put your drawer slides.
-
Attach BACK
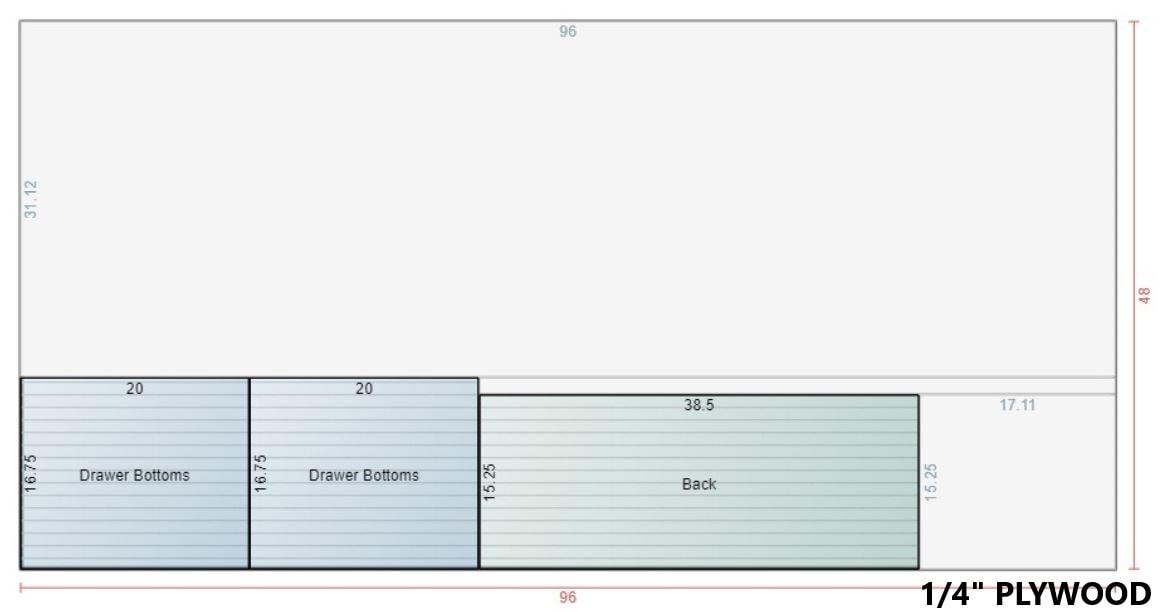
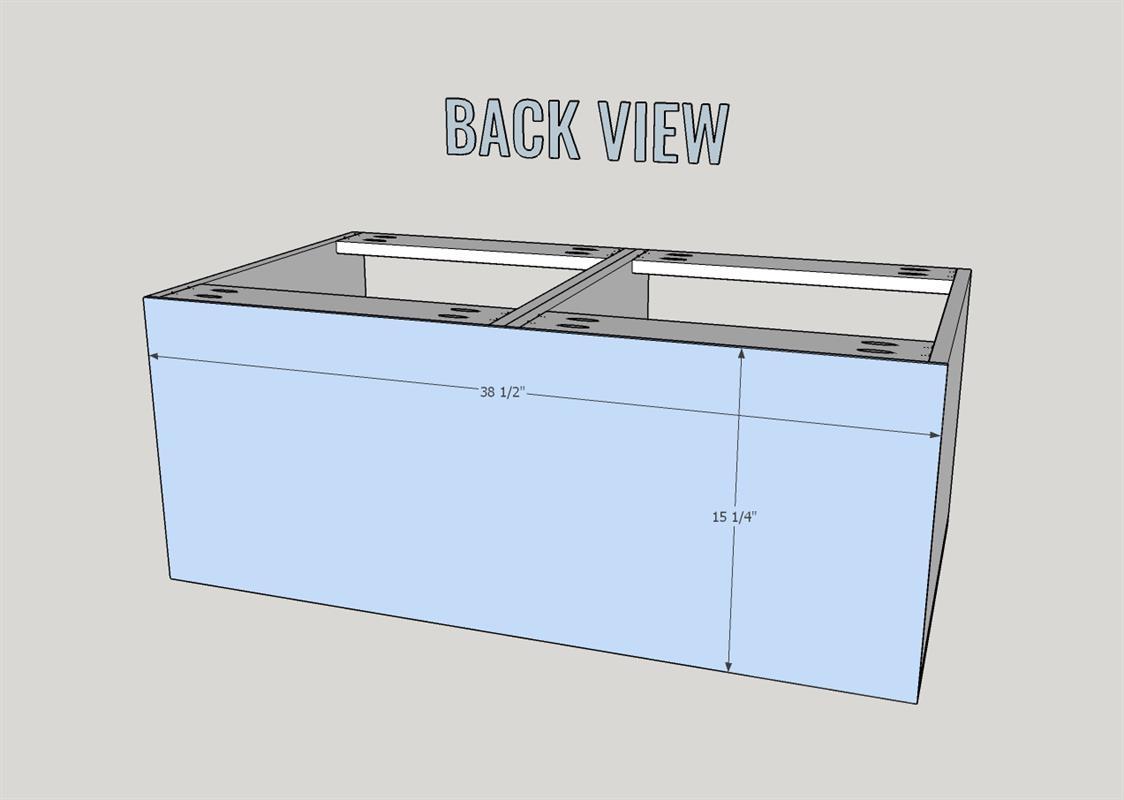
Attach back 1/4" board with wood glue and 1 1/4" brad nails into the frame of each box.
-
Add Side Trim
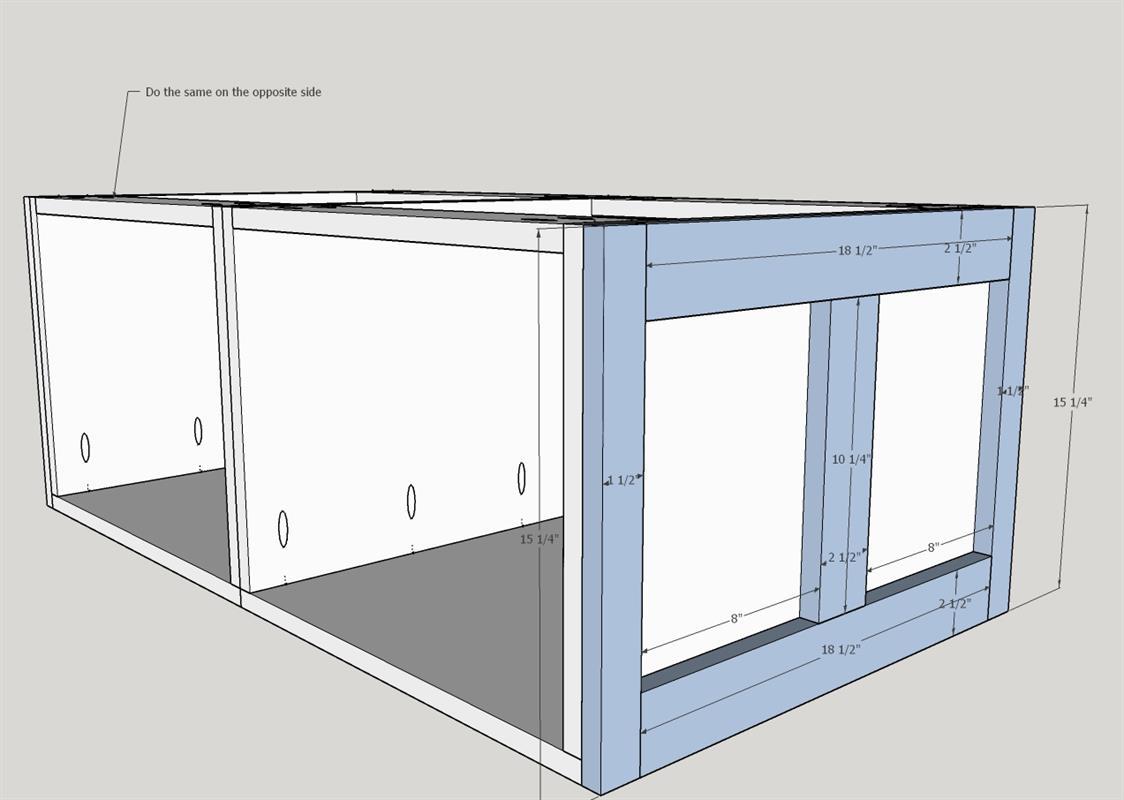
On both sides, attach the 1 1/2" x 15 1/4" SIDE CORNER pieces flush with each corner. Secure with wood glue and 1 1/4" brad nails. Then attach the SIDE HORIZONTAL pieces to the top and bottom with wood glue and 1 1/4" brad nails. Complete the side profile by attaching the 2 1/2" x 10 1/4" SIDE/BACK MID VERTICAL boards.
-
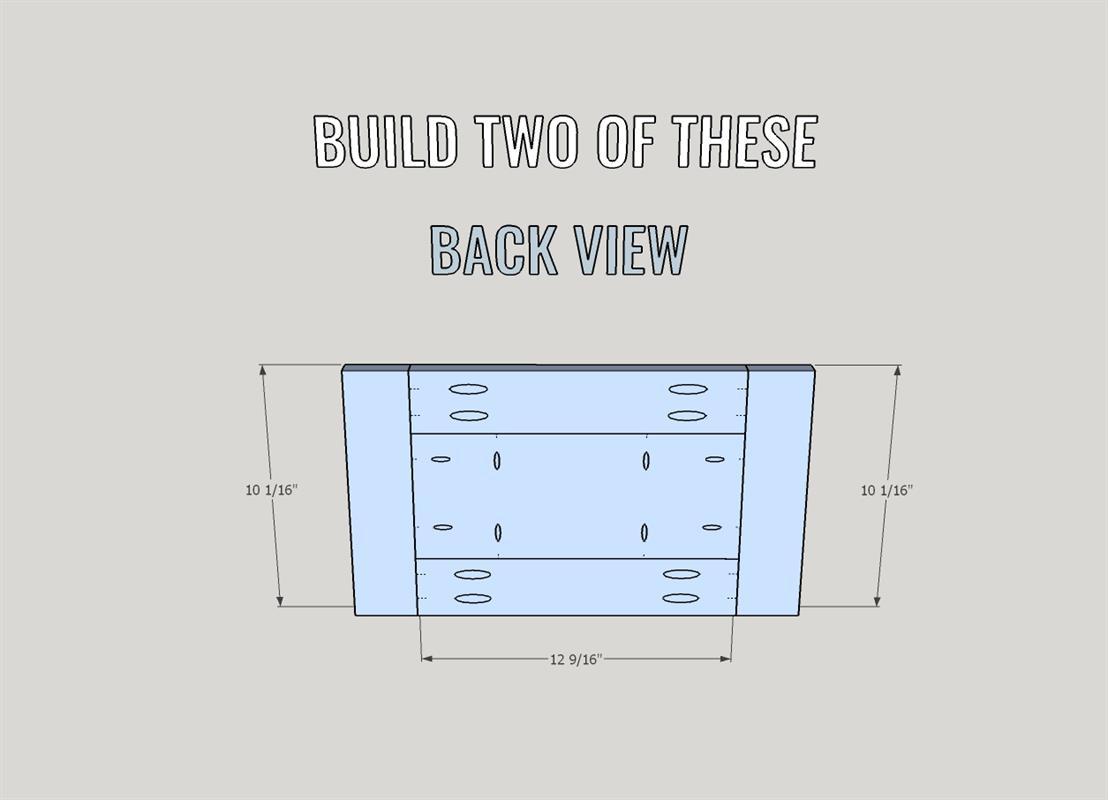
Add Back Trim
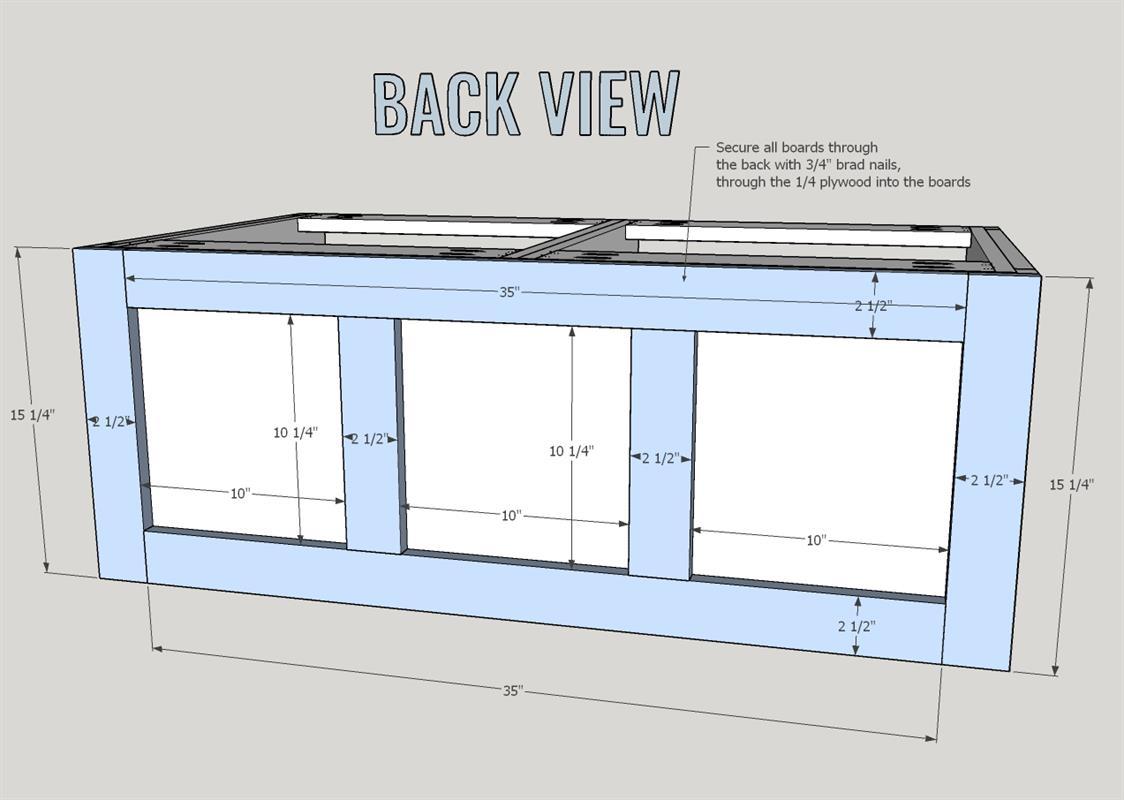
Attach the 2 1/2" x 15 1/4" BACK CORNER pieces flush with each side as shown. Secure with wood glue and 1 1/4" brad nails. Then attach the BACK HORIZONTAL pieces to the top and bottom with wood glue and 1 1/4" brad nails along the top and bottom frame. Complete the back profile by attaching the 2 1/2" x 10 1/4" SIDE/BACK MID VERTICAL boards as shown, but use 3/4" brad nails and secure from the inside of the box, through the back and into the boards.
-
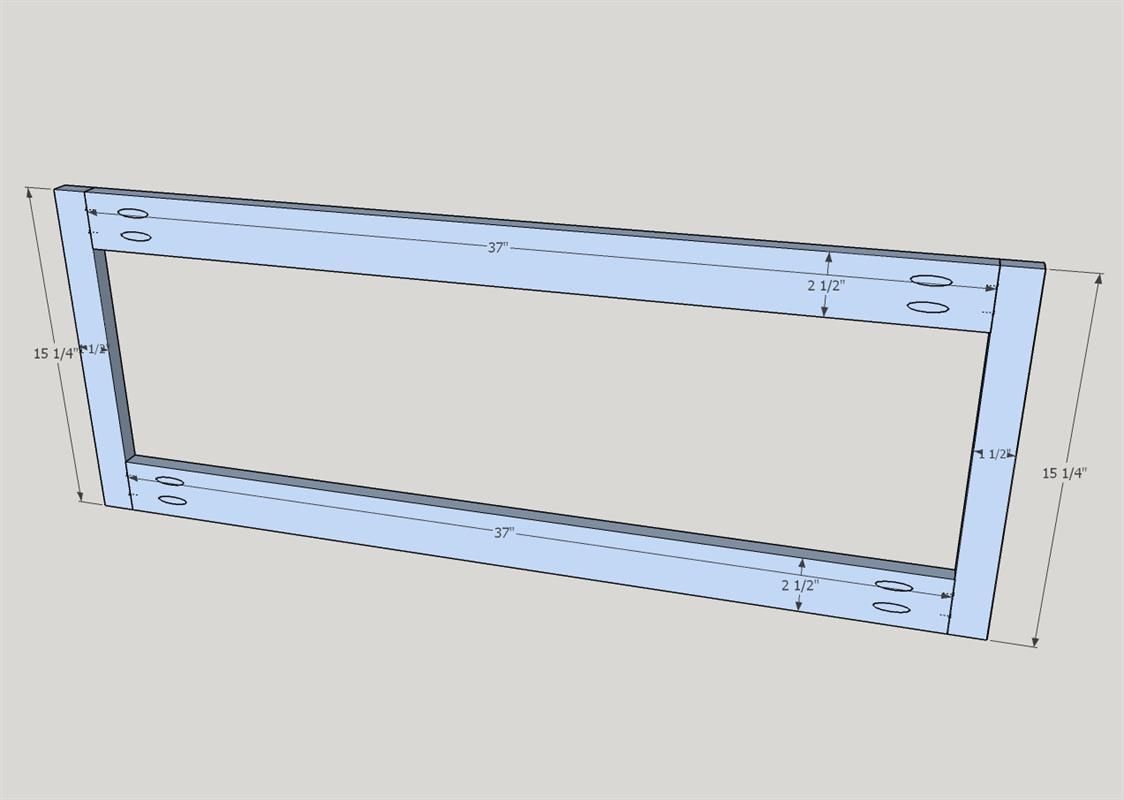
Build Front Frame
Drill pocket holes in the ends of the FRONT HORIZONTAL boards. Attach to FRONT/SIDE CORNER boards using wood glue and 1 1/4" pocket hole screws.
-
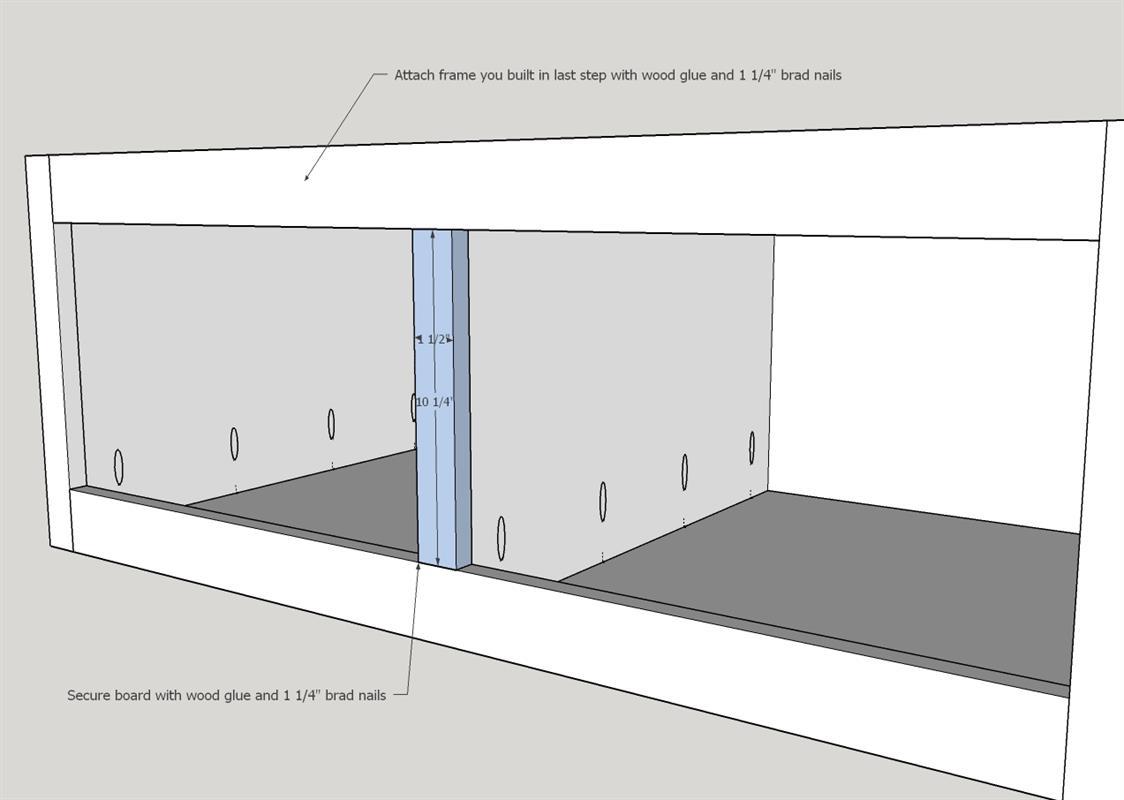
Attach Front Frame & Center Piece
Attach the assembled front frame to the box using wood glue and 1 1/4" brad nails. Attach FRONT CENTER piece with wood glue and 1 1/4" brad nails.
-
Build Two Drawers
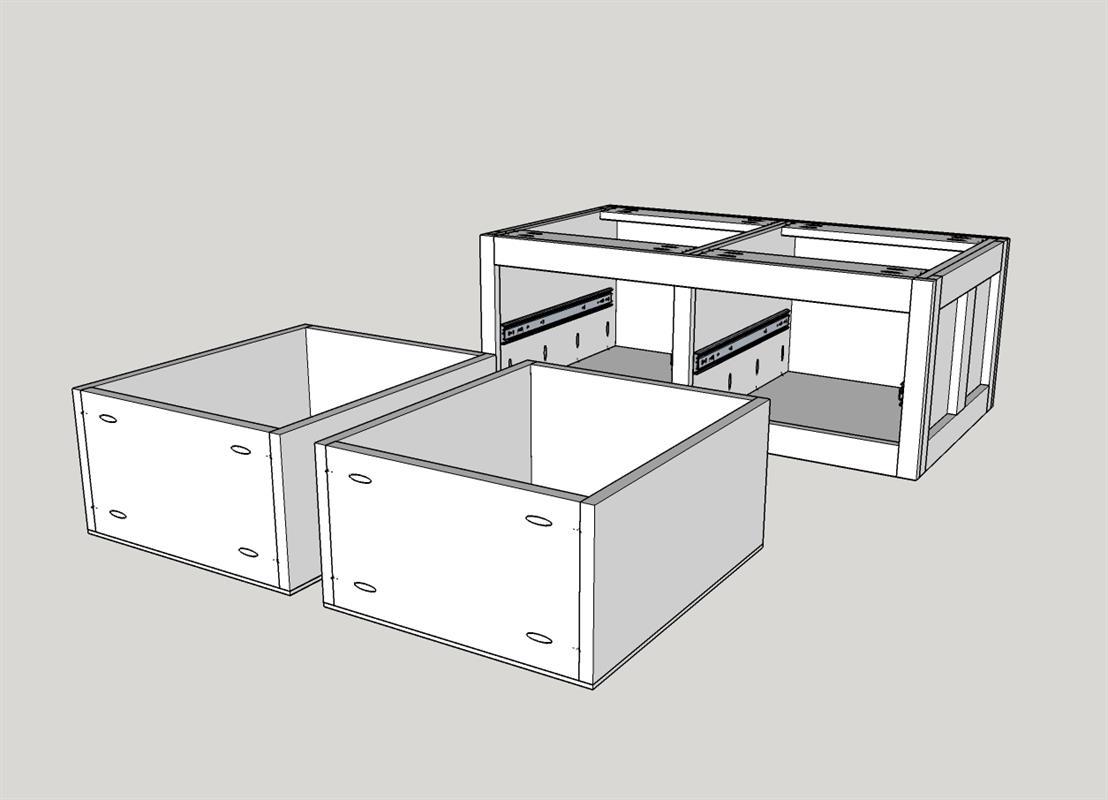
Build two drawers. Drill pocket holes on the DRAWER FRONT/BACKS as shown on the diagram. Following the diagram, attach DRAWER SIDES and DRAWER FRONT/BACKS together with wood glue and 1 1/4" pocket hole screws. Then attach the DRAWER BOTTOMS with wood glue and 1 1/4" brad nails into the bottom.
-
Build Drawer Fronts
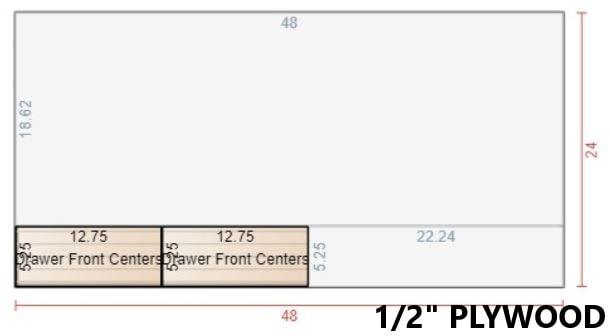
Build two drawer fronts. Drill pocket holes at each end of the DRAWER FRONT RAILS. Attach to DRAWER FRONT STILES with wood glue and 1 1/4" pocket hole screws. Drill pocket holes in the 1/2" plywood you are using for the centers of the drawer fronts (2 on each side). Insert the DRAWER FRONT CENTER and secure with 1" pocket hole screws. You can use a 1/4" scrap piece of plywood to ensure that the center is set back appropriately.
-
Attach Drawer Slides
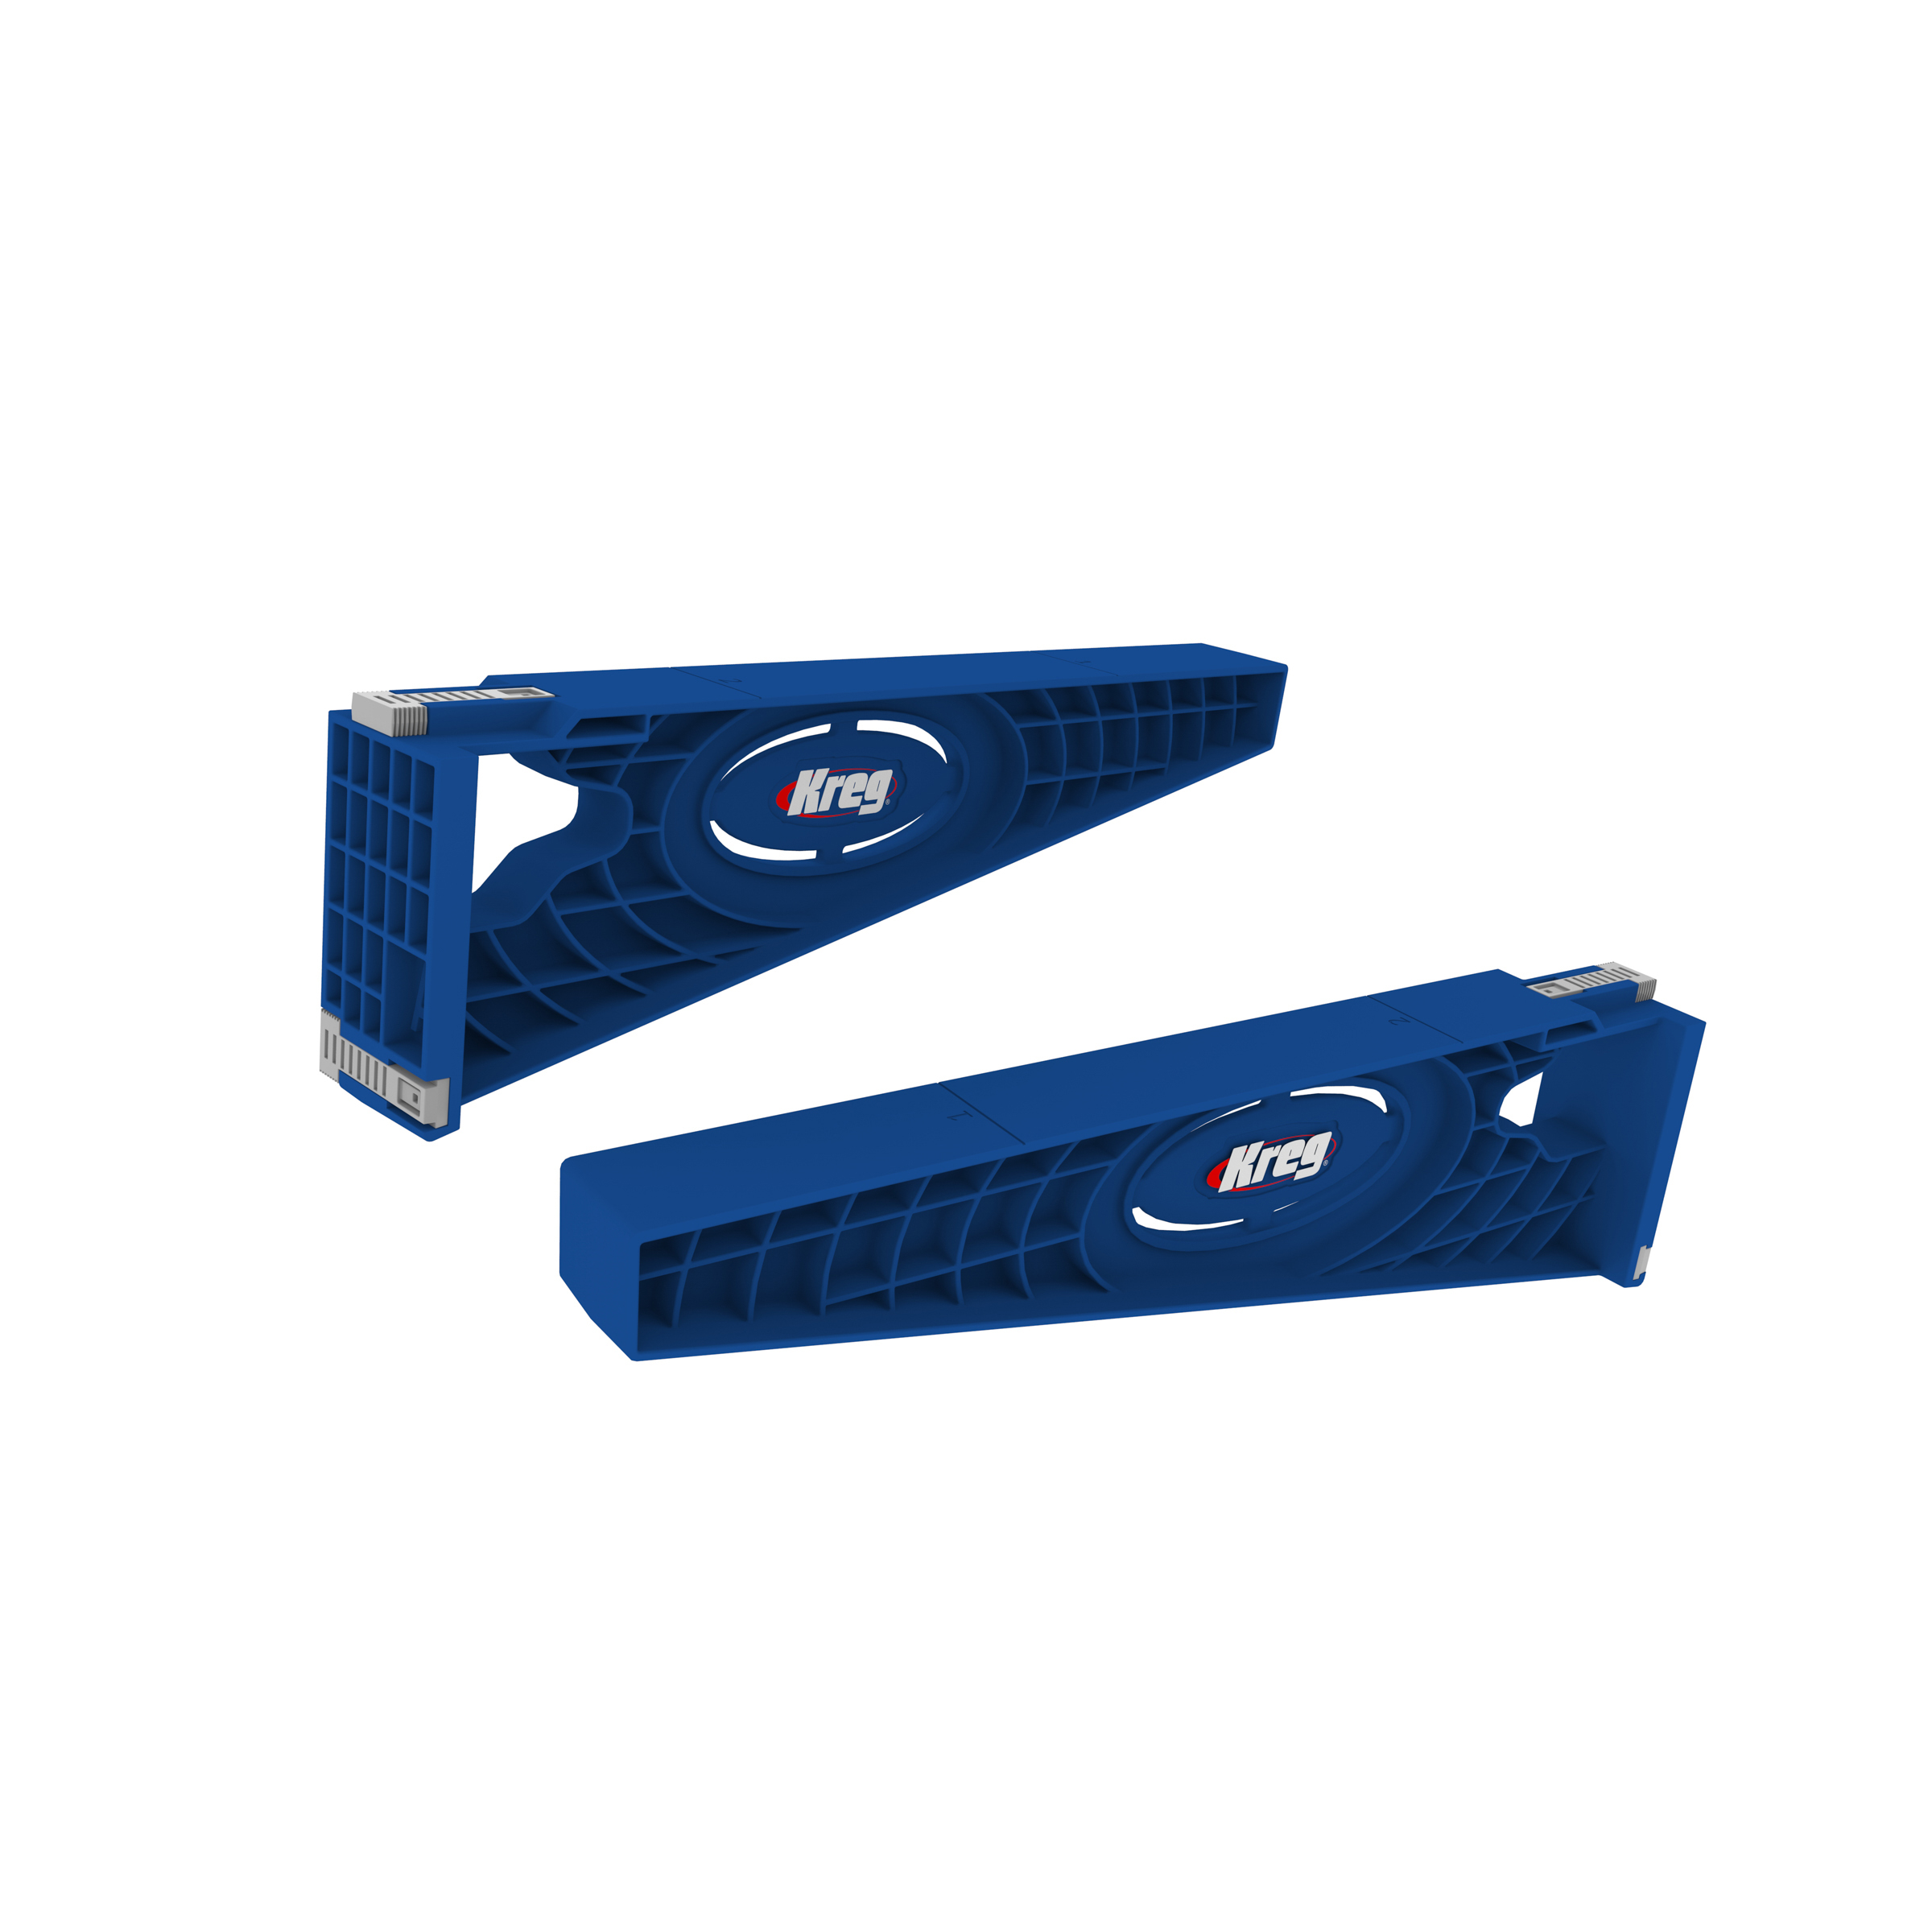
Attach 20" drawer slides approximately 4" from the bottom of the box (or your distance preference). Install drawers with Kreg Drawer Slide Jig.
-
Attach Drawer Fronts
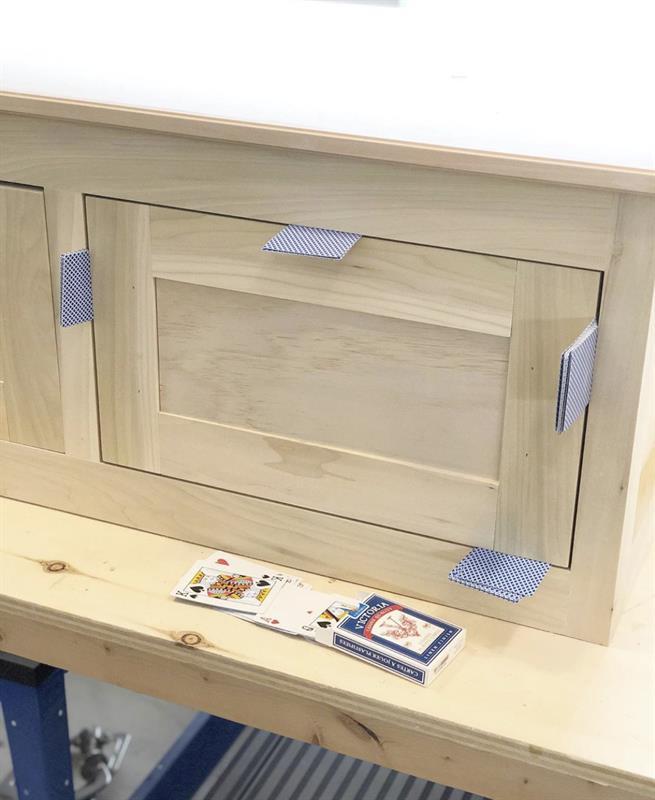
Attach DRAWER FRONTS by centering them in the opening. TIP: Use playing cards to evenly distribute reveal around the drawer face. Initially attach with 1 1/4" brad nails either from the front (if you are going to be painting the piece) or from inside the drawer if you are staining it). Then firmly secure the drawer front to the drawer box with 1 1/4" pocket hole screws from the inside of the drawer box.
-
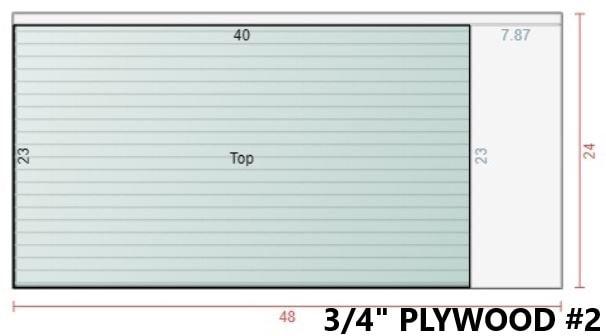
Attach Top
Remove the drawers and attach the top by screwing 1 1/4" pocket hole screws through the SPANS and into the bottom of the table top.
-
Attach Top Trim
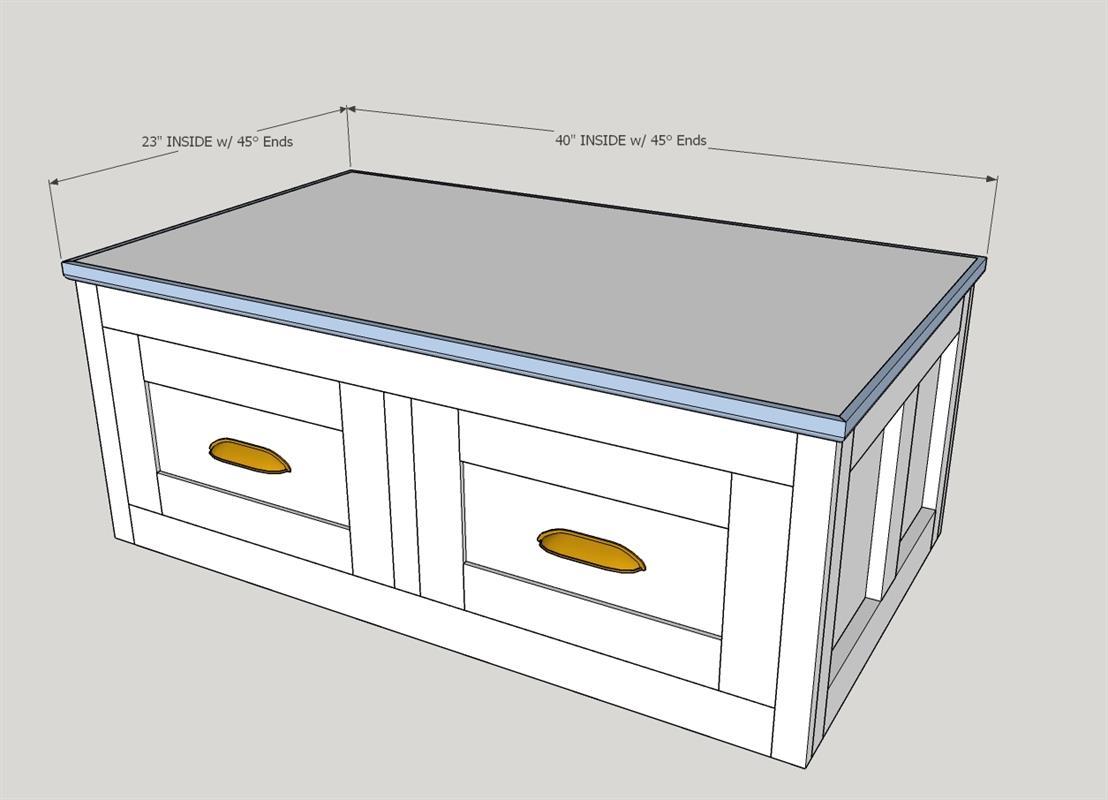
Attach FRONT/BACK TOP TRIM and SIDE TOP TRIMS around the outer perimeter of the table-top with wood glue and 1 1/4" brad nails.
-
Install Hardware, Sand, Paint
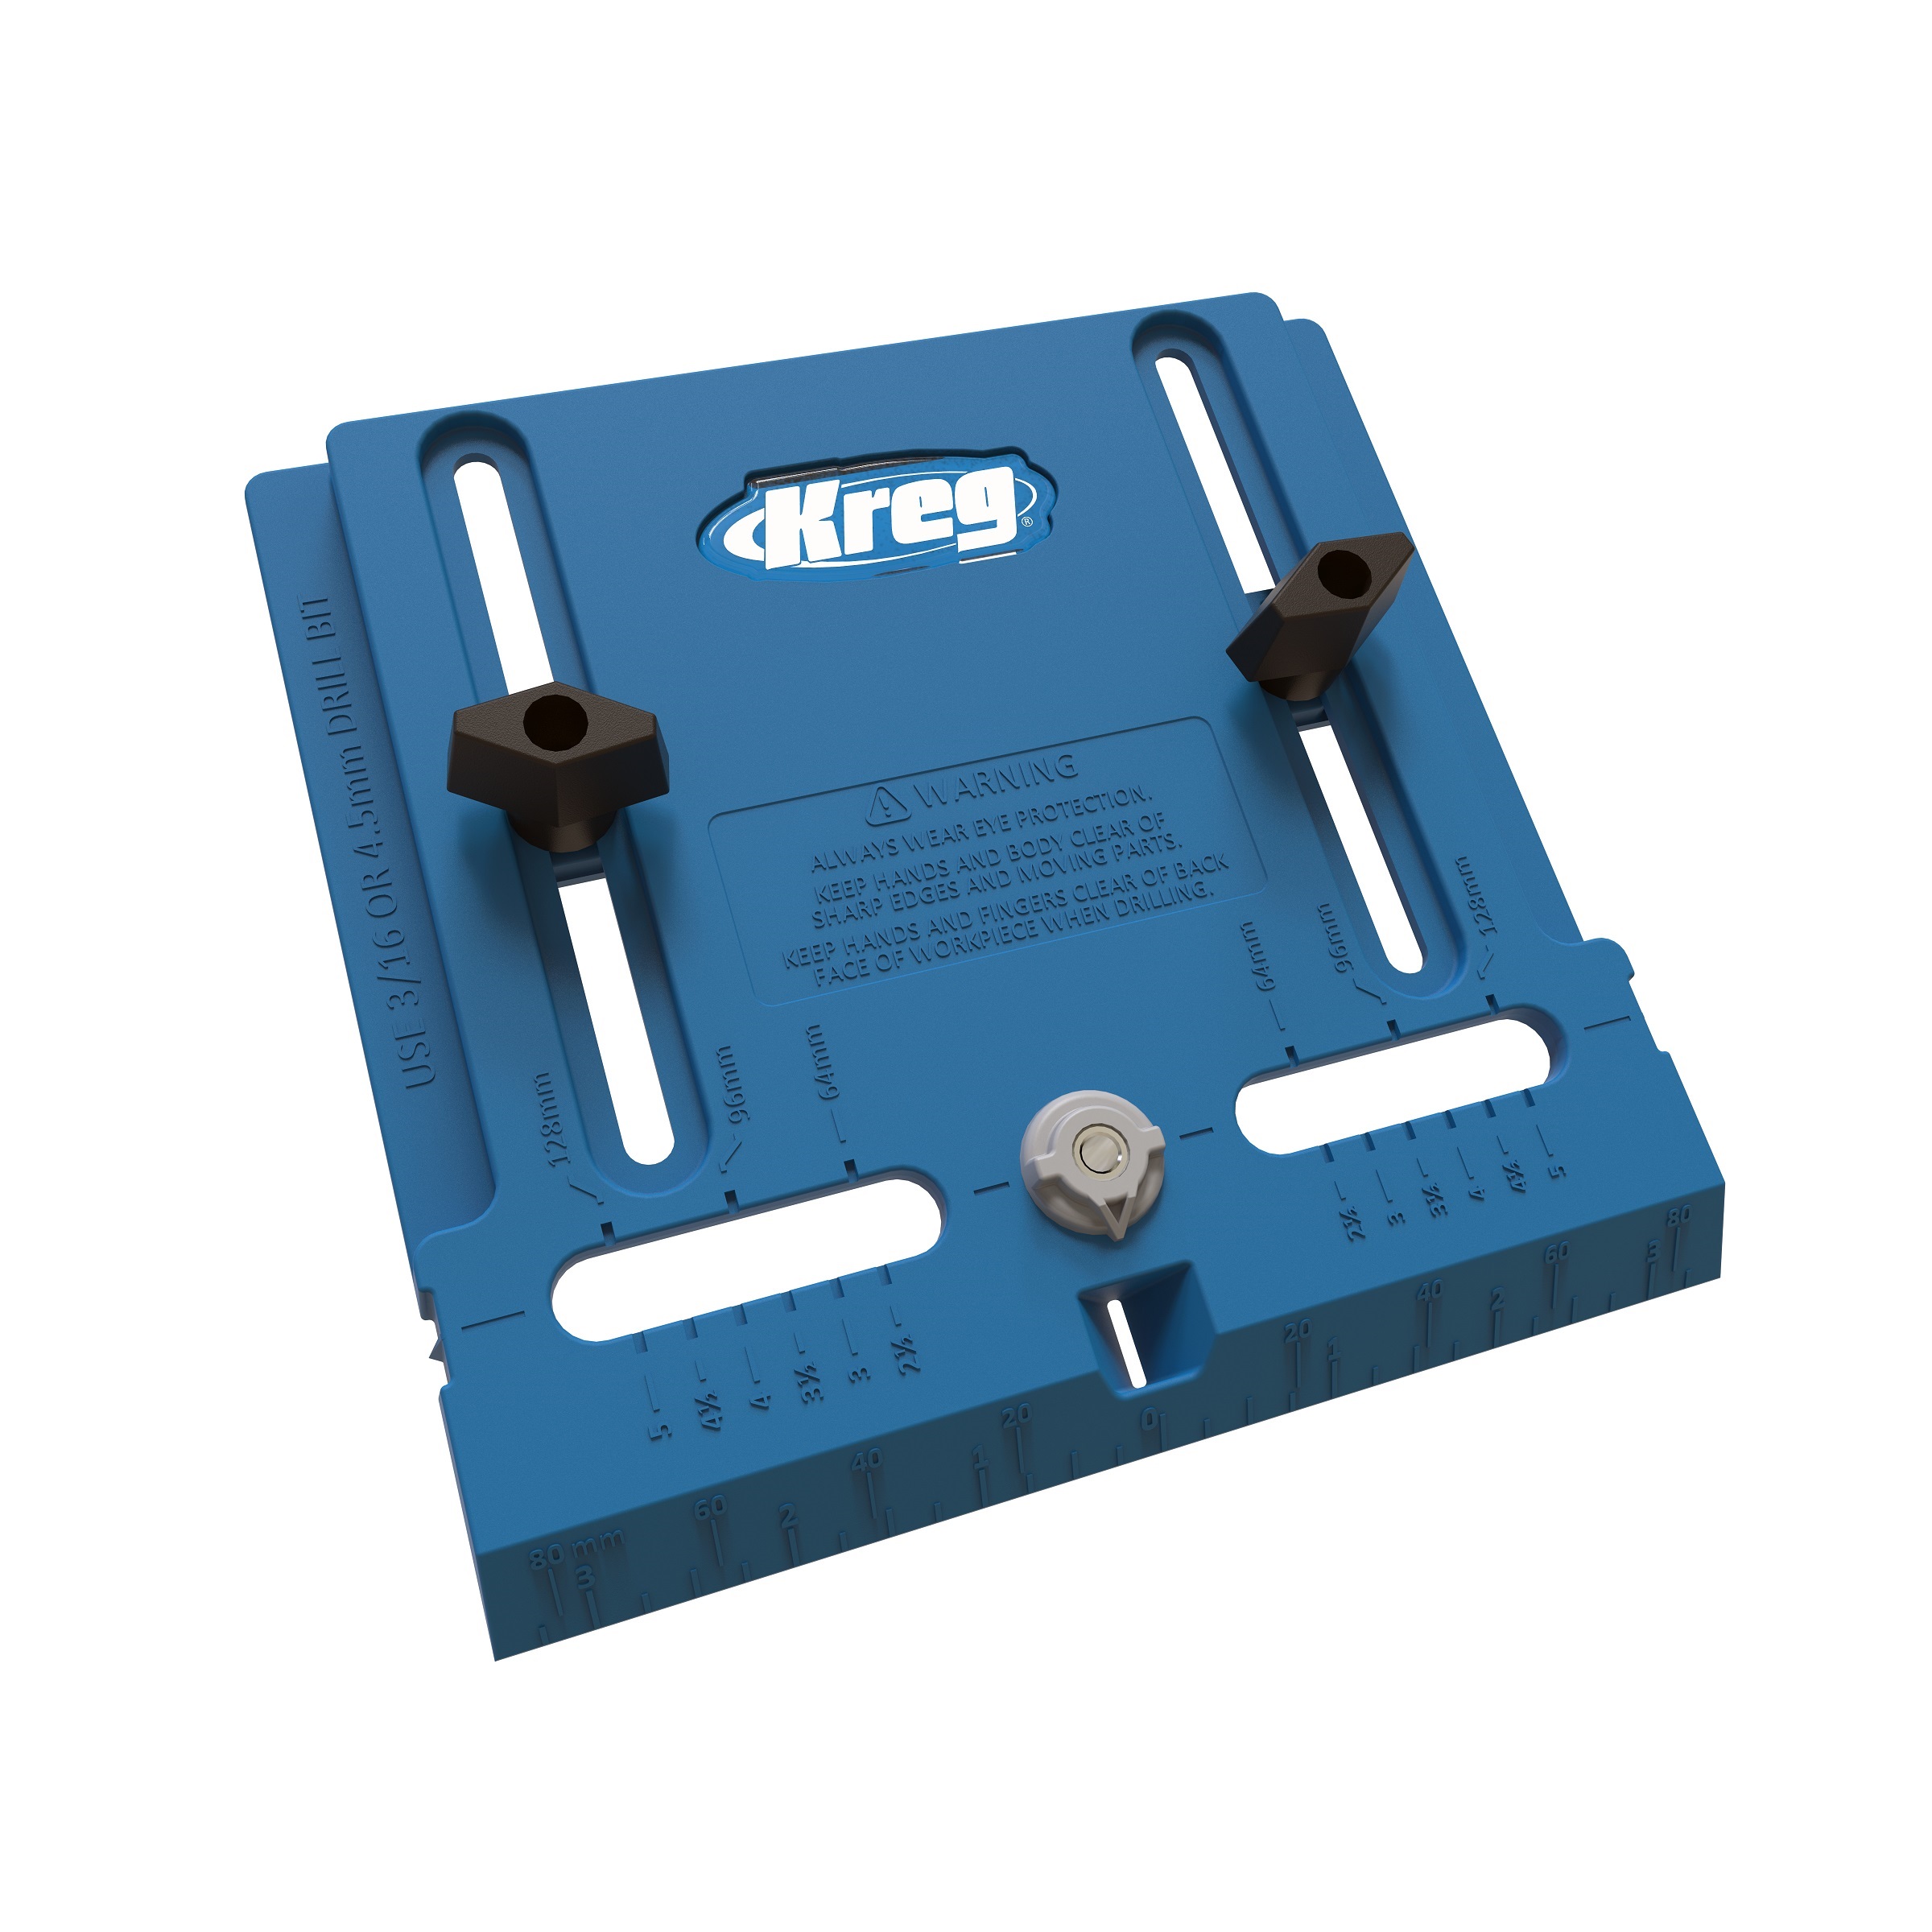
Install desired hardware, sand, paint or stain.


