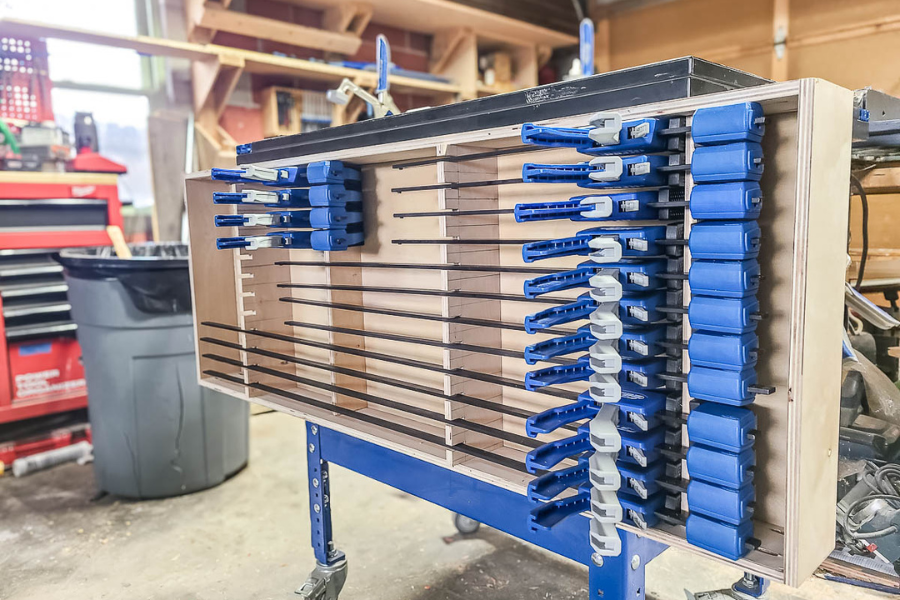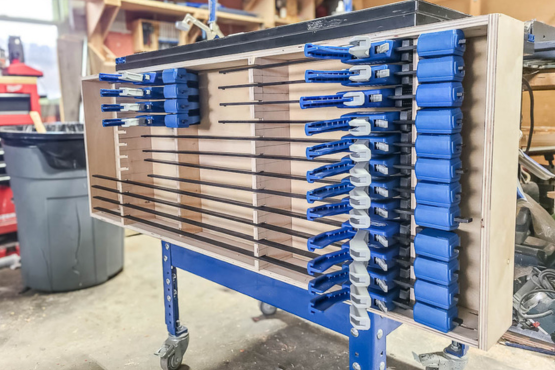
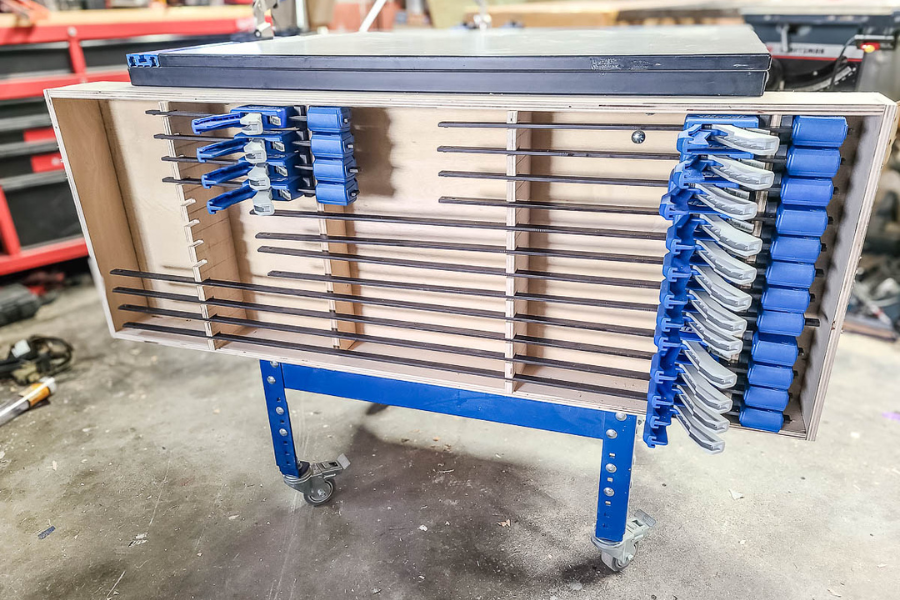
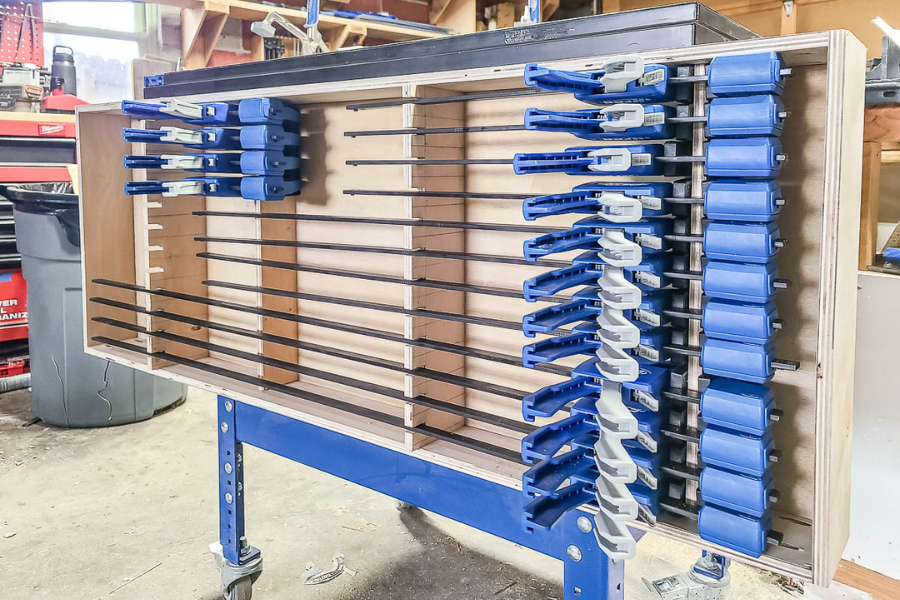
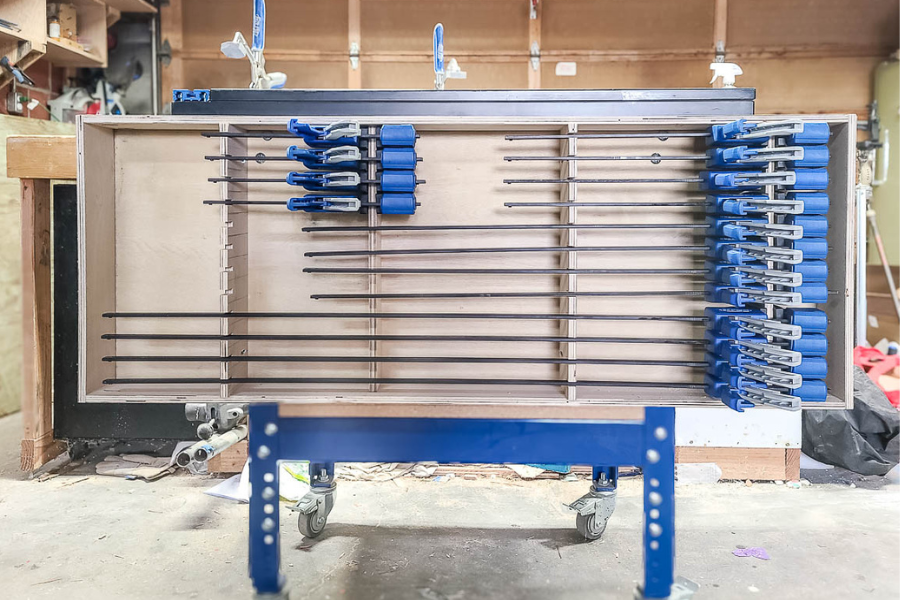


Give your Kreg VersaGrip clamps a home with this clamp rack! This easy-to-build clamp rack holds four of each size VersaGrip Clamp and can be hung on the wall or added to the side of a rolling workbench.
Tools
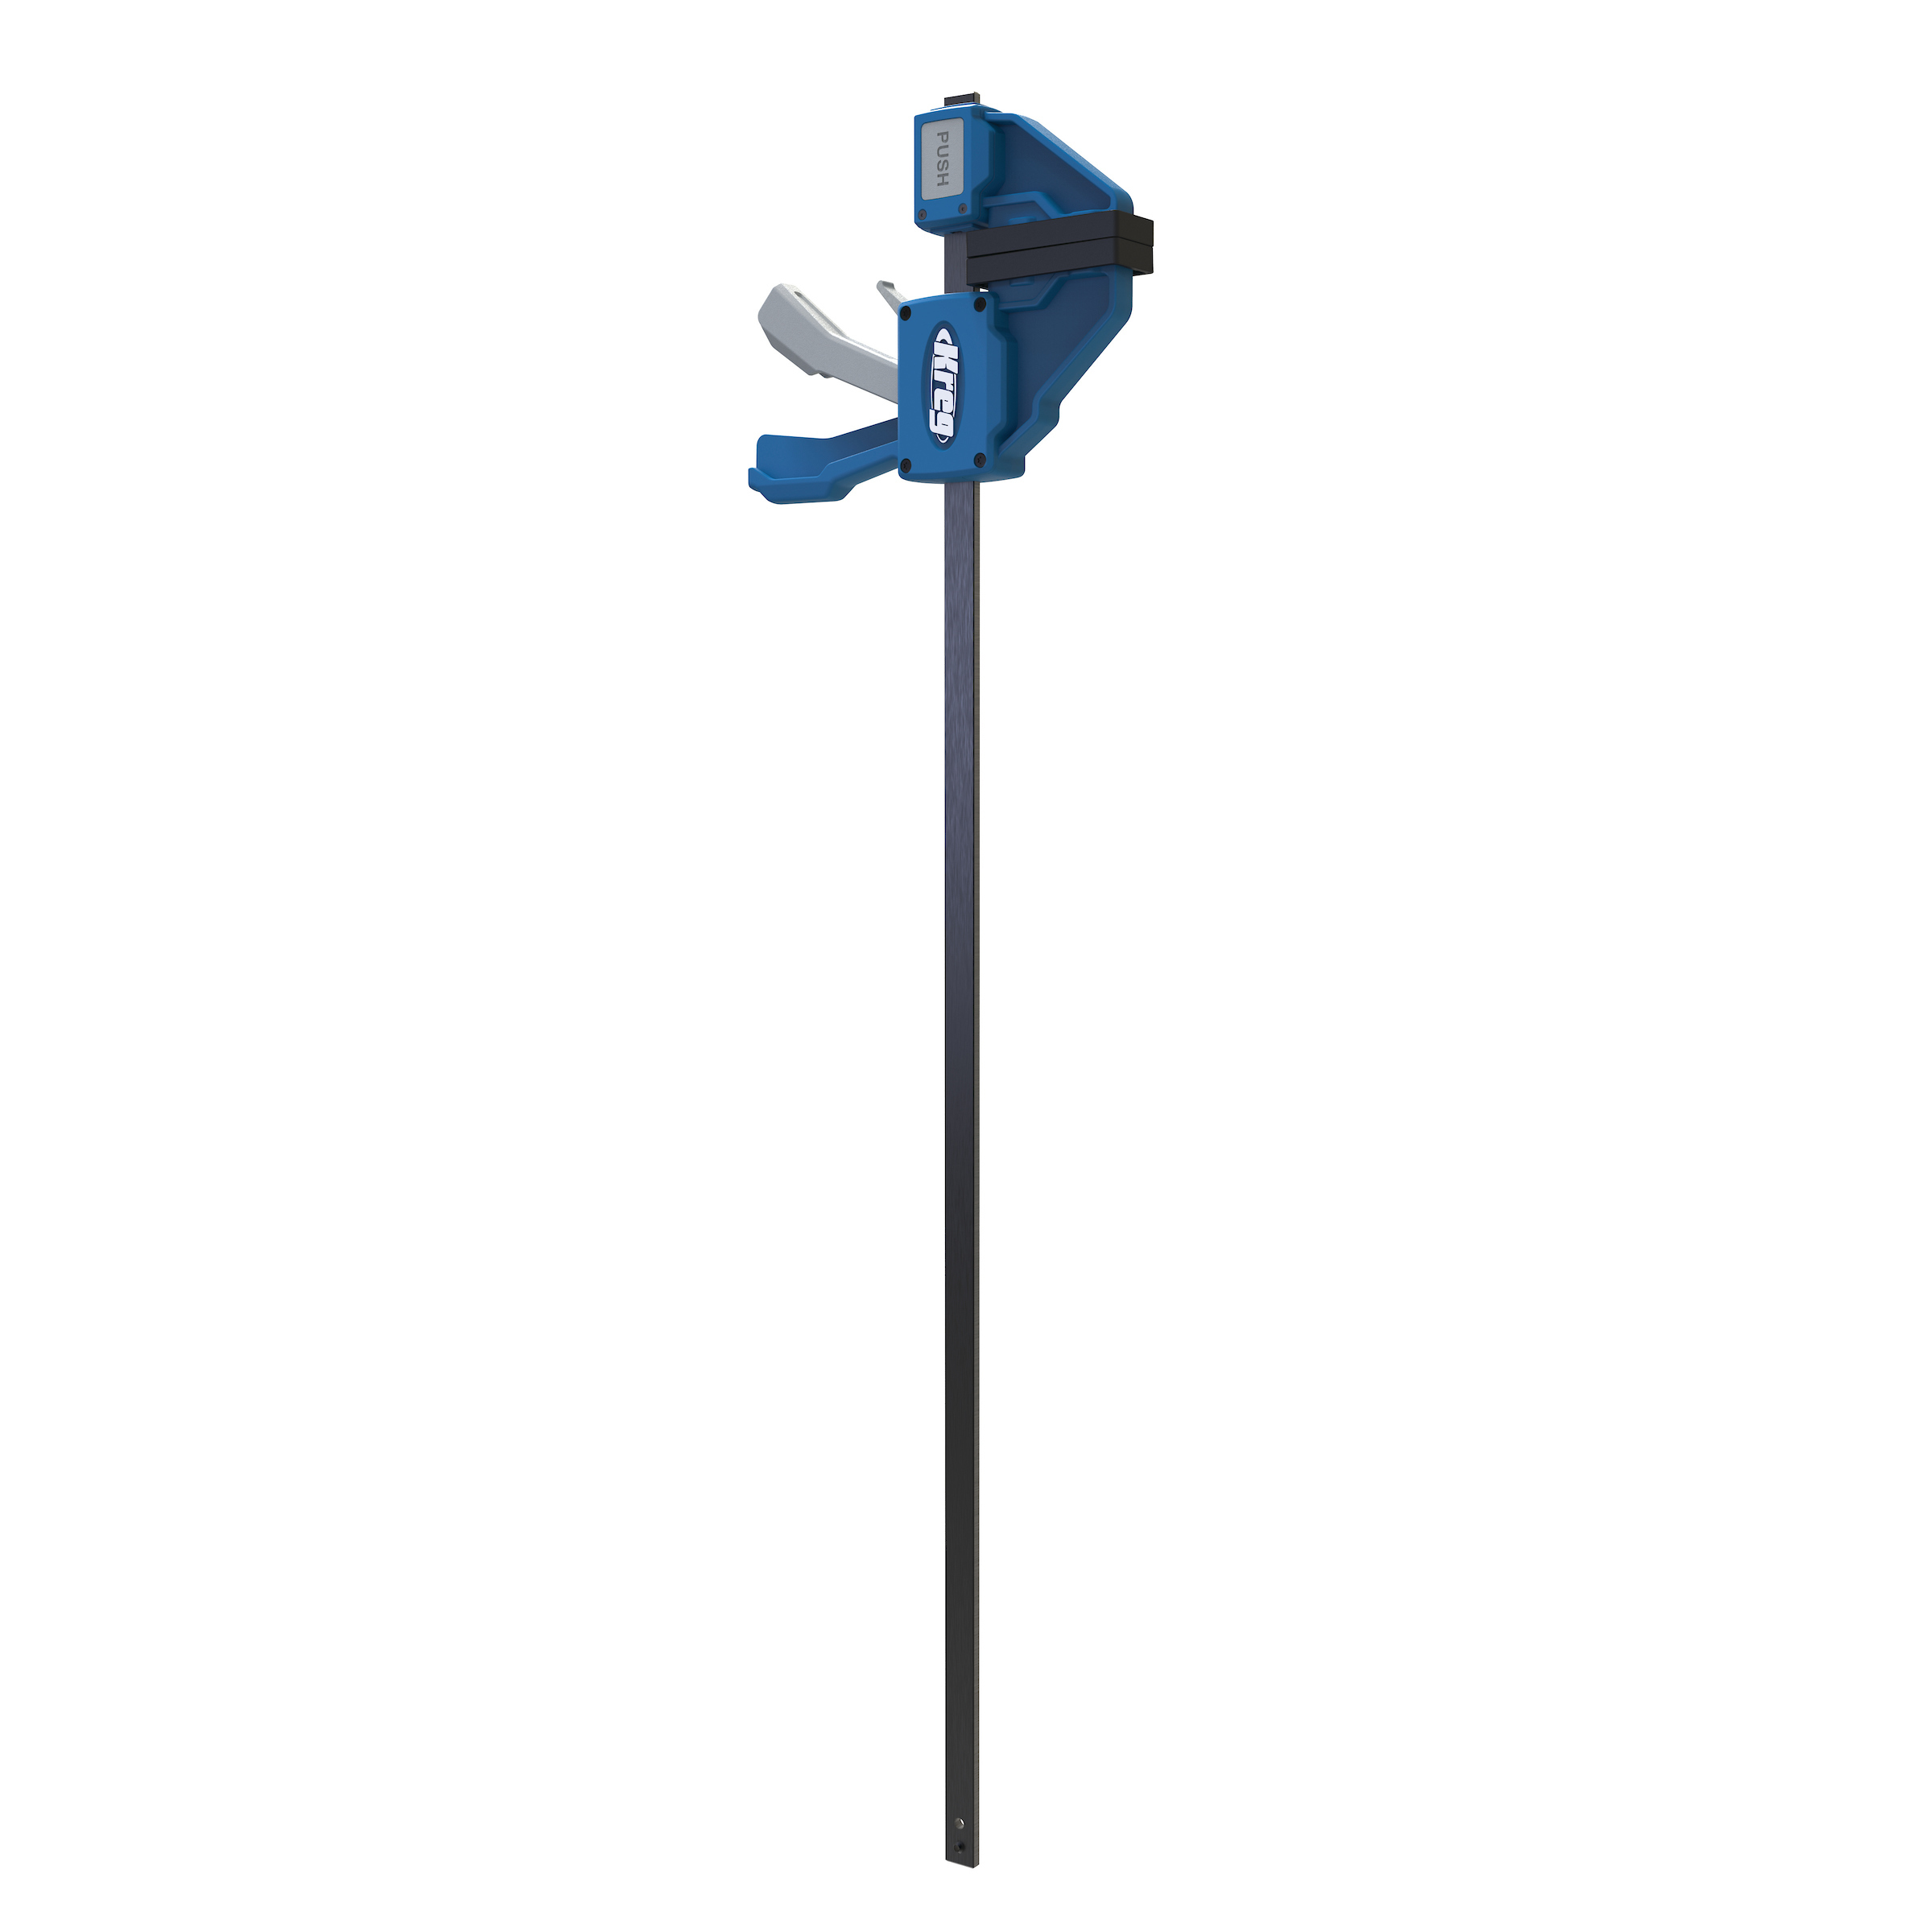
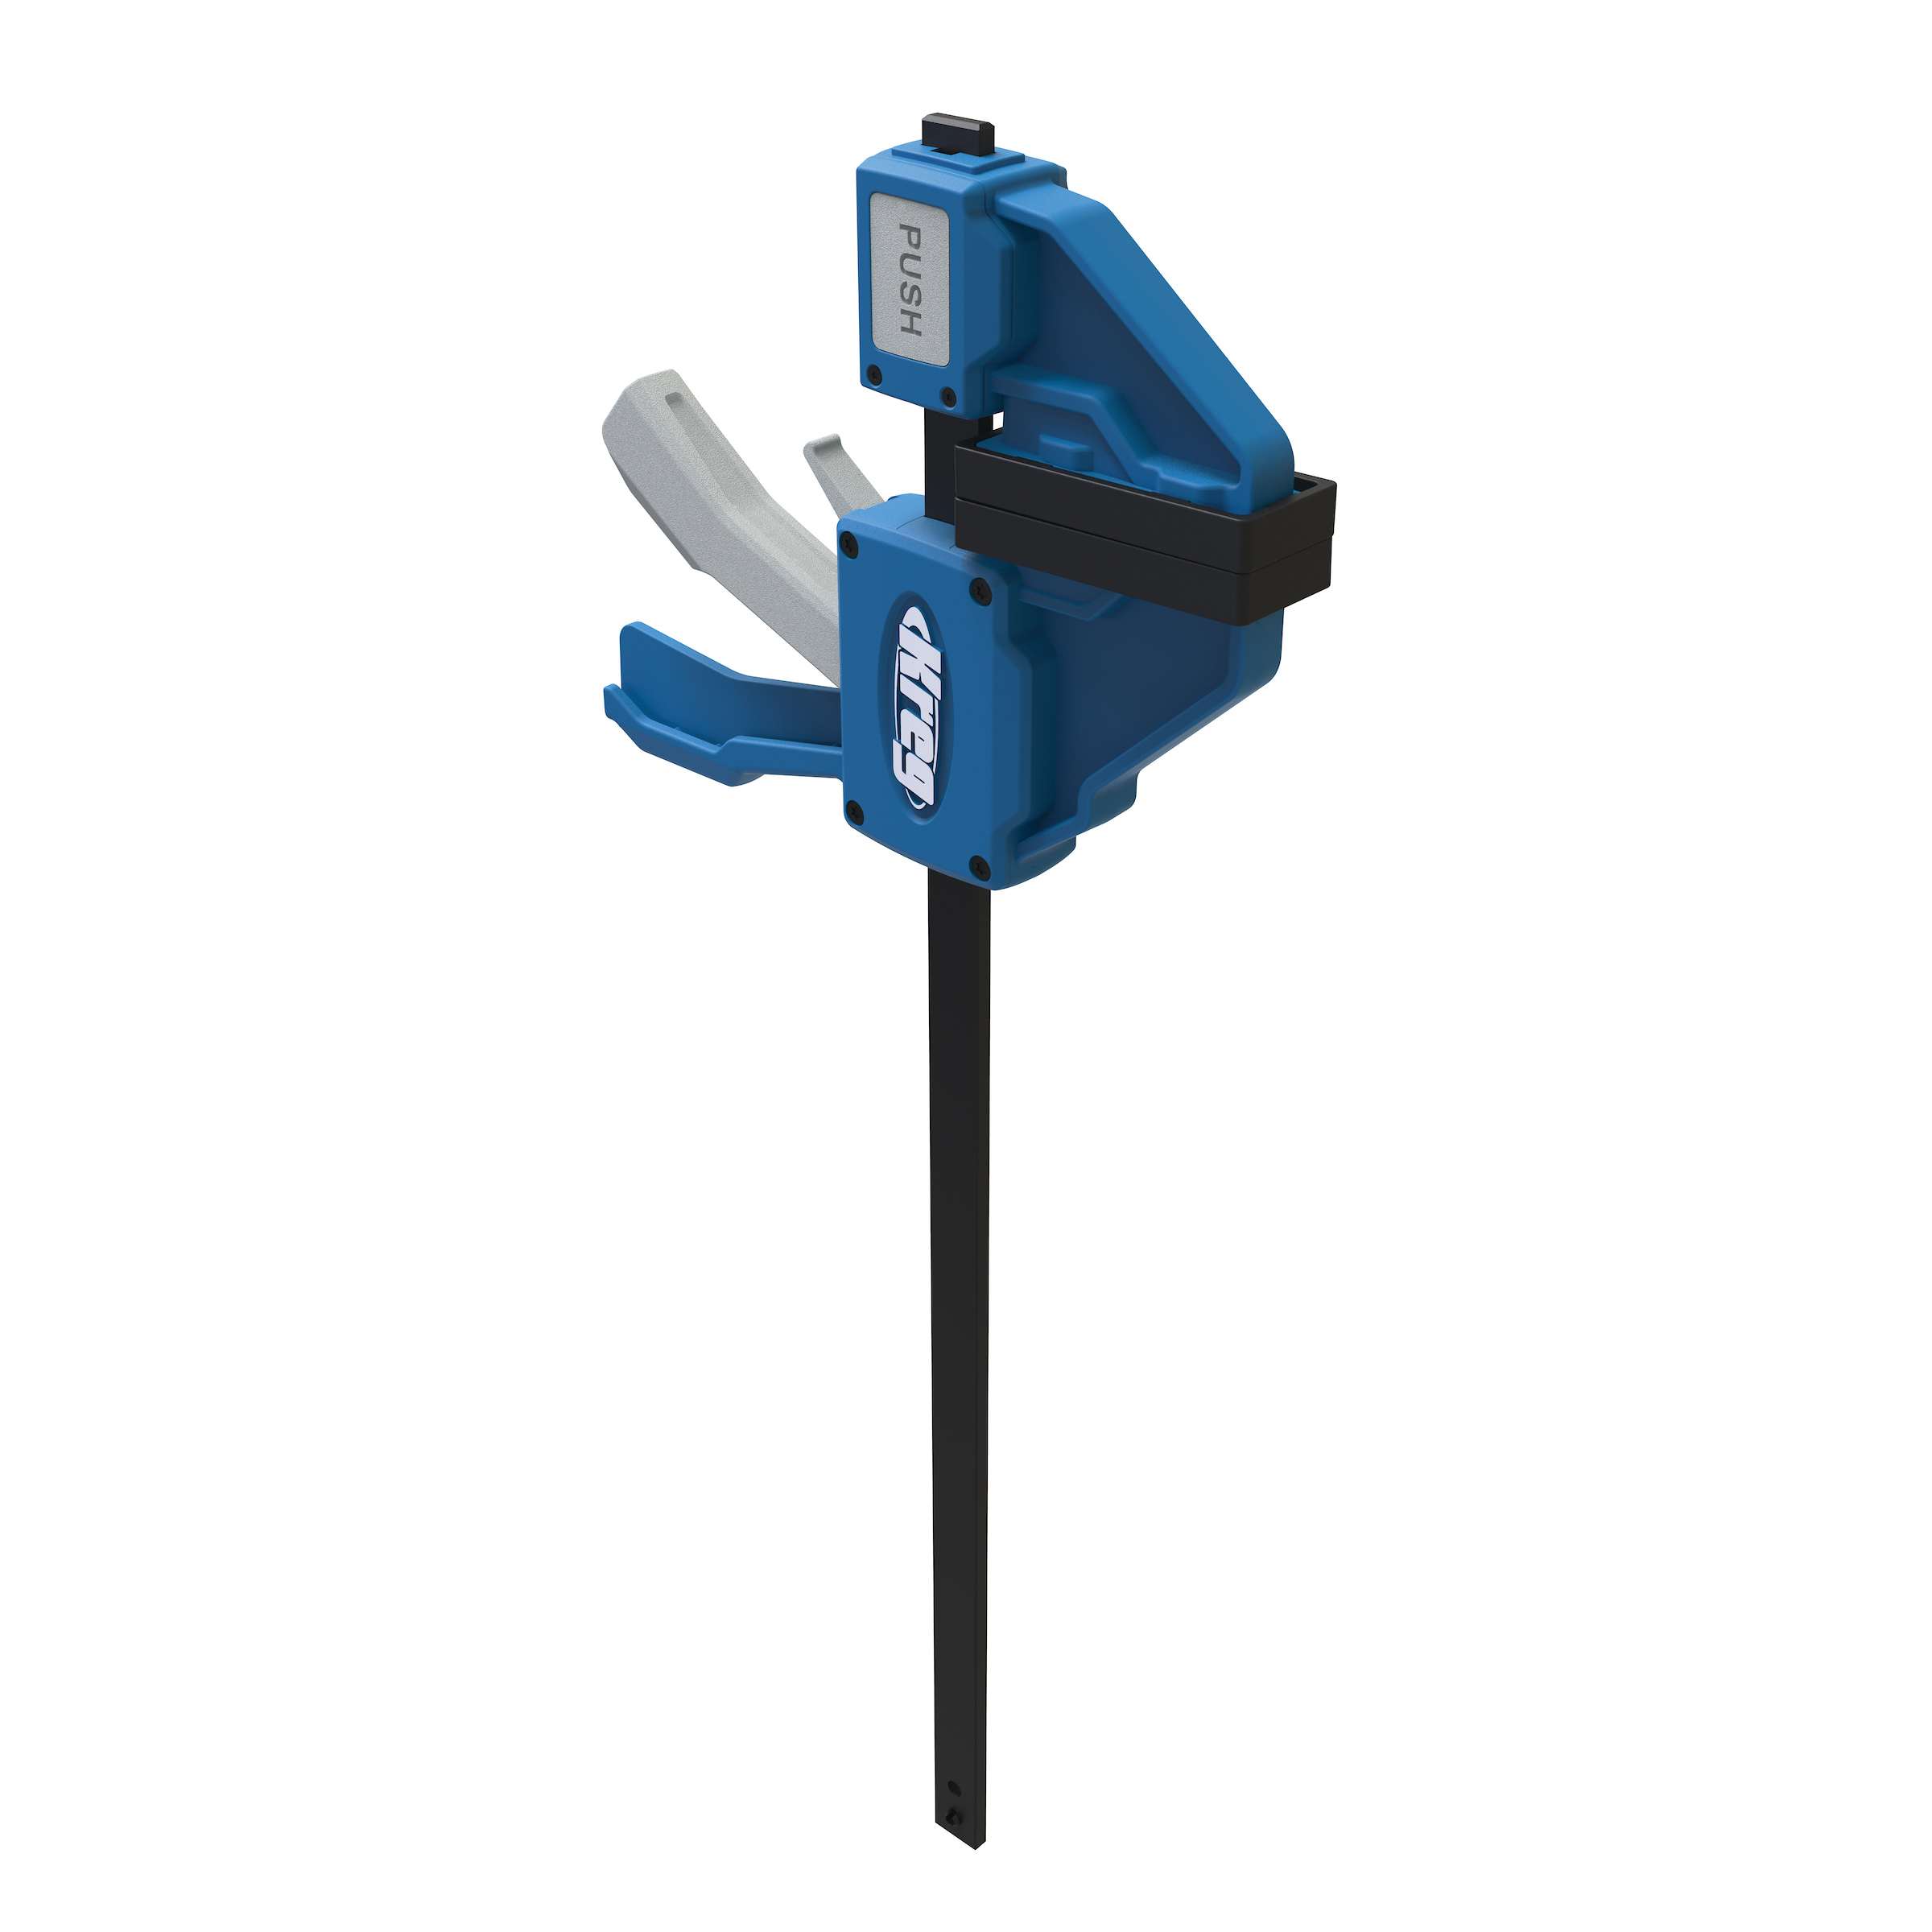
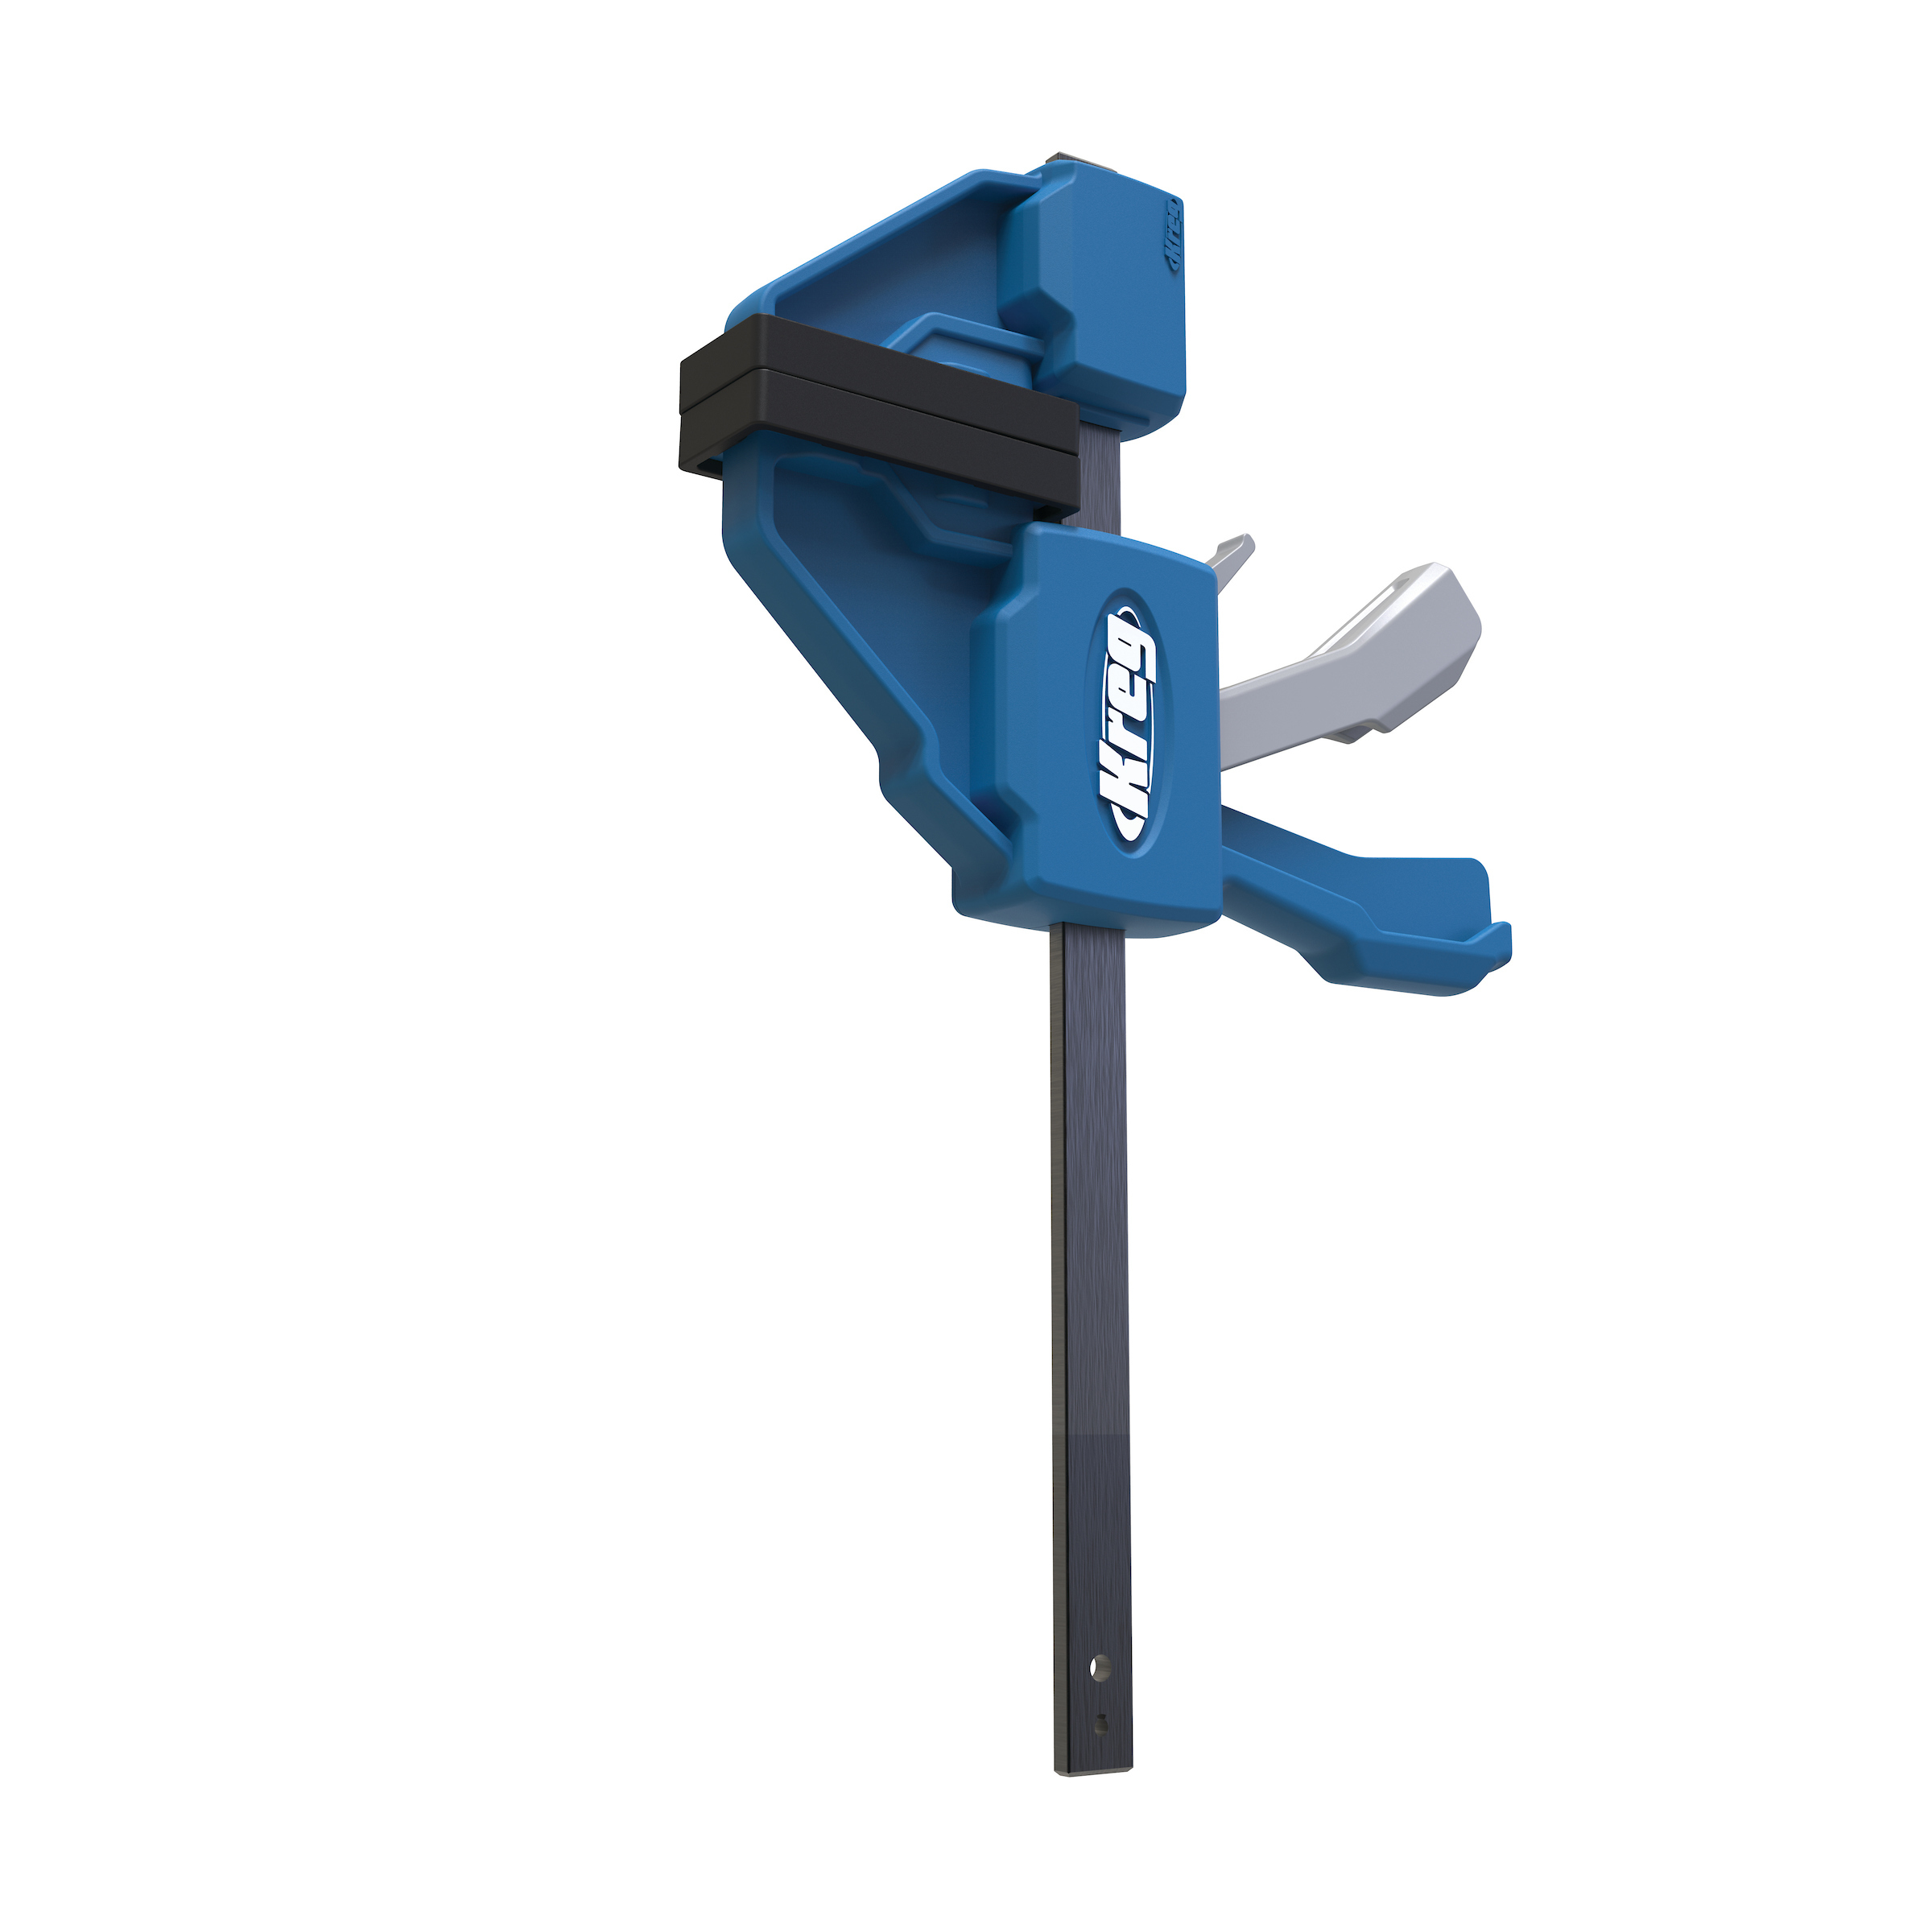
Kreg Tools


Other Tools
-
Tape measure

-
Socket or crescent wrench
Materials
Wood Products
- 1 Sanded Plywood , 1/2" x 4' x 4'
Hardware & Supplies
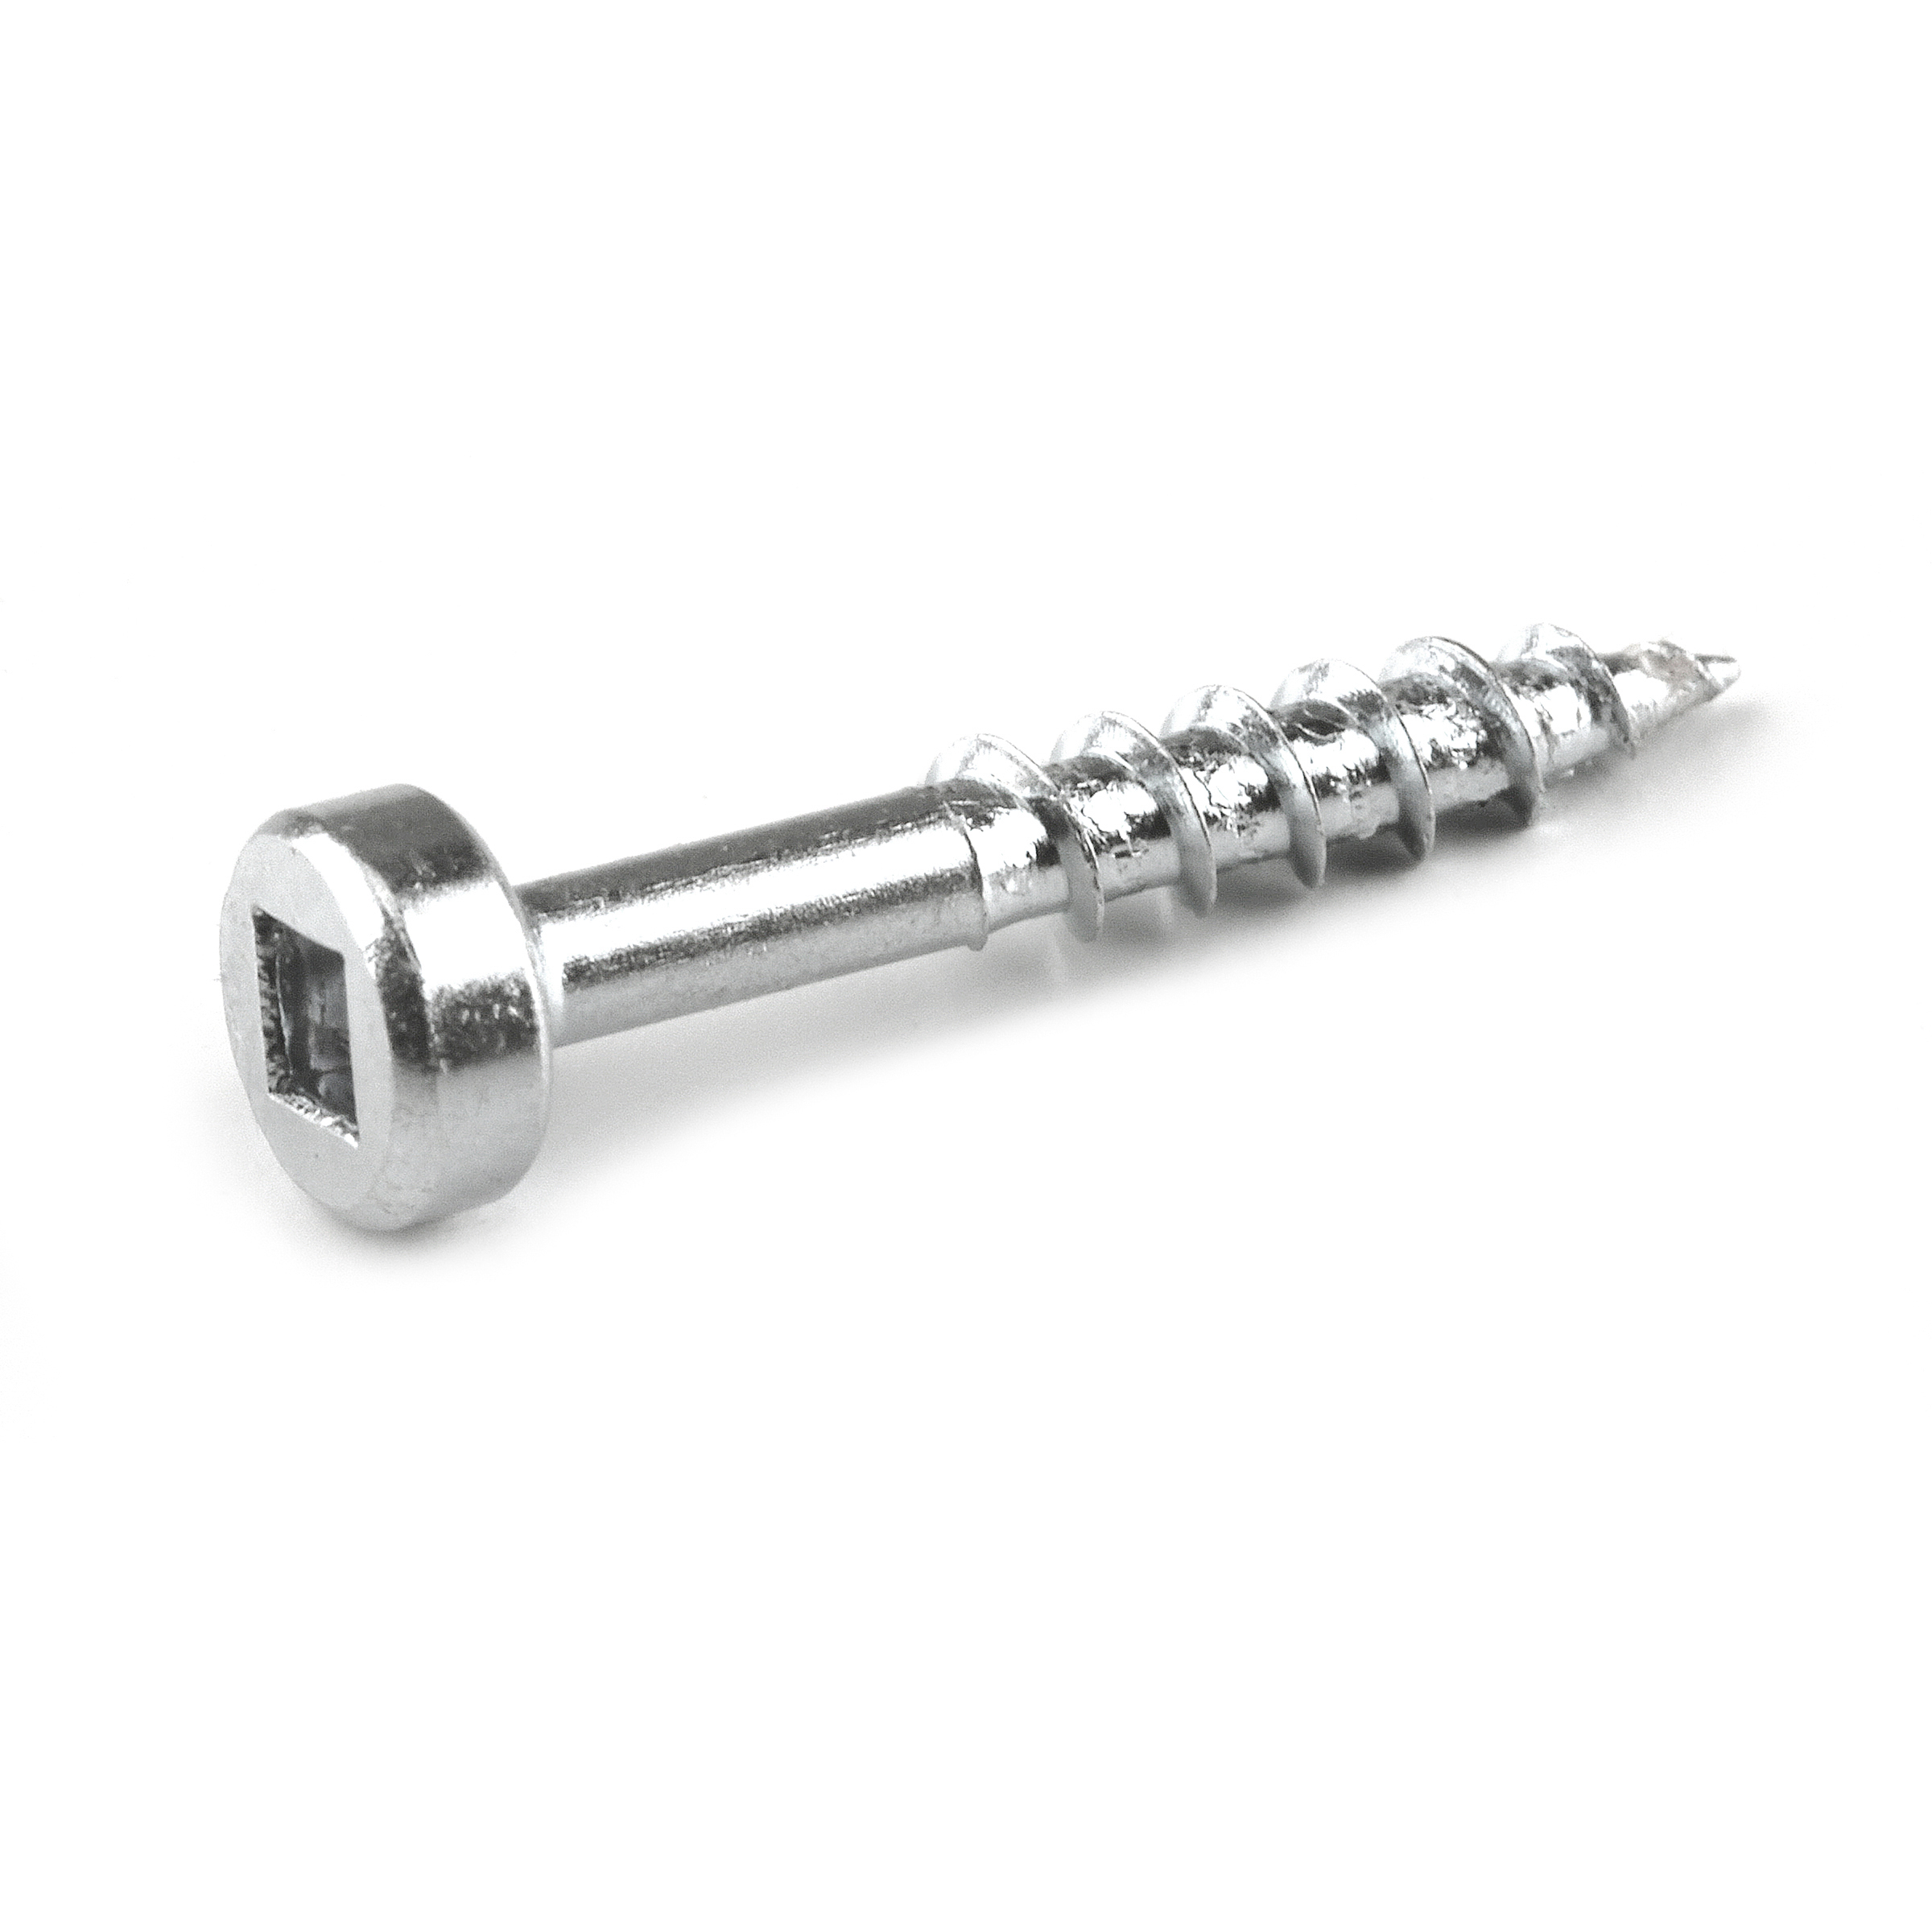
- -- Kreg pocket hole Panhead Coarse-Thread Screws for Softwood/Plywood - Zinc (1”) - see tools list
- -- 5/16” Carriage Bolts (1 ¼”)
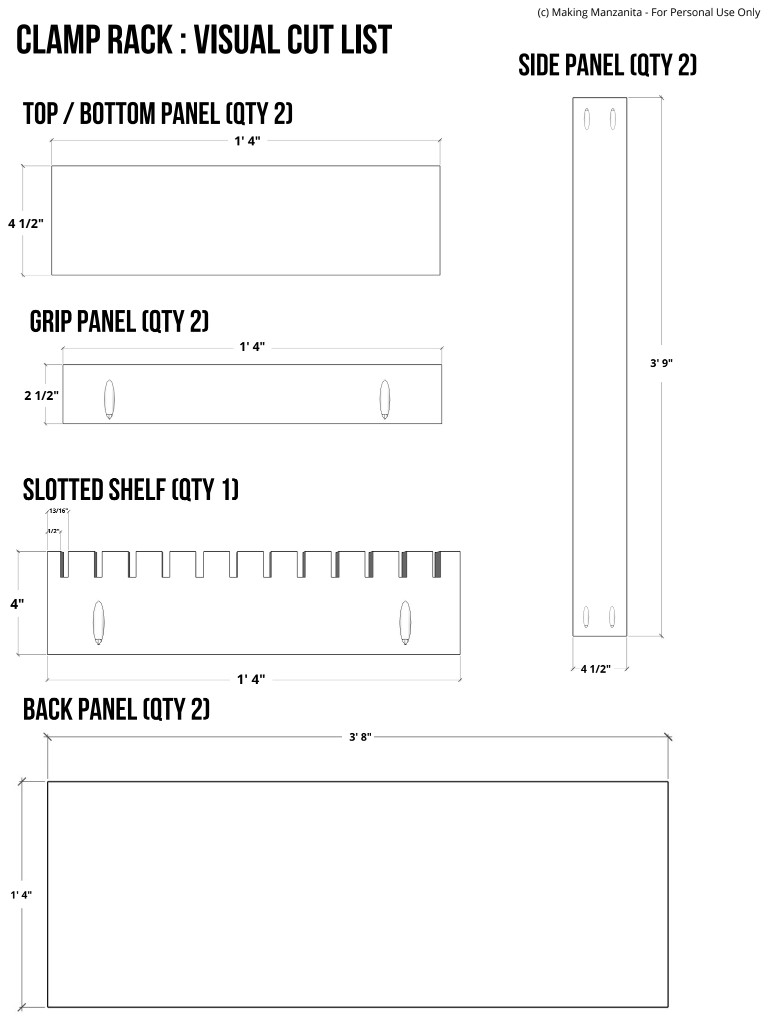
Cut List & Parts
- 2 Top/Bottom Panel , ½” x 4 ½” x 1’4”
- 2 Grip Panel , ½” x 2 ½” x 1’4”
- 2 Slotted Shelf , ½” x 4” x 1’4” with Grooves removed
- 2 Side Panel , ½” x 4 ½” x 3’9”
- 1 Back Panel , ½” x 1’4” x 3’7”
Directions
-
Cut wood
Cut wood according to the visual cut list in the woodworking plans with a table saw or circular saw guide, like the Rip-Cut.

-
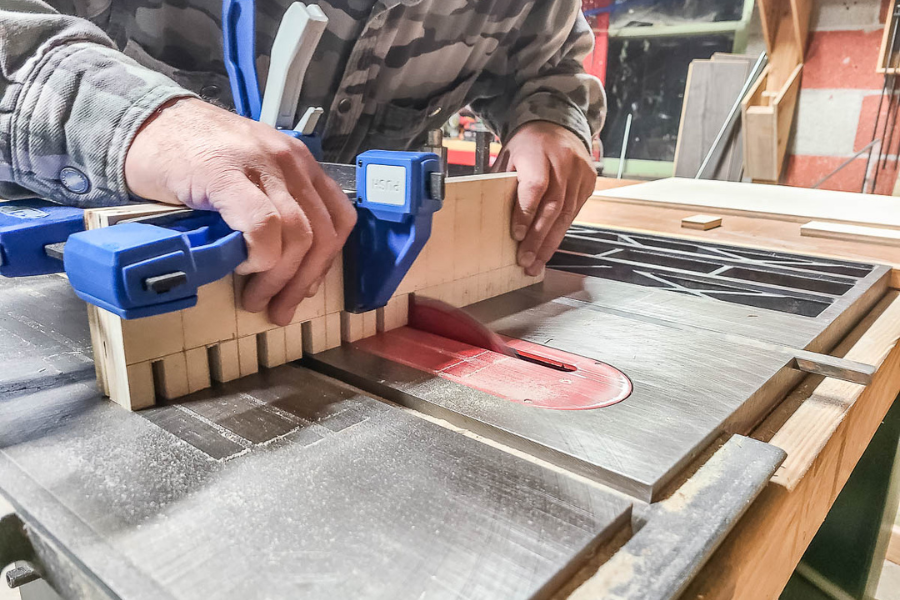
Cut grooves
Next, cut grooves that are 5/16” wide for the clamps in slotted shelf pieces as shown in the woodworking plans.
-
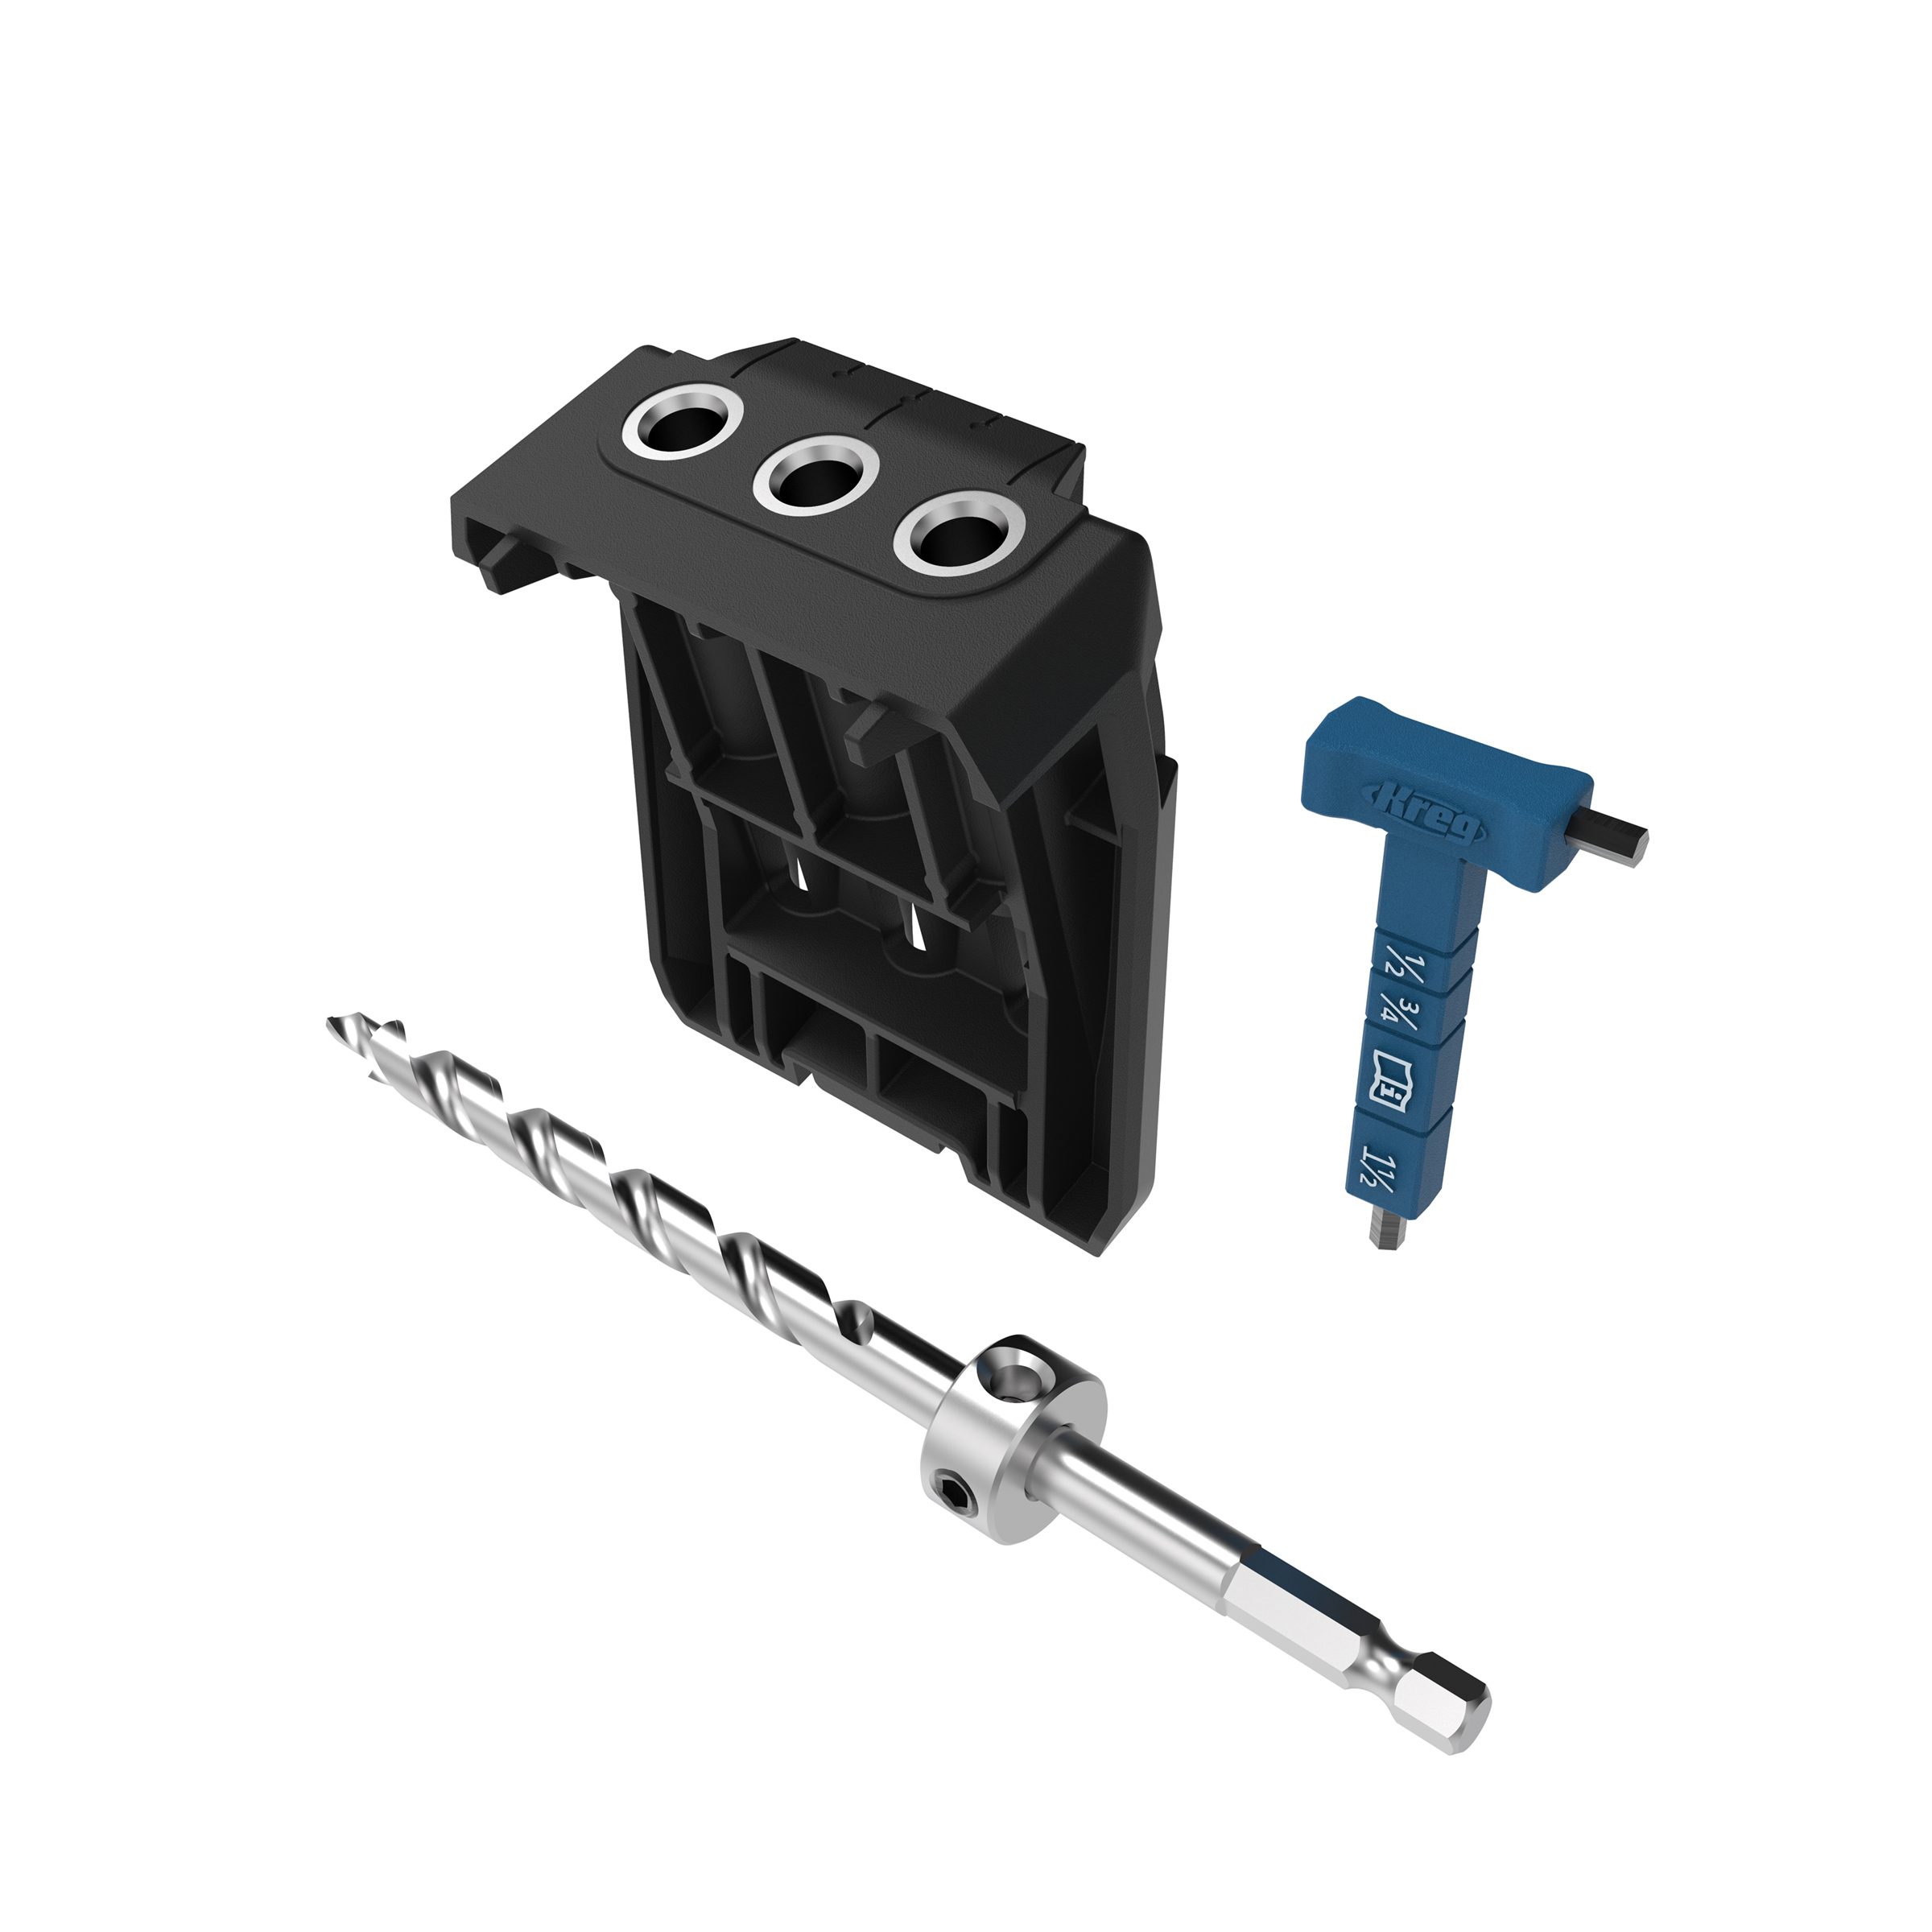
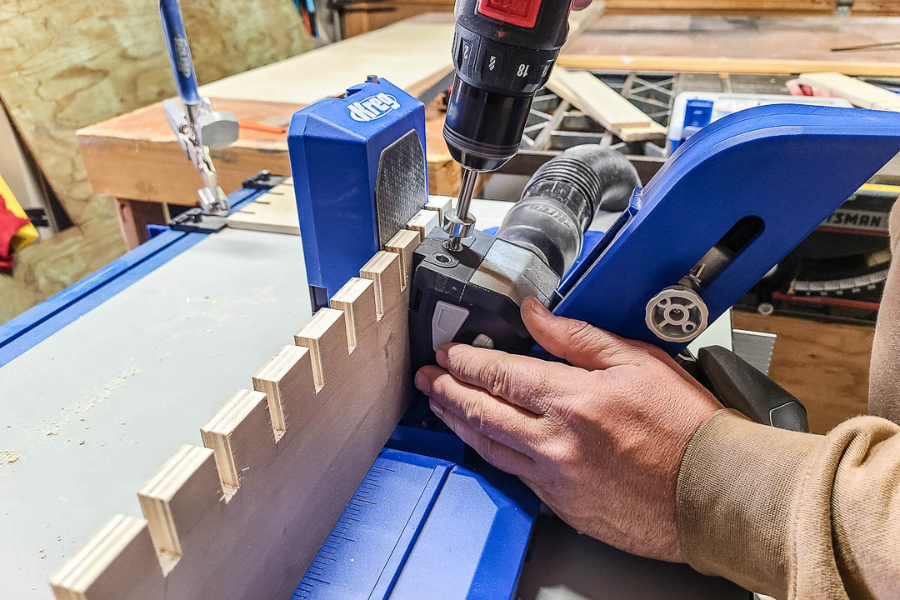
Drill pocket holes
Drill pocket holes as shown in the woodworking plans. We used the Kreg 720 Pro with the Micro-Pocket drill guide because we’re using ½” plywood here.
-
Assemble
Start by assembling the outside frame using the pre-drilled pocket holes. Next at the grip panels and slotted shelves as shown in the woodworking plans.

-
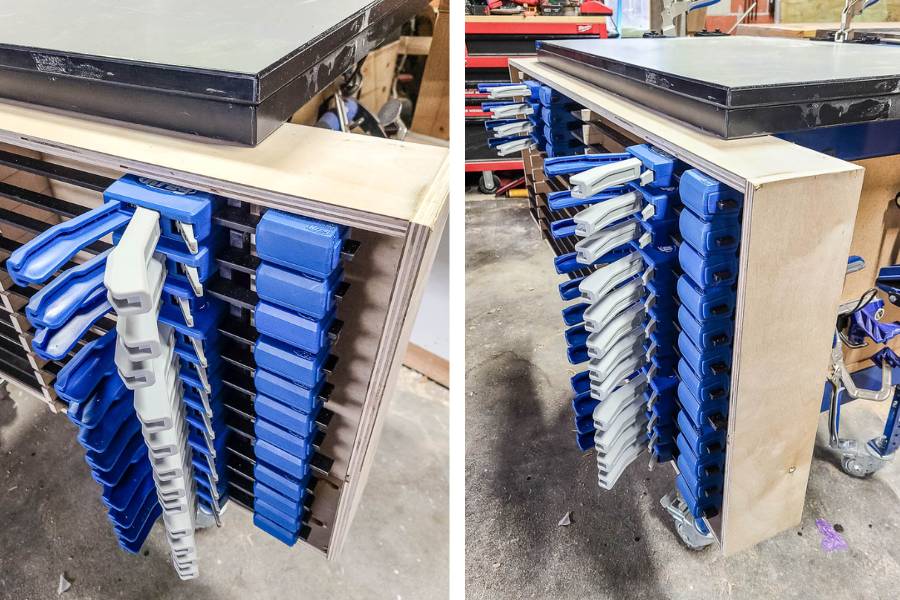
Fill and hang up
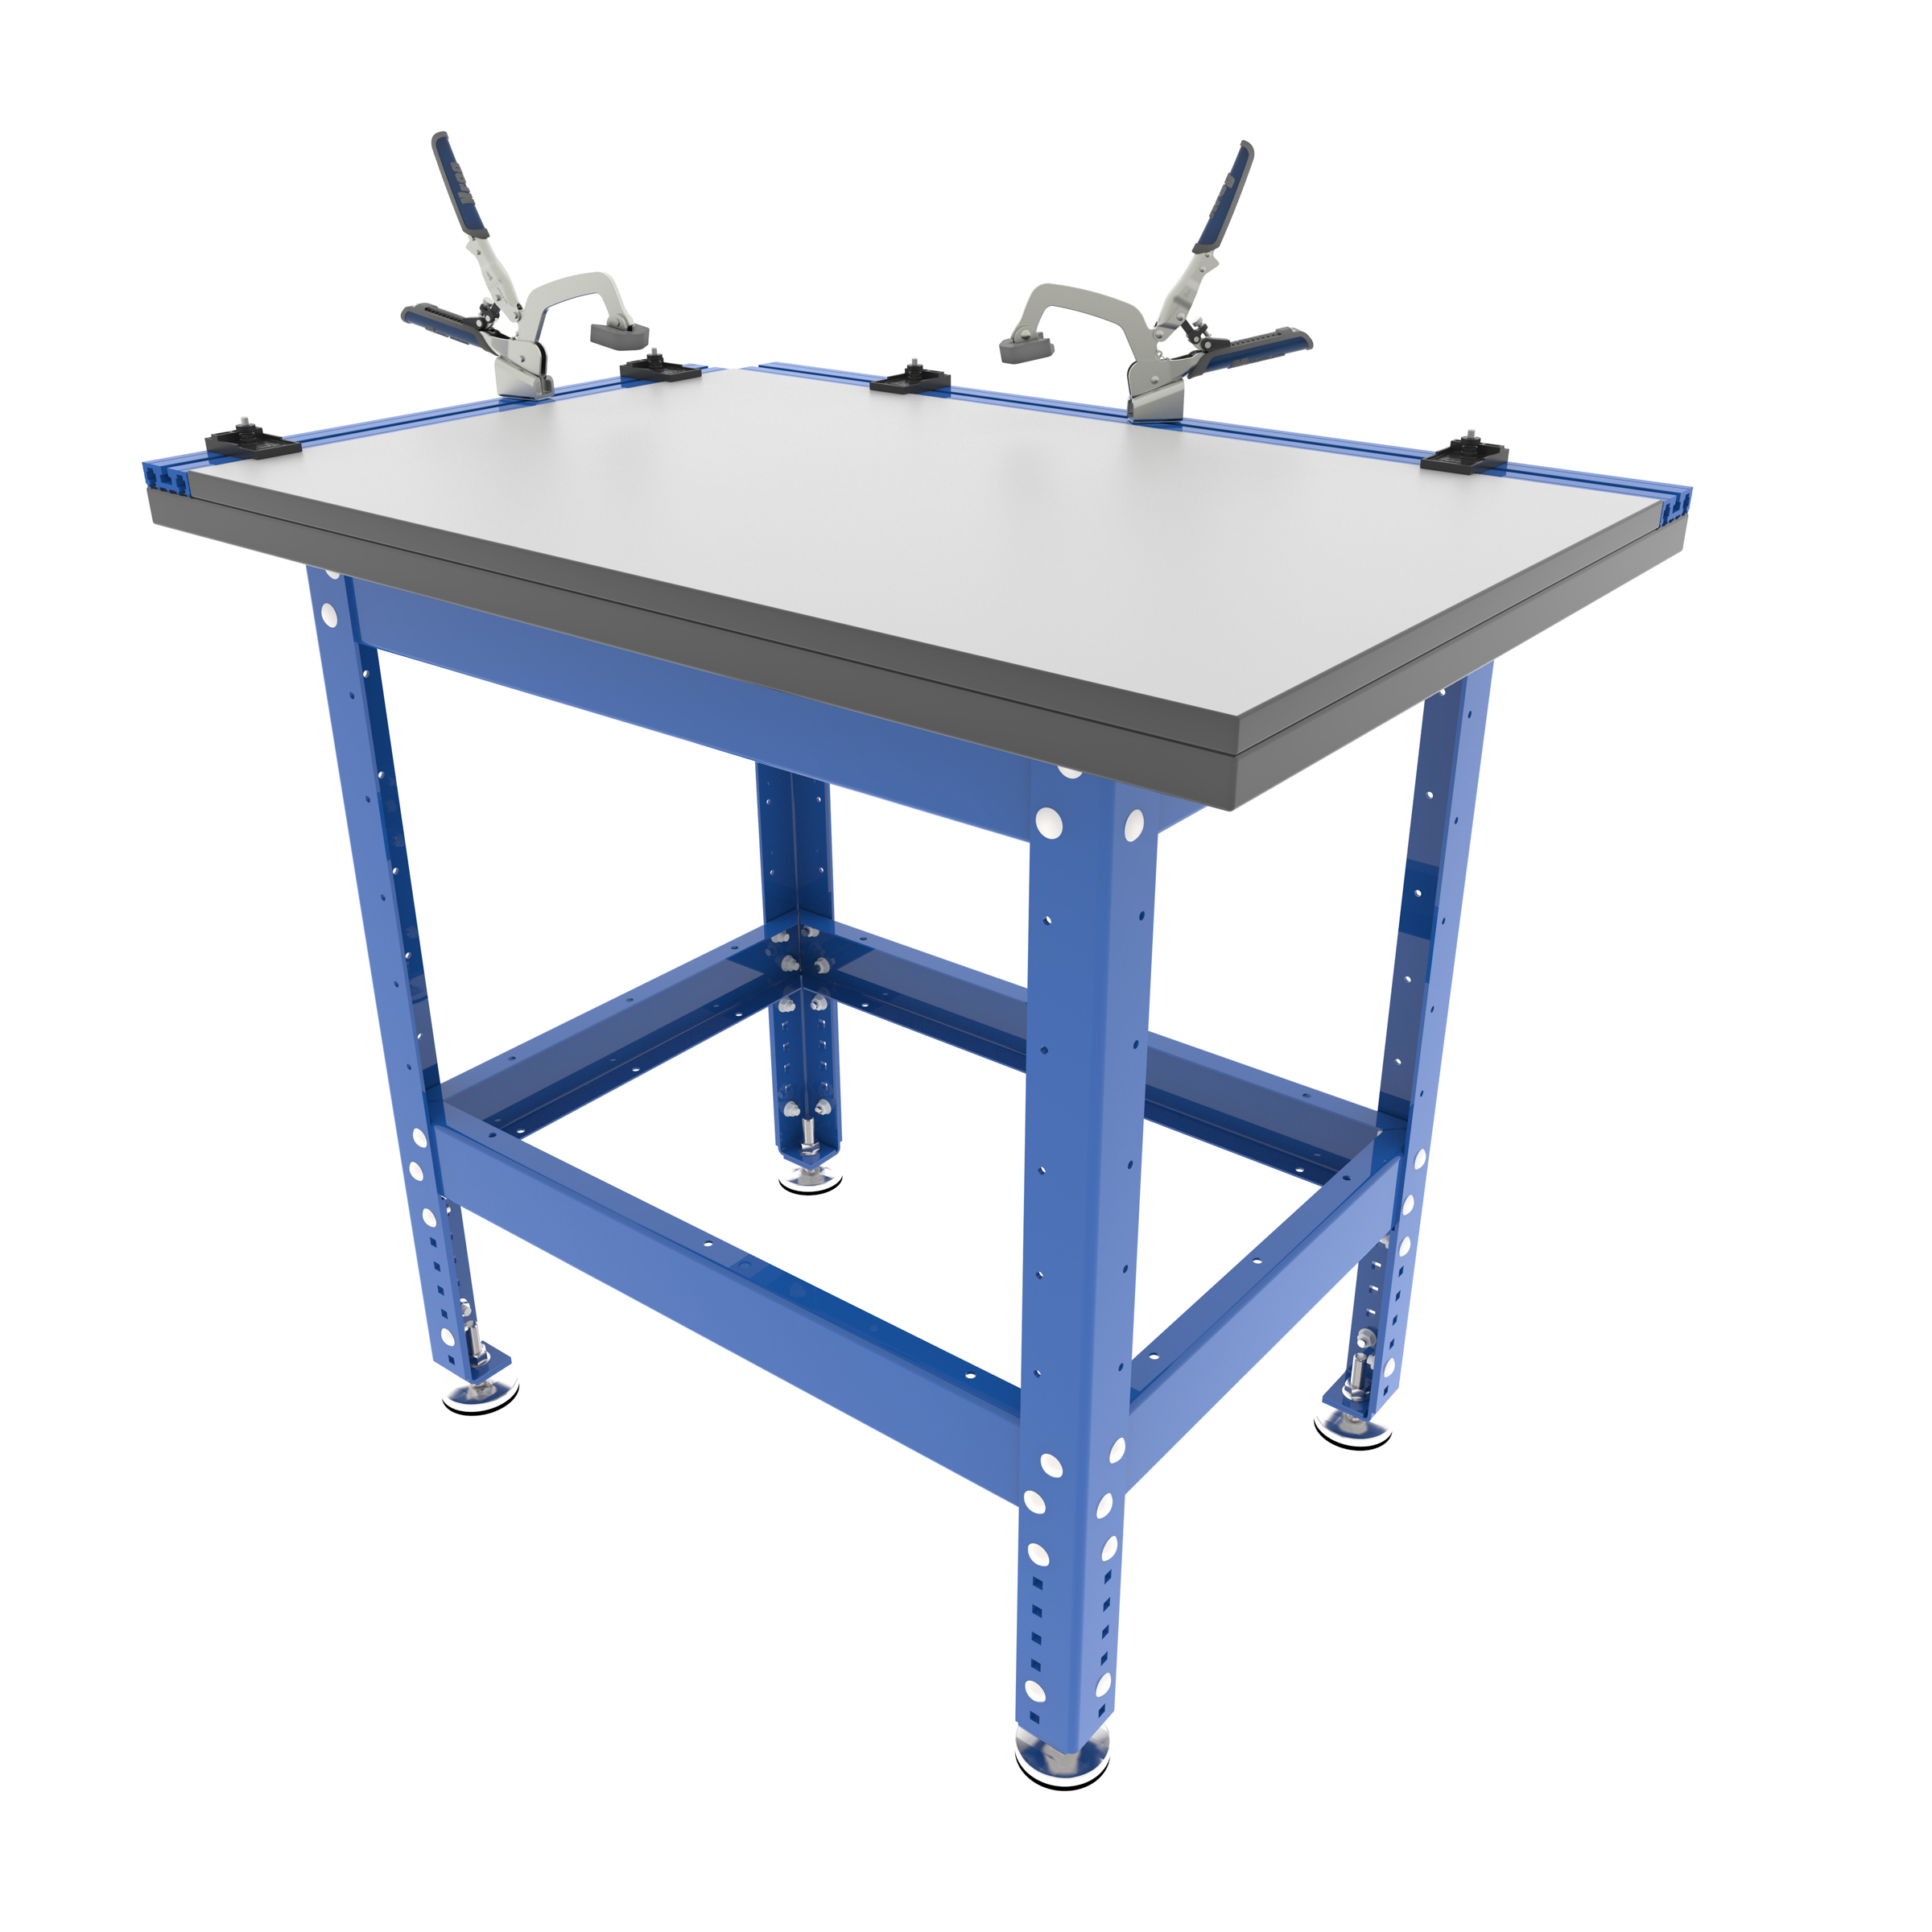
Lastly, you can fill the clamp rack up and hang it. You
can either hang it up on the wall or anywhere else you’d like. Since we’re limited on wall space in our shop, we opted to attach it to the back of our Kreg Clamp Table Stand behind our Tool Storage Shelves. It works perfectly here.