Christmas Bell Stand
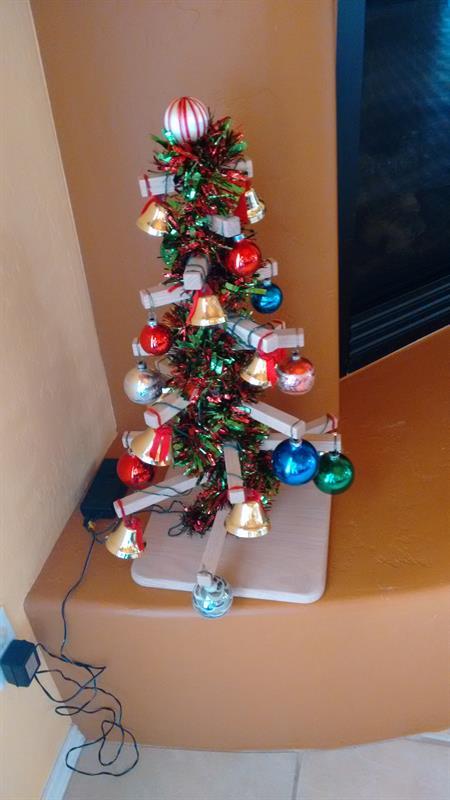
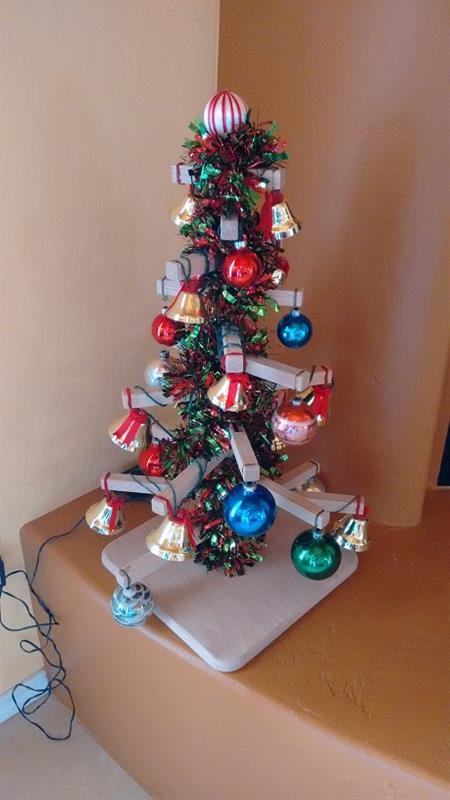
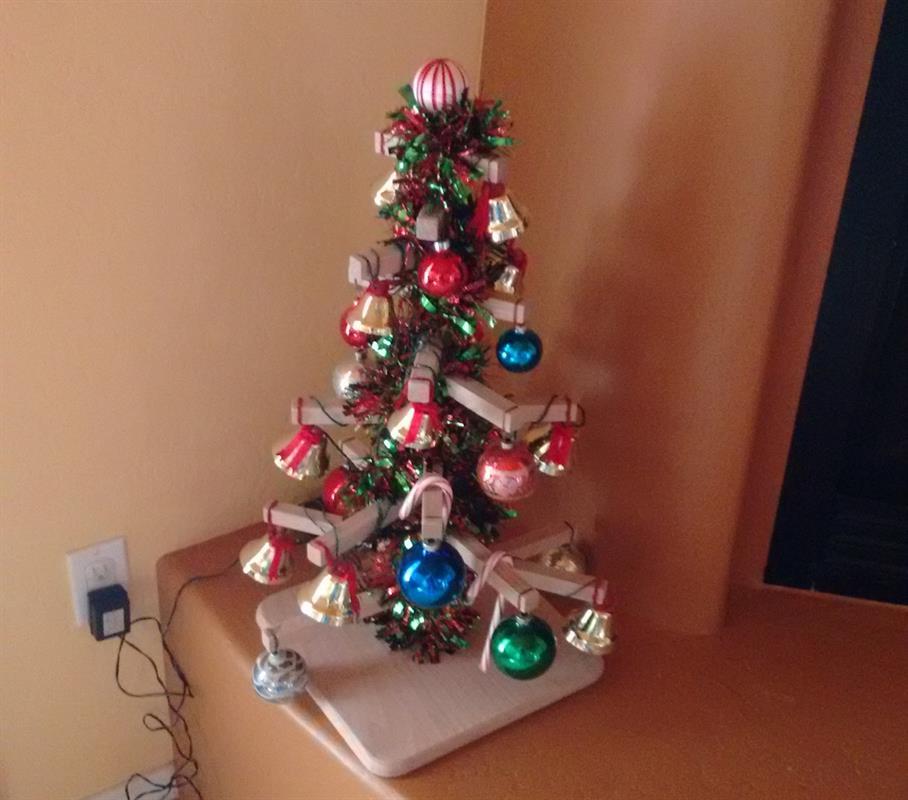
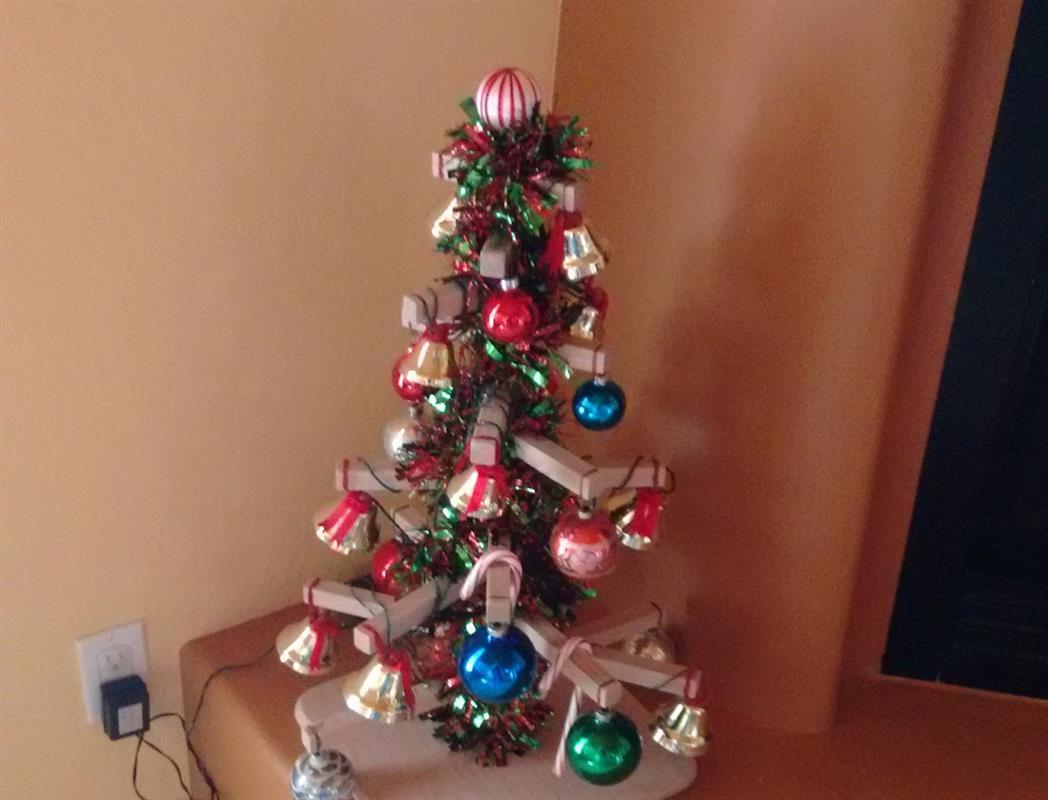
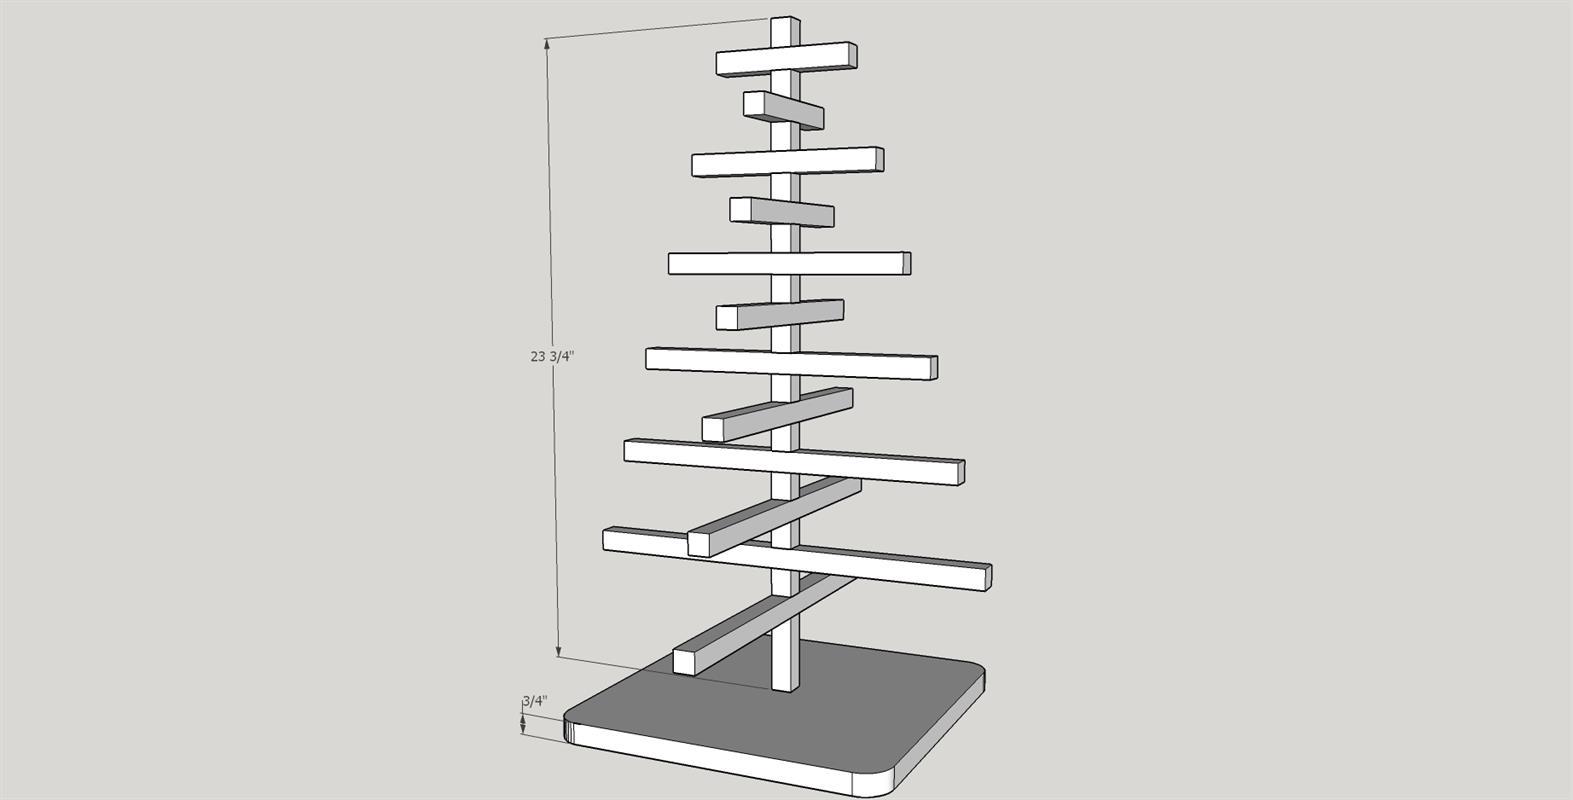
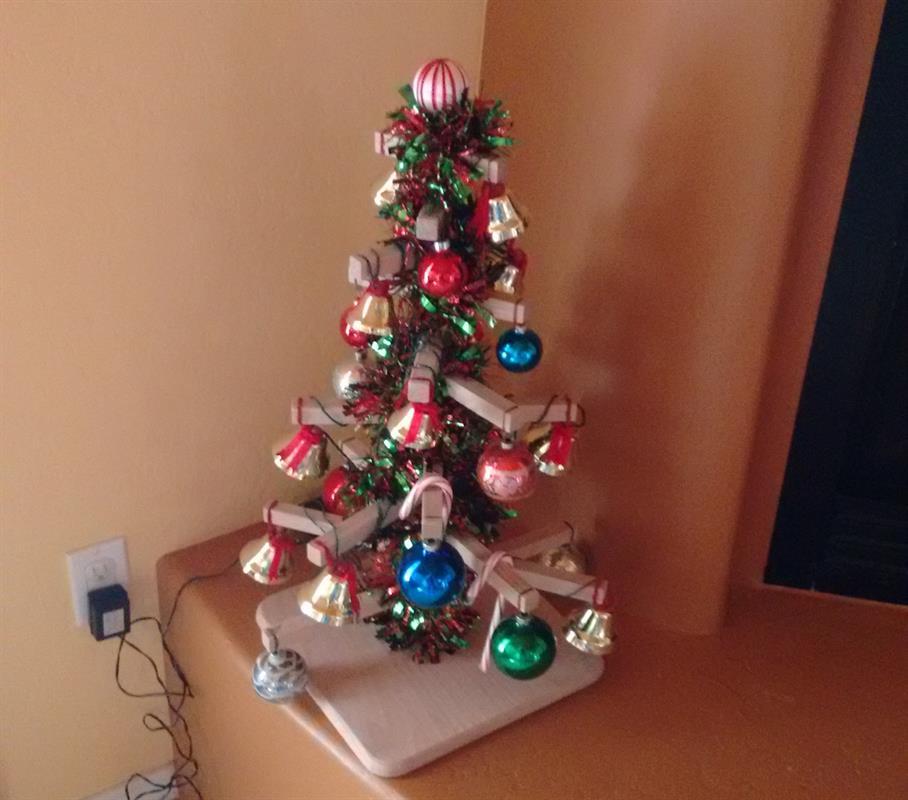
By fcbeckerThis adorable Stand is a great addition to your holiday decor and can be used to display Christmas bells, garland, candy canes and ornaments. It was built in about four hours using mostly scrap lumber.
Directions
-
Introduction
Please be sure to read through complete instructions before you begin any work on this project.
-
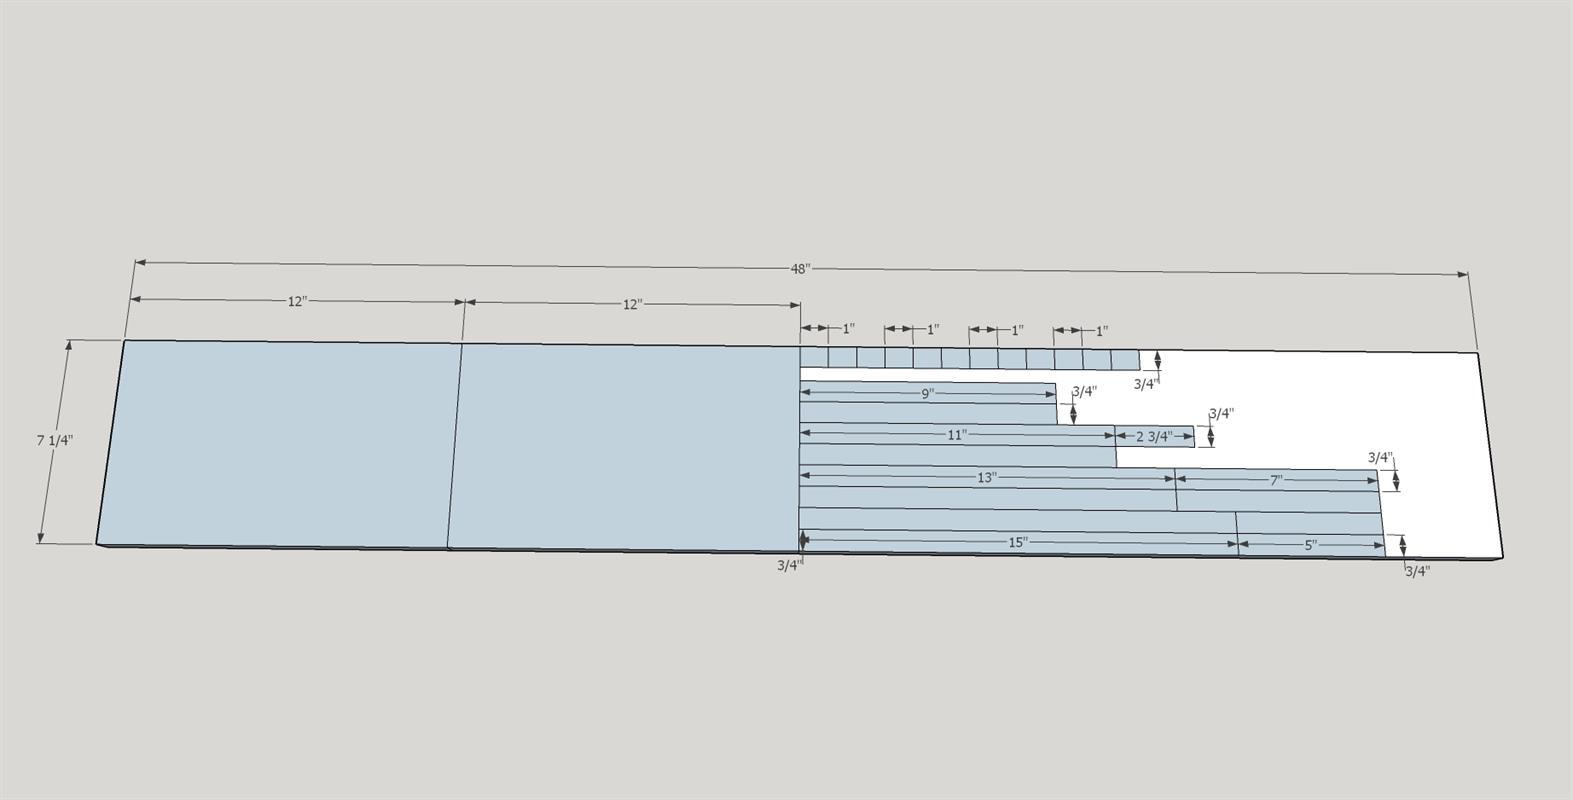
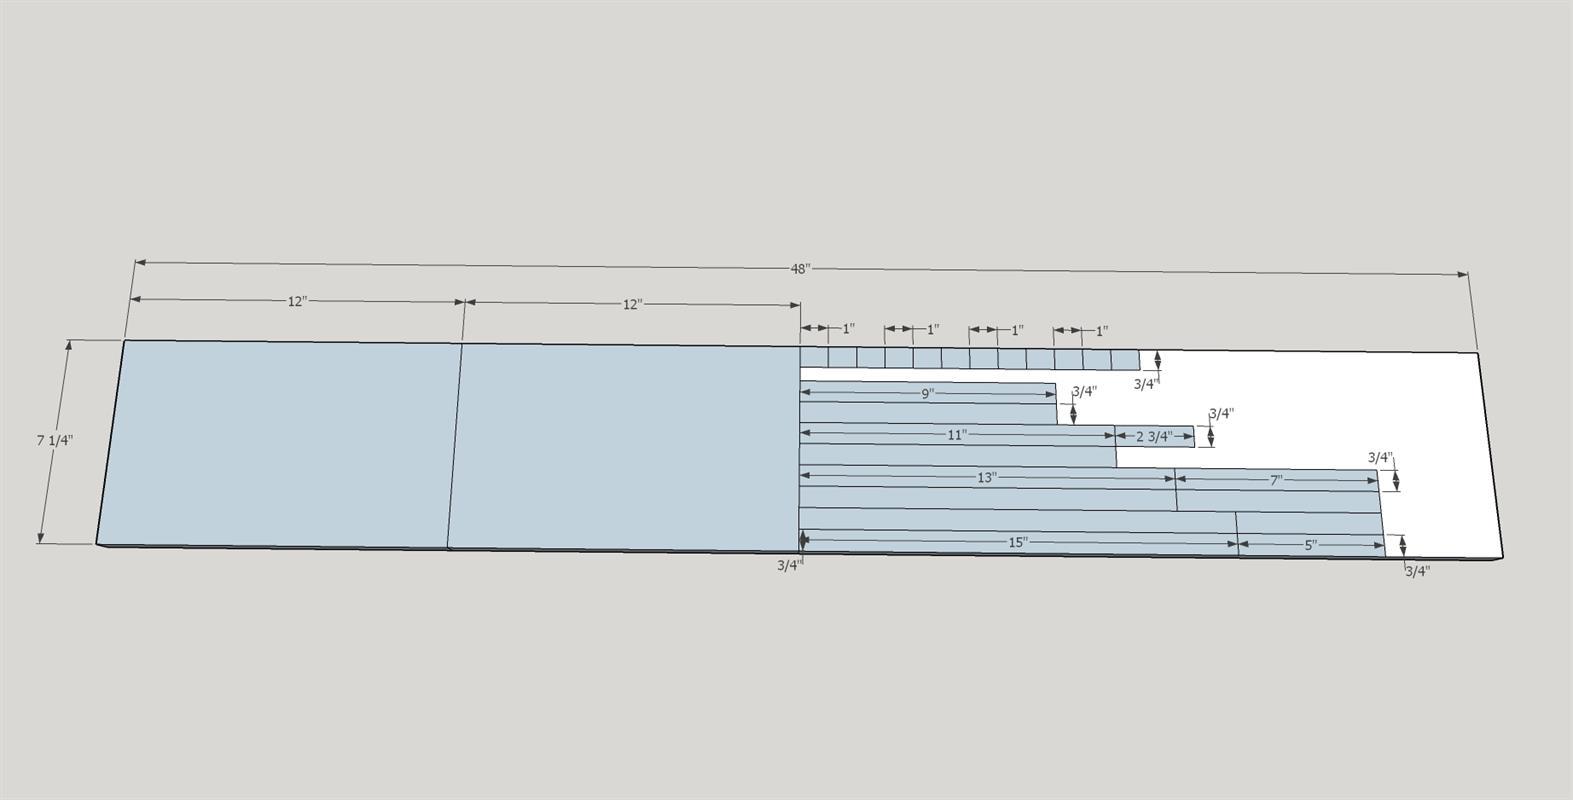
Cut all parts from 3/4" board
Cut all of the parts from 3/4" board (I used Oak).
-
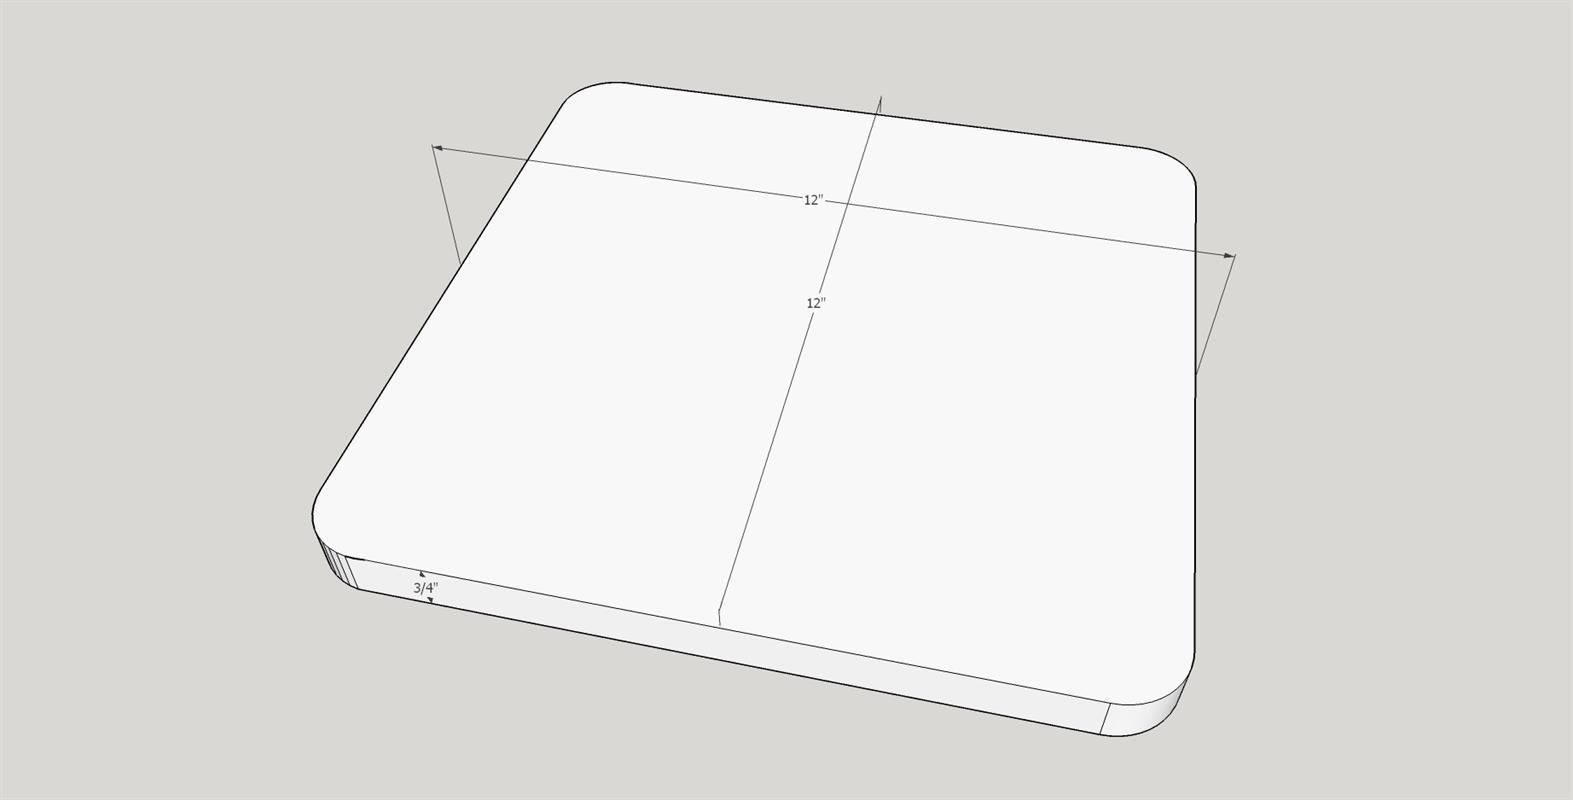
Edge Join the base pieces
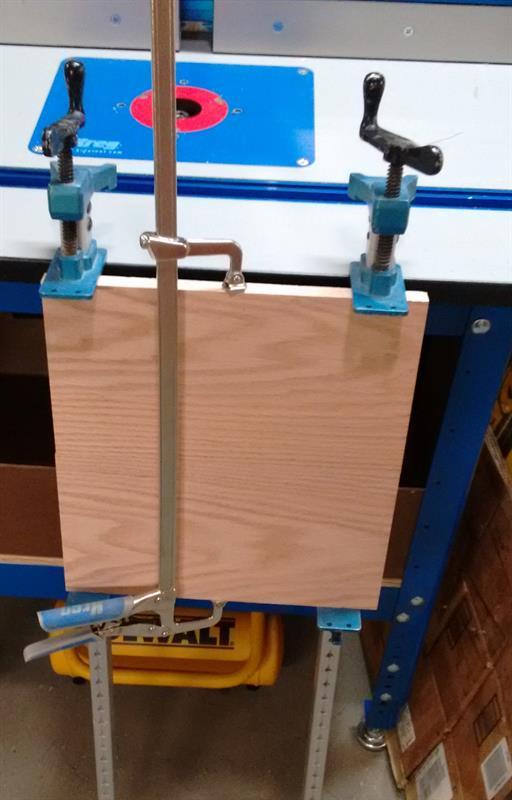
For the base we edge glue the two 3/4" X 12" X 7 1/4" boards. If you are uncomfortable doing this I have attached one site with good information on the process. Please feel free to look at other sites. I normally use my Jet jointer to square and flatten the edges. Lay out the boards to provide the best looking grain. Use multiple clamps to bring the boards together. Make sure that the edges fit together well. Release the clamps and spread Titebond glue along all of the edges to be joined. Avoid using excess glue. Realign the boards and clamp snugly. A picture of the clamp up follows.
-
Preparing the beam ends
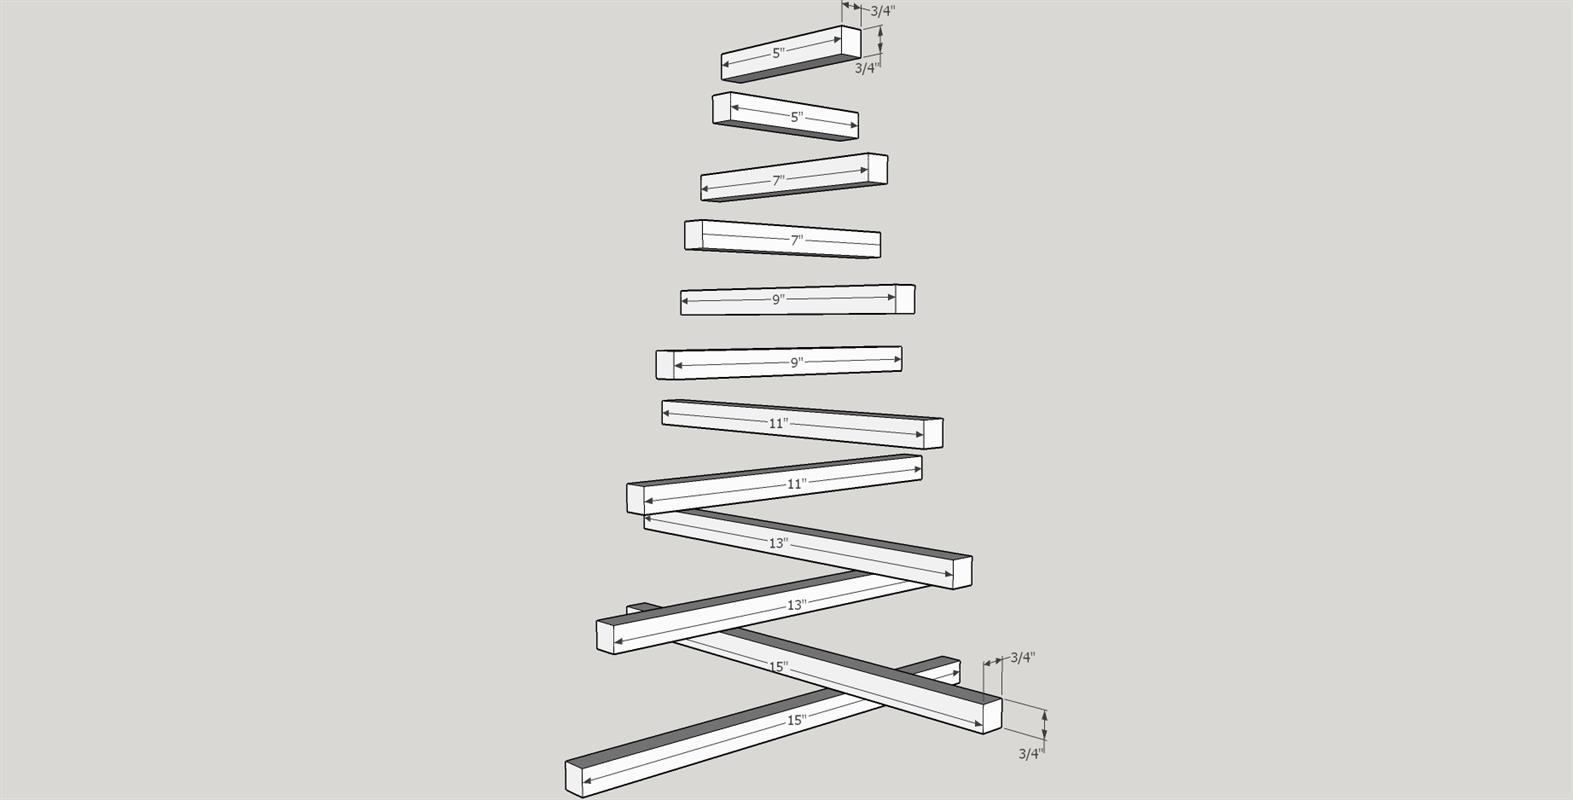
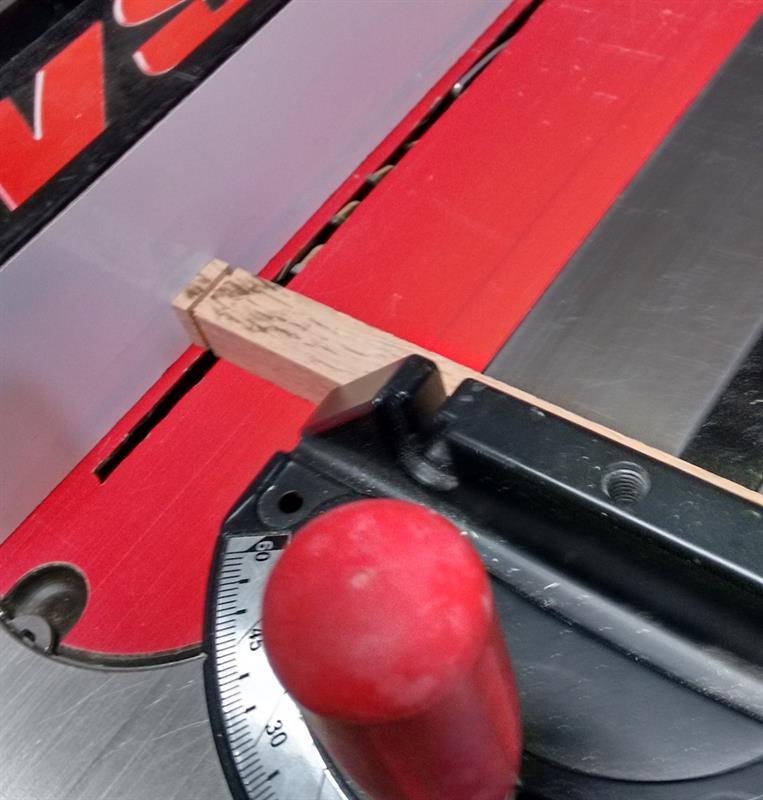
Small dados are cut around the ends of the 12 cross beams. Use a table saw with the rip fence set at 1/4" and the blade depth set at 1/16" to cut dadoes in all four sides of each end of the cross beams. Use the mitre guage to hold the beams square to the blade.
-
Drill the cross beams
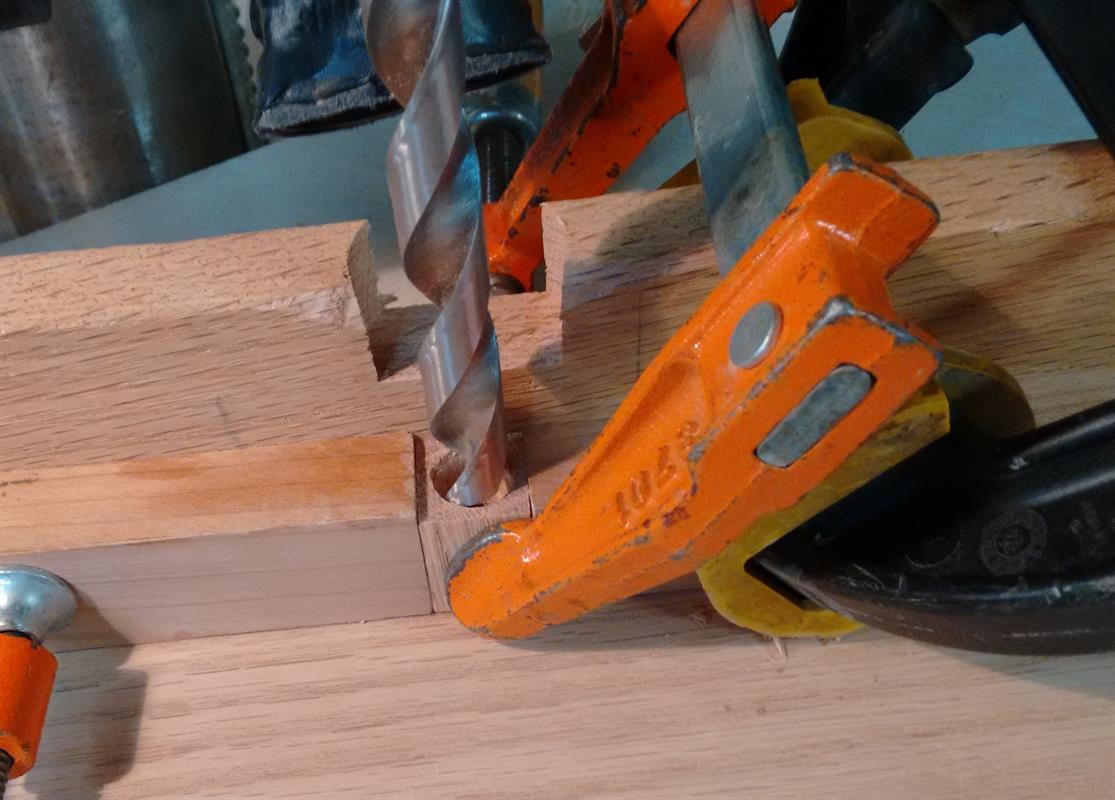
Use a drill press with a 1/4" bit to put a hole in the exact center of all 12 cross beams.
-
Drill the spacers
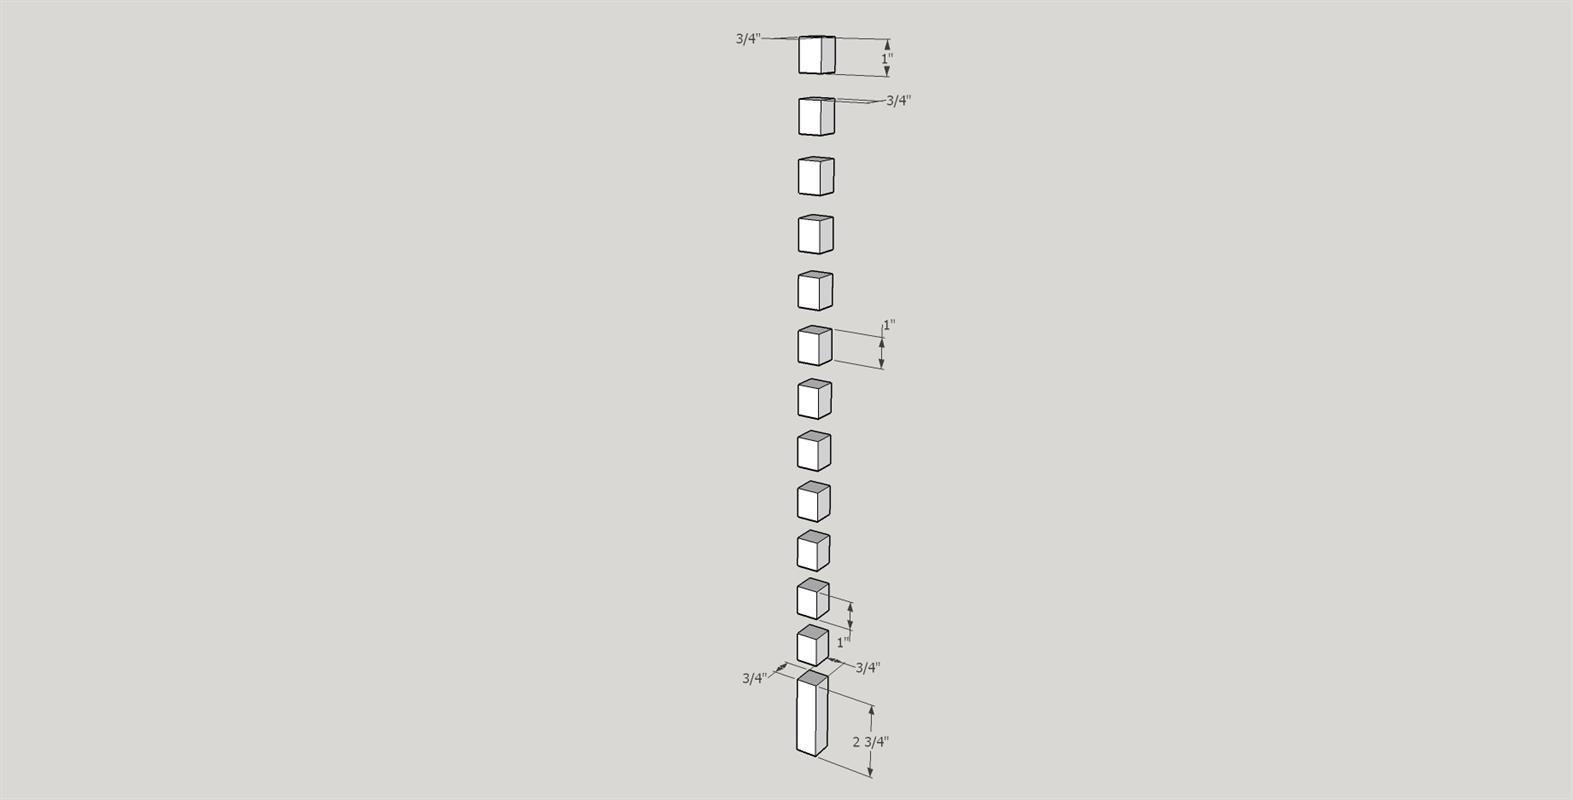
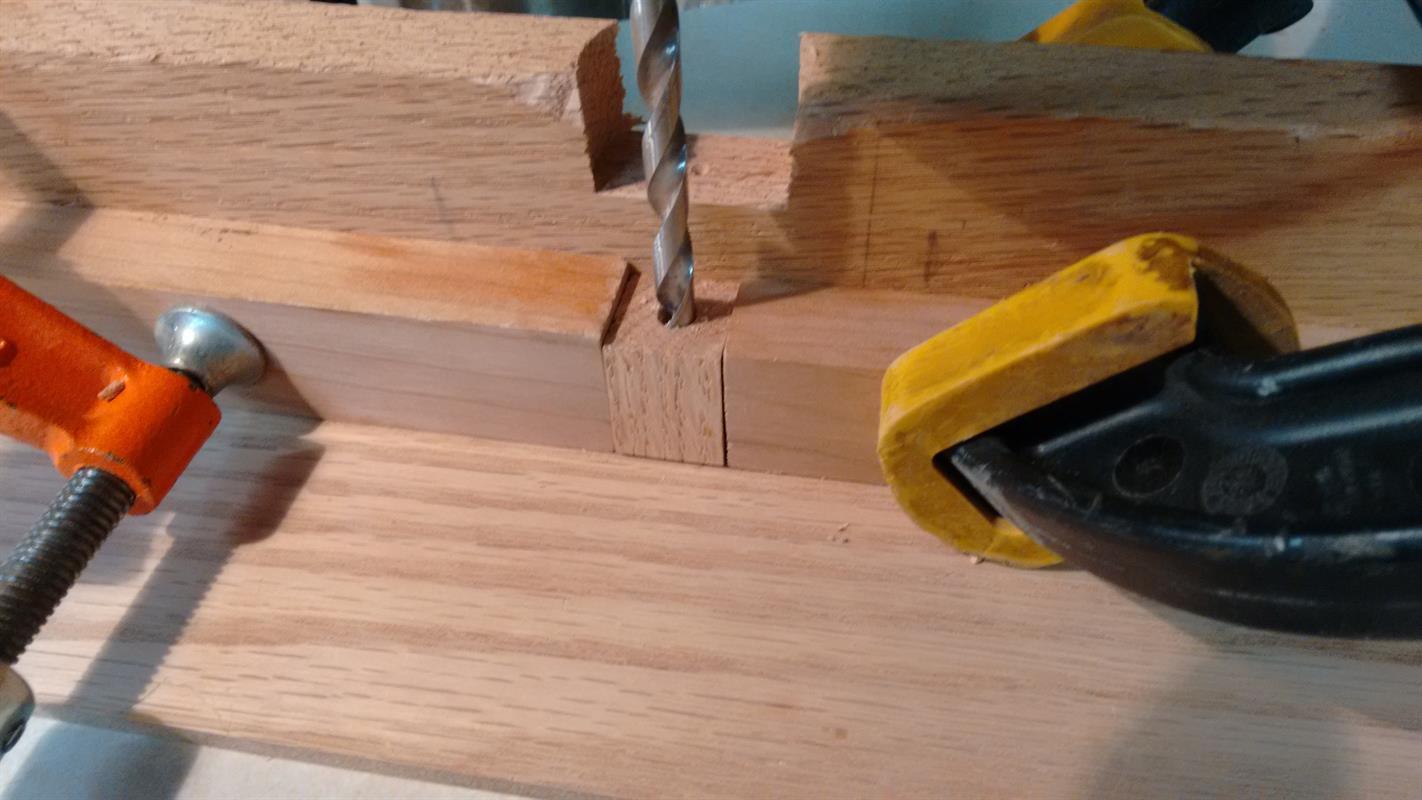
Using a drill press with a 1/4" bit put a hole in the center (top to bottom) of the 12 short spacers and the bottom spacer.
-
Countersink the top spacer
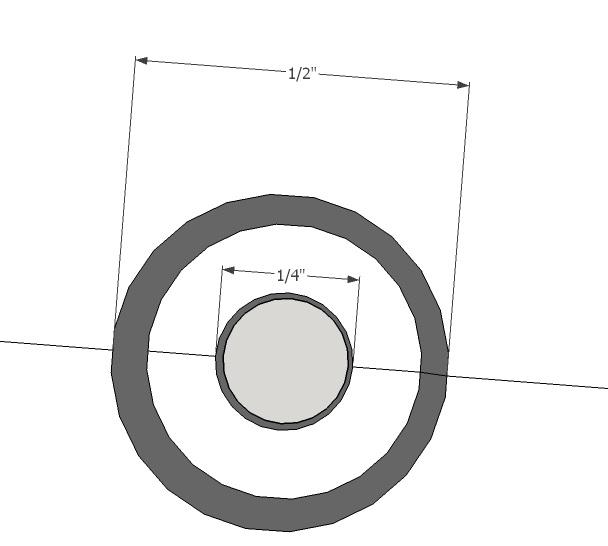
Using a drill press with a 1/2" bit make a 1/2" deep countersink in the top spacer. This will hold the upper lock nut.
-
Prepare the base
Once the base is dry, cut it to its 12" X 12" final dimension. Use a roundover bit, in your router table, to smooth all four edges of the base. On the bottom of the base use a drill press to first drill a 1/2" wide by 1/2" deep countersink and then a 1/4" hole through the exact center of the base.
-
Layout the upper stand
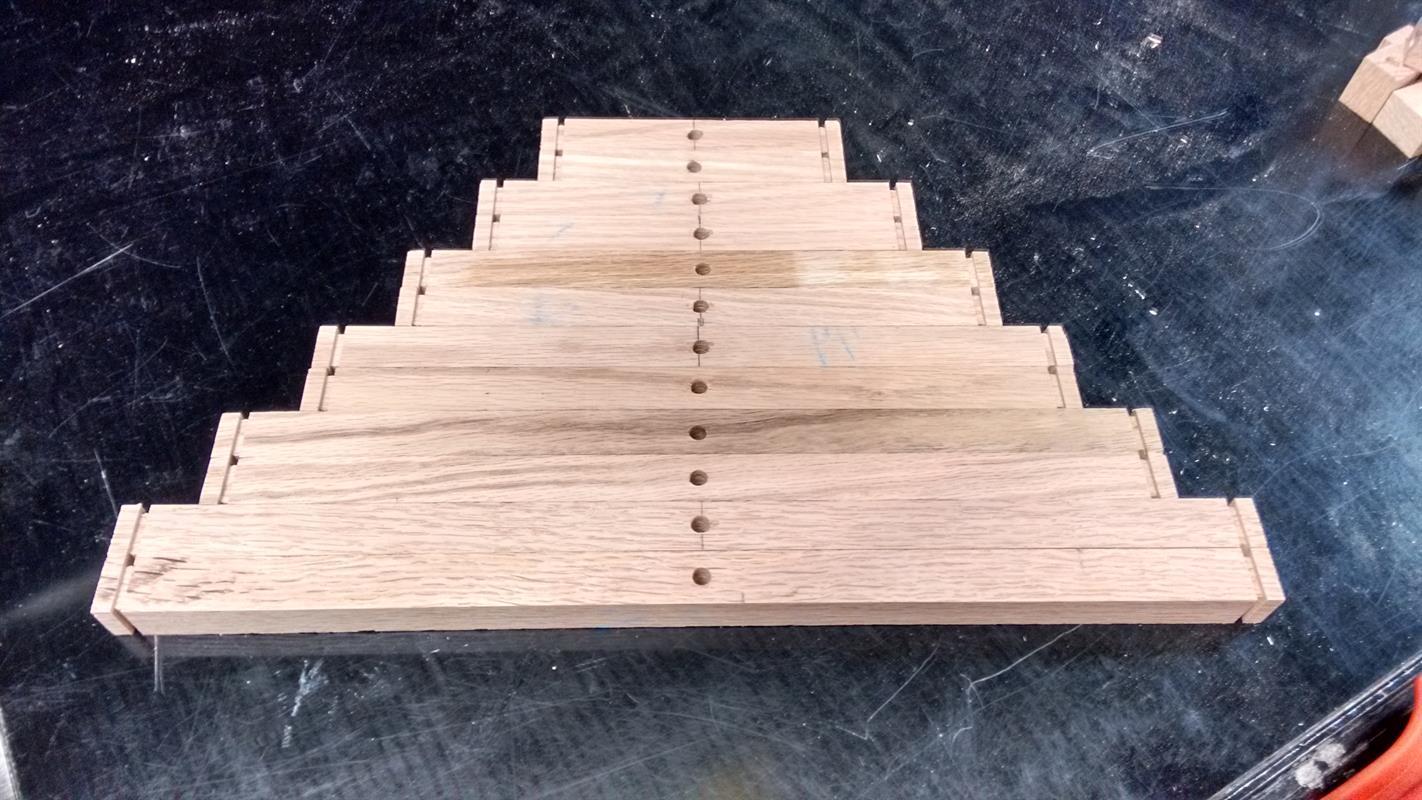
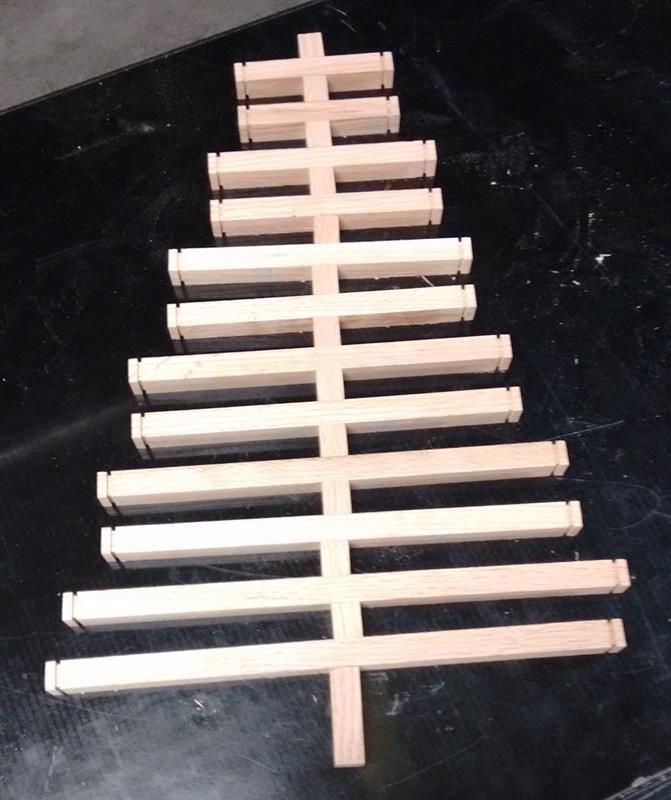
Layout the cross beams and spacers which make up the upper stand as shown in the following picture.
-
Assemble the stand
Put a locking nut on one end of the 1/4" threaded rod. Starting at the top of the upper stand begin sliding the end of the rod, without the nut, through the top spacer and cross beam - continue doing this until all cross beams and spacers are on the rod. Finish by sliding the rod through the 1/4" hole in the top of the base. From the bottom of the base place the other 1/4" locking nut on the end of the rod. Tighten the nuts until the assembly is held together and moving the cross beams requires some effort.
-
Sand and display the stand
Use 100 through 220 grit sandpaper to smooth out the surfaces of the stand. Now use your garland, candy canes, beads, bells, balls and ornaments to finish your holiday display.


