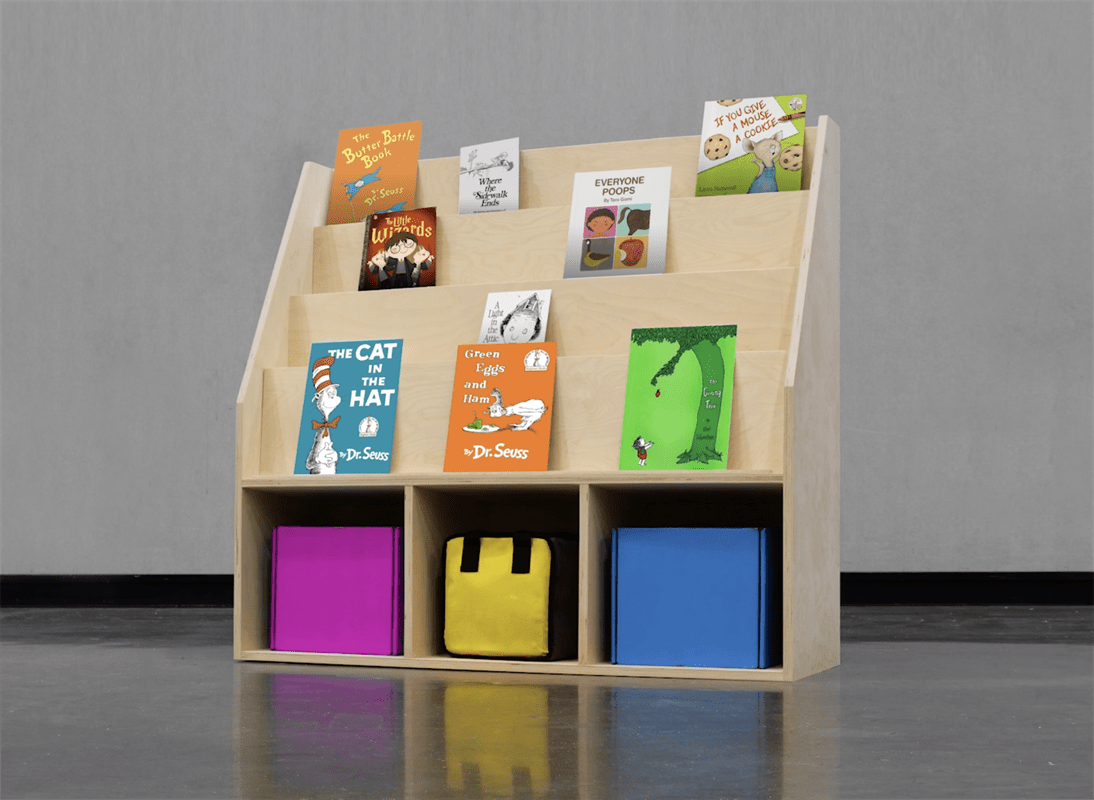
Children’s Bookcase
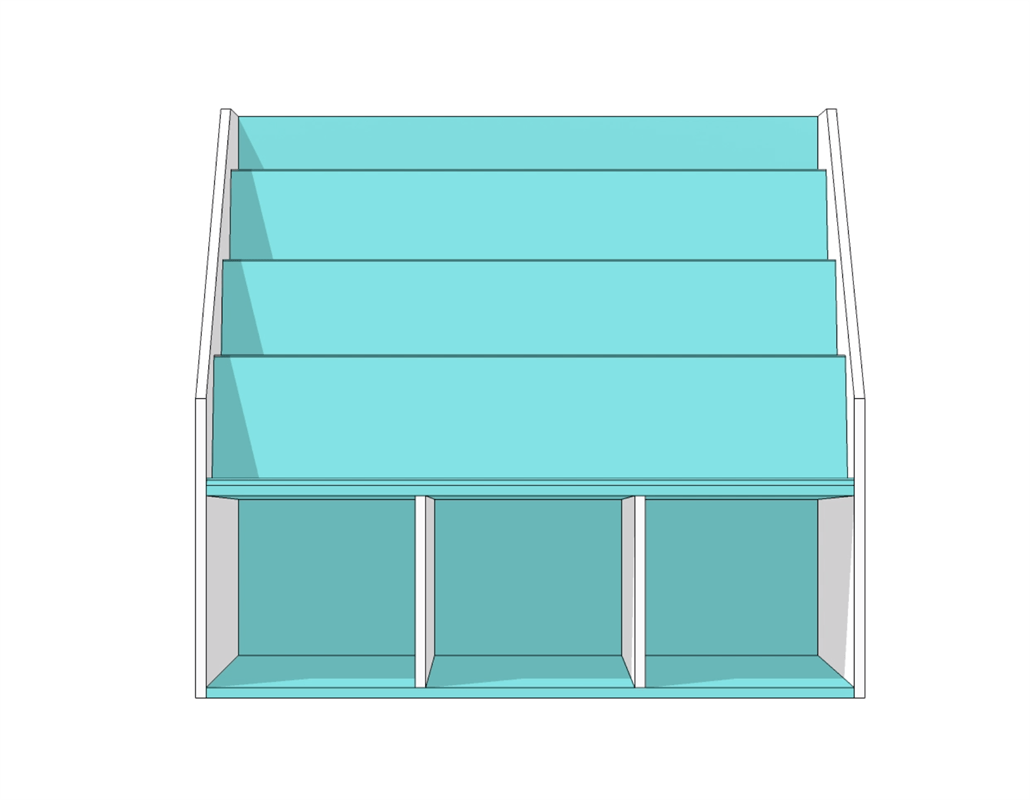
By Four Eyes FurnitureThis all plywood children's bookcase / library is a relatively simple DIY project that can be completed with limited tools. That said, it's a good skill-builder project as it incorporates a few angles and advanced technique in terms of order of operations.
Directions
-
Intro
Today we’re going to build this Children’s Bookcase / Library piece. If you’d like to watch the build video please visit the link below in the Extras section!
Tip:
If you plan on building this, I highly encourage you to watch the YouTube video first. It is much better at explaining the small details of this build. Link in Extras.
-
Rough Breakdown
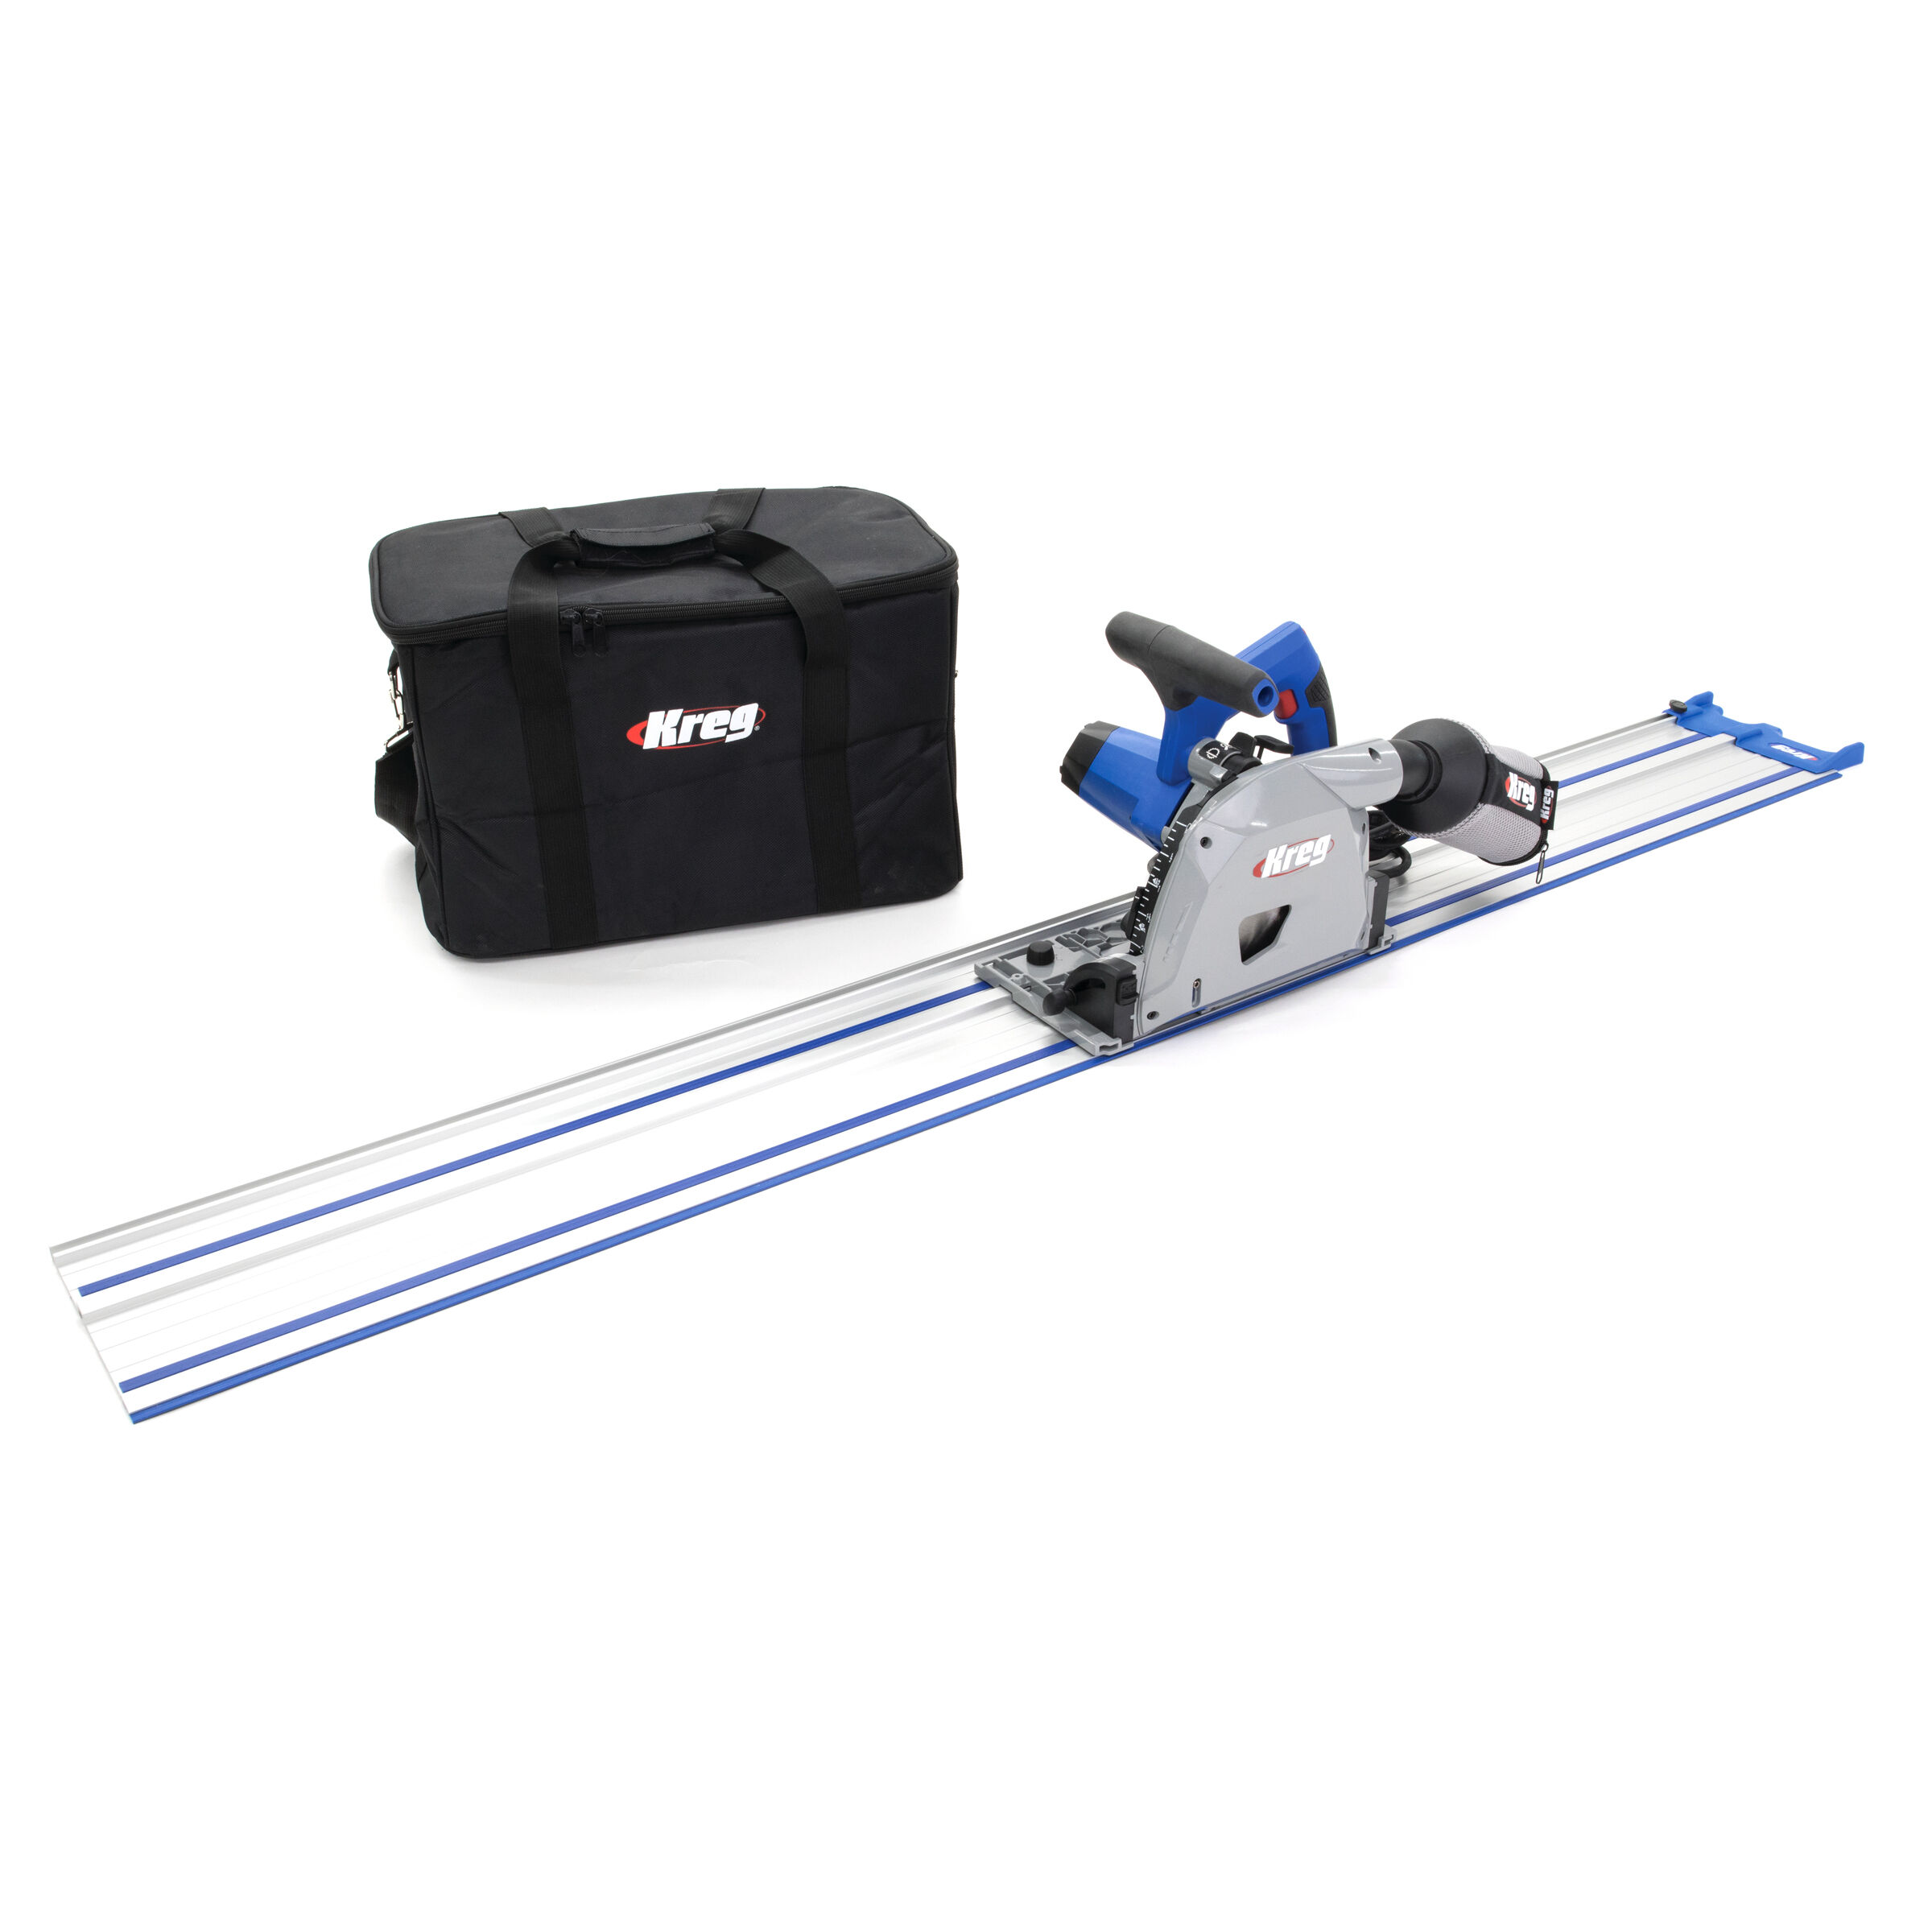
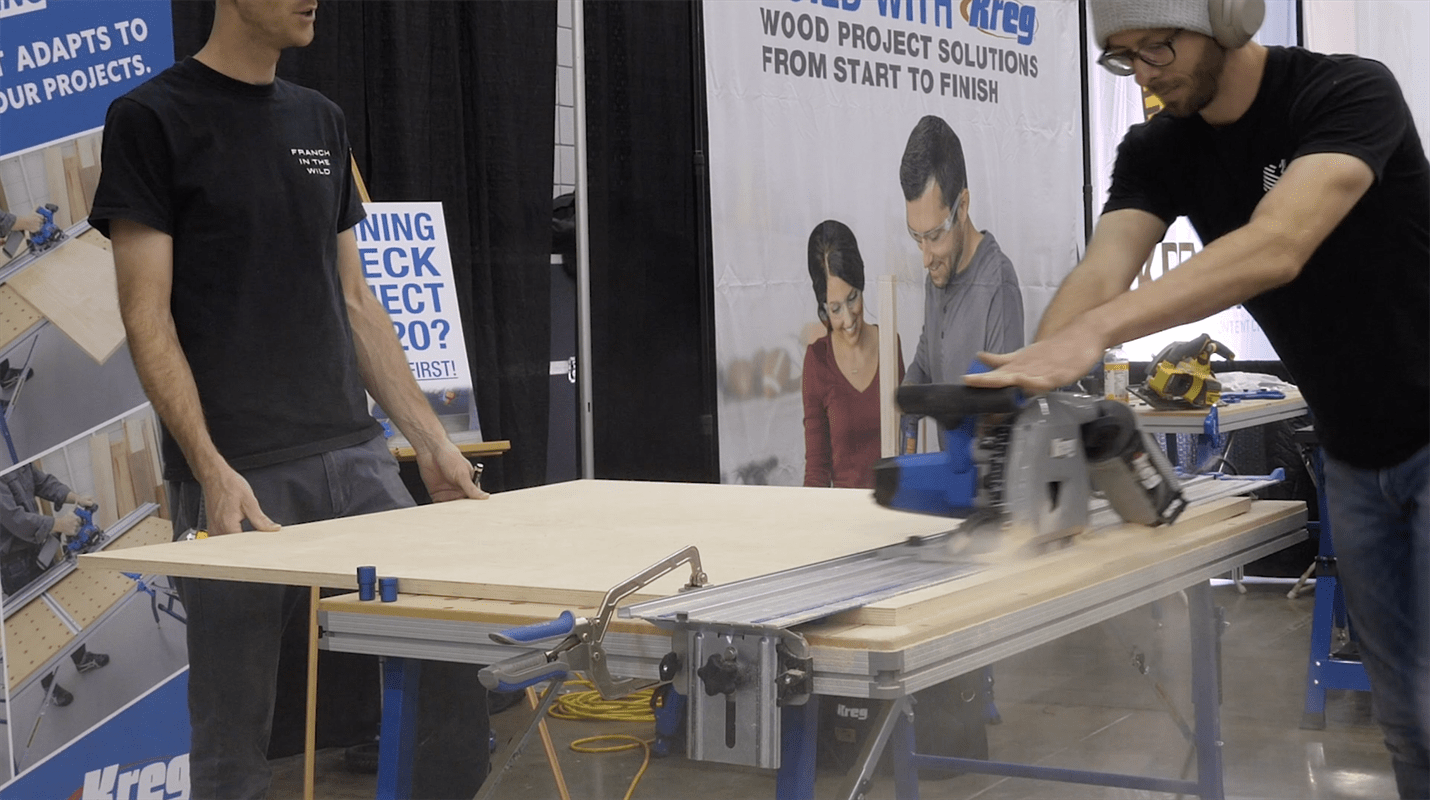
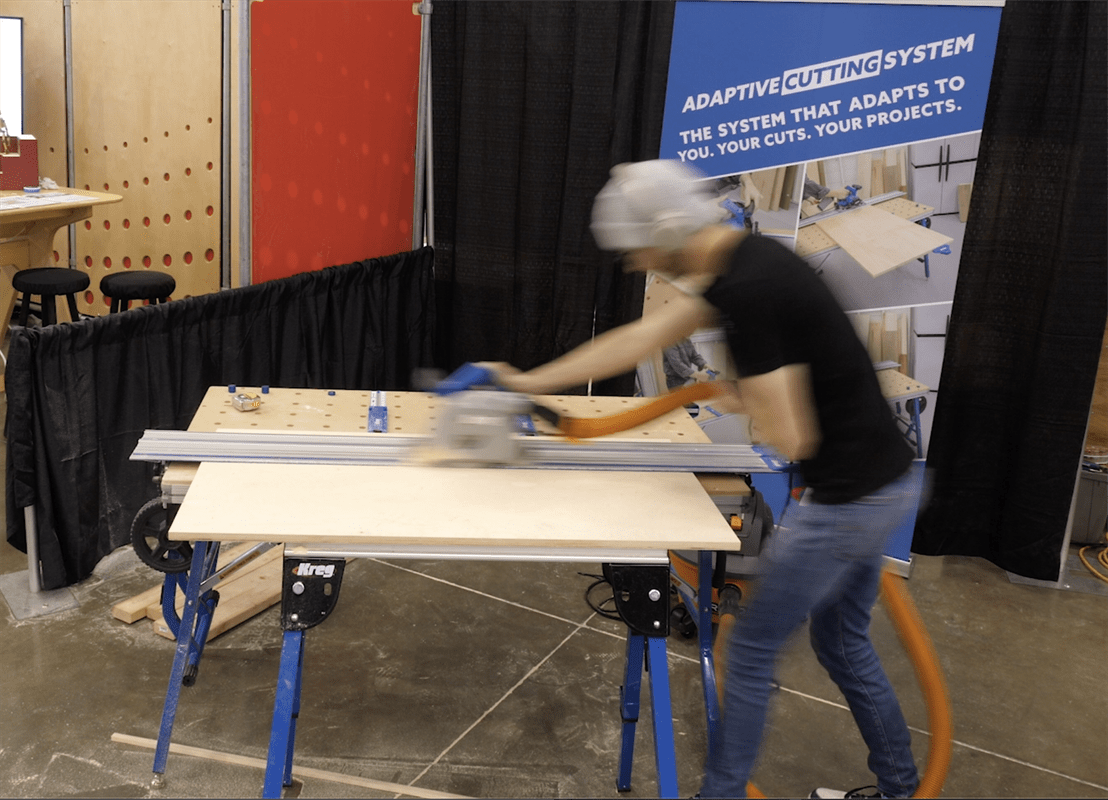
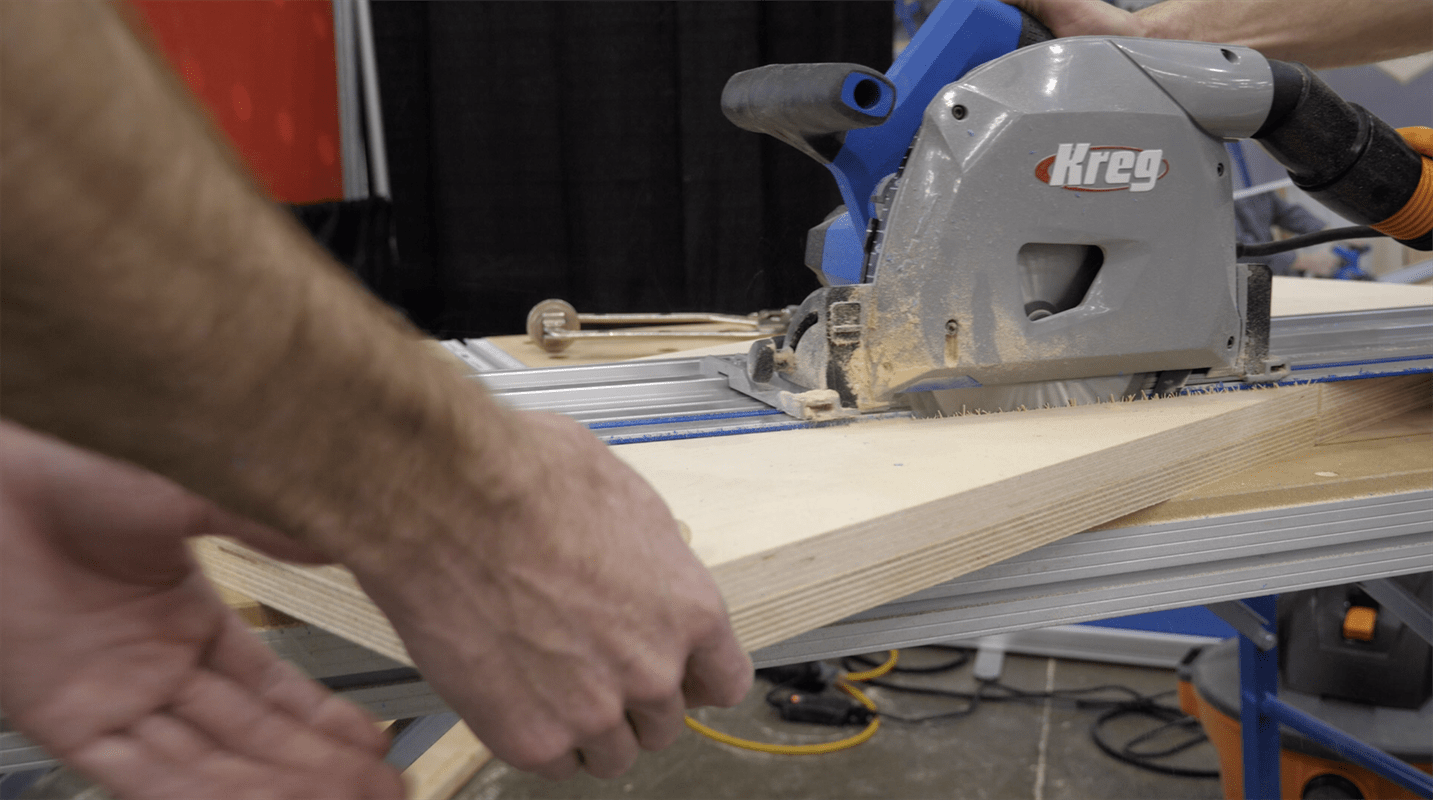
I started by cutting all of my sheets down a bit so that I could work with them on the Kreg ACS. It just so happened that I was using 5x5 sheets of baltic birch plywood. I normally use 8x4 sheets, which would have made this step unnecessary. That said, if you’re not using the ACS, you wouldn’t have to do this step either. You’d start from Step 3.
-
Cut Two Sheets to Length
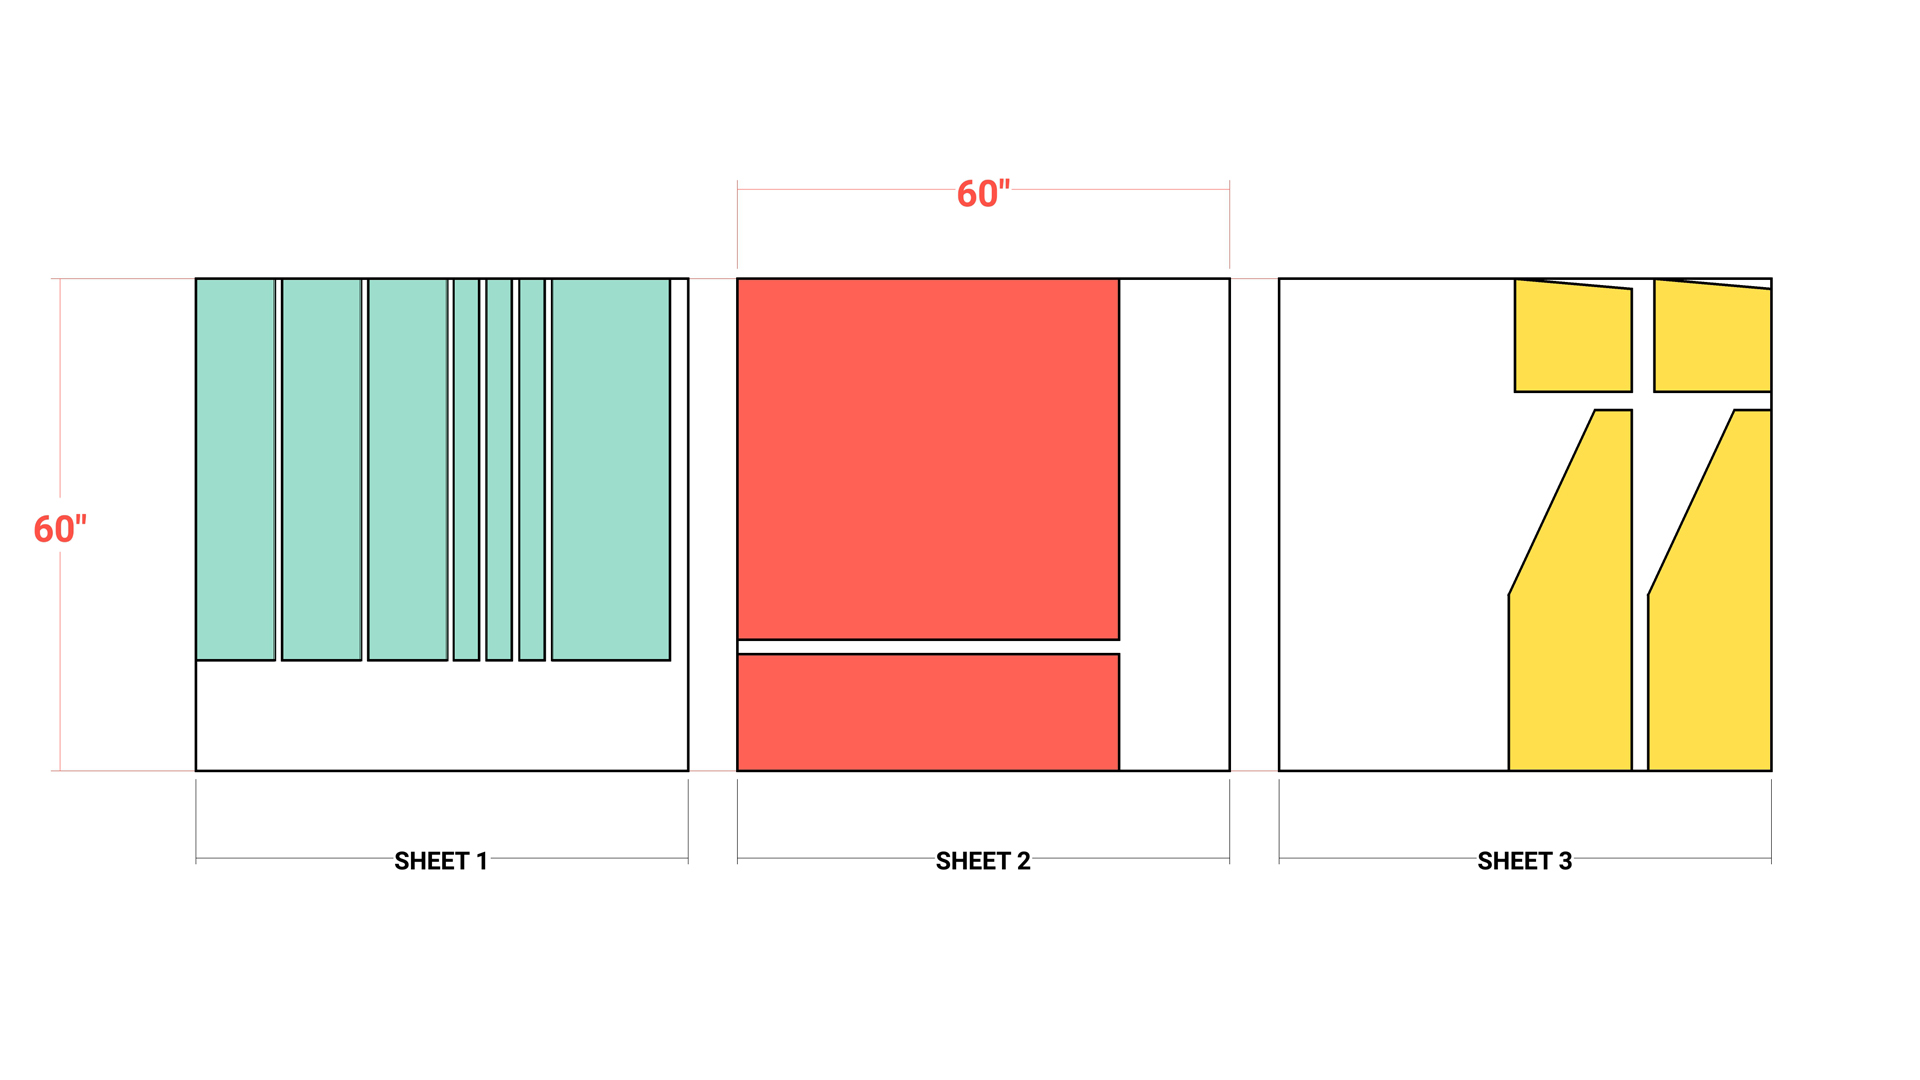
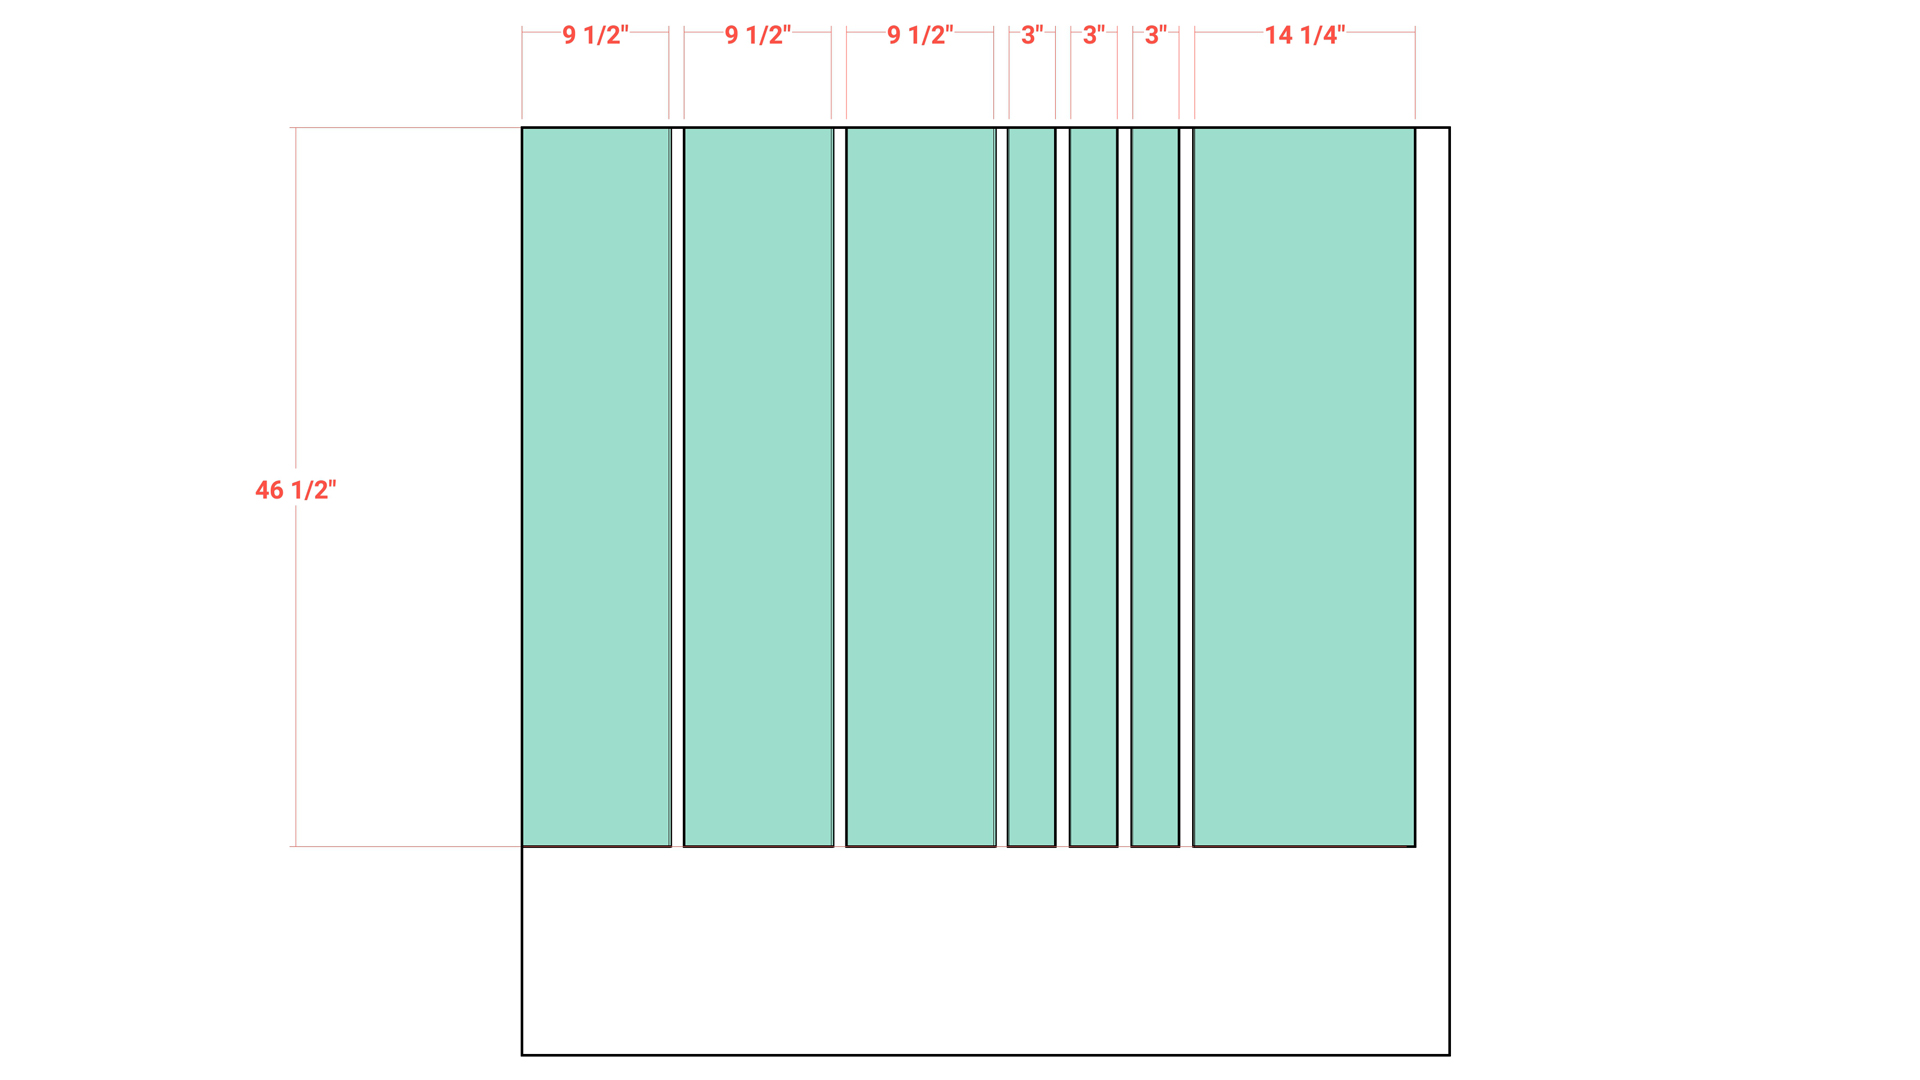
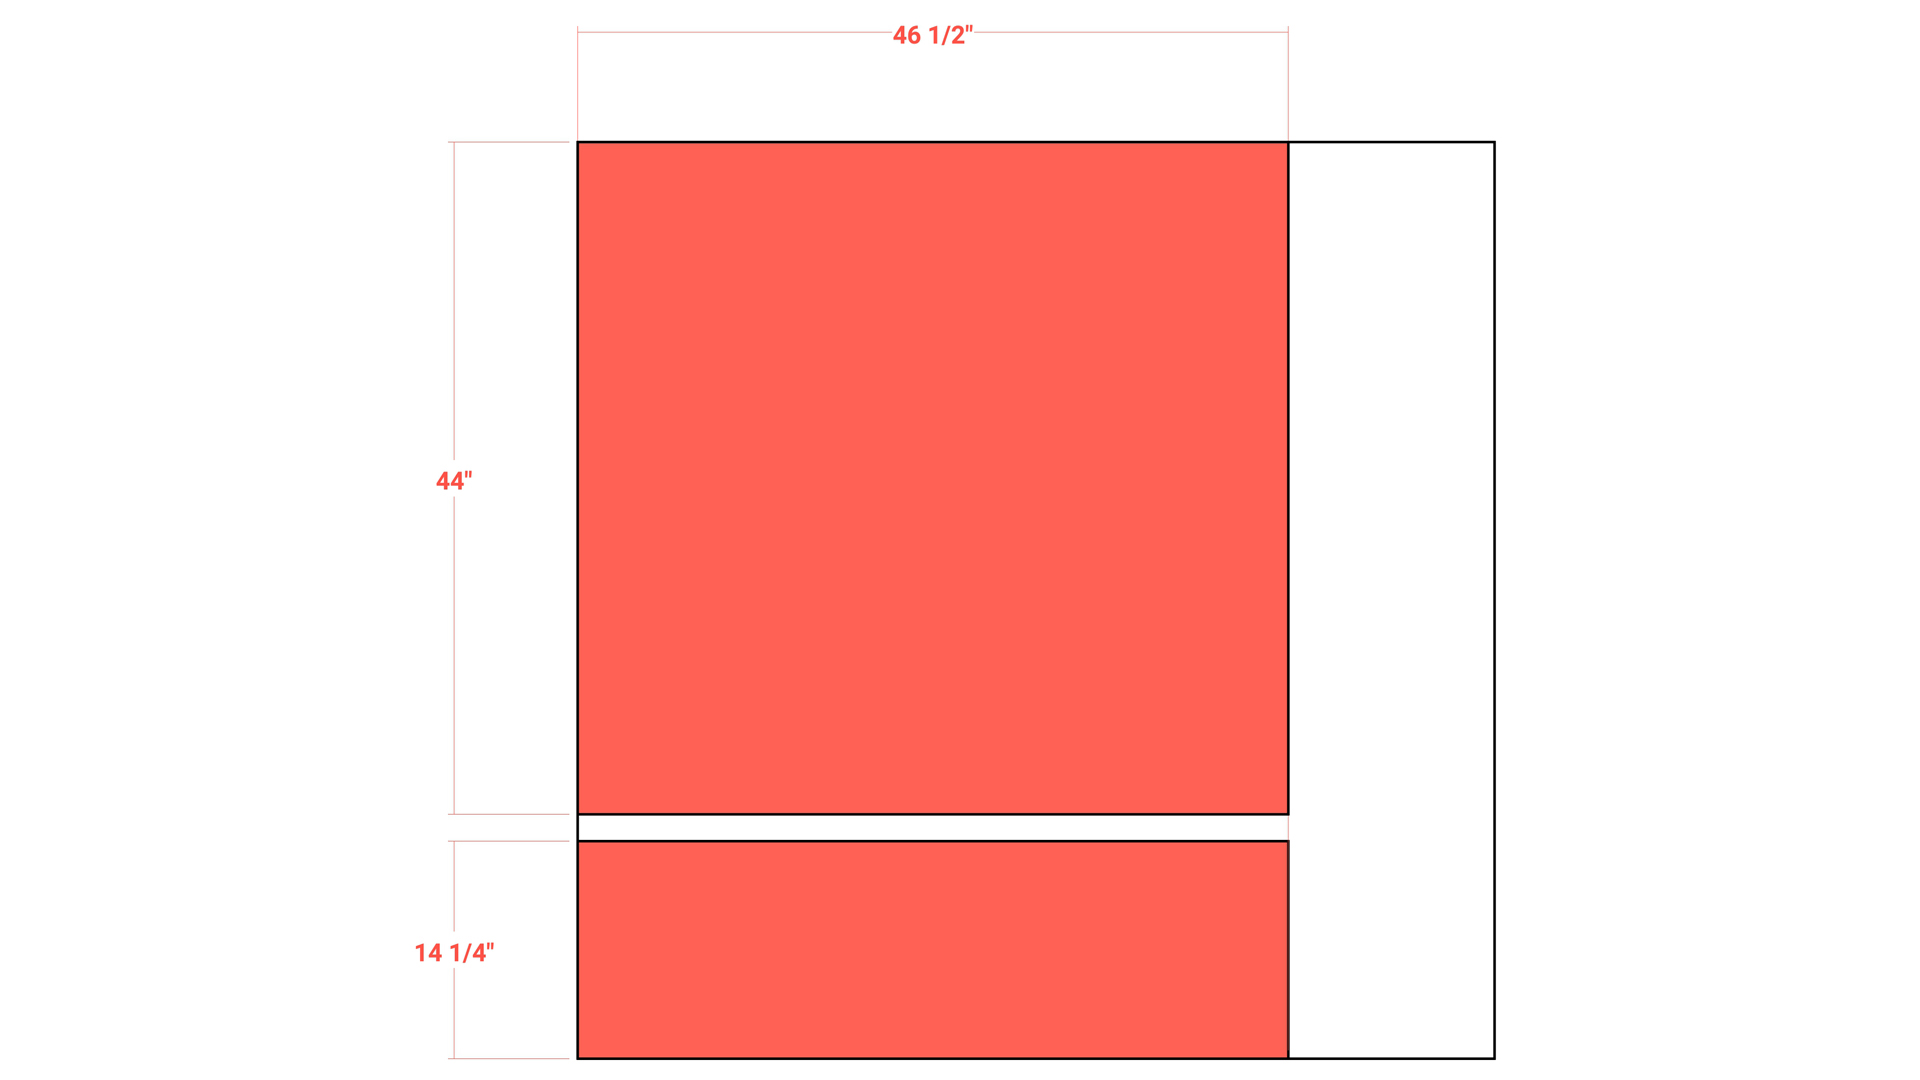
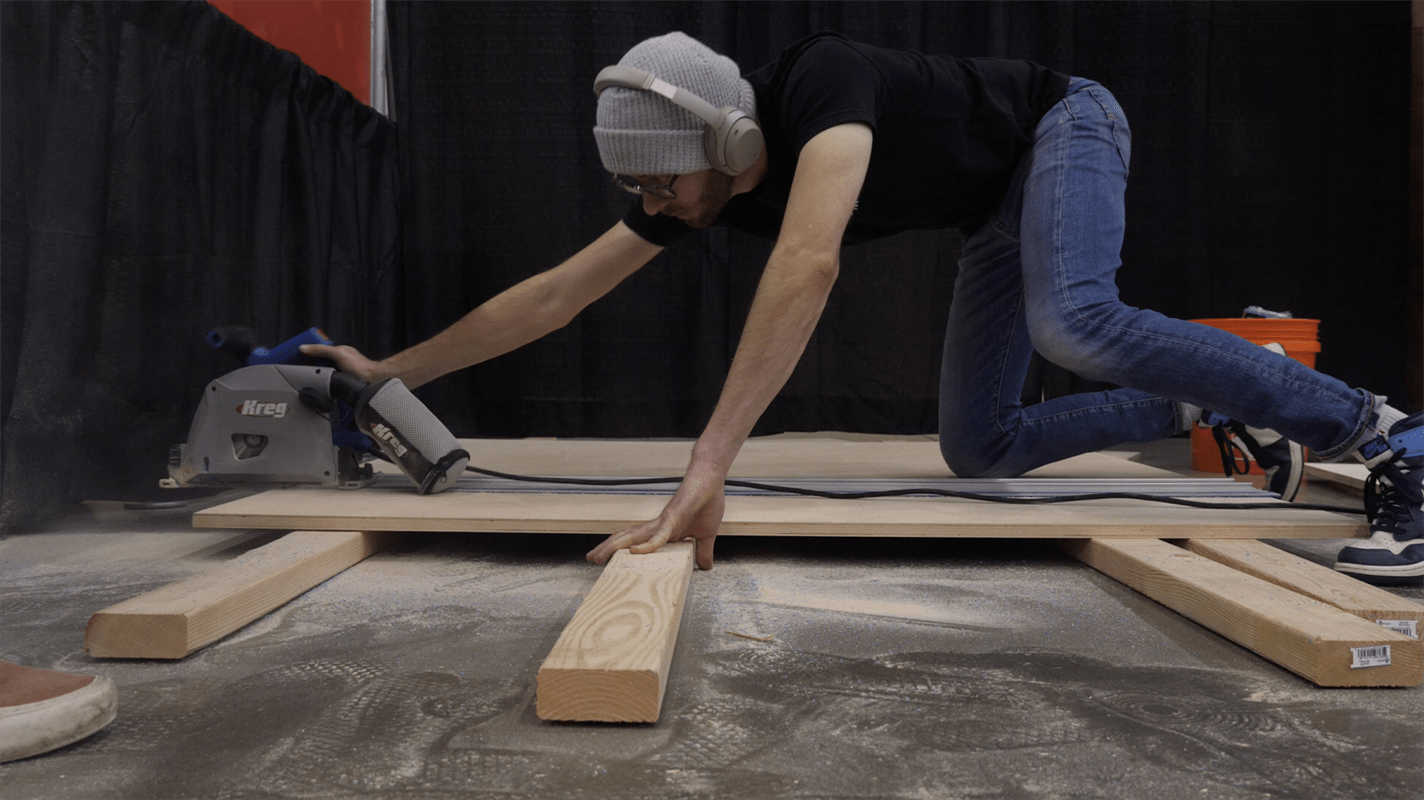
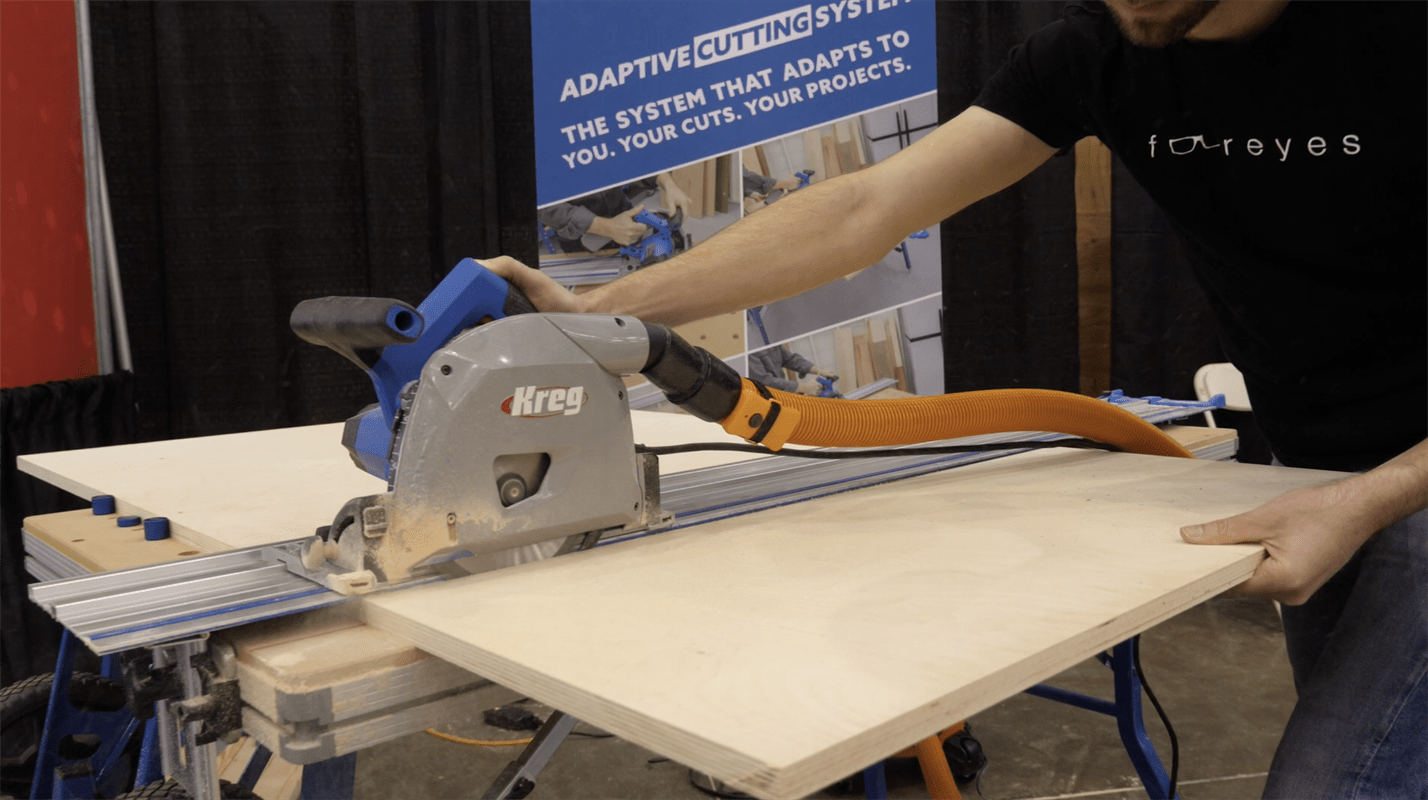
The first crucial step is to cut two of my sheets to a finished length of 46.5”. From these sheets I will get my 3 shelf back pieces, 3 shelf bottom pieces, the top and bottom panel for the cubbies, and the back panel. In other words, everything except for the two side pieces, and two vertical partitions that form the 3 cubbies.
-
Ripping All Pieces pt.1
Next we can rip out all of the pieces whose length we just cut to 46.5”. In this picture you can see all of the blue pieces that share this same length.
-
Ripping All Pieces pt.2
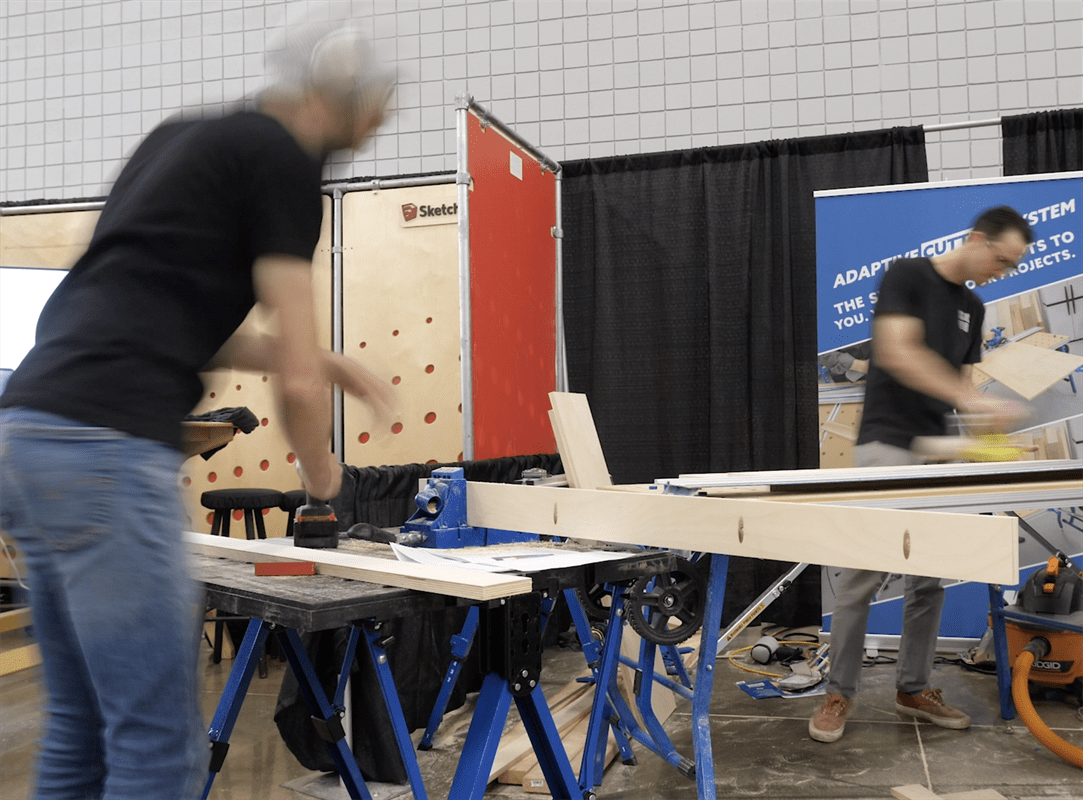
Here we’ll have to set the fence a few times to cut some identically sized pieces. Our 3 shelf backs will be 9 5/8”, our 3 shelf bottom pieces will be 3 1/16” (note leave 1 wide for now, as it will need a bevel on one edge. Our back panel will be 44”, and our bottom and top cubby panels will be 14 1/4” (note: leave 1 wide for now, as it will need bevels on both ends)
-
Cutting Bevels
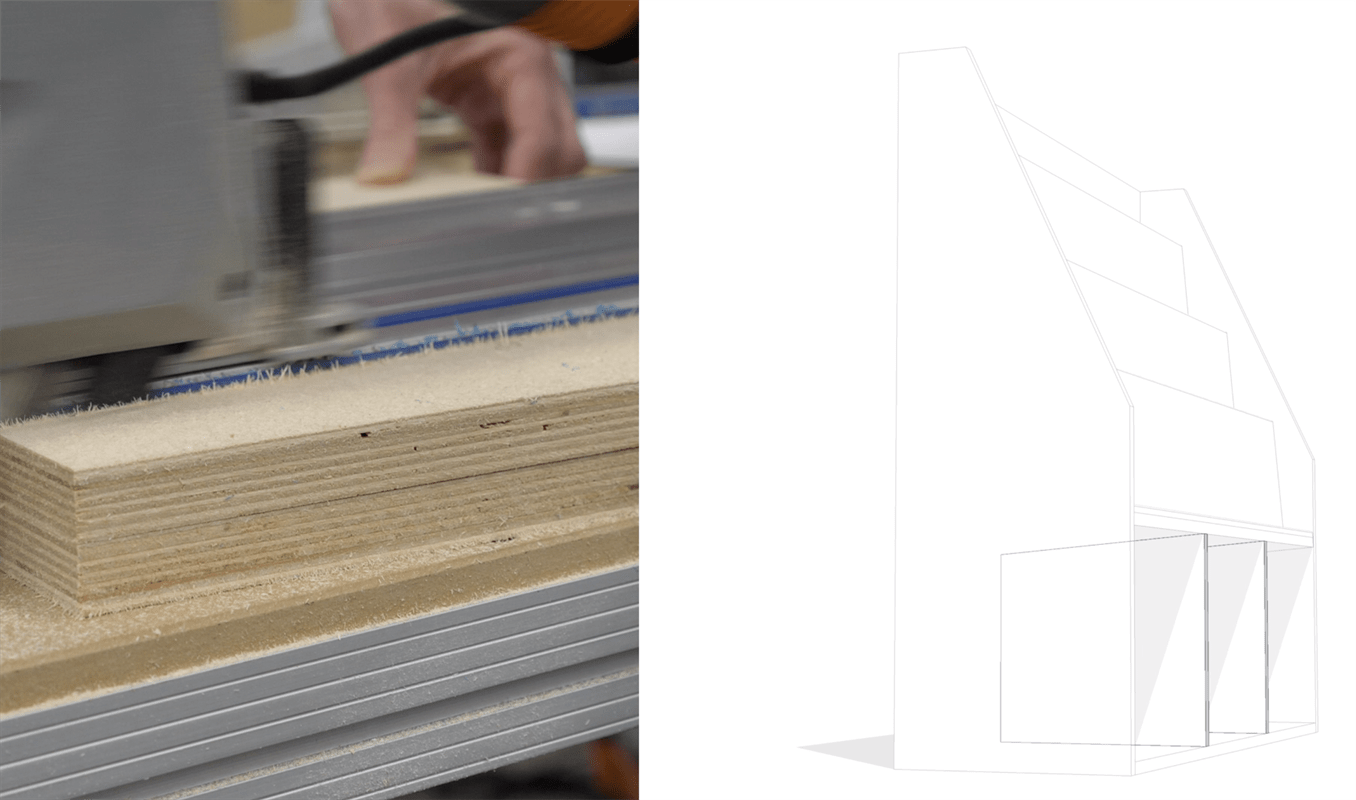
Title your saw blade to 5 degrees to cut bevels along 1 shelf bottom piece, and the top cubby panel. This will make it so the shelves lean back at 5 degrees, and books don’t tip off of them. The Shelf bottom piece only needs a bevel on 1 edge and should be a finished width of 3 1/16” on the longer face, and the other panel needs a bevel along both edges to form a parallelogram and should be 14 1/4” wide across the faces.
-
Side Pieces and Vertical Partitions
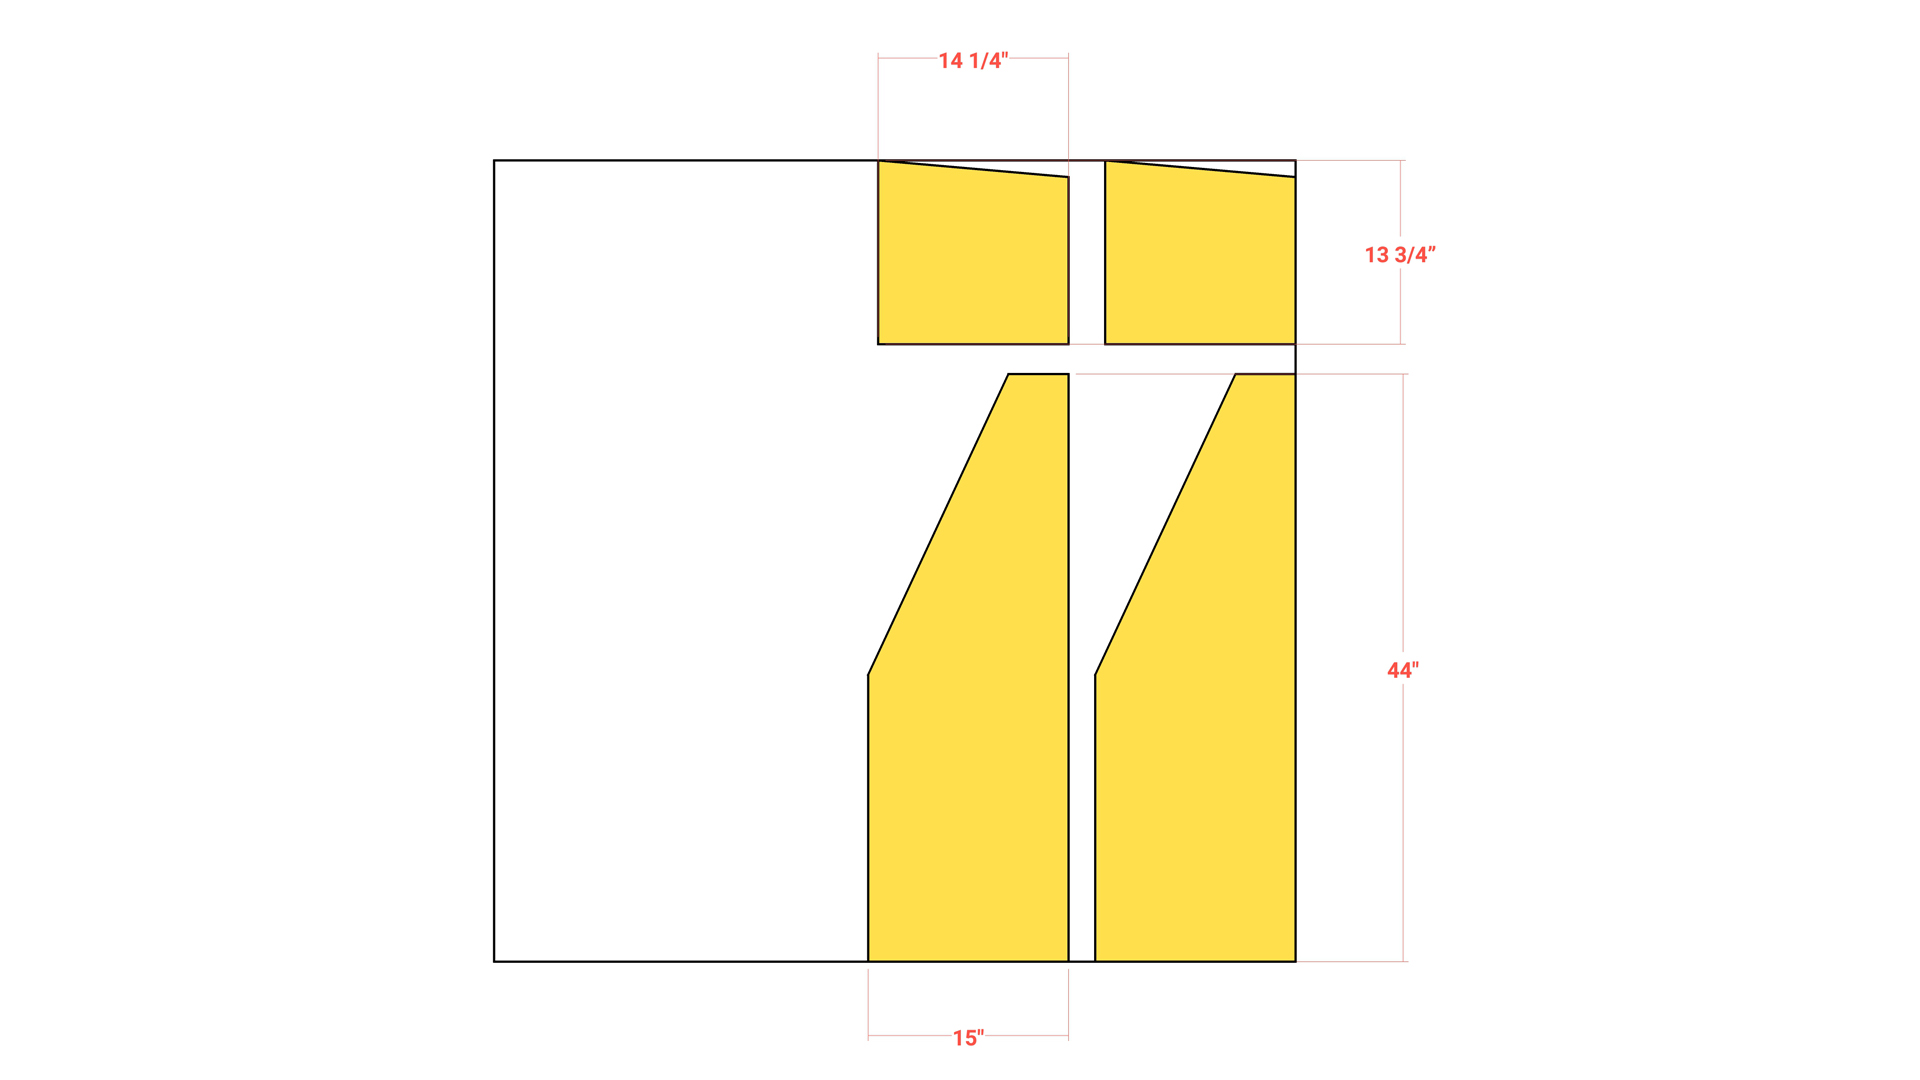
Start by taking your remaining sheet of plywood and ripping it into two strips that are 15” wide. Then Set a stop block at 44” and cut each strip at this length. From each strip you’ll be able to get 1 side piece and 1 vertical partition. NOTE: you should also wait until this point to cut your back panel to length since they should be the same, and you’d only have to set up your stop block/fence once to make them identical.
-
Mark Angle for Side Pieces
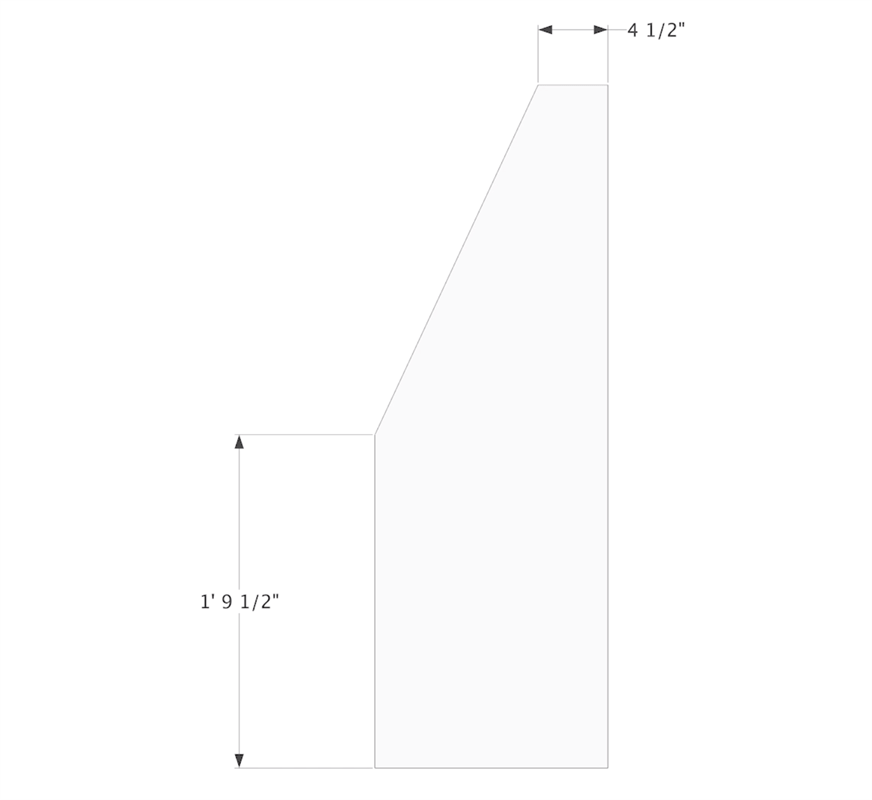
Measure up 21 1/2” from the front, bottom… and in 4 1/2” from the back, top corner. Connect the marks to mark a line where you’ll remove material from the front, top corner of each side piece.
-
Make angled cut
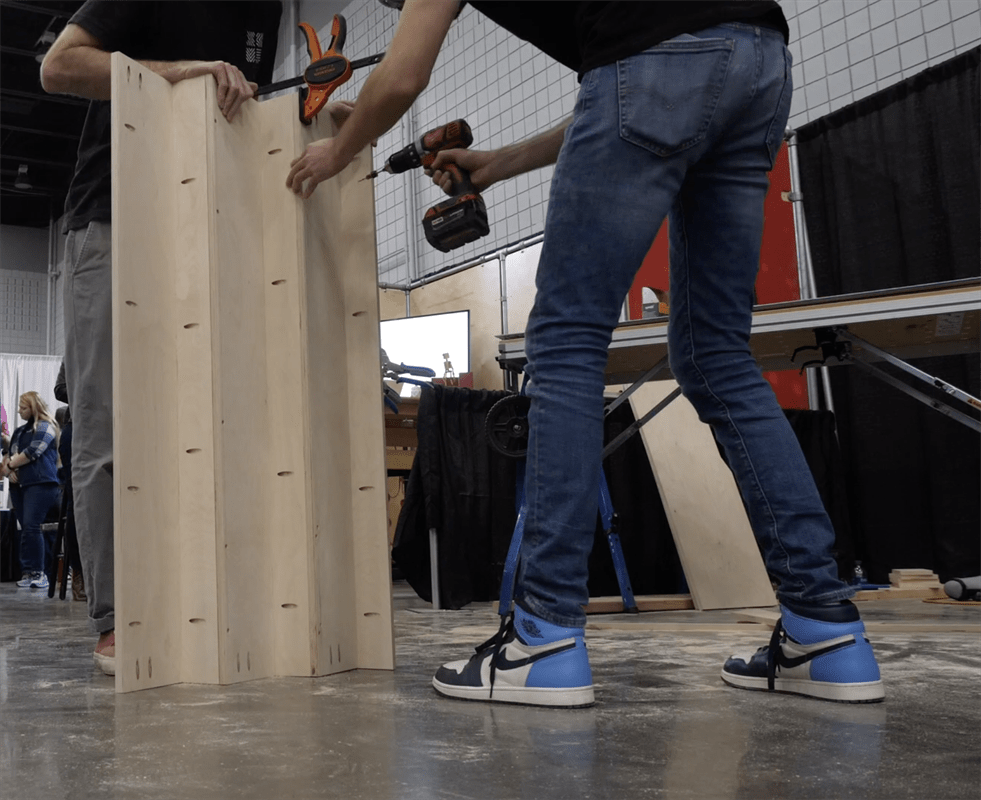
Since we want these pieces to be identical, I’m going to clamp them together so that I can cut both at the exact same time.
-
Make a 5 degree cut
Next we’ll do the same thing where we batch cut a 5 degree angle along the top edge of our vertical partitions. These pieces should be 14 1/4” tall on their high side, and 13 3/4” wide.
-
Drill Pocket Holes
Next we’ll need to drill a lot of pocket holes. I’m going to put 4 along the front edge of each of the shelf bottom pieces, 3 along each end of each of the shelf back pieces, 3 along the ends of the bottom panel piece (from the underside), 3 along the ends of the top panel piece (from the top side, they will be behind the bottom shelf and not visible once assembled, just make sure to place them no closer than 5 inches to the front edge), and 5 going up each edge of the back panel from the back side.
-
Attach Shelf Bottoms to Shelf Backs
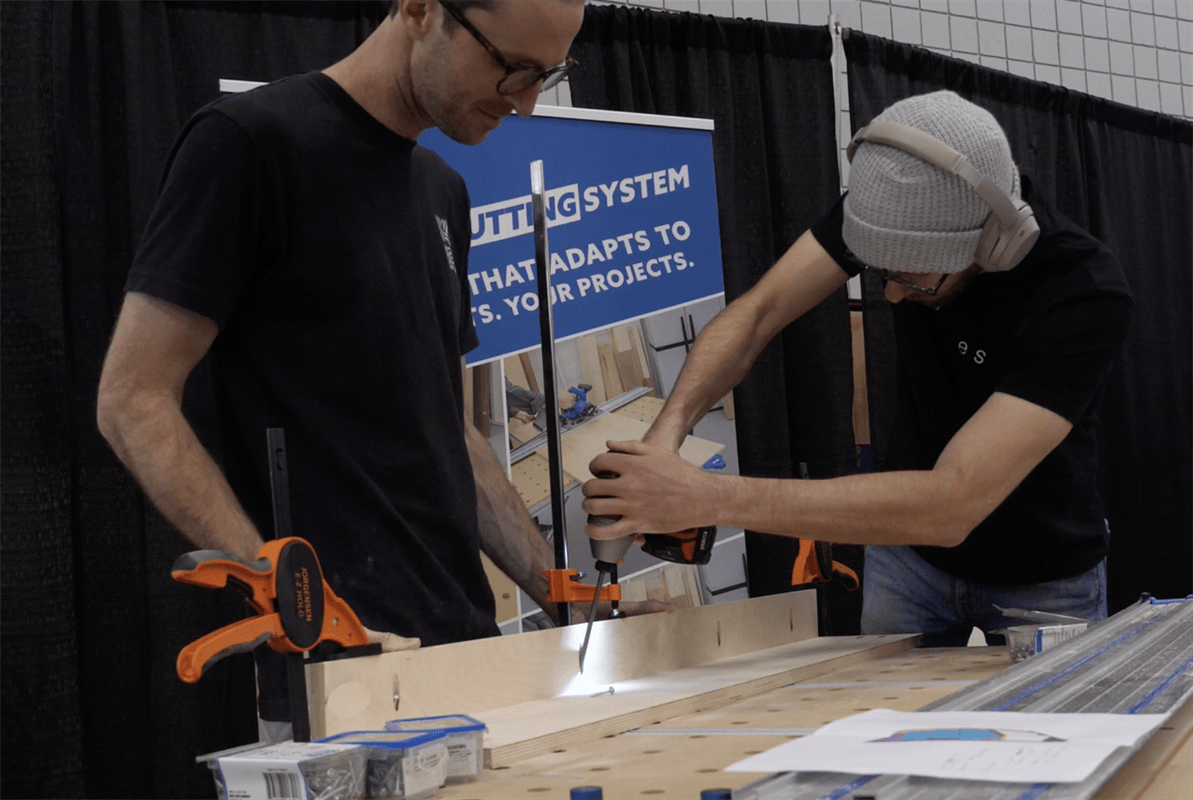
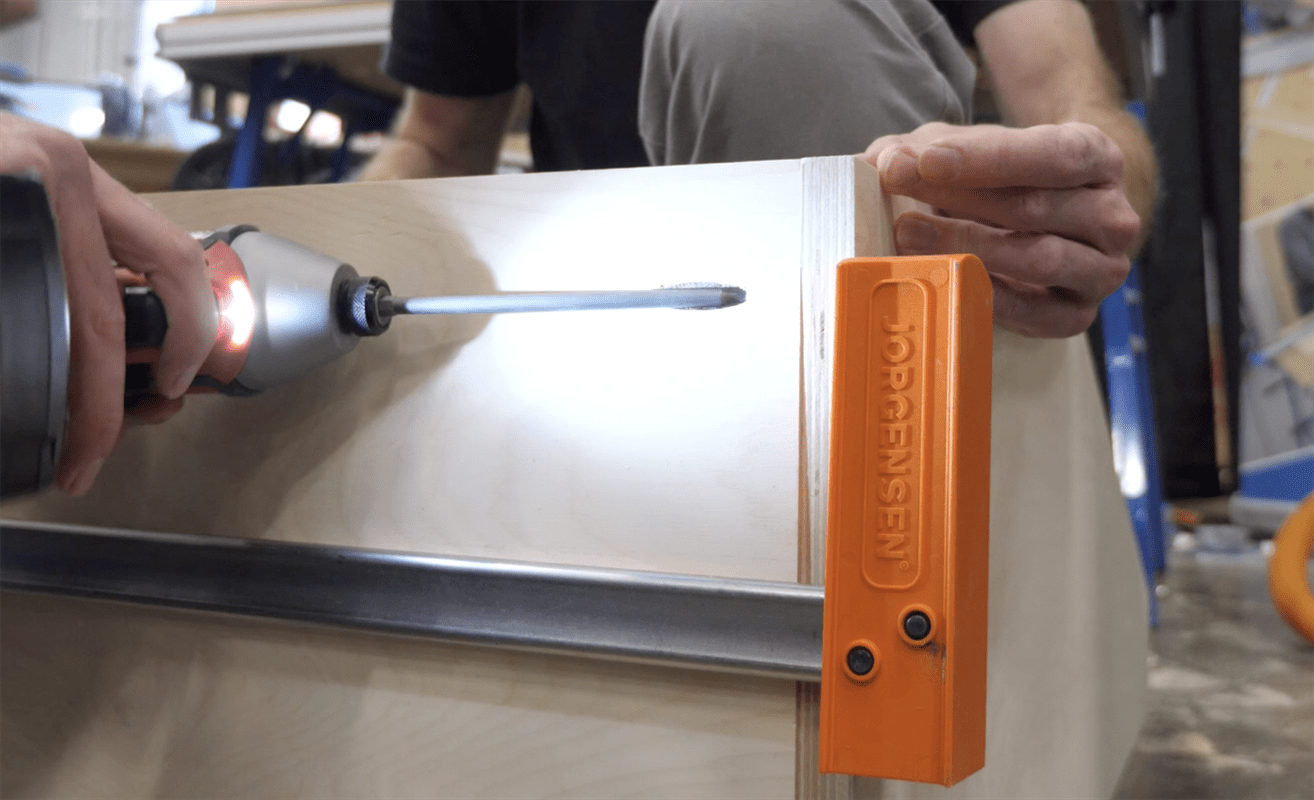
Next we can attach the shelf backs to the shelf bottoms. I struck a line 2 inches from the top of each shelf back piece (2" you marked proud of where you attach the shelf), clamped the shelf bottom piece on, and screwed them together. After you finish this you’ll have some “L” shaped subassemblies.
Tip:
Referenced in the video at 4:50.
-
Assemble Shelves Subassembly
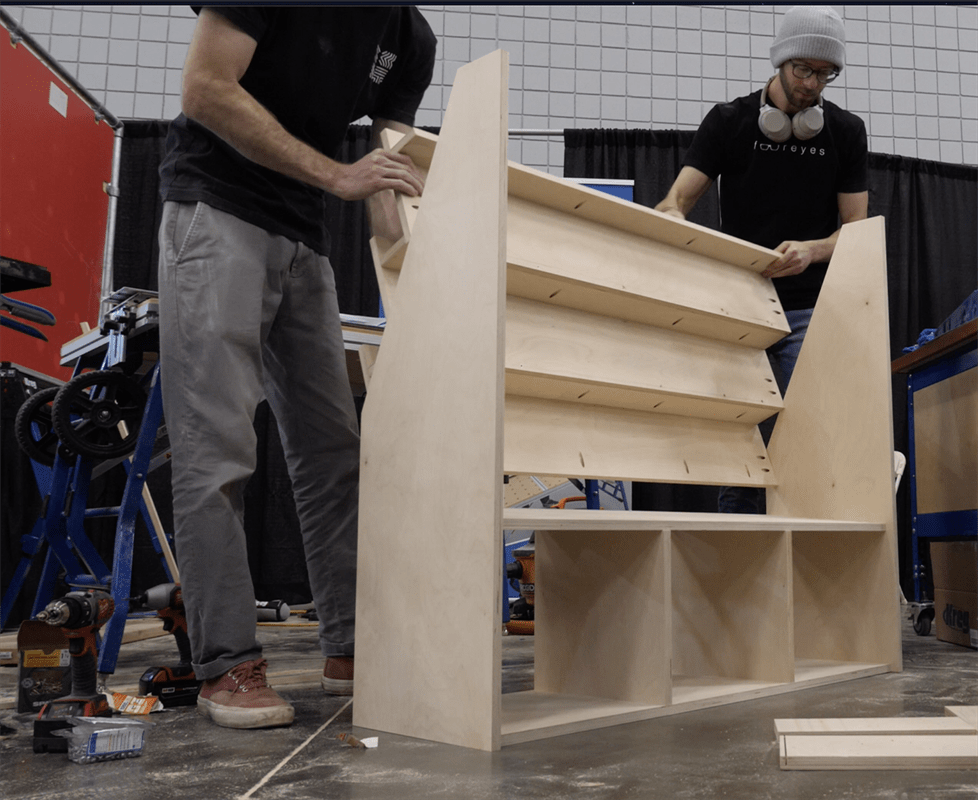
Now we can attach our “L” shaped subassemblies by pre-drilling and countersinking a few screws that go through each shelf back into the corresponding shelf bottom piece. You should end up with a “stair shaped” Subassembly
-
Attach Vertical Partitions
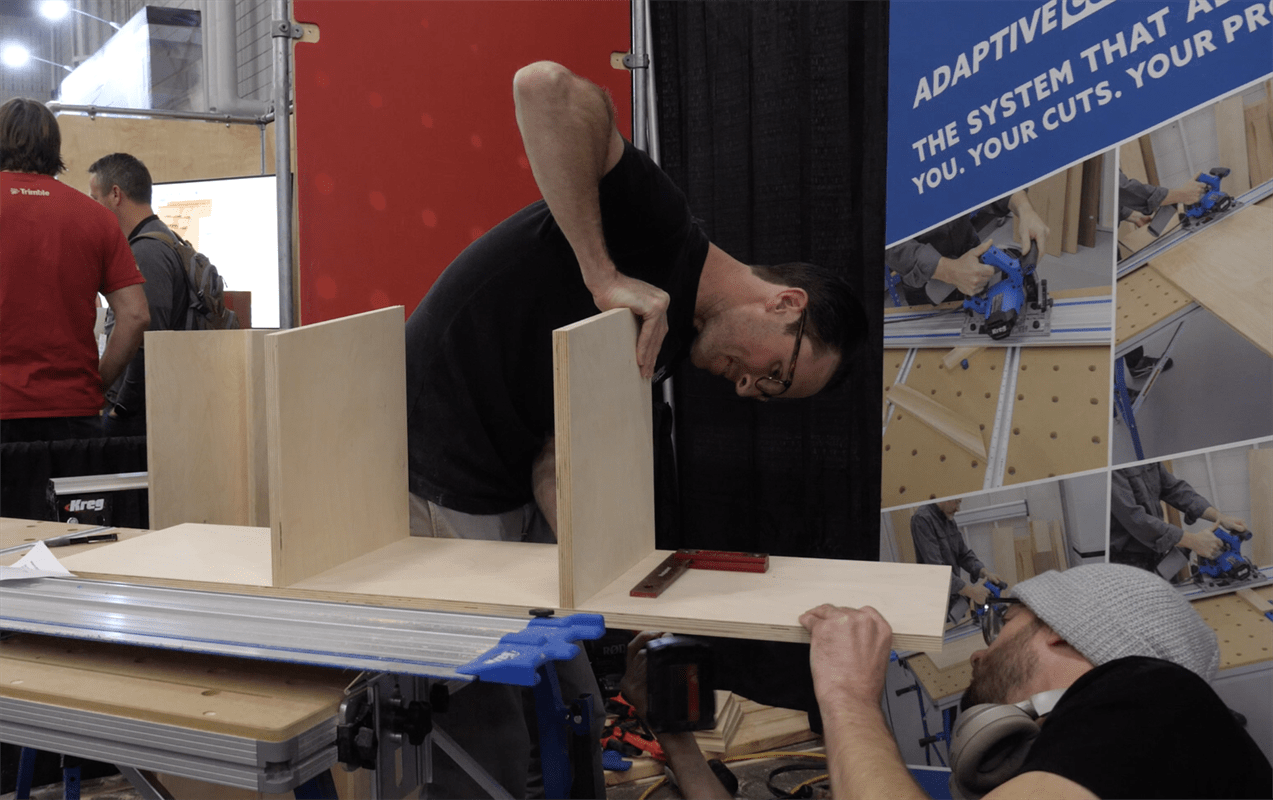
Next we’ll attach our vertical partitions to our bottom panel, again by pre-drilling and countersinking two screws into each partition. Try your best to make each of the 3 cubbies equal sized.
-
Attach Side Pieces to Bottom Panel
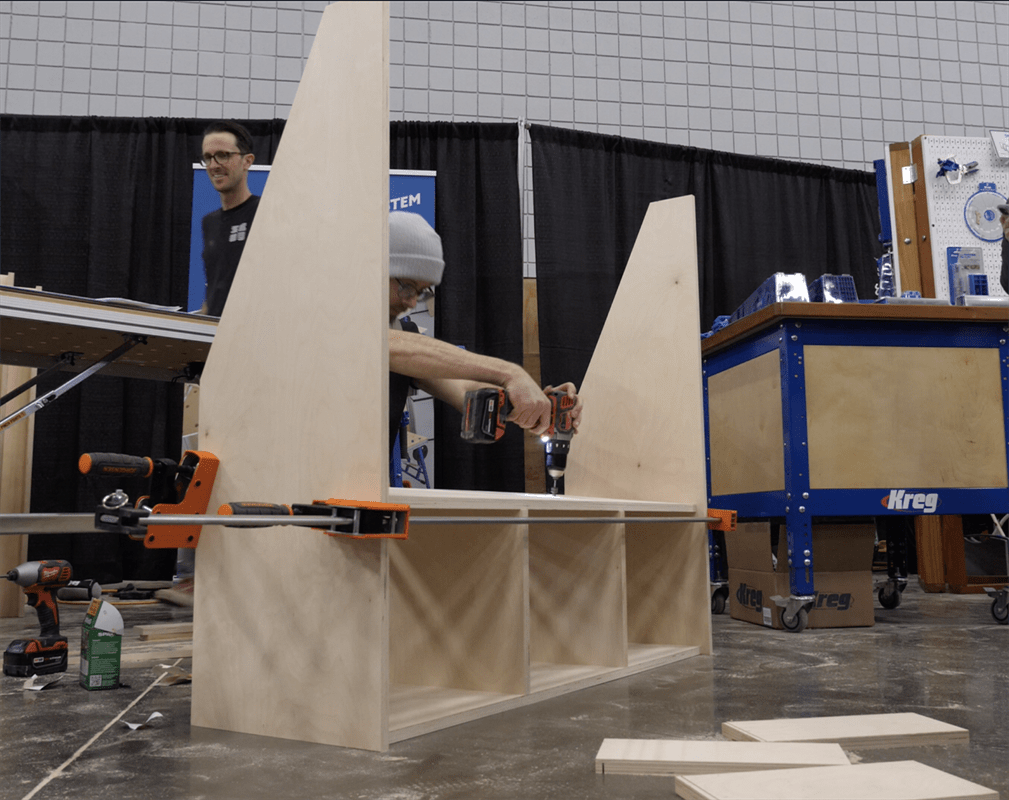
I recommend using some long clamps to sandwich your bottom panel in-between your two side pieces, then attach them using the pocket holes we drilled in Step 11
-
Attach Top Cubby Panel
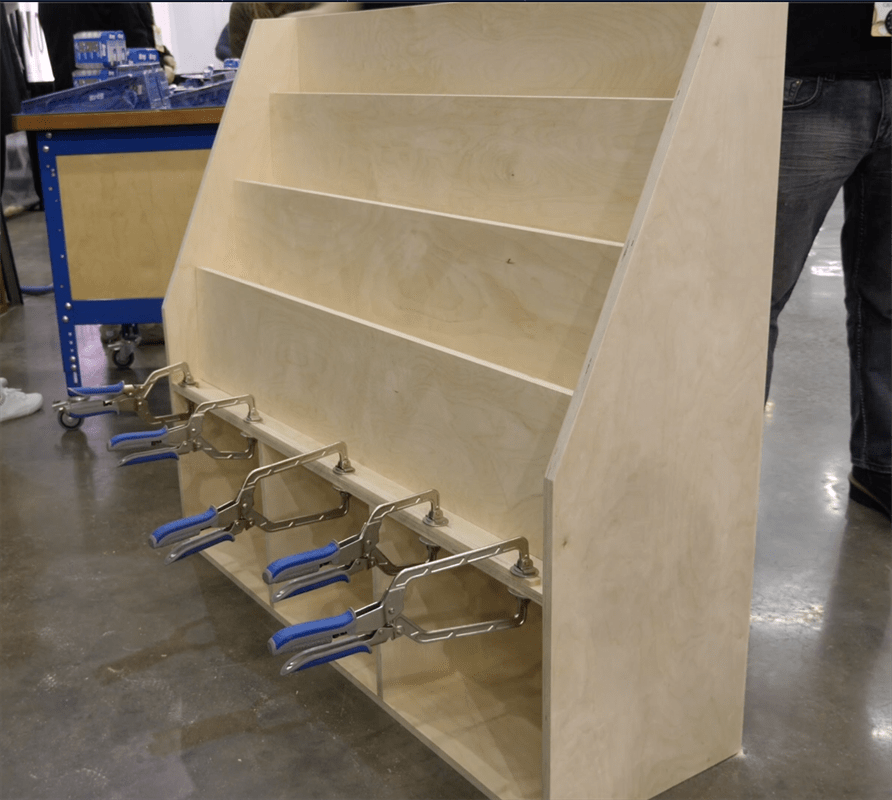
To attach the top panel, again use clamps to hold the sides in as you attach the ends with pocket screws, then pre-drill and countersink two screws into each of the vertical partitions from the top.
-
Attach “Stairs” Subassembly
Next use the pocket holes to attach the “stair shaped” subassembly. Position it so that the top shelf bottom is inset from the back edge of there vertical side piece by 3/4 of an inch. Use clamps to help hold things together as you drive the screws.
-
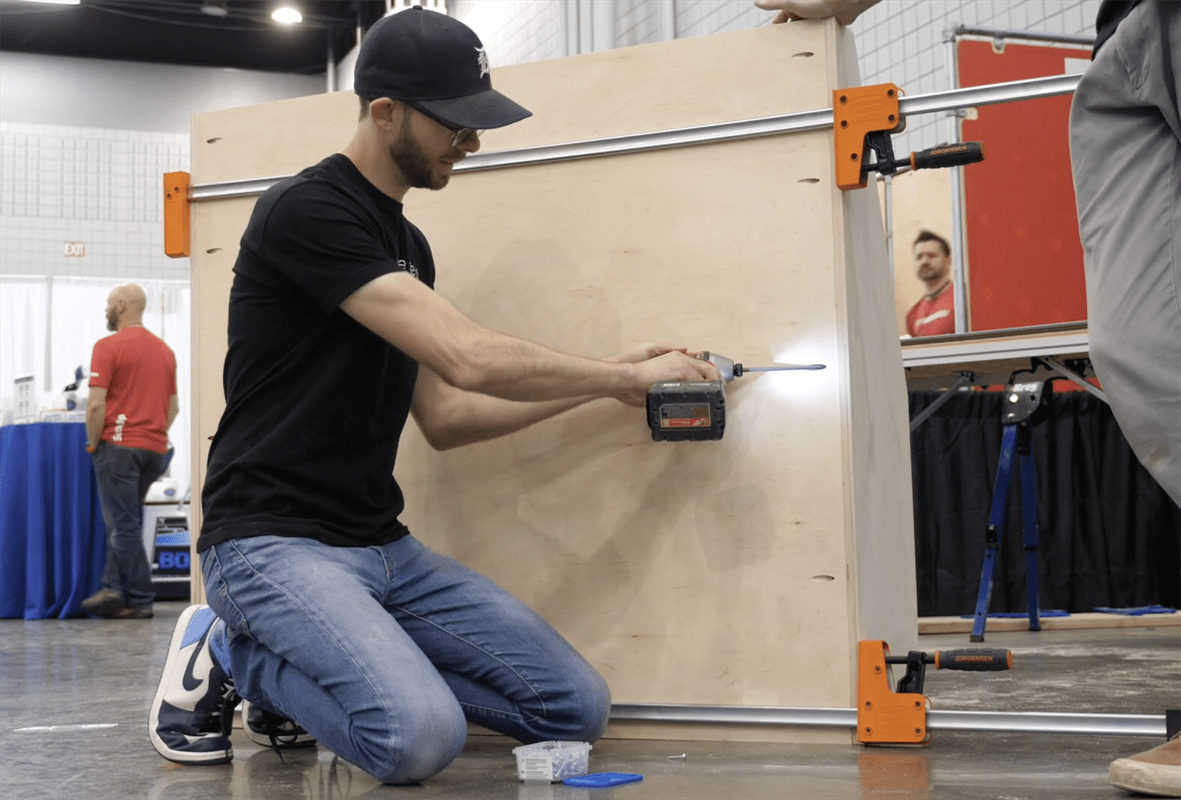
Attach back panel
To attach the back panel, use the pocket holes and a clamp. After this is done, attach a wall anchor to the top back side so that once the bookcase is in its final place you can attach it to the wall and prevent it from tipping, if kids try to climb on it or pull on it.
-
Shelf Ledge
Next I cut a small shelf ledge (approximately 1/2” x 3/4” x 42” and glued it onto the front shelf to prevent books from being able to slide off.
-
Sanding / Finishing
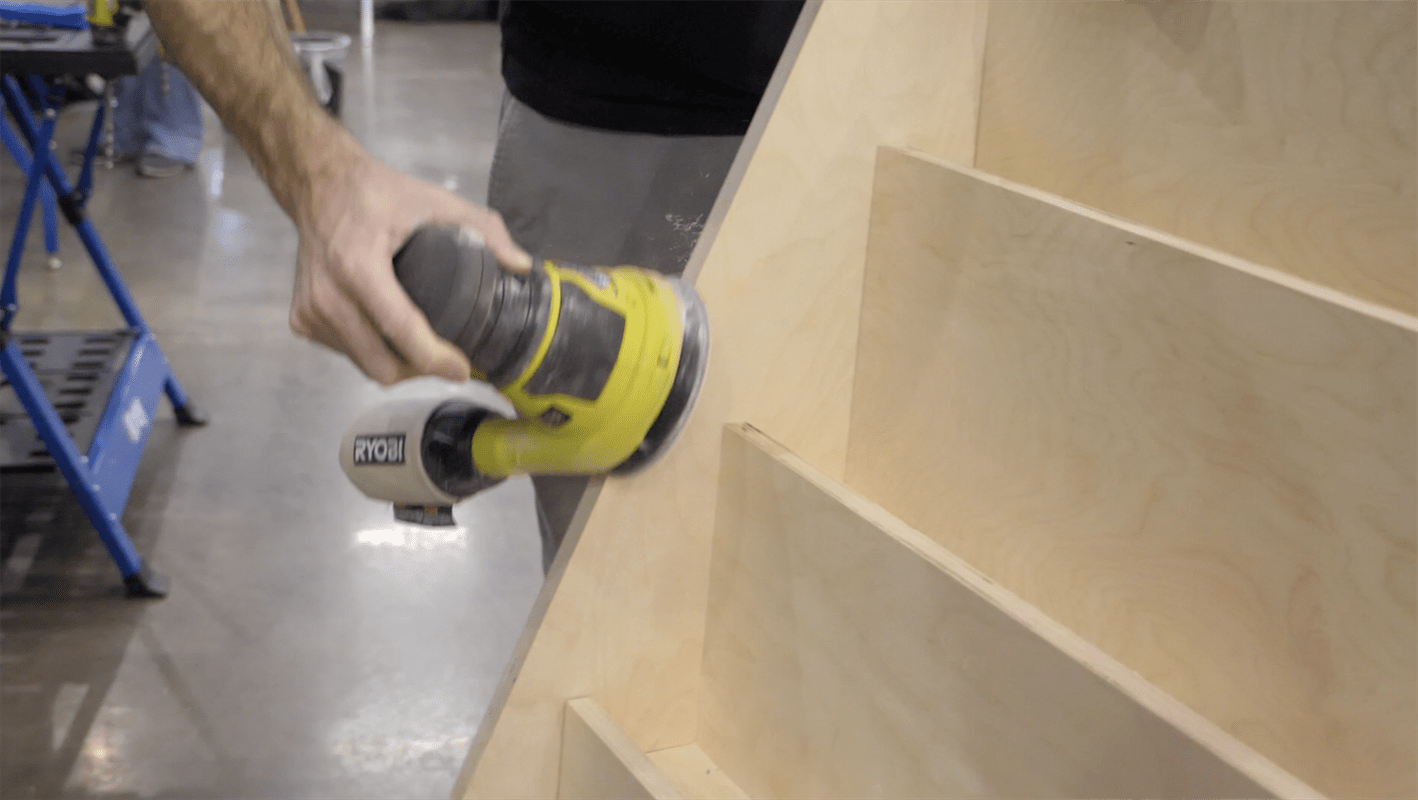
Sand all faces to desired grit (I prefer 220 for plywood) and also round over (or break all) sharp corners, that way they don’t give splinters, or hurt as much if you bump into them. Then Finish with your preferred finish.


