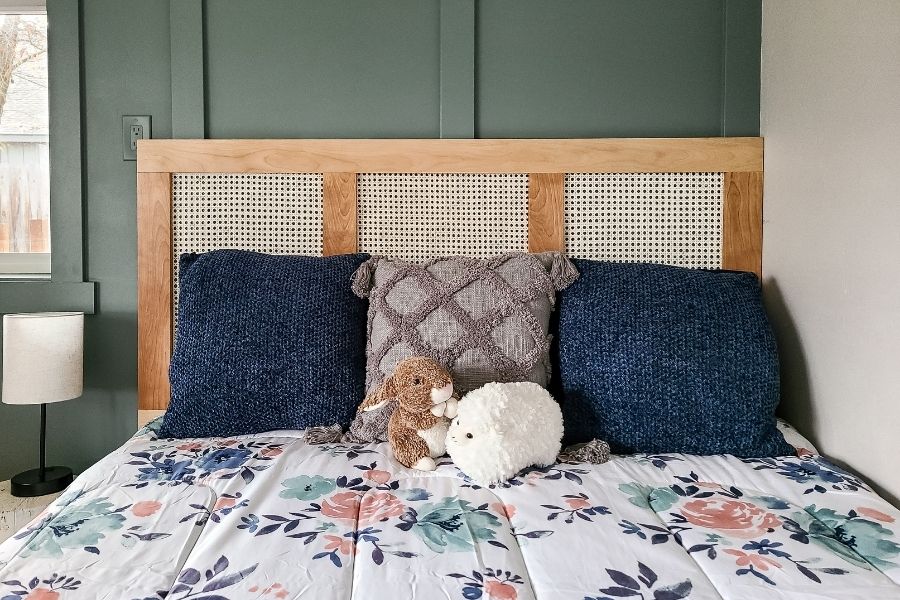
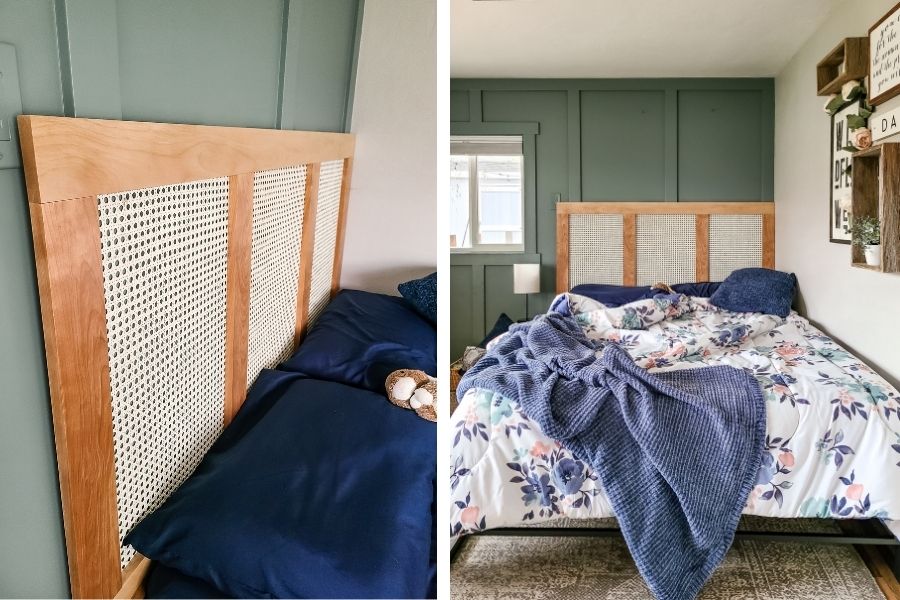


This easy cane headboard is the perfect beginner woodworking project. With just a few simple steps and pocket hole joinery, this on-trend headboard is so easy.
Tools
Kreg Tools


Other Tools
-
Miter Saw

-
Tape Measure
-
Pneumatic narrow crown staple gun
-
Hammer
Materials
Wood Products
- 1 ¾ x 3 ½” Yellow Birch , Approximately 19 linear feet
- 1 Strips of scrap wood , ⅛” thick , (For Stapling Cane Webbing)...Alternatively, if you didn’t want to make your own, you can buy pieces of Pine Screen Moulding
Hardware & Supplies
- 1 Box of Kreg pocket hole screws (1 1/4”) (see tool list)
- 1 150 grit sandpaper
- 1 Spray lacquer
- 1 Cane Webbing
- 1 ¾” staples
- 1 2 ½” construction screws
- 1 Finish nails
Directions
-
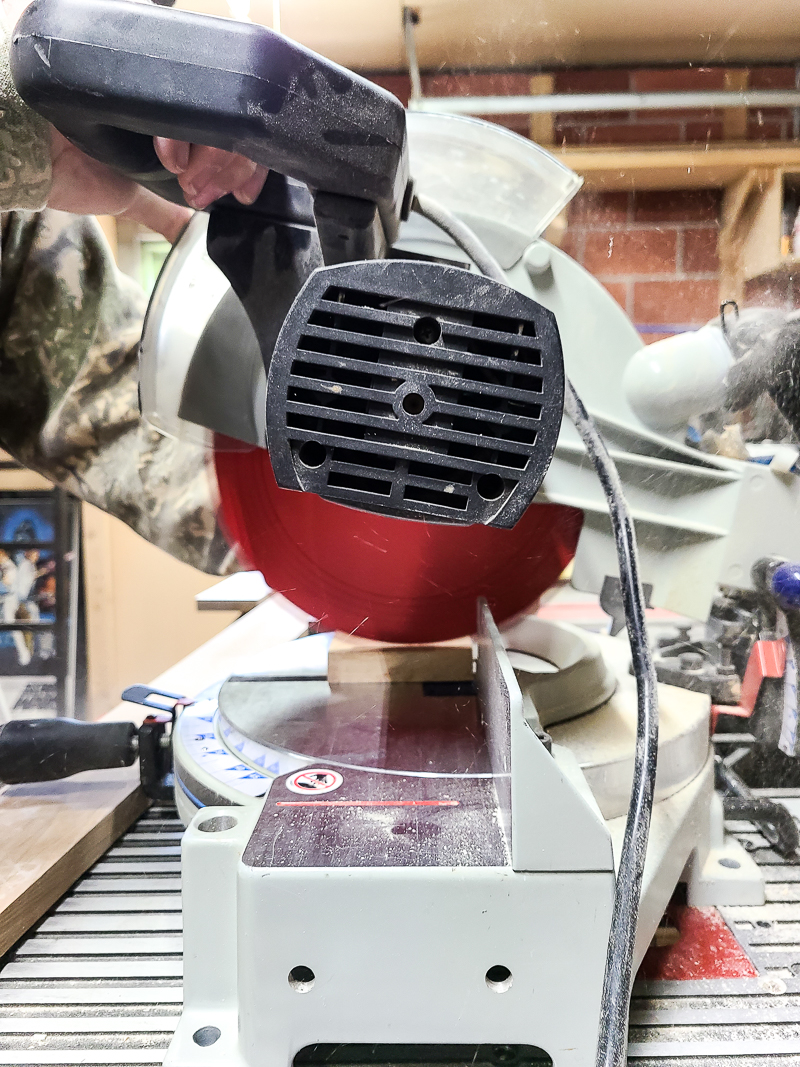
Cut wood
Cut wood according to the visual cut list in the woodworking plans with a miter saw. Lightly sand all pieces of wood before assembling with an orbital sander and 80 then 150 grit sandpaper.
-
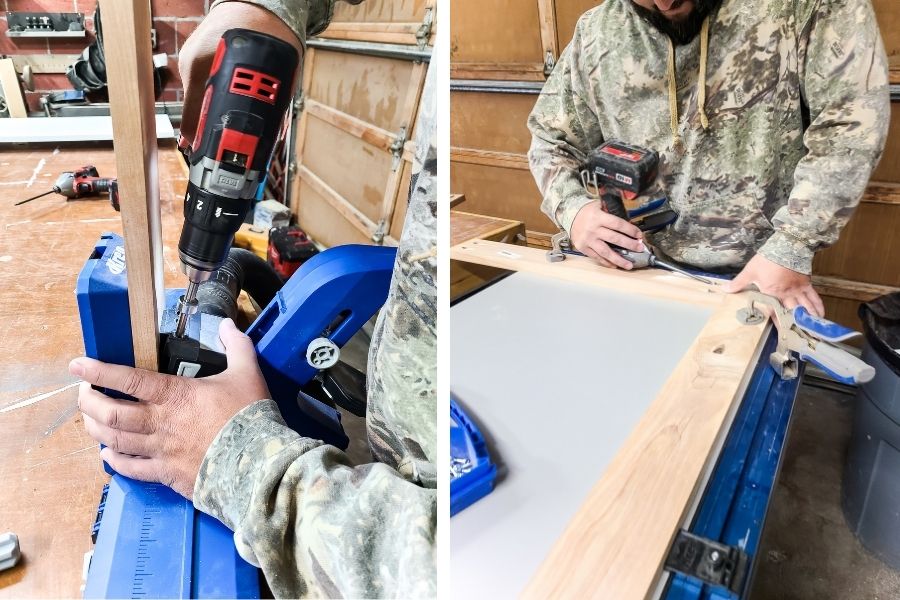
Drill pocket holes
Drill pocket holes as shown in the woodworking plans. We used the 720 Pro.

-
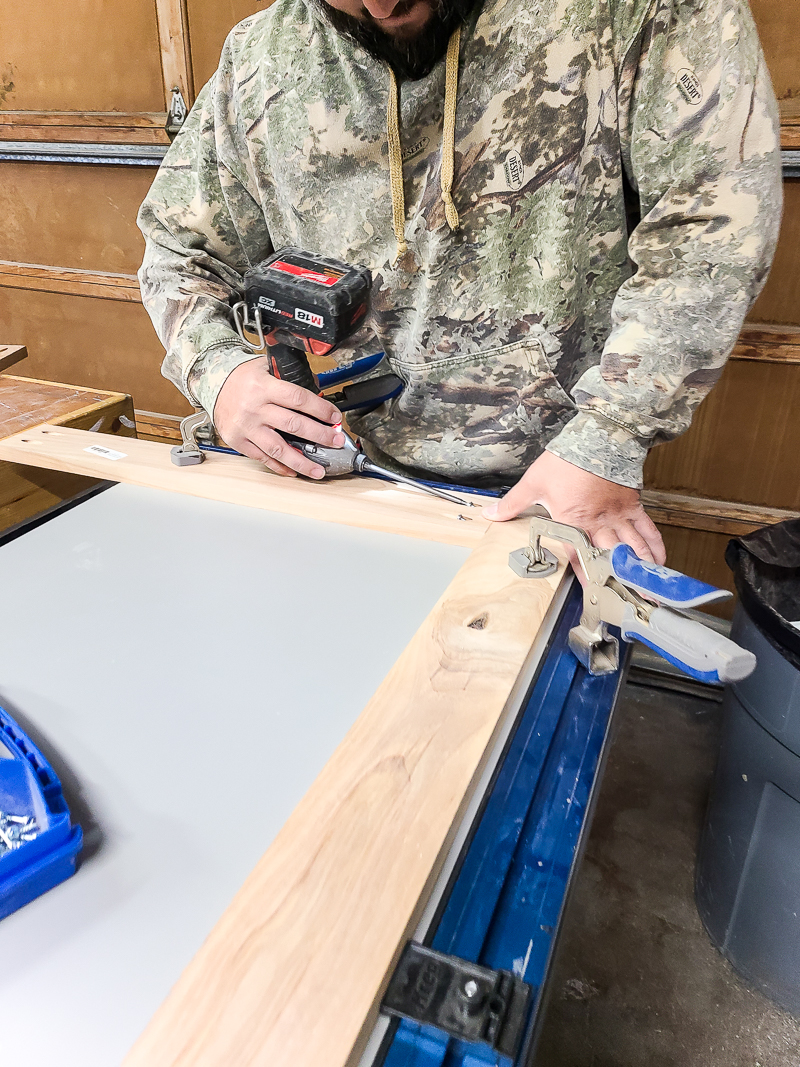
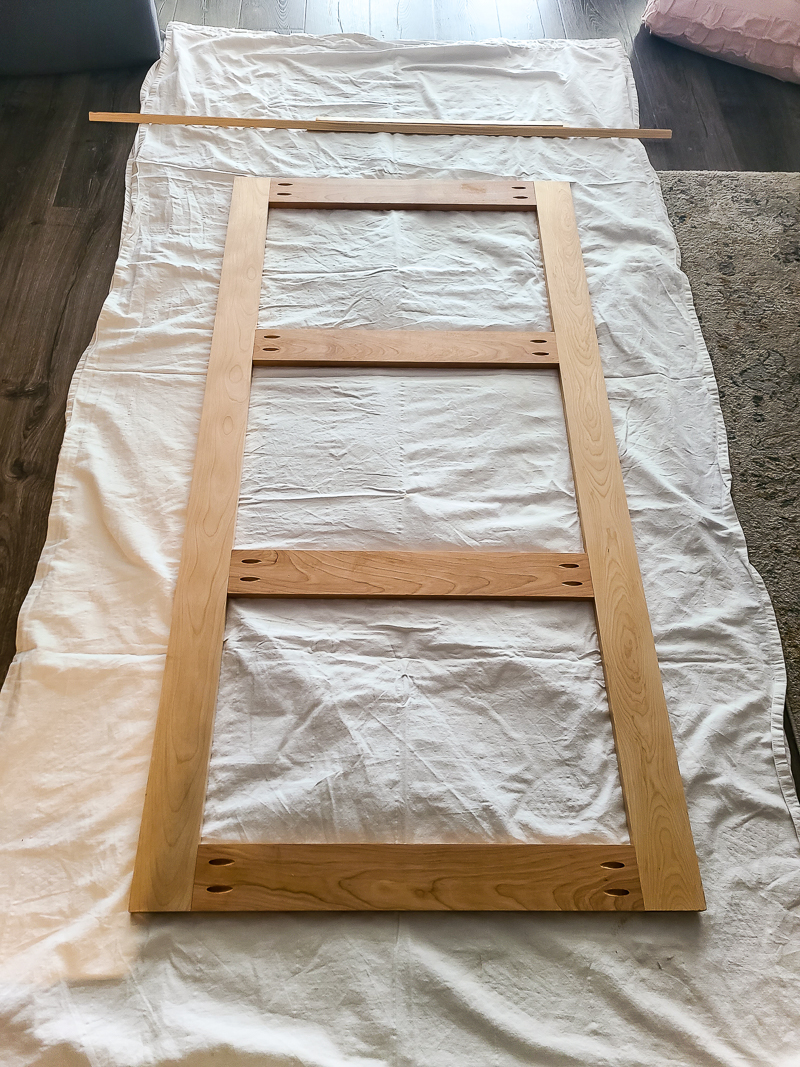
Assemble
Assemble the headboard frame with the pocket holes and 1 ¼” inch pocket hole screws. We clamped the pieces with the Kreg clamp table to make sure everything was square before screwing together.
-
Sand
Sand smooth with 150 grit sandpaper and an orbital sander. Wipe everything well after sanding to remove sanding dust.
-
Seal or paint
Seal with stain/oil or paint of your choice. We used spray lacquer for a natural finish.
-
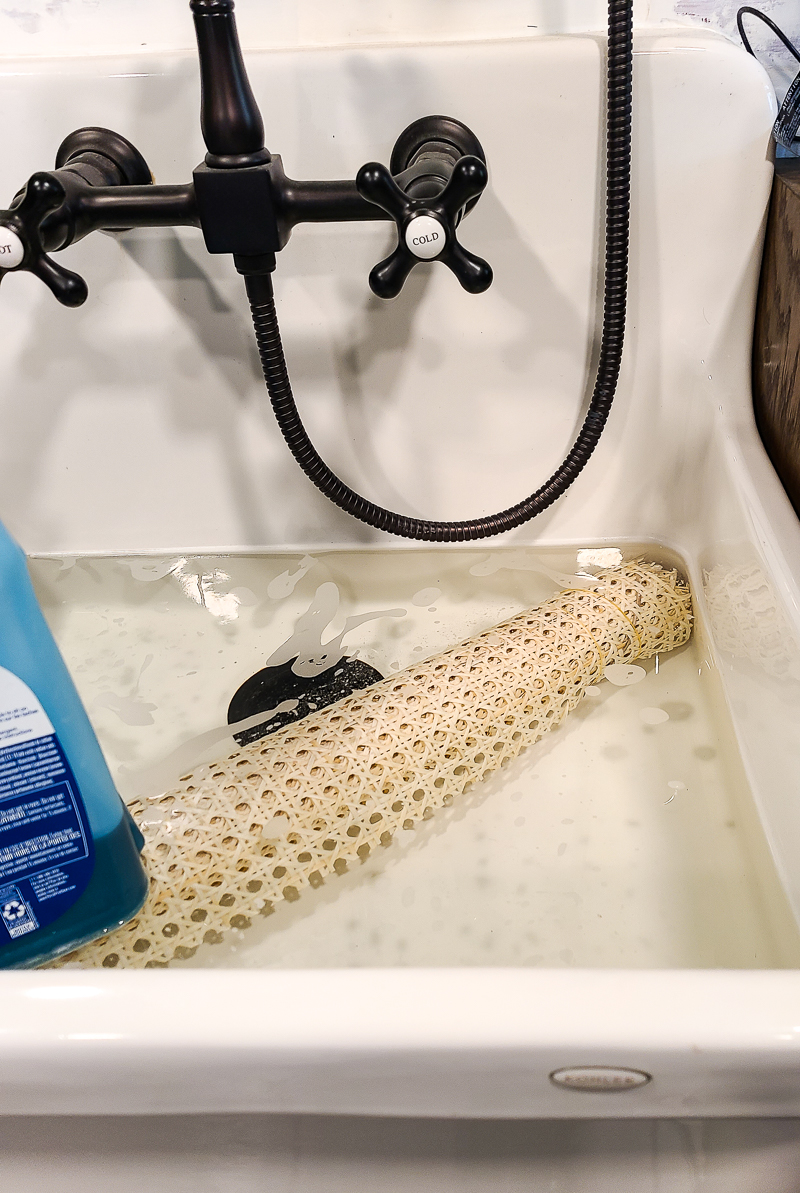
Soak cane webbing
Soak cane webbing in water for 30 minutes to 4 hours. This allows the webbing to expand with the water. You want to attach it to the headboard while damp so that when it dries, it will contract and the webbing will be nice and taut.
-
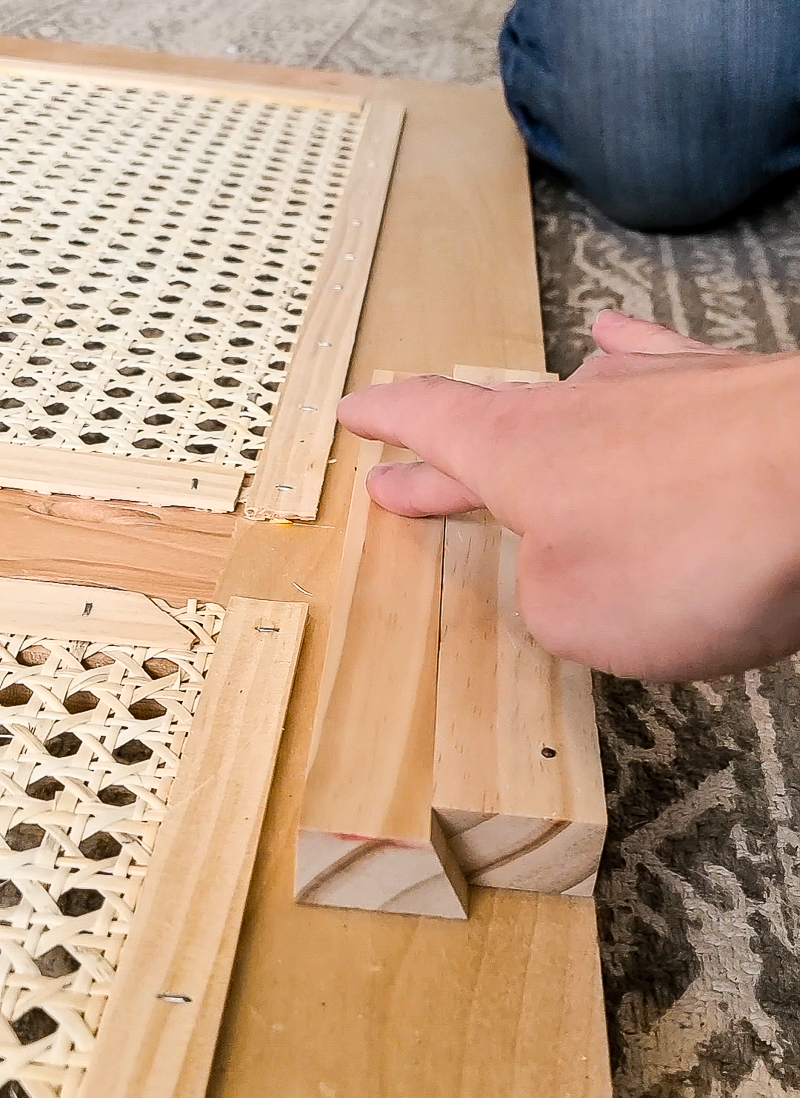
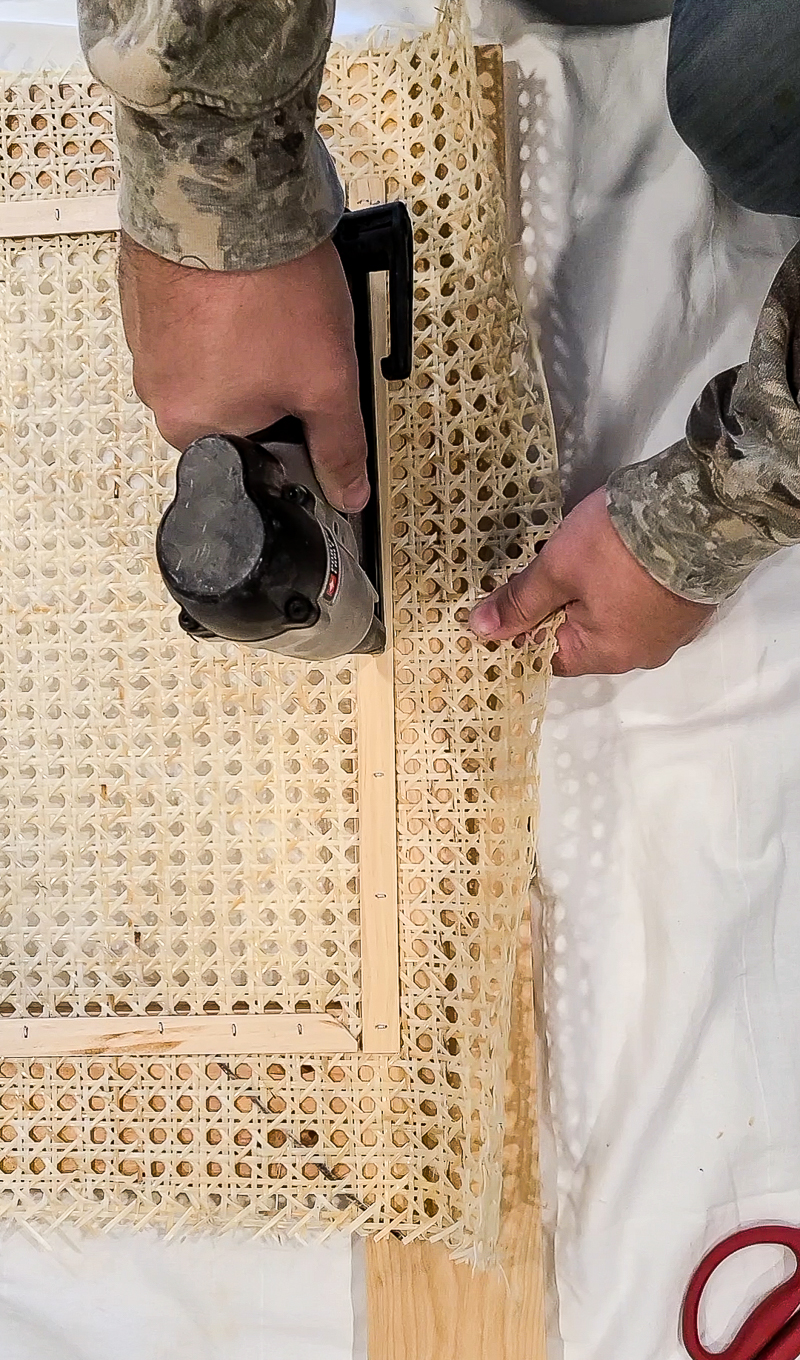
Attach cane webbing to the headboard
Unroll wet cane webbing and pat with a towel so that it is not dripping wet. Cut to size into three pieces so that it overhangs a few inches around each side of the frame. Apply a bead of wood glue on the thin strips of wood and press into place over the webbing on the backside of the headboard. Have one person hold webbing straight while the other staples along with the strip of wood. Continue on the other sides of the frame in the same manner, while pulling taut to staple into place. When finished, move on to the other two frames and repeat the same process.
-
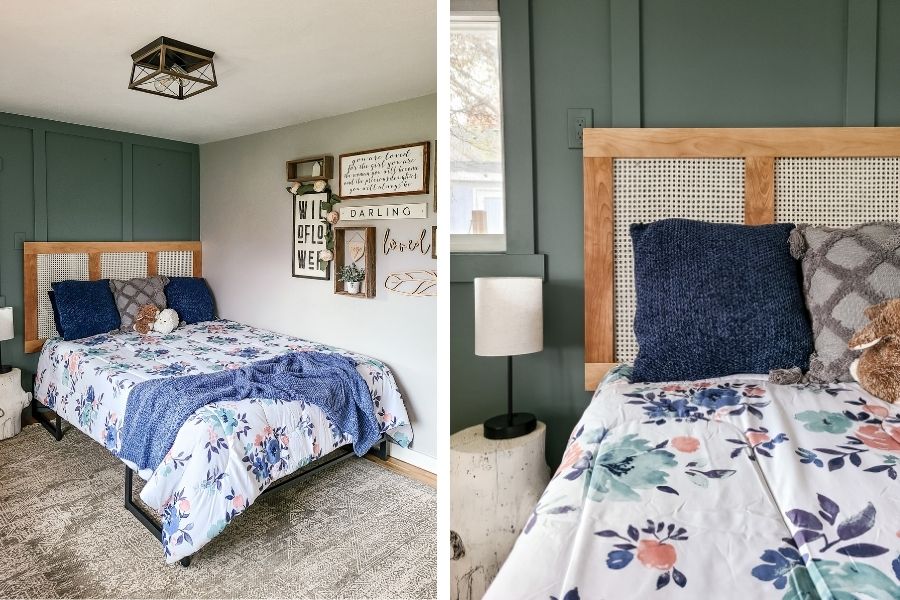
Hang on the wall behind the bed
We created a french cleat with scrap wood by cutting a piece of wood at a 25-degree angle with a table saw. One piece of the cleat can be screwed into the wall and the other cleat can be nailed to the back of the headboard. If you don’t want to make your own cleat, you can buy a metal one to use or hang the headboard with another method.