Budget Friendly Storage Unit
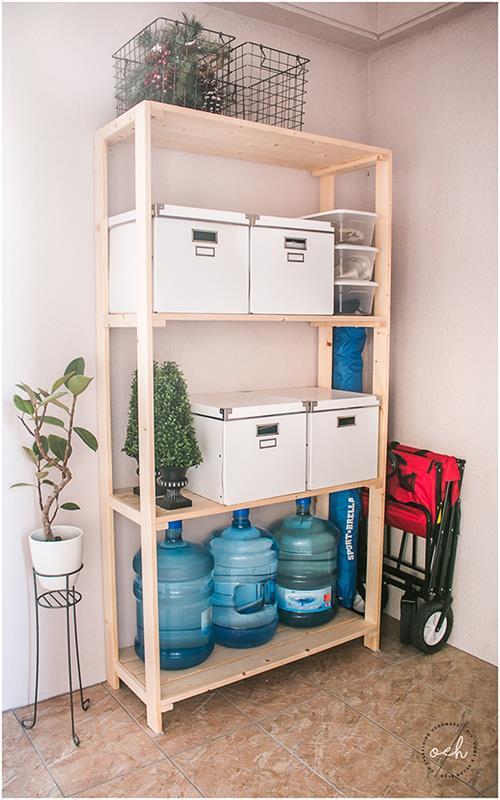
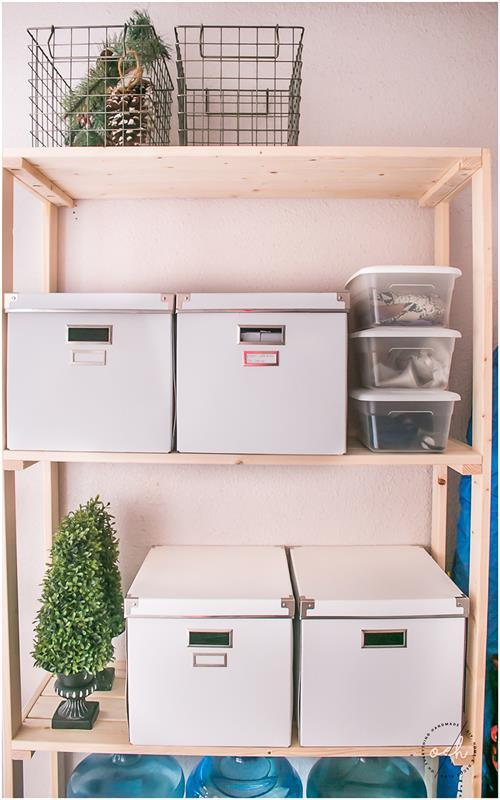
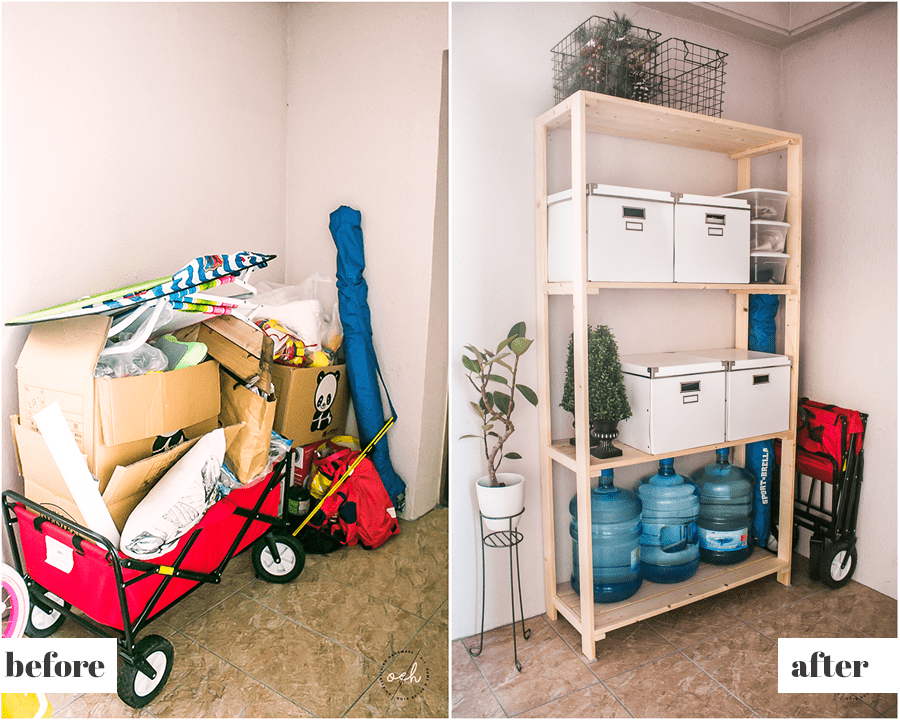
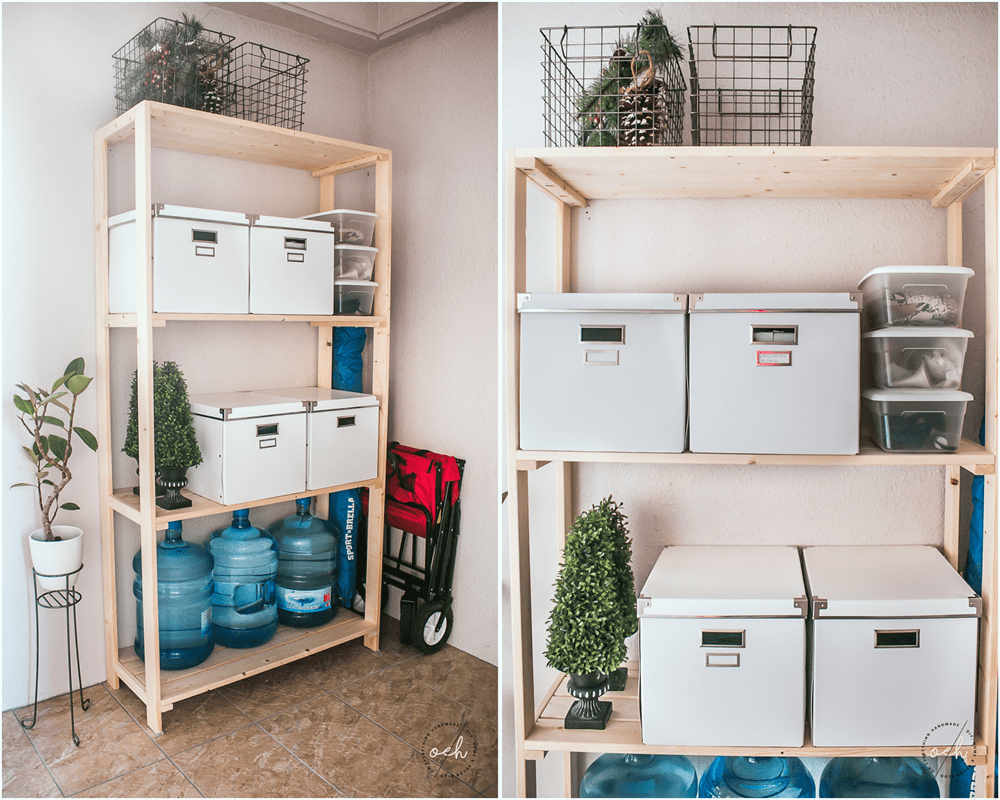
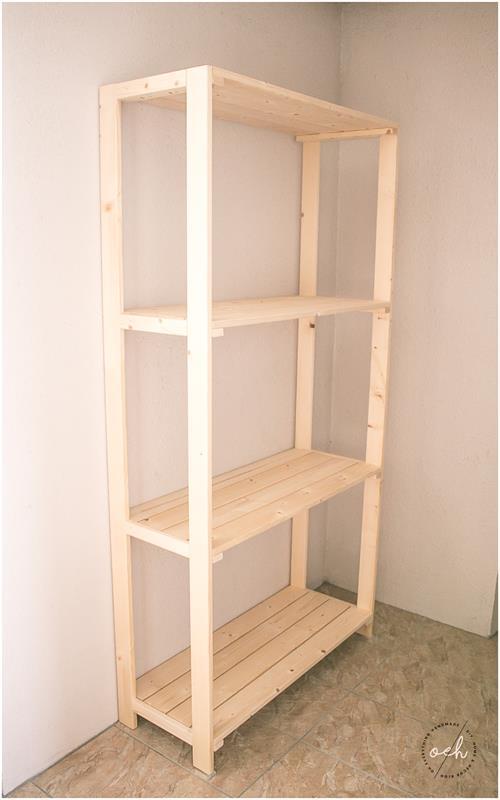
By Oh Everything HandmadeThis quick and easy to build storage unit will be perfect for anyone who is lacking storage. Do you need extra storage in the garage, office or pantry, this budget-friendly storage unit will be an easy weekend build for beginners and advanced builders.
Directions
-
Add pocket holes
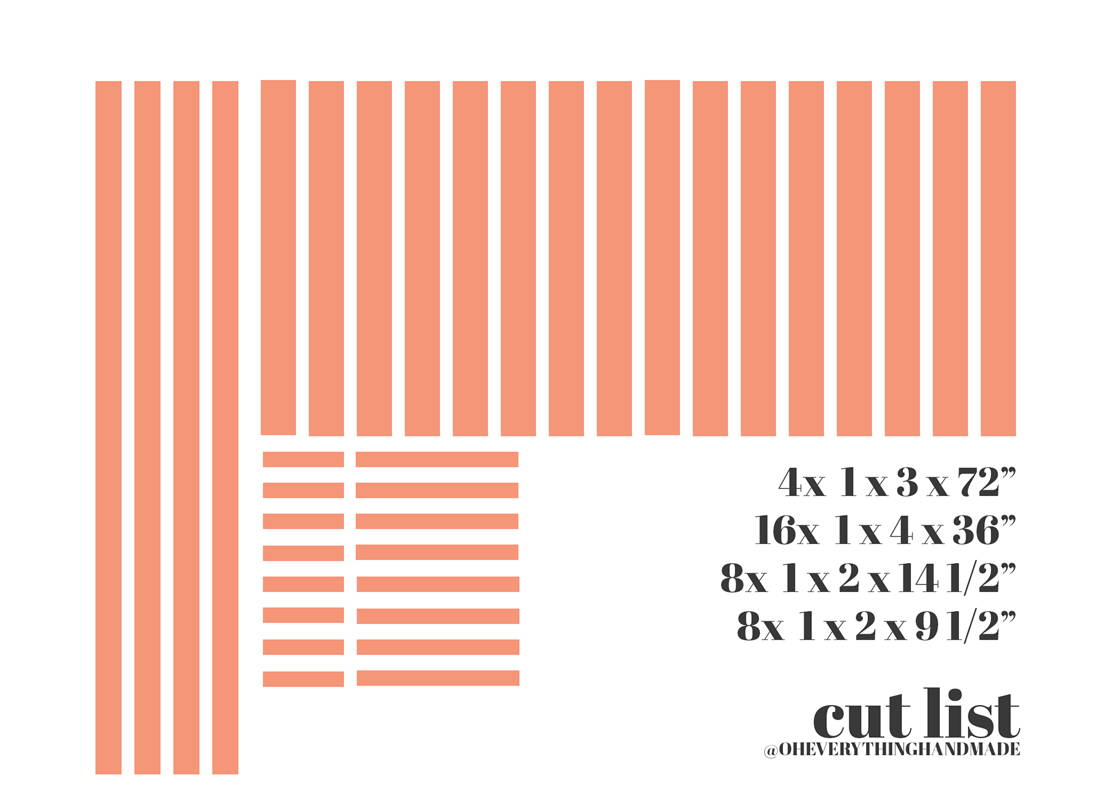
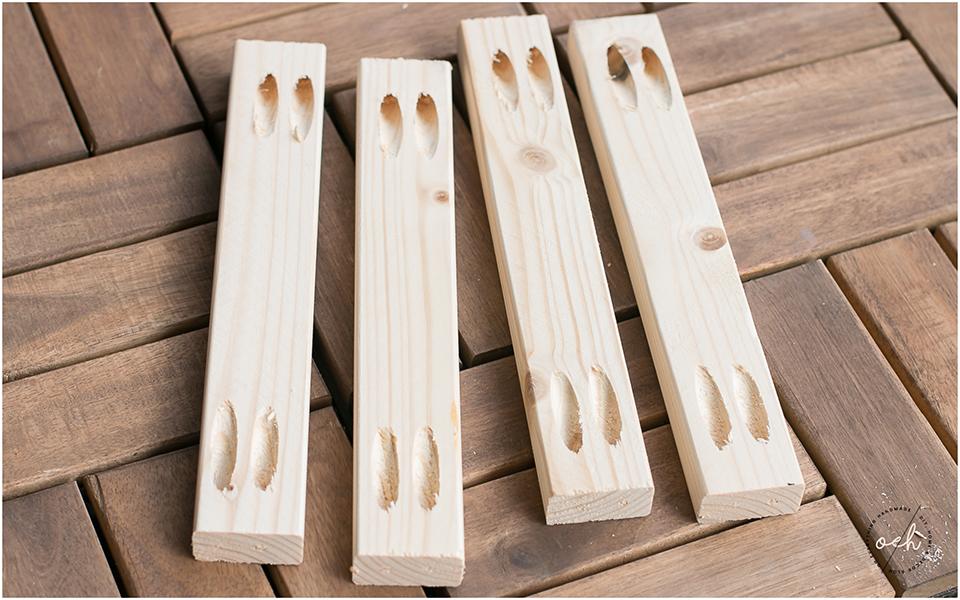
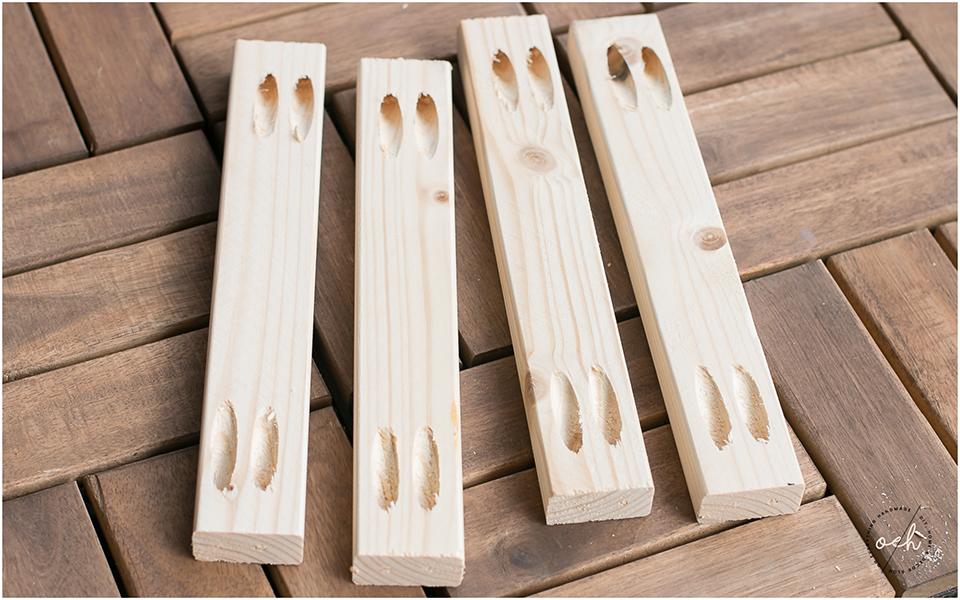
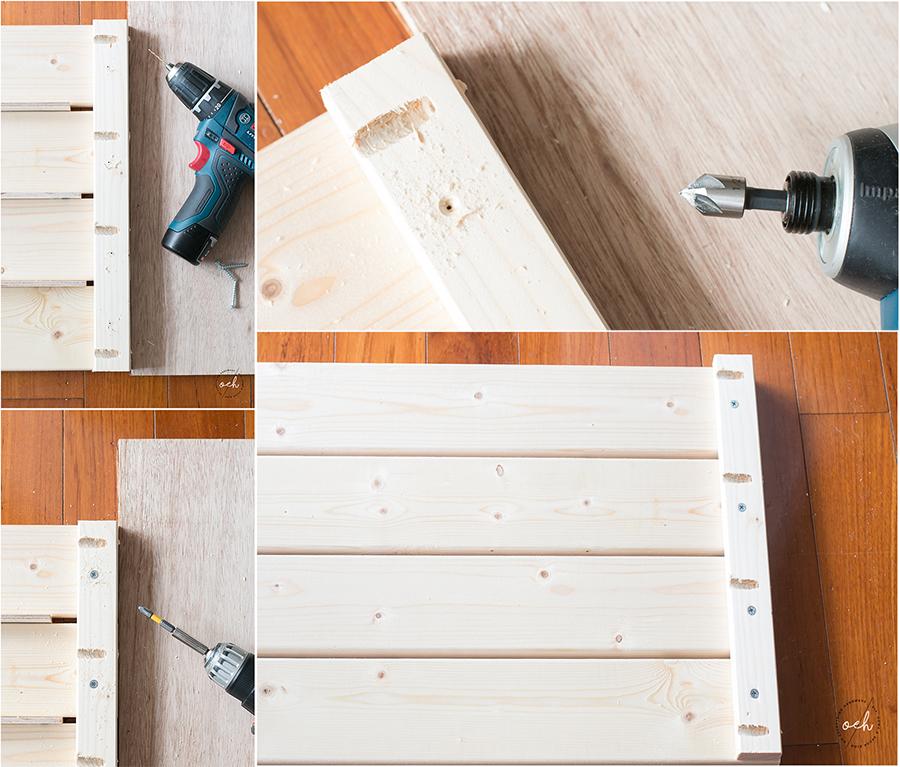
Prepare all cut pieces with pocket holes.
8 pieces of 9 1/2" x 1 add pocket holes vertical to each end as shown in the image. -
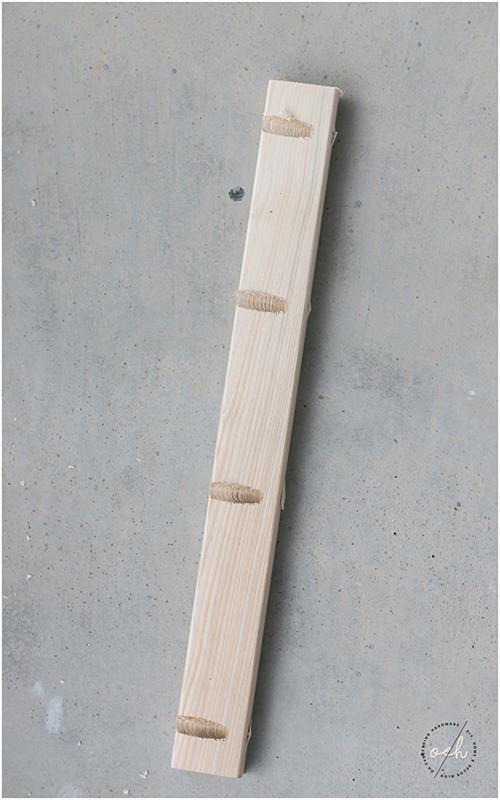
Horizontal pocket holes
8 pieces of 14 1/2" x 1 add pocket holes horizontal as shown.
-
Spacing the shelving
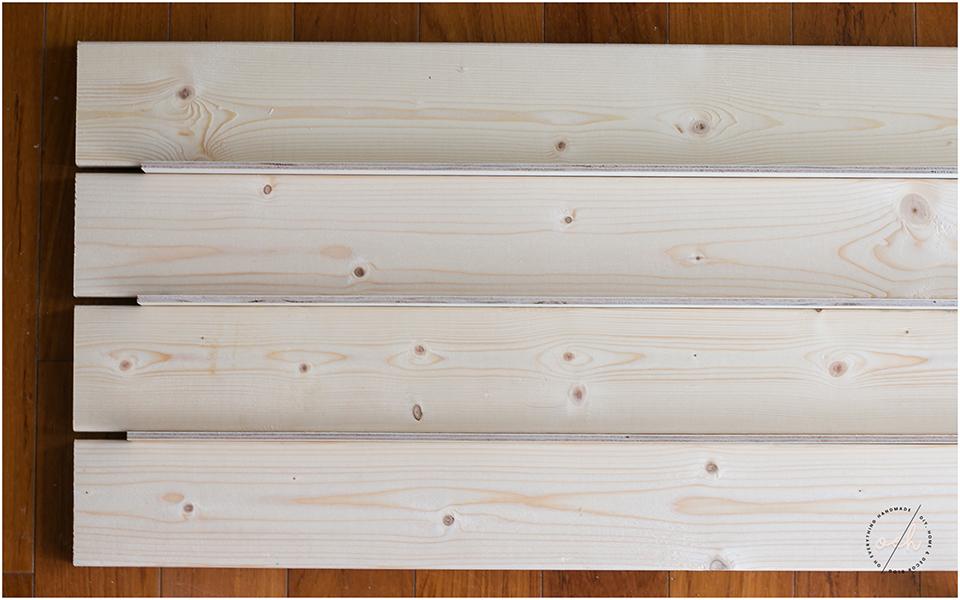
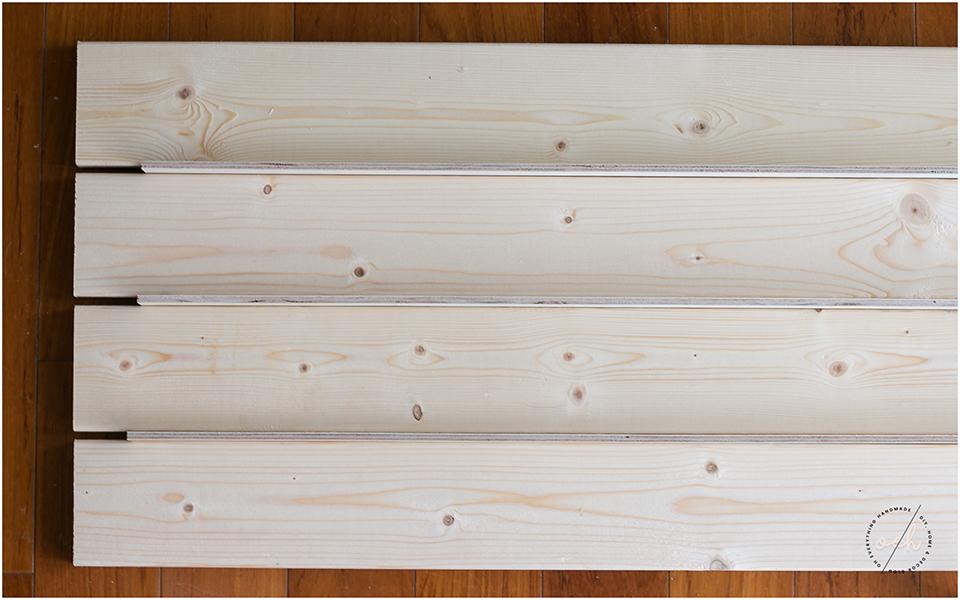
We gave the shelves a 1/4" space in between boards, simply so we won't have mold issues or in case something should ever leak.
-
Building the shelf
Build four 3' ft long shelves, attach the 14 1/2" x 2 board on each of the 4 shelves.
Apply wood glue, align the sideboard and predrill through it into each of the 4 boards underneath.Use a countersink drill bit to create room for the screw head. With an electric drill attach the bottom sideboard(s) with 1 1/2" screws.
-
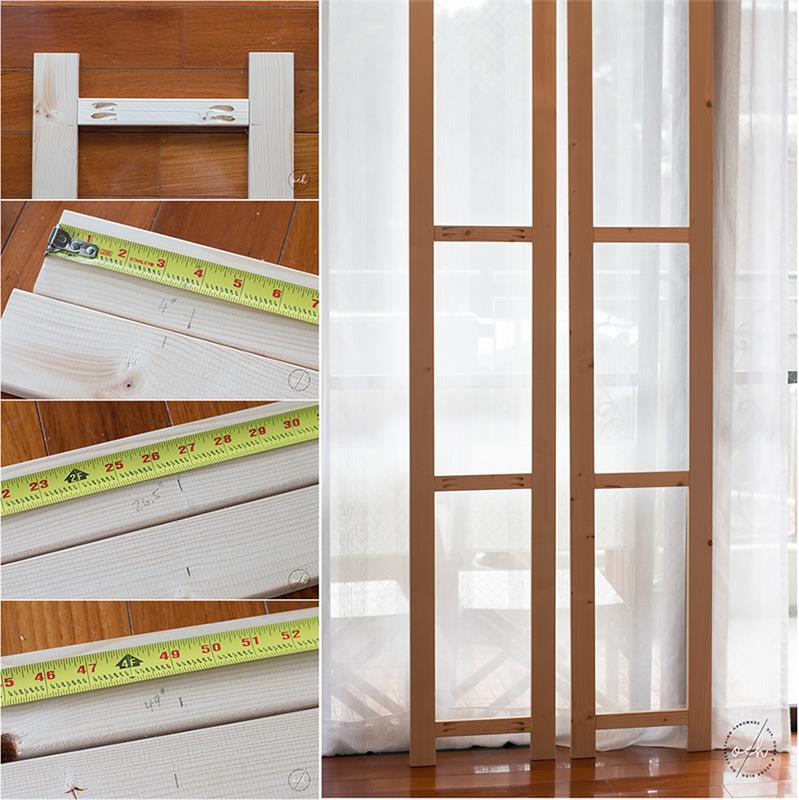
Build the Frame
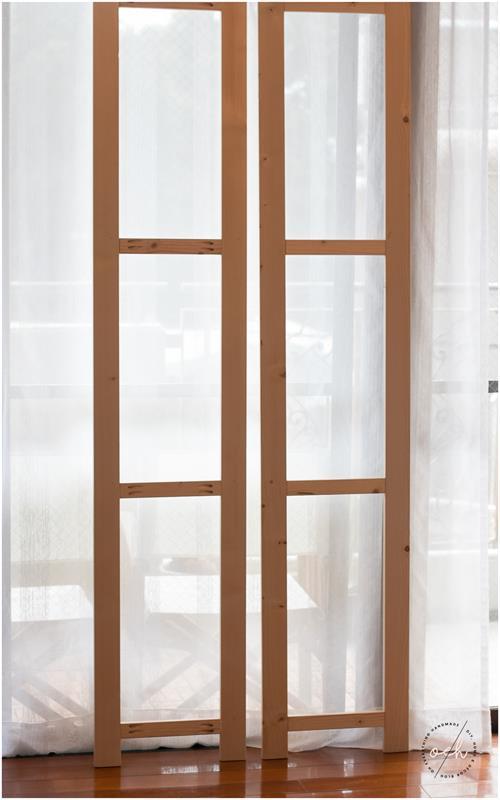
Use the 1x3"x6' boards and space them with the 9 1/2" x 1 boards.
Add wood glue to each end and secure the boards with pocket hole screws.Repeat this at 4", 26 1/2", 49" and one at the top (see image).
-
Attach the shelves to the frame
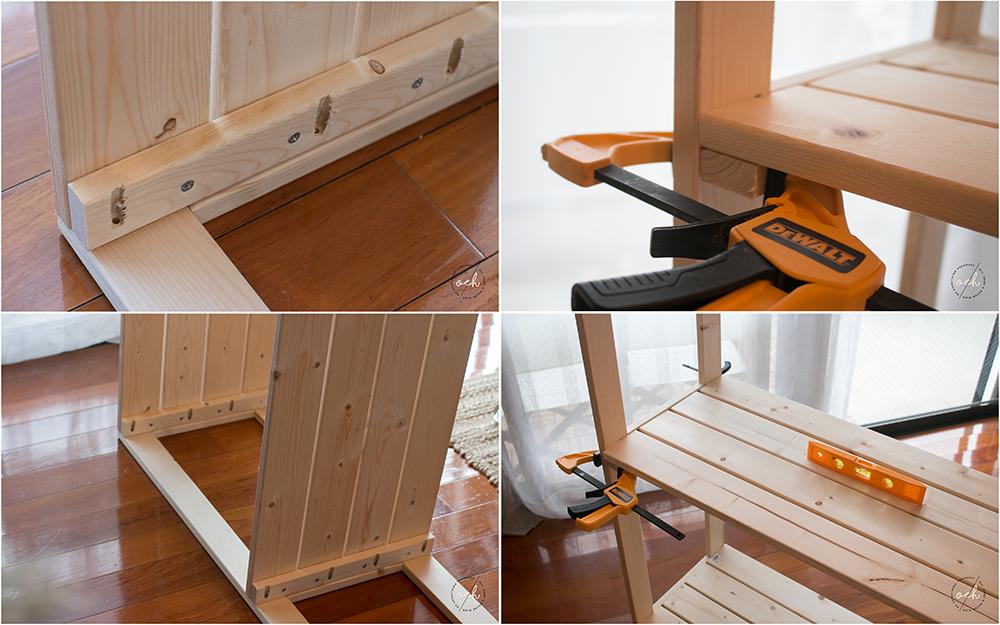
Attaching the shelves to the frame can be tricky. I suggest laying the frame down and attaching the top and bottom shelf first. You can use wood good, but if you plan on moving or storing the shelf down the road. I advise attaching the shelves without the wood glue.
Once the top and bottom shelves are attached, lay the second frame on top and attach the shelves to it. Use a 90-degree corner guide to ensure the shelf is leveled even if it is laying sideways.
Then lift the storage unit and attach the remaining shelves. We used clamps to hold the shelves in place while we attached them to the frame.
-
Sand off any splinters (optional)
Now you are finished and all left is to sand off any imperfections or splinters.


