

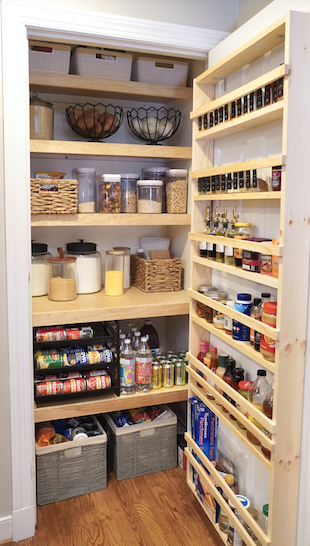
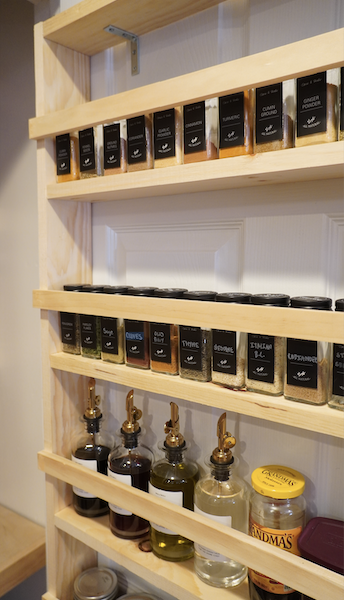
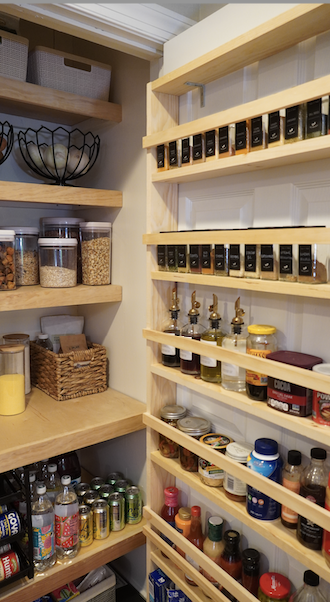


Tight on kitchen or pantry space? This behind-the-door shelf is the perfect solution for storing all those small odds and ends that clutter your pantry. It keeps spices, condiments, and other essentials within easy reach—helping you stay organized without sacrificing space.
Tools
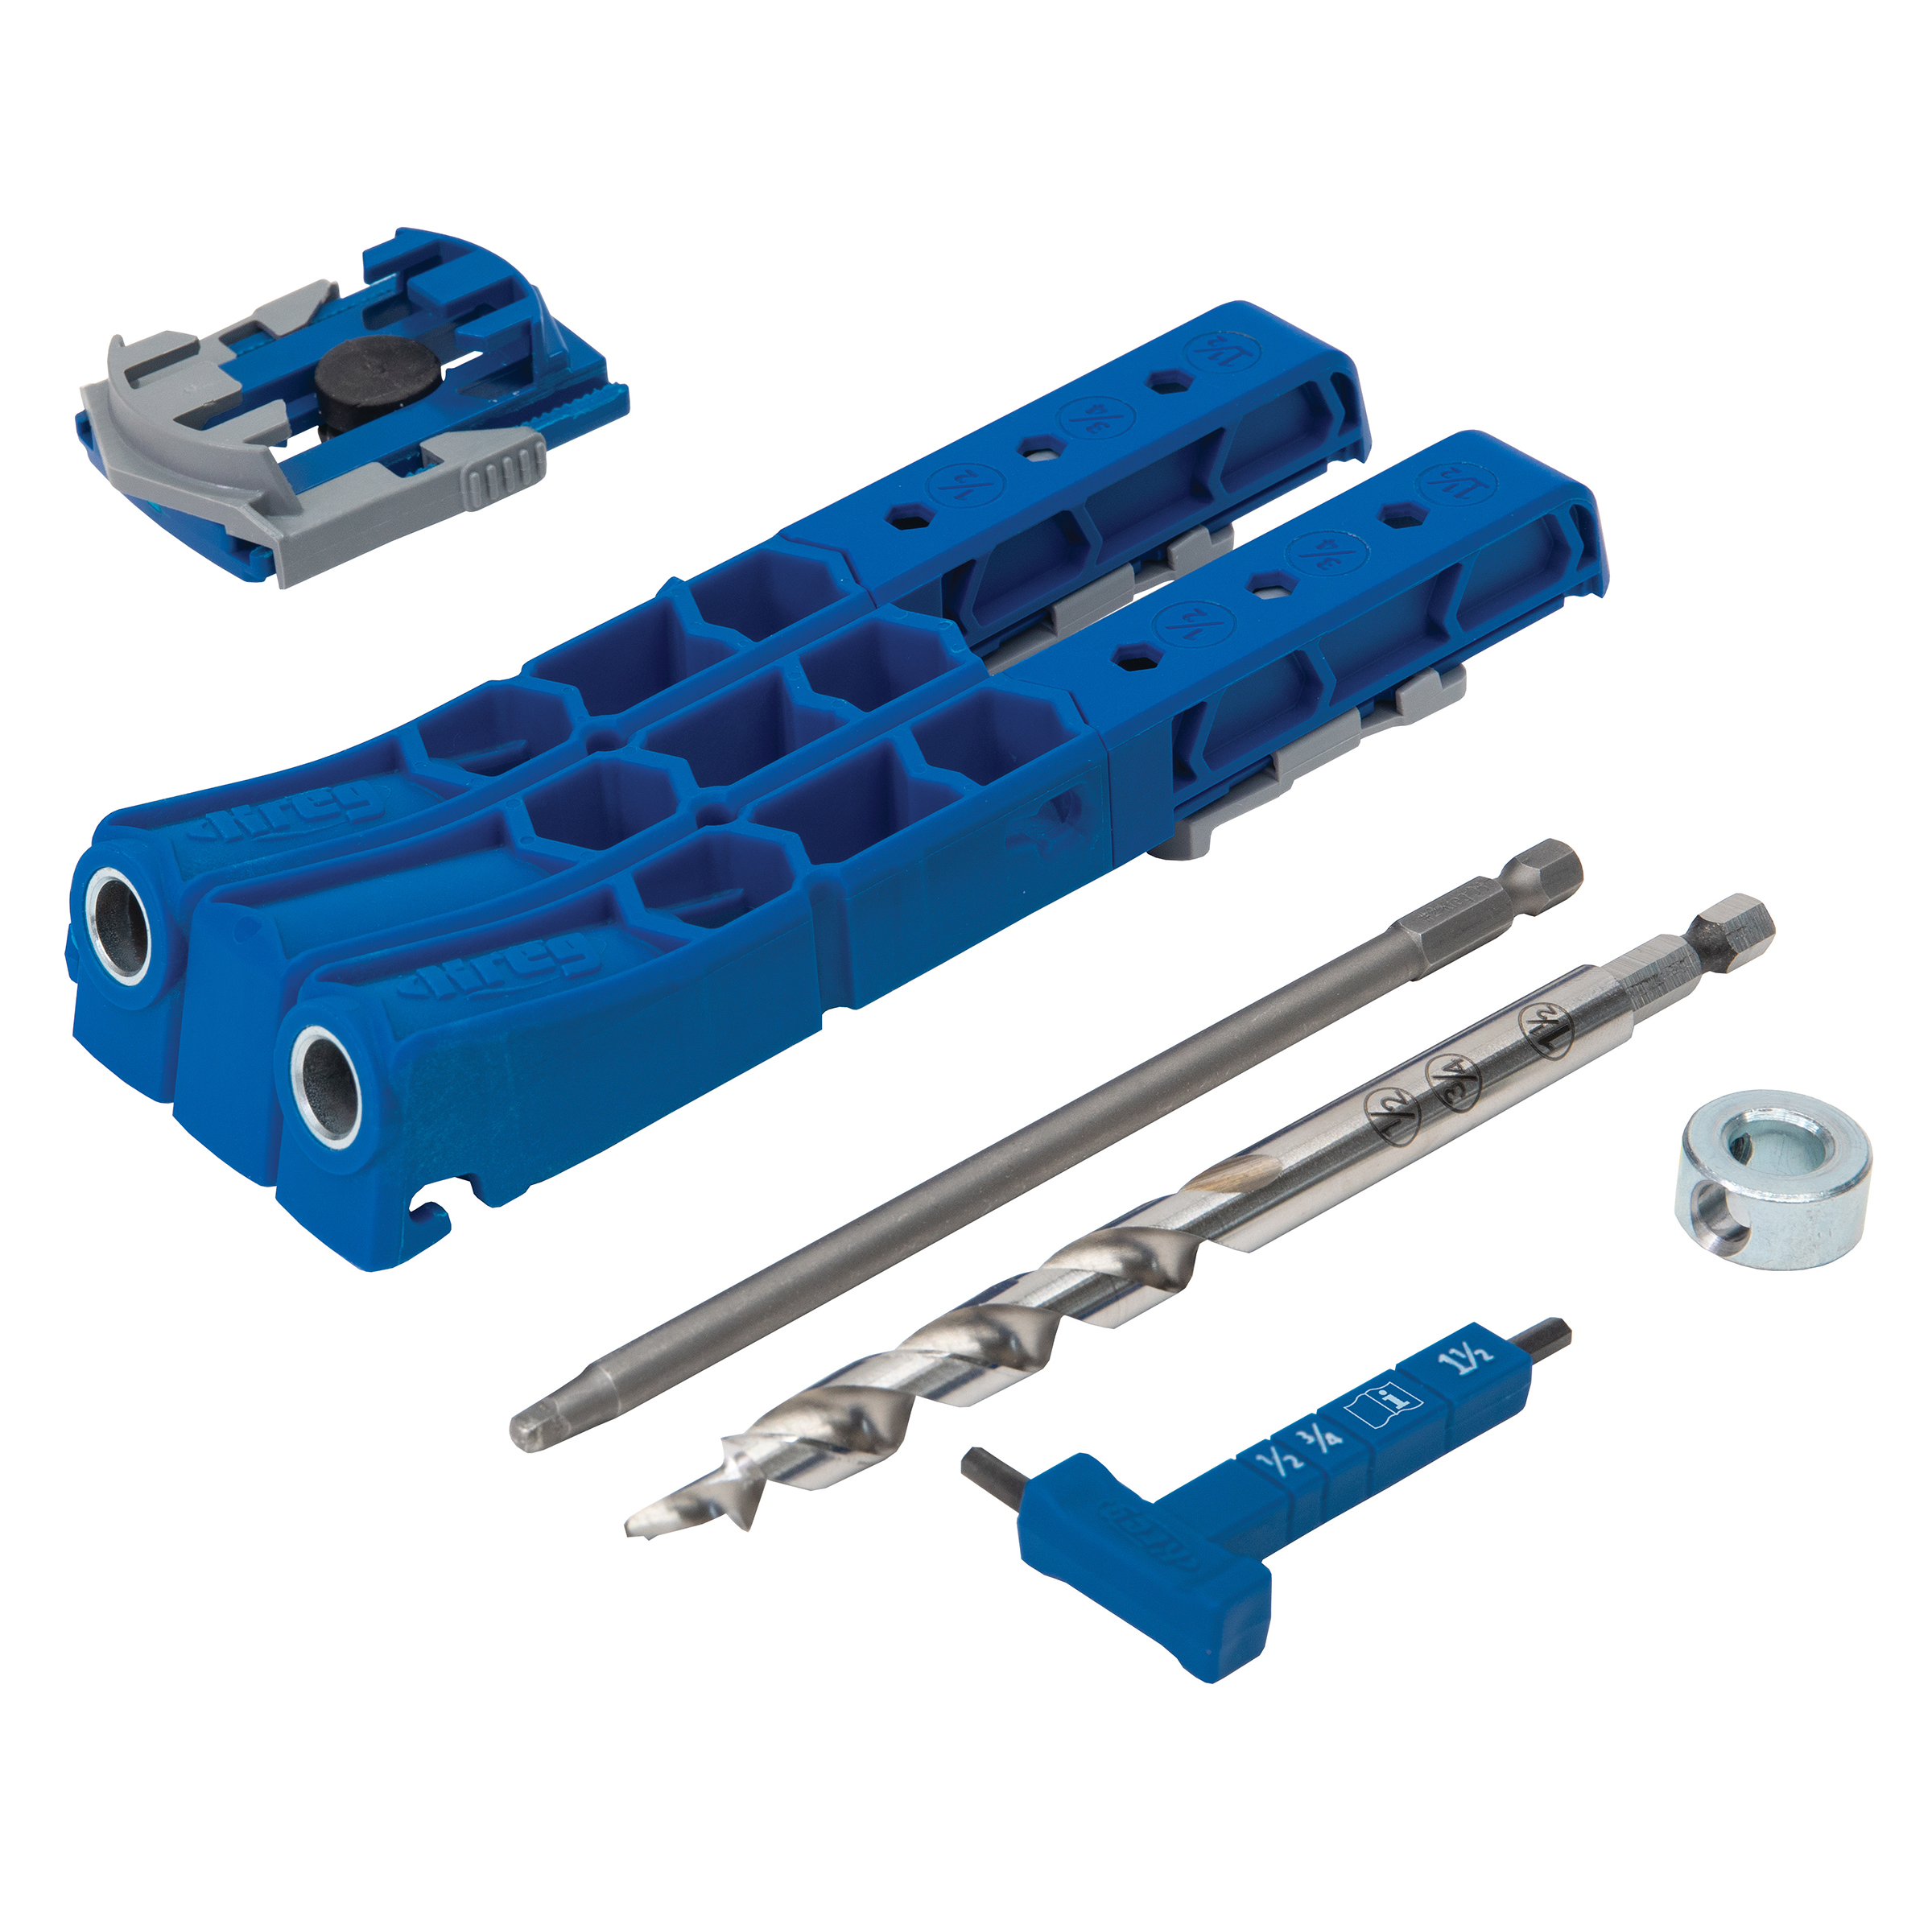
Kreg Tools


Other Tools
-
Miter Saw

-
Table Saw (Optional)
-
Nail Gun (Optional)
-
Level
-
Measuring Tape
Materials
Wood Products
- 4 1" x 4" , 8'
- 2 1/2" x 6" , 3'
Hardware & Supplies
- 4 L Shape Bracket
- -- Pocket Hole Screws
- -- Top Coat
Directions
-
Cut All Your Boards
Using a miter saw, cut the following from your 1"x4"s:
-Seven pieces at 25.5"
-Two pieces at 70"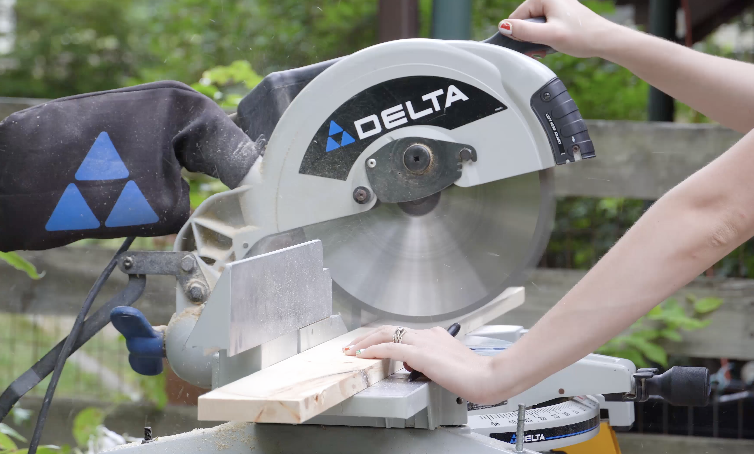
-
Prep the Shelves
-Sand all your boards.
-Drill two pocket holes on each end of the 25.5" pieces.
-
Build the Frame
-Take your two 70" pieces and two 25.5" pieces.
-Assemble a rectangular frame by attaching the shorter boards between the longer ones using pocket holes and pocket hole screws.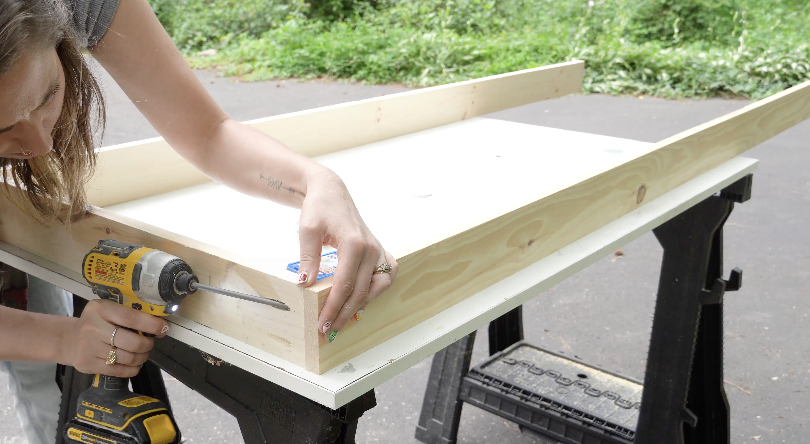
-
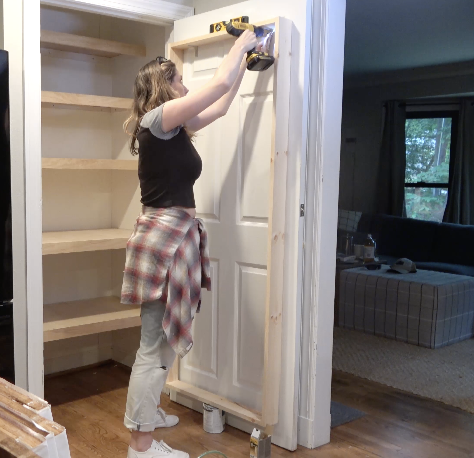
Install Frame to Door
Use four L-shaped brackets to secure the frame to the door.
Make Sure Shelf is Secure
Consider upgrading to heavy-duty hinges to support the extra weight. If your door is partially hollow (like mine), make sure you're anchoring into the solid parts of the door.
-
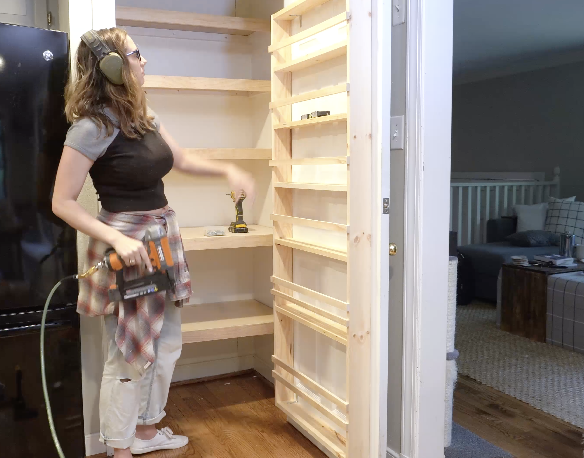
Attach the Shelves
-Start by measuring 17" up from the bottom shelf and attach the next shelf using pocket hole screws.
-Measure 11" up from that shelf to install the next one.
-Then measure 9" up for each of the remaining three shelves.Level Shelves
-Use a level to keep your shelves straight.
-Measure the items you plan to store to make sure the shelf spacing works for your needs.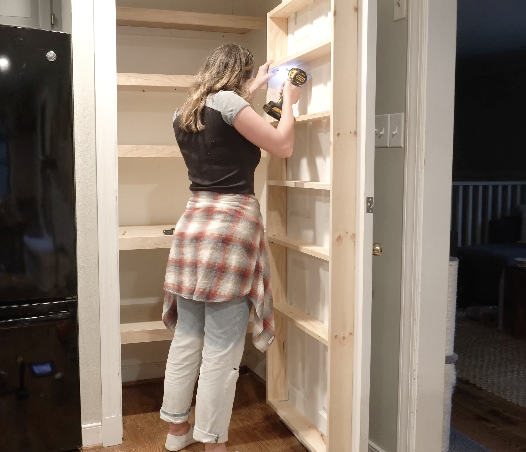
-
Cut the Brace Pieces
-Use a 1/2" x 6" board and cut it into 1" wide strips that are 27" long using a table saw.
-If you don’t have a table saw, you can buy trim pieces of similar dimensions and cut them to size with a miter saw.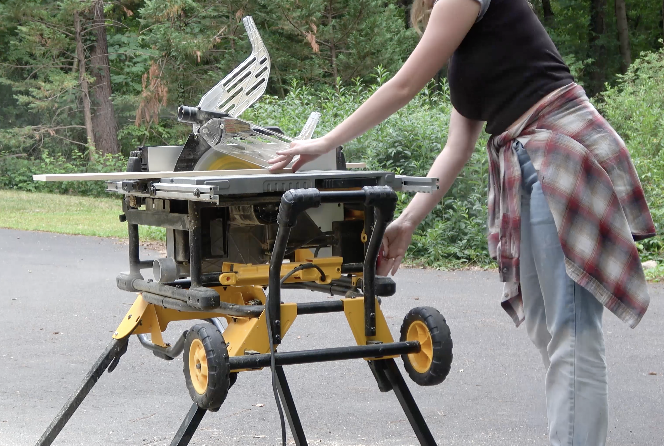
-
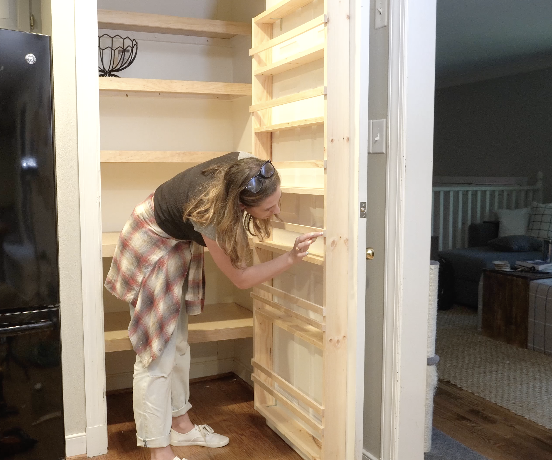
Attach the Brace Pieces
-Attach the braces using a pneumatic nail gun, or use finishing nails and a hammer.
-Placement guide:
-Bottom shelf: 2 braces — one 4" and one 7.5" above the shelf
-Second shelf: 2 braces — one 2" and one 4.5" above the shelf
-Next three shelves: 1 brace each — 3" above the shelf
-Top shelf: 1 brace — 2" aboveLevel Brace Pieces
Use a level when installing brace pieces to keep everything aligned.
-
Finishing Touches
Apply a top coat to protect the wood and finish your project.
-
All Done!
Step back and admire your work! 🙌