DIY Battery Station – Build a Battery Charging Station
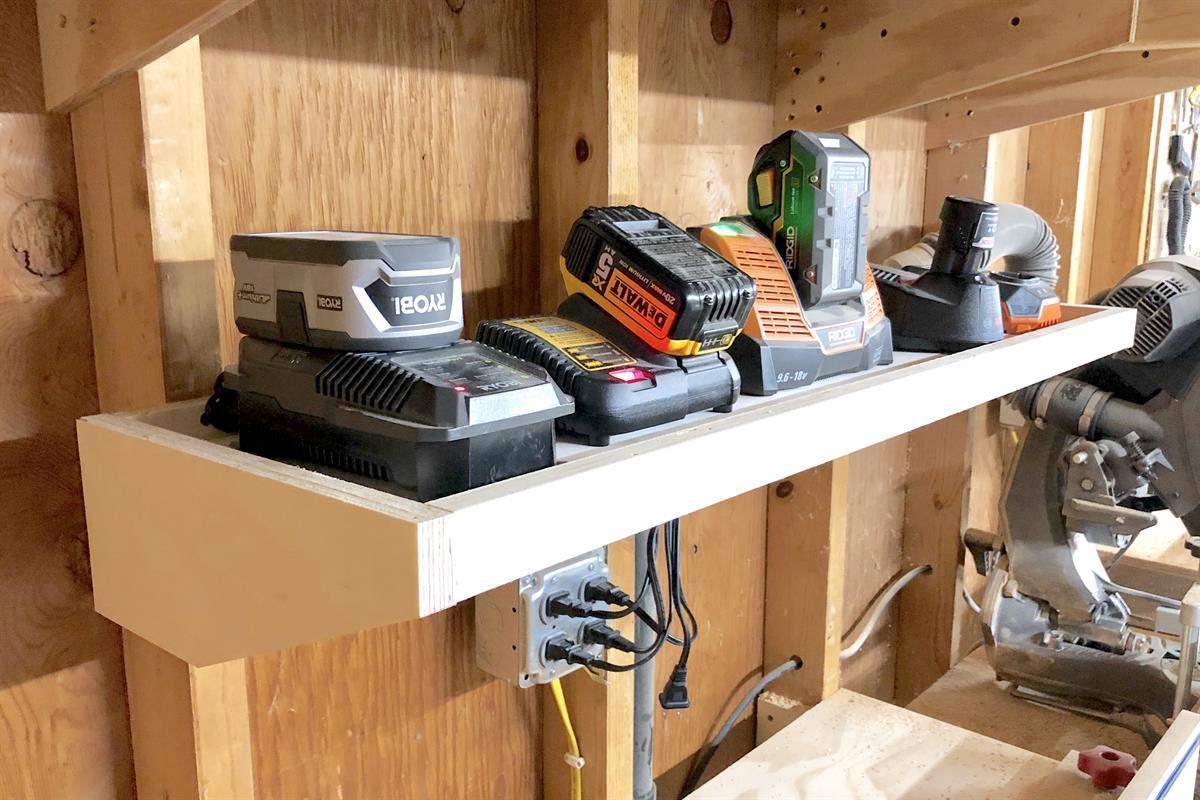
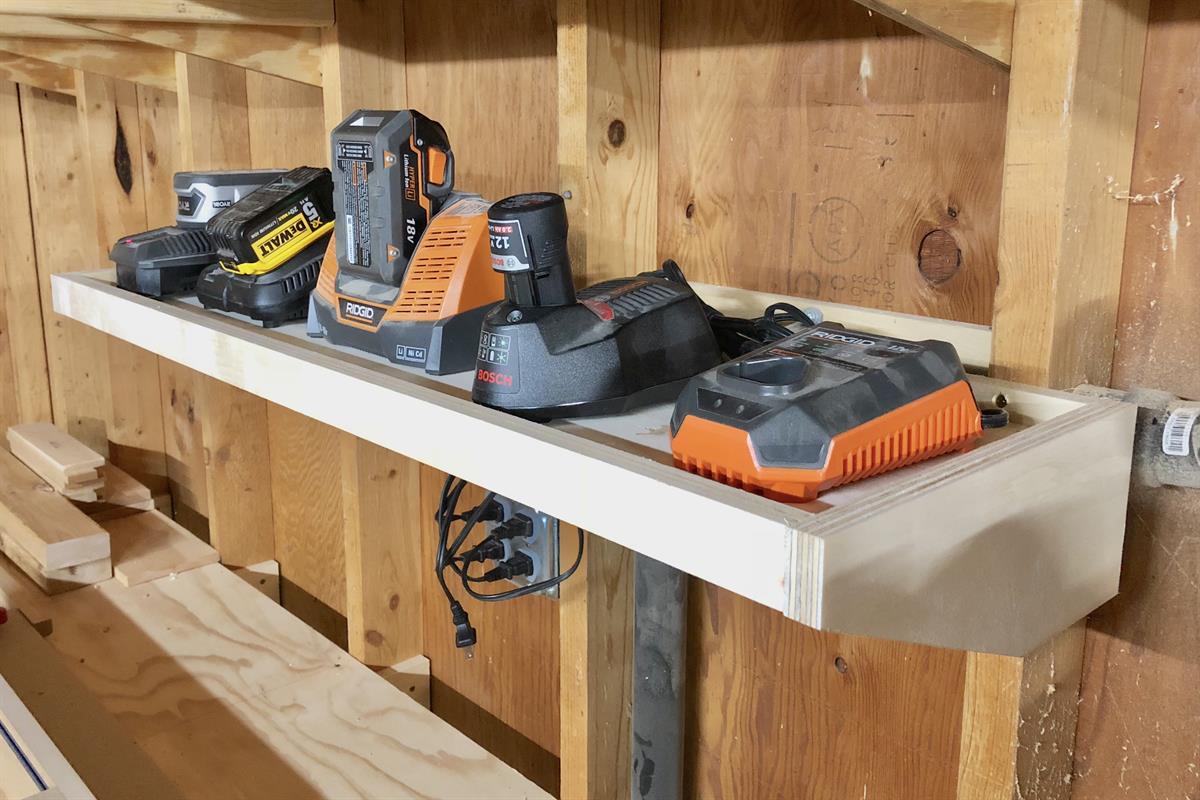
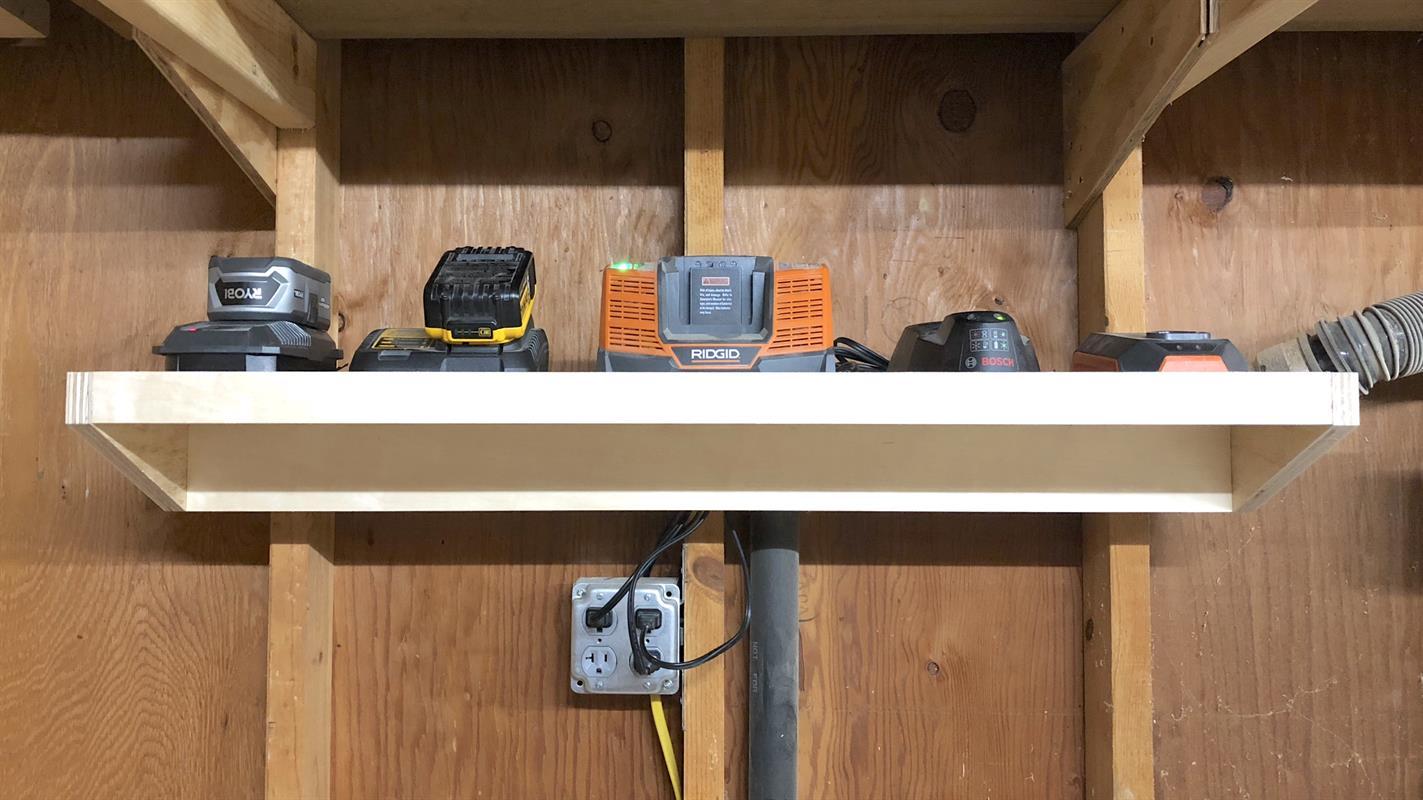
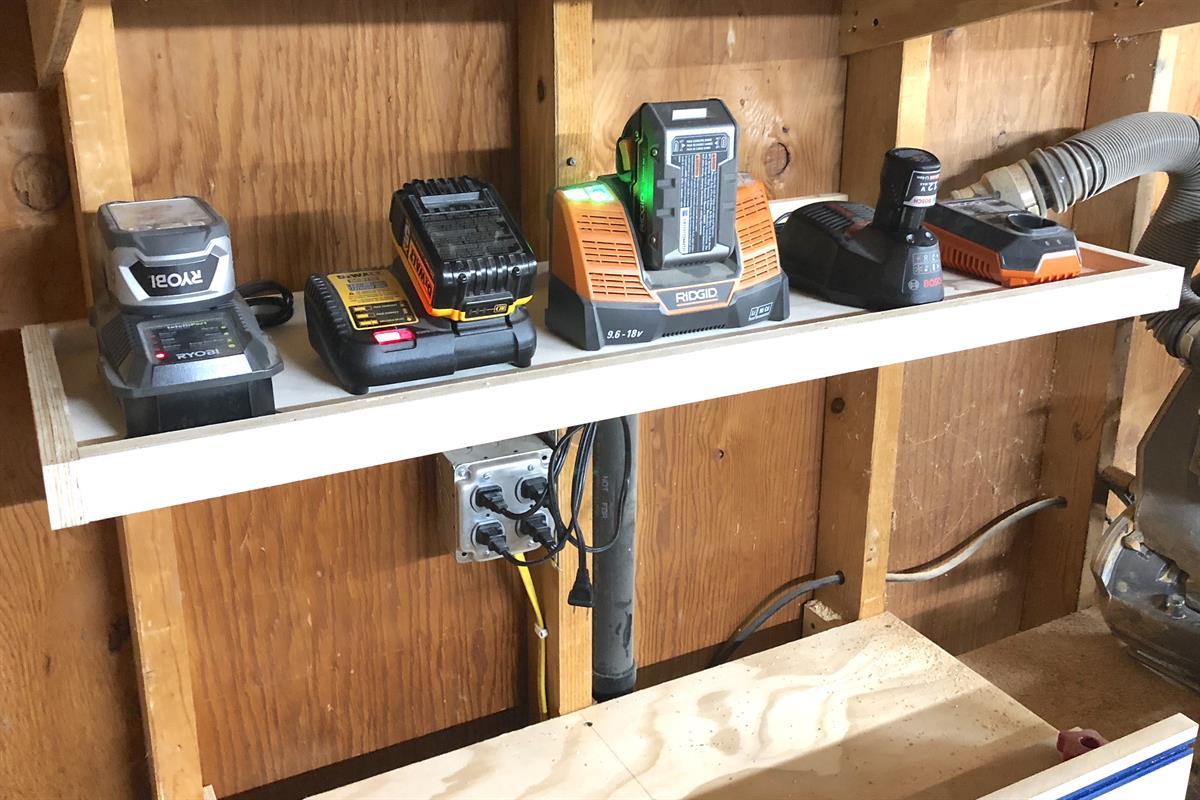
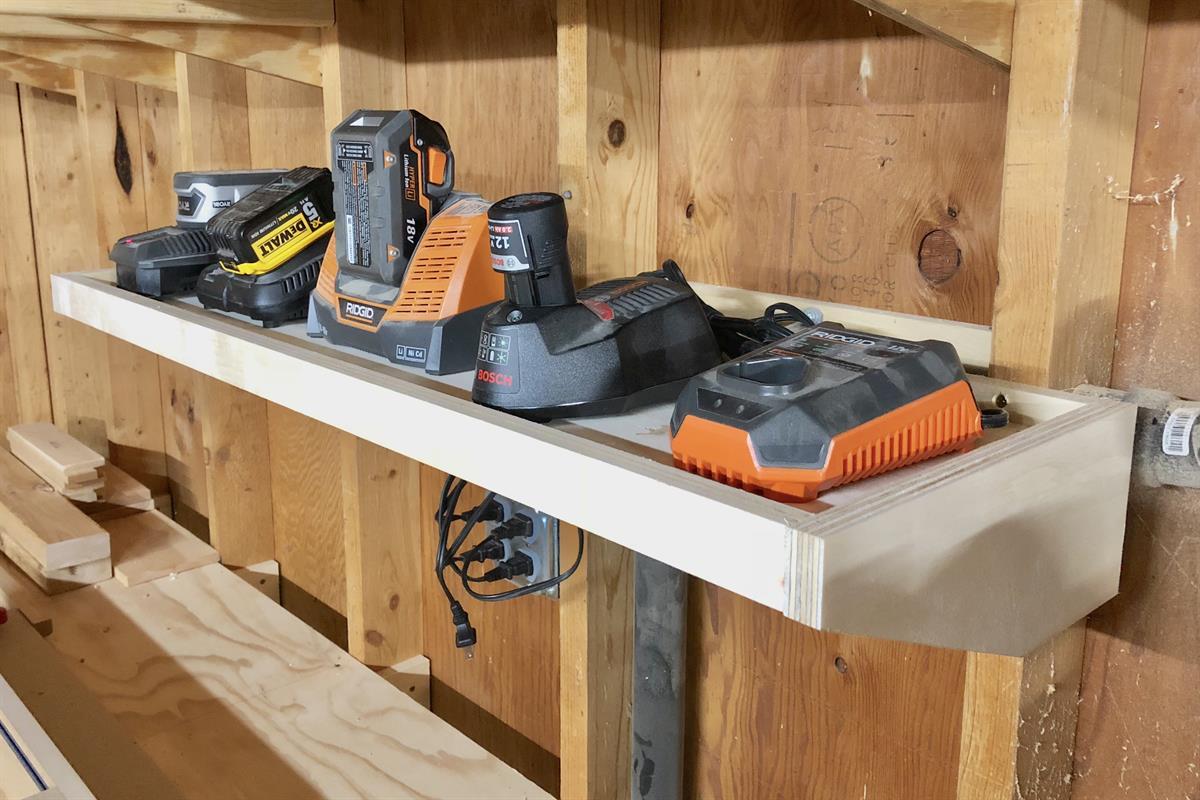
By natecrillyThis station is perfect for holding all of your cordless tool battery chargers. What sets it apart from a simple shelf is the concealed chase for routing and hiding the power cords for a nice clean look. This is a very simple project made from just a quarter sheet of plywood and a few screws.
Directions
-
Breaking down the plywood
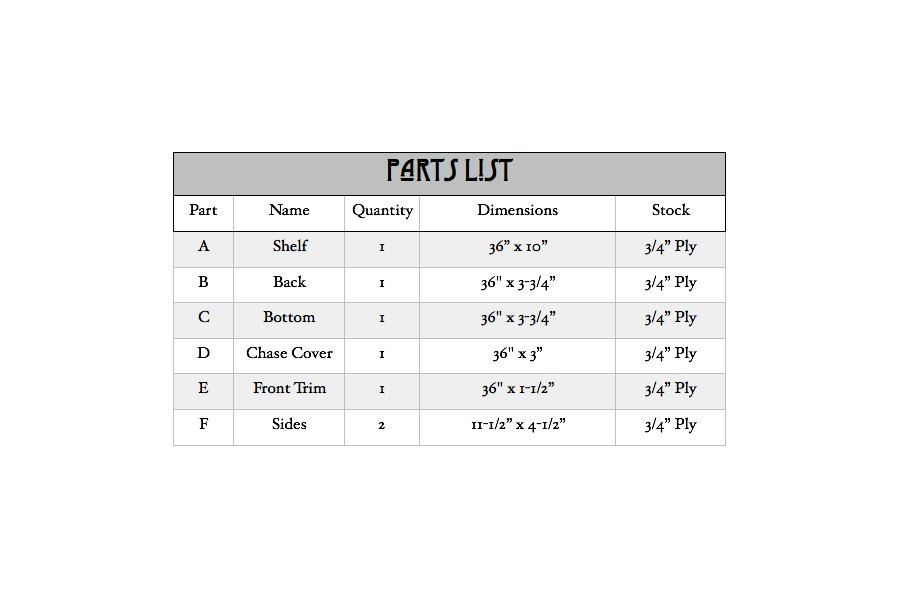
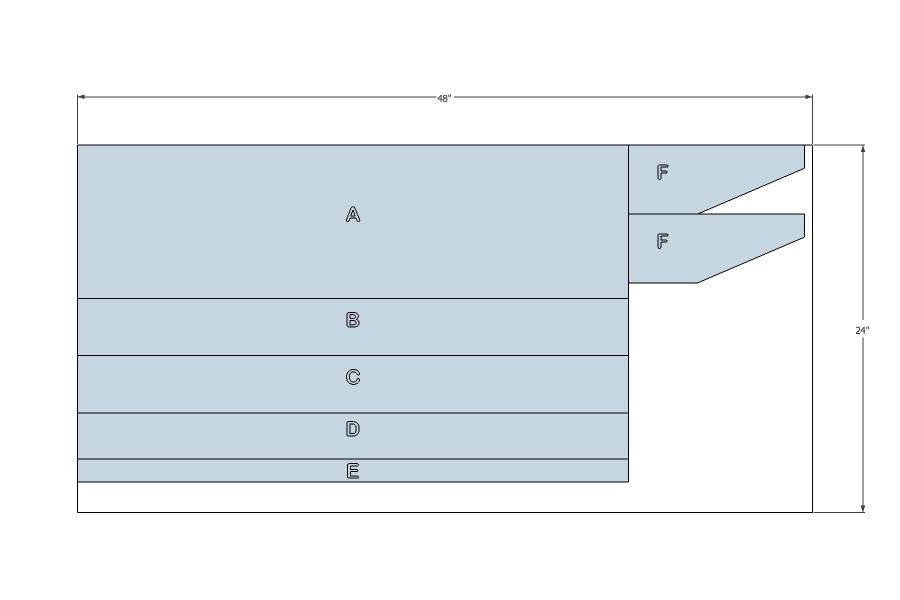
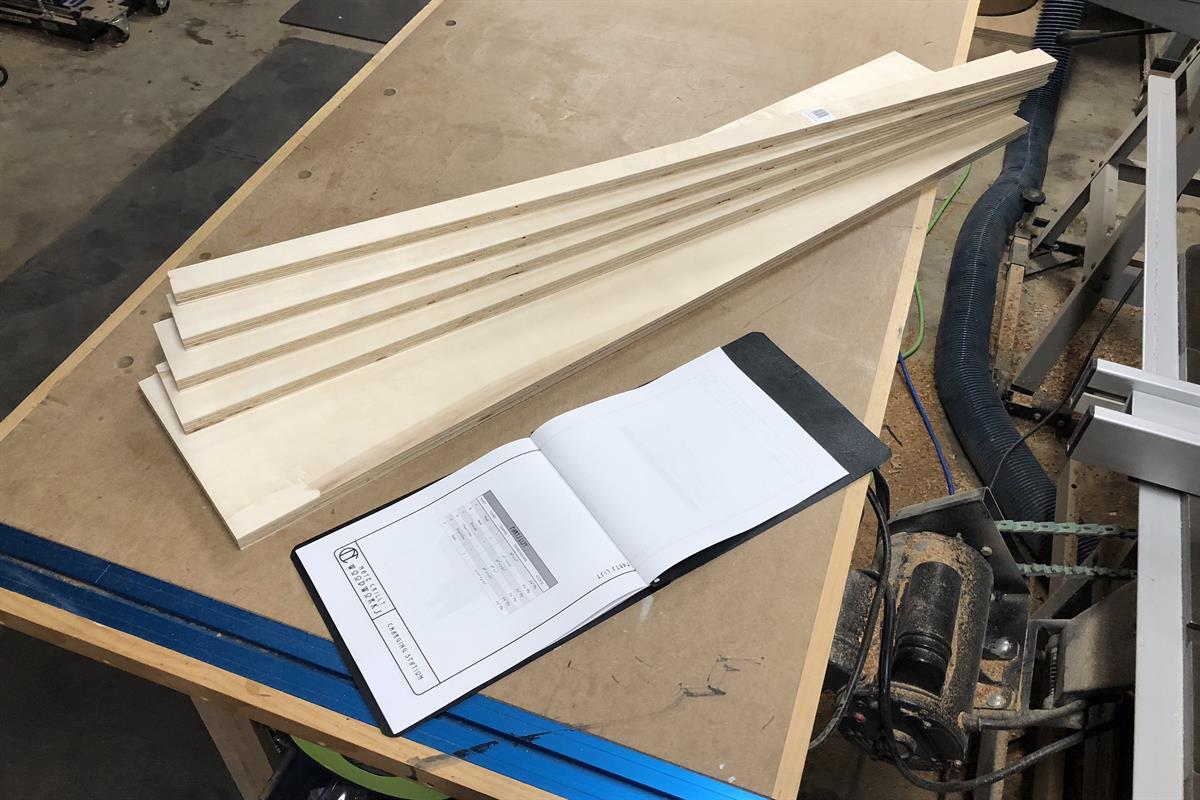
There is a detailed cut list and diagram provided in the Parts section. There is also a PDF download in the Extras section that contains detailed measured 3D drawings for this project. The first step is to break down the plywood into manageable strips. You will rip the piece lengthwise into a 10” strip, two 3-3/4” strips, a 3” strip, and a 1-1/2” strip. The remainder is scrap.
-
Cut the parts to length
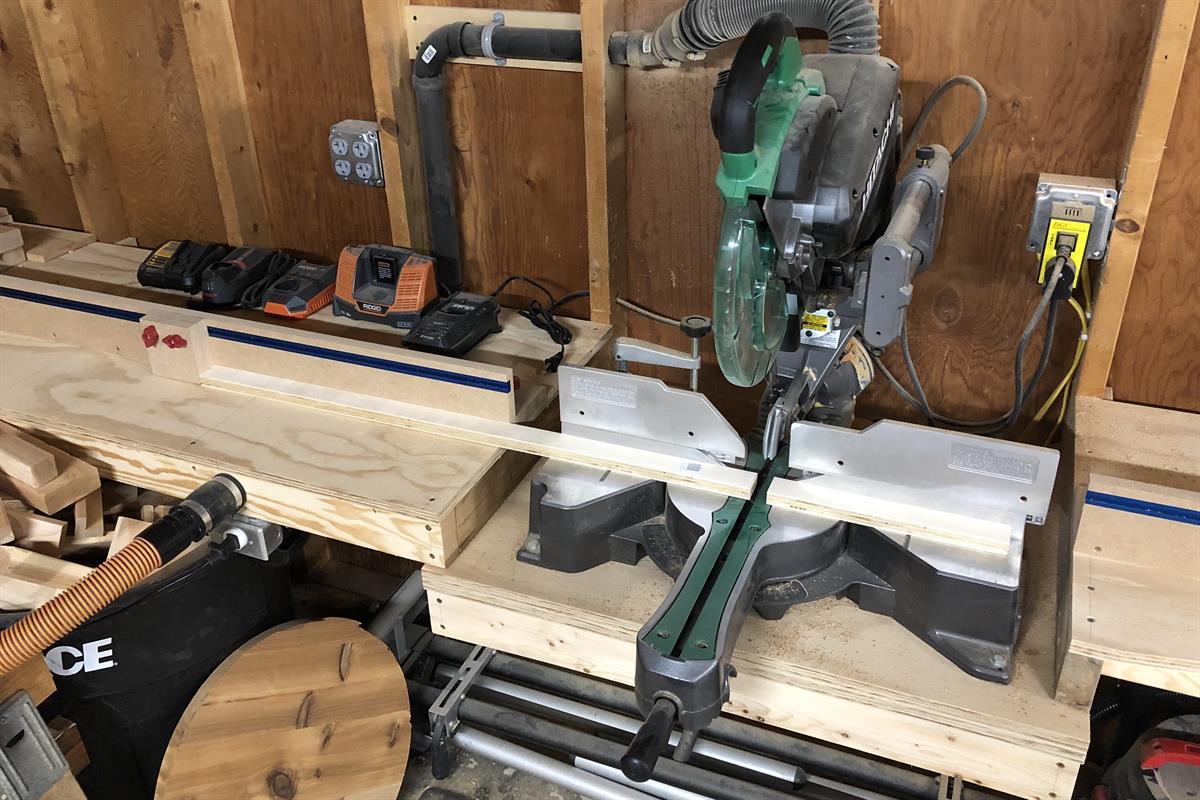
Next, cut each of these parts to a final length of 36”. I prefer a miter saw with a stop block to ensure they are all the same length. Save the offcut from the 10” wide Board. It will be used to make the side pieces in the next step. The rest of the offcuts are scrap.
-
Cut the side pieces to size
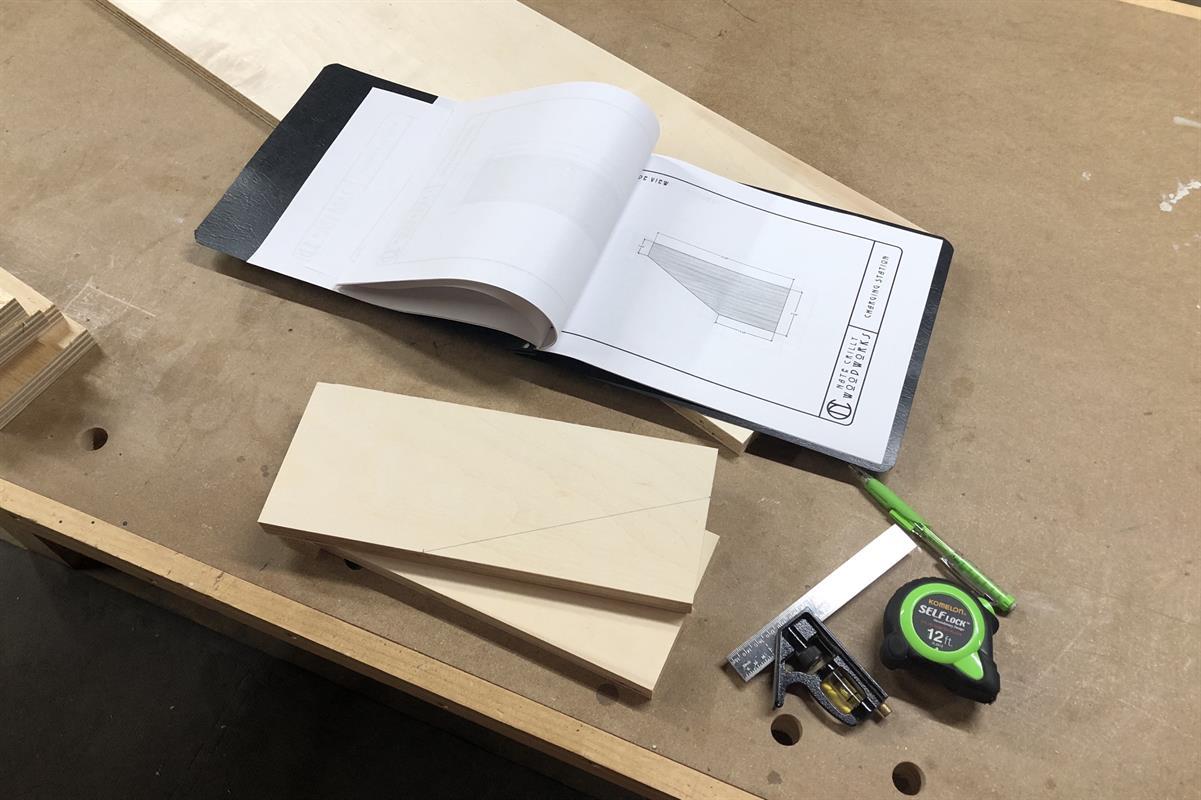
From the offcut from the last step, cut two pieces that are 11-1/2” by 4-1/2”. I first trimmed the offcut to 11-1/2” in length at the table saw, then ripped two pieces to 4-1/2”. Next, layout the angle per the measured drawings. Mark down 1-1/2” on the short side from the top and 4-1/2” in on the bottom edge from the opposite corner. Connect the marks with a line. Make sure the second side is a mirror image so the “show” face of the plywood can be oriented outwards.
-
Cut the angles on the side pieces
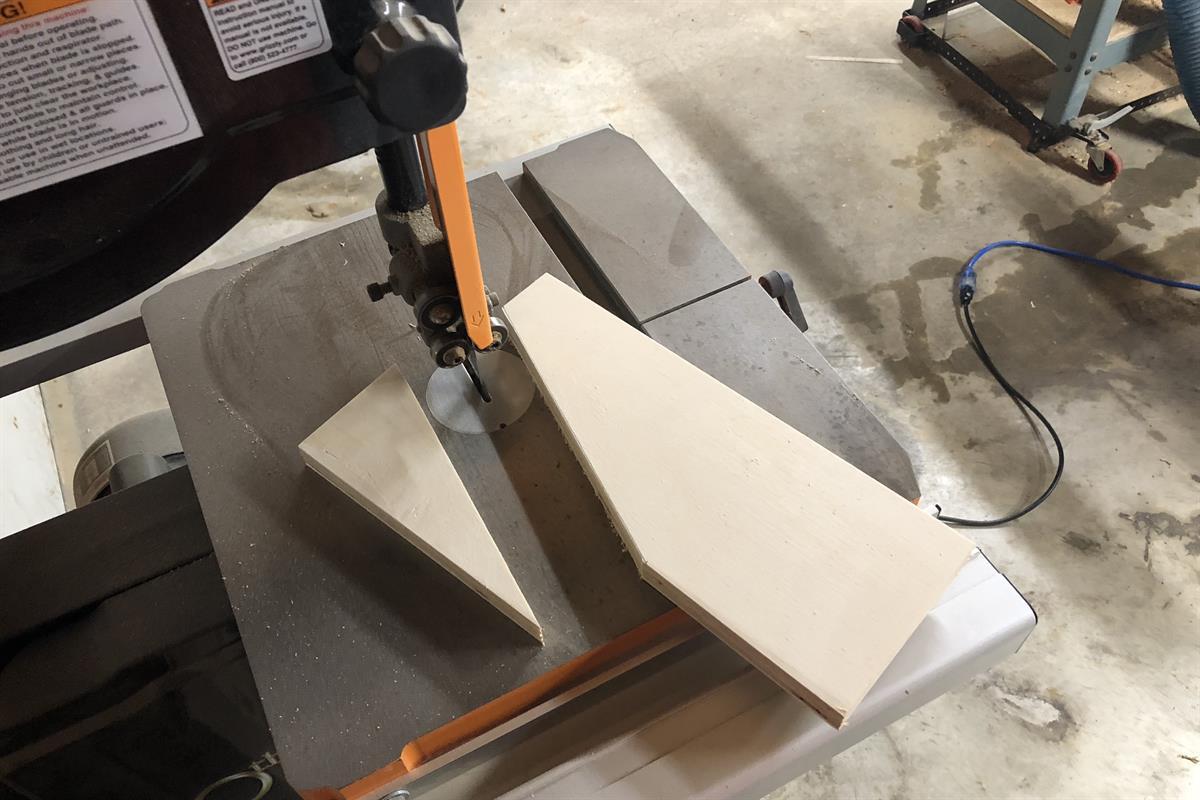
Trim the side pieces at the bandsaw or with a jigsaw. Cut to the waste side of the lines you made in the last step. We will clean up the cut in the next step.
-
Clean up the side pieces
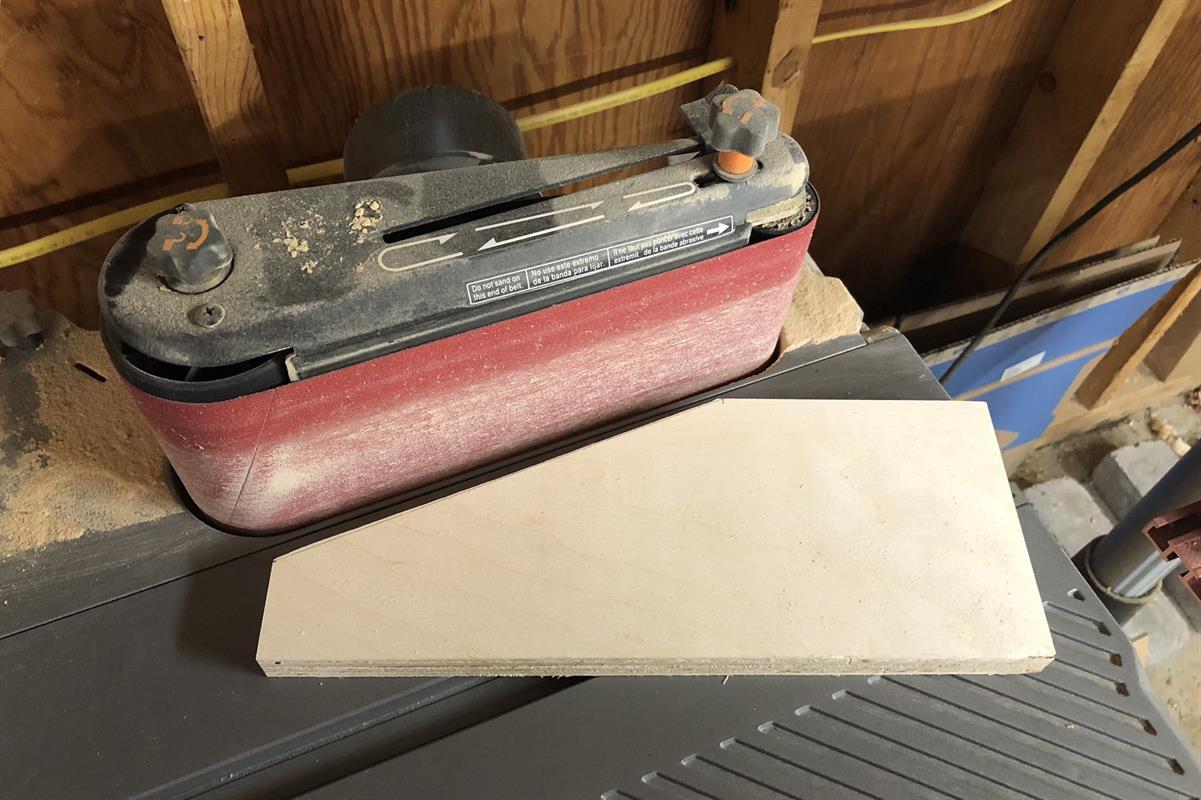
Clean up the cuts on the side pieces from the last step. I prefer the Ridgid oscillating spindle/belt sander, but a wood block with 80 grit sandpaper or a handheld belt or orbital sander will work just fine as well. Sand to the line. You can also tape the two pieces together before sanding to keep them nice and even.
-
Layout for Pocket Holes
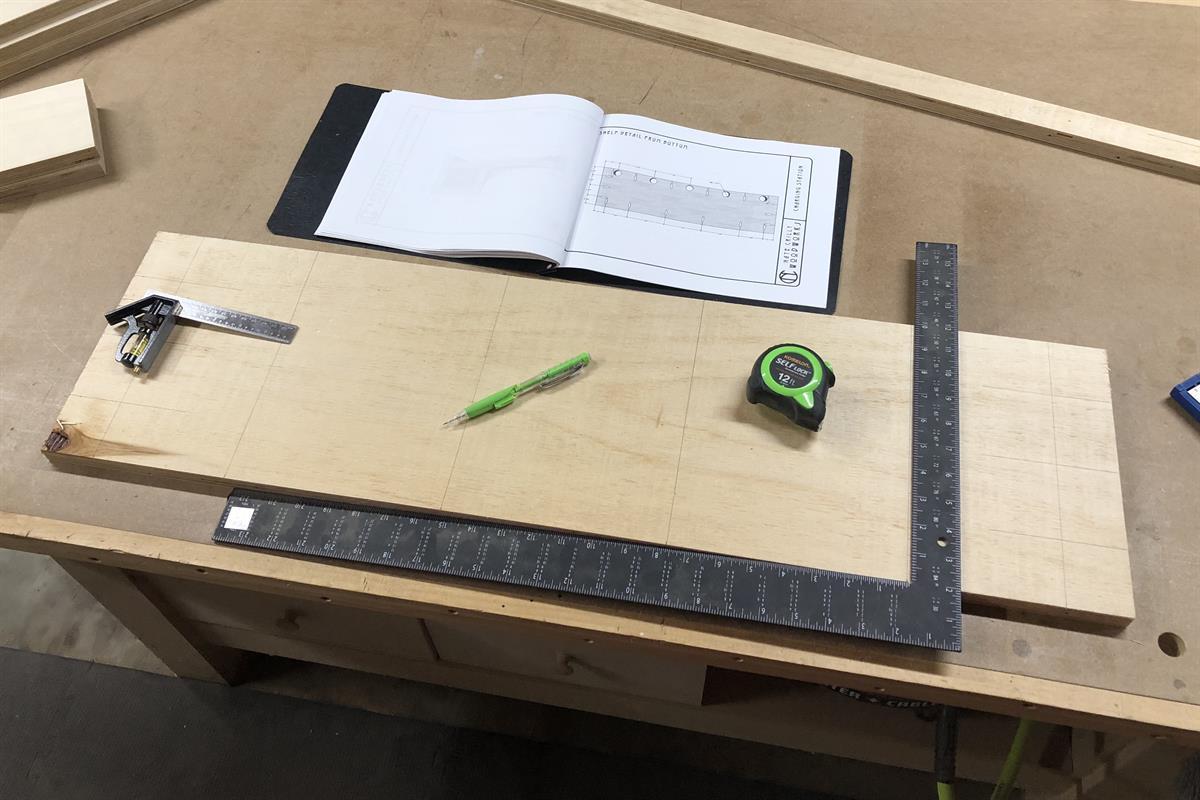
The measured drawings in the Extras section indicate where pocket holes should be drilled in each part. Layout these locations with a pencil and square to aid in lining up the jig when drilling. Mark out all the pocket holes on all the pieces per the plans. Also, mark the shelf for the 5 holes that will be drilled for the power cords to be fed through. The bottom also gets marked for a through hole. These will be drilled later.
-
Drill the Pocket Holes
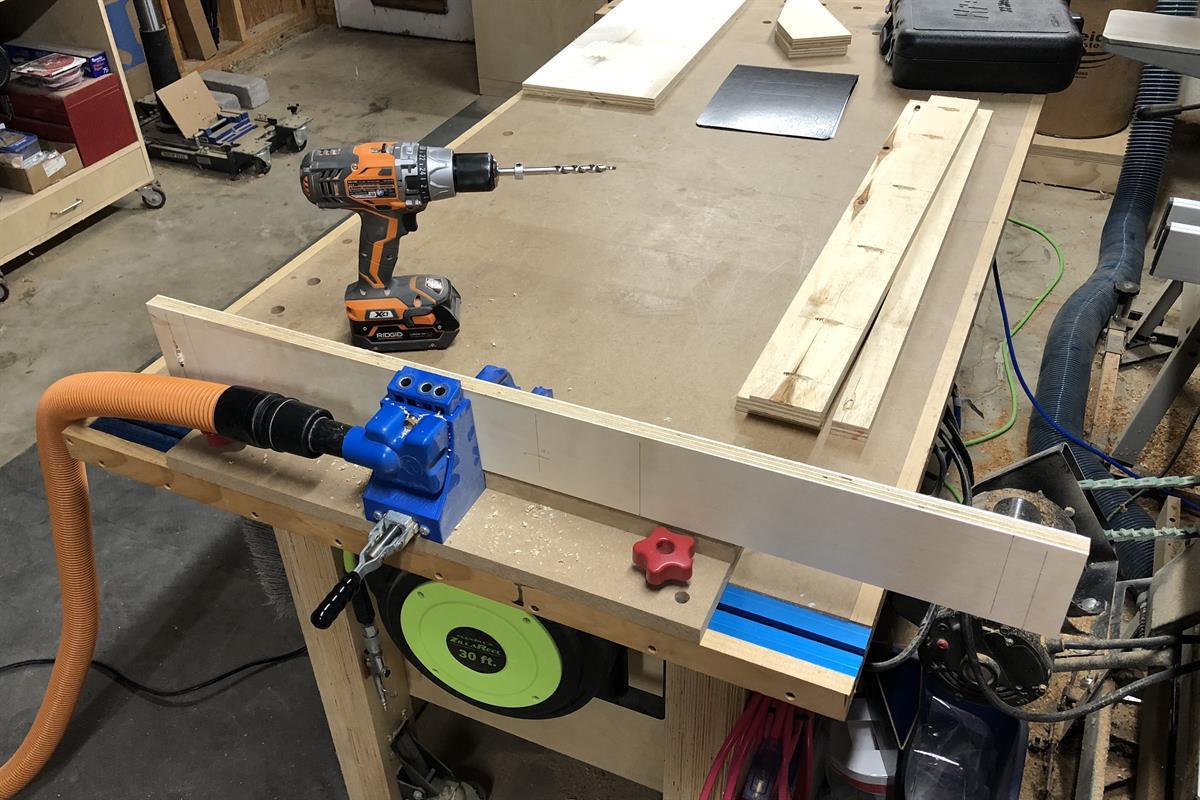
Setup your jig and drill all of the pocket holes in each part. Any jig will work, but I love my benchtop model when batching out a lot of parts like this. I definitely recommend hooking it up to a vacuum. It keeps the jig and bit clean and cool and keeps the mess to a minimum.
-
Drill the holes for cord management
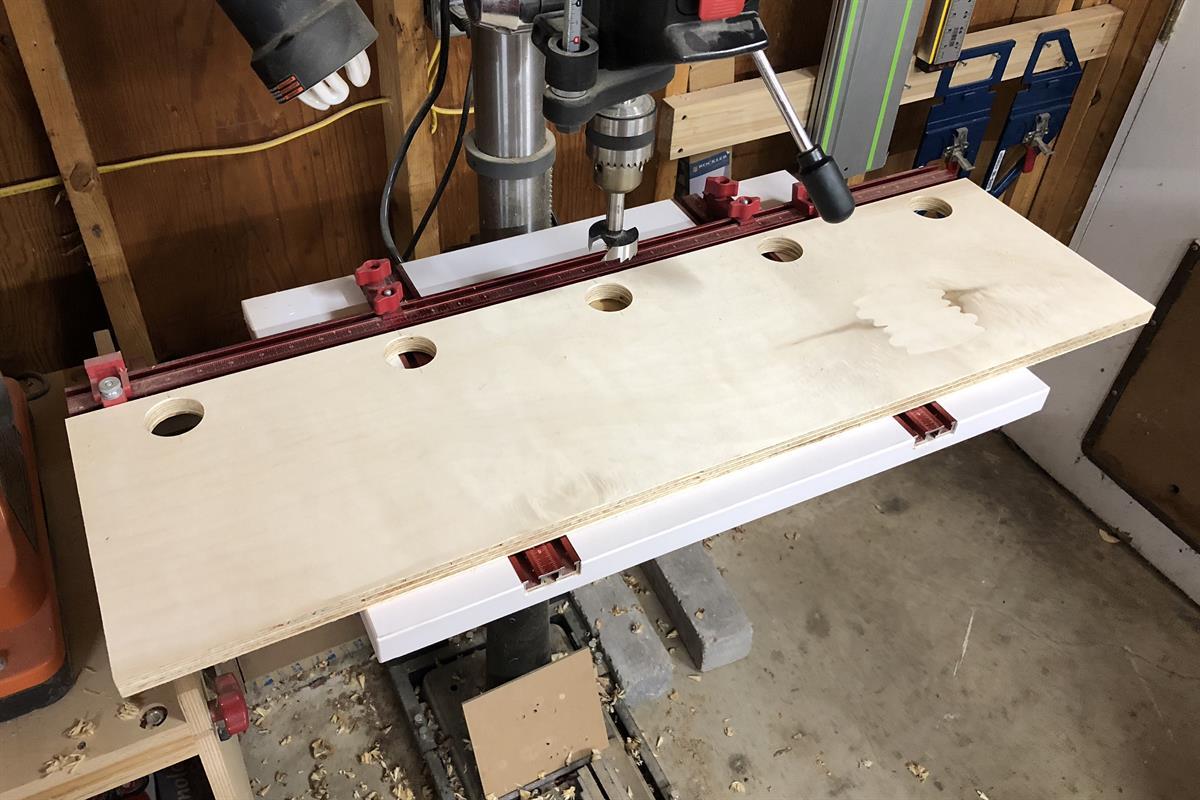
Next, drill the holes in the shelf and bottom for routing the power cords. I did this with a forstner bit at the drill press, but you can also use a handheld drill. Hole saws can also be used in place of the forstner bit, and are usually cheaper. The shelf gets 1-1/2” holes and the bottom gets a 2” hole.
-
Assembly - Step 1
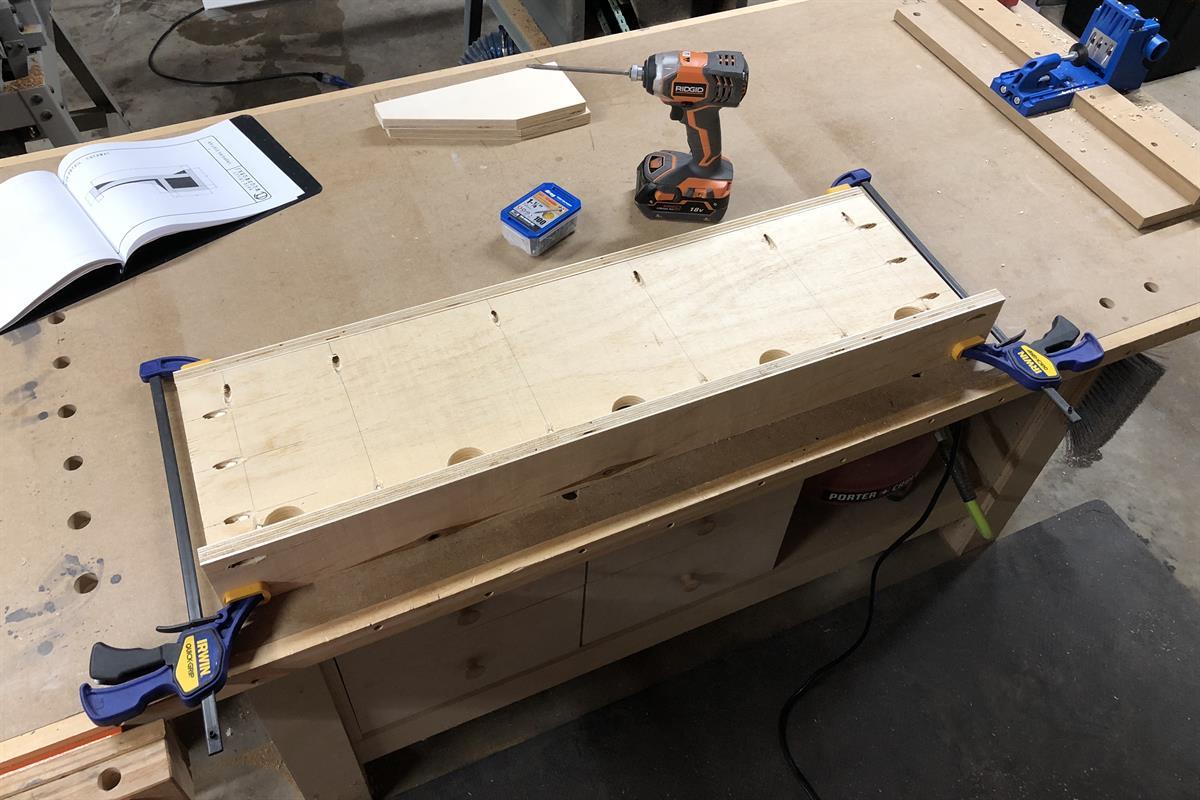
Use the scrap wood as spacers to hold the shelf (upside down) off your work surface by 3/4”. Next clamp the front trim and back piece in place and attach with 1-1/4” pocket screws.
-
Assembly - Step 2
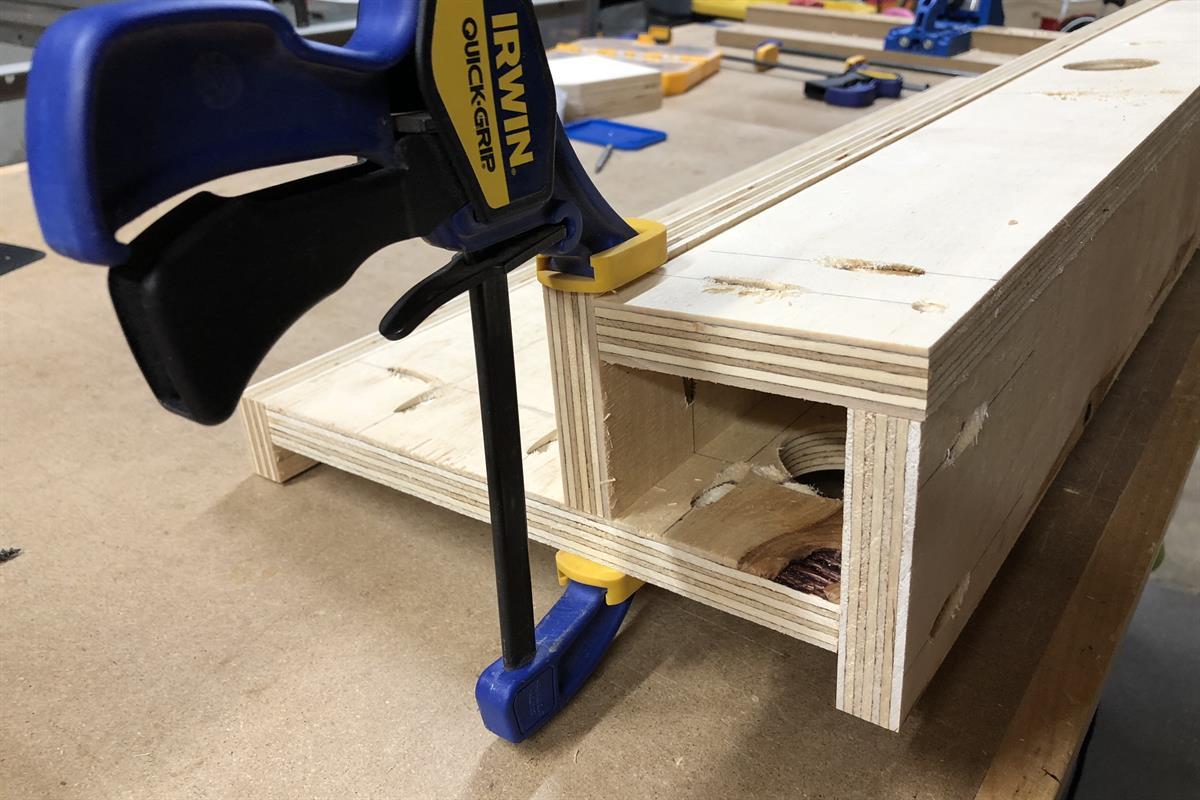
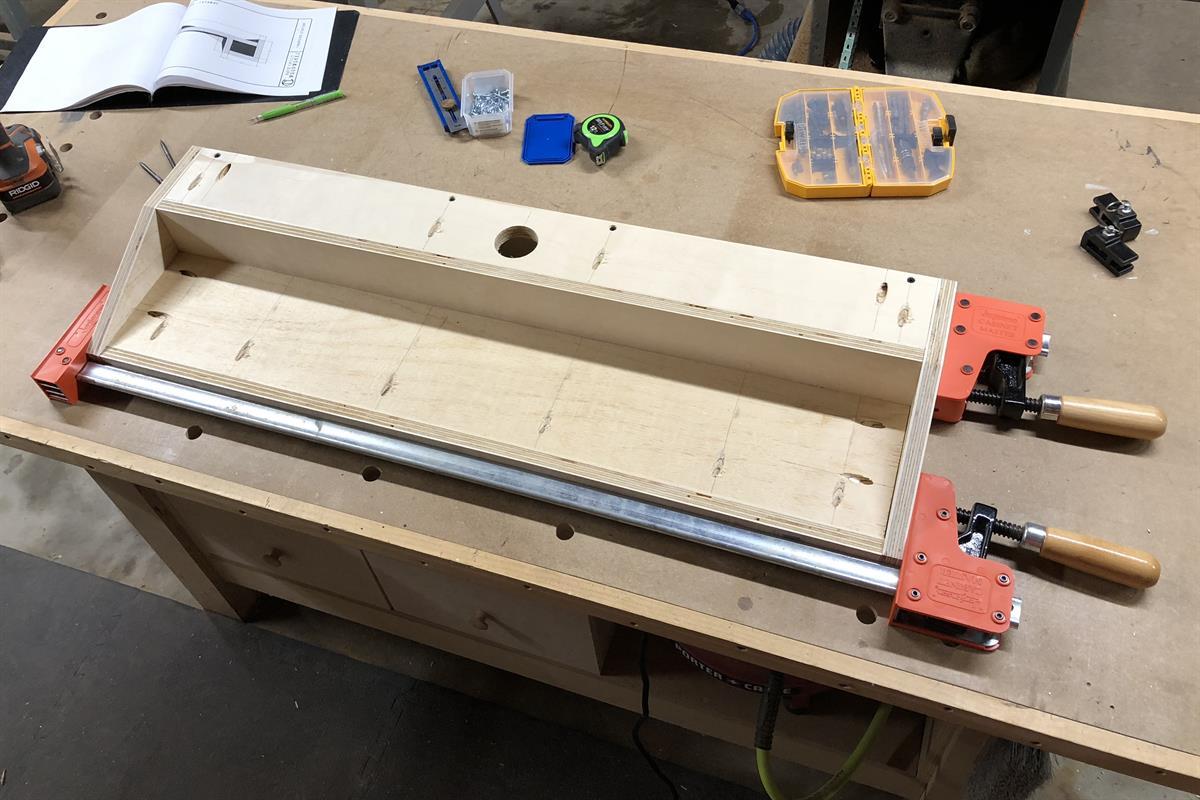
Next, clamp the chase front in place. There should be a 3” gap between the chase front and the back. Mark a line and clamp it in place with the pocket holes facing the back. You can check the spacing by using the bottom board as shown in the picture. It should be flush with the back of the back piece when help in place. Screw the chase front in place with pocket screws.
-
Assembly - Step 3
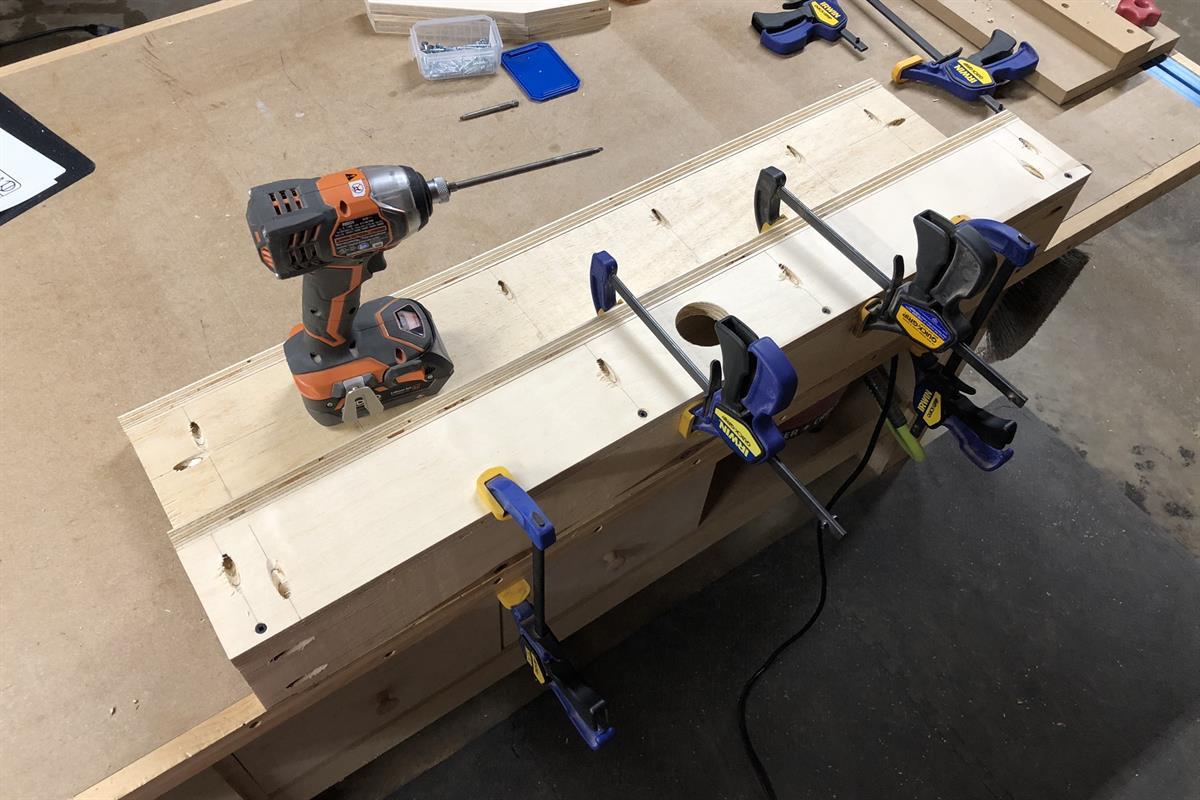
Clamp the bottom board in place. Pre-drill and countersink through the bottom board into the back board and then attach with #8 x 1-1/4” screws. Next, attach the bottom board to the chase front with pocket screws.
-
Assembly - Step 4
Clamp the side pieces in place with the nice sides facing outwards. Attach with pocket screws through the shelf bottom and back. Assembly is now complete!
-
Hang the Charging Station - Step 1
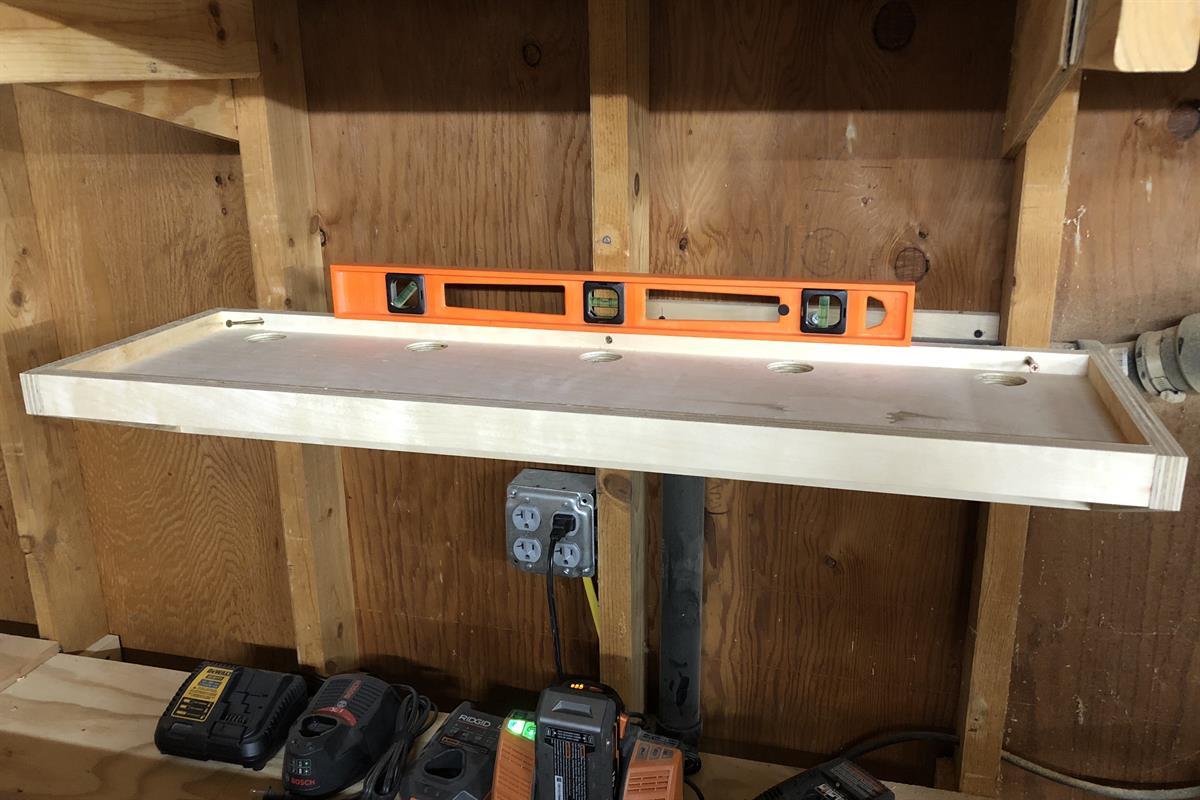
Pre-drill and countersink for screws along the top edge of the back per the diagram. There are 3 holes that are 16” apart so the shelf can be attached to 3 wall studs. The shelf should be centered over an outlet if possible. Using #8 x 2-1/2” screws, attach the shelf to the studs, starting with the center hole. Check for level, then install the outer two screws.
-
Hang the Charging Station - Step 2
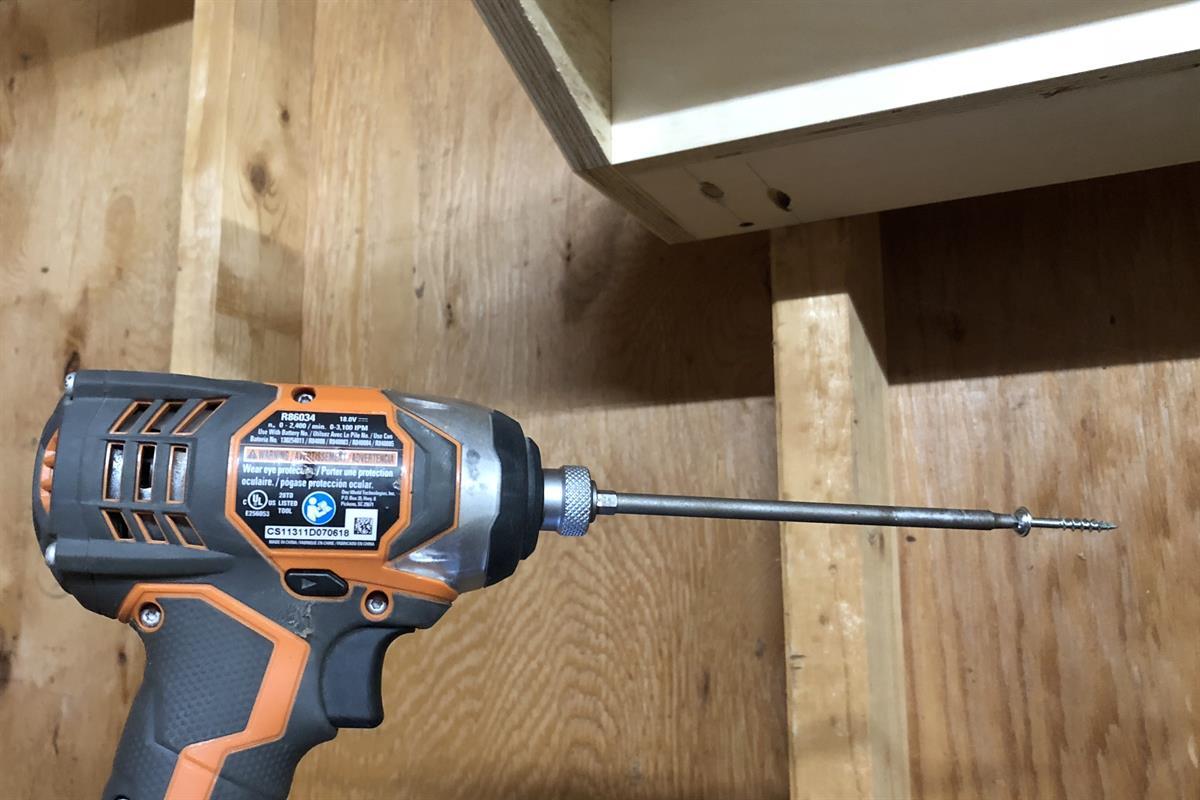
There are two pocket holes on the bottom that face the wall. They are 32” apart and should line up perfectly with the wall studs. Using 1-1/4” pocket screws, attach the shelf to the outer studs through these holes. The screws in the last step are more than enough to support the weight of the chargers and batteries, but these screws will add stability and prevent the shelf from tipping up if hit from the bottom.
-
Install the Chargers
Route the cords through the holes in the shelf and then through the hole in the bottom. It is a good idea to mark each cord near the plug with a label to prevent confusion later. You can hide excess cord in the chase or wrapped up behind the charger. You’re done!


