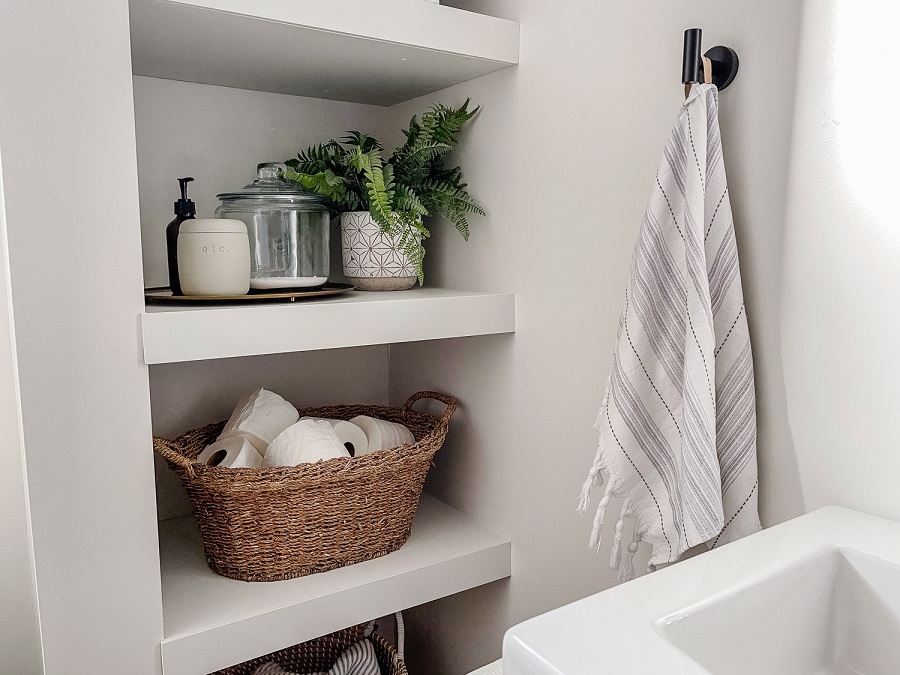
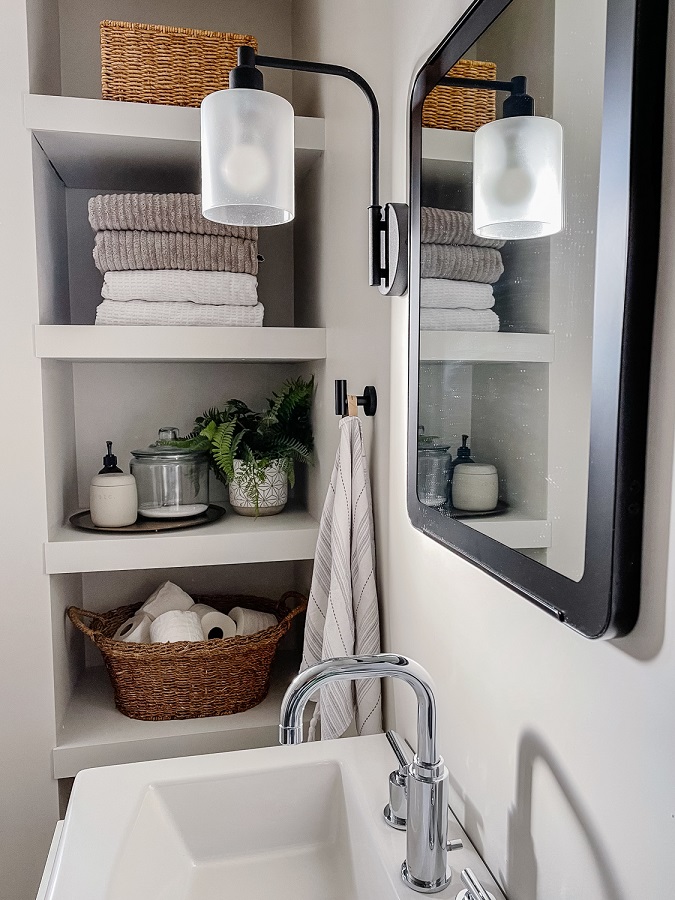
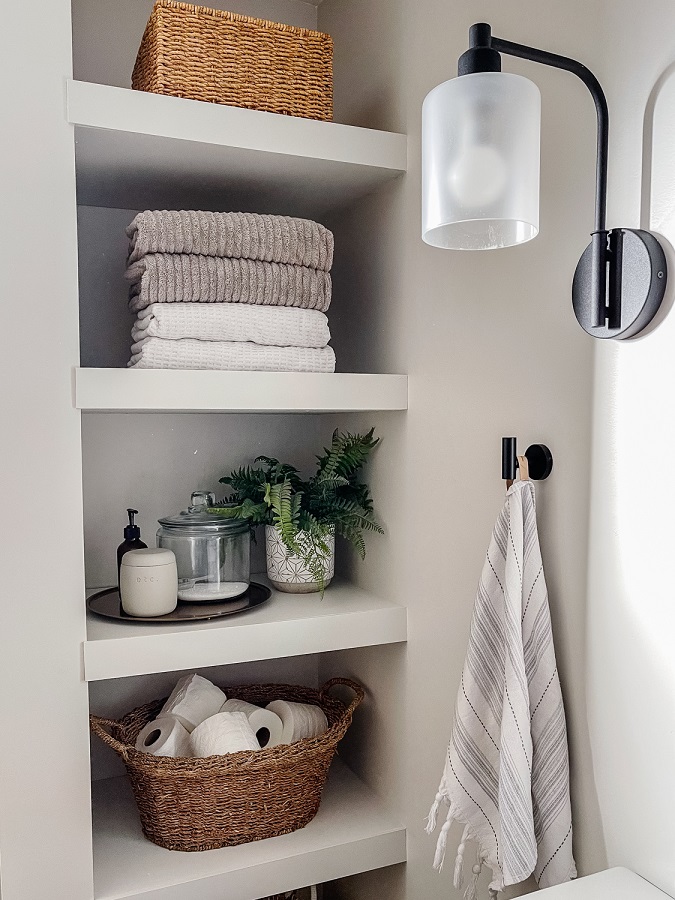
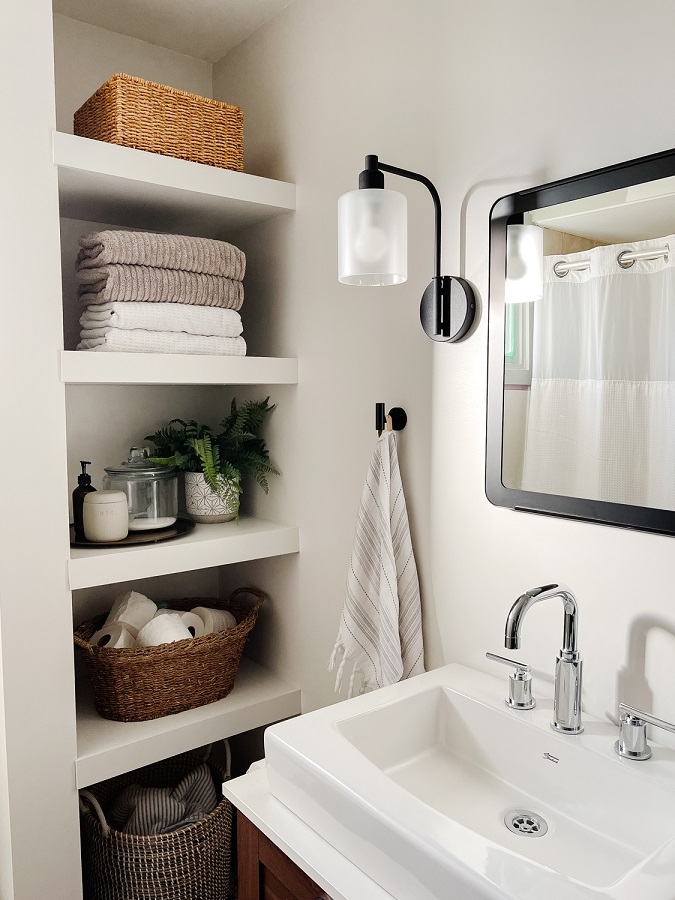
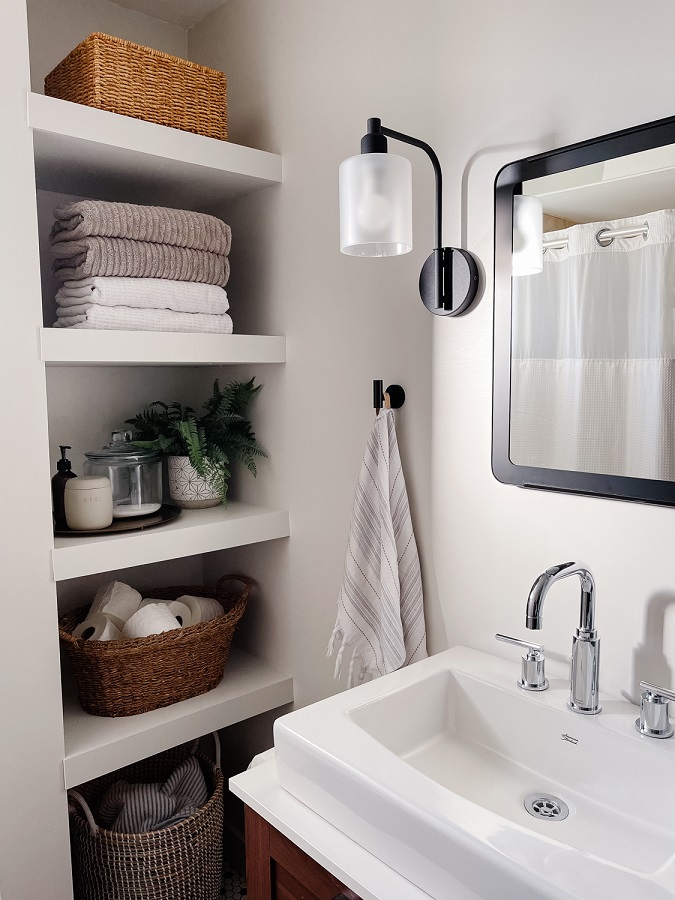


For this project we're making floating shelves in a small bathroom nook using pocket holes and the Kreg Universal Rip-Cut Circular Saw Jig. It's an inexpensive project that can turn an otherwise unusable space into something functional and beautiful!
Tools
Kreg Tools


Other Tools
-
Mitre saw

-
Nail gun
-
Small level
Materials
Wood Products
- 2 Poplar hardwood hobby board , 1/4-inch x 3-inch x 4 Feet
- 2 Sanded aspen plywood , 1/2-inch x 4 Feet x 8
- 2 Framing lumber , 1x2x8
Hardware & Supplies
- 1 Box of 1" Kreg screws (see tool list)
- 1 Box of 1" finishing nails
- 1 Wood filler
- 1 Paint or stain of choice
- 1 Box of 1.5" wood screws
Directions
-
Prep all of your cuts
To start, prep all cuts. My shelves had to be cut 22.5” wide and 16.5” deep to fit into my nook. I
used the Kreg Universal Rip-Cut Circular Saw Jig to rip my plywood pieces to size. I then used
the mitre saw to cut the 1x2’s into 16” pieces.
-
Drill pocket holes
Drill 2 pocket holes into each 1x2 piece, about 2-3 inches from the edge. These will be used to
attach to the plywood without any nail or screw holes. On the bottom shelves, I used the pocket
holes to attach the 1x2 to the top of the sheld, and on the top shelves, I used them to attach the
bottom piece of the shelf so that there are no holes to fill and no visible marks. -
Attach the supporting pieces
Find the right height for your shelves and screw 1x2 pieces on either side of the nook making
sure they are level. I made sure to leave extra space under the lowest shelf for a laundry
hamper, and all of the other shelves ate about 15” apart. Using your ⅕” wood screws and impact
driver, screw the 1x2’s into studs.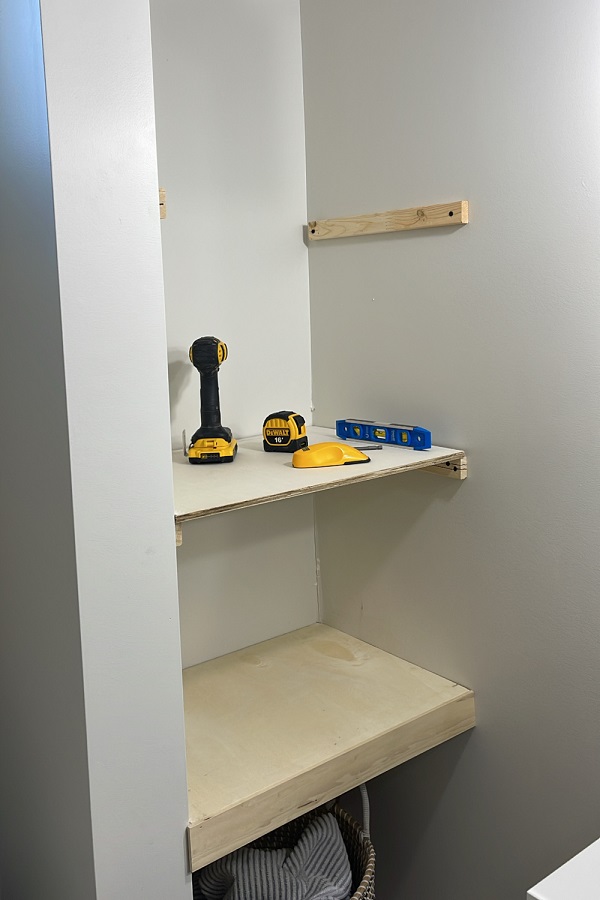
-
Add the shelf top and bottom
Depending on which shelf you’re starting with, use pocket holes to attach the plywood pieces.
Again, on the bottom shelves, I used pocket holes to attach the top plywood piece and a nail
gun to attach the bottom since those holes will not be visible.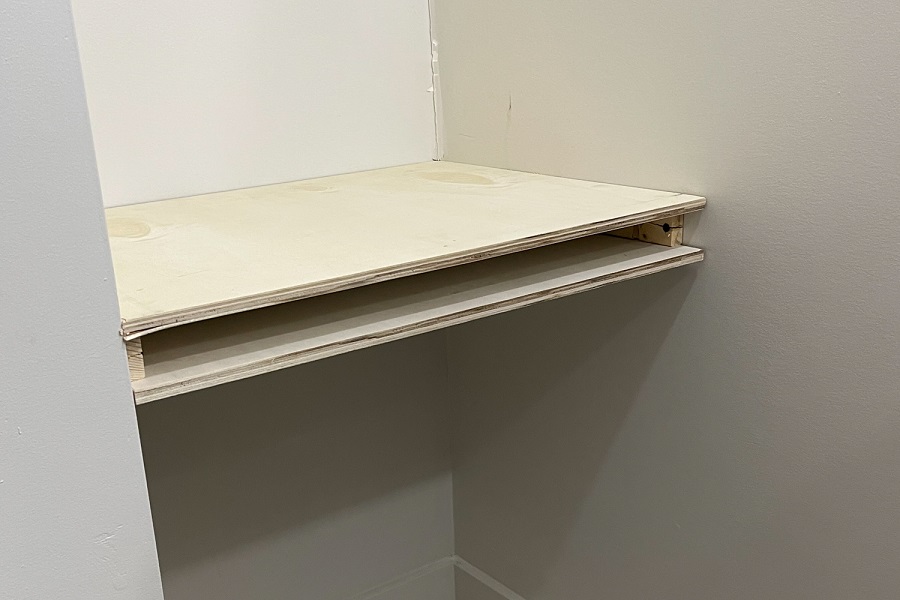
-
Add the front piece
Once the tops and bottoms are on, use a nail gun and finishing nails to add the front piece on. I
only used 3 nails to minimize having to fill in any holes and filled those in with some wood filler.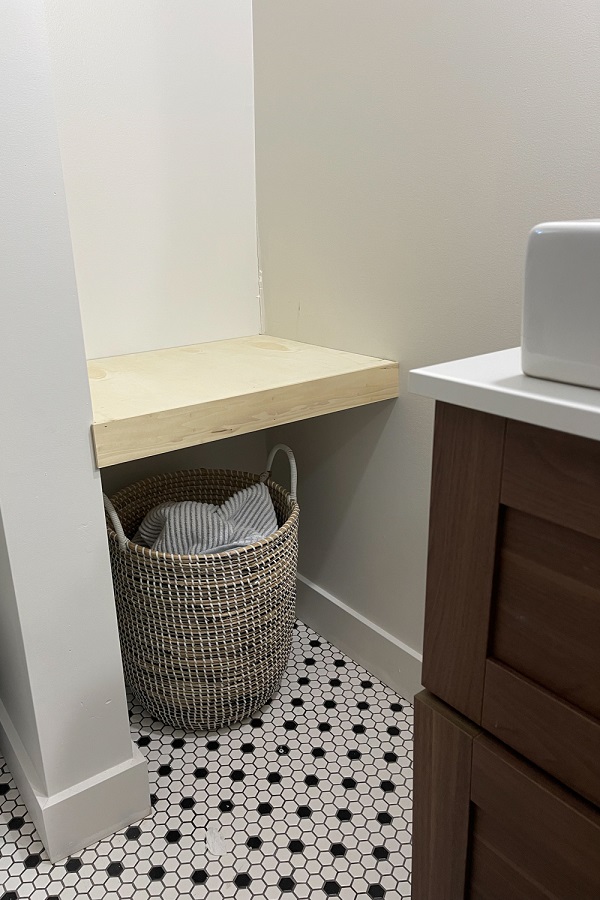
-
Repeat as needed
Depending on how many shelves you’d like, repeat the process! I made four evenly spaced
shelves, with extra room under the bottom one.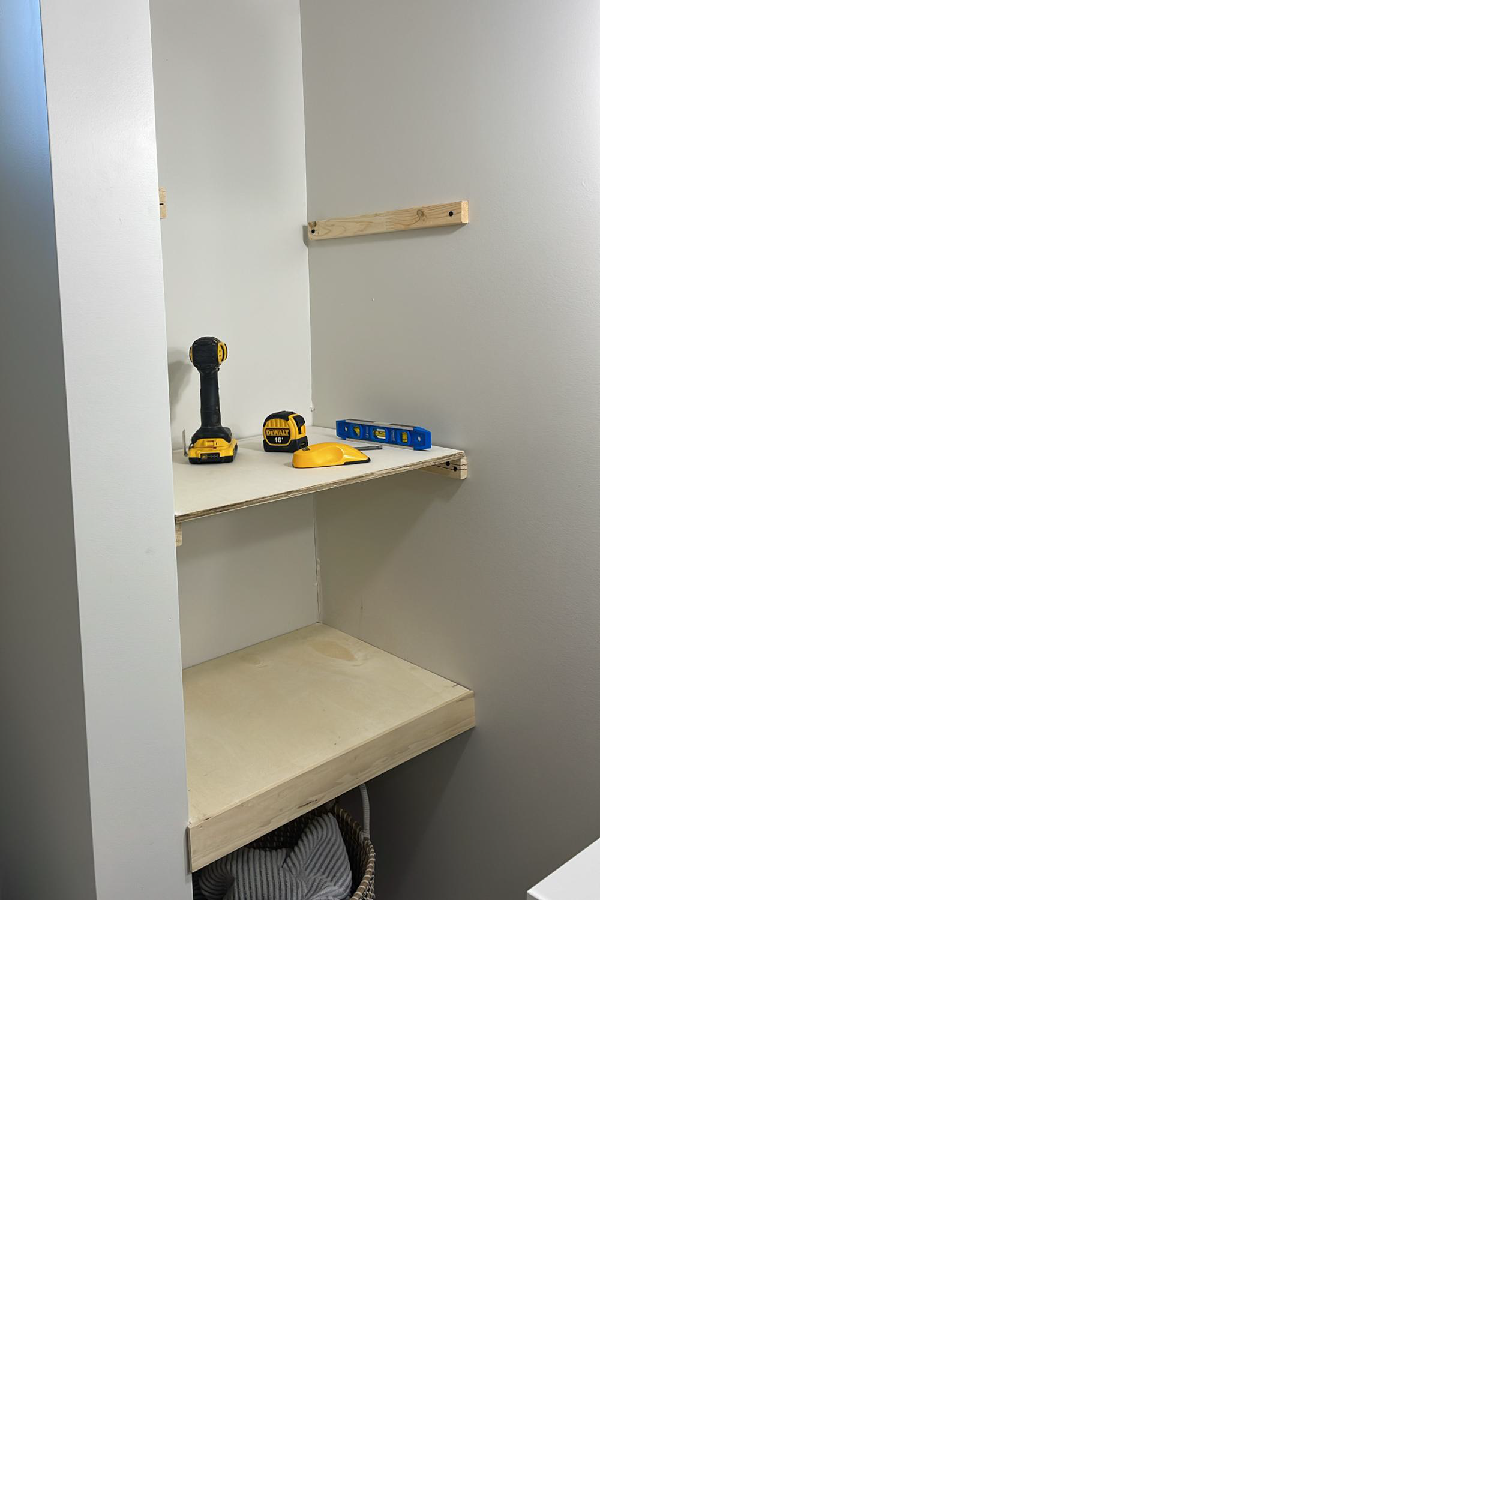
-
Paint or stain
So long as you have the same wood species for the plywood and front cover piece, staining
would be no problem. I opted to paint mine in the same colour as the walls to really make them
look like they’re built into the nook.
Be sure to check out our top 20 plans for DIY floating shelves: