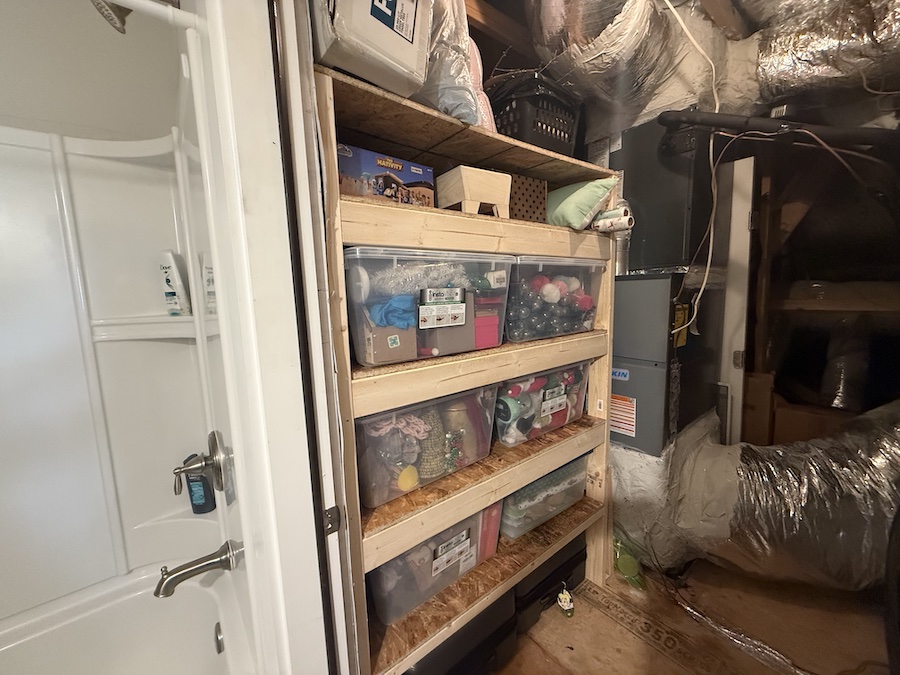
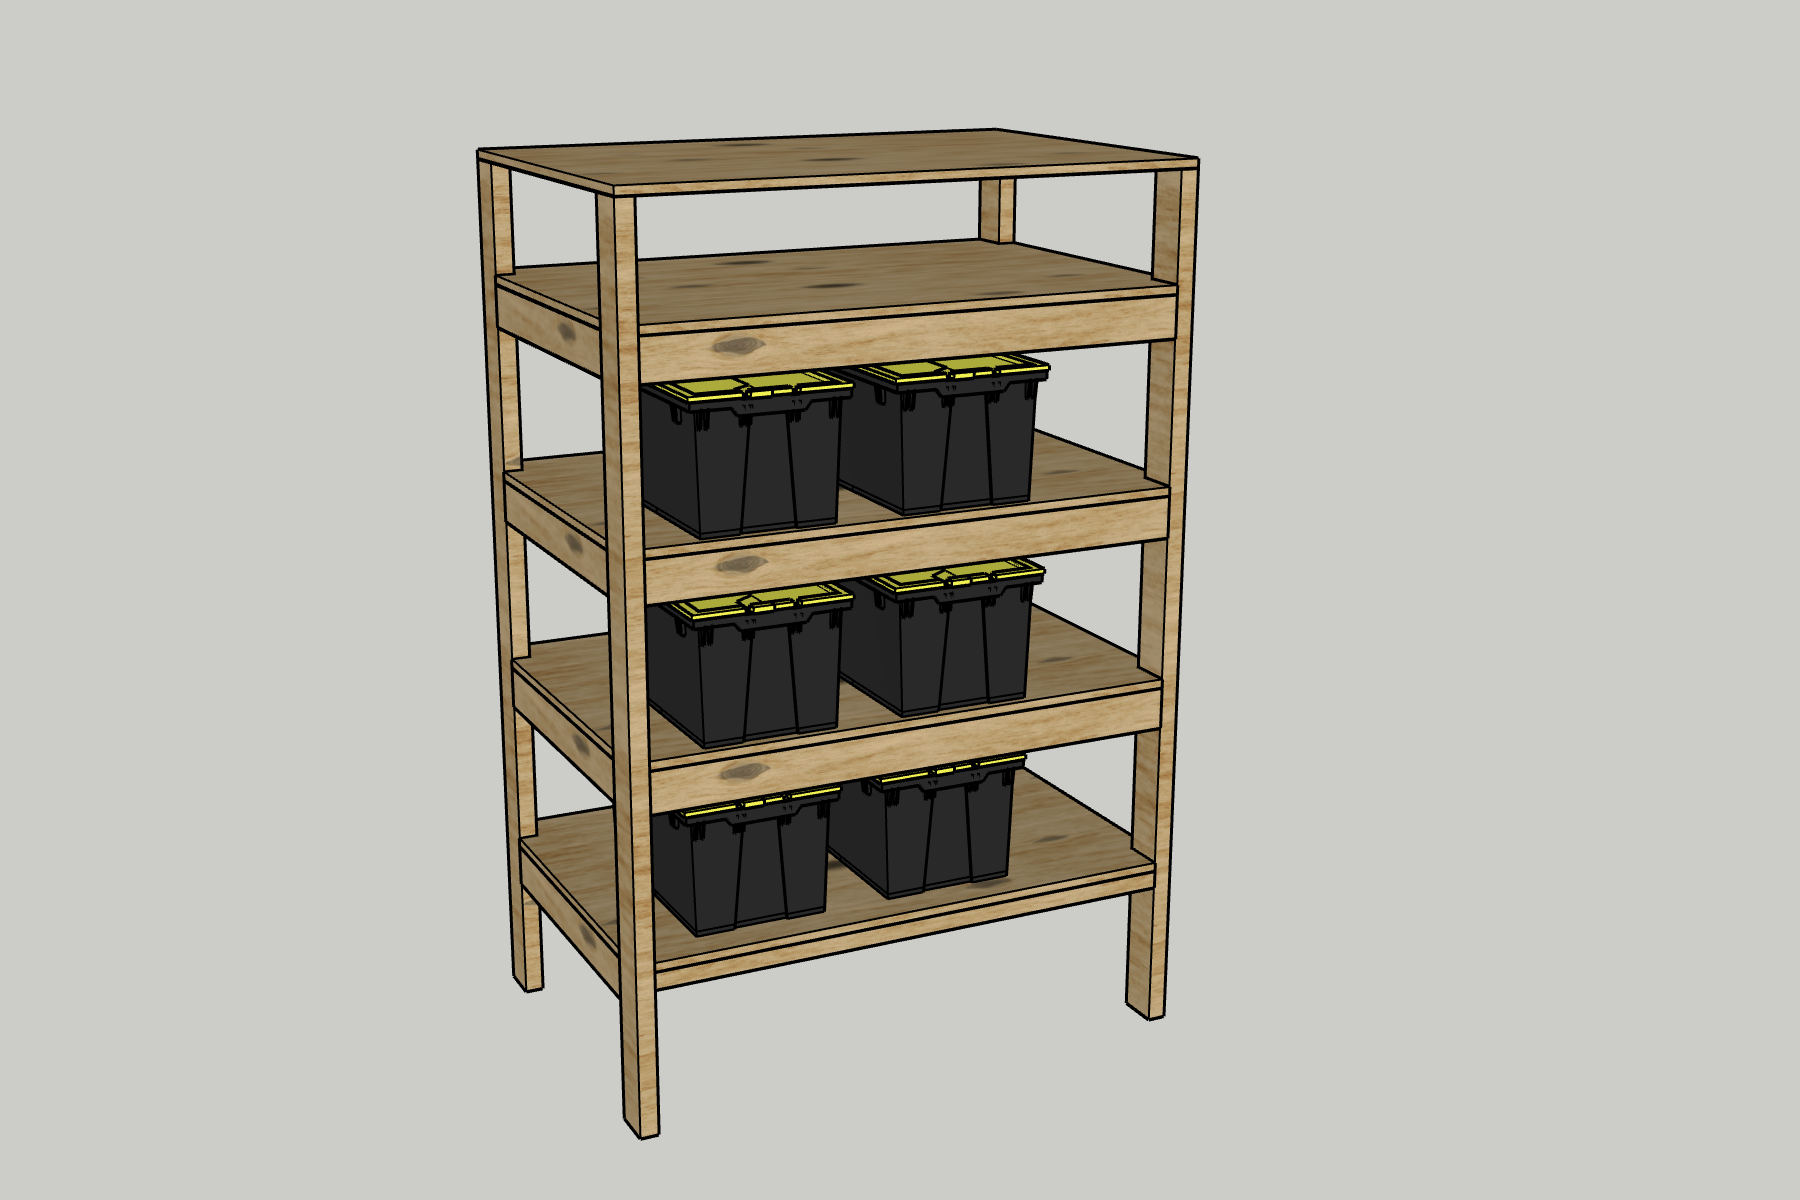


These attic shelves are a great way to store bins and other items that you don’t need all the time. These also work well in the garage and can be adjusted to be taller or shorter, depending on your needs!
Tools
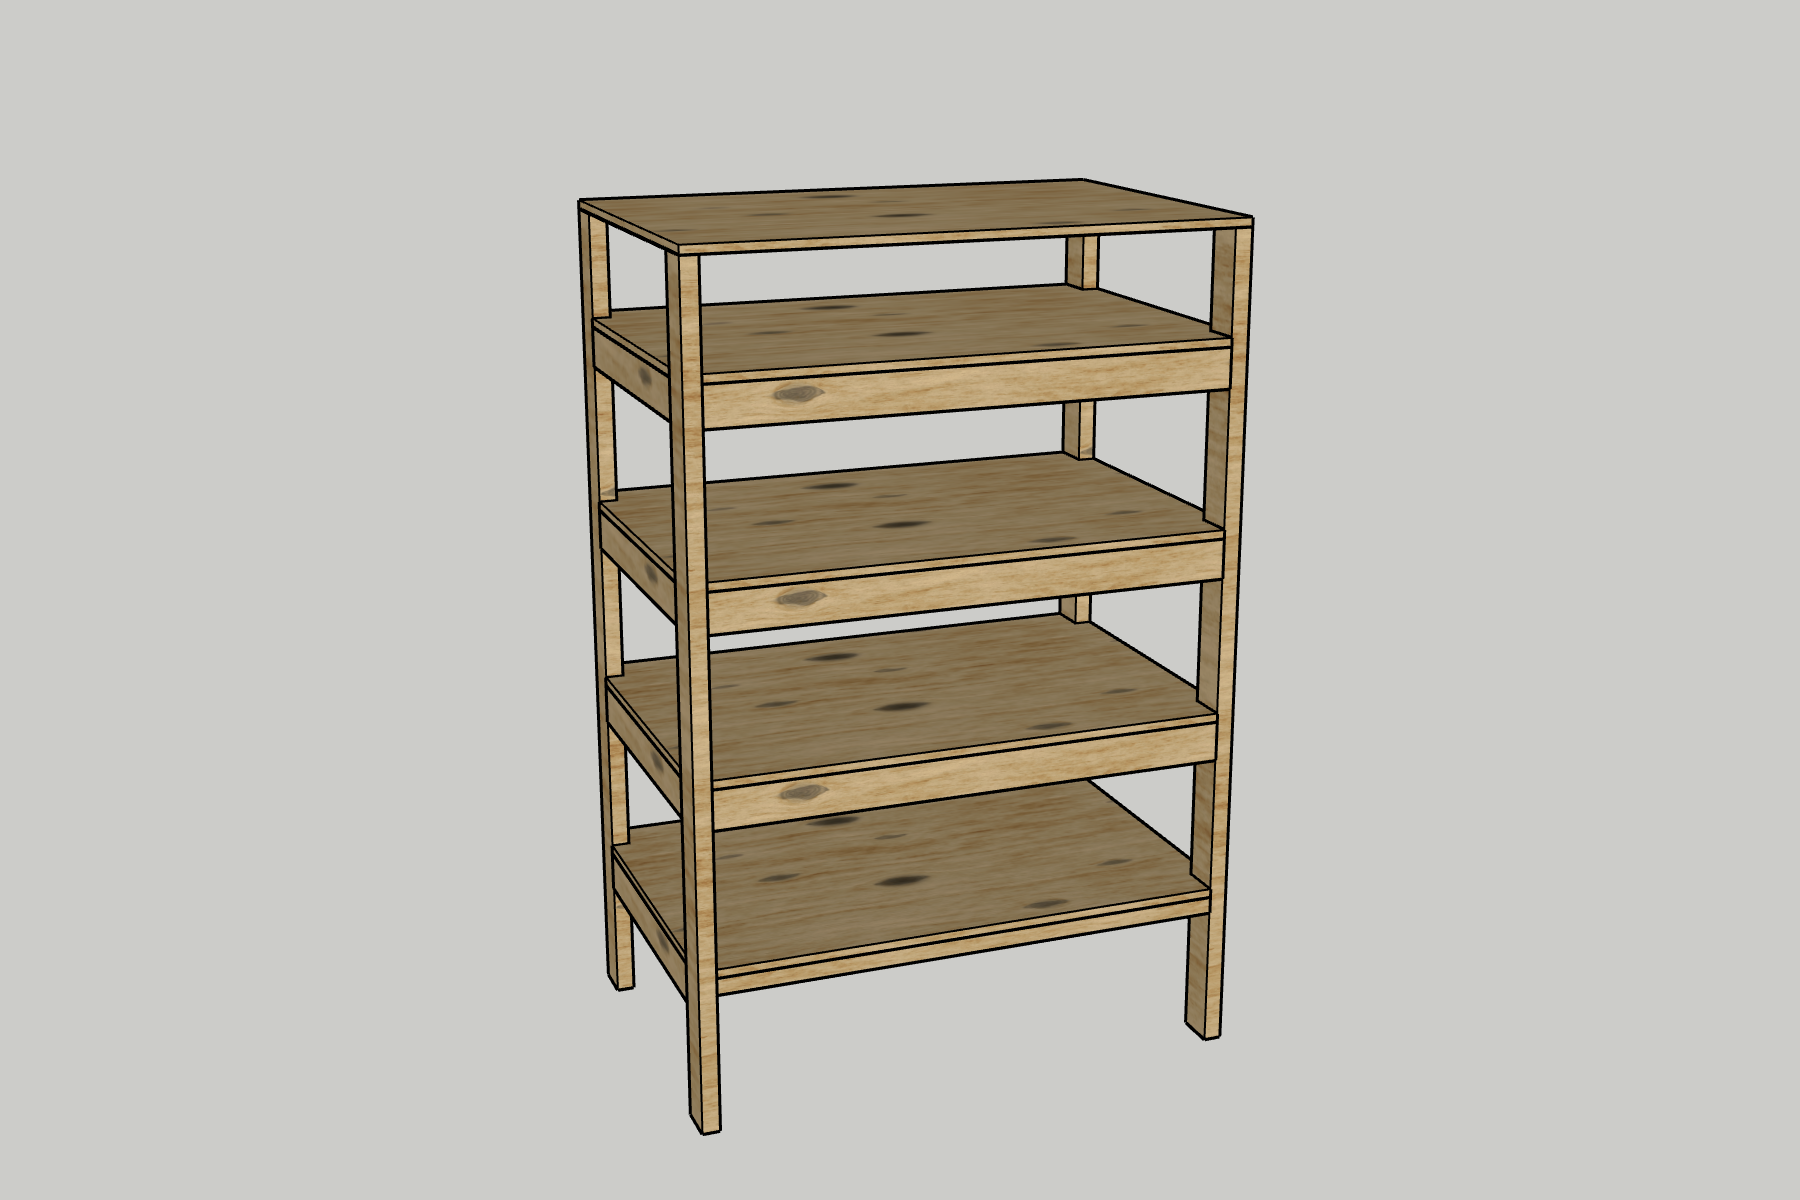
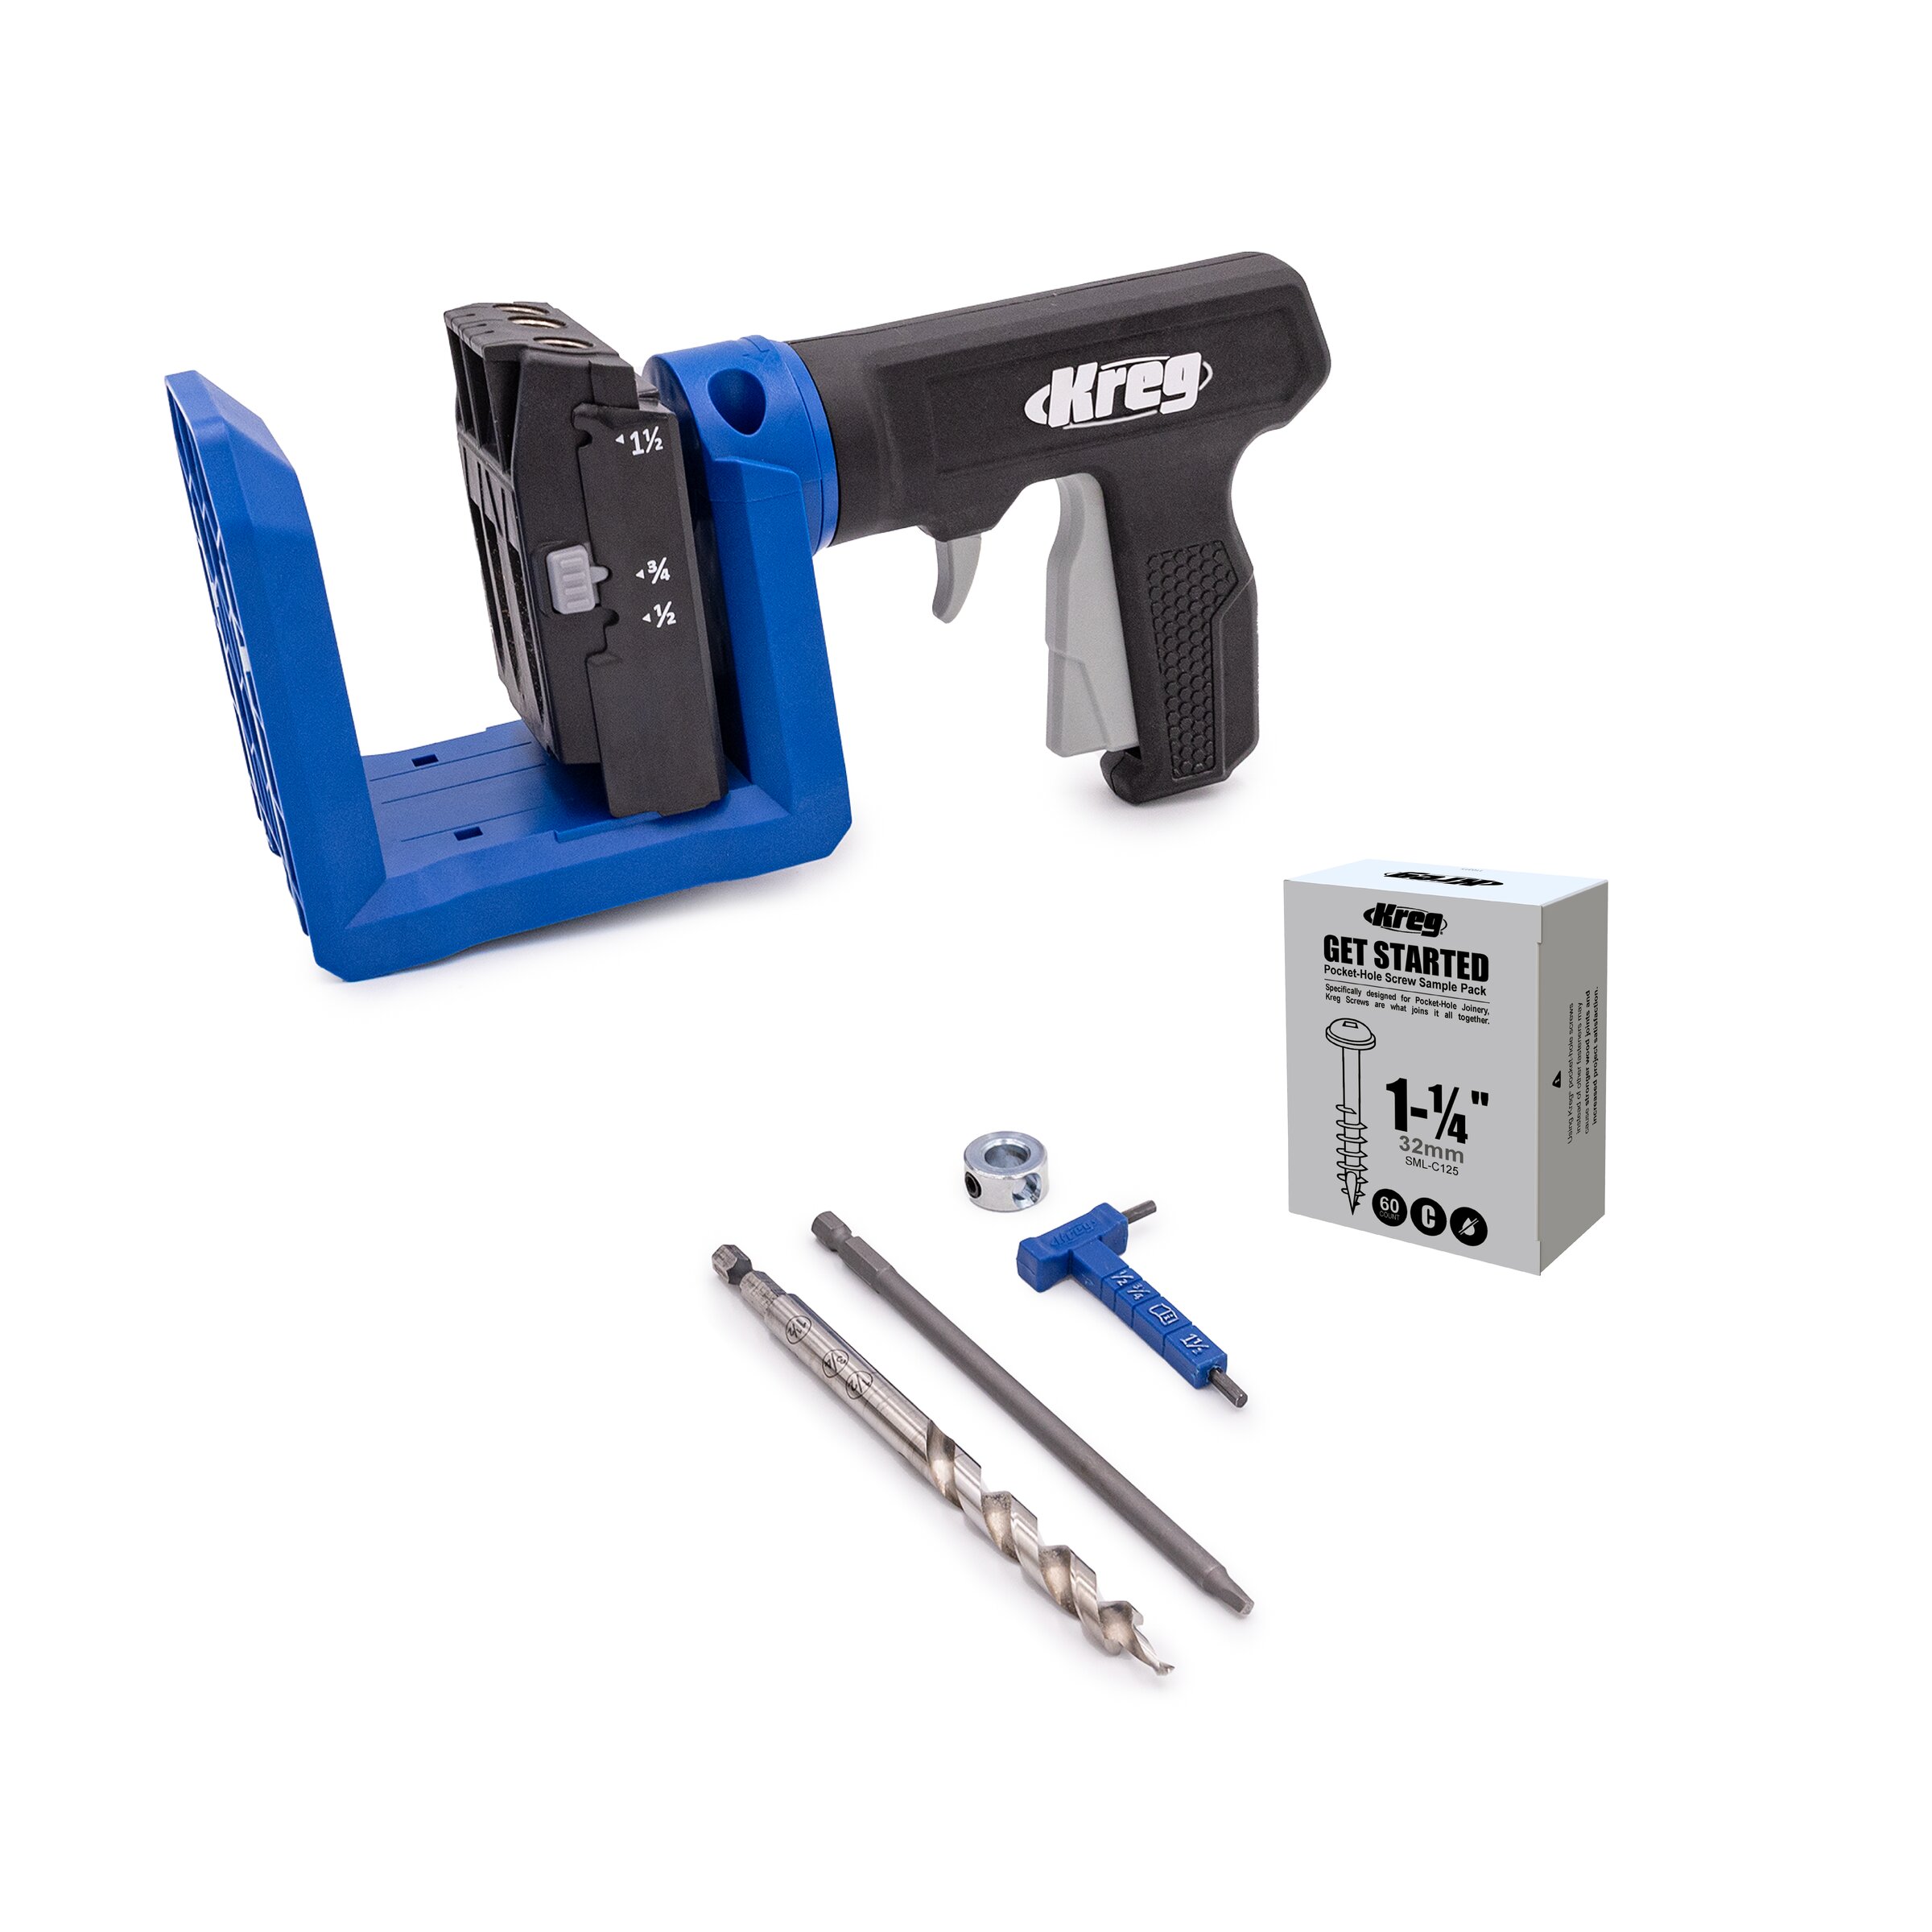
Kreg Tools

Materials
Wood Products
- 10 2x4s , 1 1/2" x 3 1/2" x 96"
- 2 OSB plywood , 4' x 8'
Hardware & Supplies
- 1 Wood glue
- 75 2 1/2" Kreg pocket hole screws
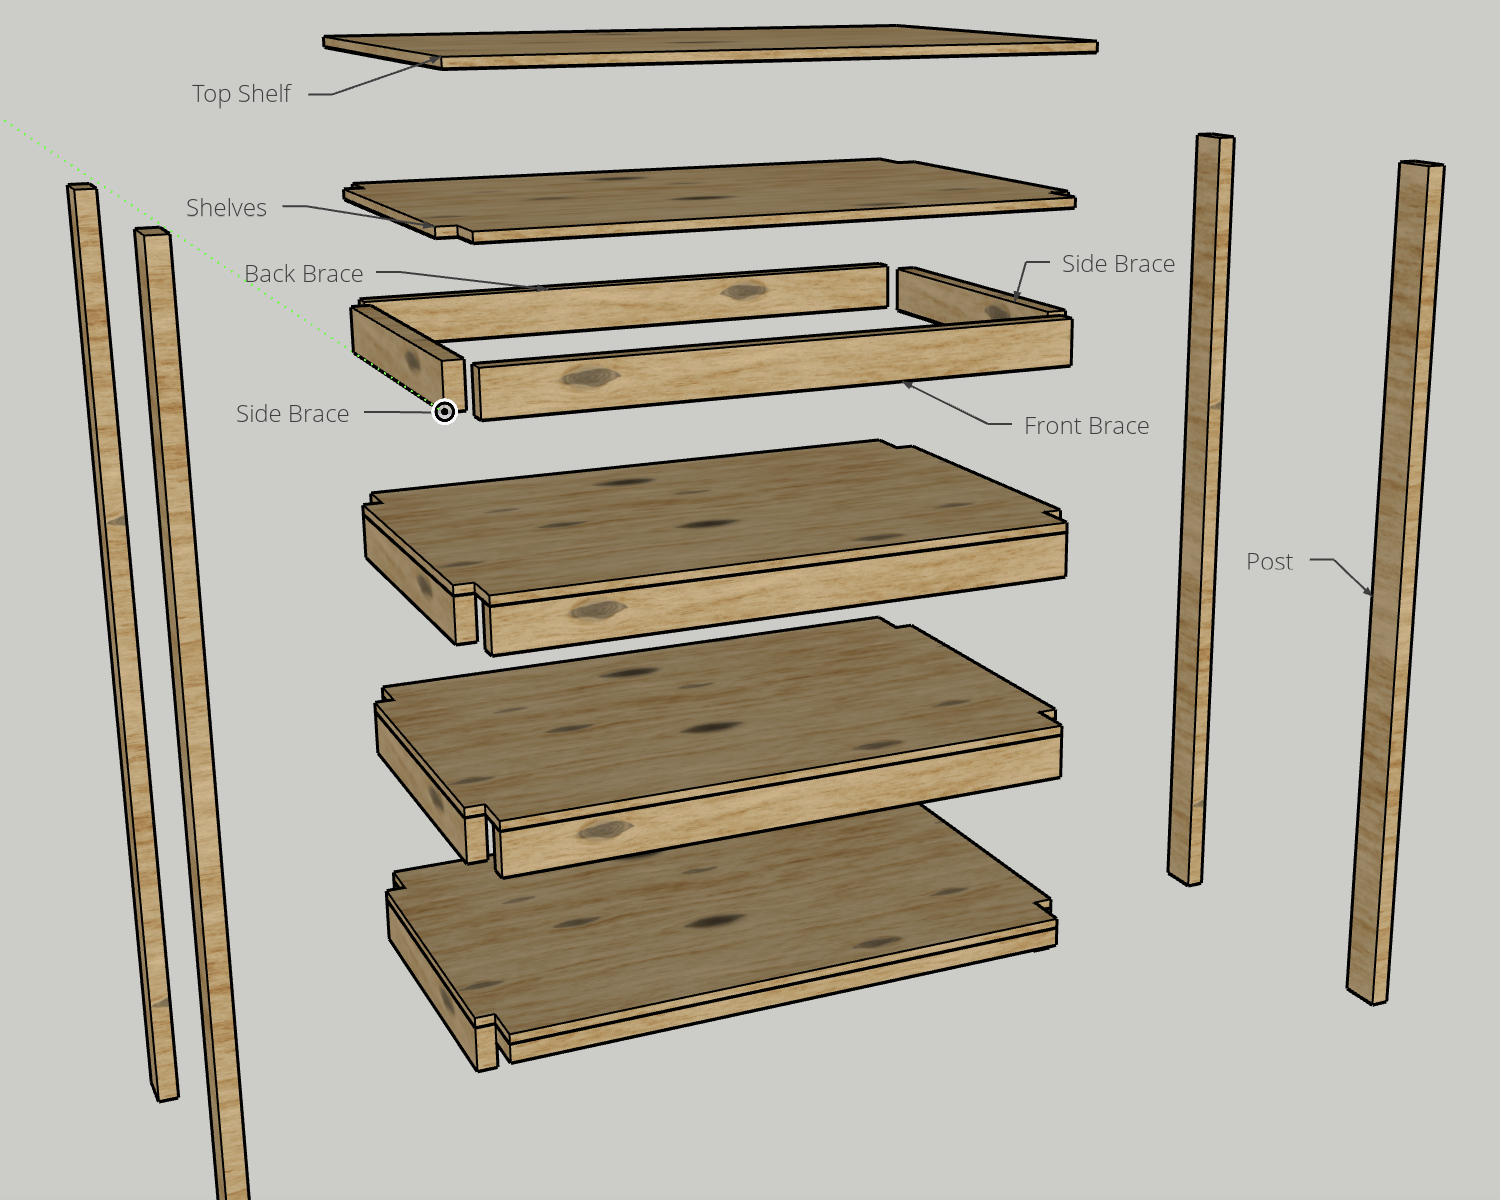
Cut List & Parts
- 4 Posts , 72 1/4" x 3 1/2" x 1 1/2"
- 8 Side Braces , 25" x 3 1/2" x 1 1/2"
- 4 Front Braces , 45" x 3 1/2" x 1 1/2"
- 4 Back Braces , 45" x 3 1/2" x 1 1/2"
- 5 Shelves , 48" x 32" x 3/4"
Directions
-
Build first side
- Drill two pocket holes in each end of the Side Braces.
- Using wood glue and pocket hole screws, attach a Side Brace between two Posts 10 1/4" up from the bottom of the Posts to the bottom of the Side Brace.
- Using wood glue and pocket hole screws, attach the next Side Brace 12 3/4" up from the top of the first Side Brace.
- Repeat for two more Side Braces.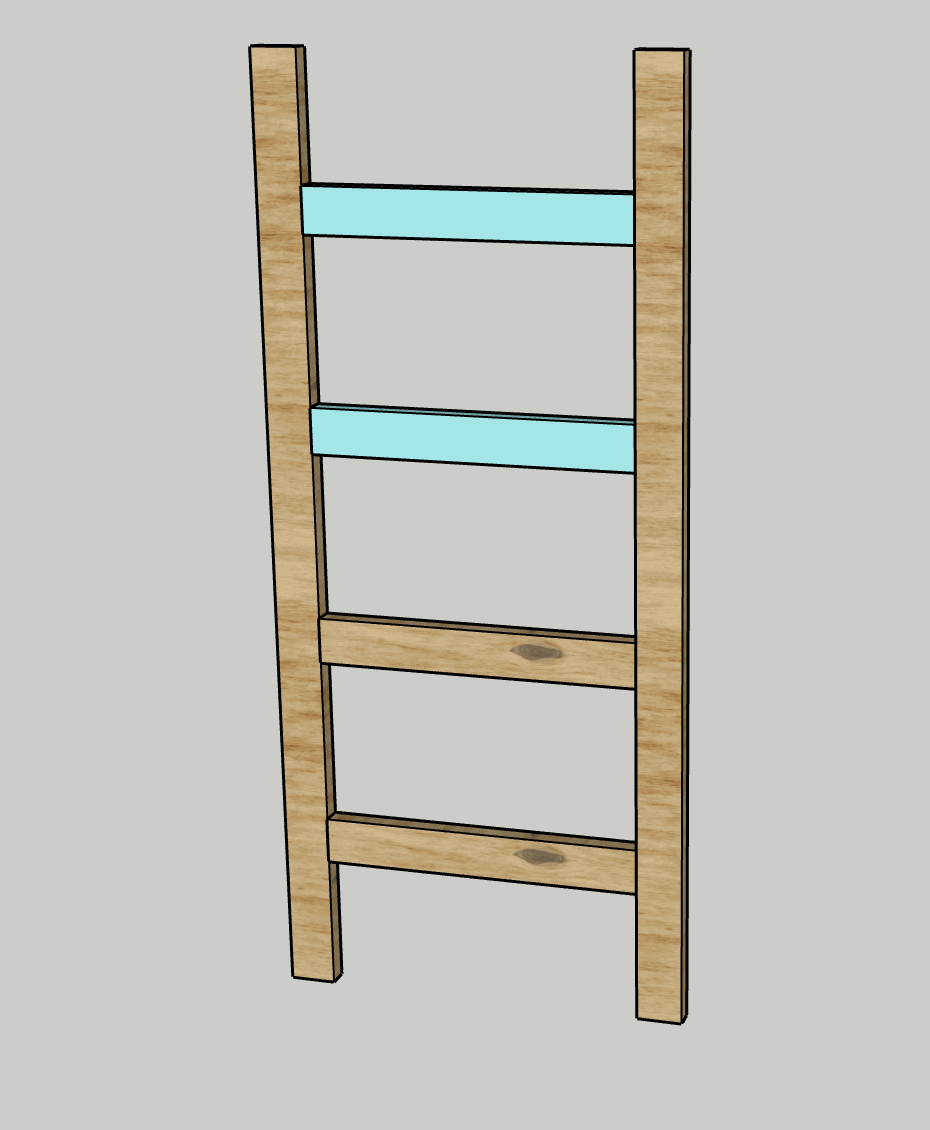
-
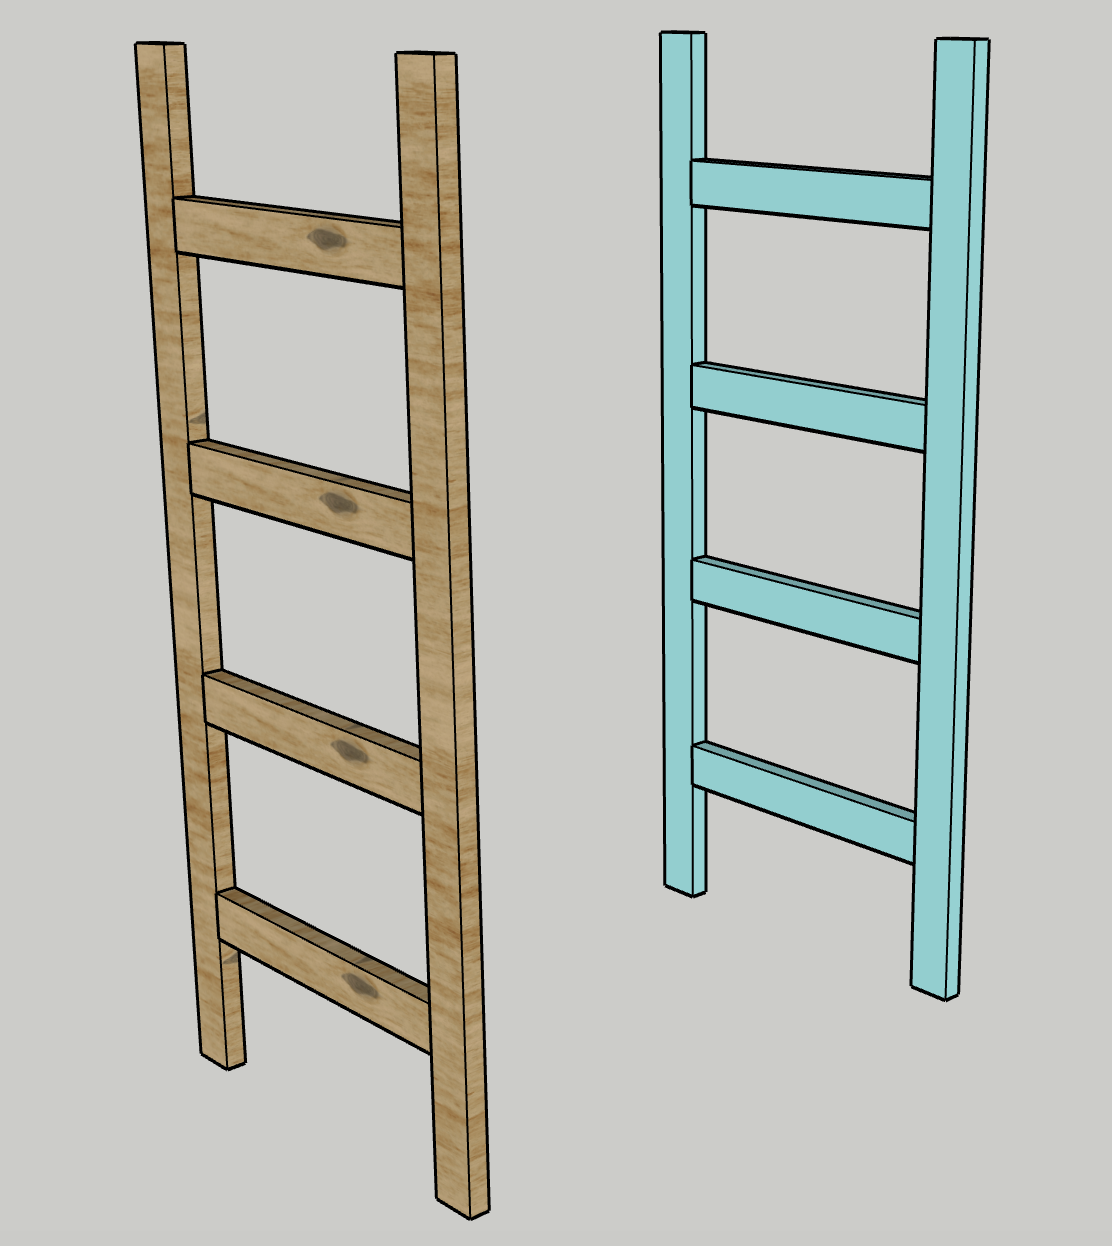
Build second side
Repeat Step One to build a second side.
-
Connect back
- Drill two pocket holes in each end of the Back Braces.
- Using wood glue and pocket hole screws, attach a Back Brace to the one of the sides, in line and level with the Side Brace at the bottom.
- Using wood glue and pocket hole screws, attach the other end of the Back Brace to the other side, in line and level.
- Repeat for the remaining Back Braces, keeping them in line and level with the other Side Braces.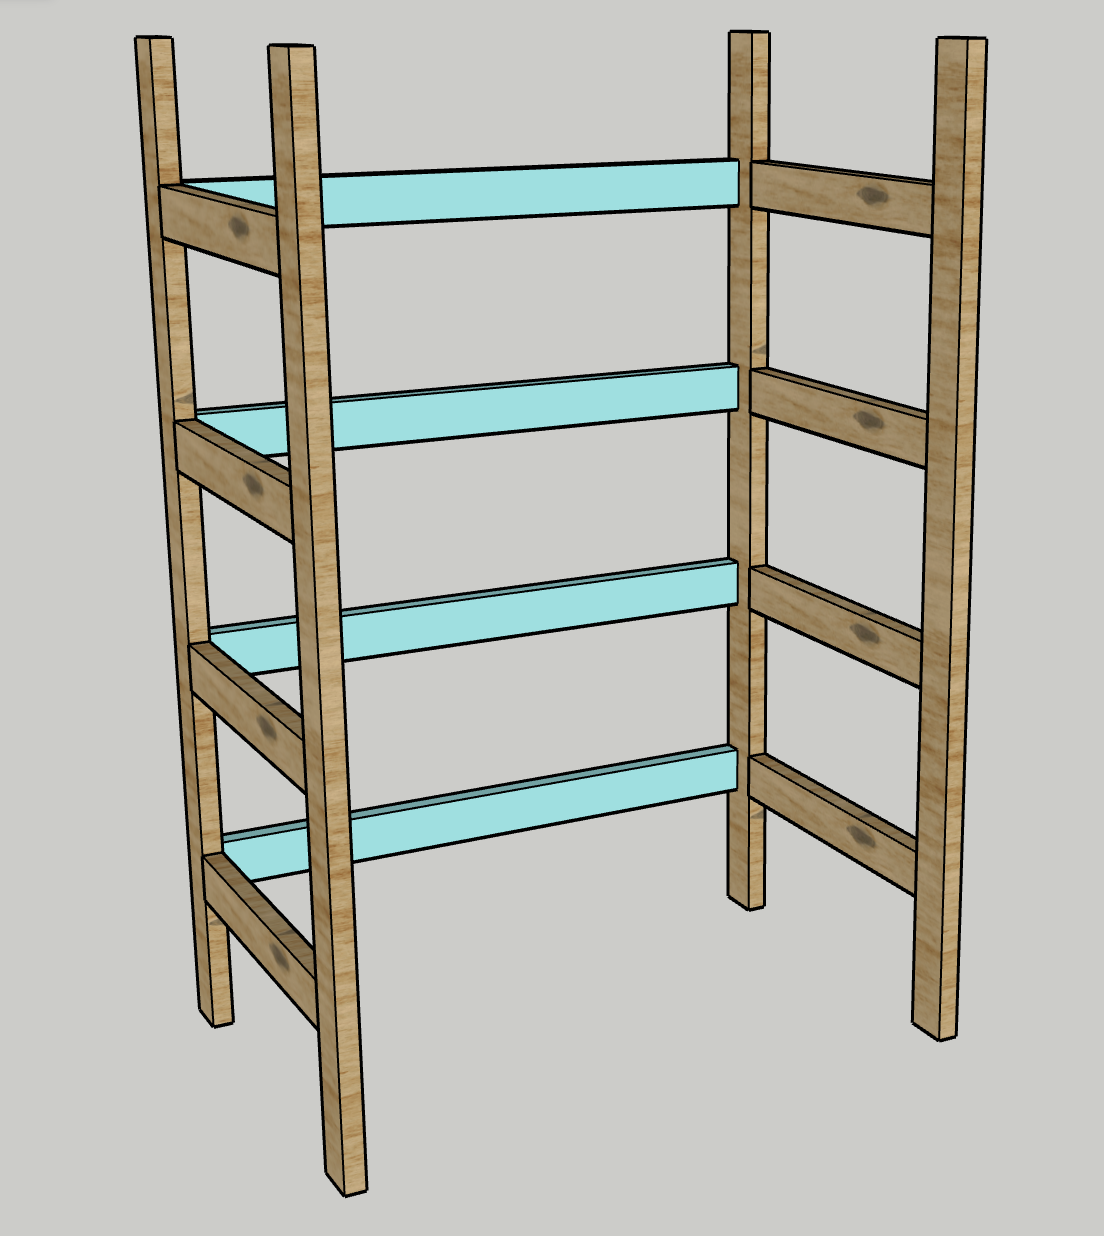
-
Cut notches in plywood
- Using a spare scrap of 2x4, trace out the shape of the 2x4 in each corner of four of the Shelves. Leave one Shelf uncut.
- Ensure the 2x4 is aligned in the same direction as the Posts, with the 3 1/2" edge along the 32" edge of Shelves.
- Using a jigsaw or similar saw, cut out the four corners of the Shelves.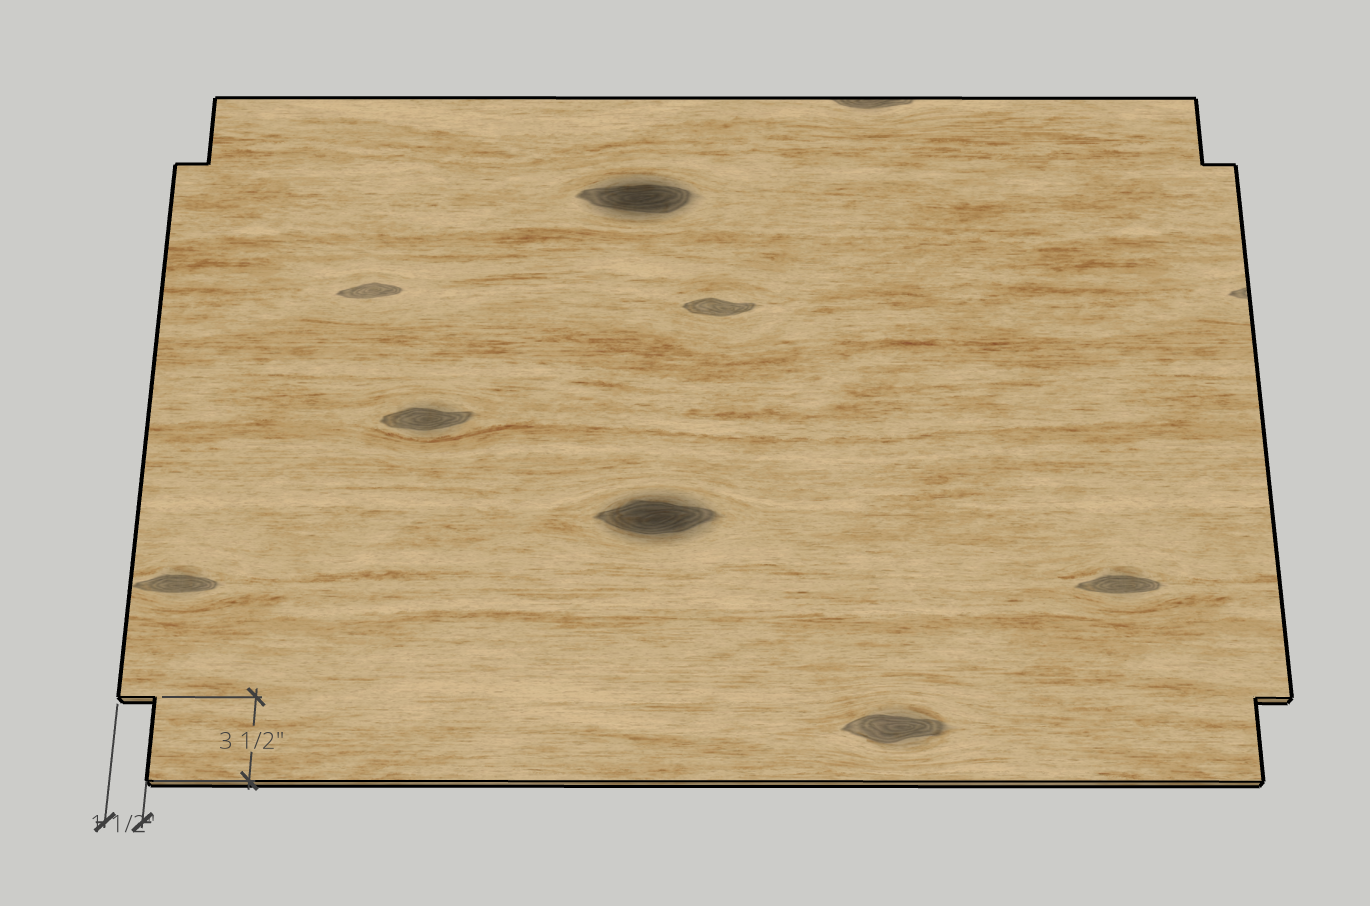
-
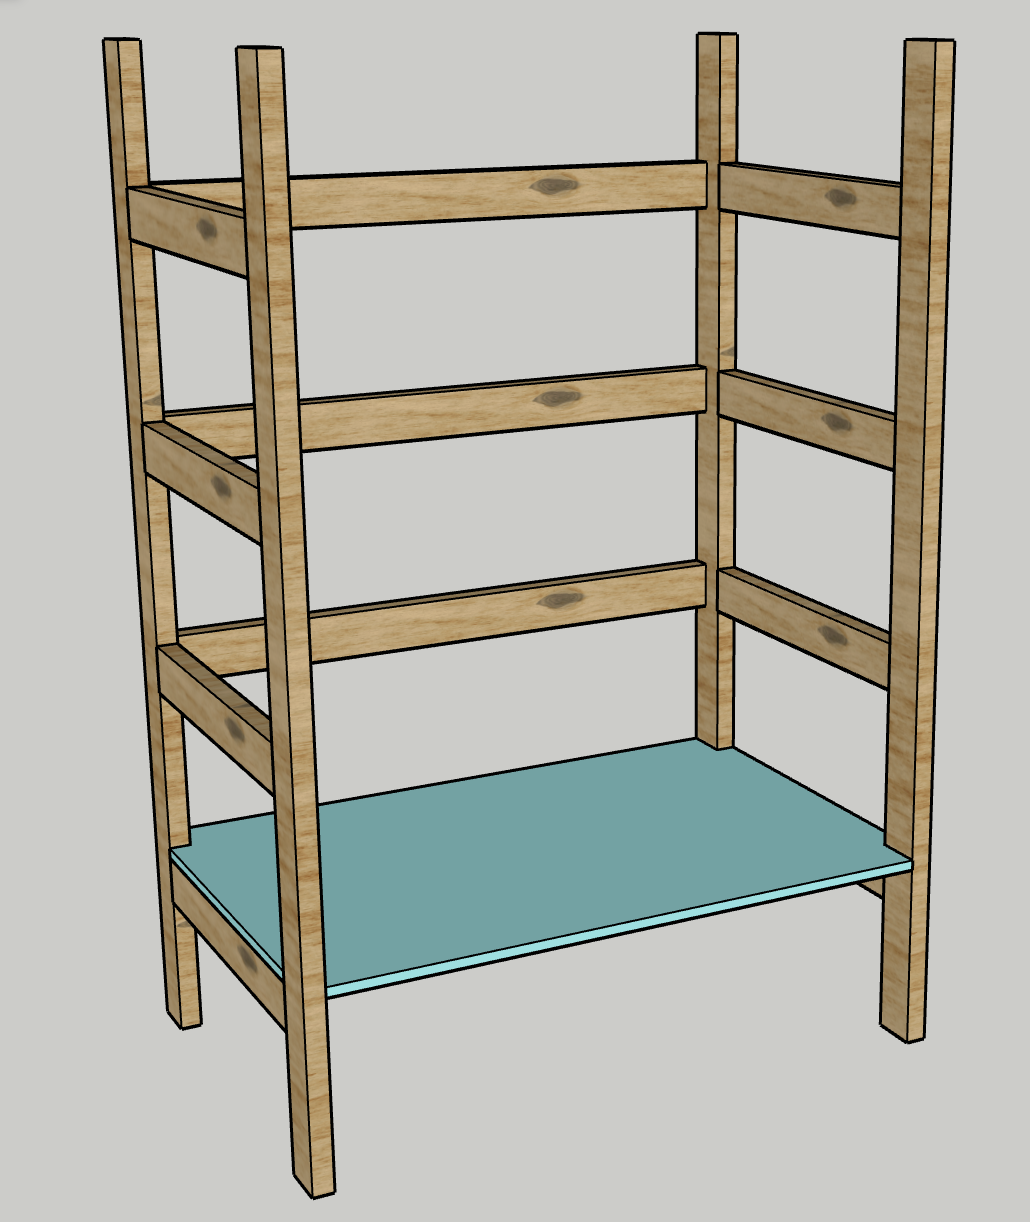
Install first shelf
Slide the first Shelf in between the posts and drop it into place, resting on the lower Side Braces and Back Brace.
-
Install front brace
- Drill two pocket holes in each end of the Front Braces.
- Using wood glue and pocket hole screws, attach a Front Brace between the two front posts and exactly underneath the lower Shelf.
- Note- I installed this one sideways because I wanted to slide some luggage under here, but you can also install regular.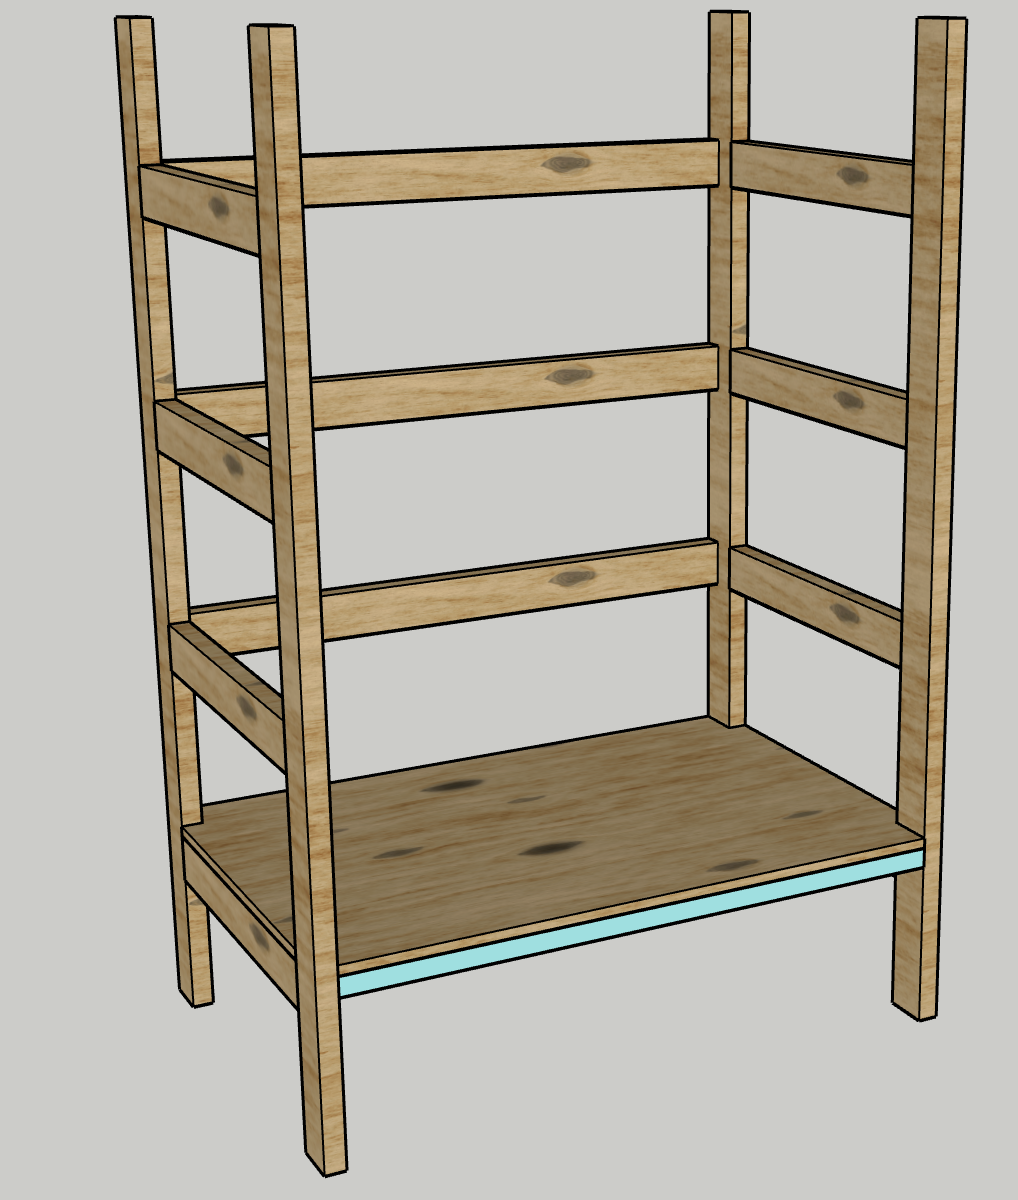
-
Repeat
- Repeat Steps Five and Six for the remaining three layers of Shelves.
- Work your way up from bottom to top to be able to get the shelves in place.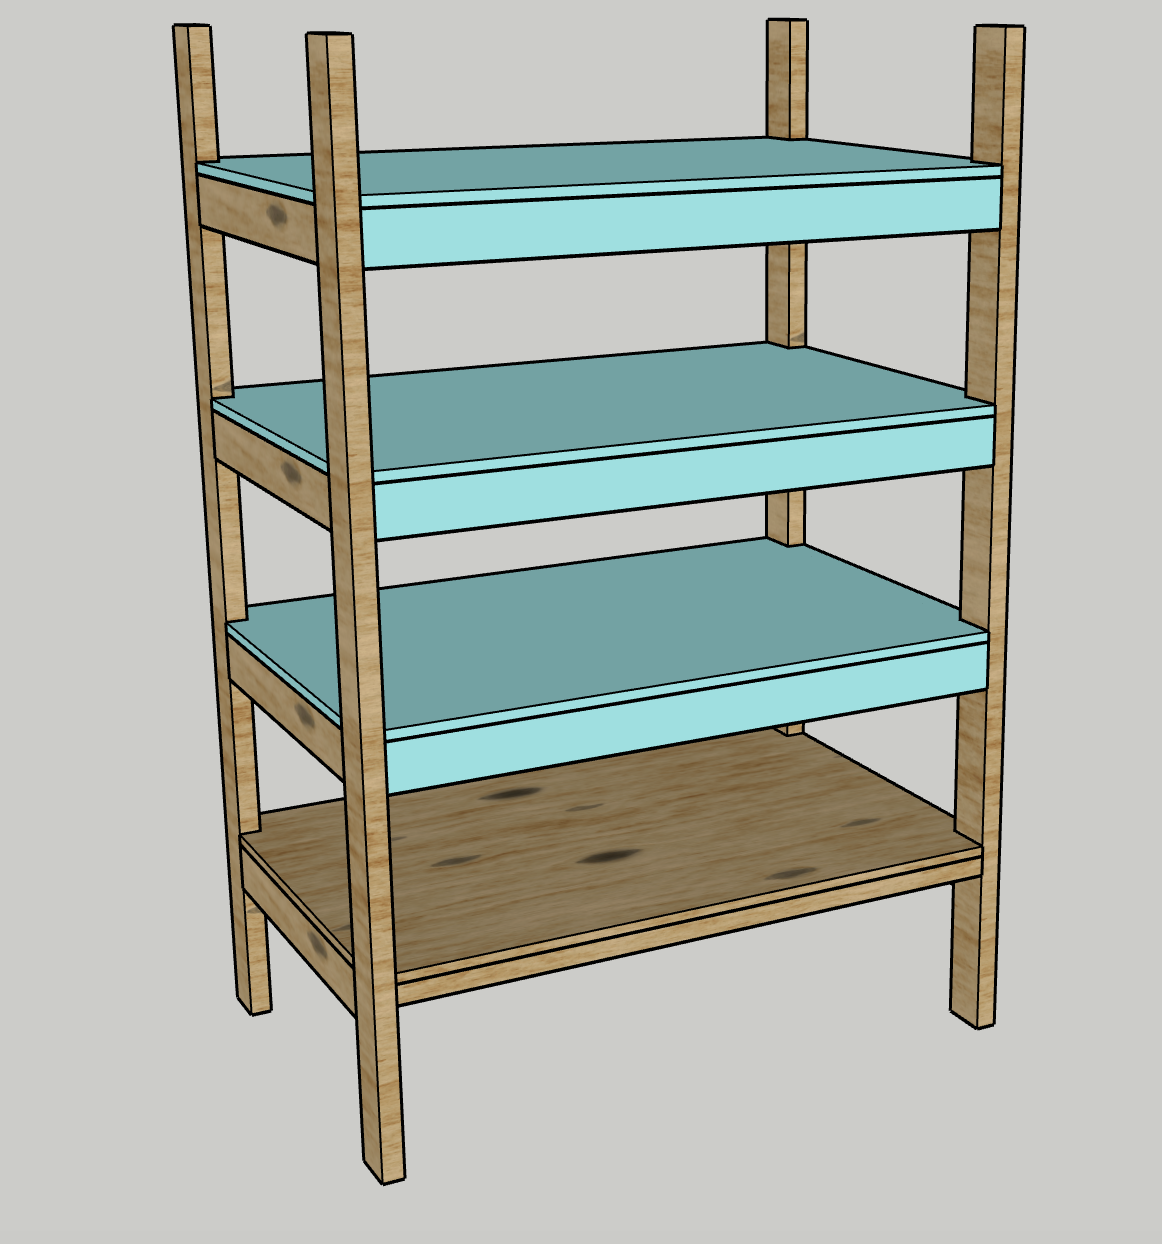
-
Add top shelf
- Using screws or nails, attach the top Shelf onto the top of the Posts.
- Note- only light items should be stored on this top shelf. If you want to store heavier items, you can add braces underneath this Shelf, however the space below will be fairly small. You can extend the length of the Posts on initial cut to 75 3/4" to make the top section the same as the lower sections.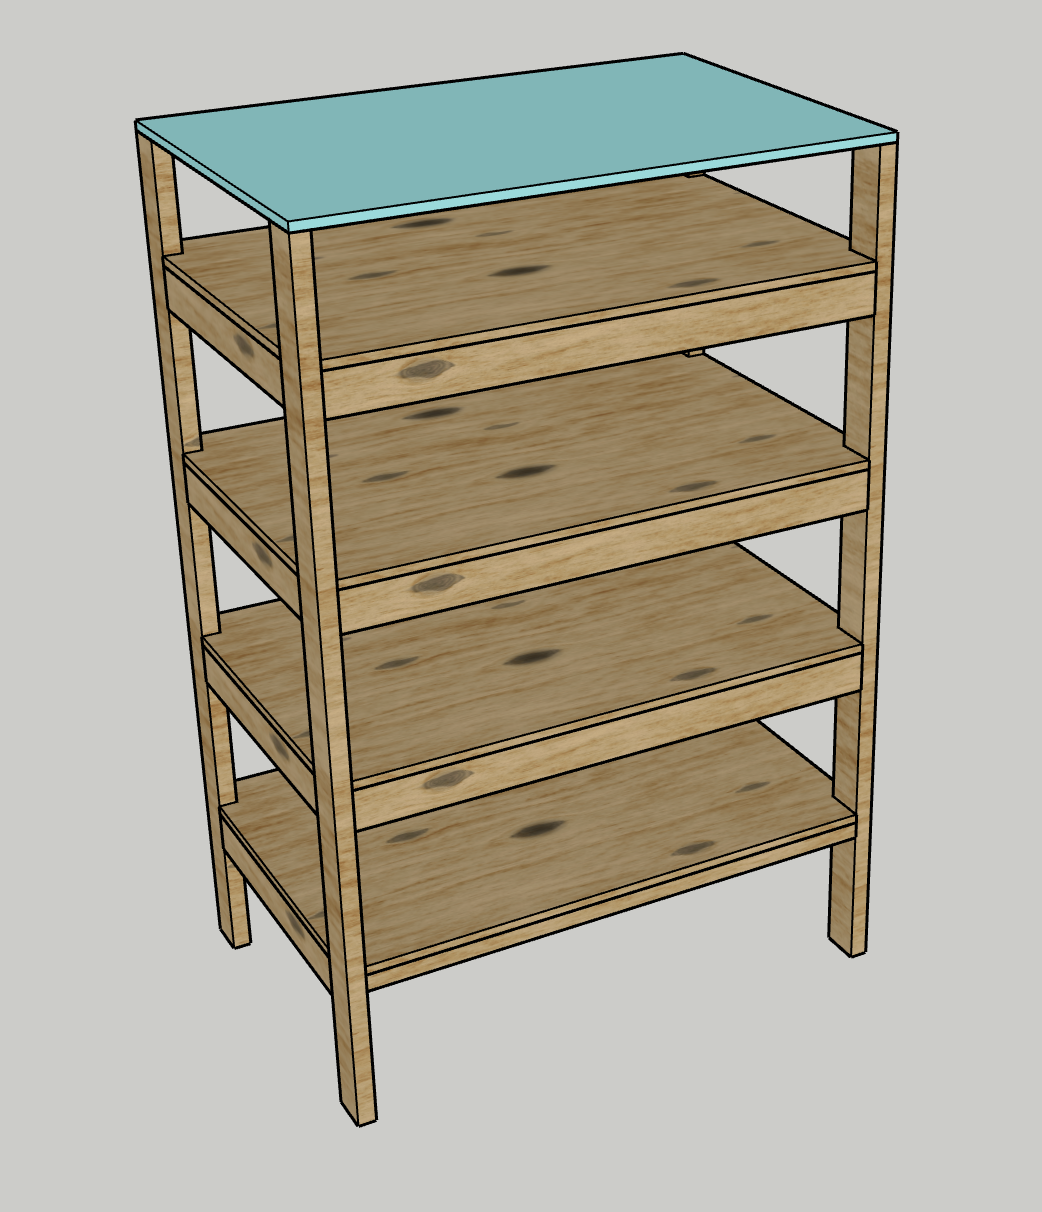
-
Enjoy
Enjoy your handiwork and tag @CharlestonCraftedBuilds on Instagram with a picture!